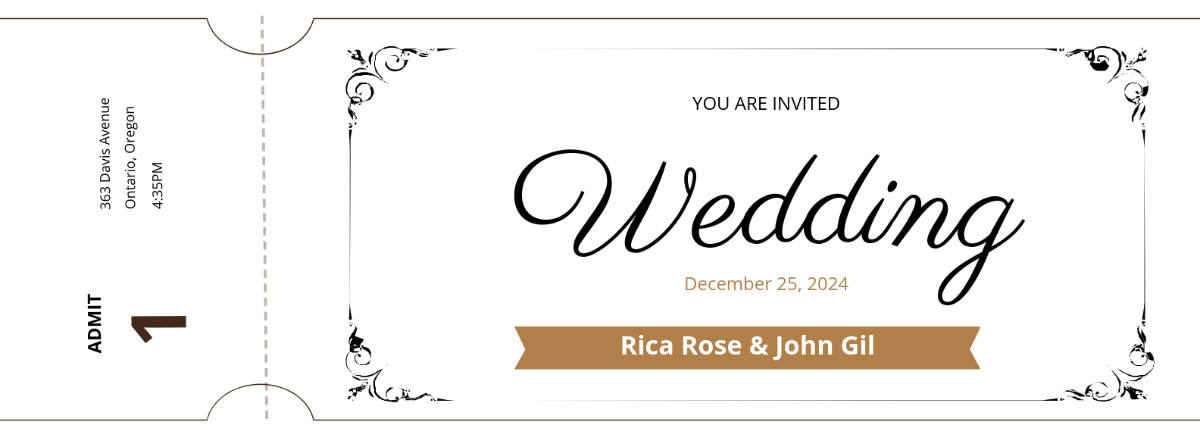
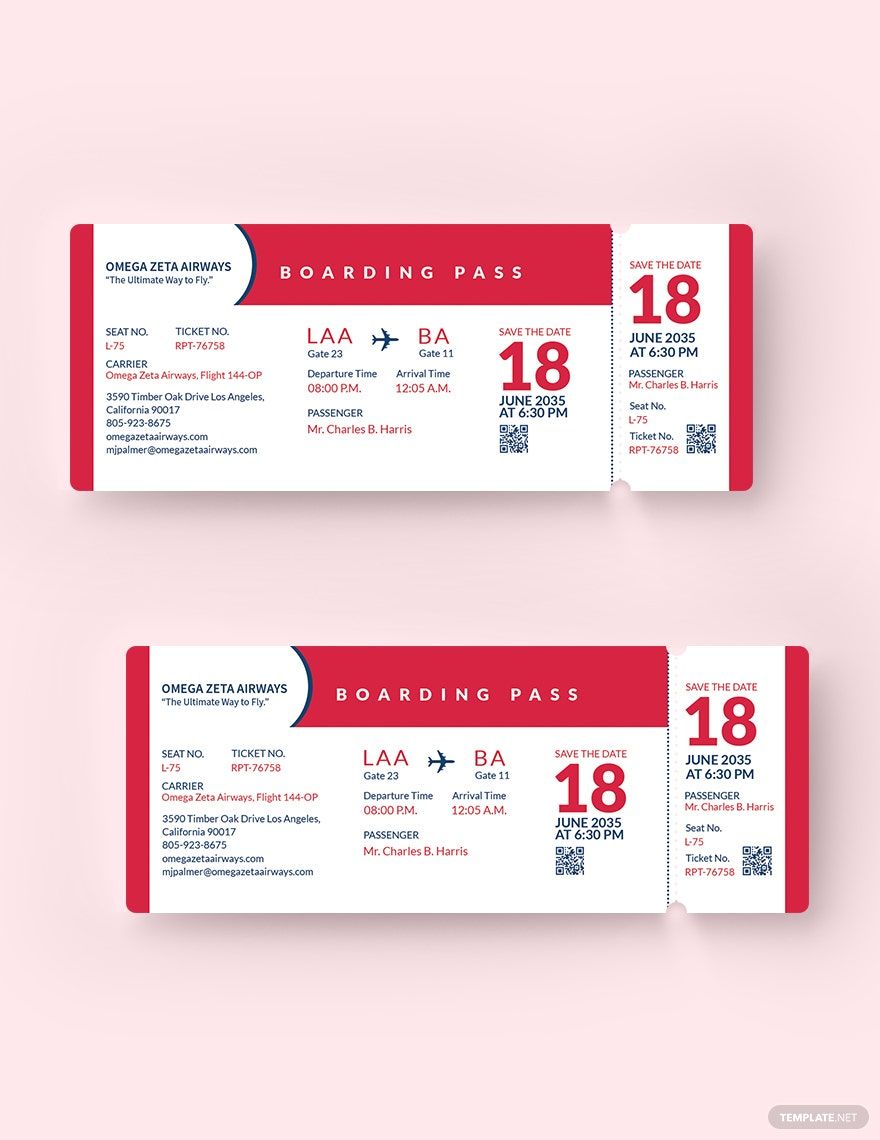
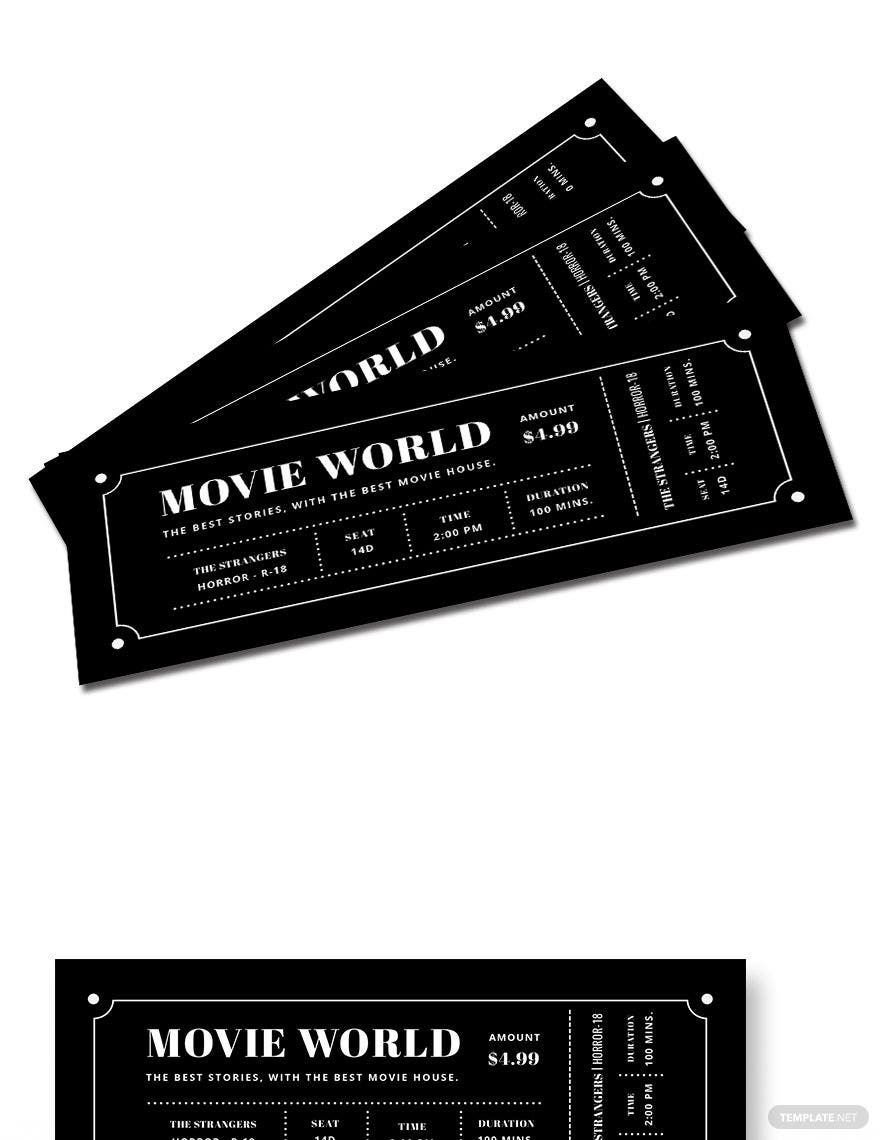
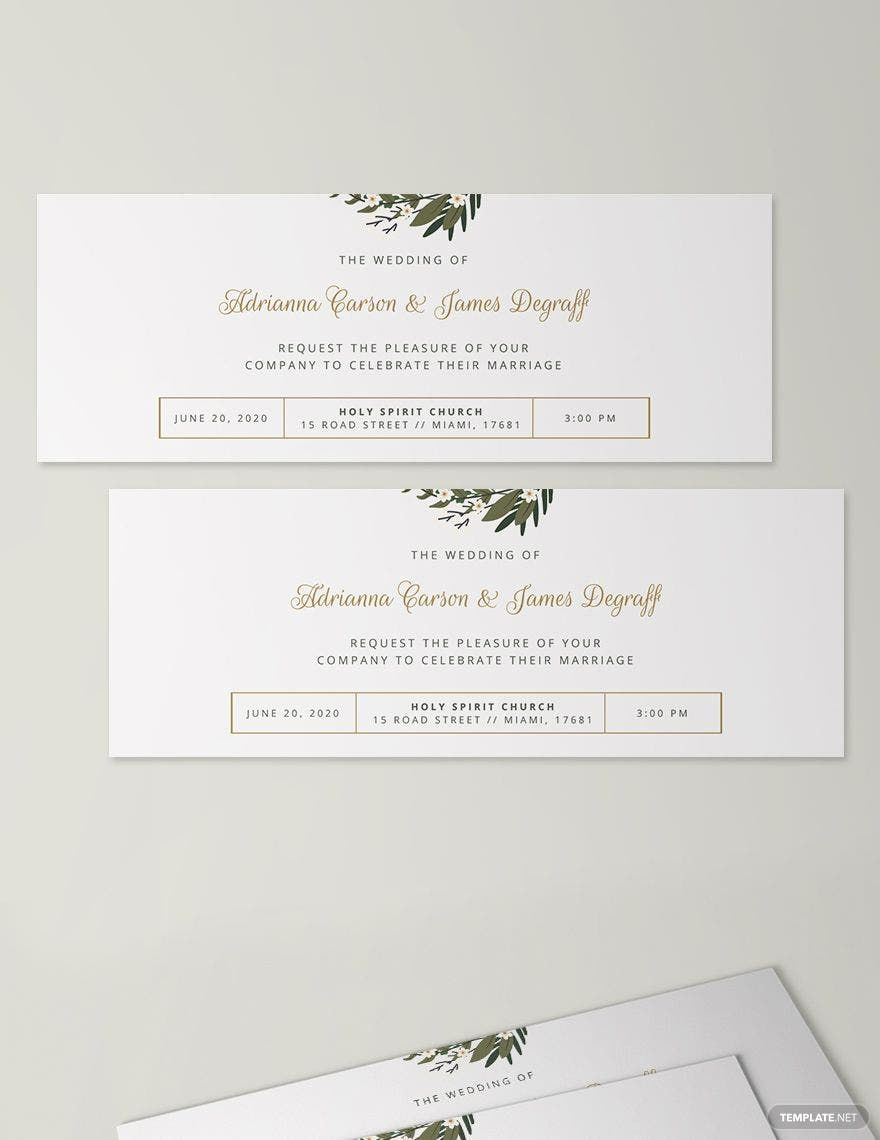
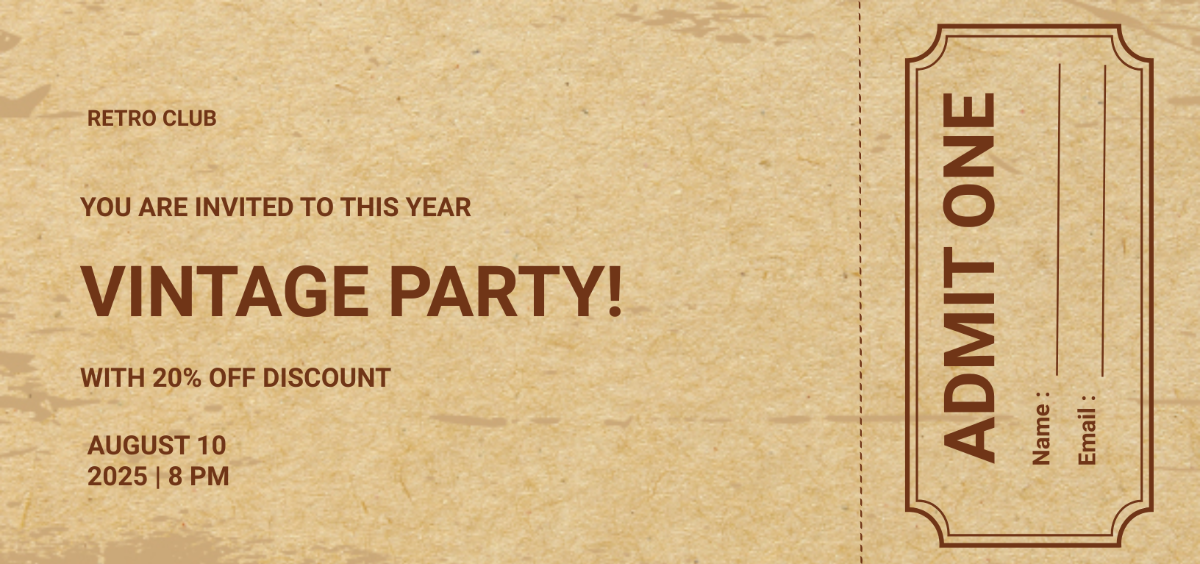
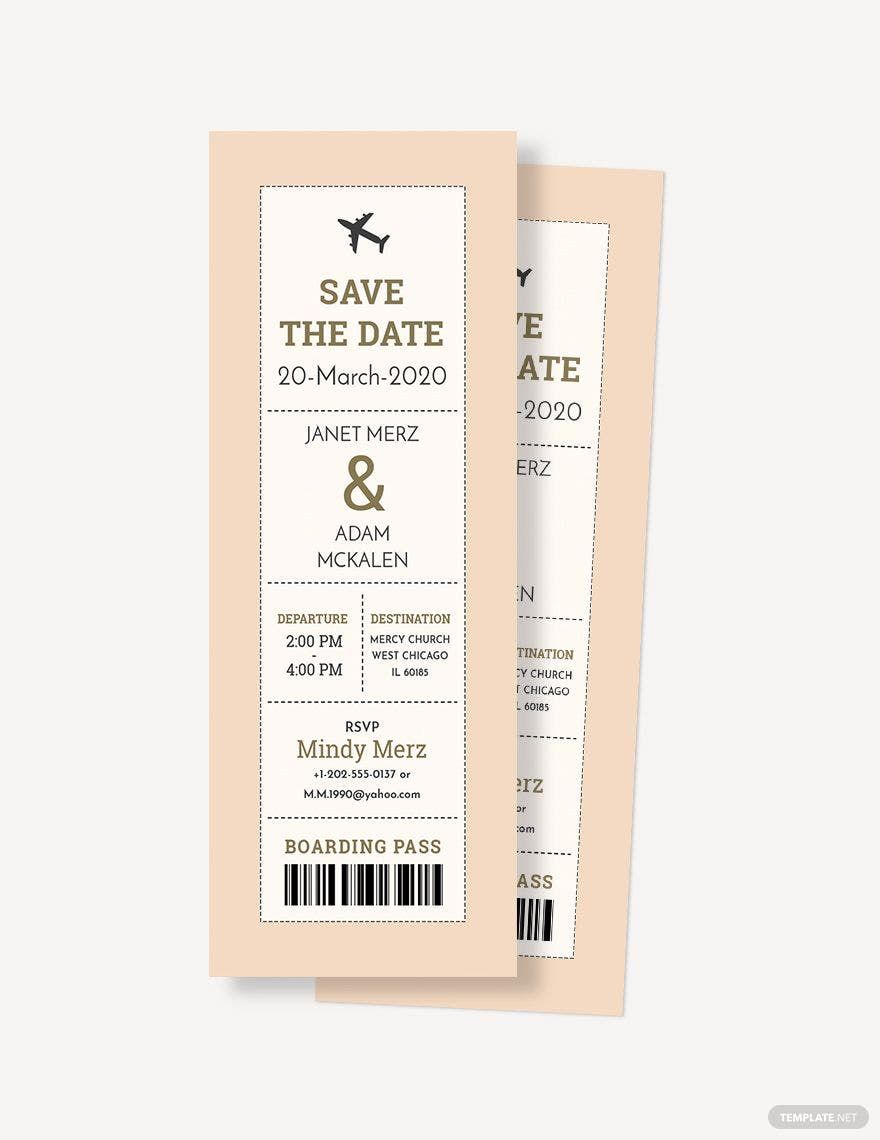
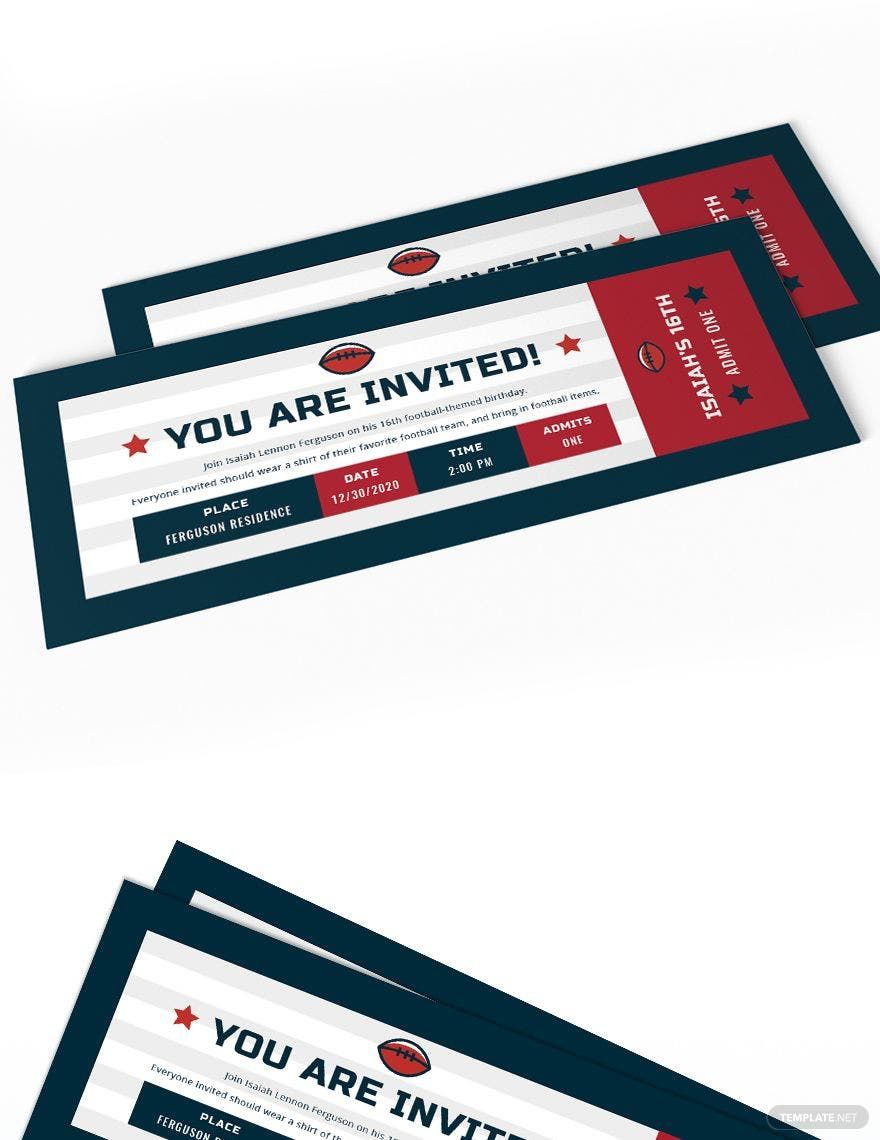
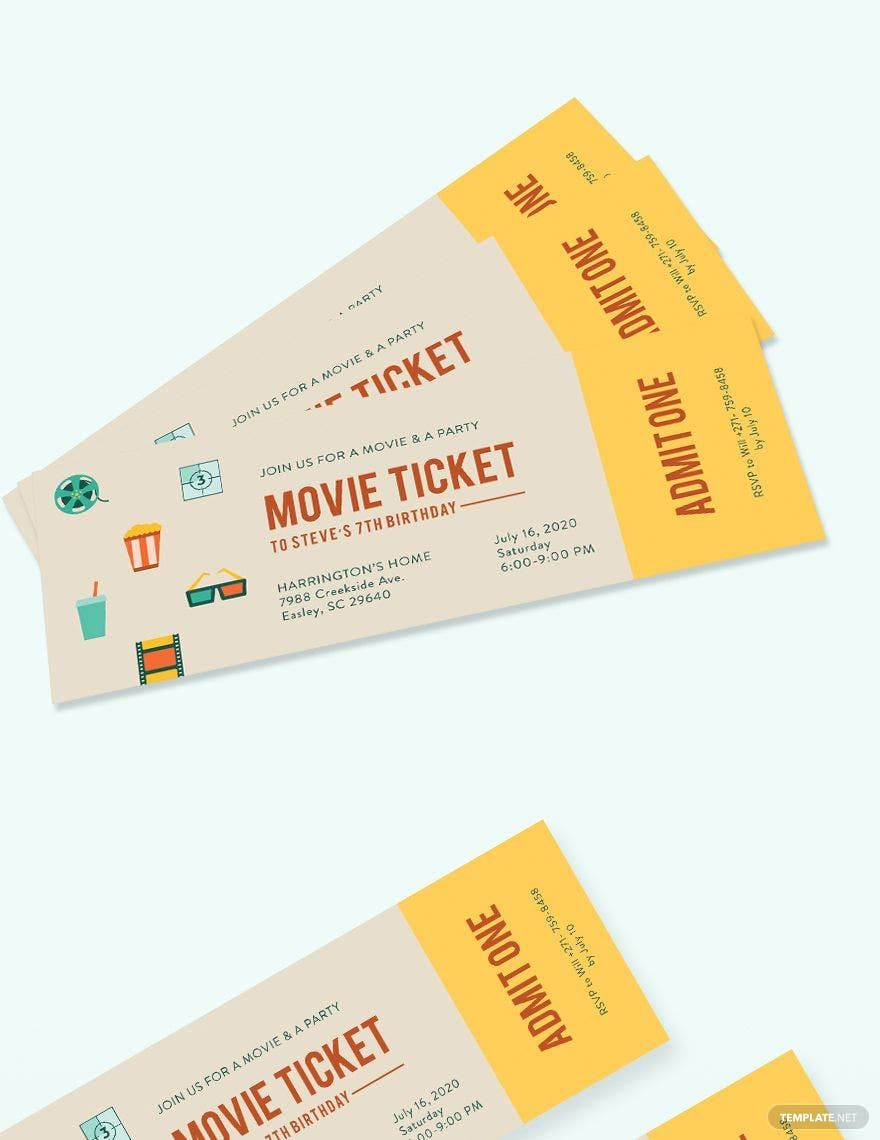
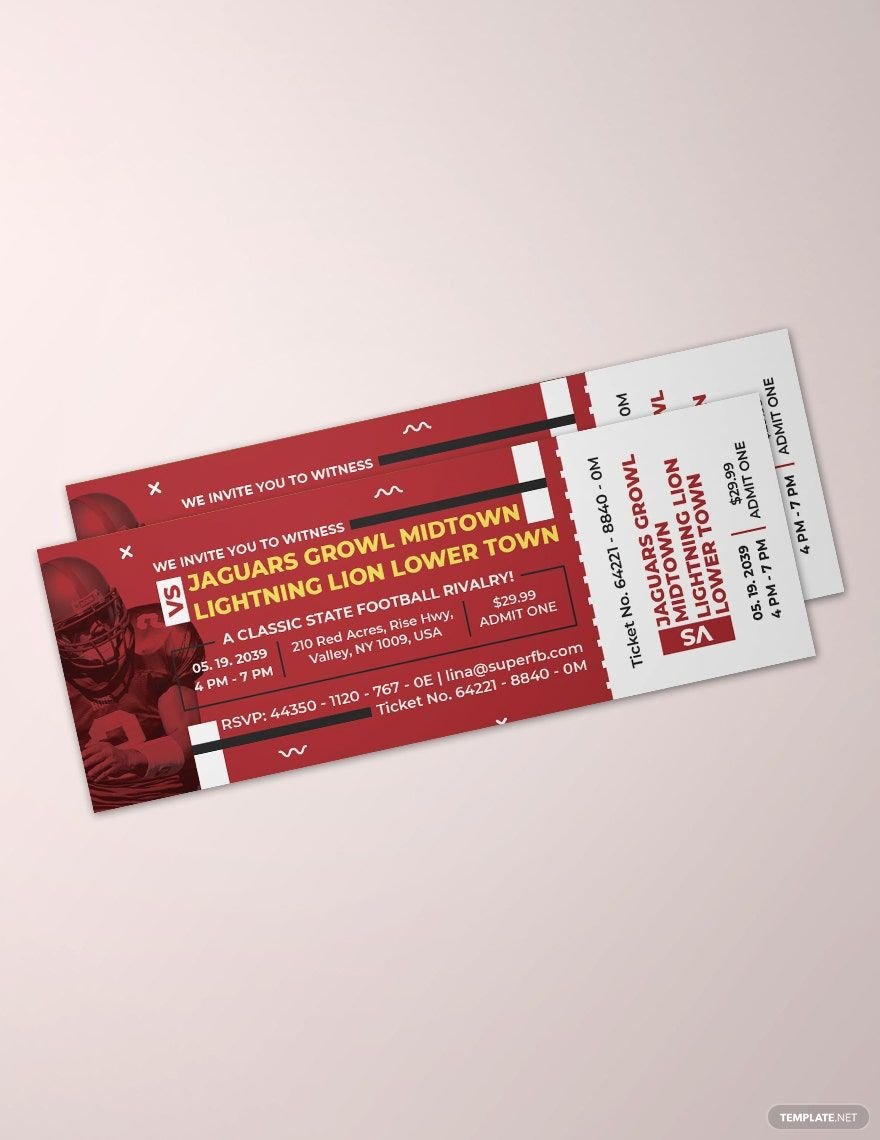
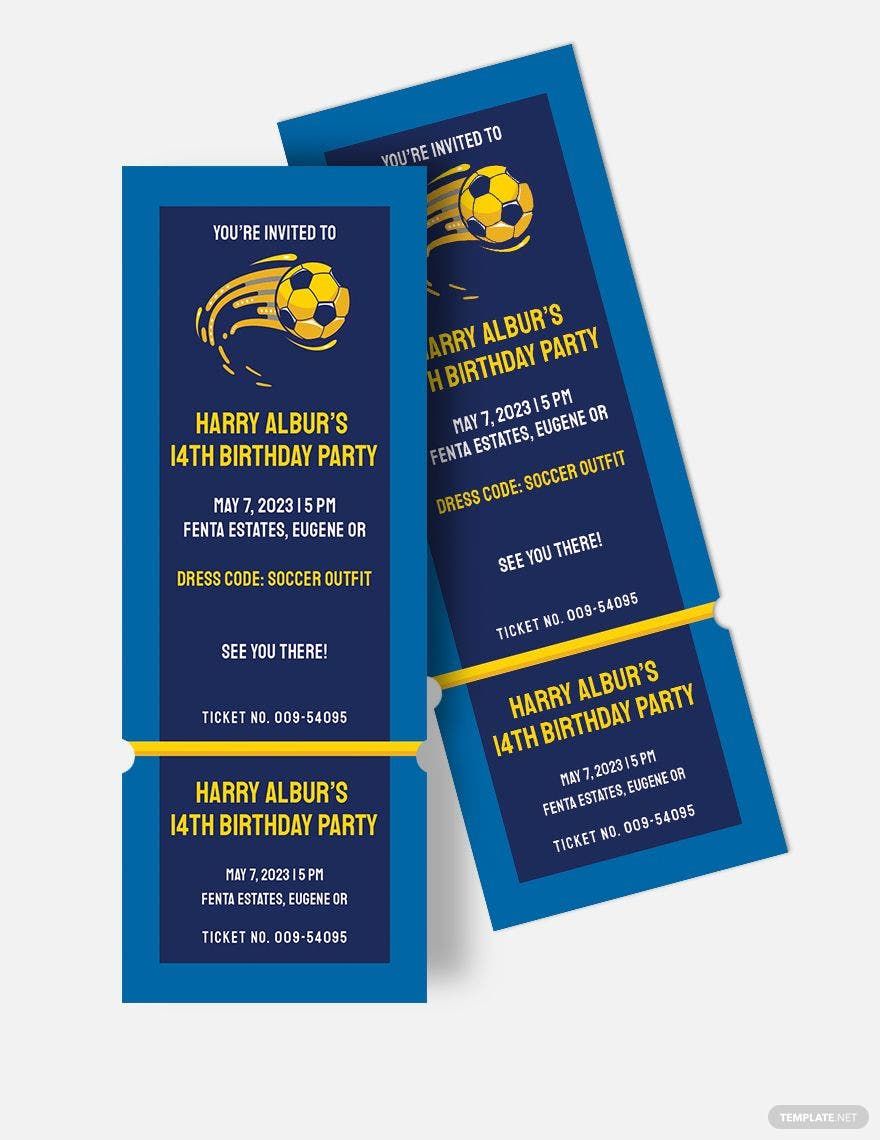
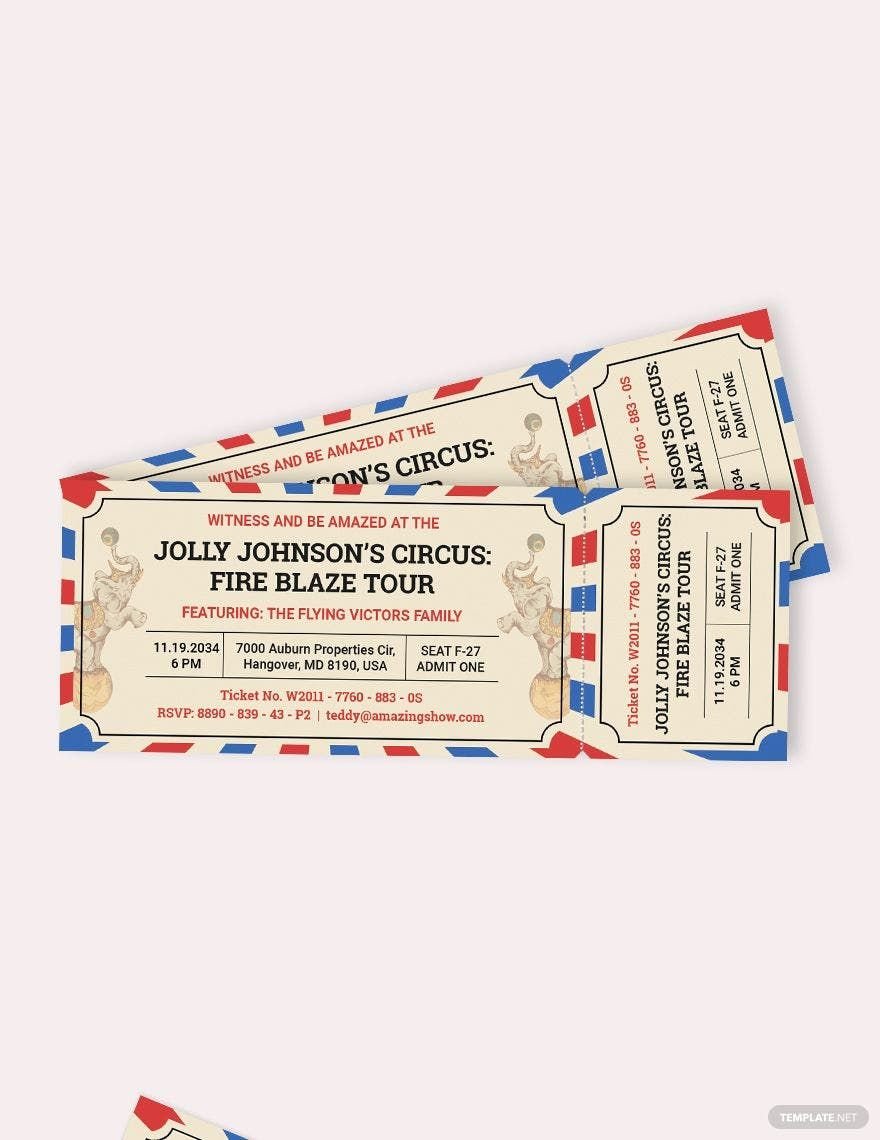
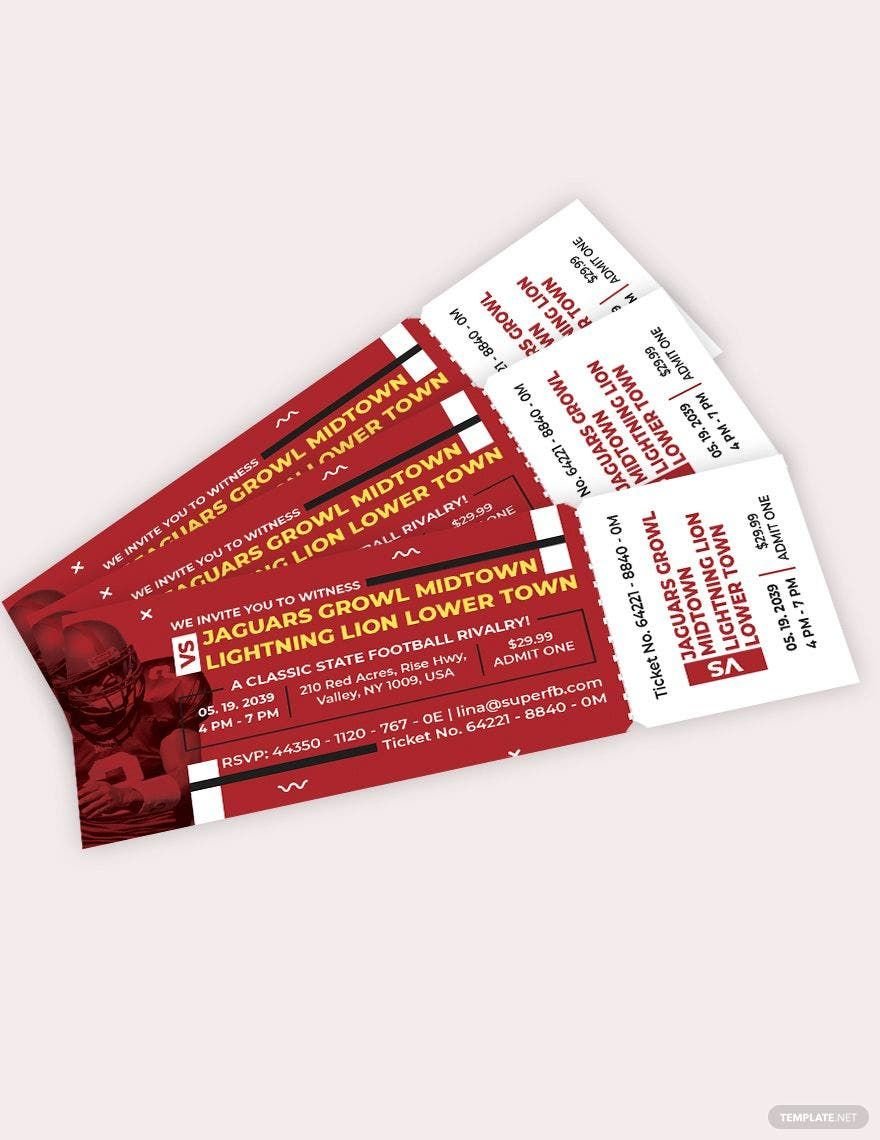
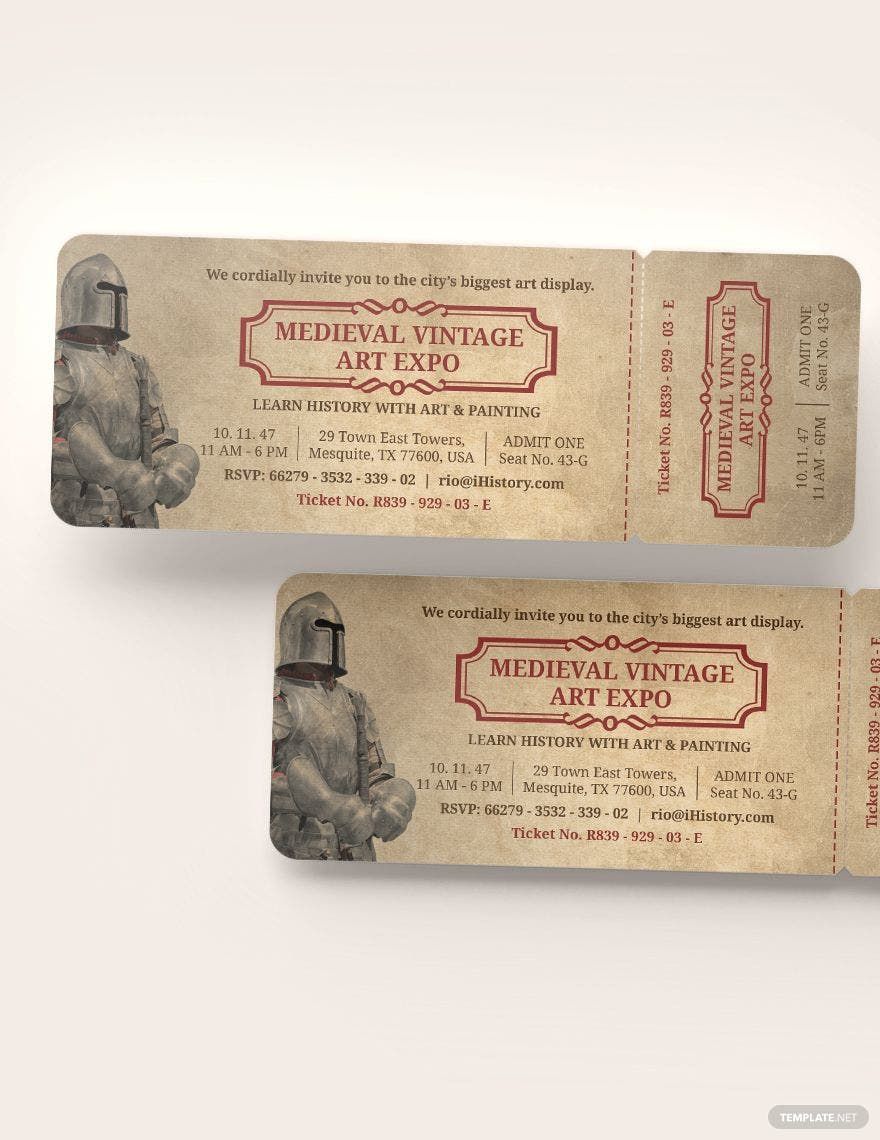
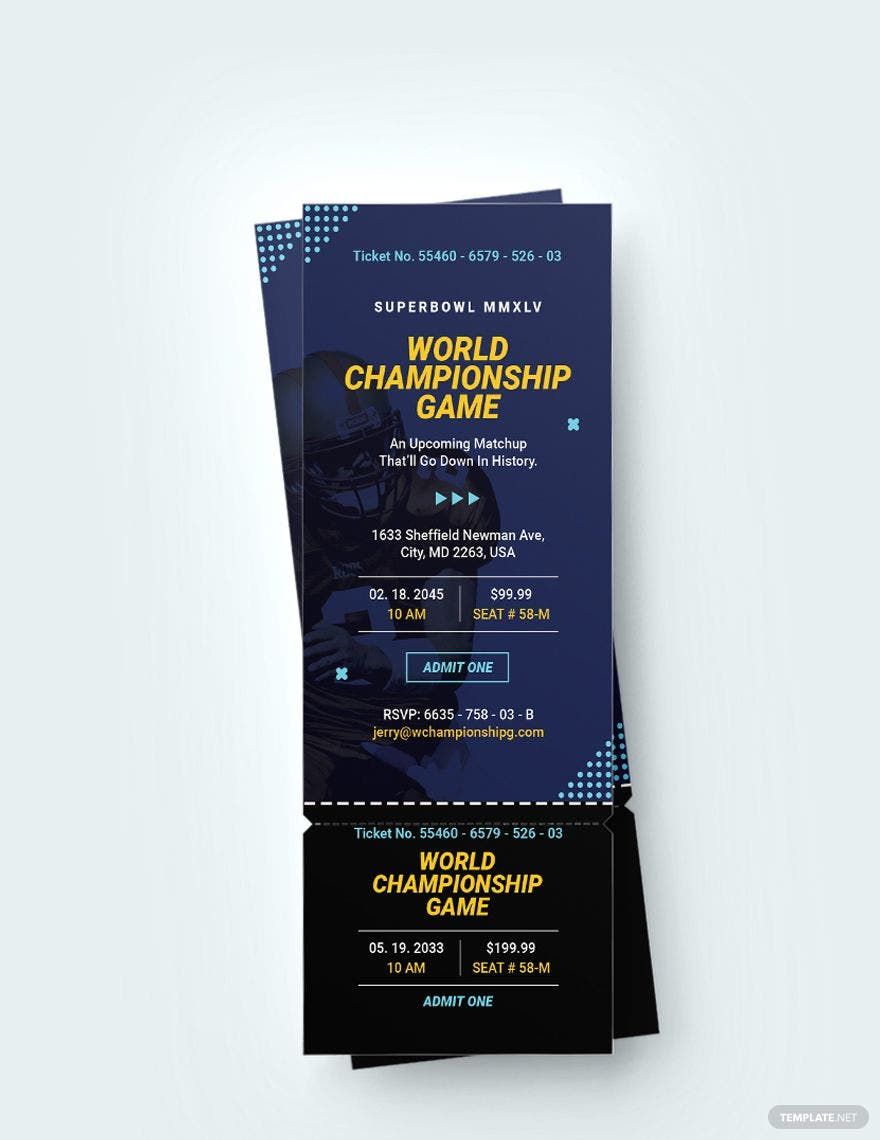
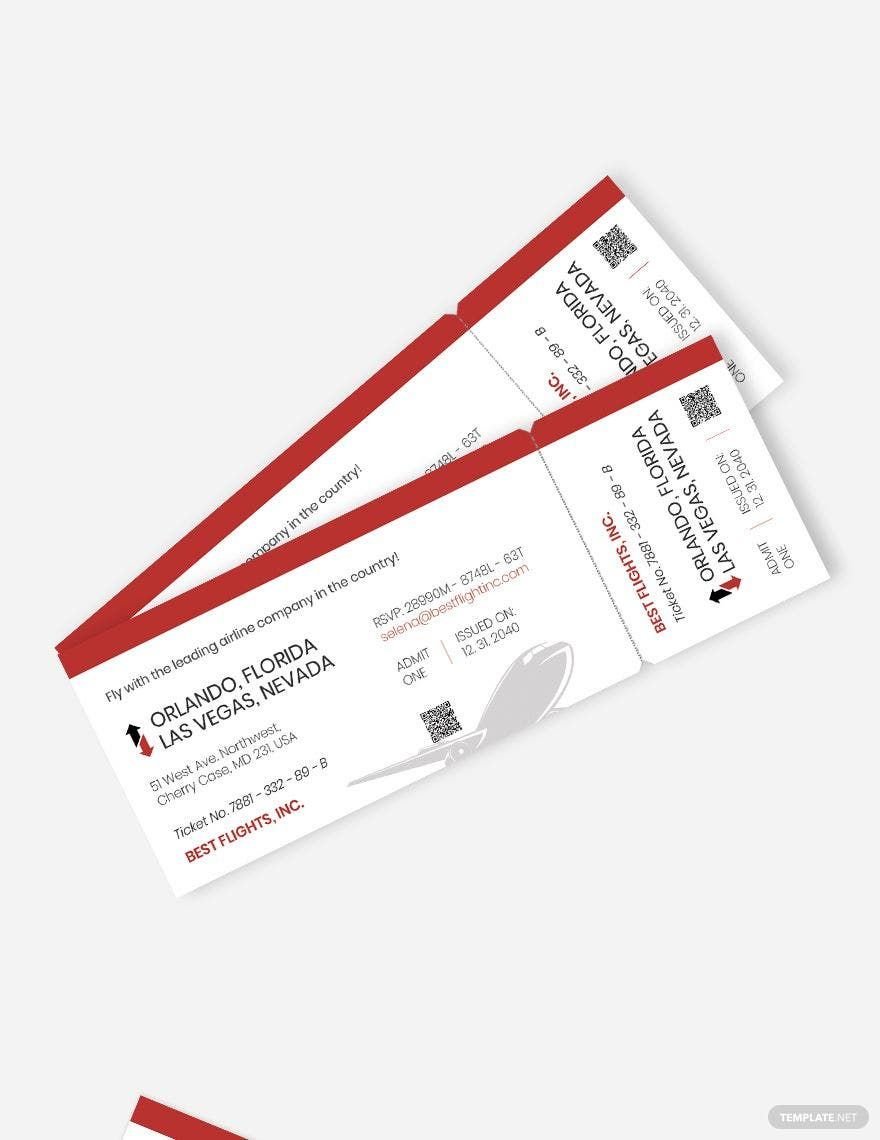
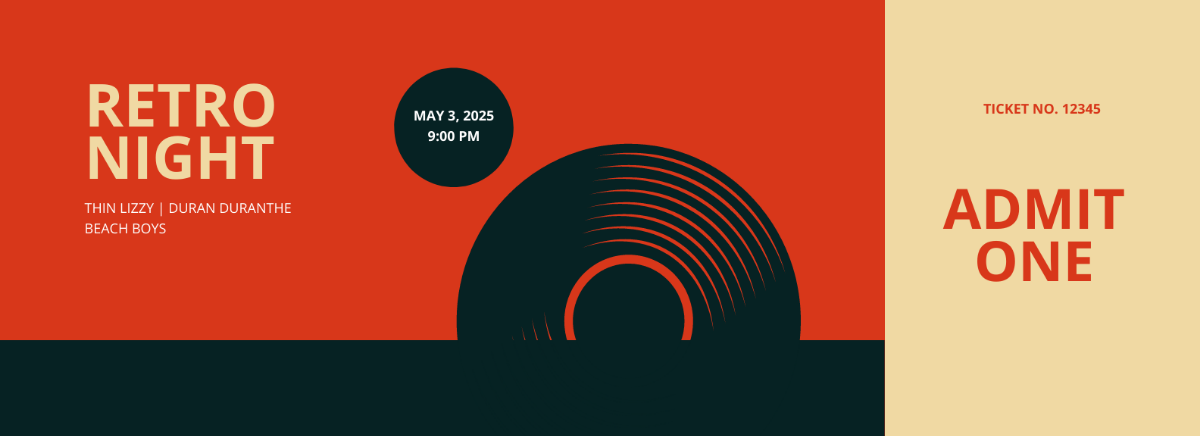
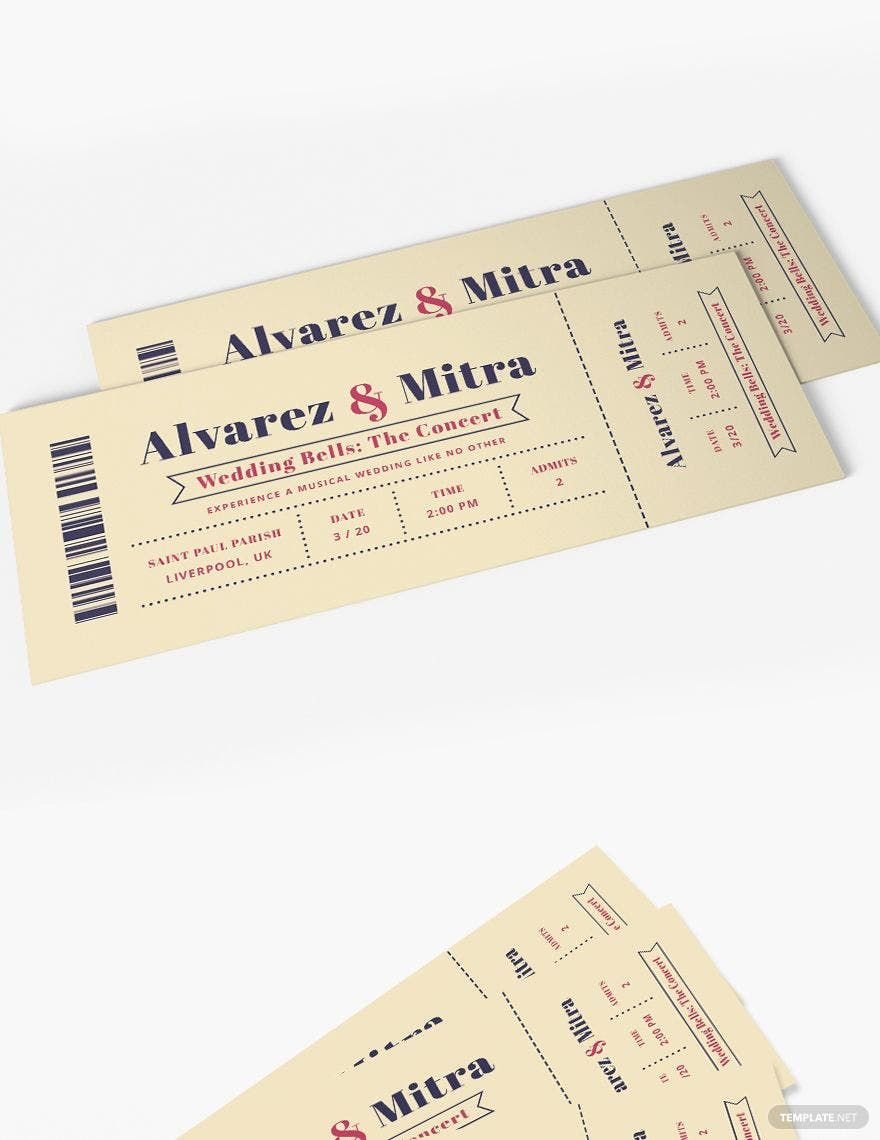
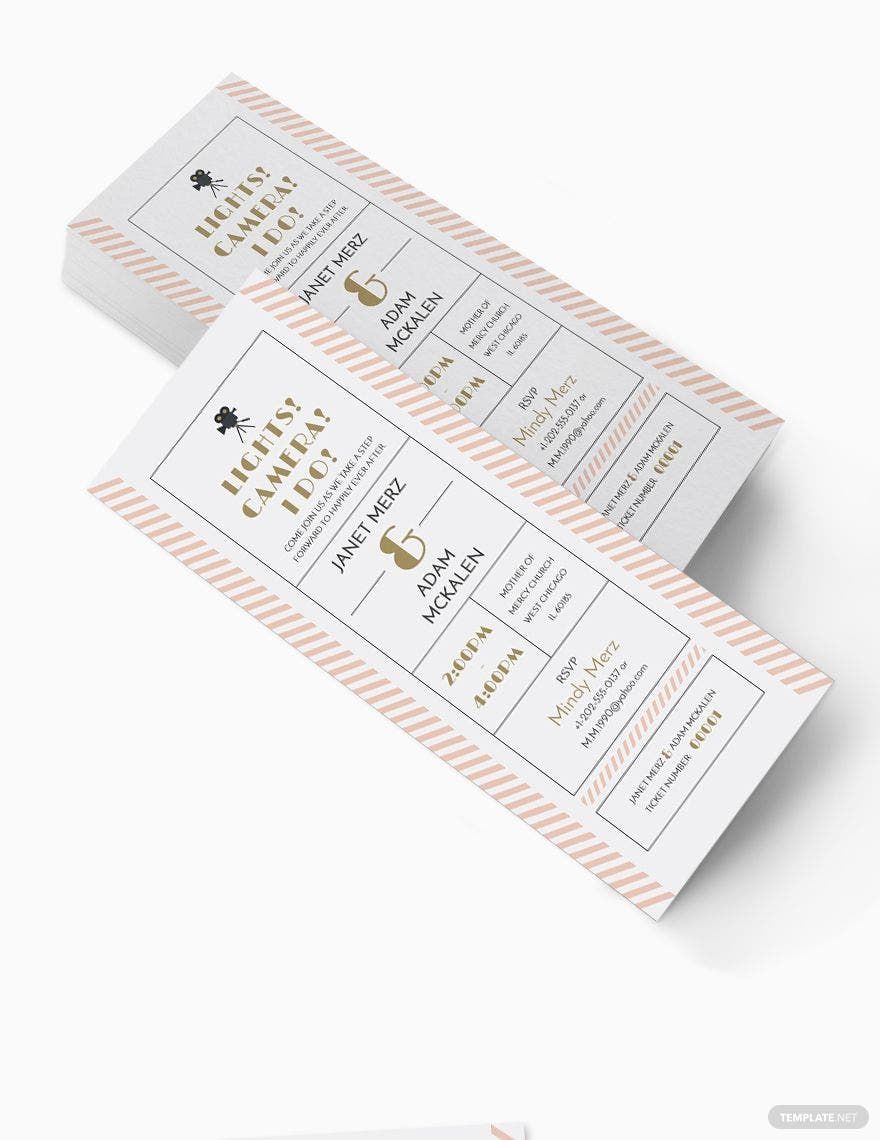
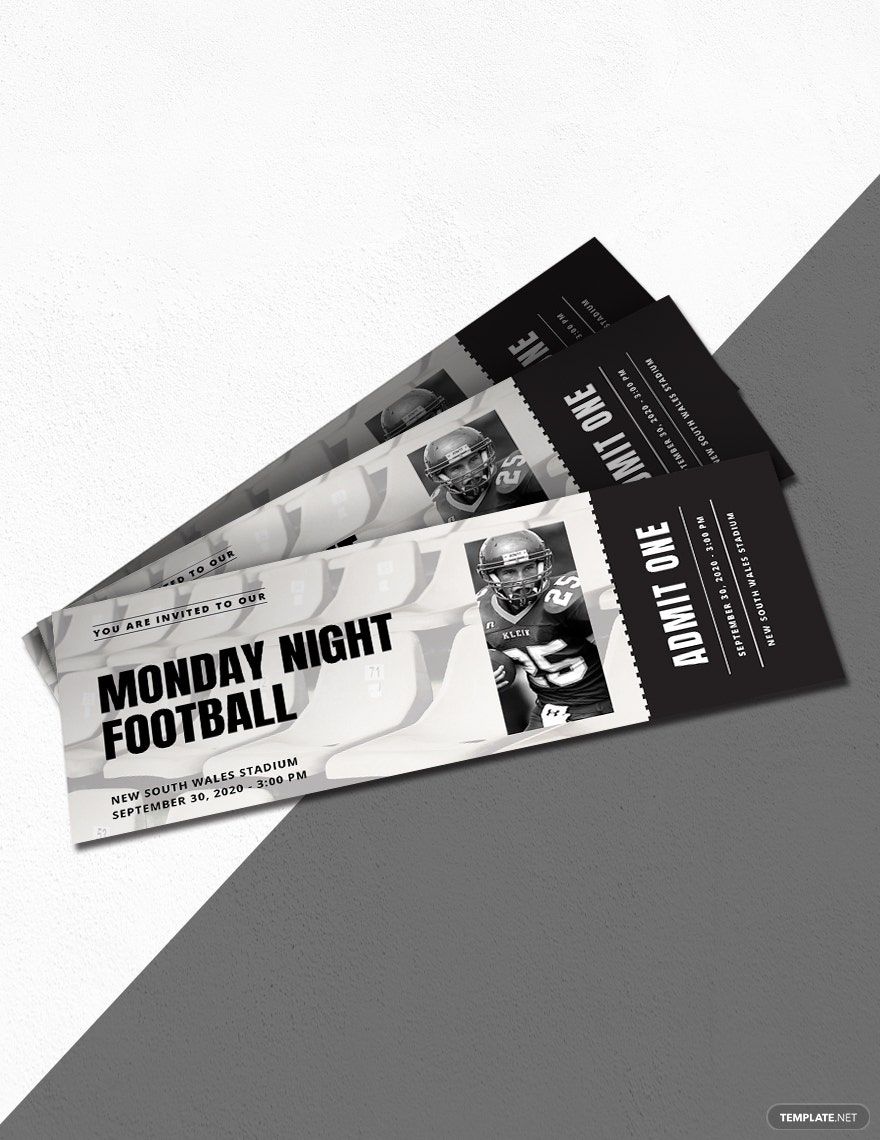
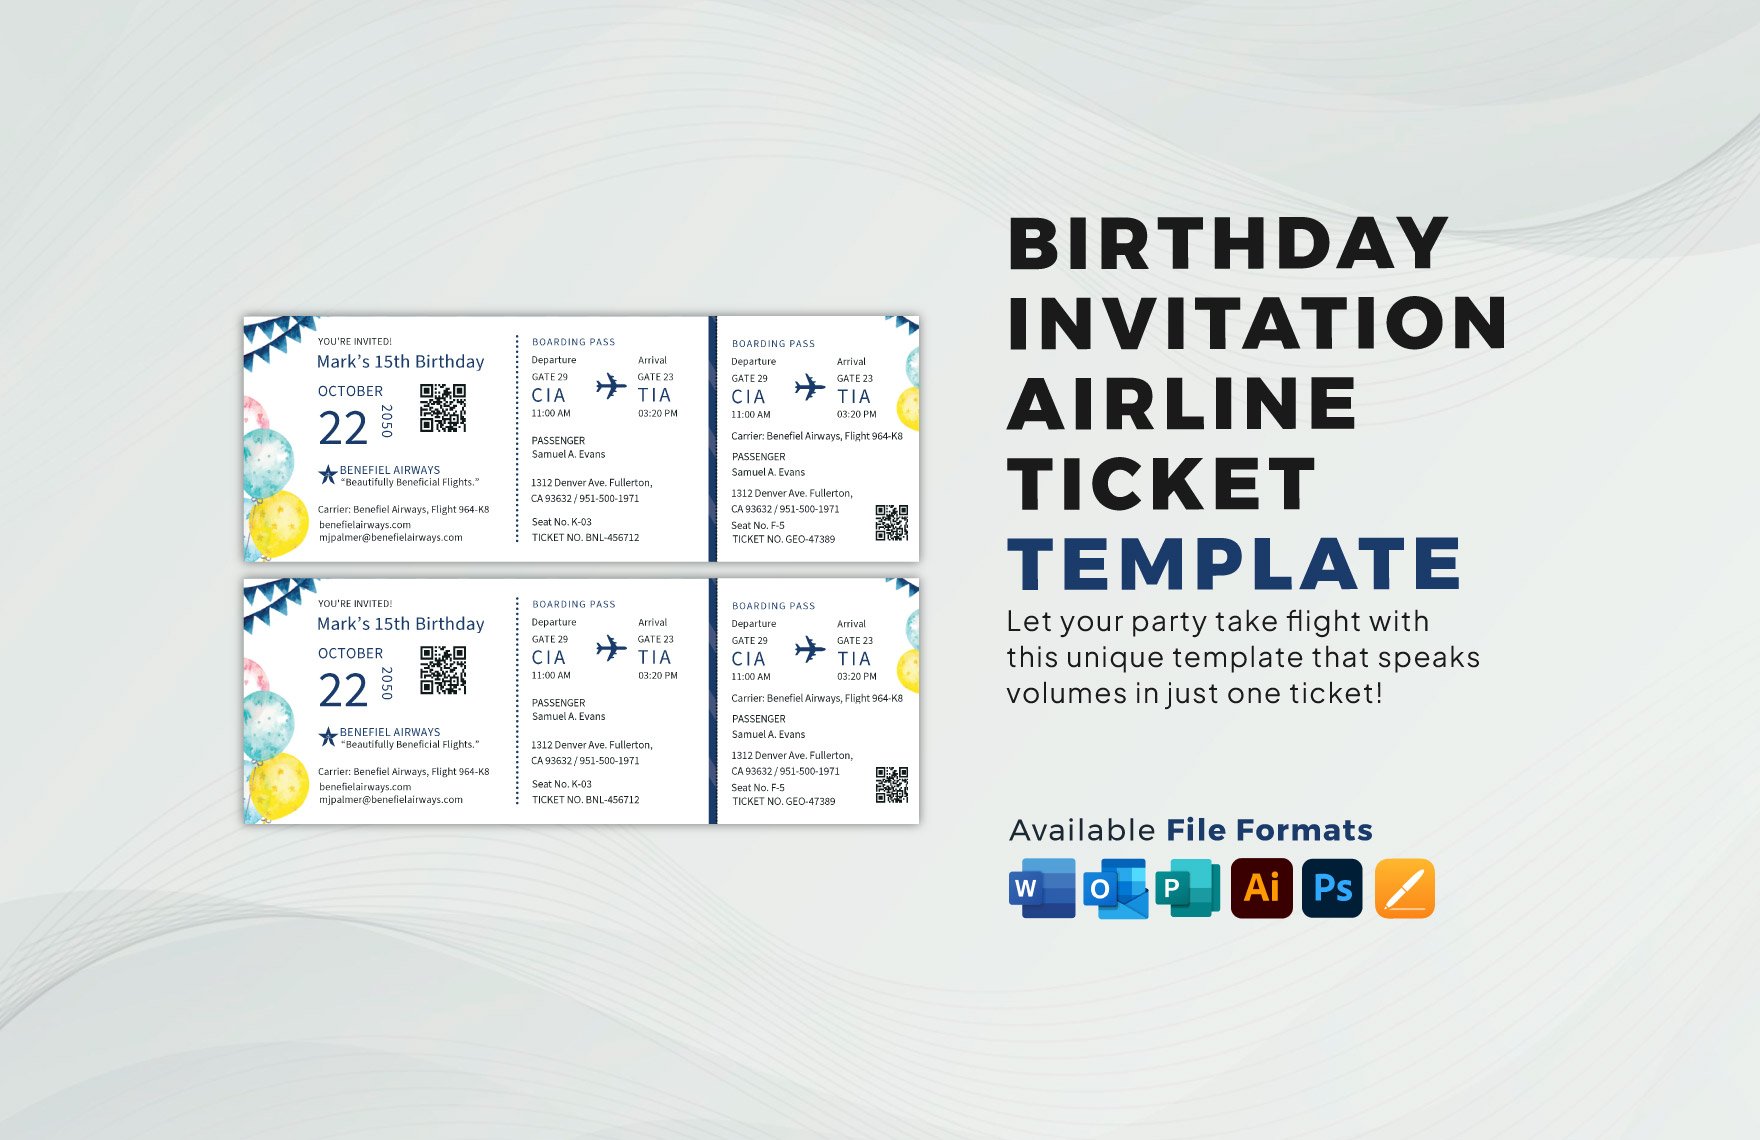
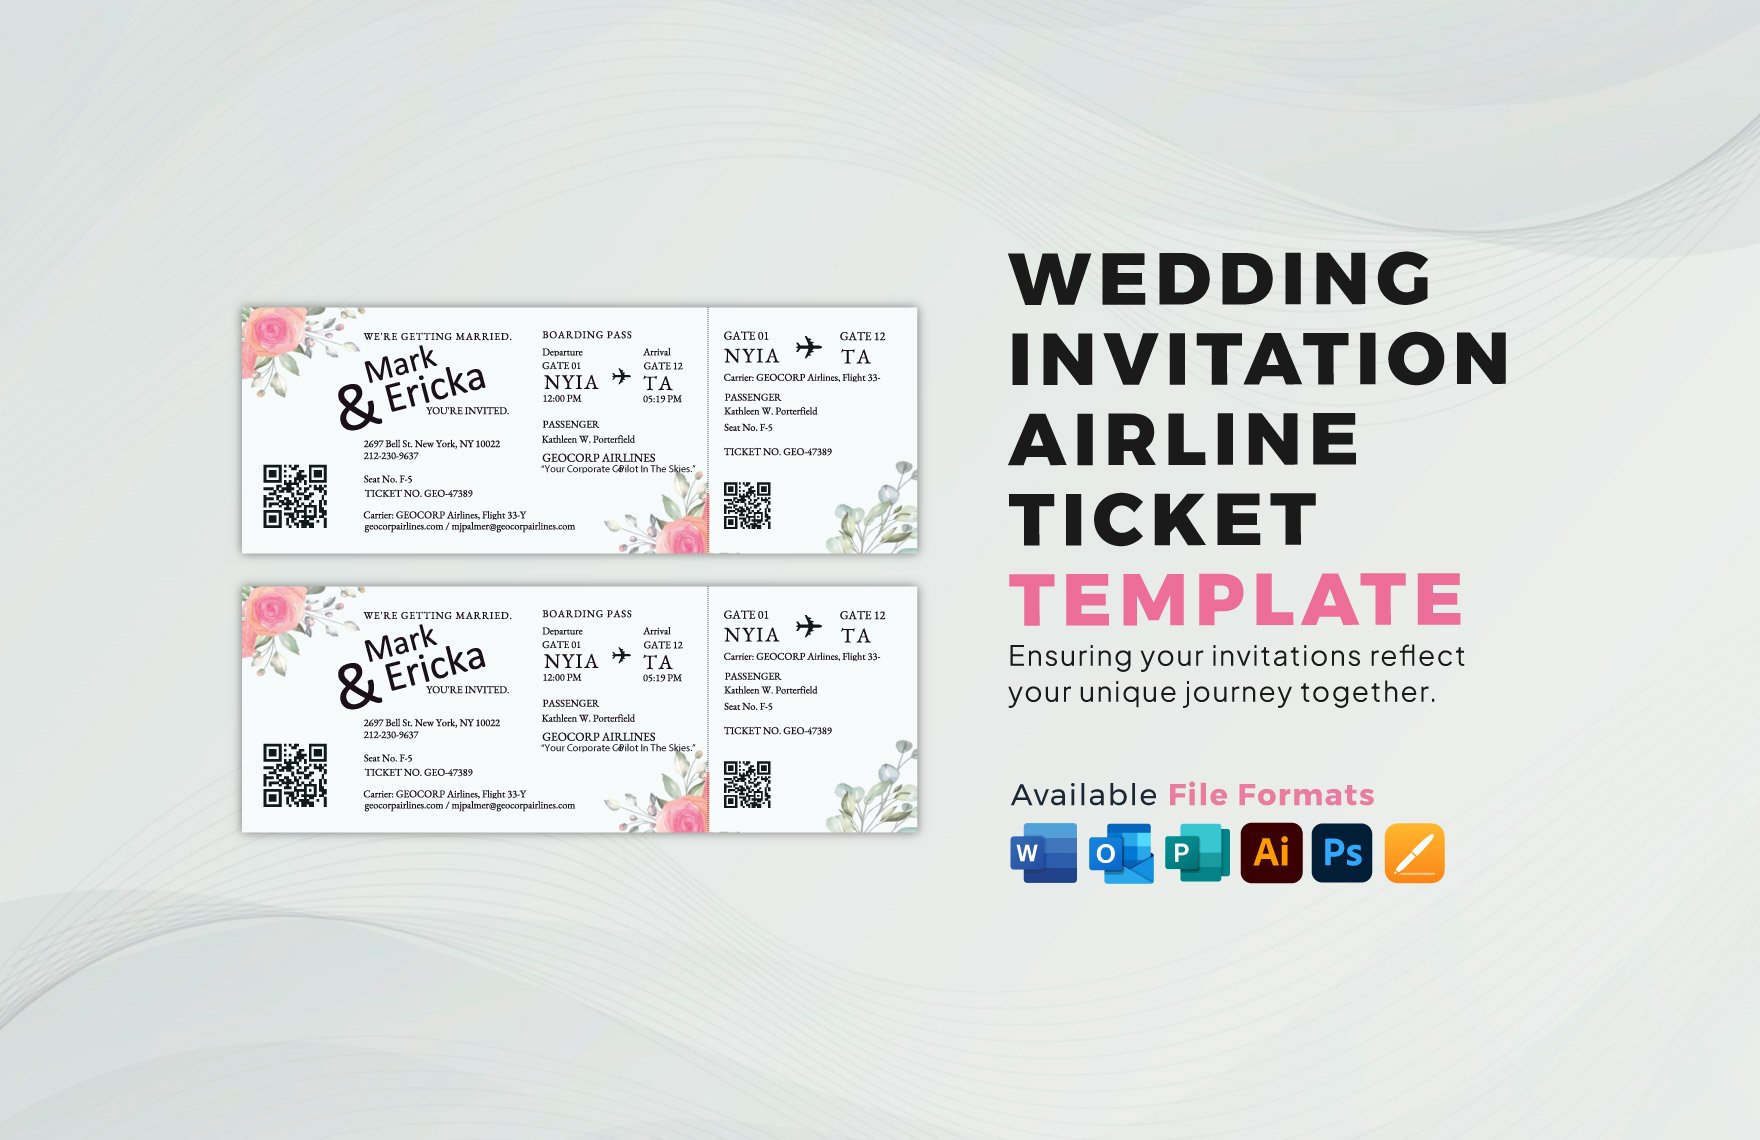
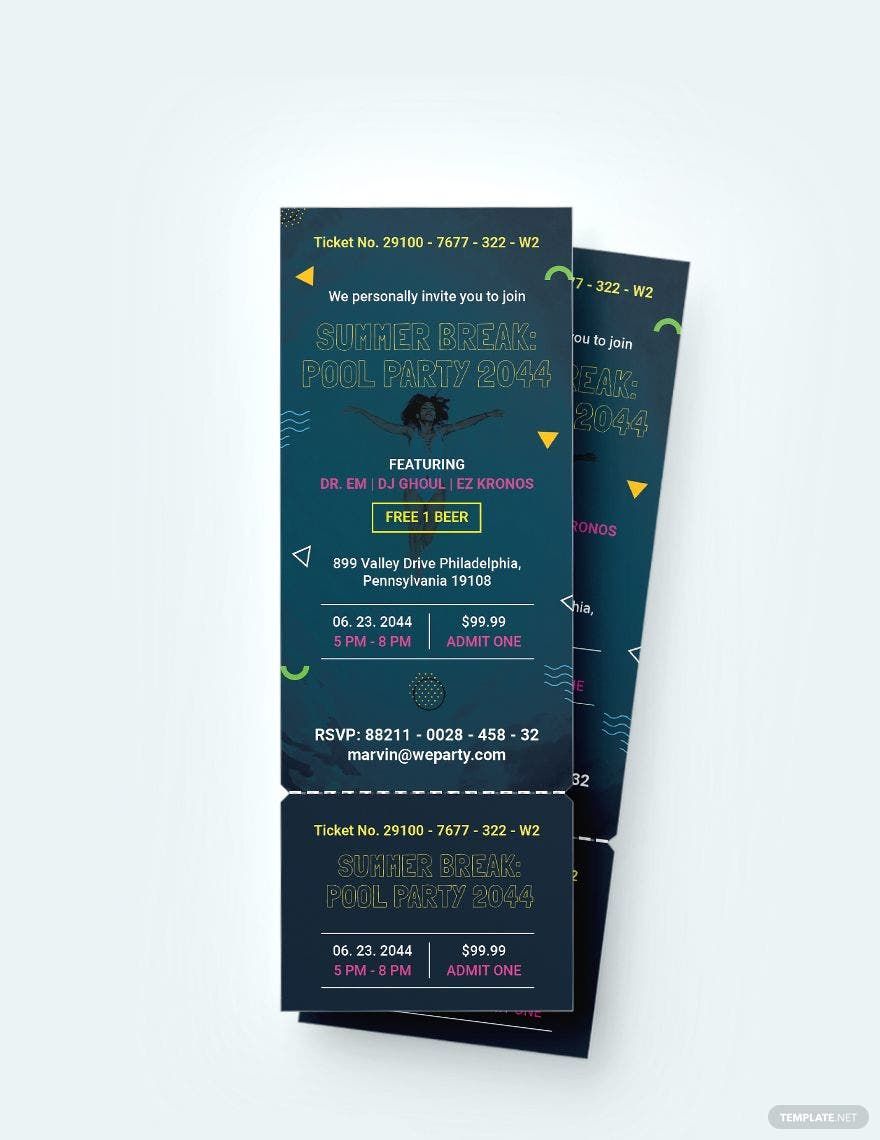
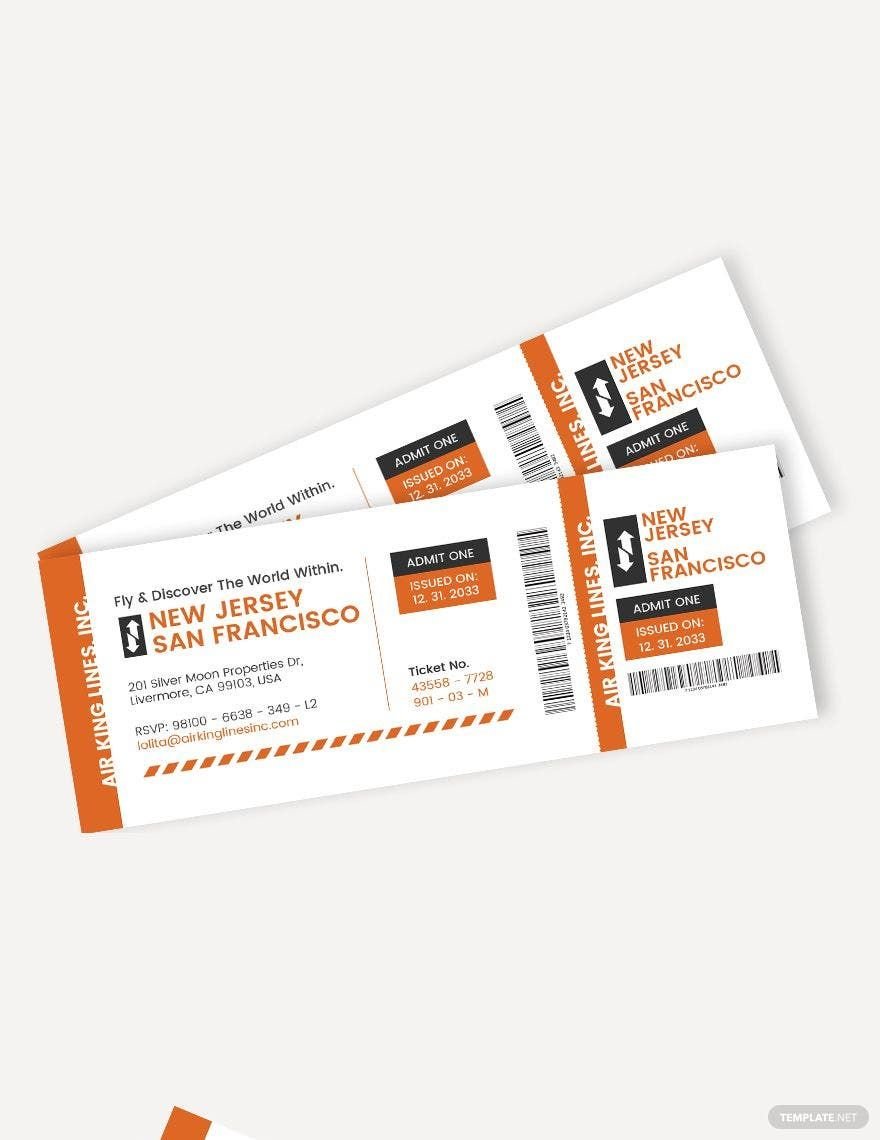
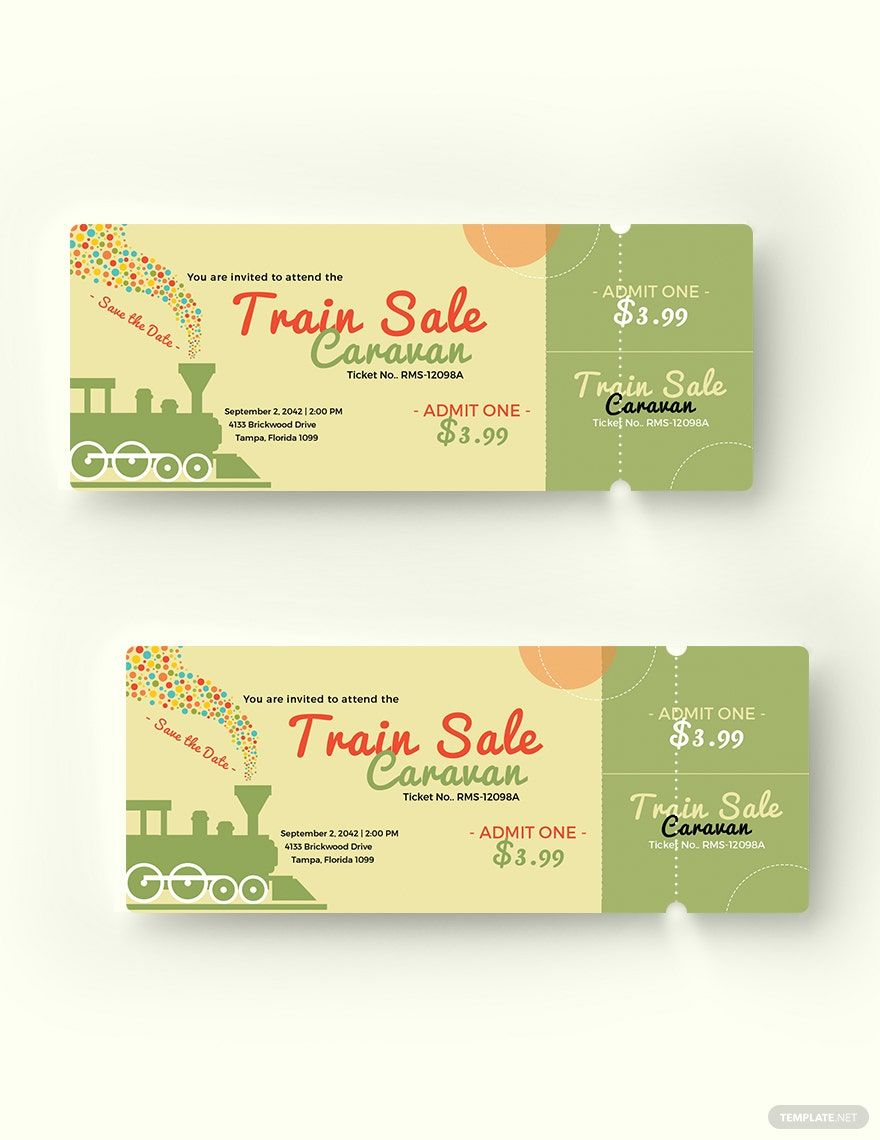
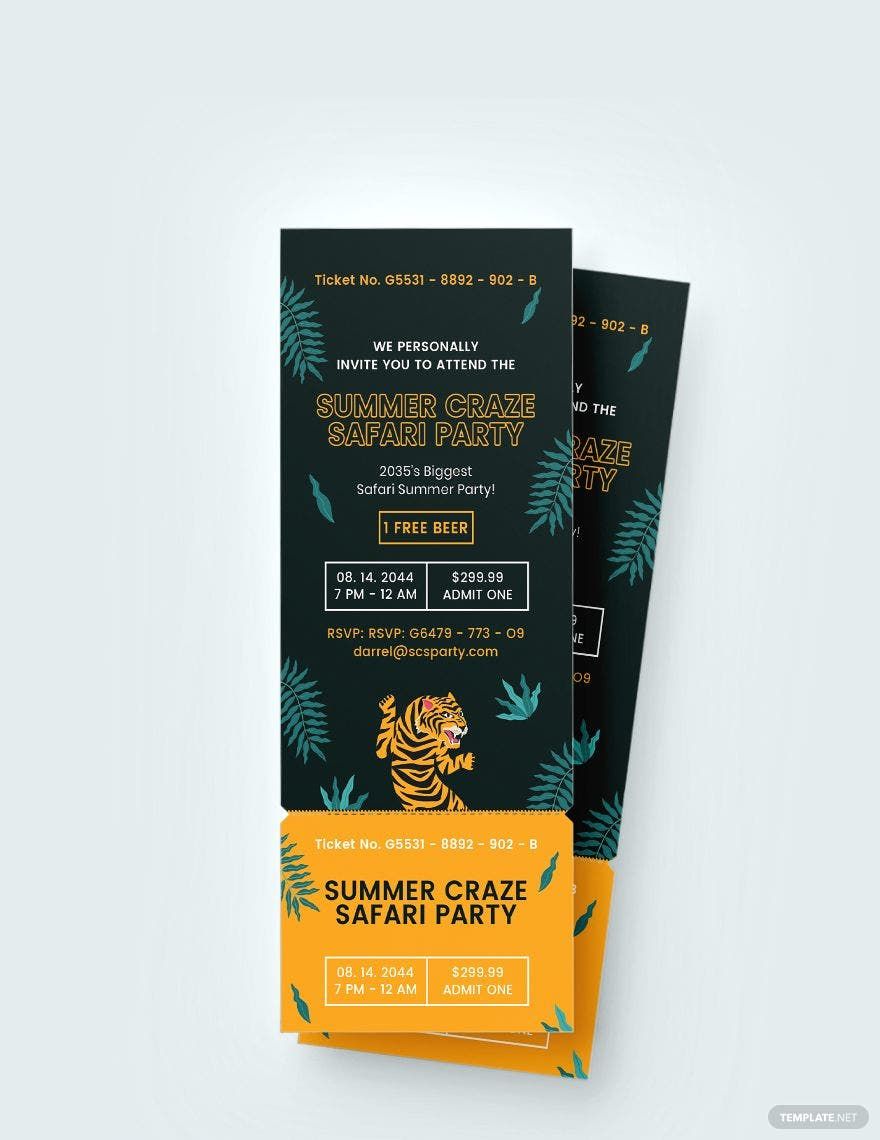
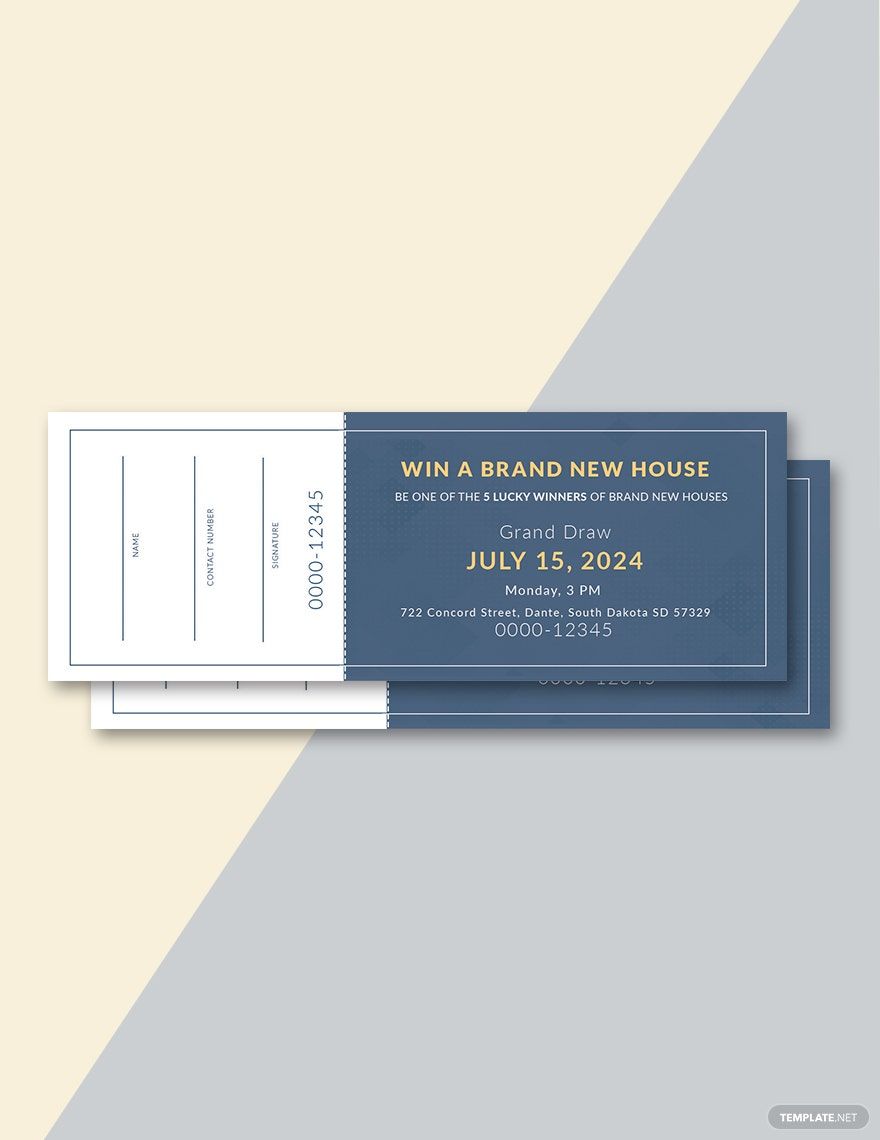
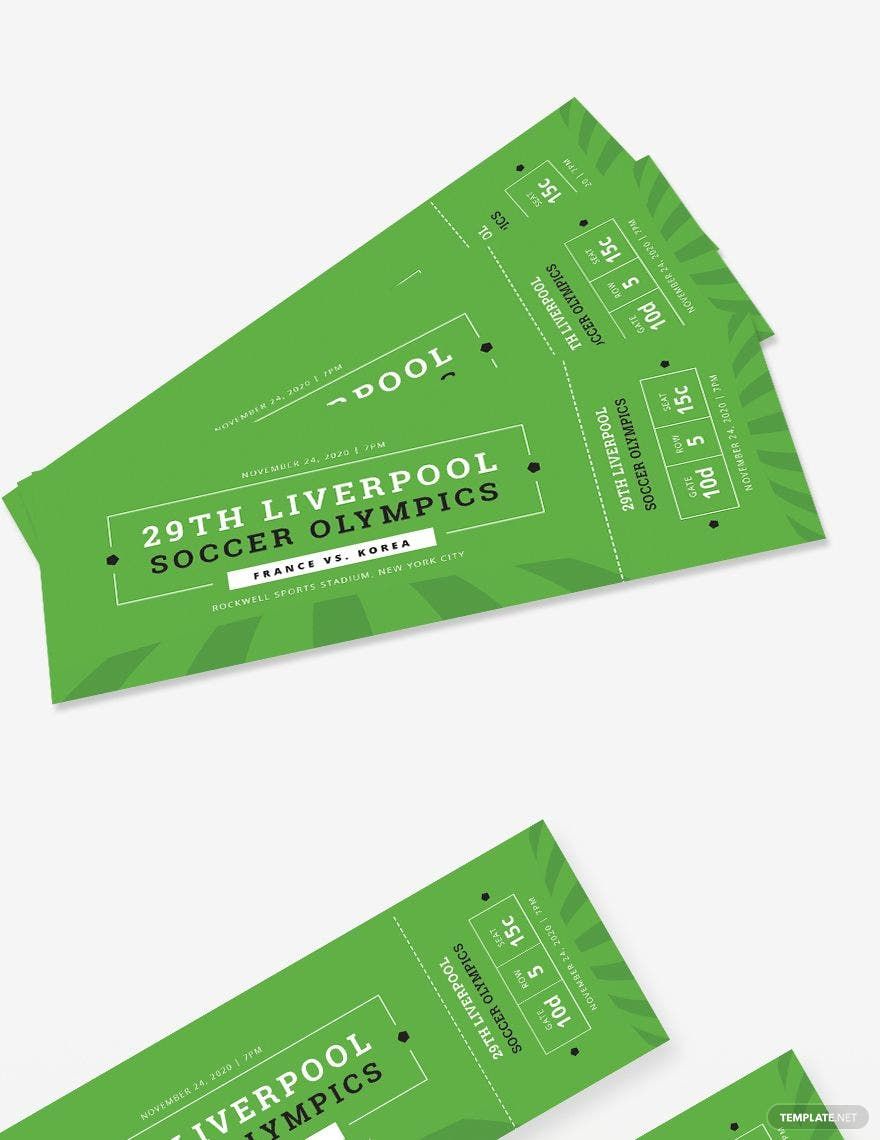
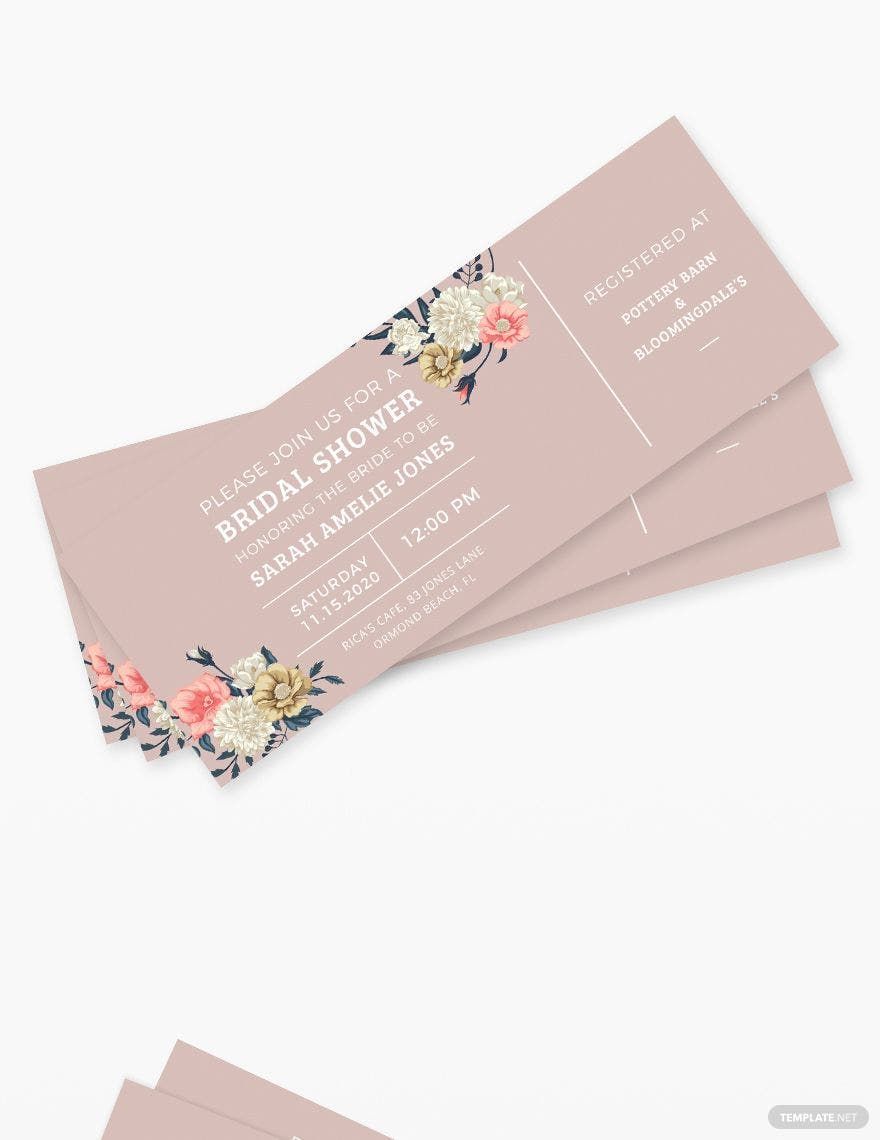
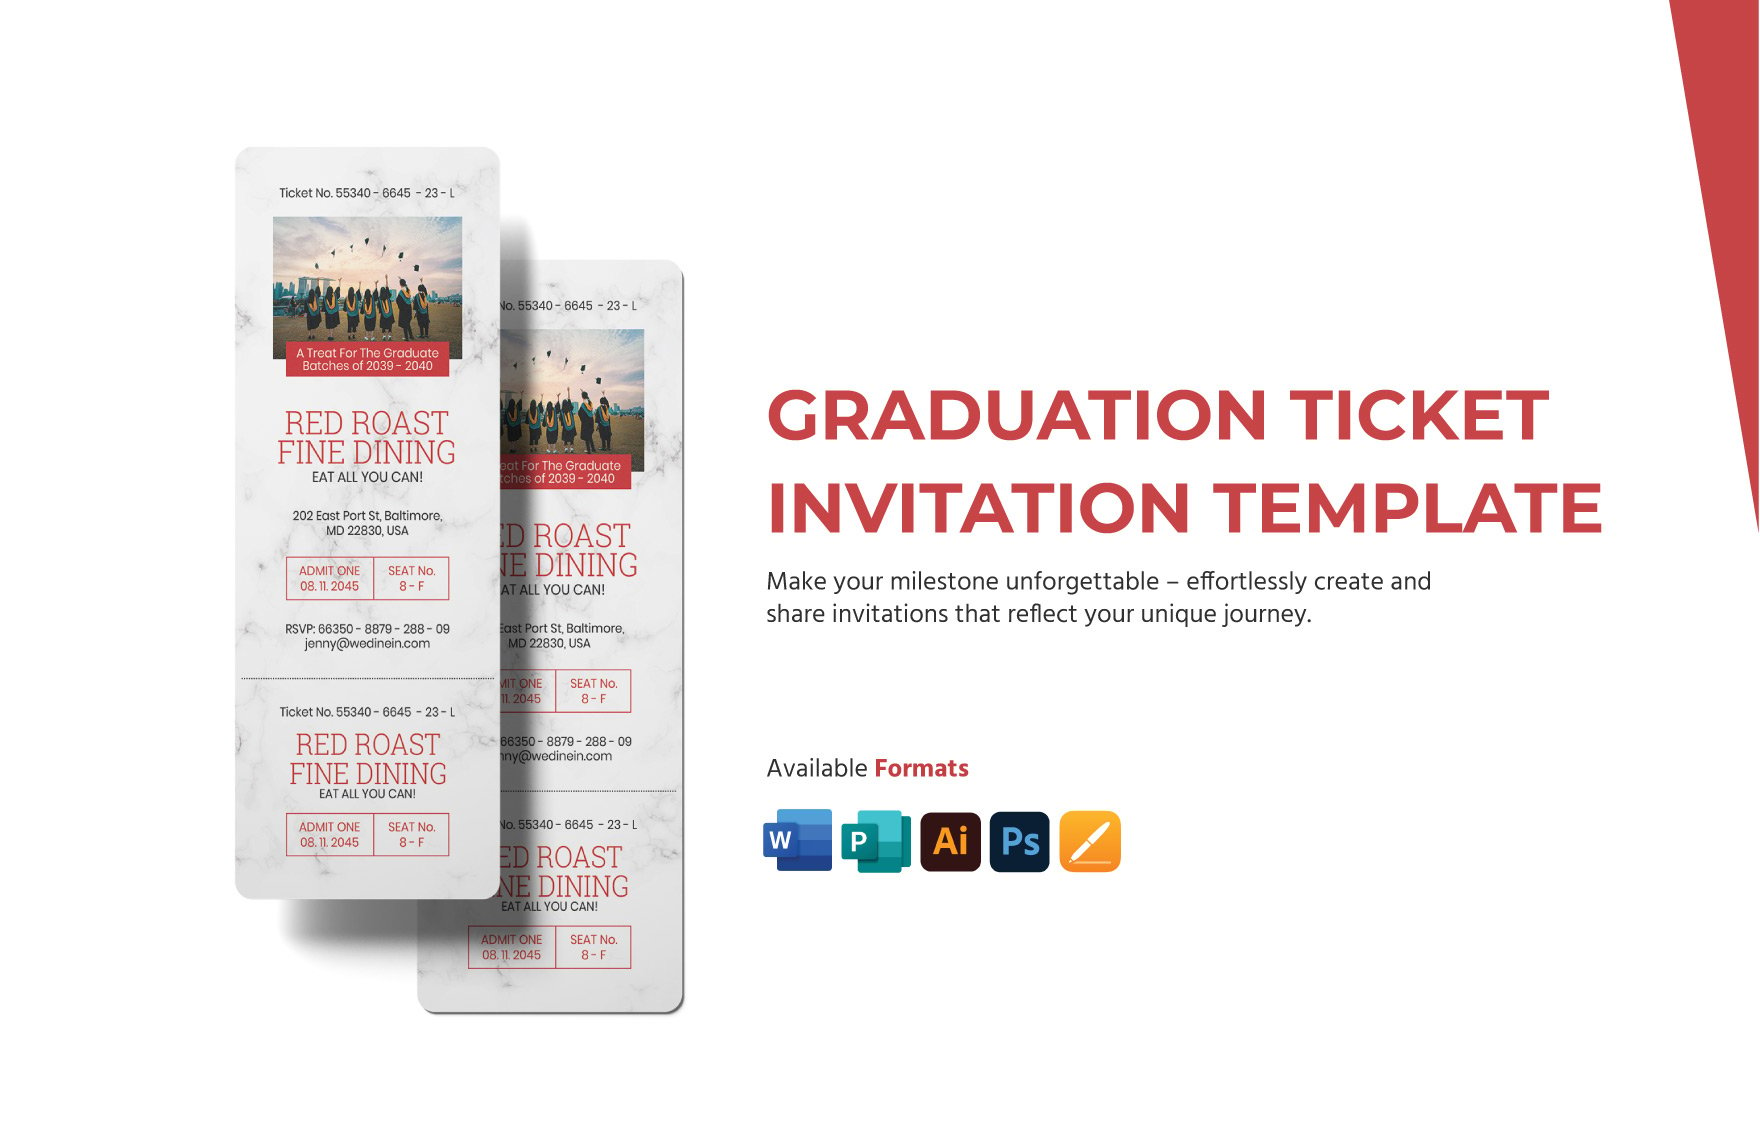
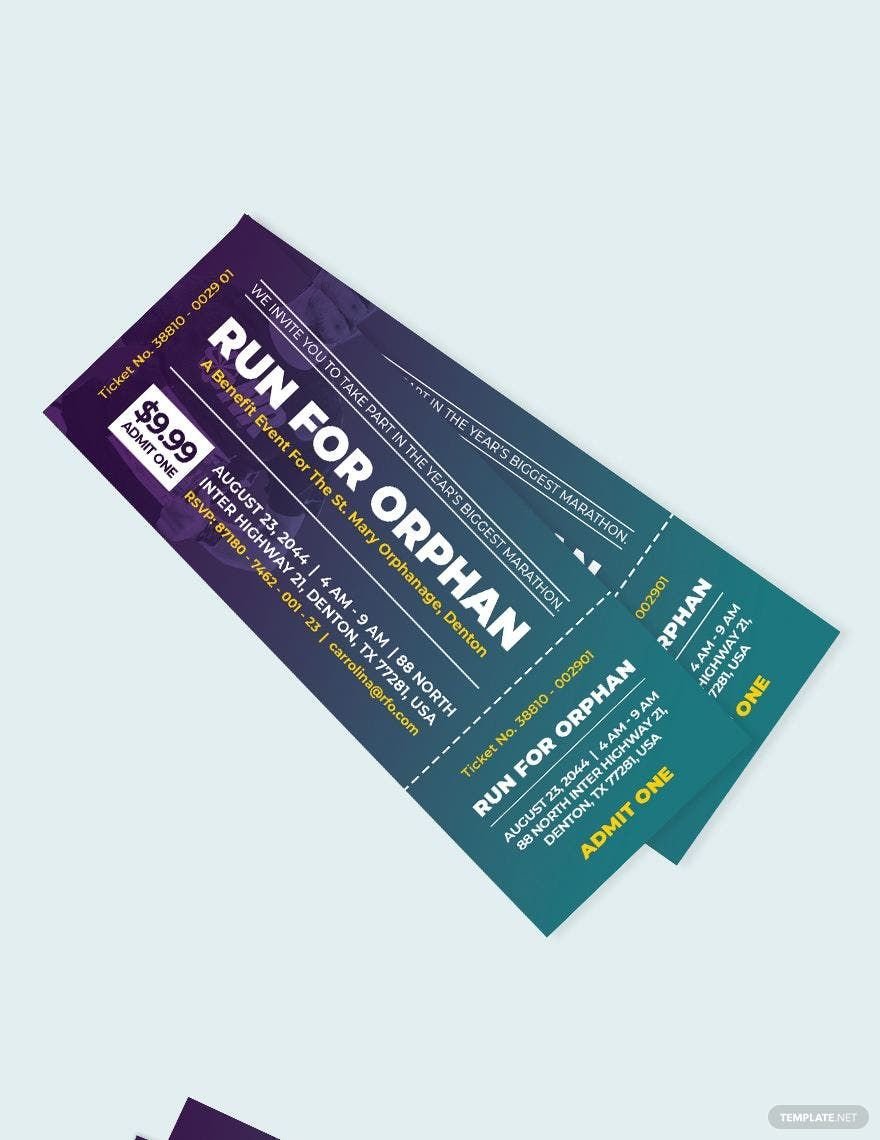
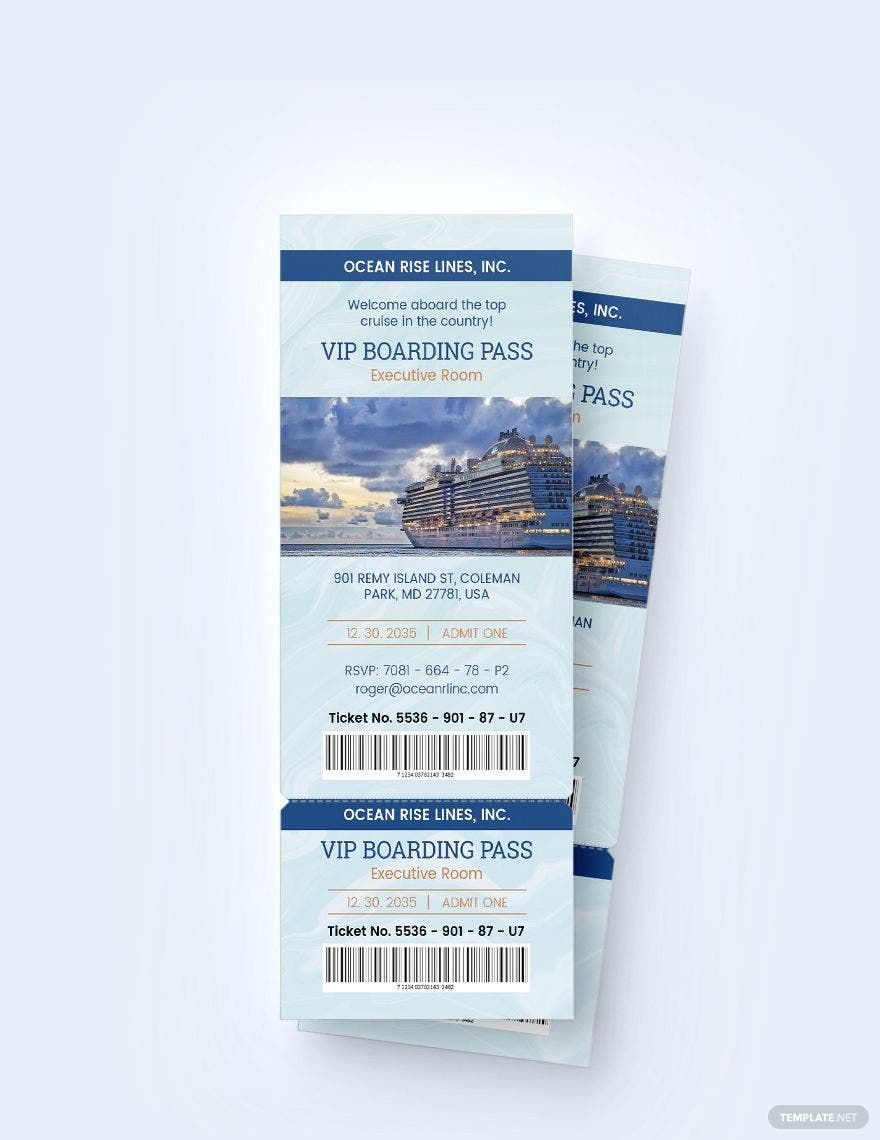
Planning on holding an event that just screams retro? Then what you need to do is to attract people who are willing to participate. To help you out with that, we offer you our 100% customizable, fully editable, and beautifully designed Retro Ticket Templates. Whether it's festival, concert, or even a birthday that's sporting the retro theme, these templates are perfect for making tickets just for them. You can use different software such as Adobe Illustrator, MS Word, Apple Pages, Photoshop, and Publisher to customize them to your preferences. They also come in different file formats for your convenience. Start downloading or sign up for any of our affordable subscriptions for even more high-quality templates today!
What Is a Retro Ticket?
Generally, a ticket is something that entitles the holder to particular rights such as allowing him/her to use a certain mode of transportation, to set foot into a specific area, to partake in a particular event and more. In this case, a retro ticket is used to admit one person or certain number of people in a retro-themed event or activity.
How to Make an Enchanting Retro Ticket
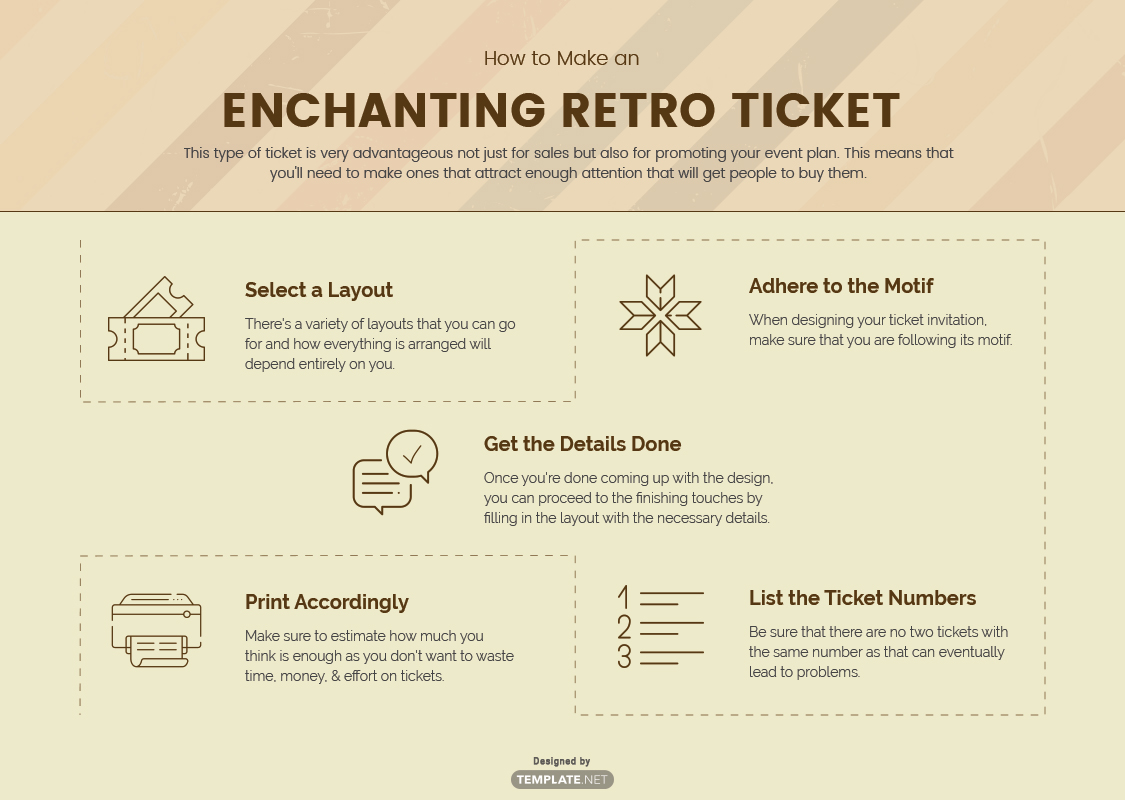
This type of ticket is very advantageous not just for sales but also for promoting your event plan. This means that you'll need to make ones that attract enough attention that will get people to buy them. So here are some useful guidelines that will teach you how to make retro tickets:
1. Select a Layout
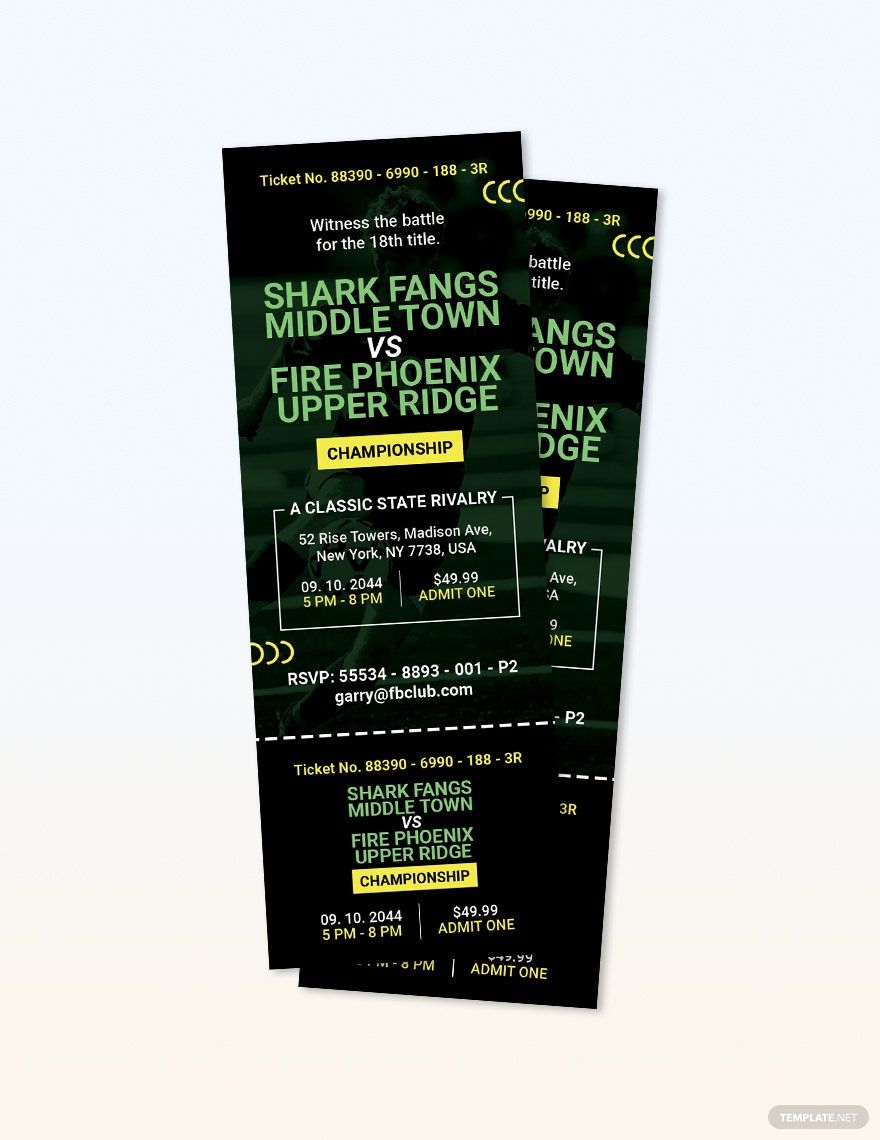
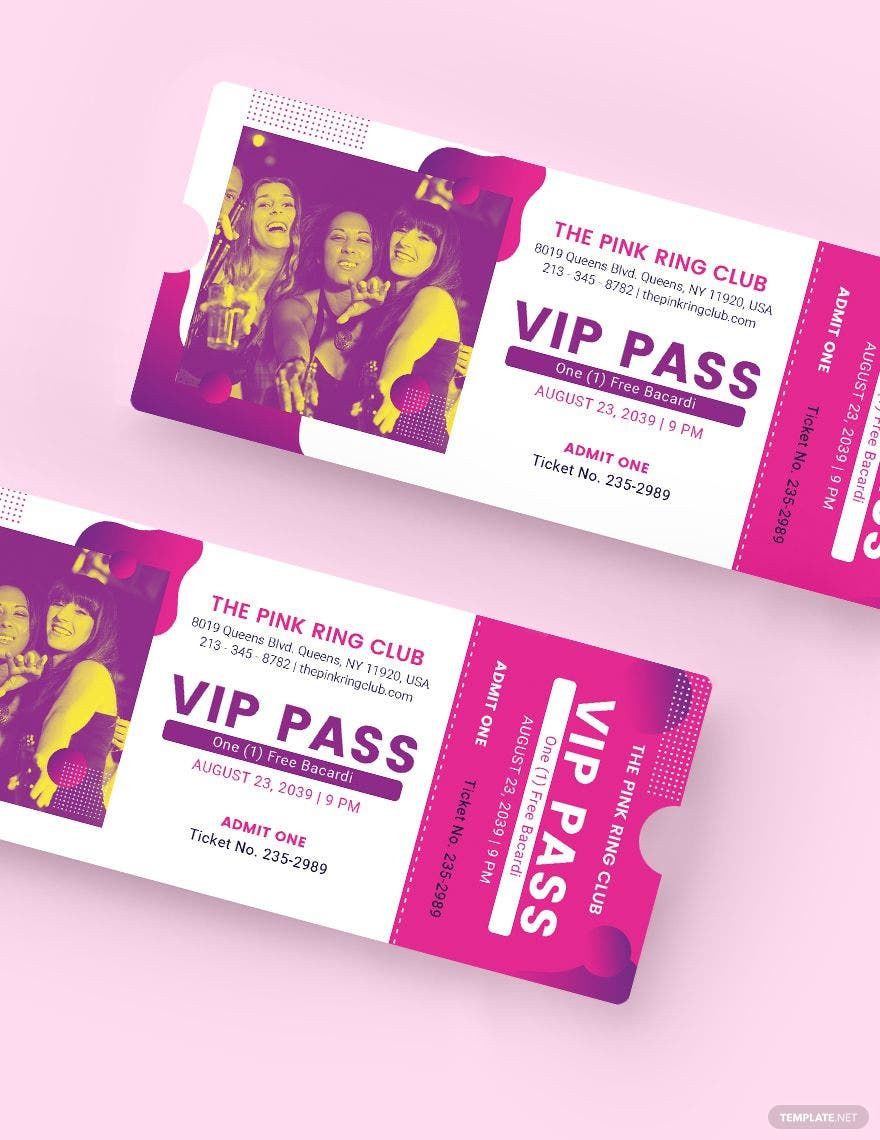
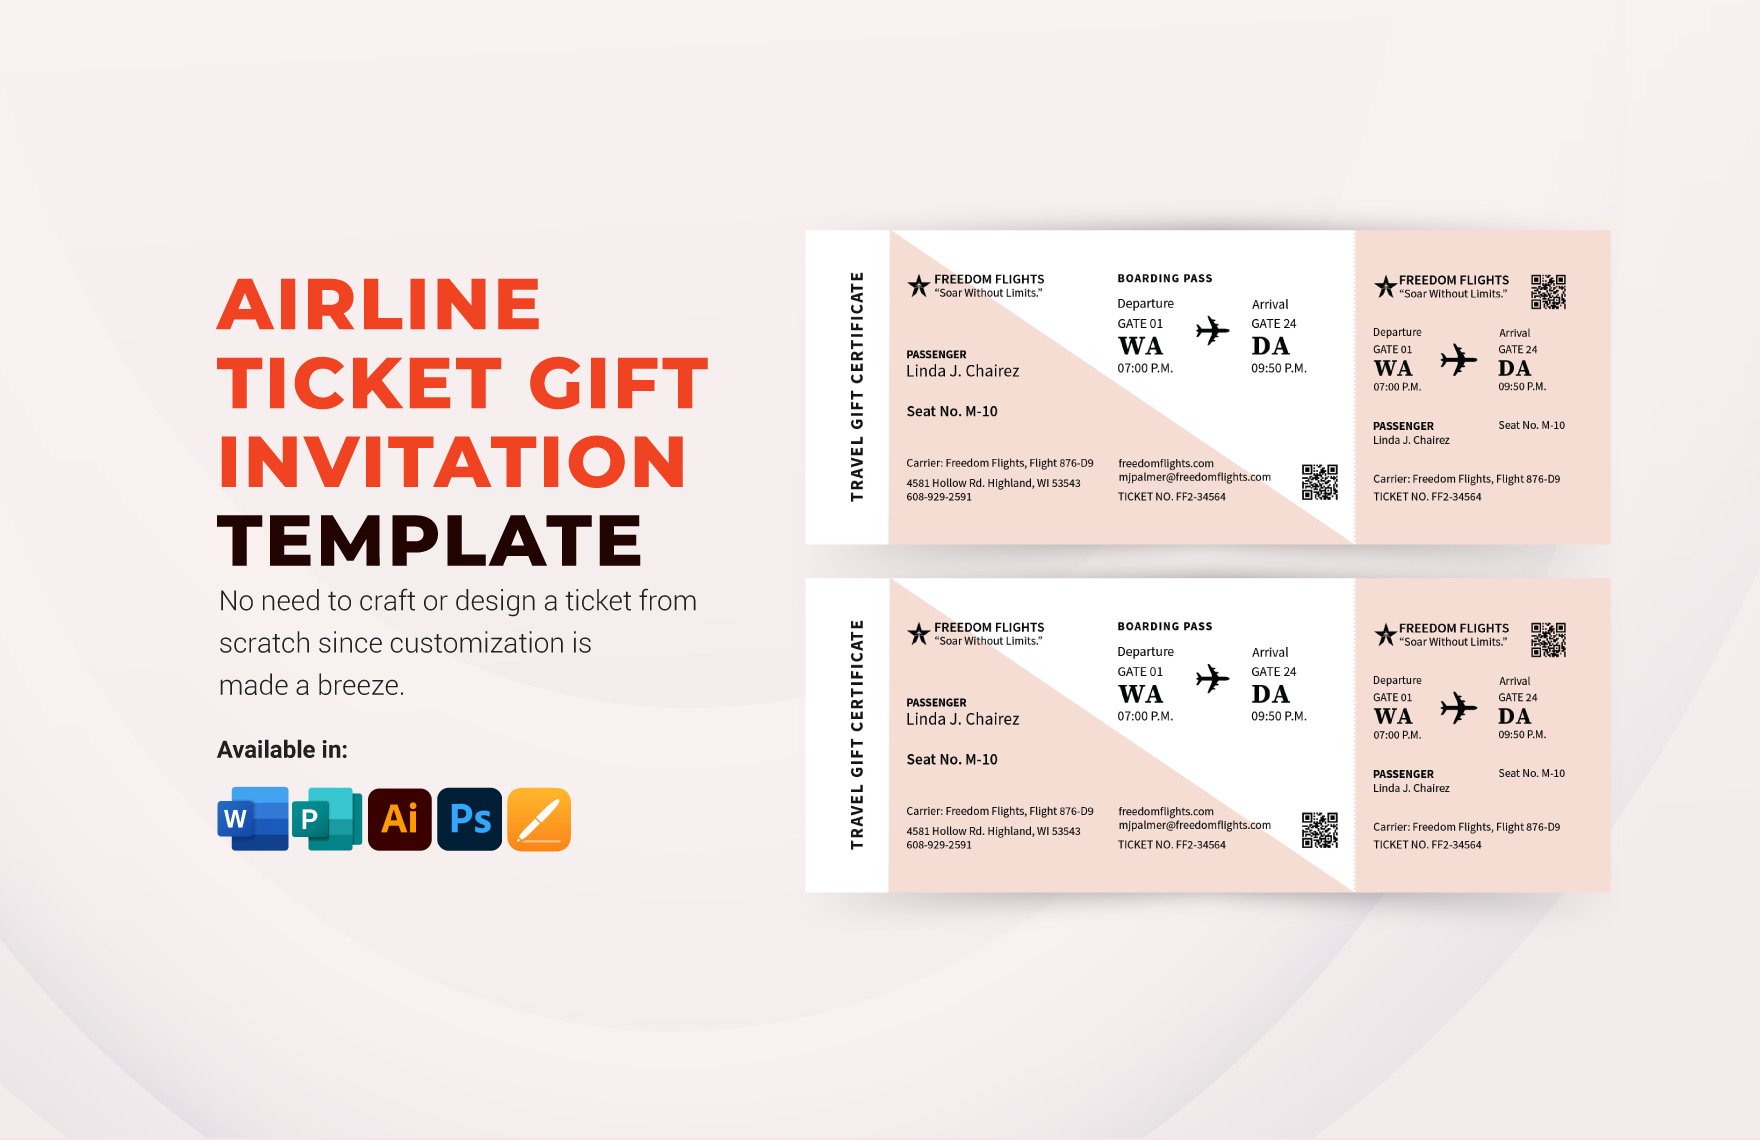
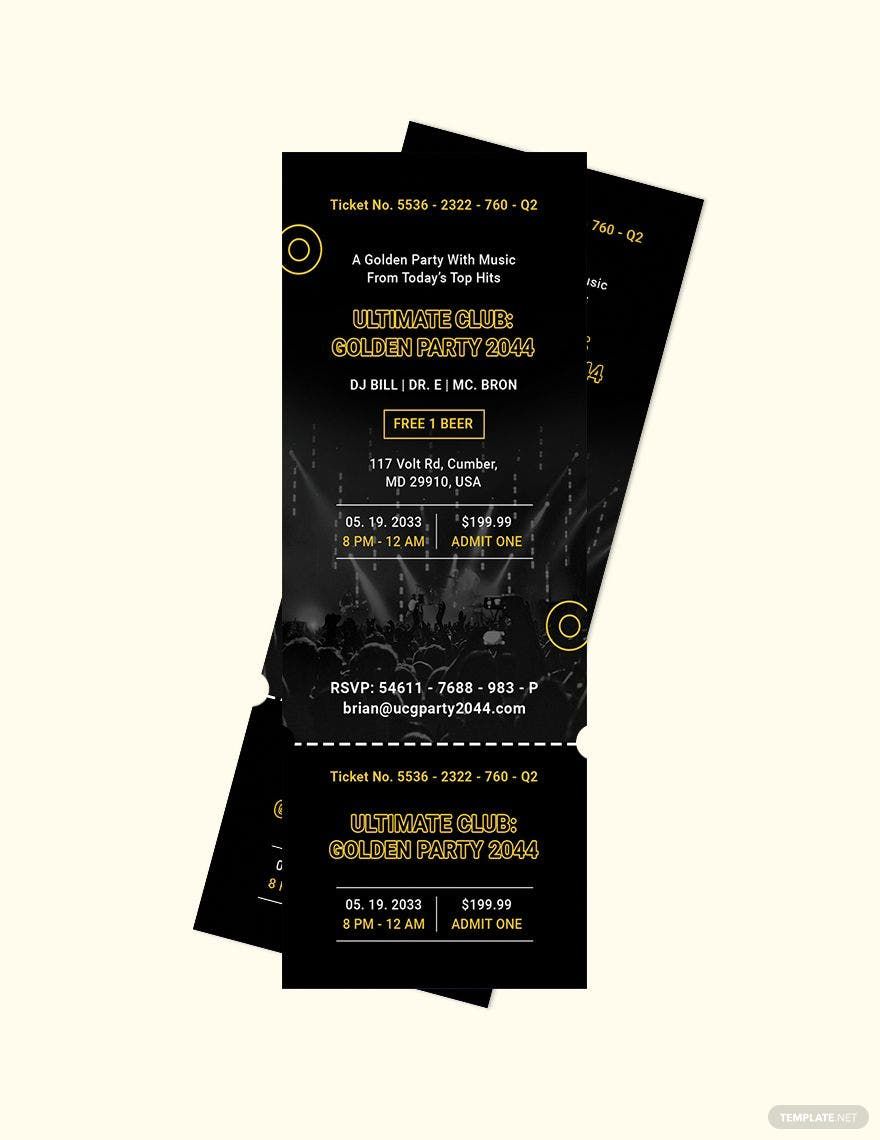
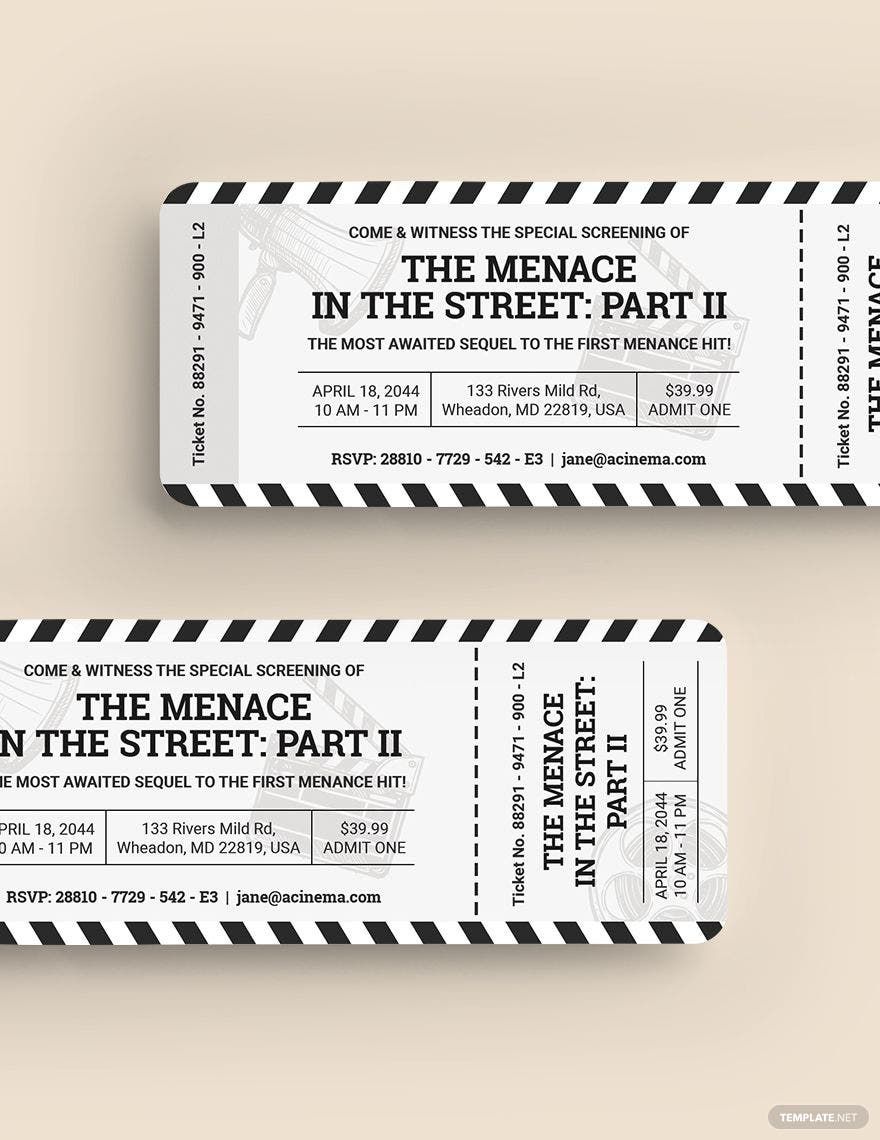
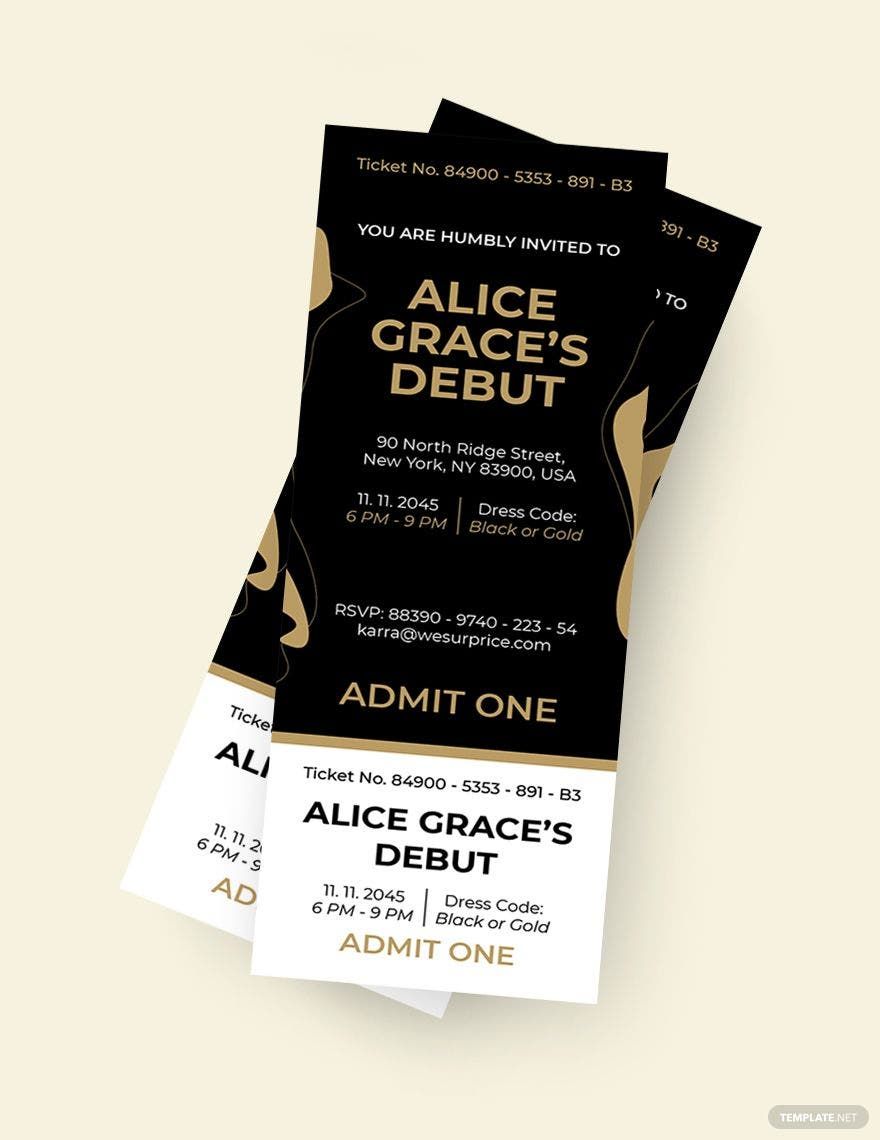
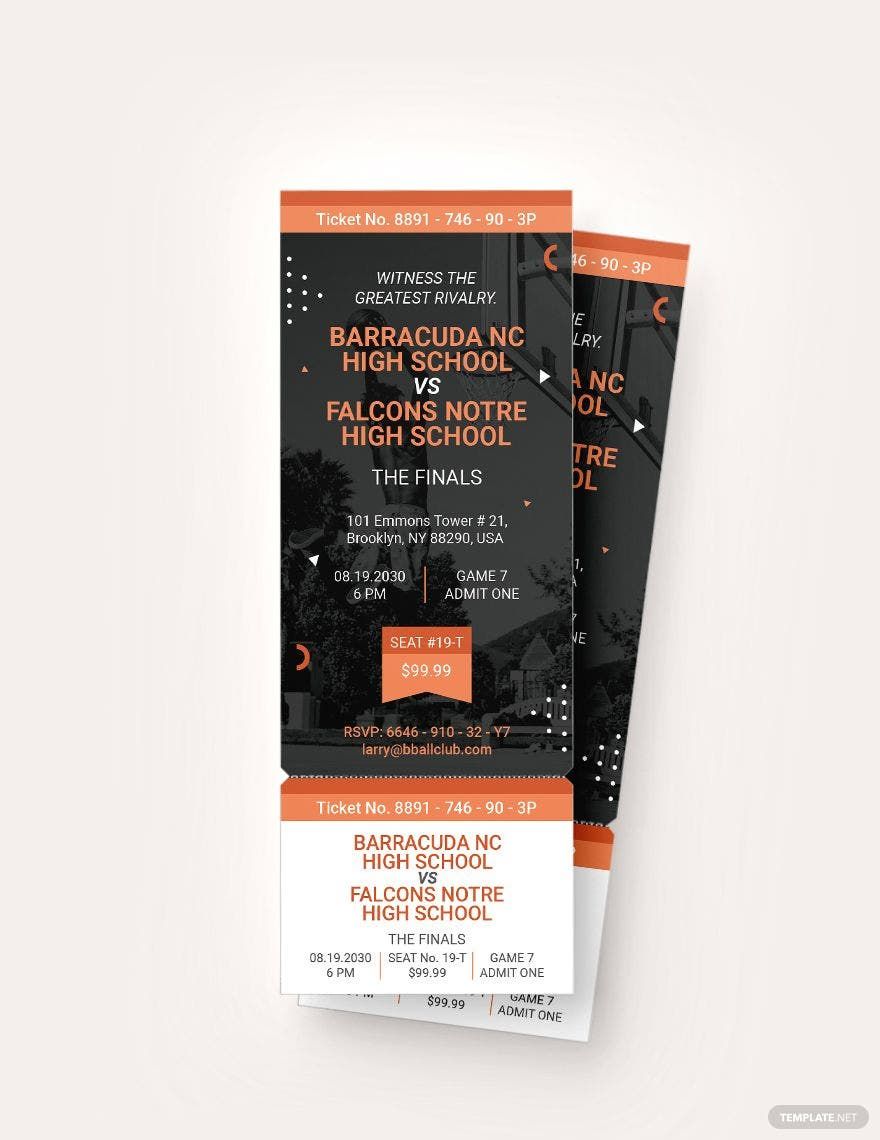
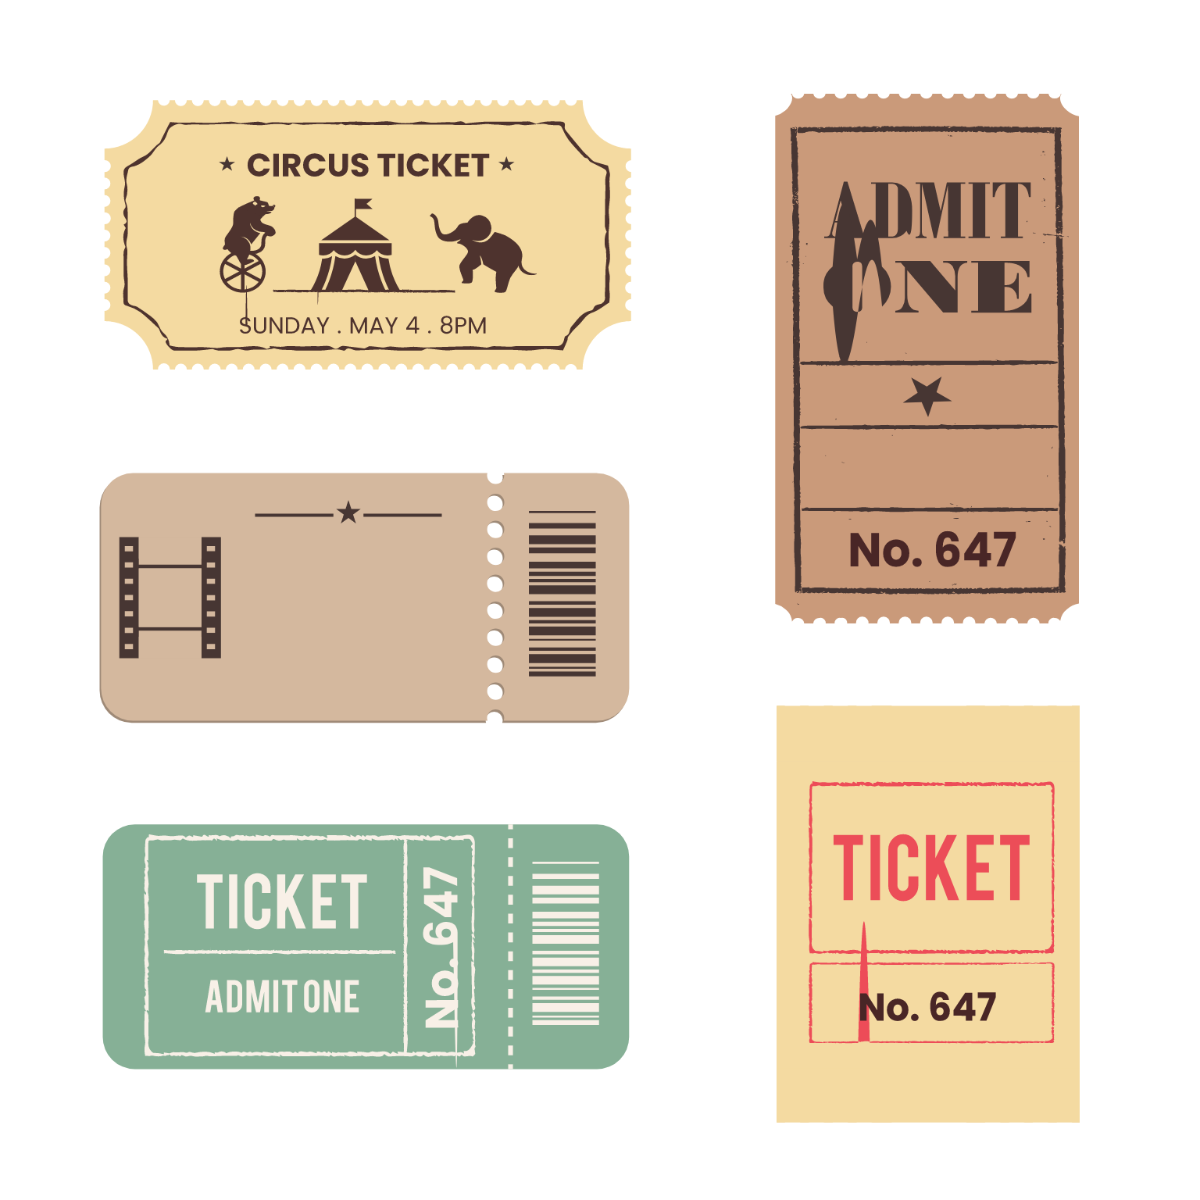
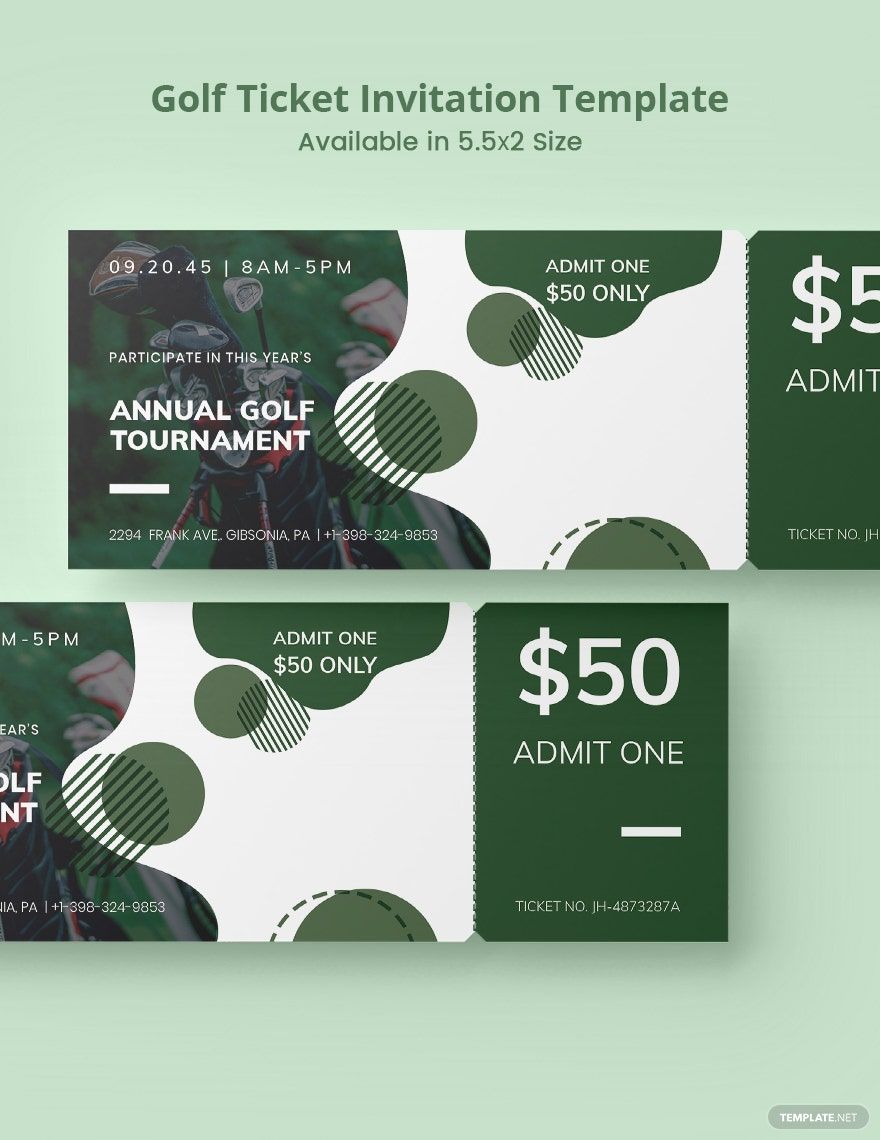
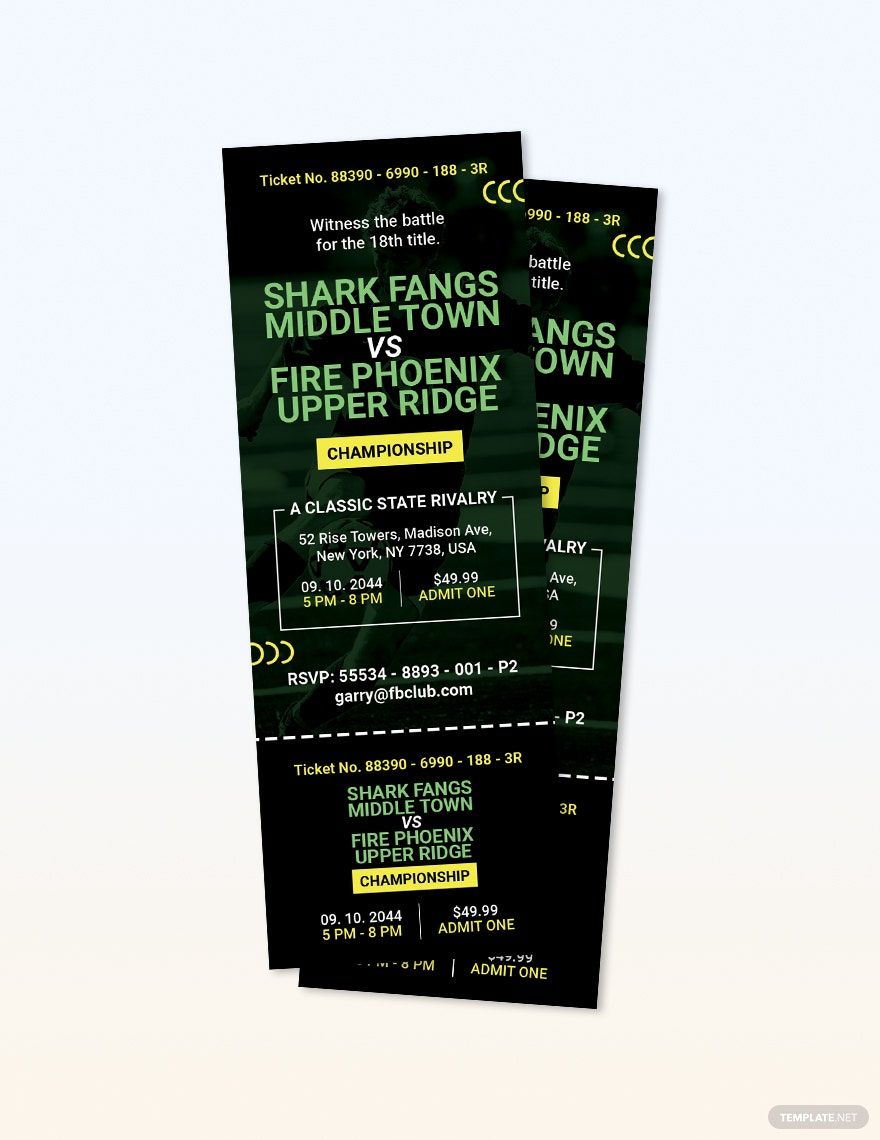
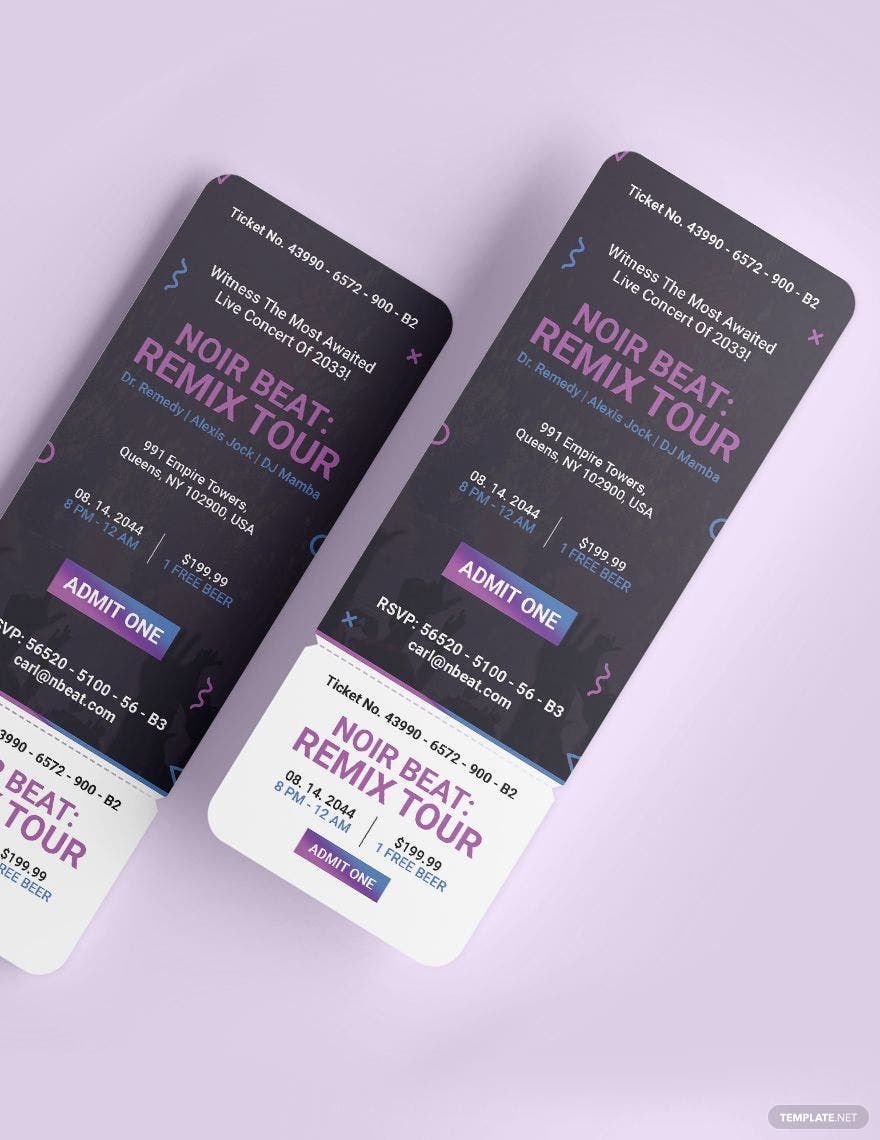
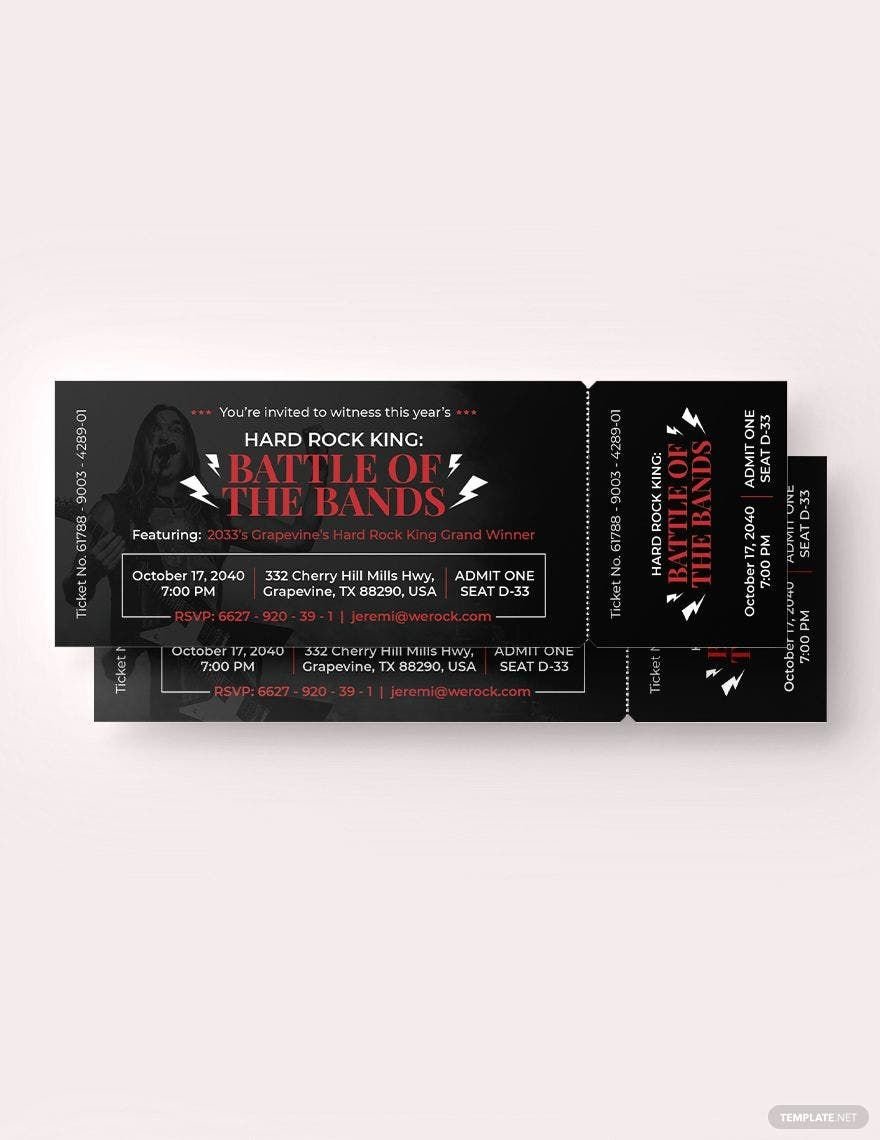
There's a variety of layouts that you can go for and how everything is arranged will depend entirely on you. You are trying to go for one that's retro-styled so all the components must be in accordance with the theme. Consider where every piece of information must be placed and make sure that it all looks neat and organized. As for the size, you can have it in 5.5×2 inches or whatever you desire as long as it is suitable and not exaggerated. Know that you can always check out sample tickets specifically made for retro occasions to give you an idea as to what yours should look like.
2. Adhere to the Motif
When designing your ticket invitation, make sure that you are following its motif. From the word "retro", you have to guarantee that whatever design you're going for has that old school vibe. For example, if you're making one for an '80s rock-themed Halloween party, you can use vibrant color schemes, retro font styles, bold font sizes, and even classic horror-themed images. To make this easier on your end, you can always download editable ticket templates with pre-made designs and use the appropriate software to customize them to your liking.
3. Get the Details Done
Once you're done coming up with the design, you can proceed to the finishing touches by filling in the layout with the necessary details. The important information that you must include are the name of the event, date, venue, host or celebrant—assuming there's any—contact numbers, and a brief explanation or summary about the activities that will take place. Utilize the space you have to work with and make sure that you don't overload the ticket with too much information.
4. List the Ticket Numbers
Keep track of your simple tickets by listing them with their own unique numbers. Be sure that there are no two tickets with the same number as that can eventually lead to problems. Moreover, be sure to have a copy of each ticket number in the event that they're needed to solve certain issues in the future.
5. Print Accordingly
Produce copies of your printable ticket according to your desired amount. Make sure to estimate how much you think is enough as you don't want to waste time, money, and effort on unnecessary tickets. Also, ensure that the paper you are using in printing is of high quality in order to achieve the best result.
