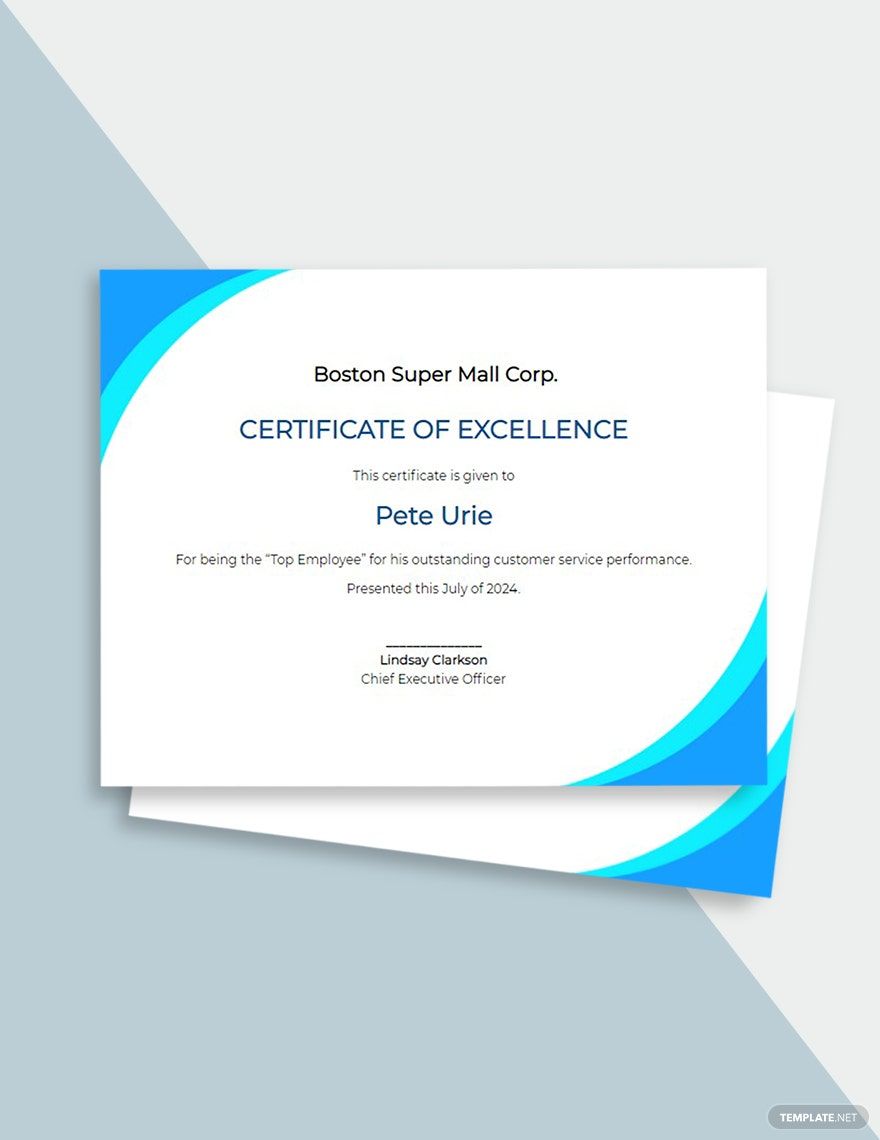
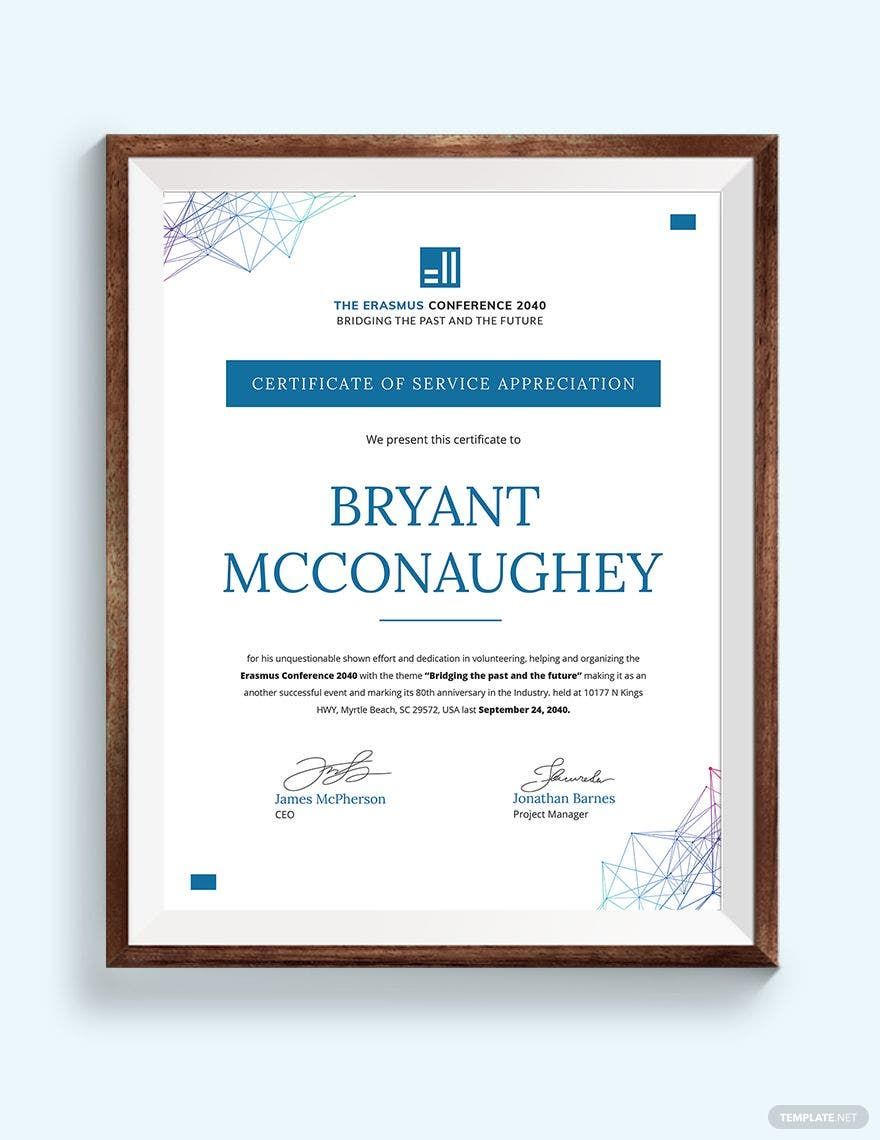
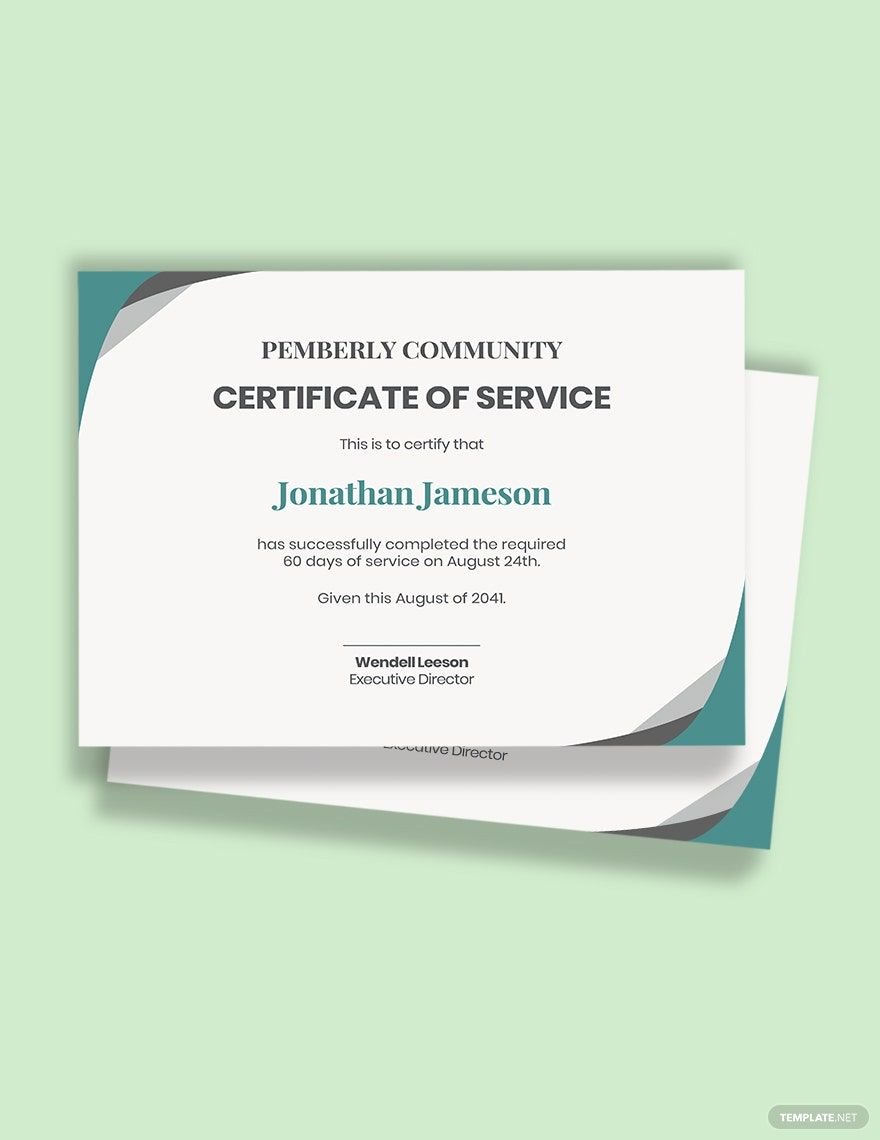
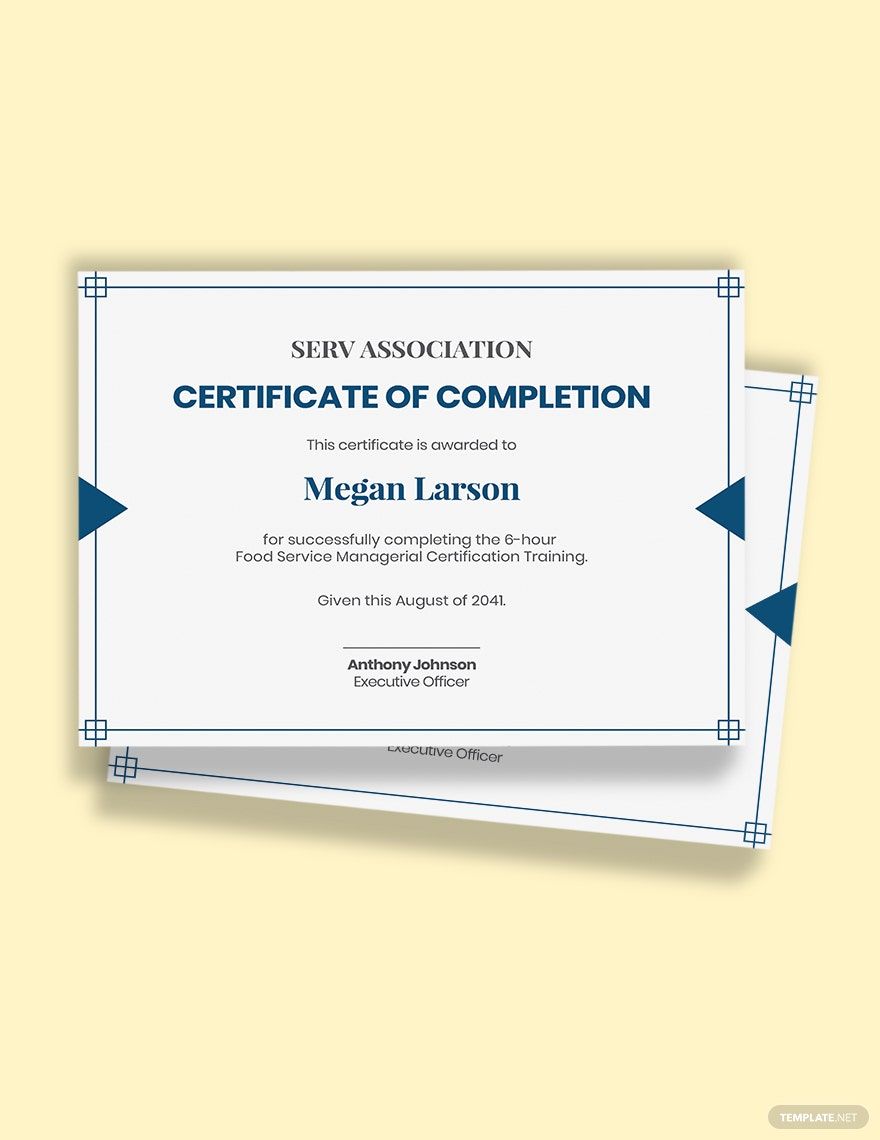
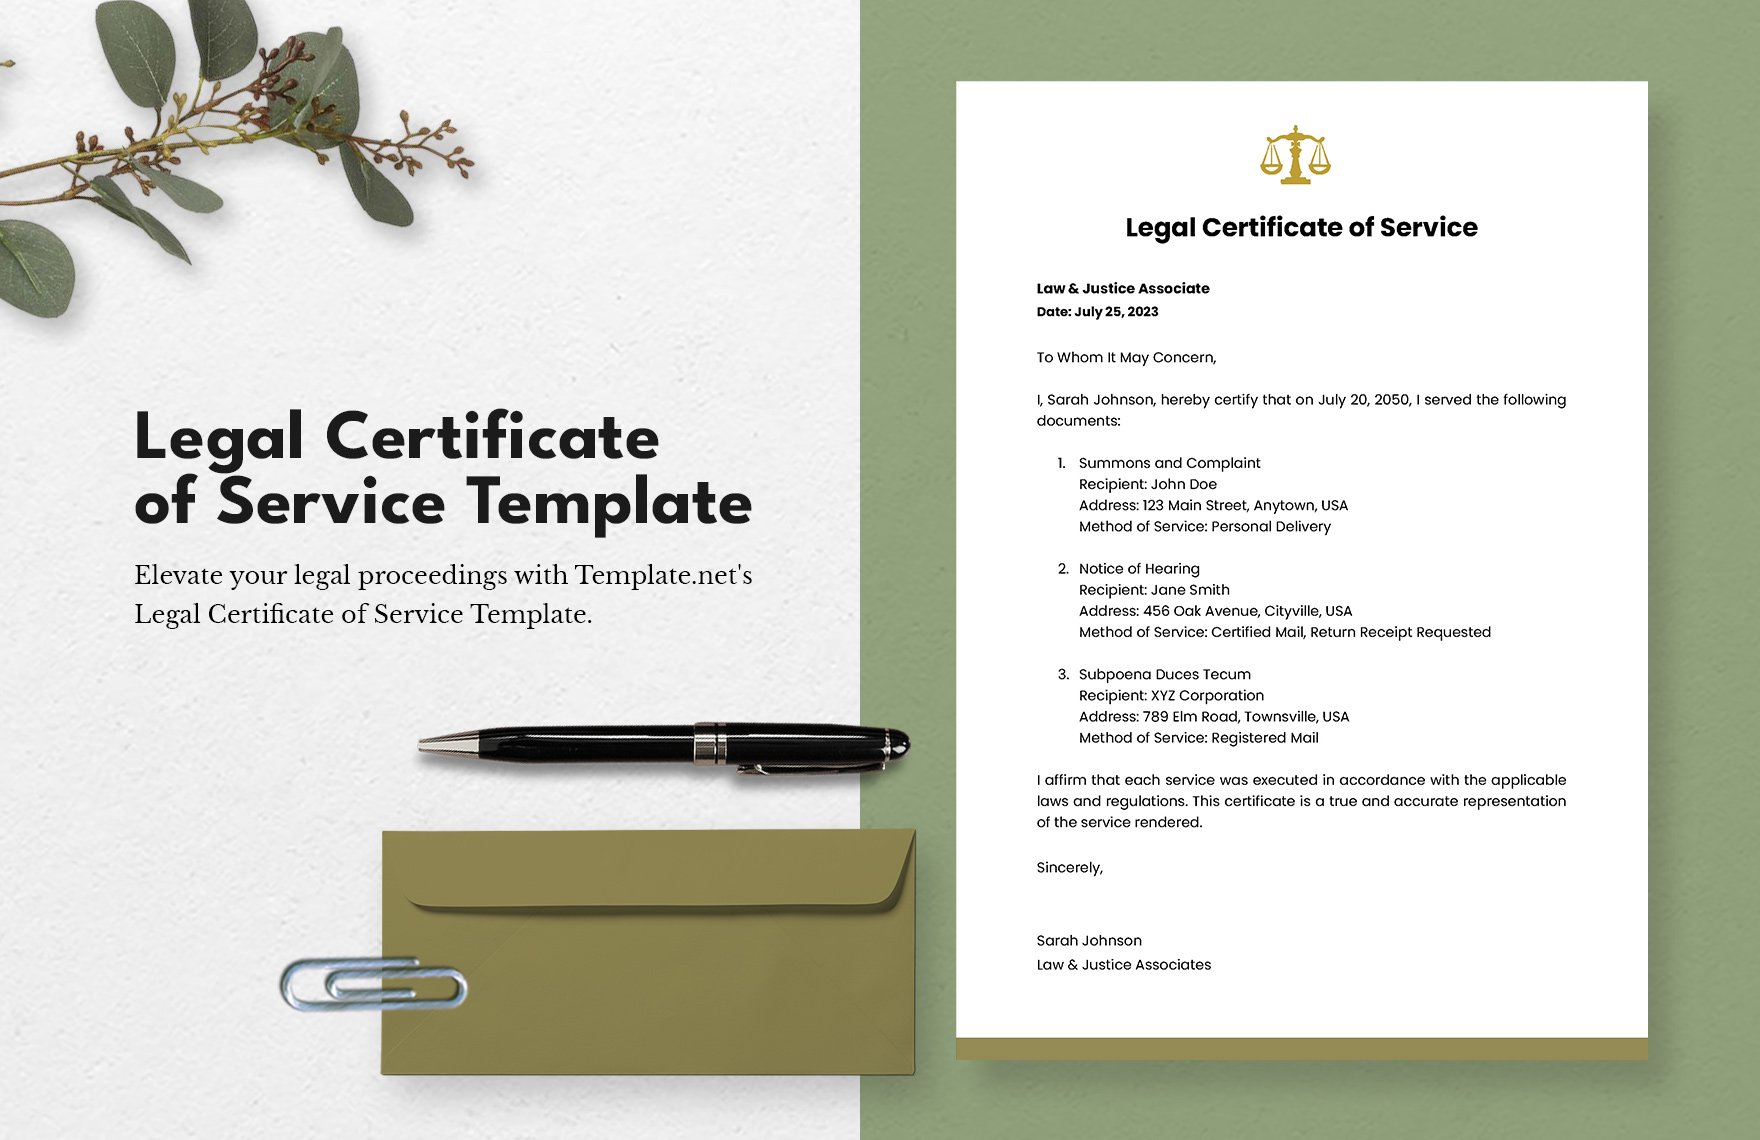
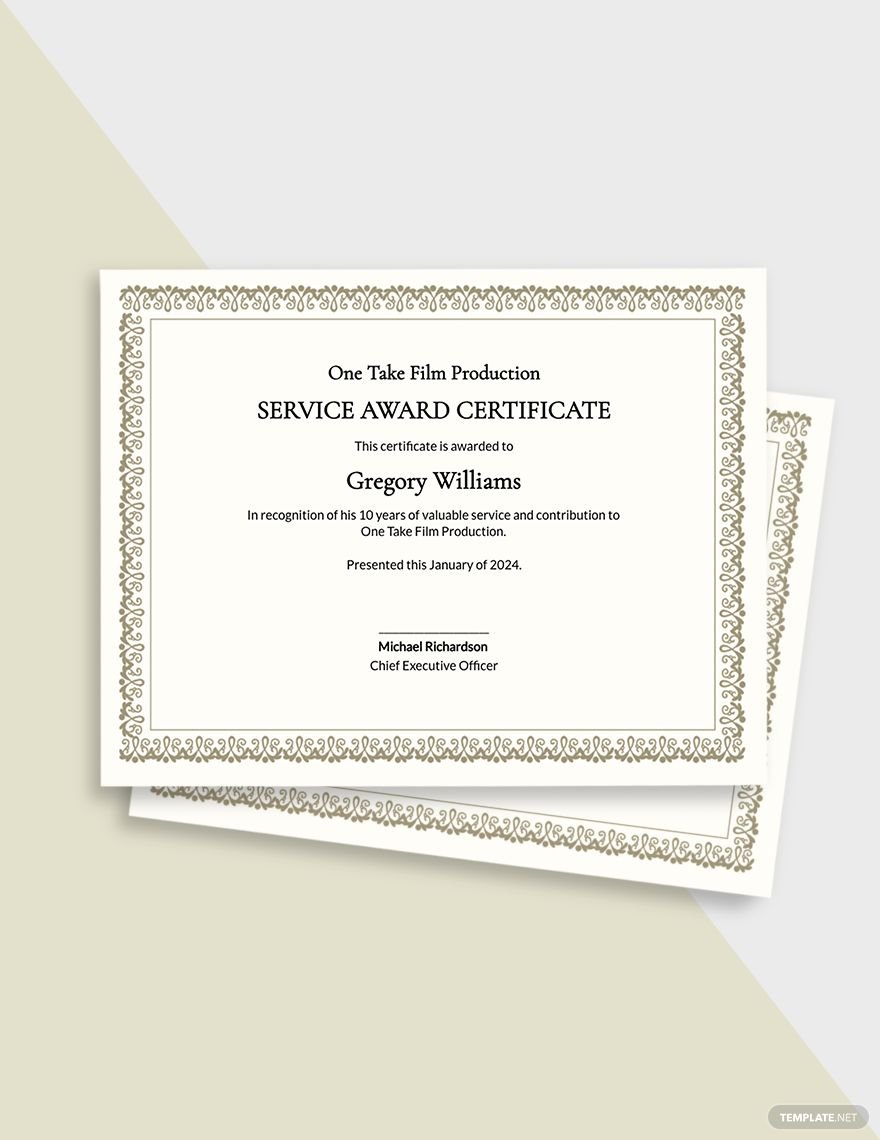
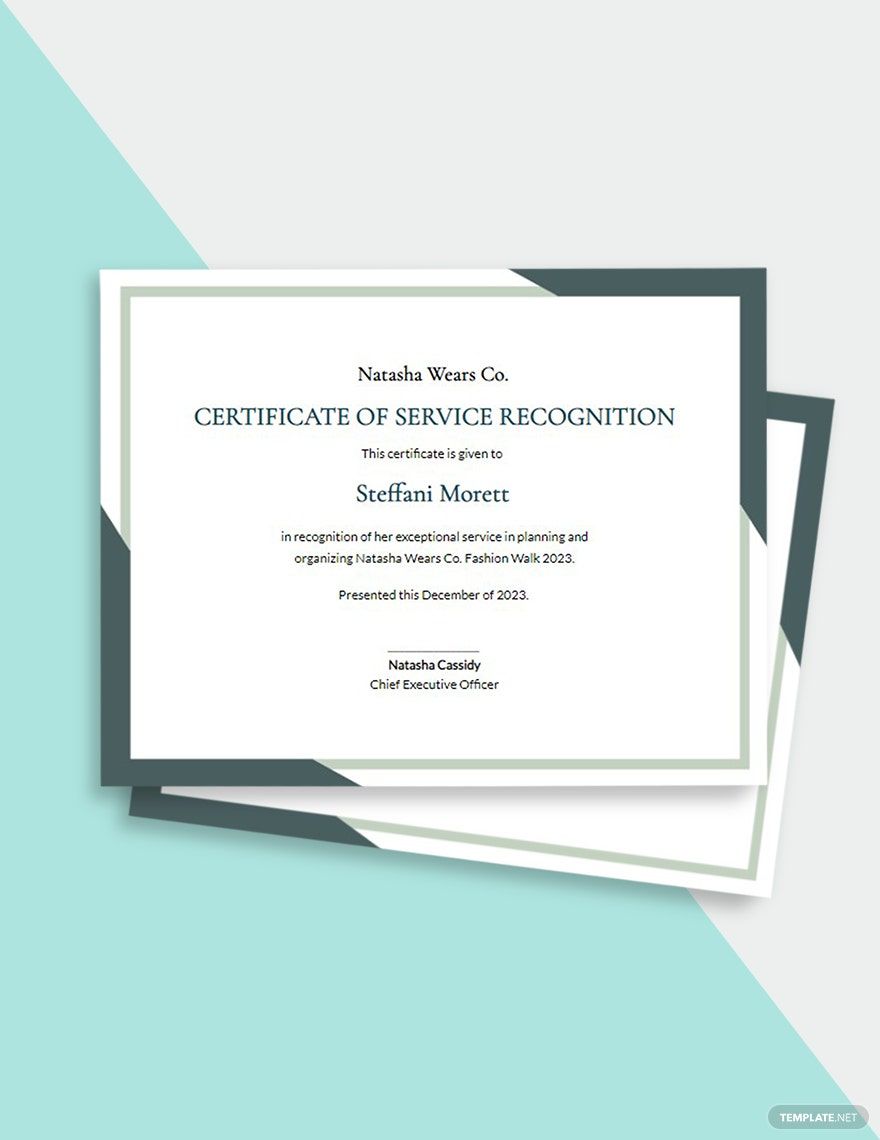
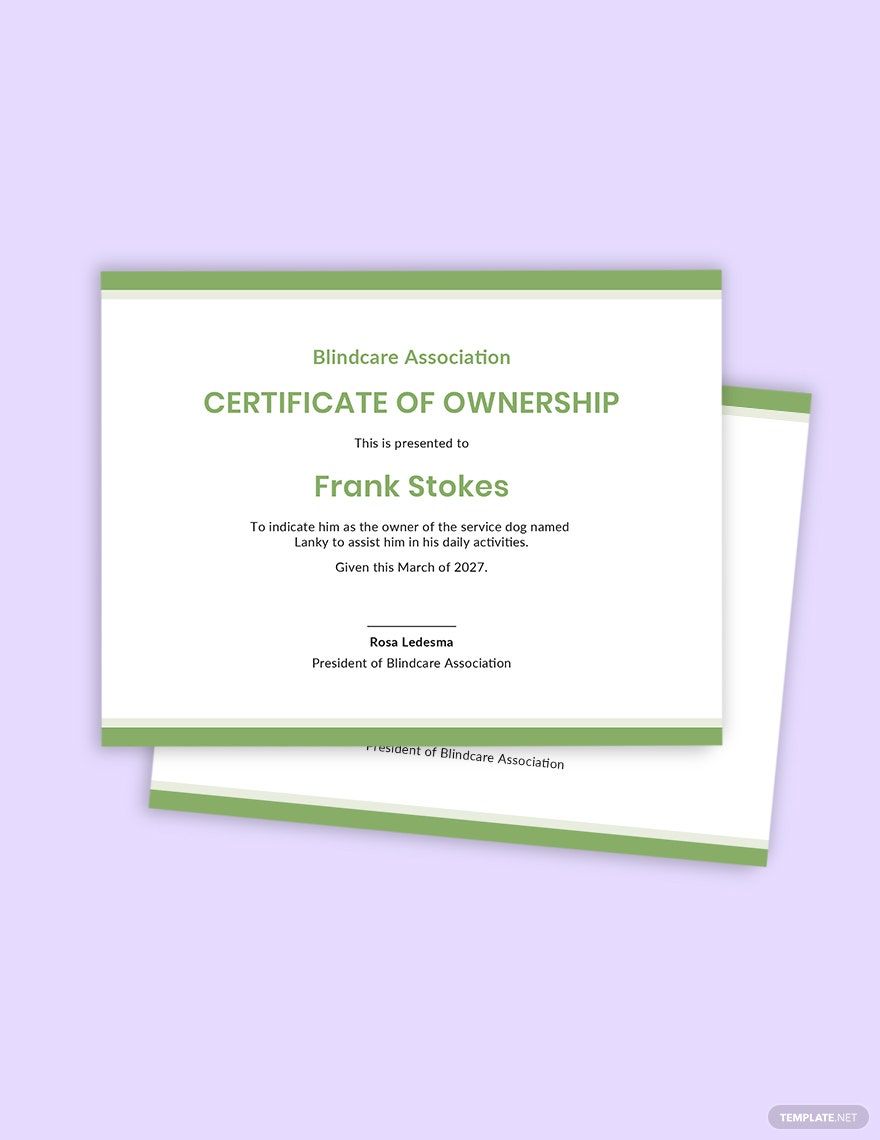
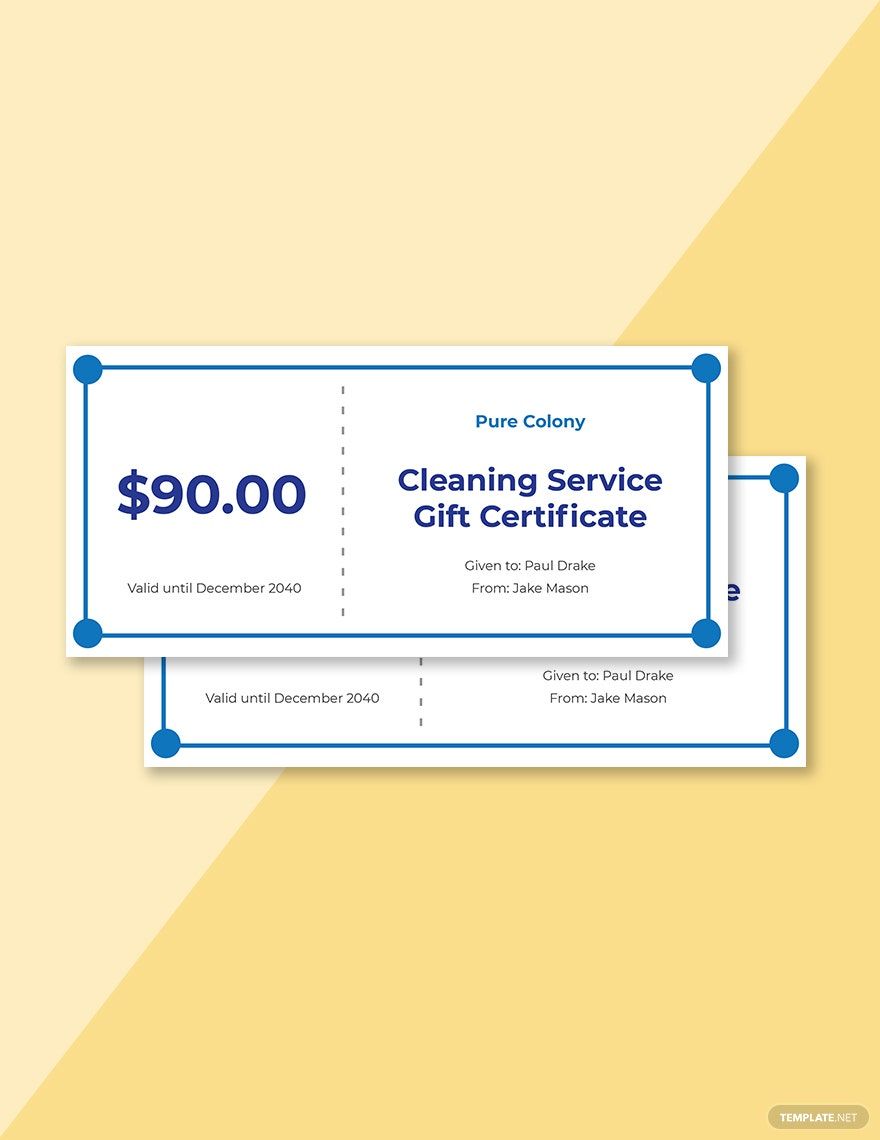
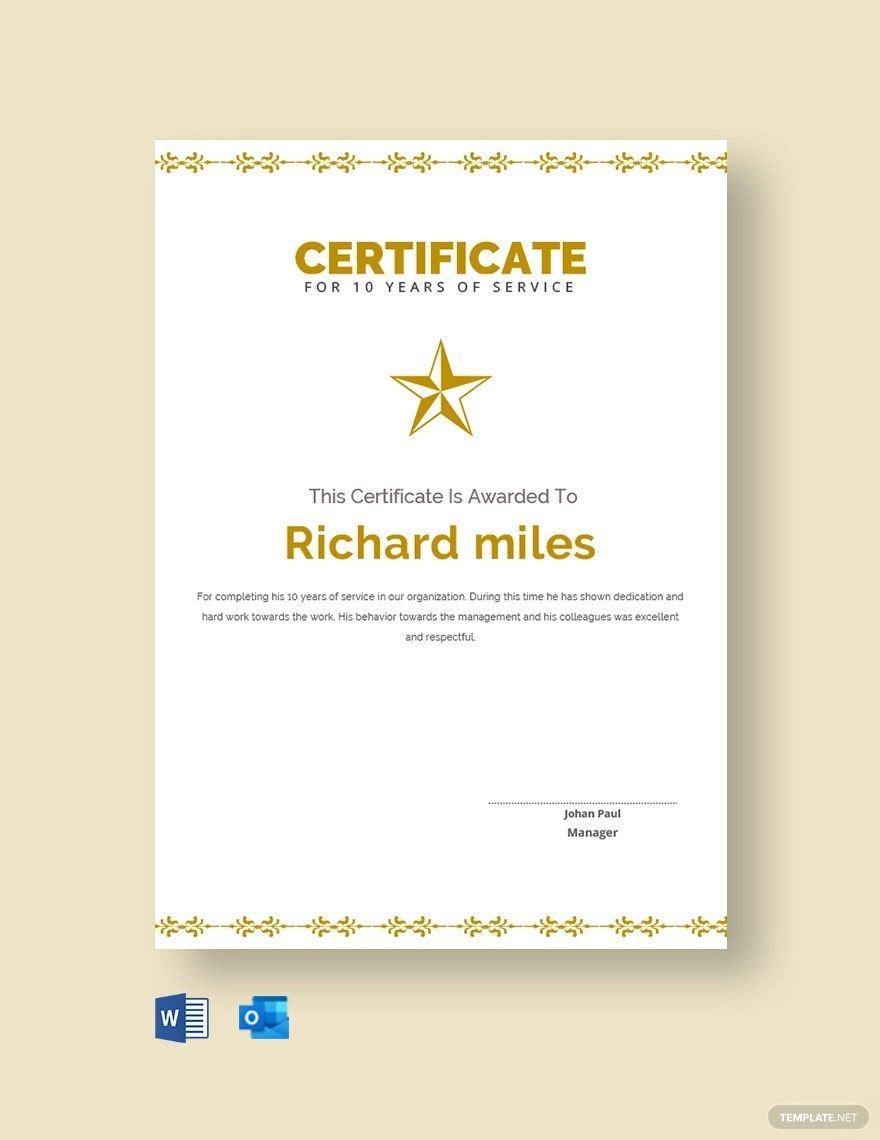
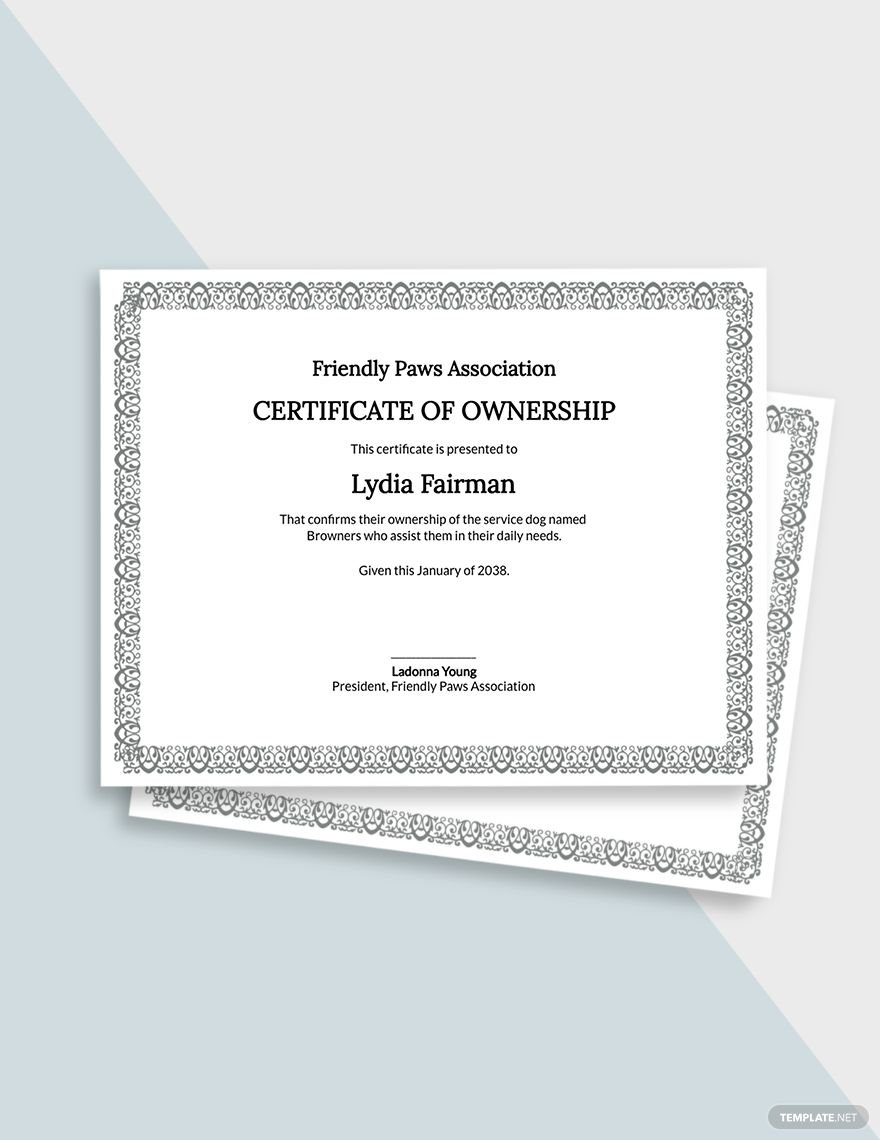
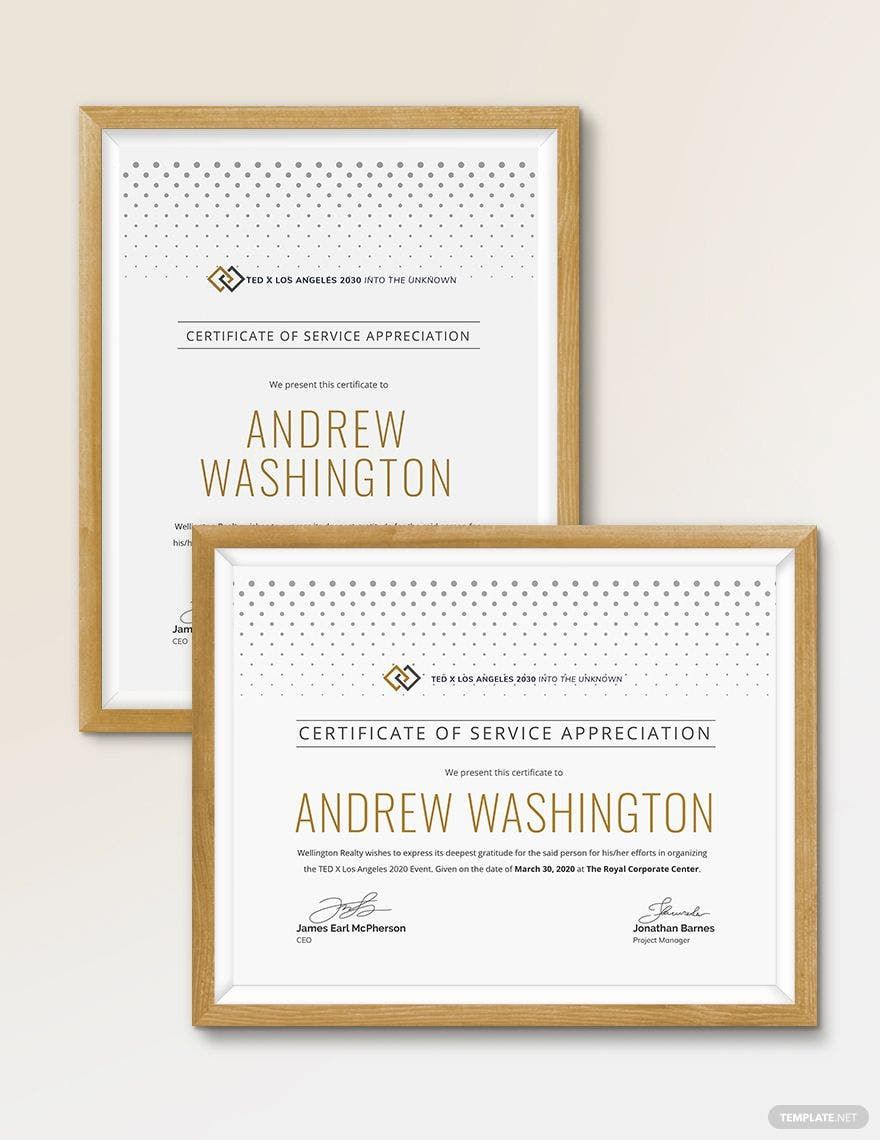
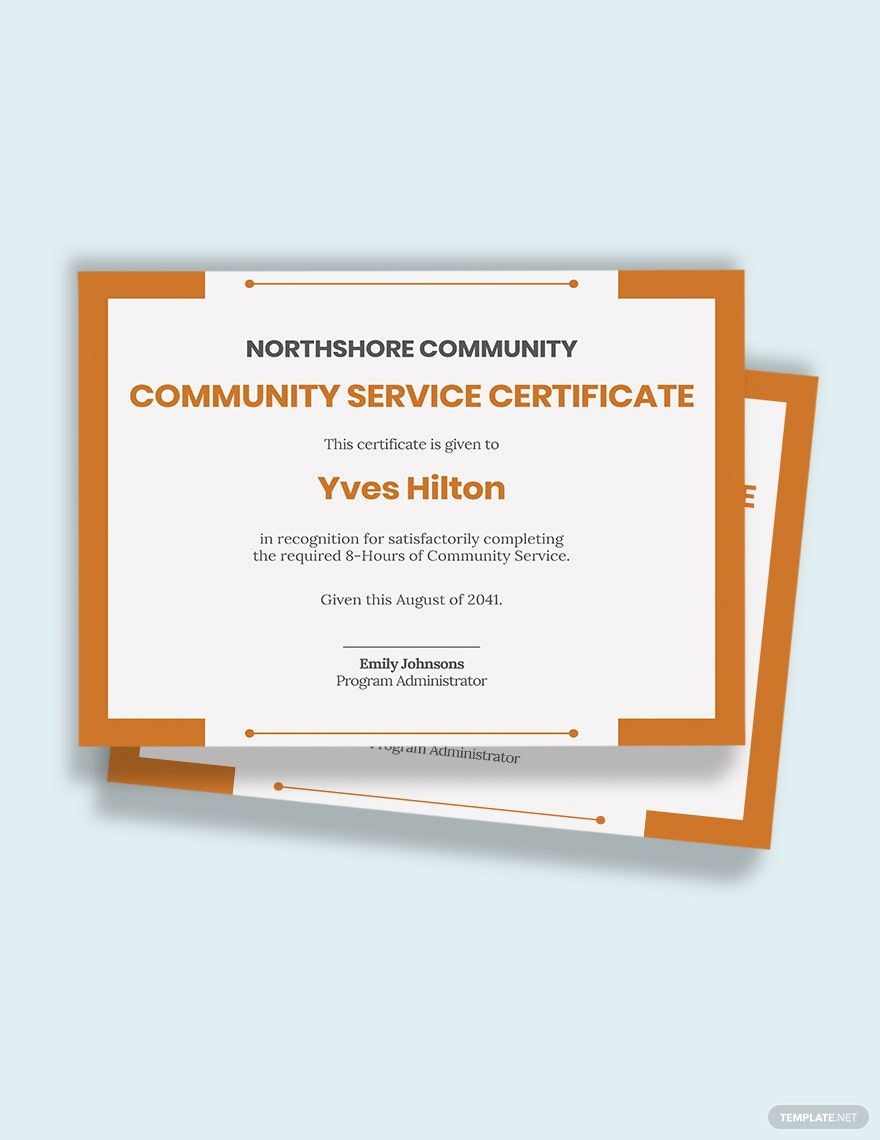
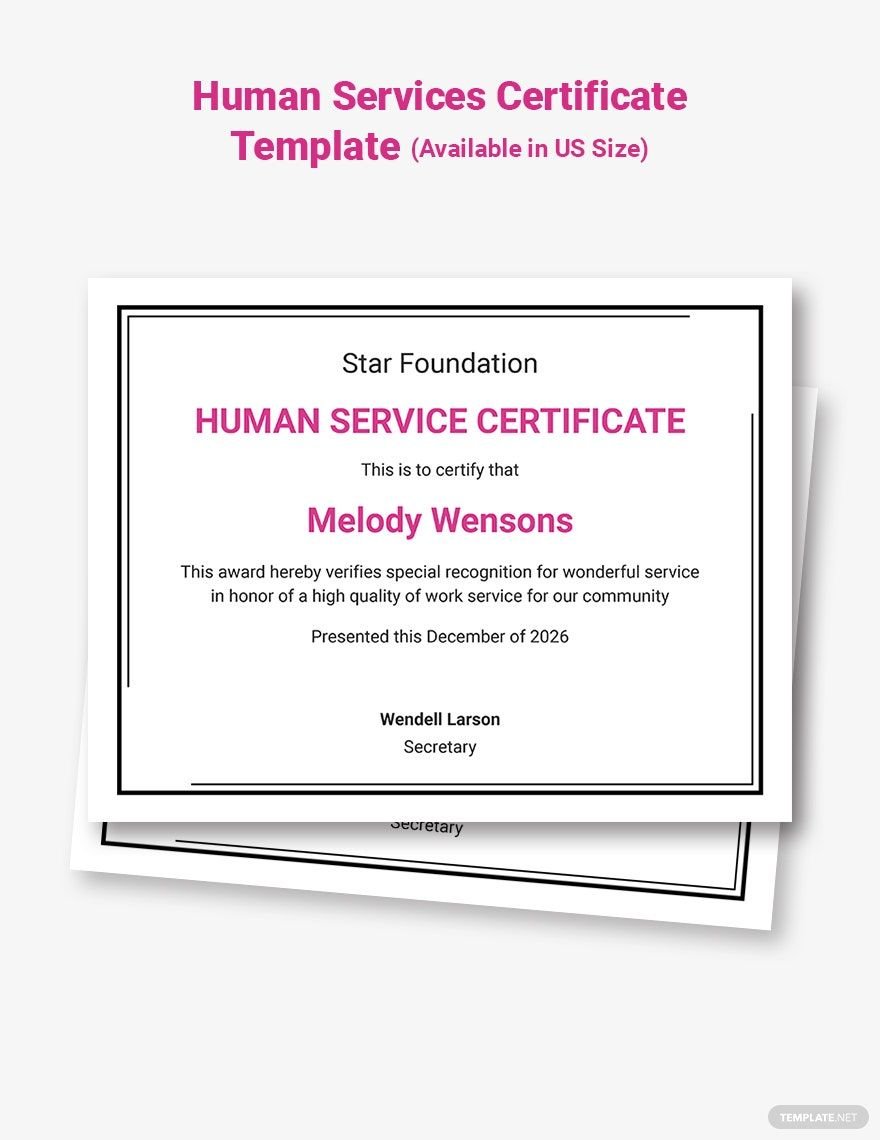
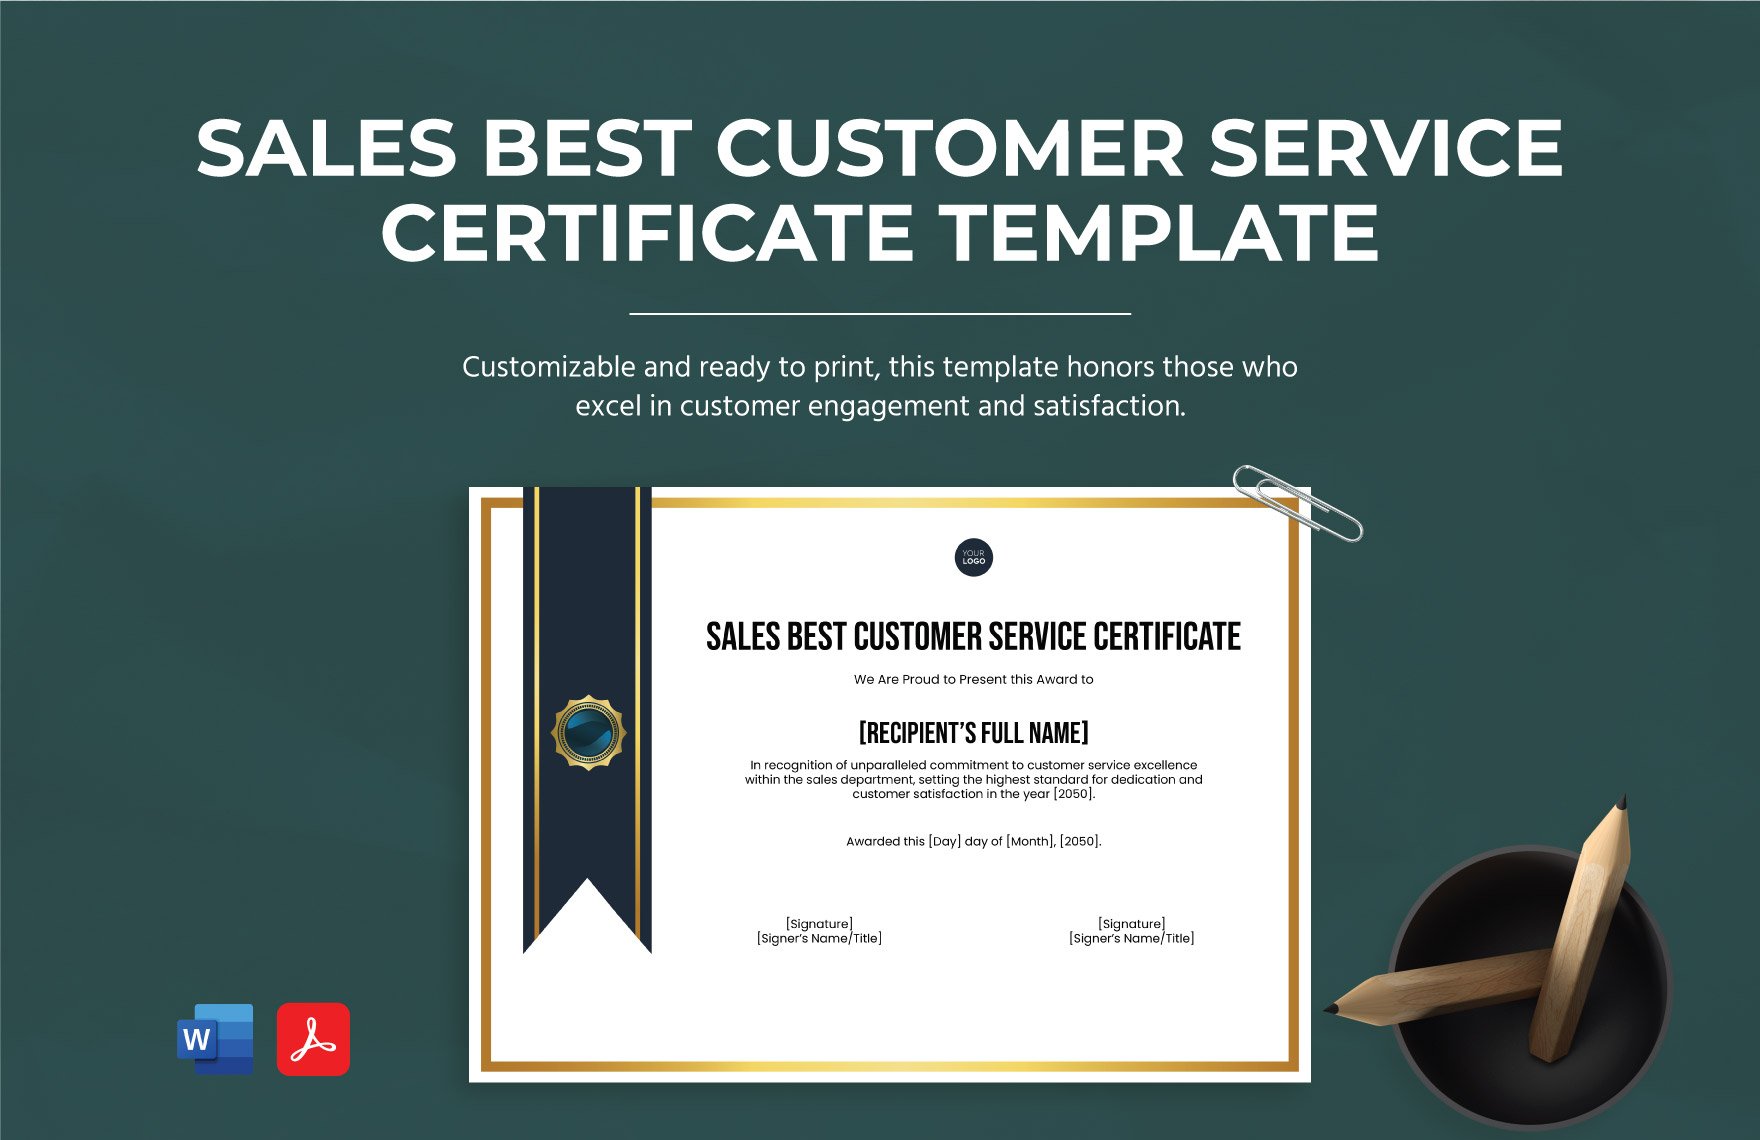
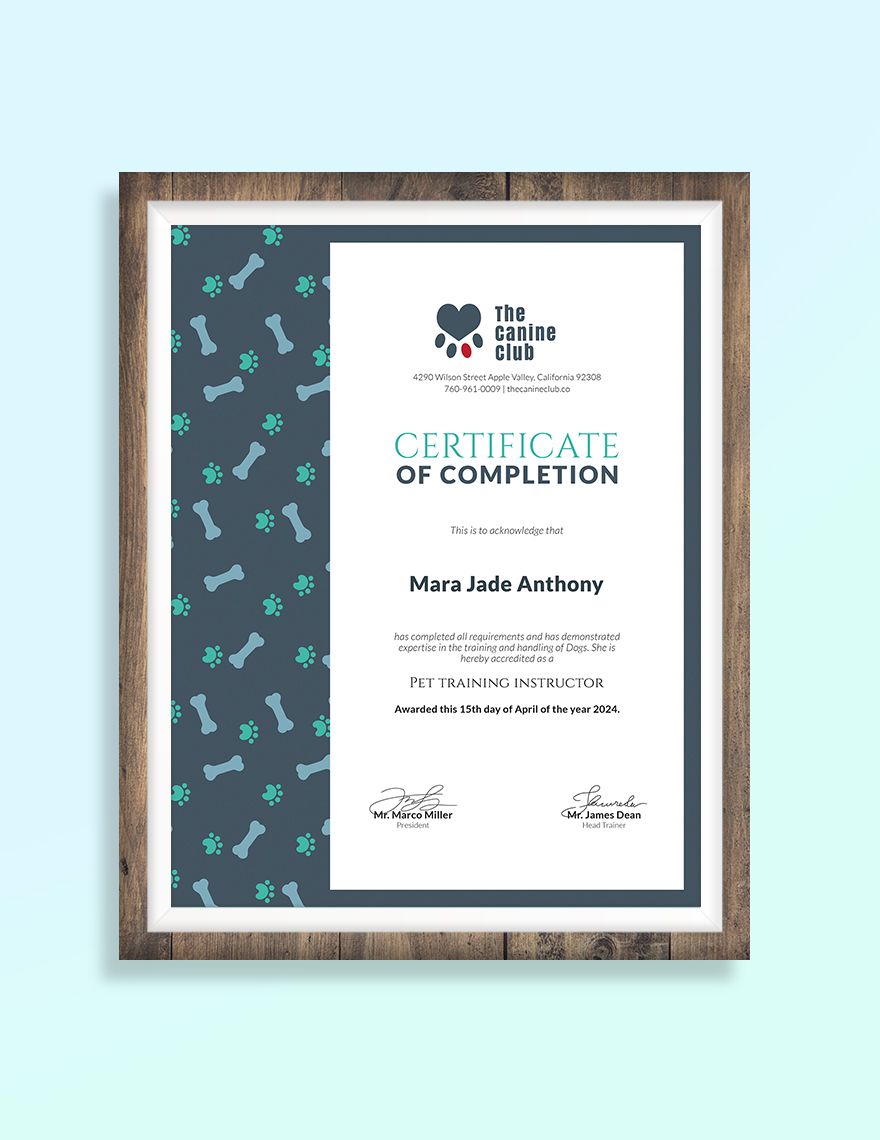
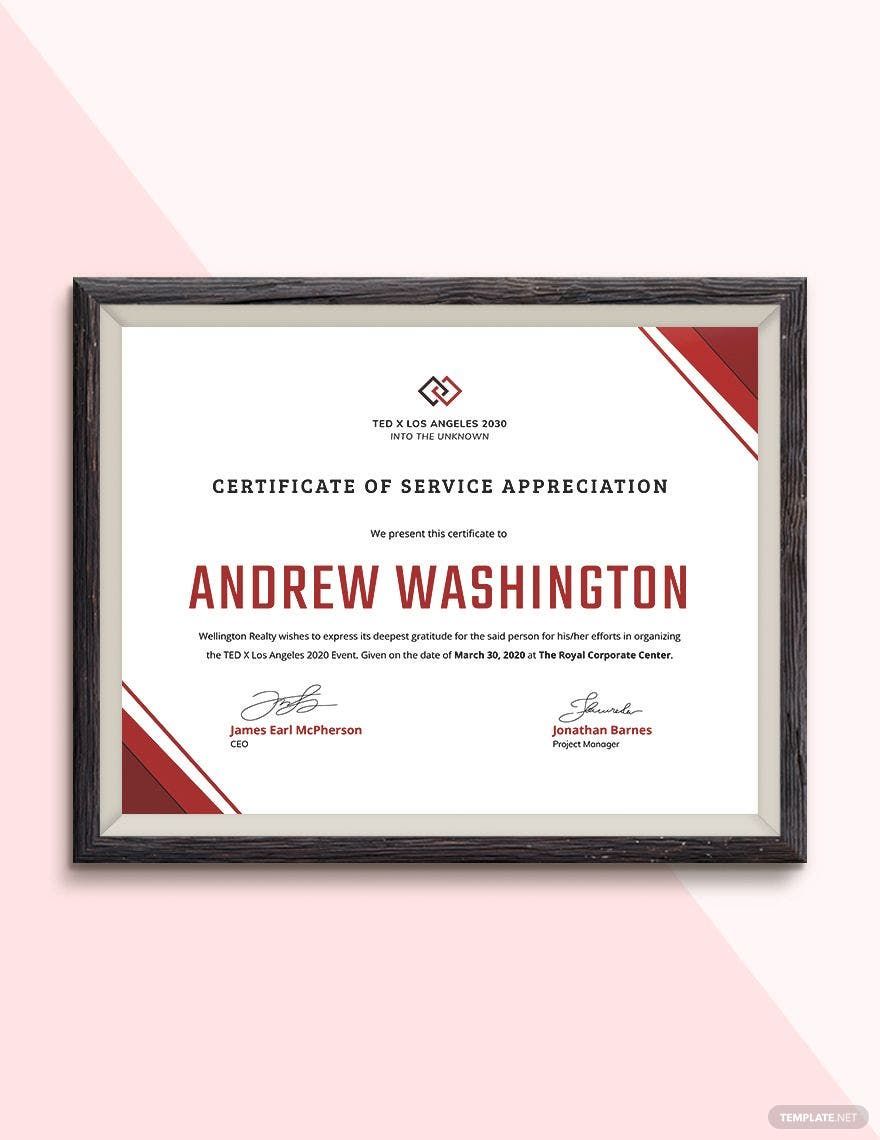
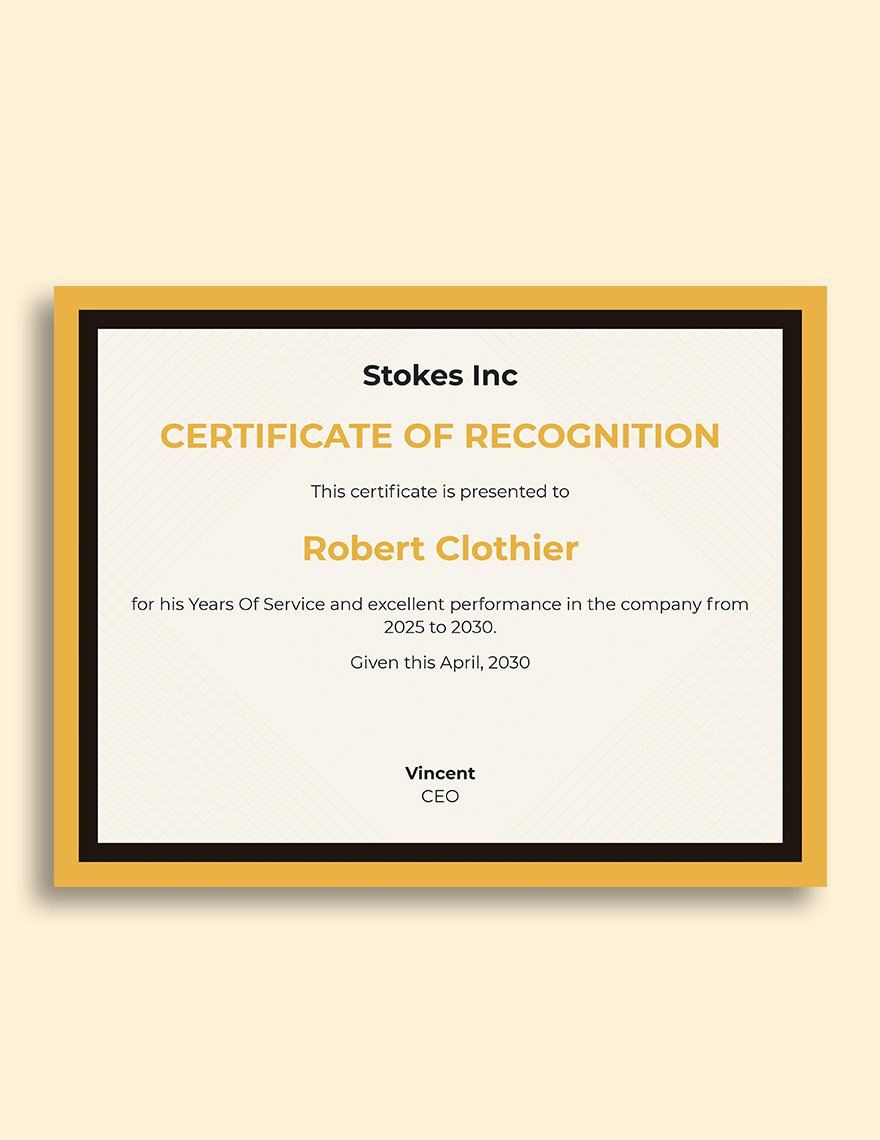
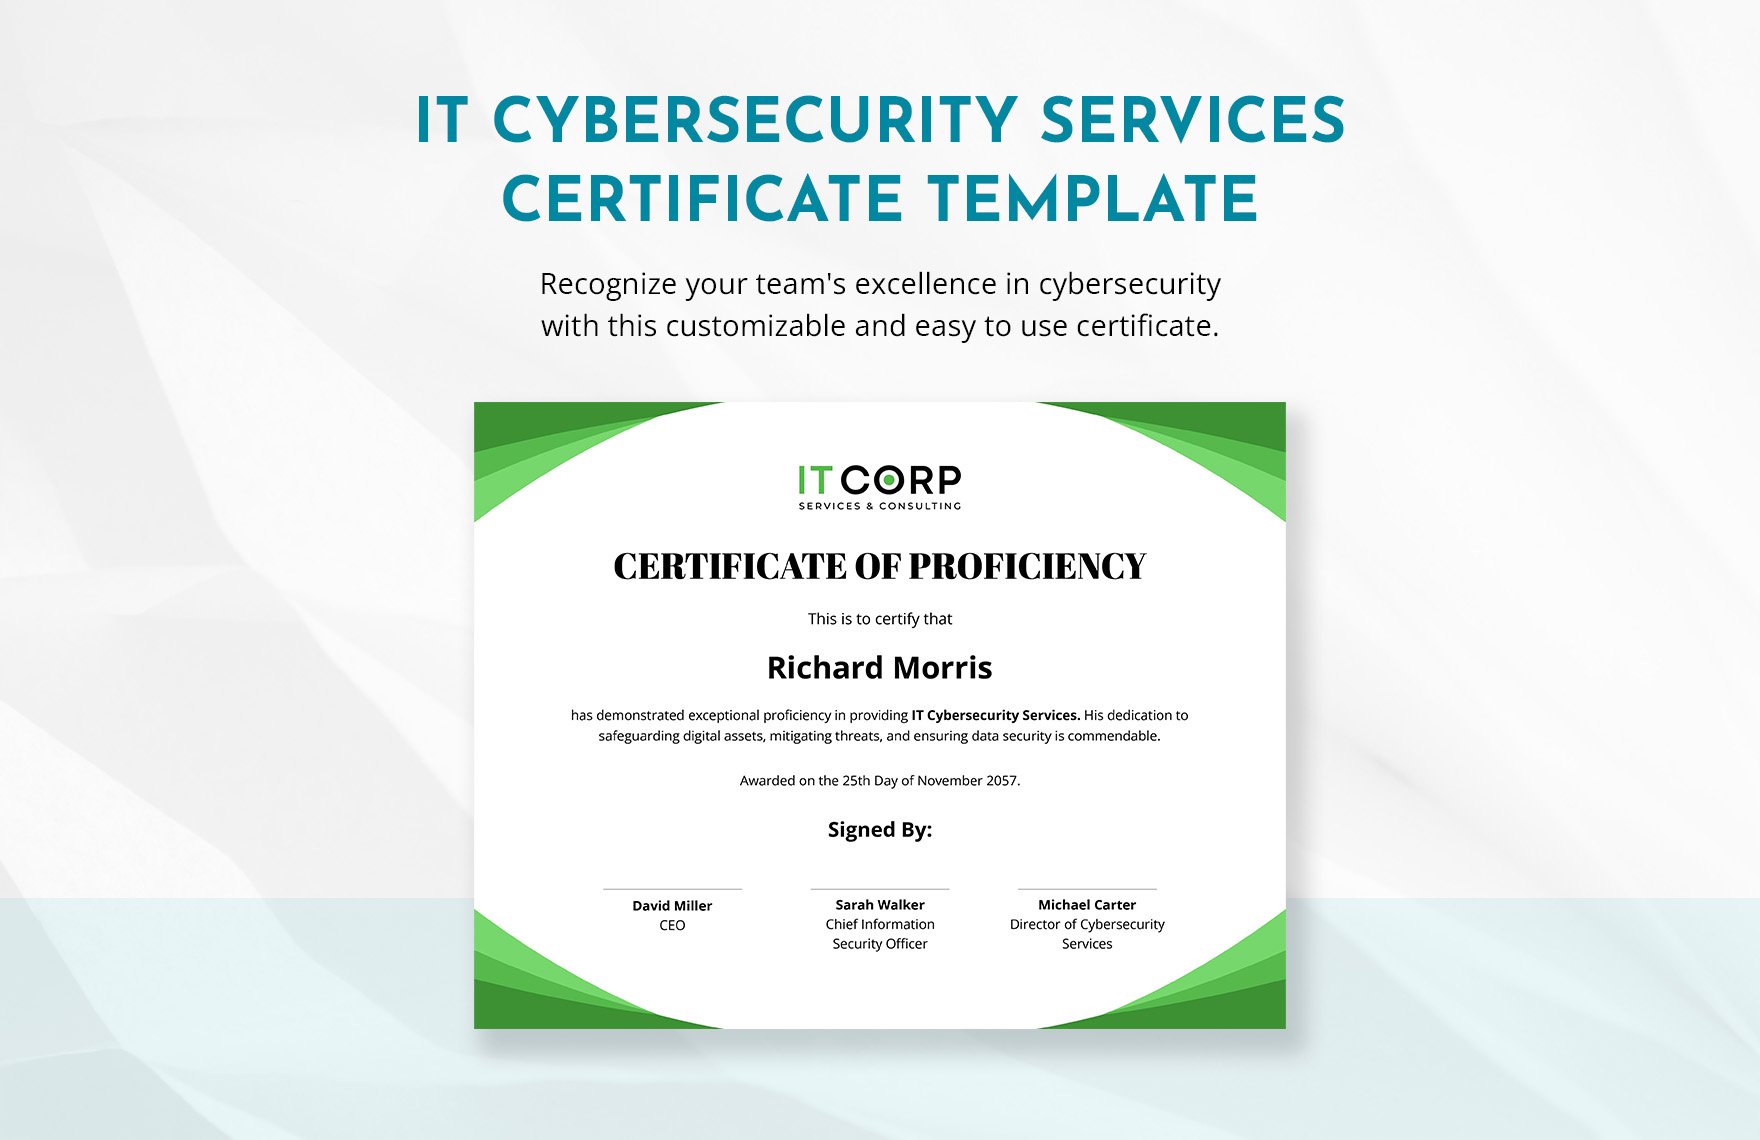
Certificates are appropriate when it comes to service-related awards, from training courses to volunteer work. Service certificates are simple enough to create on your own and come in a wide variety of professional flair. So, if you’re in search of some 100% customizable samples to work with, consider downloading one of our Service Certificate Templates! Quickly put together a printable award for school, employment, and more with our easily editable samples. Each one is compatible with Microsoft Word, providing the most convenient customization available on Windows systems. Go ahead and download today—present tangible recognition to those with the experience and achievements that deserve it!
How to Make a Service Certificate in Microsoft Word
If you need a formal and professional medium to express recognition for services, then certificates are the way to go! After all, as stated by Merriam-Webster (a long-running information resource), certificates are documents meant for containing official details and information. So, whether it’s for a model, teacher, or security officer, you can count on a certificate’s legitimacy.
If you’d like to know how you can create a service certificate in MS Word, then have a read through our tips right below!
1. Prepare Your Service Certificate’s Layout
For your service certificate’s presentation, it needs a proper format first. So, after getting a fresh document ready in MS Word, head to the Page Layout tab and then set the page’s resolution in the Size menu. Some good example sizes are 8.5 x 11 inches and 11 x 14 inches.
As for the orientation, most certificates are done in landscape format; however, portrait format is also viable.
2. Add a Border to Your Service Certificate
Part of what makes a certificate so appealing is its professional aesthetics. Because of this, it’s important that your border has a subdued yet sleek design.
To add your border design, go into Insert > Pictures. Once the image is in your document, right-click it and select the “In Front of Text” option found in Wrap Text. After that, freely reposition the border by click-dragging it in place, while resizing it by click-dragging one of the nodes found on its sides and corners.
3. Create Your Service Certificate’s Dialog
Using textboxes is important when adding written content in your service certificate. For this, go to Insert and then choose Text Box before picking a suitable spot. With the new textbox selected, go into Format and select the No Fill option under Shape Fill. As for Shape Outline, pick the No Outline option.
Type the textbox’s contents by simply selecting it. Resizing and repositioning are done similarly to how it was for your border.
4. Spruce up Your Service Certificate with Thematic Imagery
When implementing artwork, pictures, etc., remember to keep the visuals appropriate for the certificate’s purpose—be it for army service, police training, or teacher appreciation.
Once you have your image material, add them as you did for your border. Go into Insert and then open the Pictures menu. Like with your border and textboxes, resize and reposition your images the same way.
And with that, you’re ready to make more service certificates on your own! But, if you’d like some customizable samples for your certification awards, then have a look at our Service Certificate Templates!


