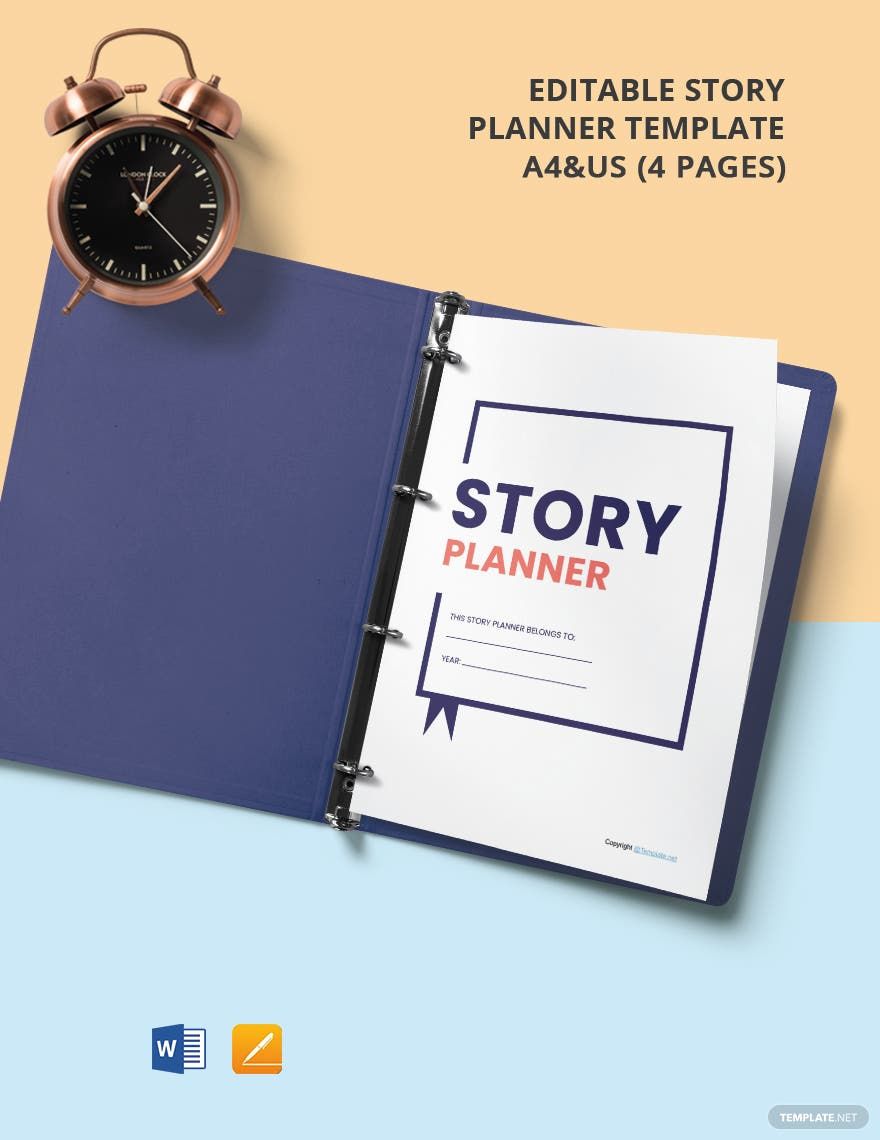
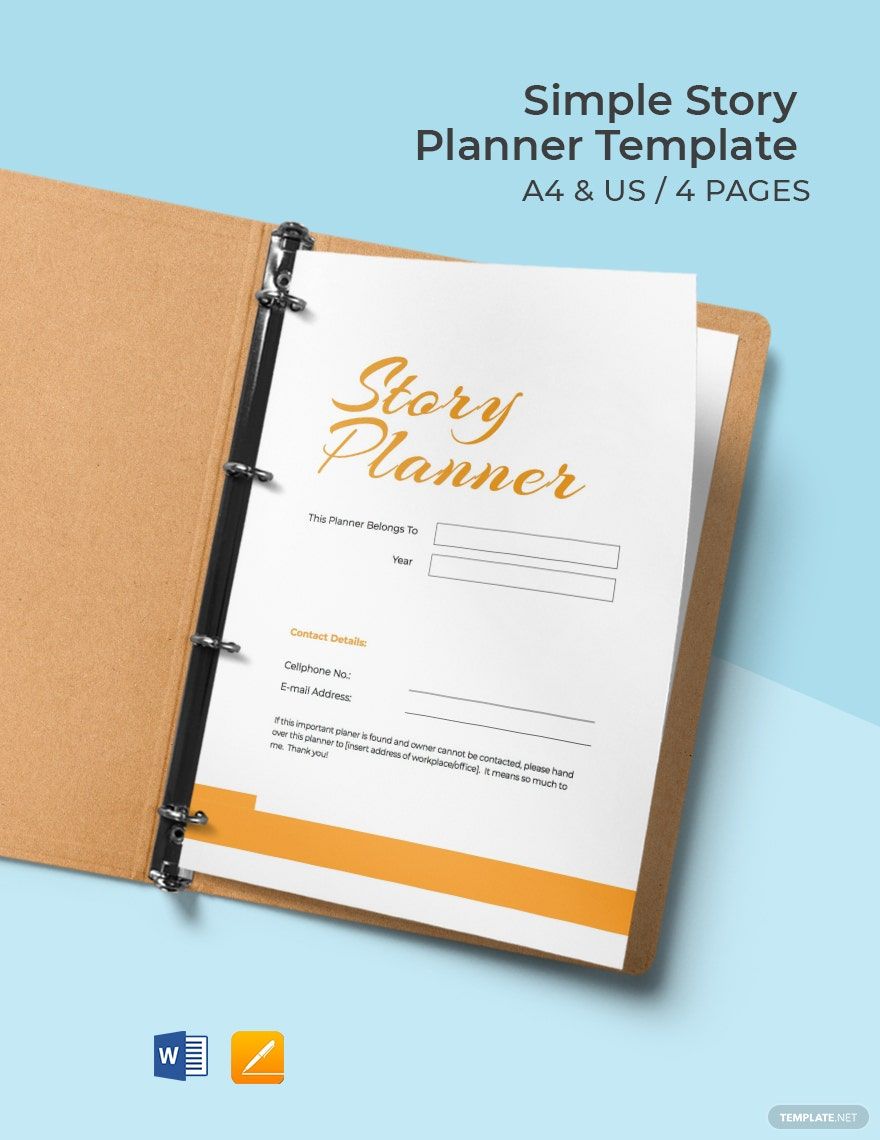
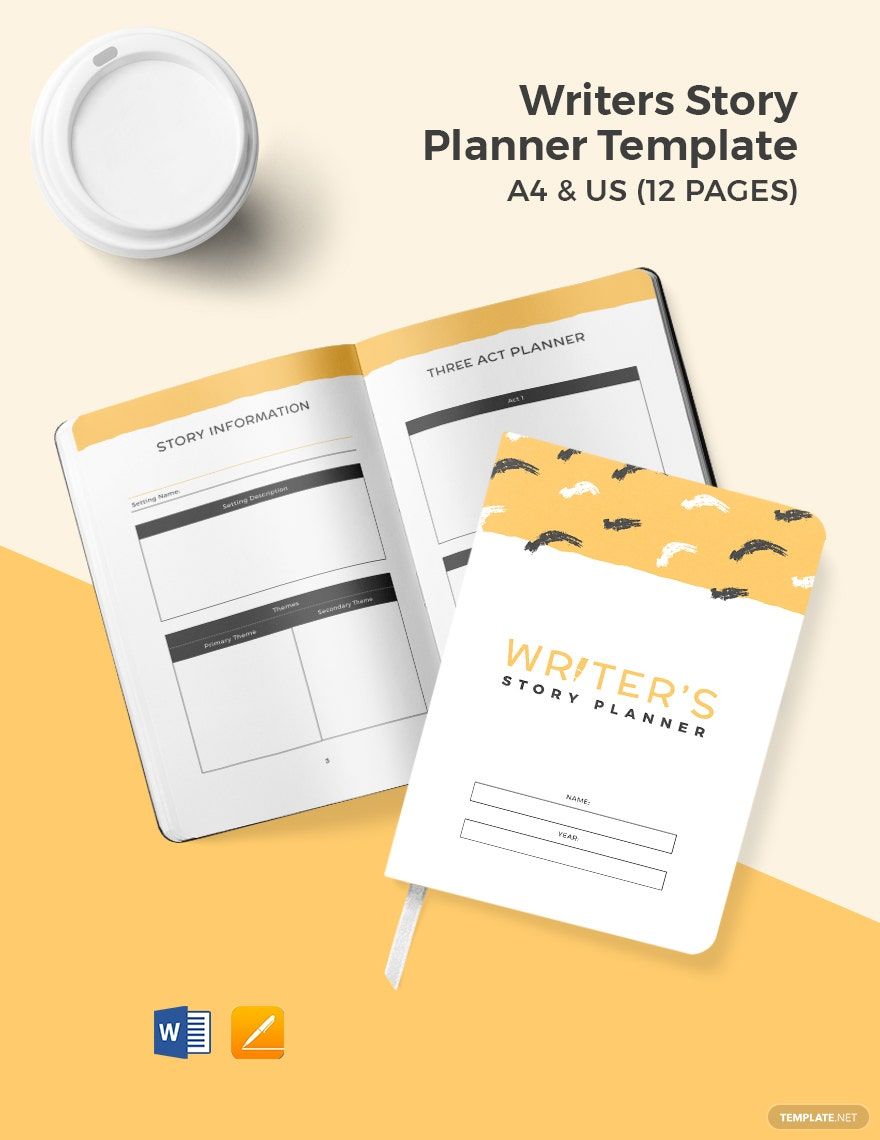
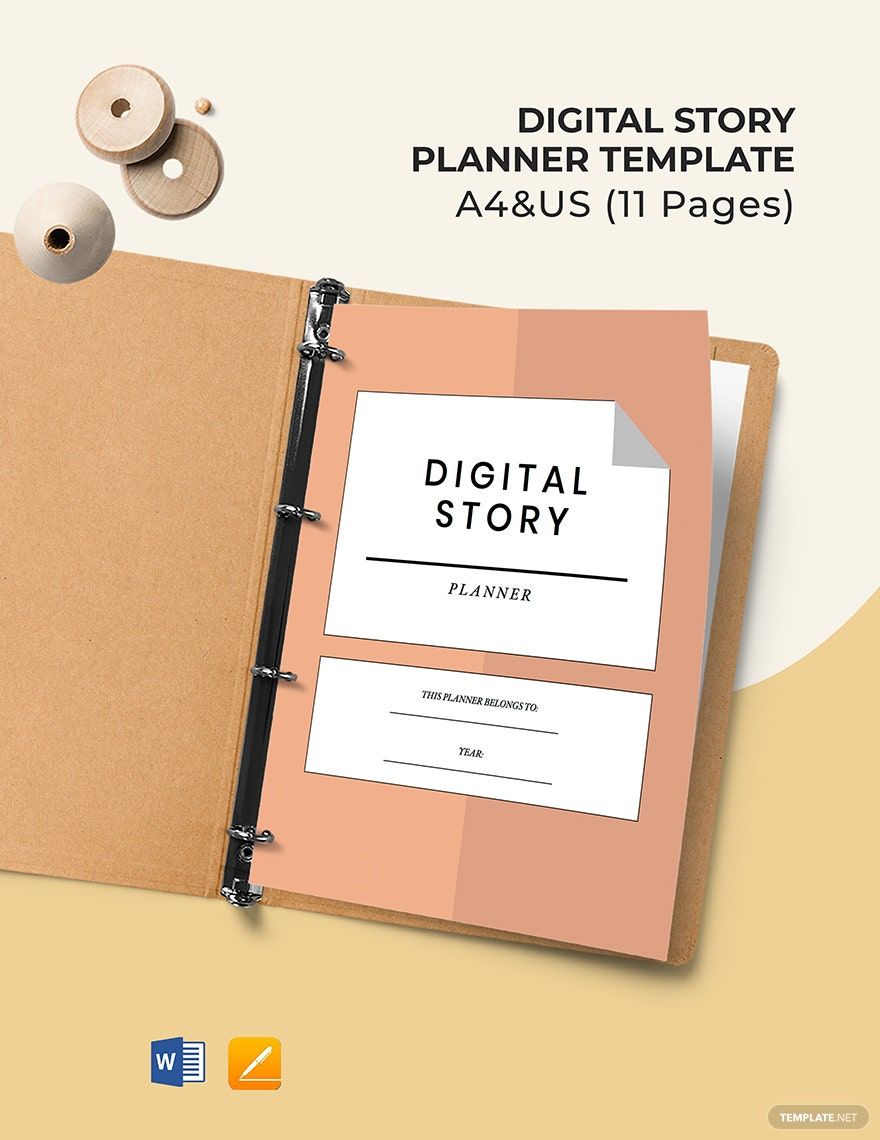
A great story is going to interest your target readers. However, creating one is not so easy. That's why a writer like you will try to find the best approach to make a great story possible. That's why you need to plan. How do you do it? You can use a story planner! You can choose from our first-rate beautiful collection of Ready-Made Story Planner Templates in Microsoft Word. These are 100% customizable and easily editable. These are available in A4 & US. What are you waiting for? Download one of these templates and craft your masterpiece!
How to Create a Story Planner in Microsoft Word
As stated by Forbes, the USA approximately publishes 600,000 to 1,000,000 books. This goes to show that a lot of talented and passionate writers are publishing their books so that the public can read them. You don't have to write a full book, actually. You can always start with writing stories. However, writing a story isn't that easy. You need to keep your creativity flowing to write one. But don't worry, because we have these tips below so that you can plan and create your own story planner like a pro:
1. Create a Section for the Characters
Characters are one of the essential elements of a story. They give life to your story, as well. On your planner, you have to create a space only for the characters. You can try dividing its sections for the main character(s), minor character(s), and others. Also, making the characters fit your story requires hard work. Some writers fail to make their characters realistic. So when you make and list your characters, you have to flesh them out. You have to remember that every detail about your character counts.
2. Make a Part for Sketching Scene Ideas
There are times when all of a sudden, your mind creates a scene about your story. But, if you don't write it down, there's a tendency that you're going to forget the scene. So, it's better to have a planner section for your scenes. You can divide the page by the number of scenes that can fit it. Another thing you can also create a schedule for listing your story scenes. This way, you can just glance and get some scenes and put them on your story draft.
3. Display a Field for the Plot Guide
A plot is a series of events in your short story or novel. Your plot can determine whether your story is strong or weak. Sometimes, you need to keep notes of your plot. Further, reserve a page for your plot guide. It's up to you on how you want to design it. You can try providing sections for the Exposition, Rising Action, Climax, Falling Action, and Denouement. If you want a simpler one, you can write a part for the Beginning, Middle, and End. The choice is all yours.
4. Create a Space for Brainstorming
A space for brainstorming ideas for the story should be part of your checklist. Brainstorming can help you get your ideas going. You can always record every idea that comes in your mind. Some ideas may be helpful, and some may not. Regardless, it's vital to list them so that you can have a guide for the story you'll write.
5. Get a Planner Template
You can always download a story outline template or story template and personalize it in Microsoft Word. Having a template to work with can save you time. All you need to d is to provide the details on the template. Then, you can start writing your draft. Your planner is going to help you organize your work. You'll be surprised how you can quickly finish your fantastic story.
