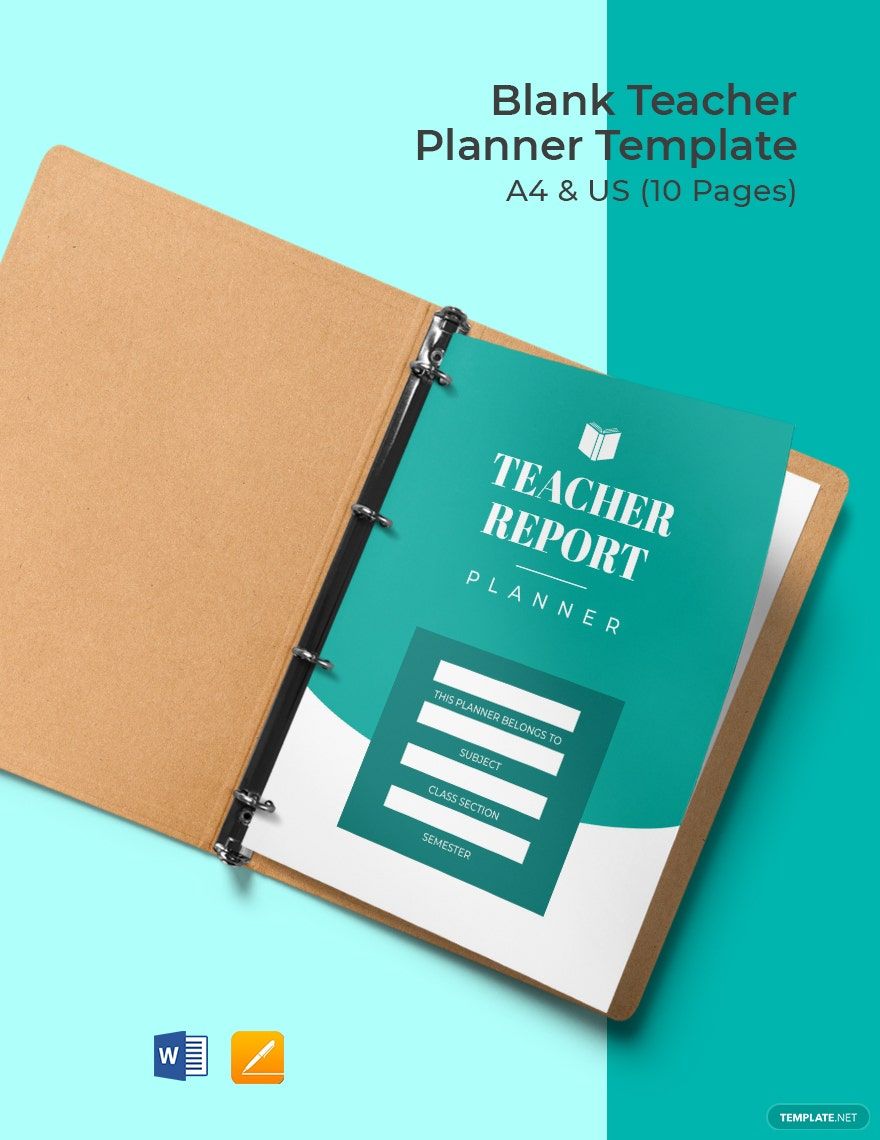
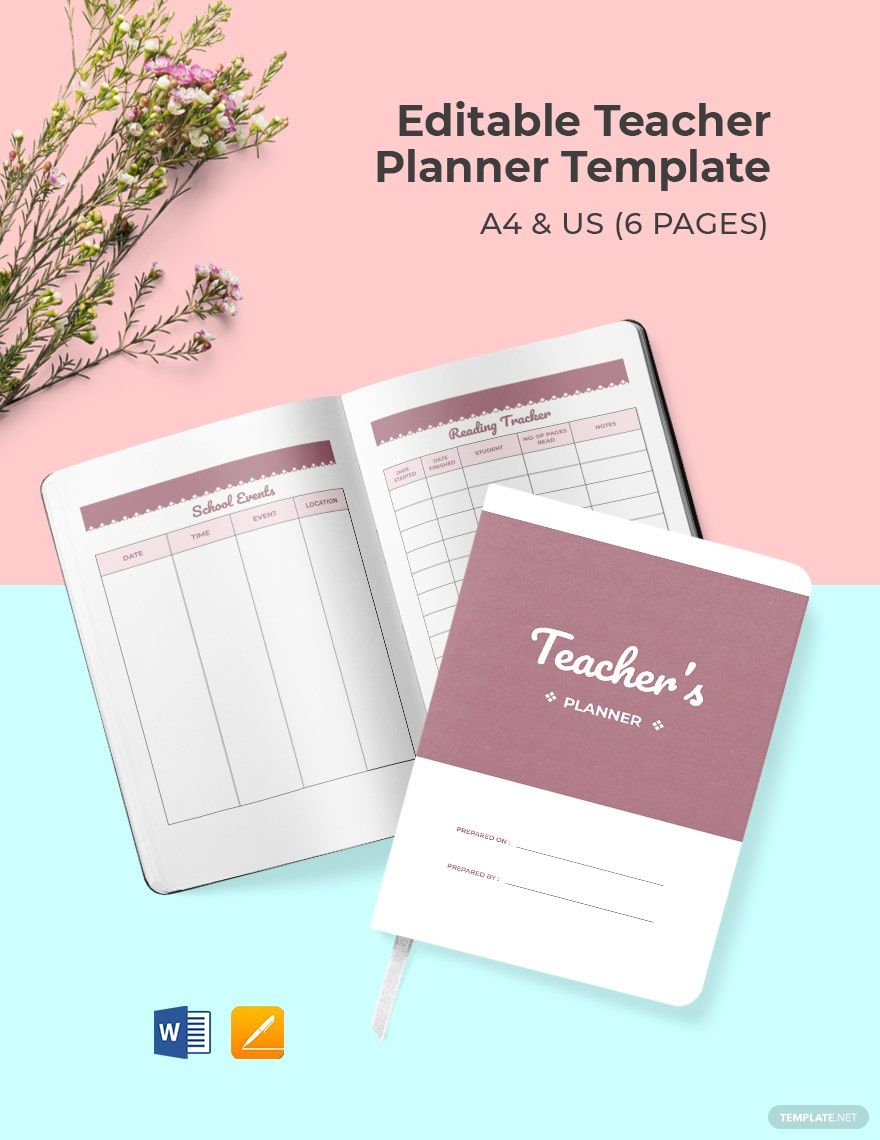
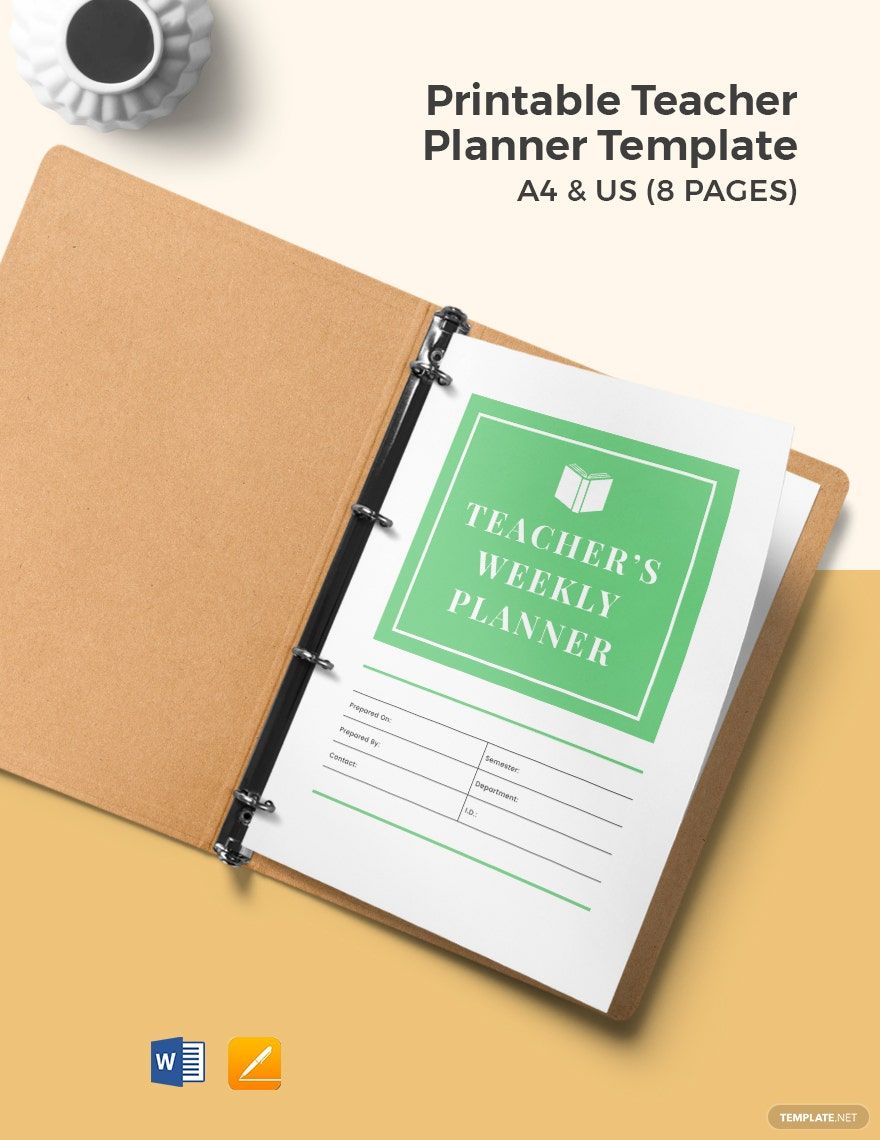
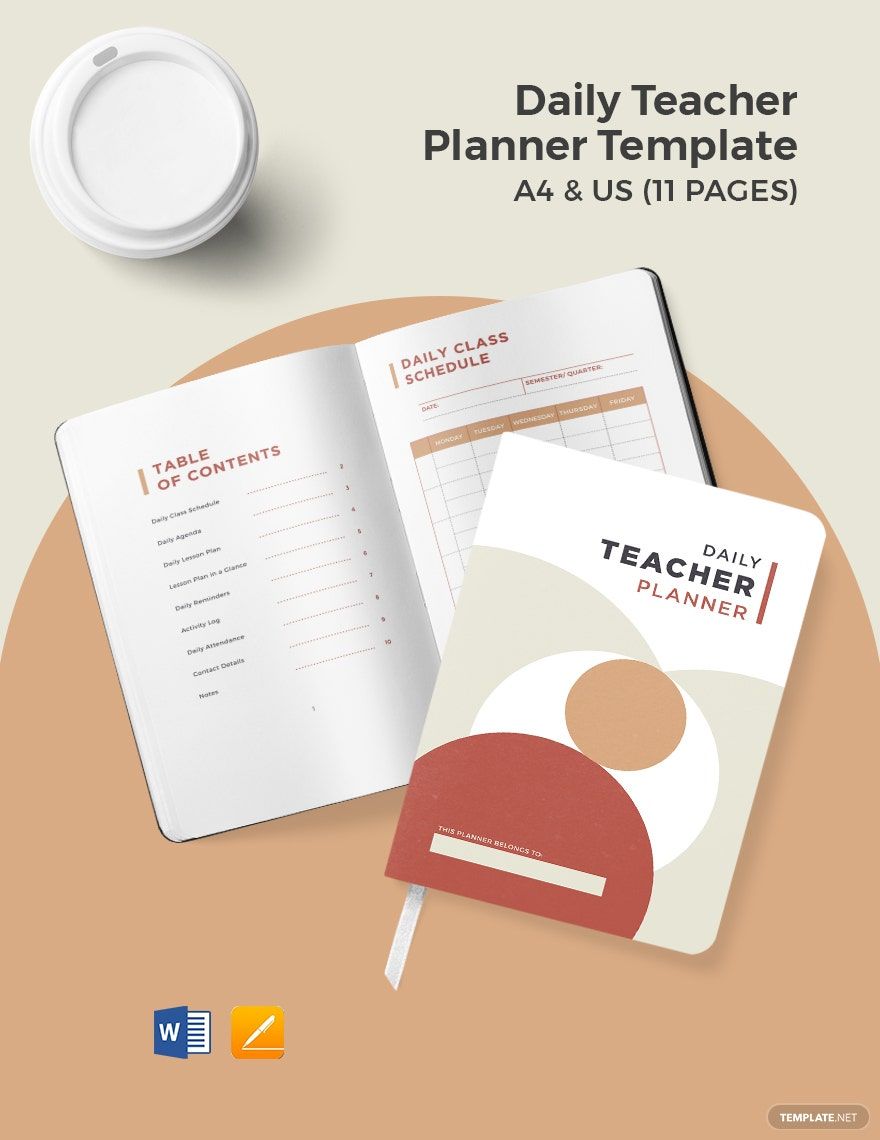
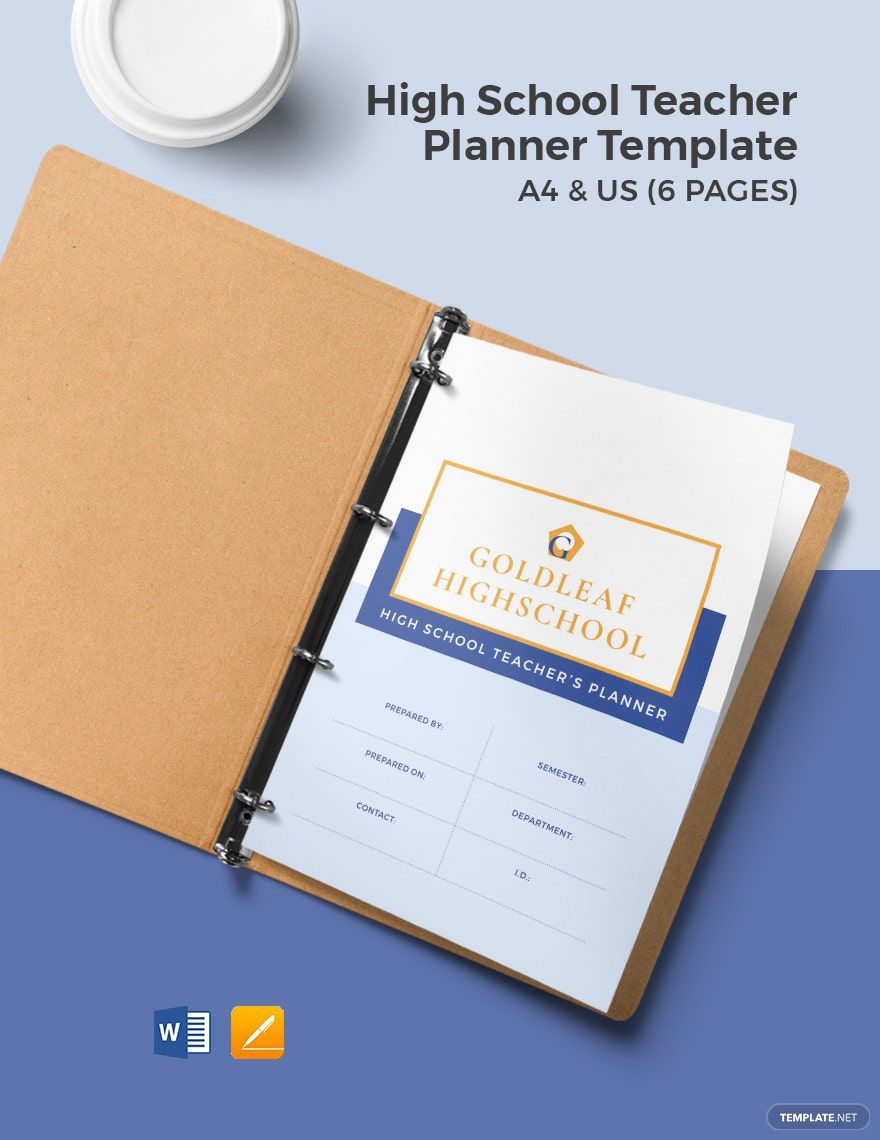
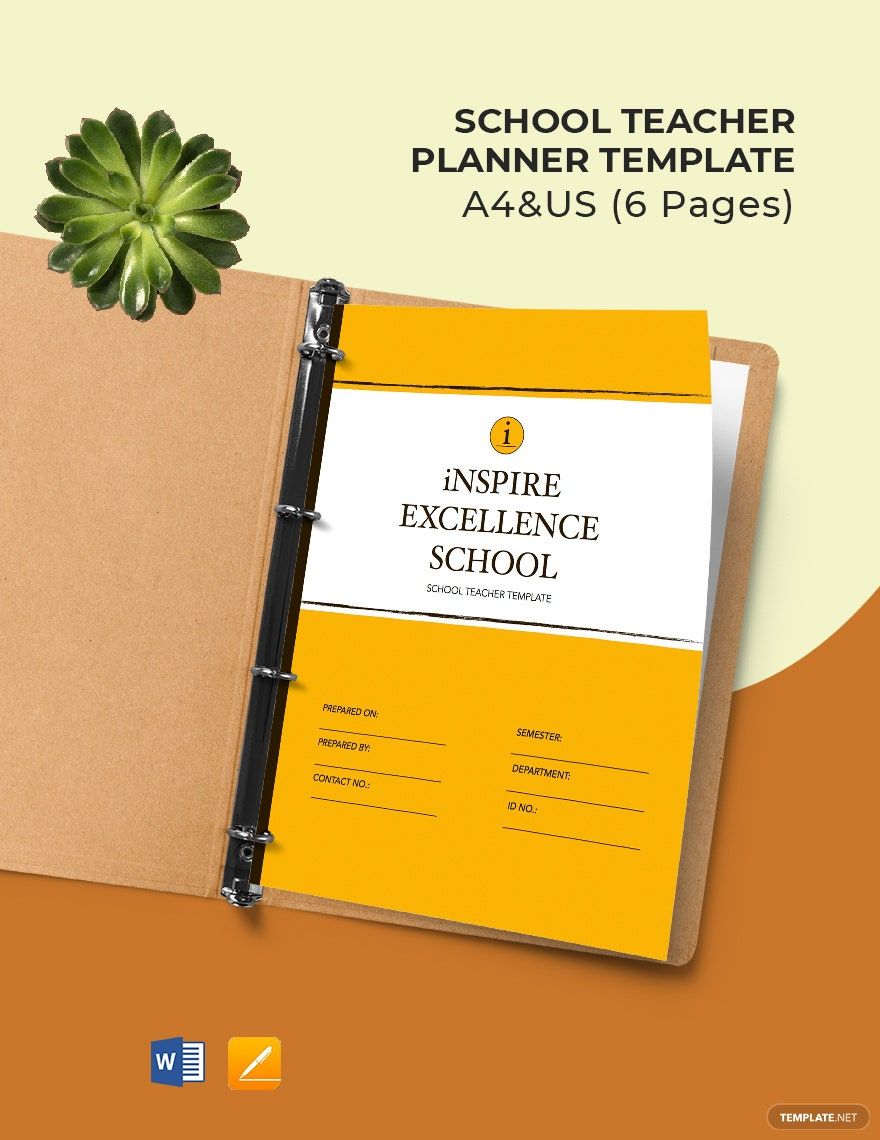
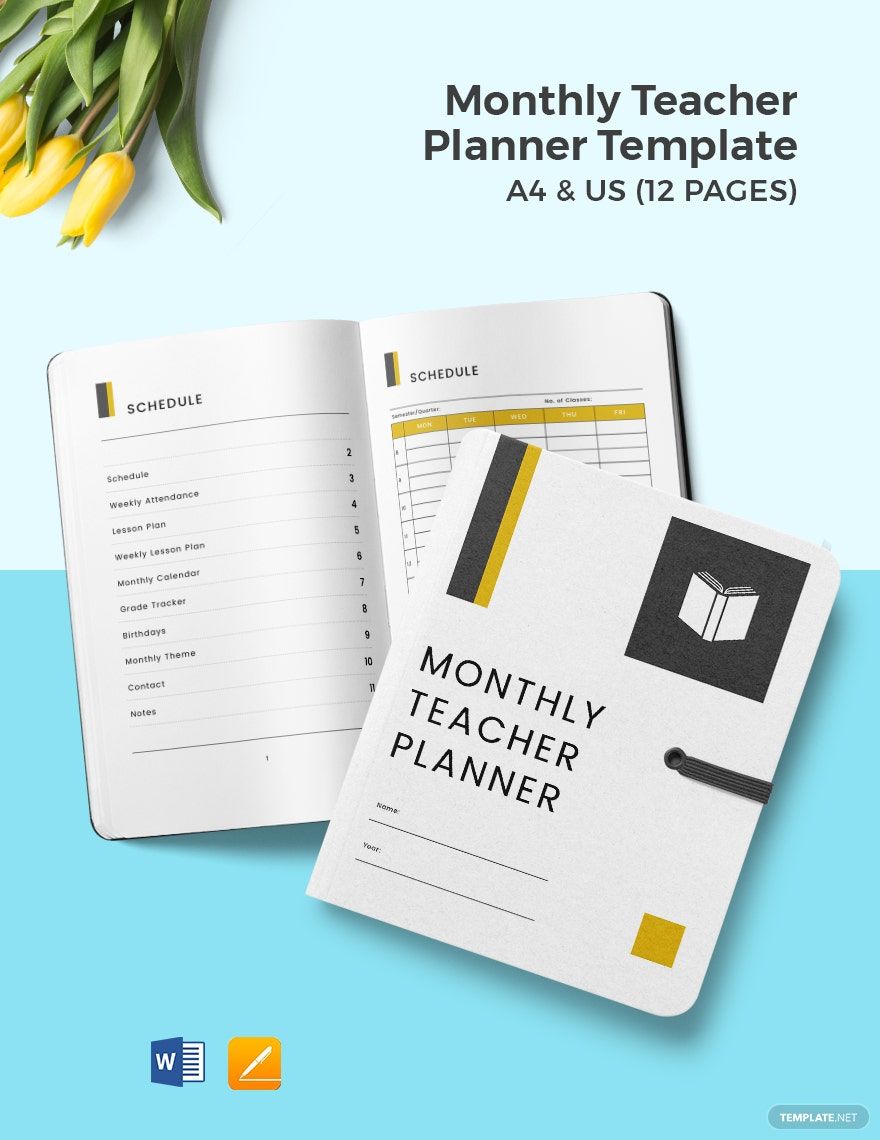
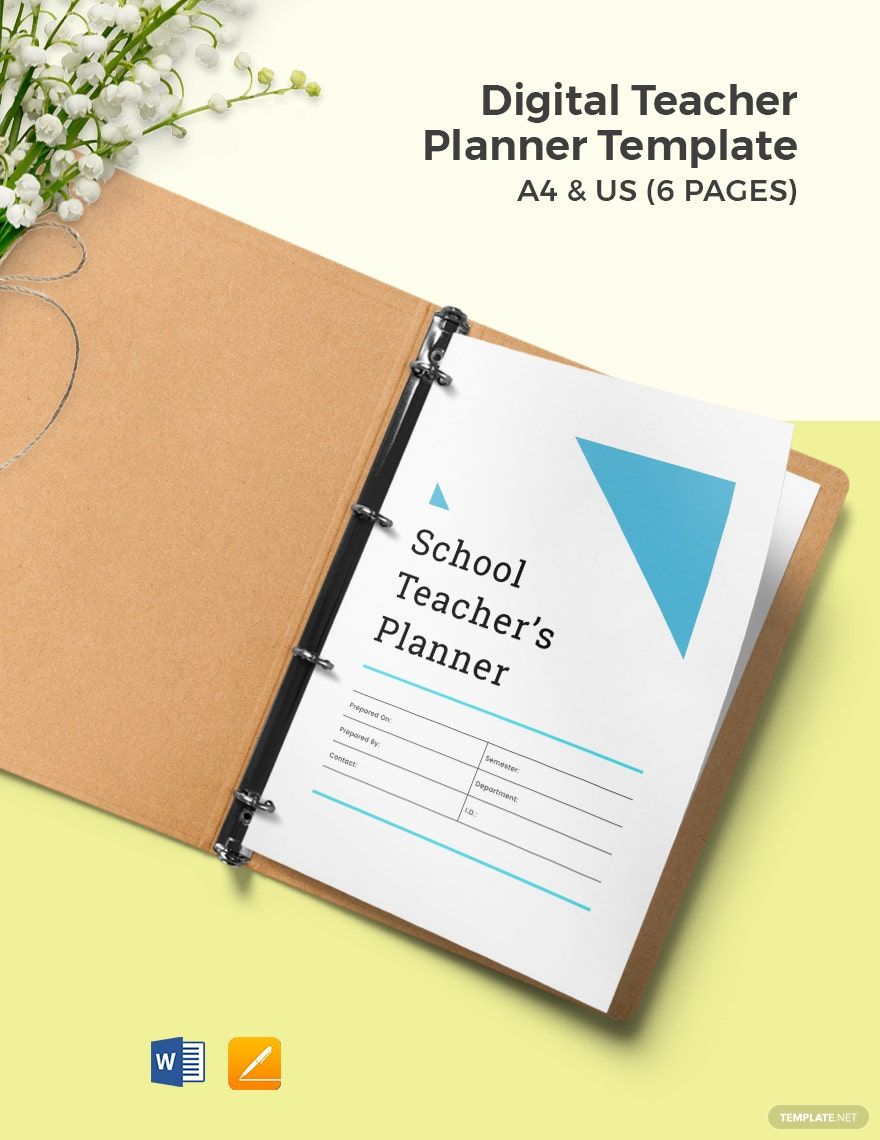
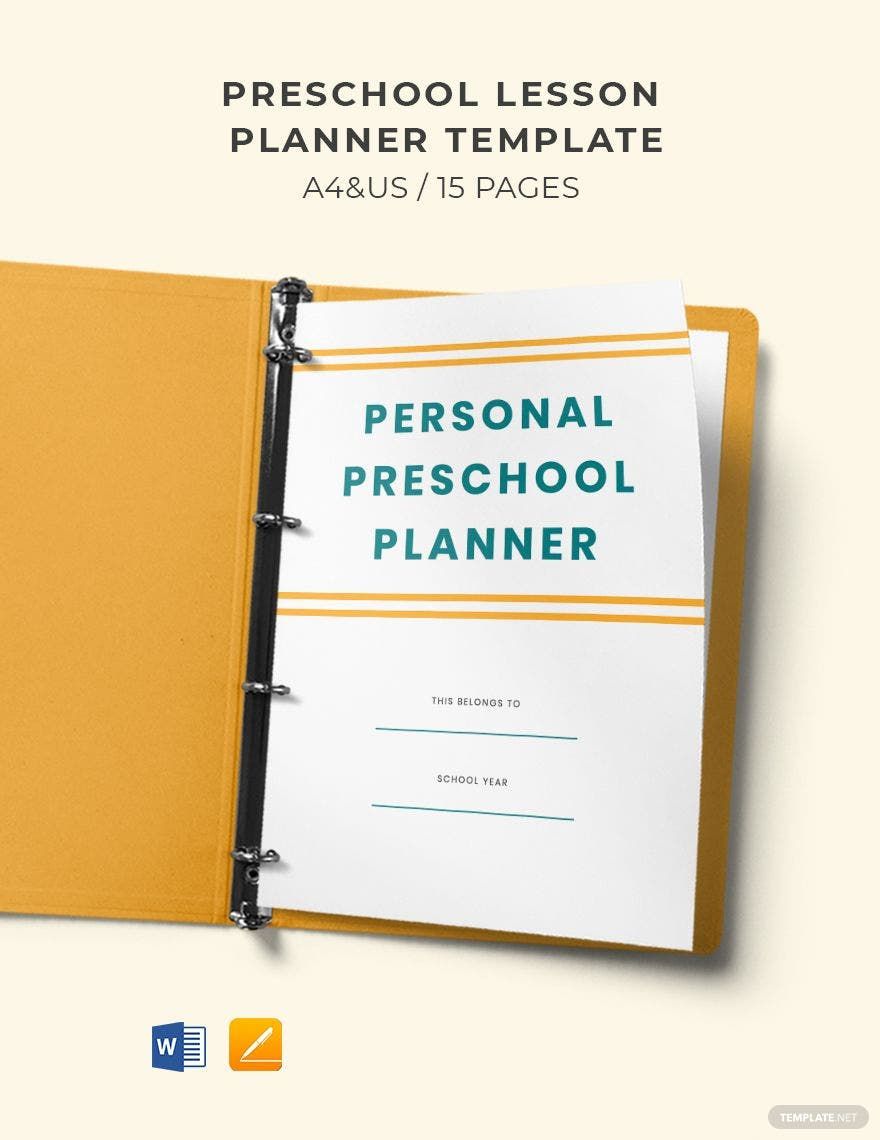
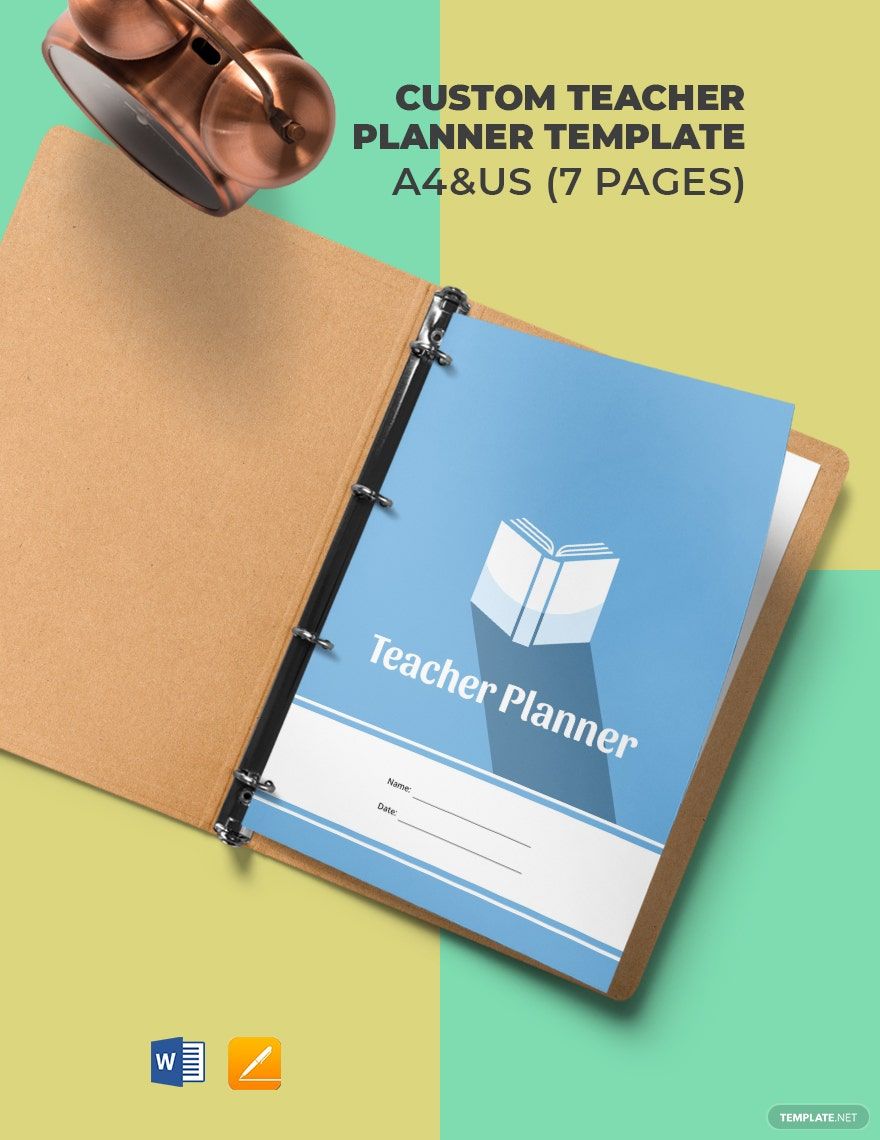
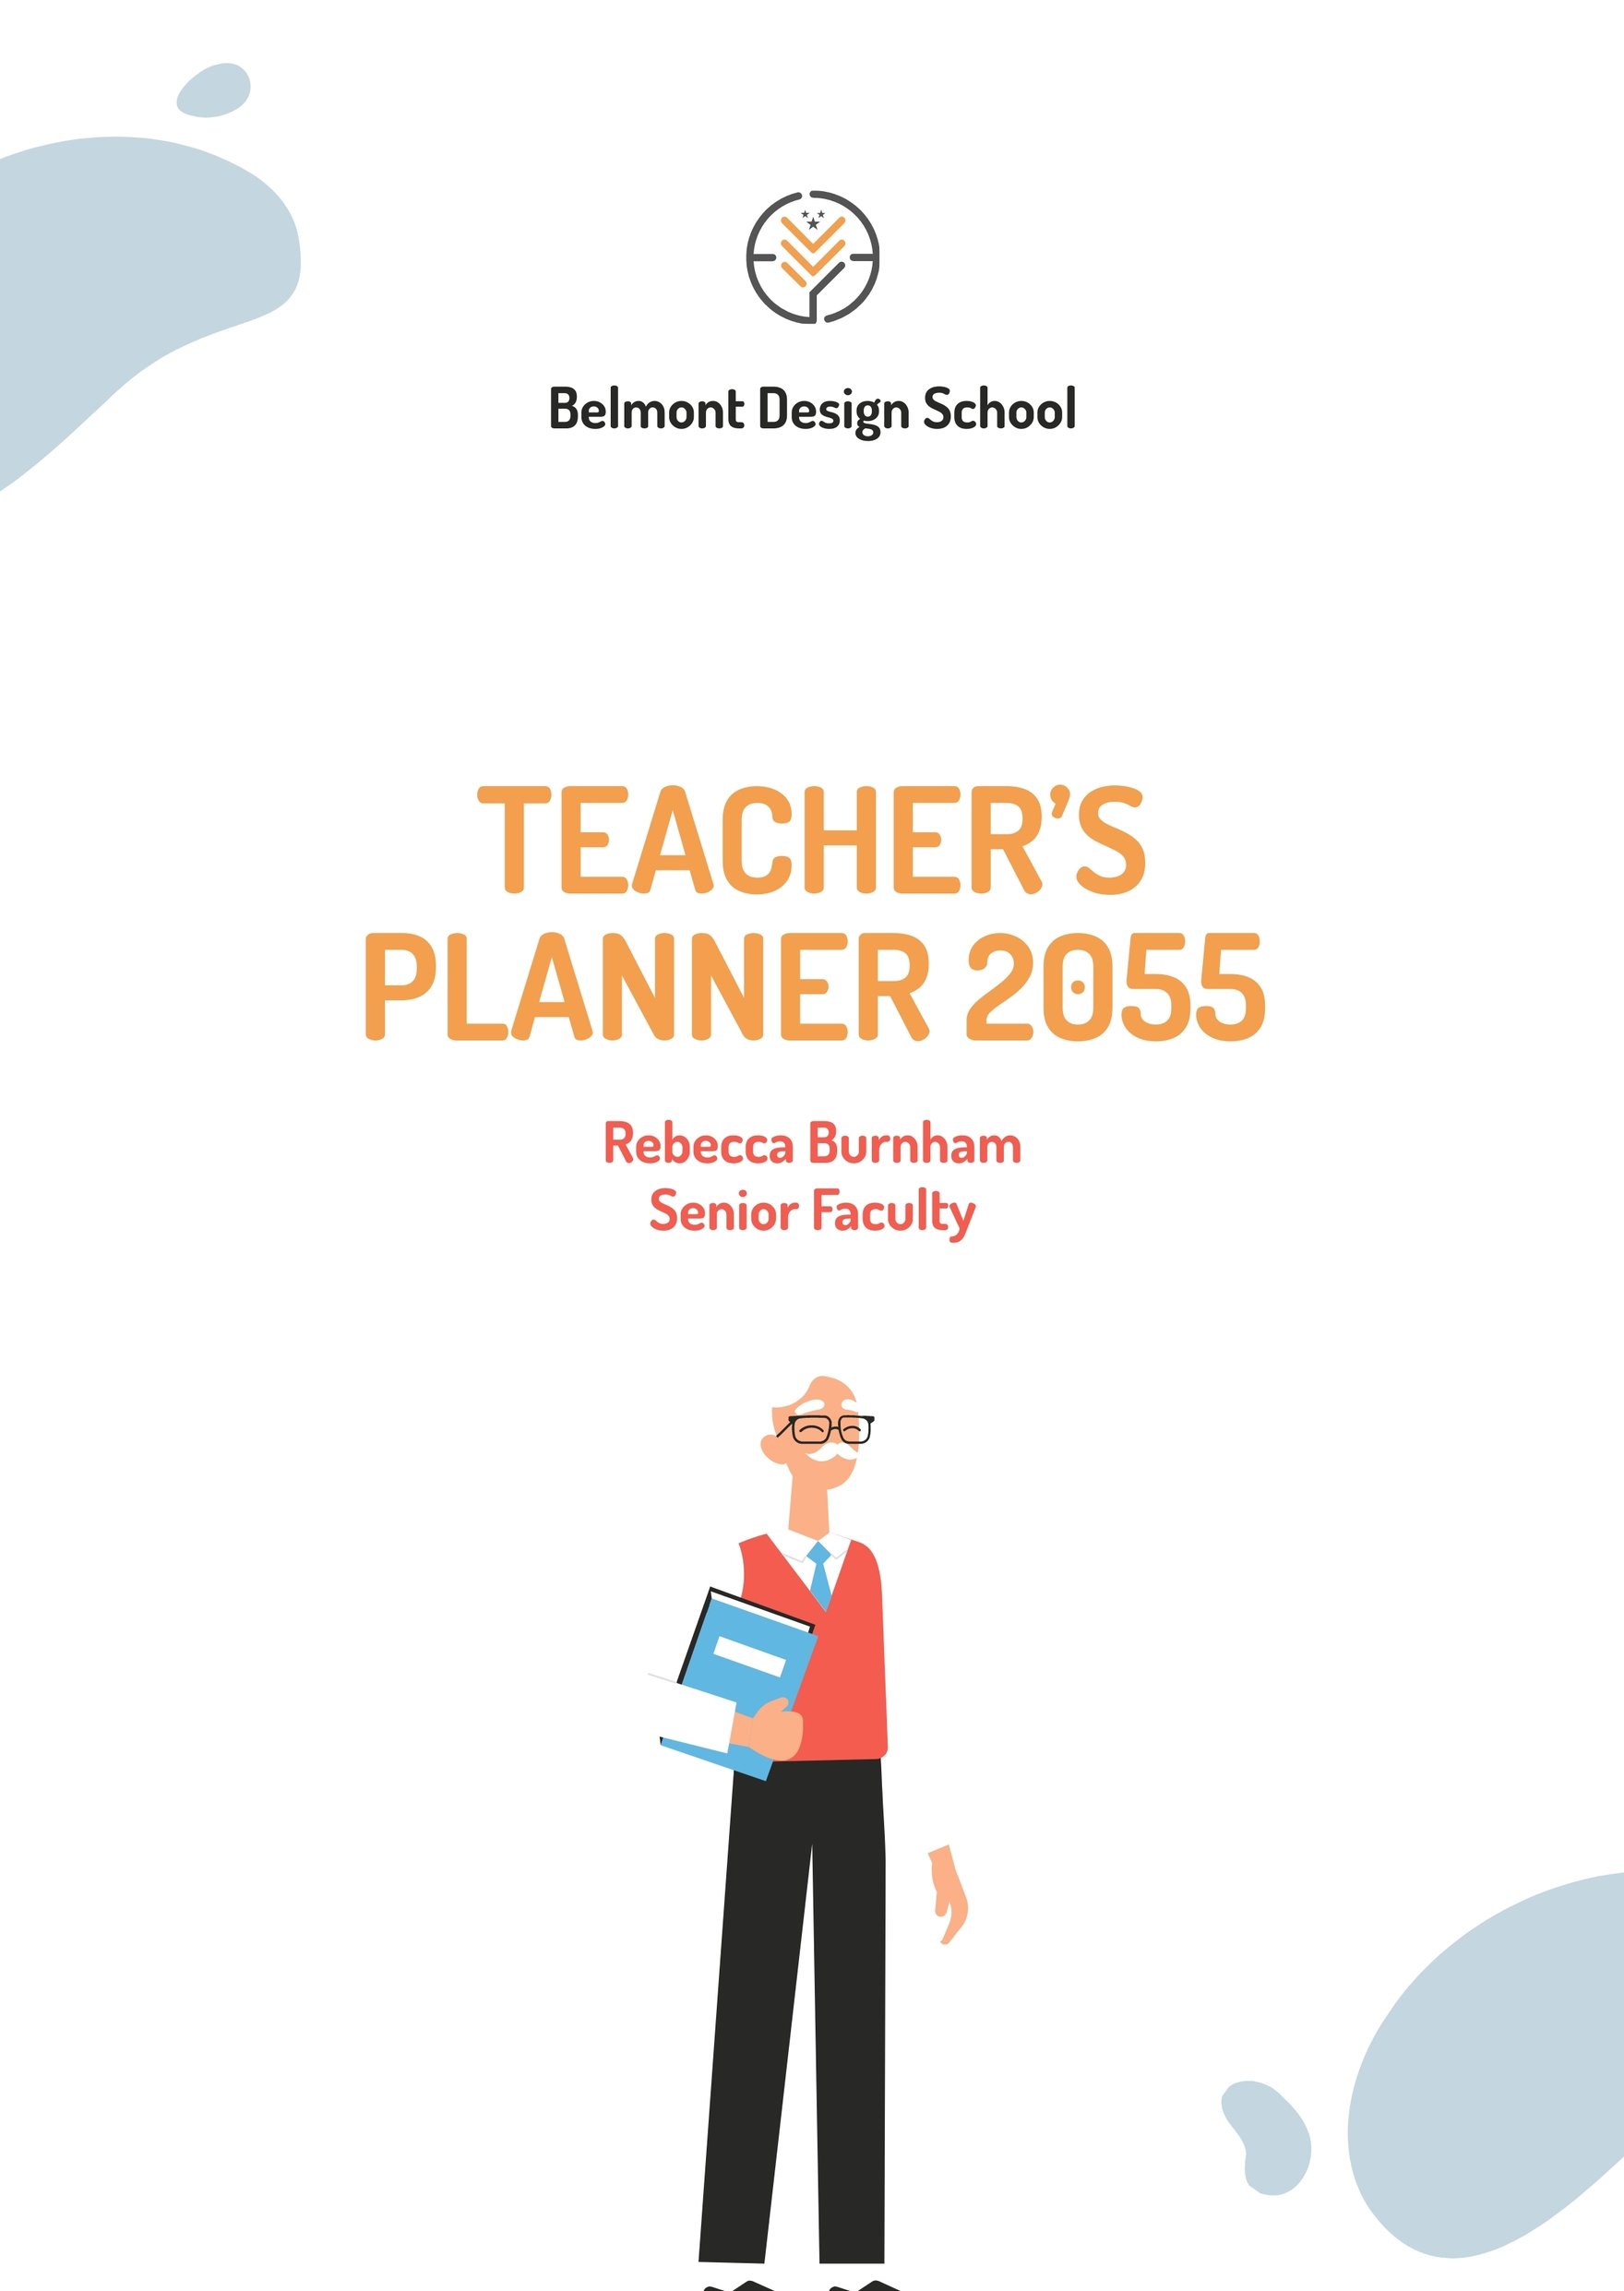
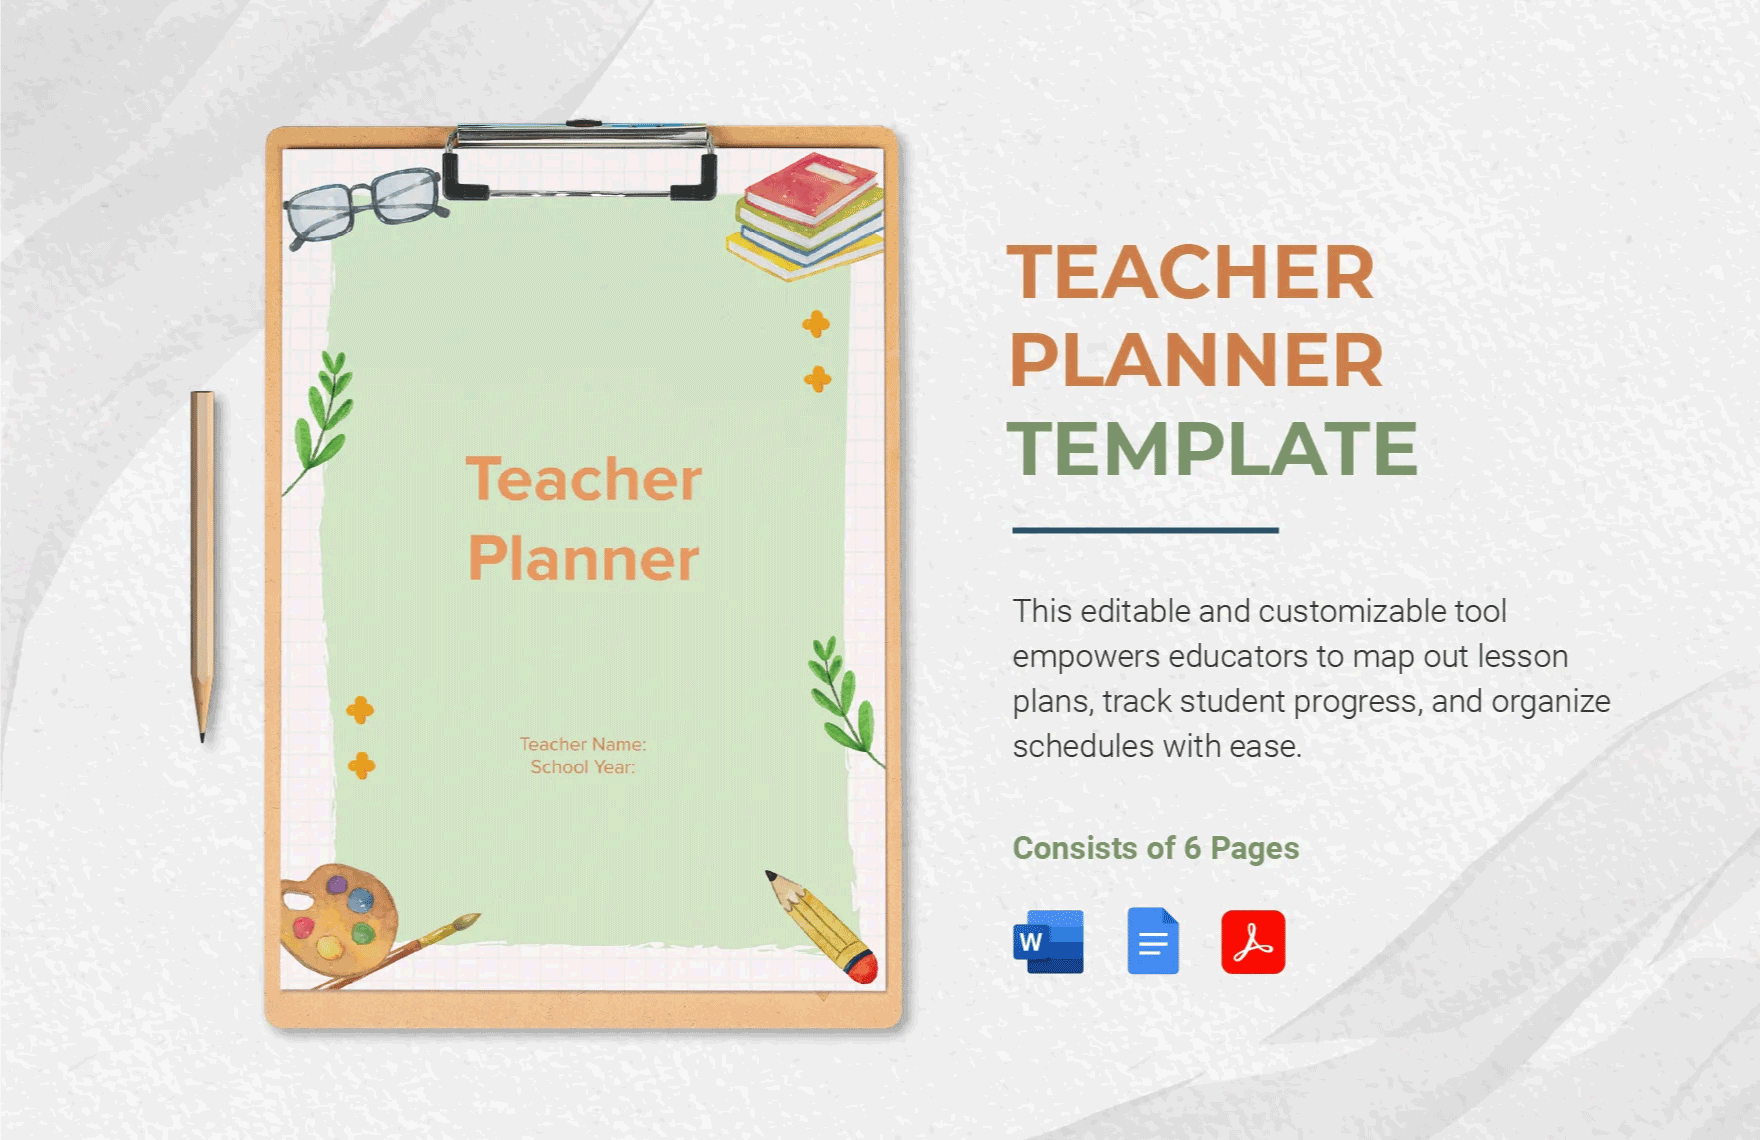
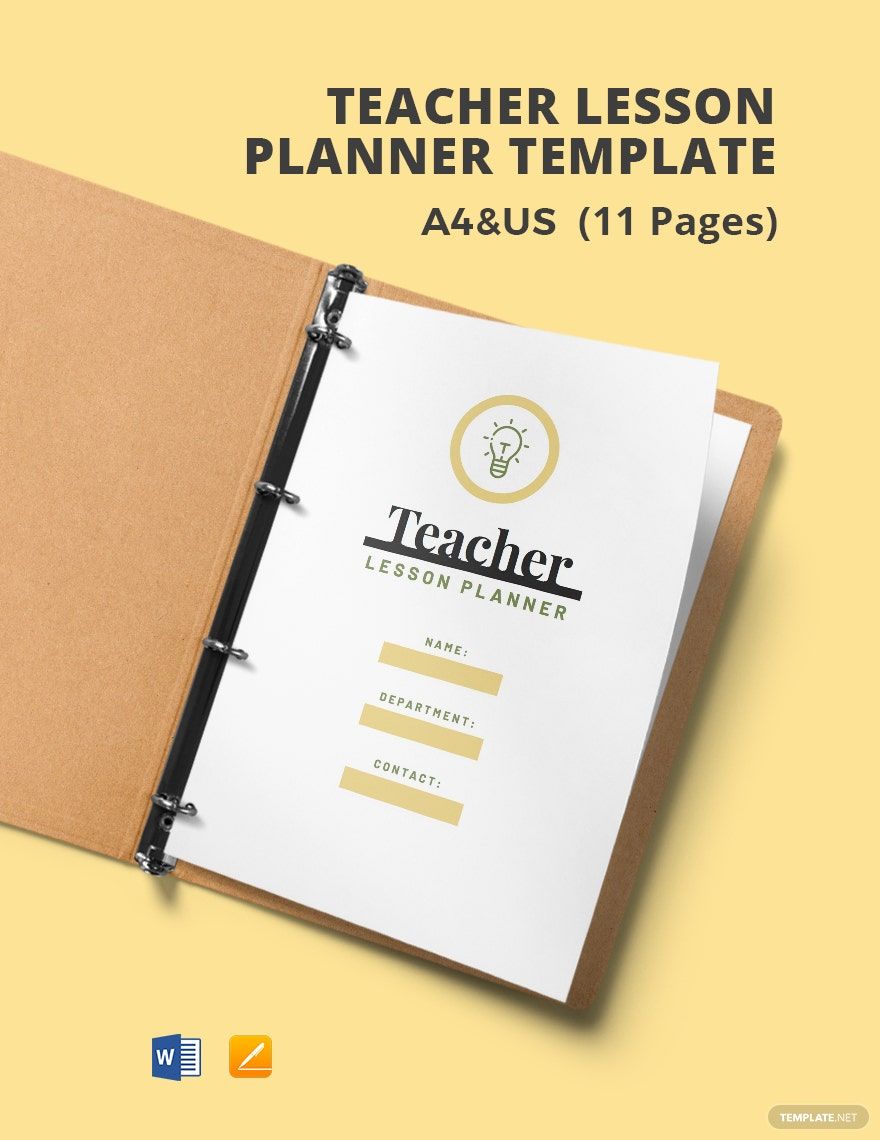
Whether you are a preschool or a primary school teacher, keeping yourself organized and on track is important. Don't have a planner to keep all your school schedules, to-do lists, and teaching plans yet? Worry no more. We have a wide array of ready-made Teacher Planner Templates in MS Word and Apple Pages that will keep you organized and can help you maintain a standard teaching pattern. These high-quality templates are instantly editable, printable, and 100% customizable. Available in A4 and US Letter sizes. What are you waiting for? Start organizing all your school stuff today by using our ready-made Teacher Planner Templates.
How To Make A Teacher Planner in Word
The primary task of teachers is to deliver instructions that will help students learn. With so many things to accomplish, such as preparing effective daily lessons, managing the classroom, grading the students' works, etc. it's hard to keep track of everything and maintain an effective teaching method. There should be preparation and planning to become an effective teacher, as well as improve student performance.
A teacher planner is a binder that contains teaching planning information. It serves as an organizer, so the teacher can keep track of his or her ongoing and future teacher plans with ease. Having one is essential, not only because it keeps you organized, but because it can help you identify your teaching method so that you can maintain a standard teaching pattern. Create a teacher planner with ease using Word and by following our guide below.
1. Start with your Calendar
The first page of your planner should be your calendar, so you're greeted by your schedule every time you open the planner. Doing so will ensure that you'll not forget any important events or agenda. Create a weekly or monthly calendar format. To manually create a calendar in Word, use Tables, found in the Insert Tab. Ensure there is enough room for you to write on.
2. Create Your To-Do List Section
There are two layout options for creating your To-Do List section: vertical or horizontal. Horizontal layouts are perfect for writing longer tasks, while vertical arrangements are perfect if you don't have many tasks. You can also combine the two, so you can make more categories. It all goes down to your preference. It's best to have one page per week, so you'll have more room to write on for your daily activities.
3. Create Your Lesson Plan Section
Some teachers prefer to separate their lesson plans from their planner. But combining the two gives you the advantage of having to carry one binder only. Your lesson plan section must have clear address labels. Also, make sure to provide a bigger space for your notes.
4. Design
Design your planner according to your personality. Be creative. Don't go with a plain and boring planner. You want to smile and be excited every time you look at and use your planner, so make it look quirky and fun. Incorporate typography for your labels. Play with colors and fonts. Add aesthetically-pleasing designs and fun stickers. Instead of the standard box, use frames to categorize your weekly to-do list. You can check out bullet journals for inspiration. To avoid the hassle and save time, use our beautifully designed ready-made planner templates.
5. Use Sticky Notes and Colored Pens
Every time you note down an agenda or task, use colored pens. Doing so will not only make your planner look fun; this will help you categorize the agendas and tasks as well. Use sticky notes instead of marking down the calendar directly if you're not sure whether you'll attend a particular event.