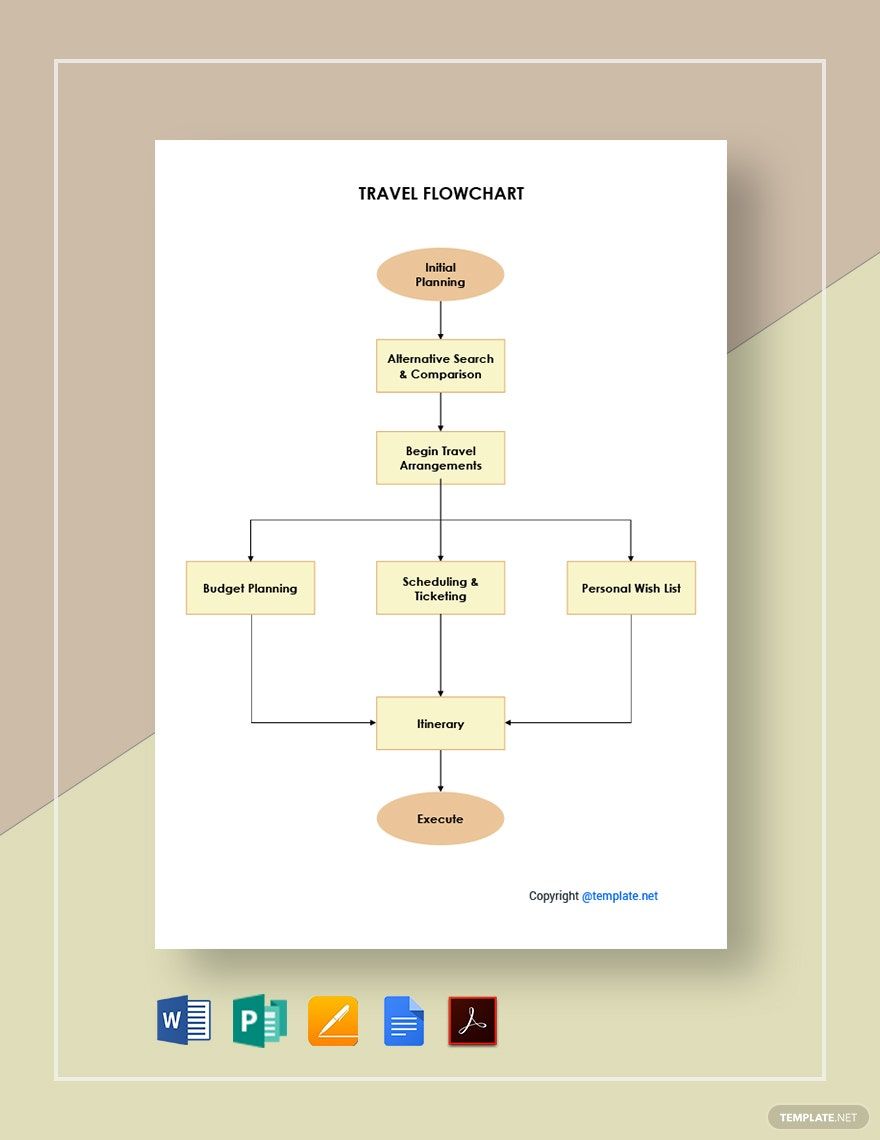
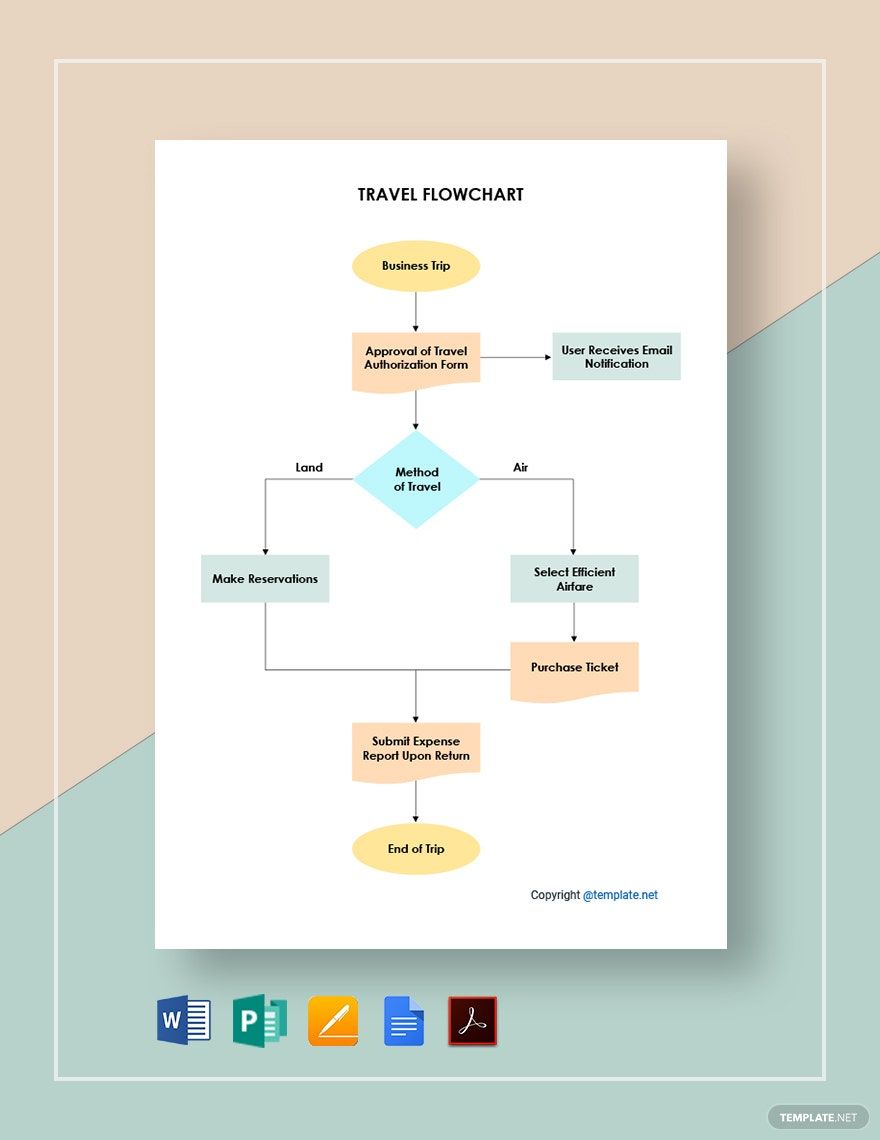
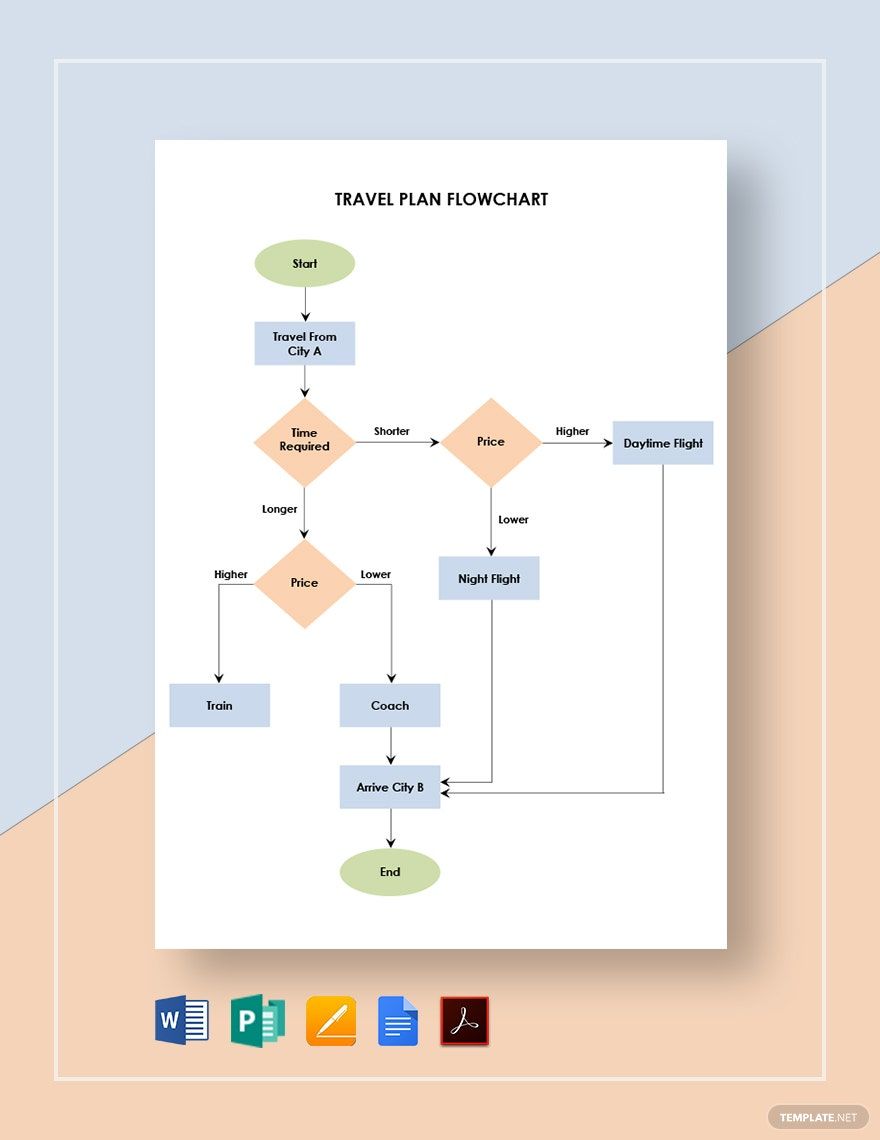
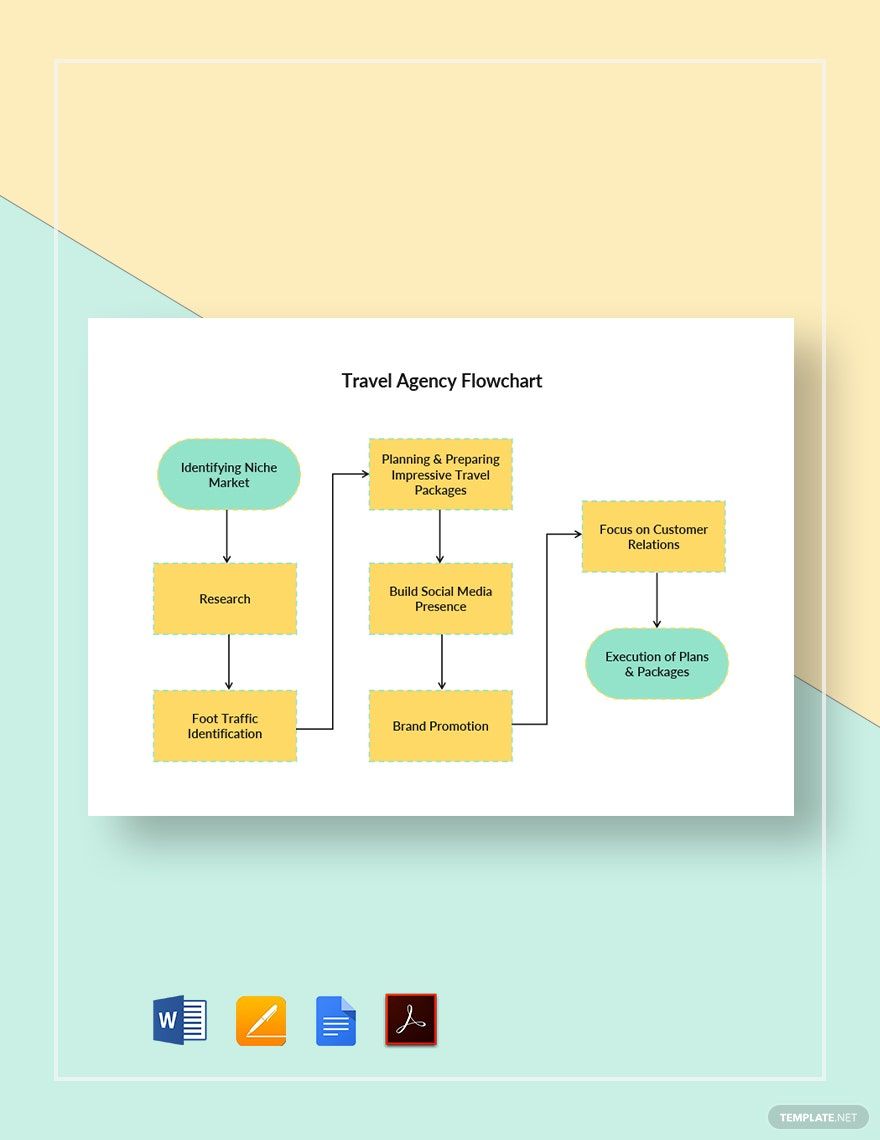
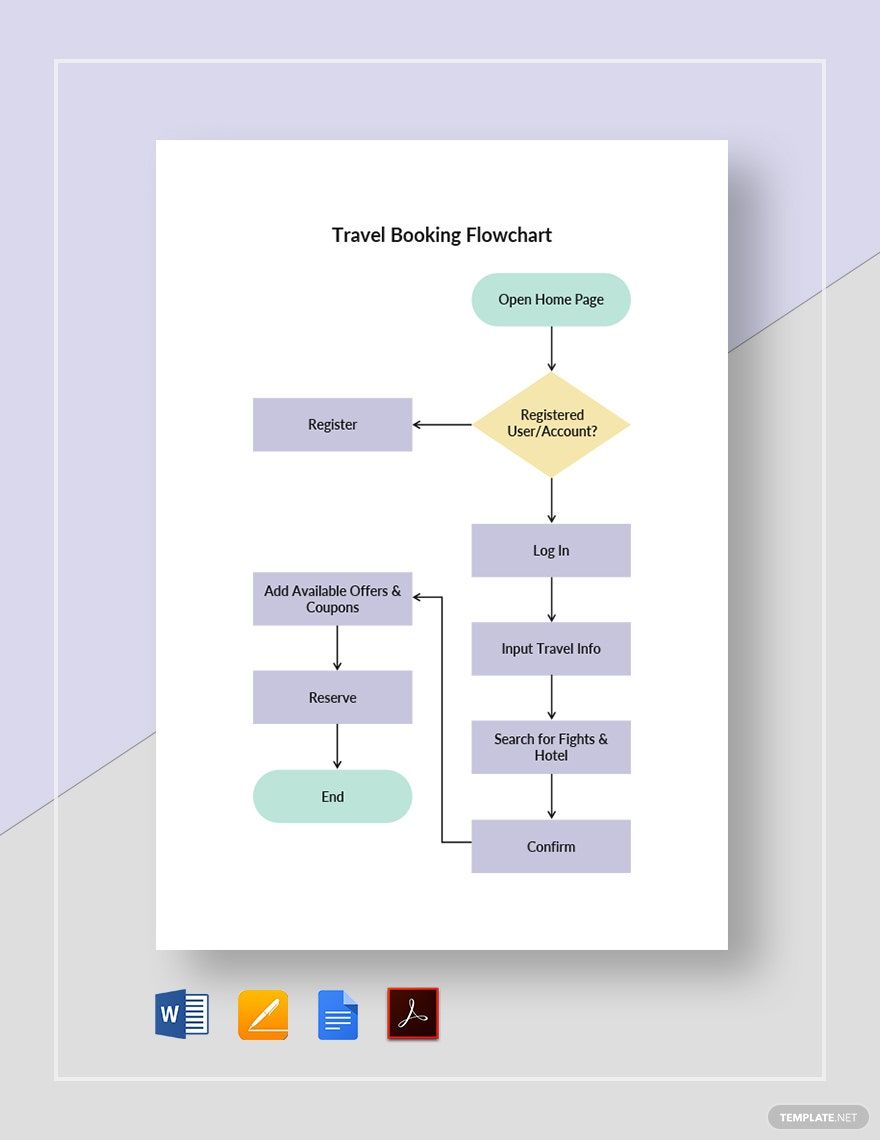
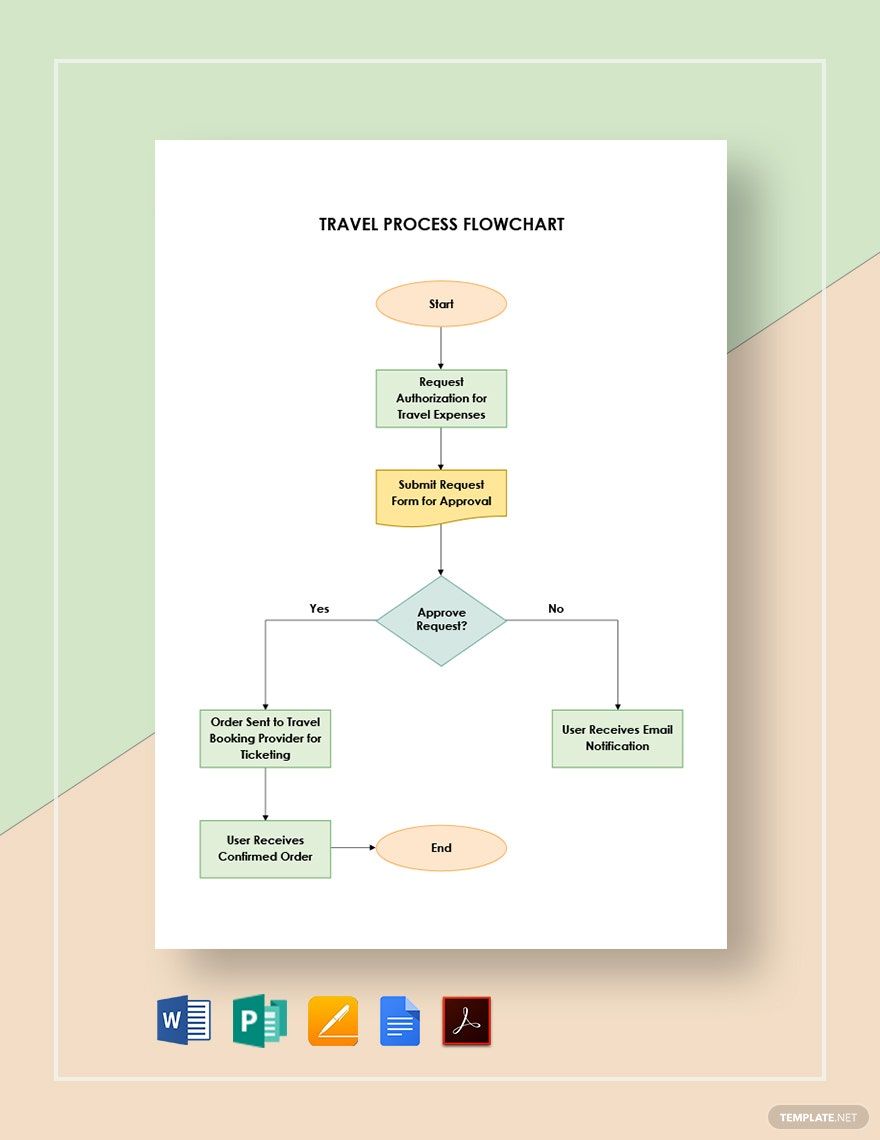
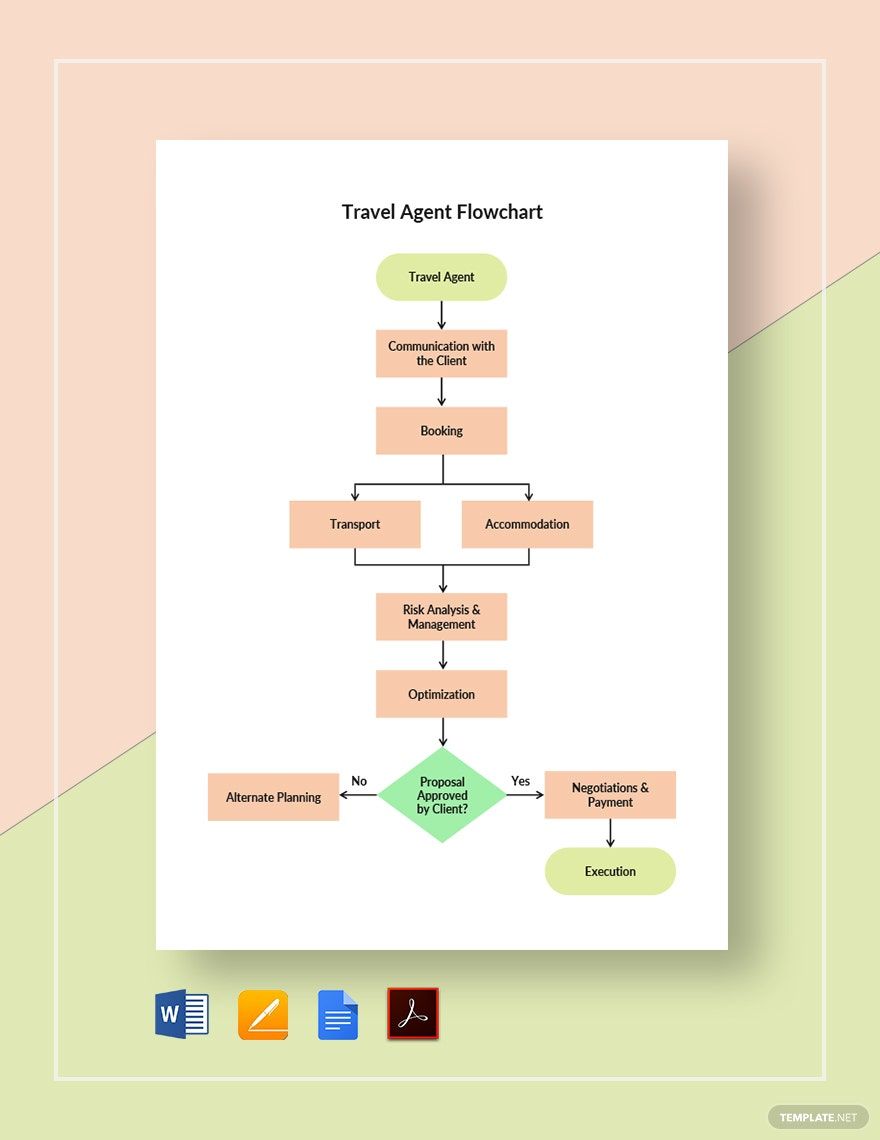
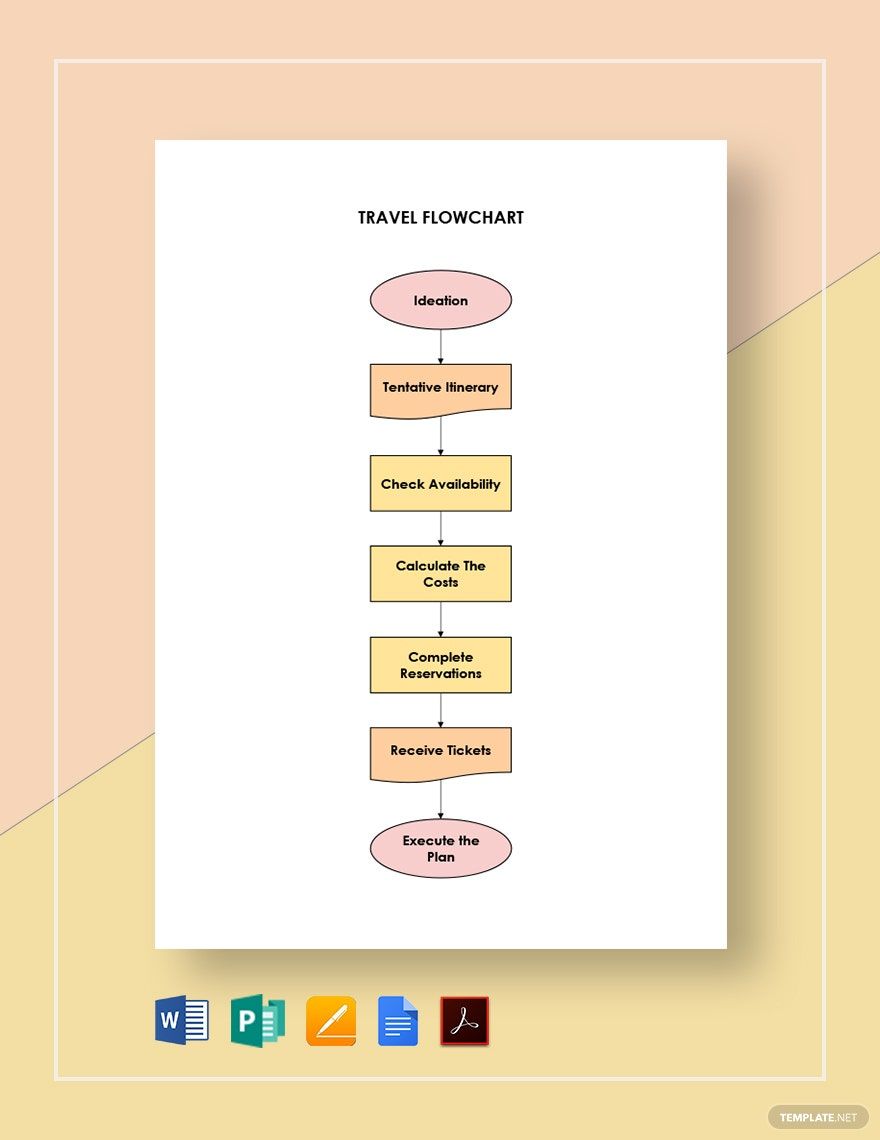
Travel vacations are supposed to be fun and exciting, and so does your trip planning should be. It's important to plan ahead of time so that everything will go according to plan. Are you traveling with your family or friends soon? If yes, then you'll surely benefit from our Ready-Made Travel Flowcharts in Word, Google Docs, Pages, Editable PDF, and Publisher. These downloadable, editable, and printable chart templates will serve as your guide for a smooth travel process and journey. Available in A4 and US Letter sizes. So, what are you waiting for? Hurry and download our Ready-Made Travel Flowcharts today!
How To Create A Travel Flowchart In Word
Visiting one of the amazing places in the world is one of the best ways of destressing yourself from the hustle and bustle of city life. However, going to another country, you aren't familiar with is not easy. For instance, if you're going on a tour to a place where you don't speak the language, you could have a hard time communicating with the locals. With this, getting instructions on where to find or how to go to a particular place can be hard. Thus, a need for you to have a tourist guide.
A flowchart is a document that provides a process or workflow. For a tourist, this can serve as a guide. With this, you can expect a smooth travel process, starting from your flight booking up to your sightseeing. Follow the steps below to create a travel flowchart for your upcoming holiday getaway.
1. Do your Research
Thorough research and planning are important for every travel. How would you know how much budget you need, which tourist spots should you visit, and how to go to places if you don't research? Make sure you list down what you've researched so that you won't forget.
2. Create the Steps
Your steps should start with choosing a travel destination and end with going home. Use what you've researched in creating the steps. Keep your schedule in mind to ensure that each day of the trip is full of adventures. Schedule your daily trips based on the location of places to manage your time efficiently. If you're going on a group, ask recommendations from them, so the steps are convenient on their part as well. List the steps in order so it would be easy for you to form the chart later on. Remember, steps must be precise and concise.
3. Start forming the Chart
Create a new document in Microsoft Word, then add a shape. The shapes and lines in Word are located under the Insert Tab. Commonly used shapes for flowcharts are rounded rectangular and diamond shapes. Input a step for every shape, and connect them using lines or arrows. Use both horizontal and vertical layout in forming the chart so it will not look too long or too wide.
4. Add minimal Designs
Flowcharts don't necessarily need designs. What's important are its content, so keep it simple. But it doesn't mean that you should skip designing them. Add color to the shapes so it would look alive and not too formal. Keep the shape in the same sizes by only changing the font size whenever you run out of space to write on. The text must be easy to read, so be cautious of the font size you use.
5. Proofread and Revise
Making mistakes are normal. That's why you must proofread your flowchart after you're done forming it. Carefully review each step and revise it if needed. Once satisfied, hit Save and print it out and use it later during the trip.
