


How to Change Column Width in Microsoft Excel
Microsoft Excel offers a versatile platform for adjusting column widths, ensuring your spreadsheets are clear and professional. This guide provides instructions on customizing column dimensions to enhance the readability and presentation of your data, essential for creating organized and effective spreadsheets.

Change Column Width in Microsoft Excel
-
1. Use the Mouse
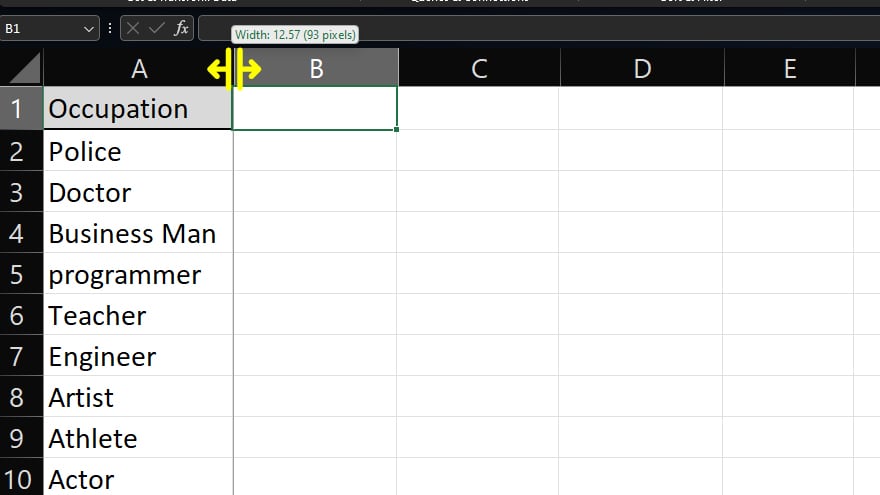
One of the most straightforward methods to adjust column width in Microsoft Excel is by using the mouse. This user-friendly approach requires no in-depth knowledge of Excel’s intricate menu systems. Open your Excel spreadsheet and identify the column you wish to modify. Hover your cursor over the right edge of the column header, which will transform into a line with two arrows. Click and hold, then drag the edge to your preferred width. Releasing the mouse button finalizes the new width. While this method is quick and efficient for on-the-fly adjustments, it lacks precision for specific width requirements.
-
2. Use the Format Menu

For more precise control over column widths beyond how to add a column in Microsoft Excel, the Format menu is your go-to tool. Start by opening your spreadsheet and selecting the column(s) you need to adjust. Navigate to the Home tab, find the Format button in the Cells group, and click it. Choose ‘Column Width’ from the dropdown menu, input your desired width in characters, and confirm by clicking OK. The maximum width permissible in Excel is 255 characters, allowing considerable flexibility for various data presentations.
-
3. Use the Ribbon
The Ribbon in Excel, a feature-rich toolbar system, also offers a way to modify column widths. Open your spreadsheet and select the desired column(s). On the Home tab of the Ribbon, locate and click on the Format button in the Cells group. Select ‘Column Width’ under the Cell Size option, enter the width value you need, and click OK to apply the changes. This method mirrors the Format menu procedure but can be faster for users more accustomed to the Ribbon interface in Excel. Also, explore more tips about this on the 25 Excel shortcuts for adjusting column width.
You may also find valuable insights in the following articles offering tips for Microsoft Excel:
4. Automatically Adjust Column Width
Excel’s functionality extends to automatically adjusting column widths to accommodate varying data lengths within cells. To use this feature, double-click the right edge of the column header. This action prompts Excel to resize the column to fit the longest cell entry. Alternatively, the AutoFit Column Width option, accessible through both the Format menu and the Ribbon, achieves the same result. Use the Excel AutoFit column width shortcut when working with multiple columns, ensuring a consistent and tidy appearance across your spreadsheet.
FAQs
What is a column width in Microsoft Excel?
Column width in Excel refers to the horizontal dimension of a column, determining how much content can be visibly displayed in each cell of that column.
How can I quickly adjust the width of a column in Excel?
Double-click the right edge of the column header for an automatic fit to the longest cell entry.
Is there a way to set a specific column width in Excel?
Use the ‘Column Width’ option in the Format menu or Ribbon, where you can enter a precise numerical value.
Can I change the width of multiple columns at once in Excel?
Yes, select multiple columns and adjust the width using either the mouse, Format menu or Ribbon.
Does changing the column width in Excel affect the data inside the cells?
No, it only alters the display size of the column, not the data contained within it.
More in Excel

