


How To Create/Write a Simple Invoice Template in Microsoft Excel
How to Write a Simple Invoice in Google Sheets
Simple Invoice templates streamline billing and accounting for freelancers and small businesses. At Template.net, you may discoverable customizable options, ensuring your invoicing is professional and efficient. It is perfect for those looking for a quick and easy billing solution.

Build a Simple Invoice in Google Sheets – Step-by-Step Instructions
Google Sheets is one of the most accessible spreadsheet programs, and it’s arguably the best option for creating an invoice. If you need to create an invoice for your business, just follow this step-by-step guide.
Step 1: Choose a Simple Invoice Template
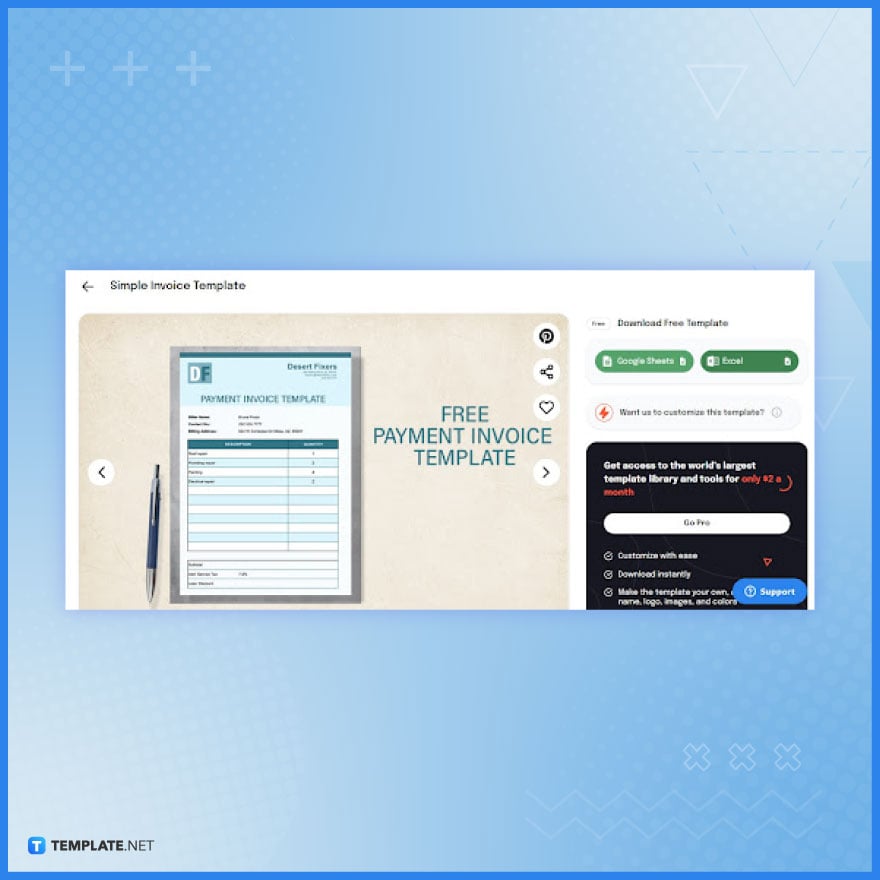 Begin by selecting any templates available on the simple invoice page on Template.net. For this guide, we will be using the Simple Invoice Template because this document is a complete invoice.
Step 2: Access the Simple Invoice Template in Google Sheets
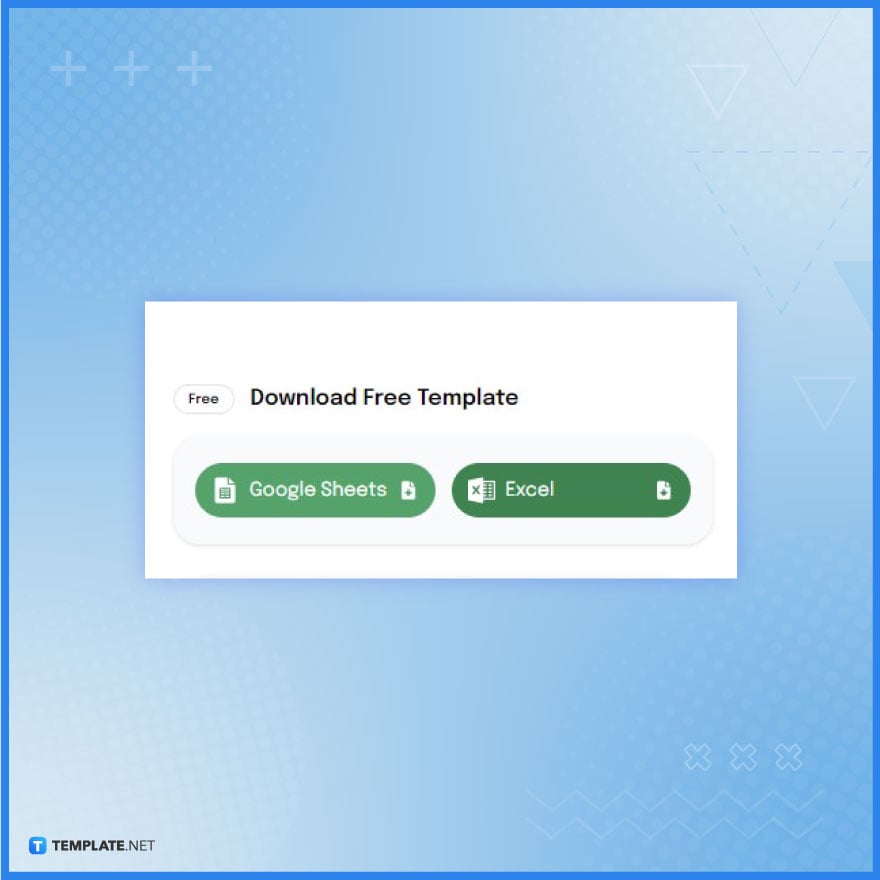
To download or view the Google Sheets version of the Simple Invoice Template, just click the ‘Google Sheets’ button under the ‘Download Free Template’ section. Doing this will open up Google Sheets on the new tab.
Step 3: Click ‘Make a Copy’ to Proceed with the Editing Process
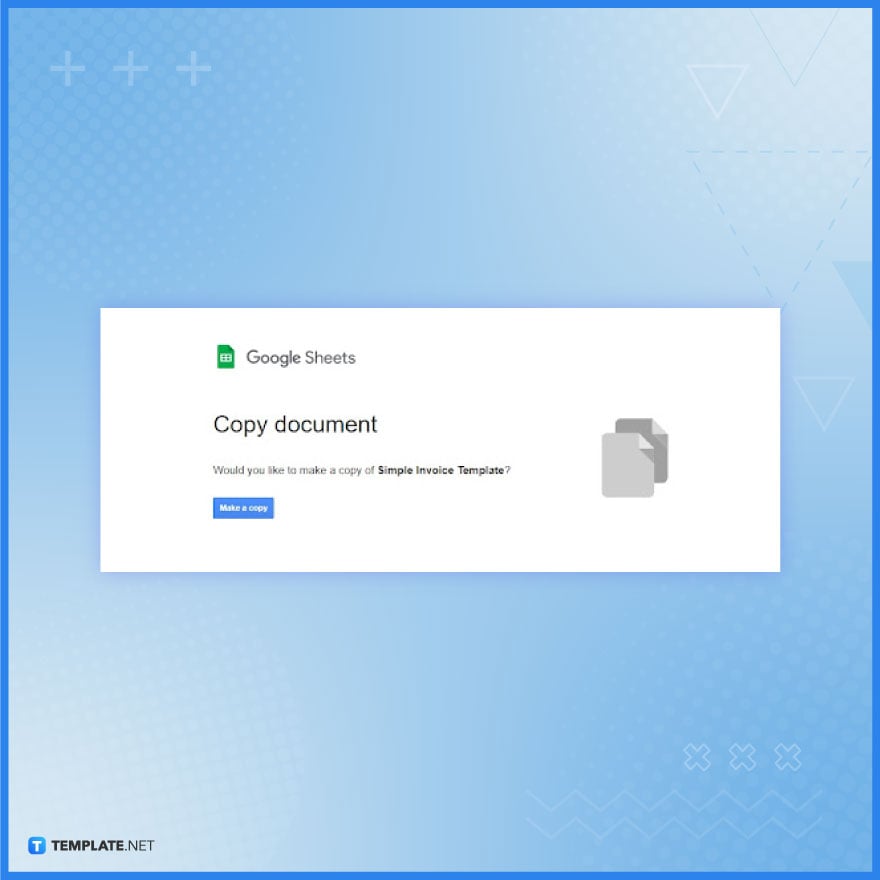
Select the ‘Make a Copy’ button under the “File” tab to get your copy of the template. It’ll be created for you and immediately opened in Google Sheets ready for editing.
Step 4: Display Your Company Nane and Contact Info in the Header
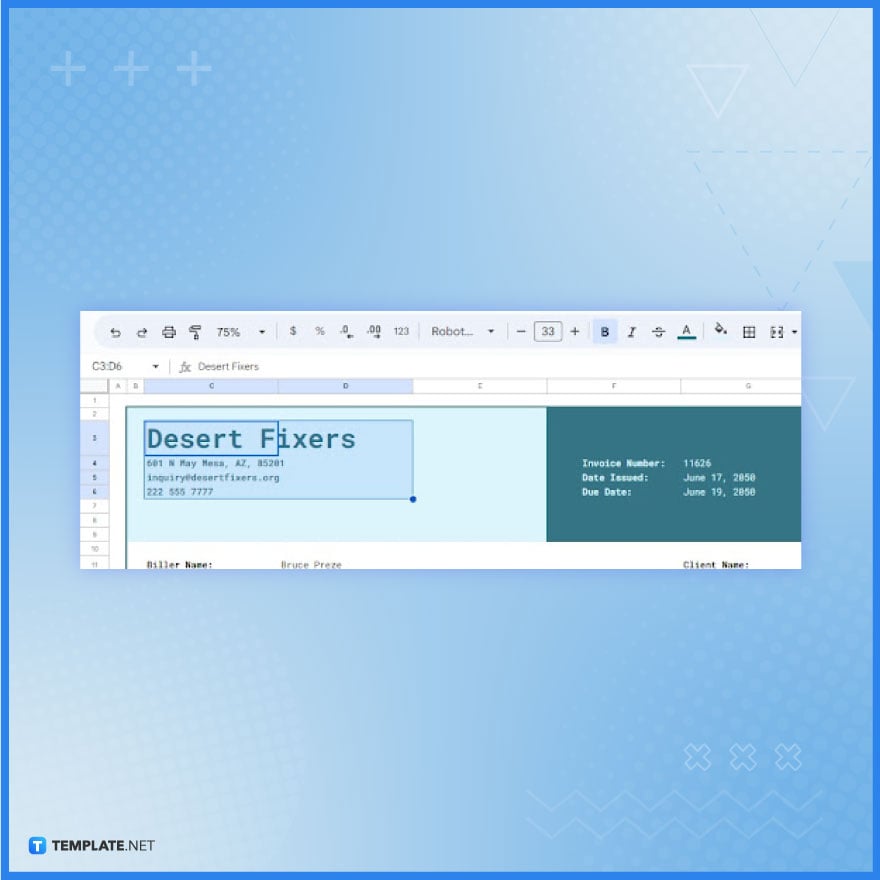
On the left side of the template’s header, write your company name and your contact information below it. Without those two, the invoice won’t be considered valid.
Step 5: Specify Invoice Number, Date Issued, and Due Date
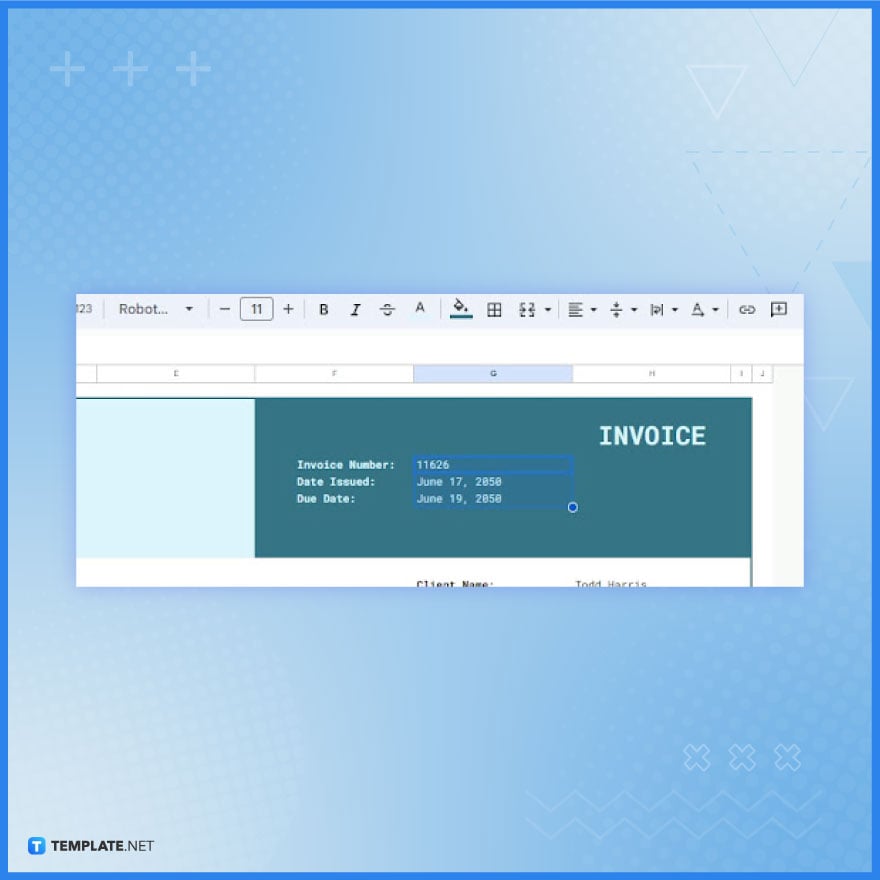
On the upper right side of the invoice template, specify the invoice number, the date when the invoice will be issued, and the due date of the payment. Just replace the sample number and sample date on display in the template.
Step 6: Write the Biller and Client Information
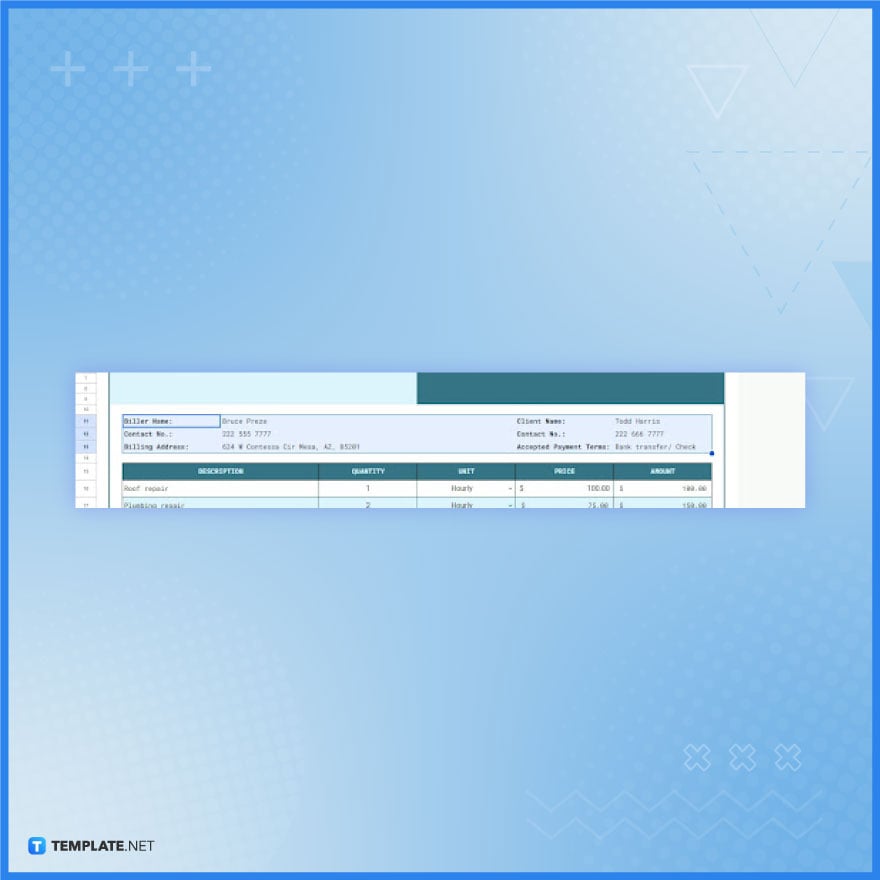
Write the full name of both the biller and client and their respective contact numbers. Also, specify the billing address and the accepted payment terms.
Step 7: Fill in the Necessary Data in the Invoice Table
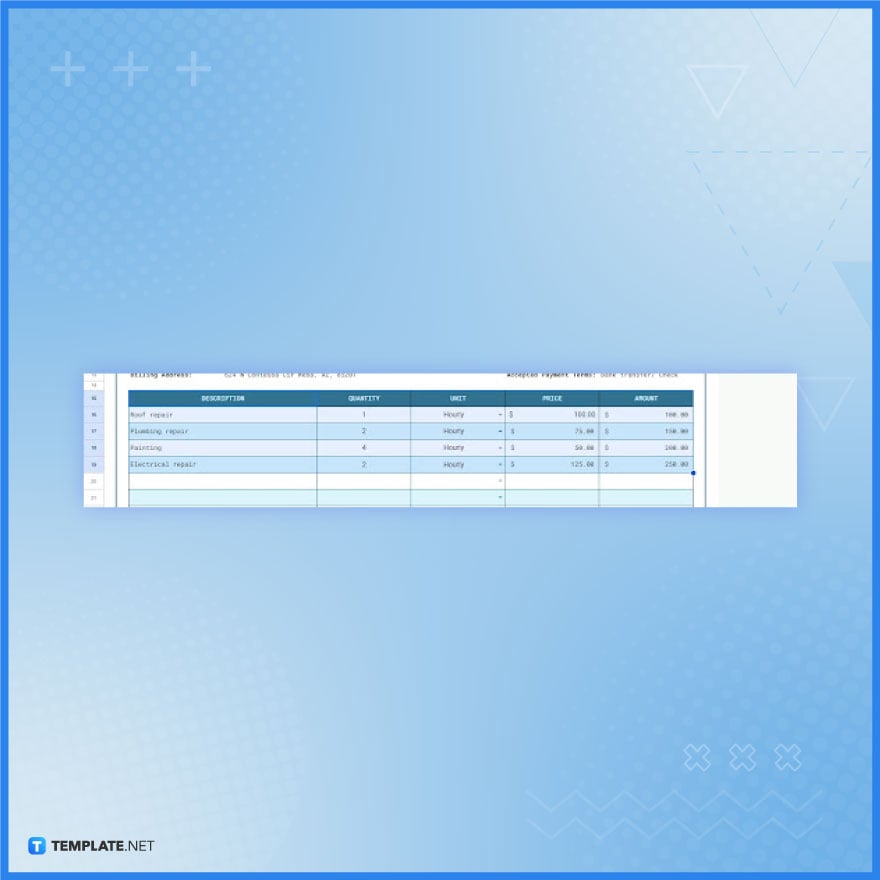
In the invoice table, list the items/services and specify the quantity purchased, prices, and amount. Input the data in the designated columns. The Amount column automatically computes the amount based on the quantity and the price.
Step 8: Compute the Grand Total
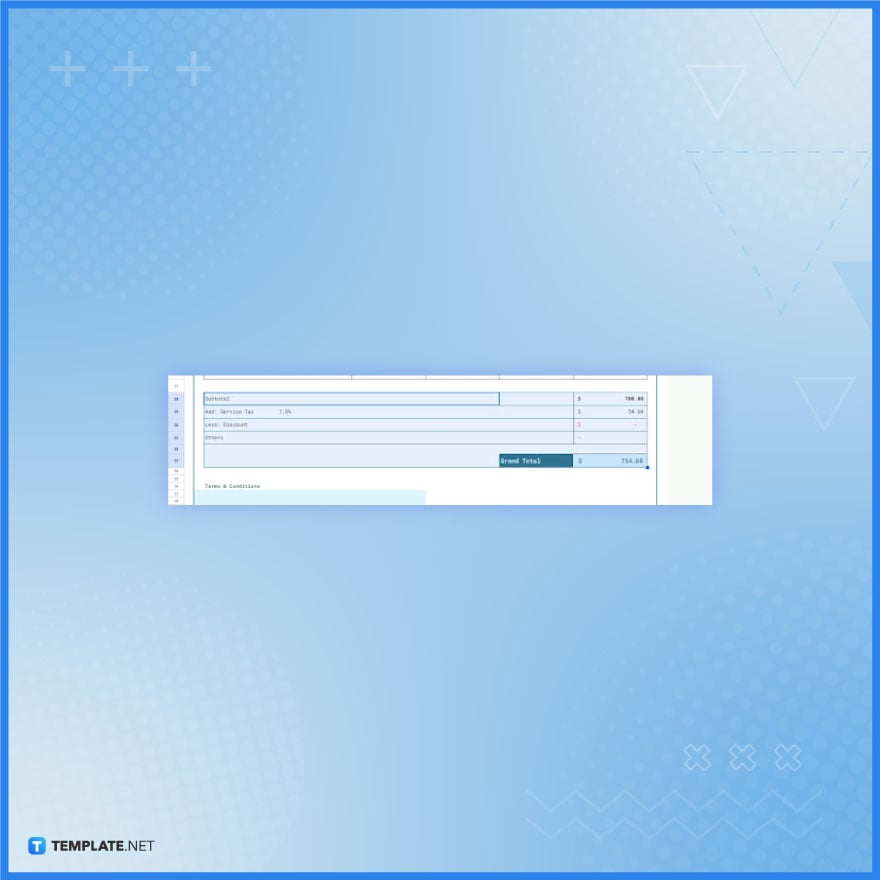
You won’t be computing the subtotal and the total because the template will do that automatically. In this step, all you have to do is specify the service tax percentage, discount, and other factors that affect the total.
Step 9: Write the Terms and Conditions
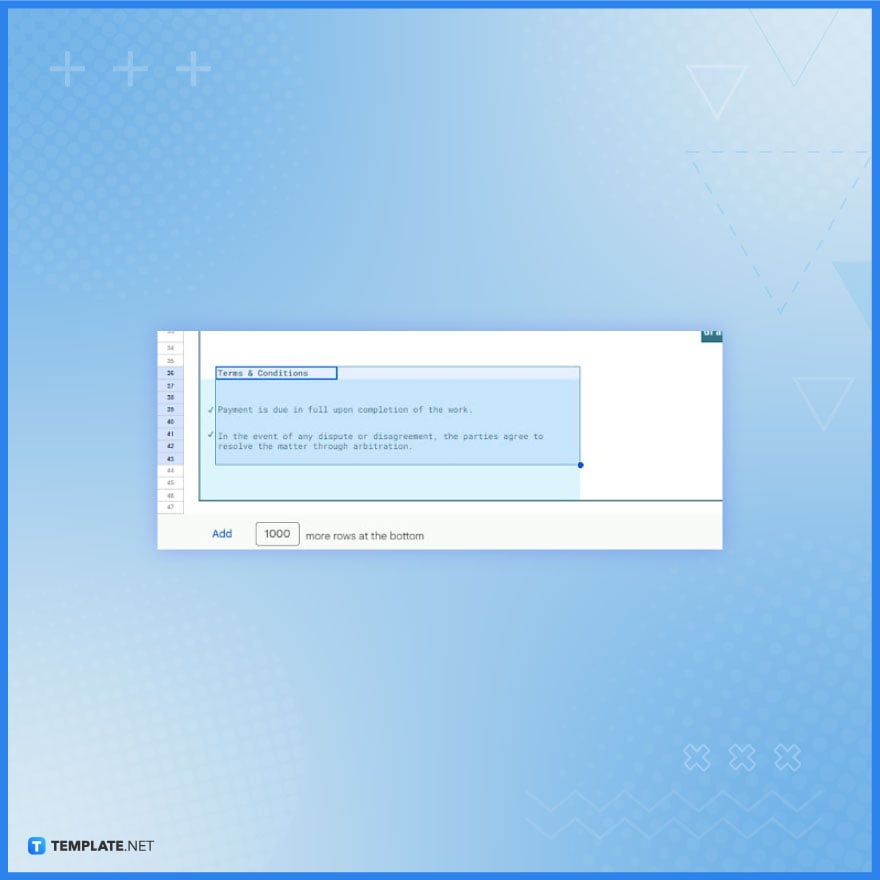
Write the terms and conditions at the end of the invoice. You can use the sample terms and conditions of the template if it meets your requirements.
Step 10: Print the Customized Simple Invoice

Review the invoice and double-check everything. After that, you can then print it. Open the File menu in Google Sheets and click Print.
FAQs
How can I start creating a simple invoice template in Microsoft Excel?
Begin by opening Microsoft Excel and selecting a pre-designed invoice template or creating a new sheet.
What are the essential elements I should include in a simple invoice?
Your invoice should include details such as business information, client details, itemized services/products, prices, and payment terms.
Can I customize an Excel invoice template to match my brand?
Yes, Excel allows you to customize templates with your branding, including logos, color schemes, and fonts.
How do I calculate totals and taxes in an Excel invoice template?
Utilize Excel’s formulas to automatically calculate totals, taxes, and any discounts.
Is it possible to save and send an Excel invoice template electronically?
Absolutely, you can save your invoice as a PDF or Excel file and email it directly to your clients.
More in Excel

