How to Calculate Margin of Error in Microsoft Excel
Microsoft Excel simplifies the process of calculating the margin of error, enabling you to measure the accuracy of your statistical…
Feb 09, 2024
Microsoft Excel is a powerful tool that allows users to in a structured manner. One of the most common issues faced by Excel users is managing the size of individual worksheets. This article will guide you on how to determine the size of individual worksheets in Excel.
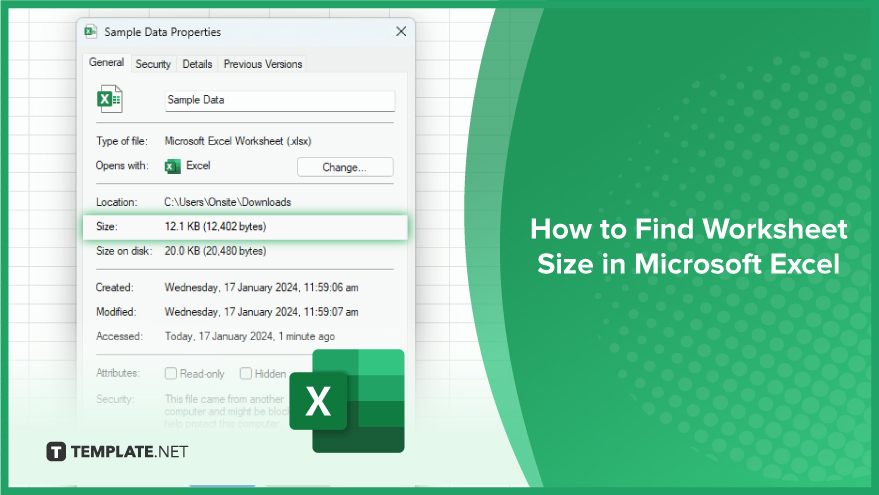
Finding worksheet size in Microsoft Excel refers to determining the dimensions and extent of a particular worksheet. Knowing the worksheet size is crucial for various reasons, such as optimizing performance, managing large datasets, and ensuring that your Excel file remains efficient.

The simplest way to find the size of an individual worksheet is to save it as a separate Excel file. To do this, right-click on the worksheet tab and select “Move or Copy.”
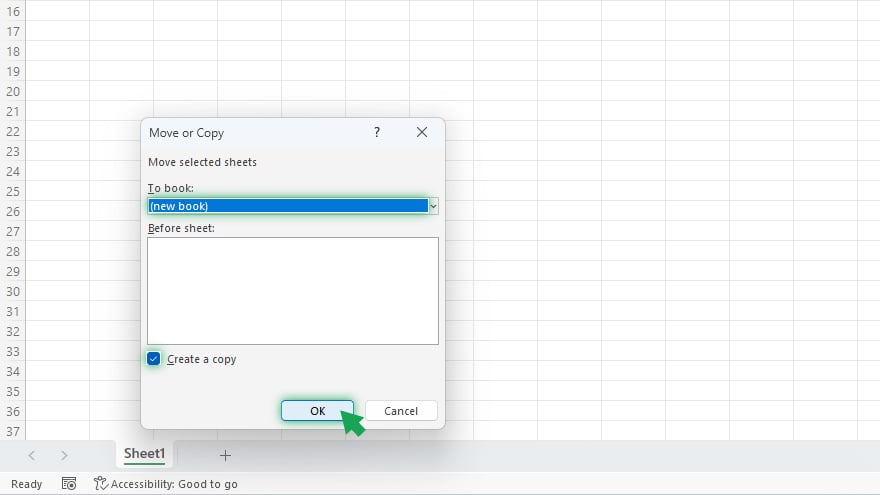
In the dialog box that appears, select “(new book)” in the “To book” dropdown menu and check the “Create a copy” box. Then click “OK.”
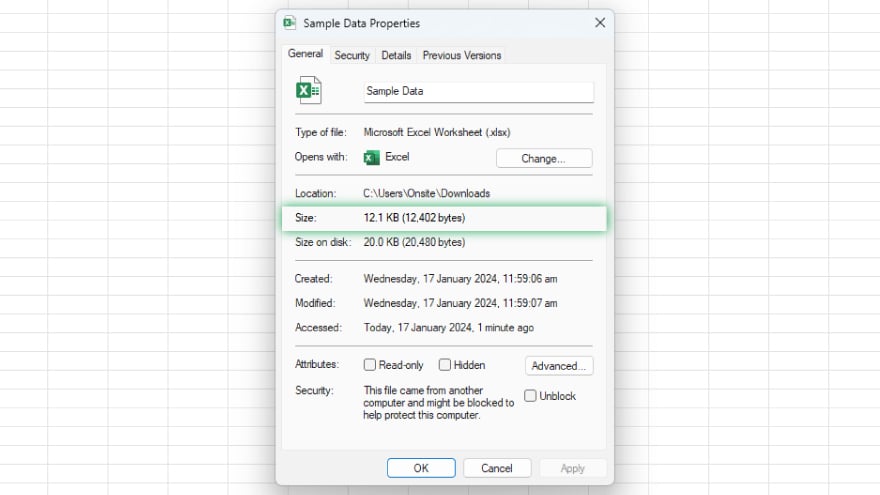
Excel will create a new workbook containing a copy of the selected worksheet. You can then save this workbook and check its file size to estimate the size of the individual worksheet. Remember, this method only provides an estimate of the worksheet size, as the size of the new workbook also includes some overhead for the workbook structure itself.
If you are comfortable with Visual Basic for Applications (VBA), you can use a macro to find the size of individual worksheets. This method is more accurate than the previous method, as it calculates the size of the worksheet data only, without including the workbook structure overhead.
Here is a simple VBA macro that calculates the size of each worksheet in the active workbook:
Sub WorksheetSizes() Dim ws As Worksheet Dim rng As Range Dim tempWorkbook As Workbook Dim size As Long For Each ws In ActiveWorkbook.Worksheets Set rng = ws.UsedRange Set tempWorkbook = Workbooks.Add rng.Copy tempWorkbook.Worksheets(1).Cells(1, 1) tempWorkbook.SaveAs “TempWorkbook.xlsx” size = FileLen(“TempWorkbook.xlsx”) tempWorkbook.Close savechanges:=False Kill “TempWorkbook.xlsx” Debug.Print ws.Name & “: ” & size Next wsEnd Sub
This macro works by copying the data from each worksheet to a new workbook, saving the new workbook, and then checking the file size. The file size is printed to the Immediate window in the VBA Editor.
You may also find valuable insights in the following articles offering tips for Microsoft Excel:
Navigate to the bottom right corner of the Excel window, where the status bar displays the worksheet size, including the number of rows and columns.
Yes, you can use the COUNTA function to count non-empty cells and determine the size of your worksheet dynamically.
Understanding worksheet size is crucial for optimizing performance, managing large datasets, and ensuring efficient spreadsheet organization.
Yes, you can use the CTRL + END keyboard shortcut to quickly jump to the last cell containing data and assess the actual size of your worksheet.
Yes, you can insert additional rows and columns to expand the worksheet size and accommodate more data as needed.

Microsoft Excel simplifies the process of calculating the margin of error, enabling you to measure the accuracy of your statistical…
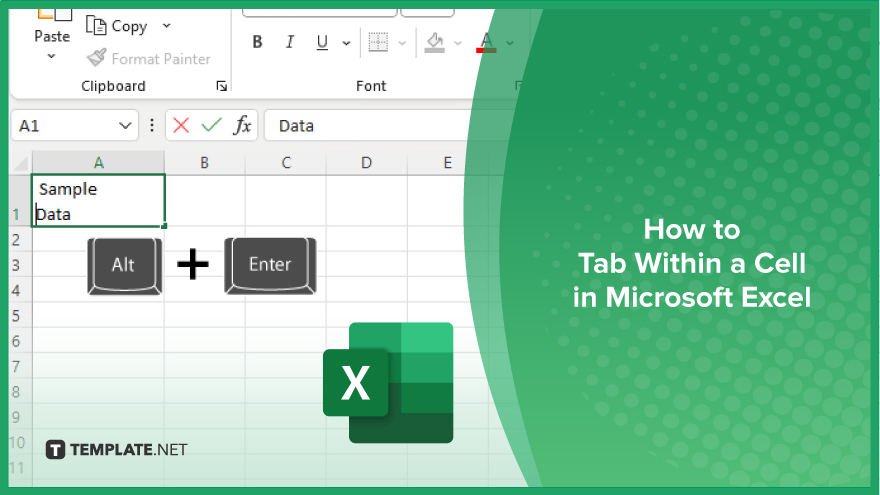
Microsoft Excel users often need to format data within a single cell, and one common requirement is to indent text…
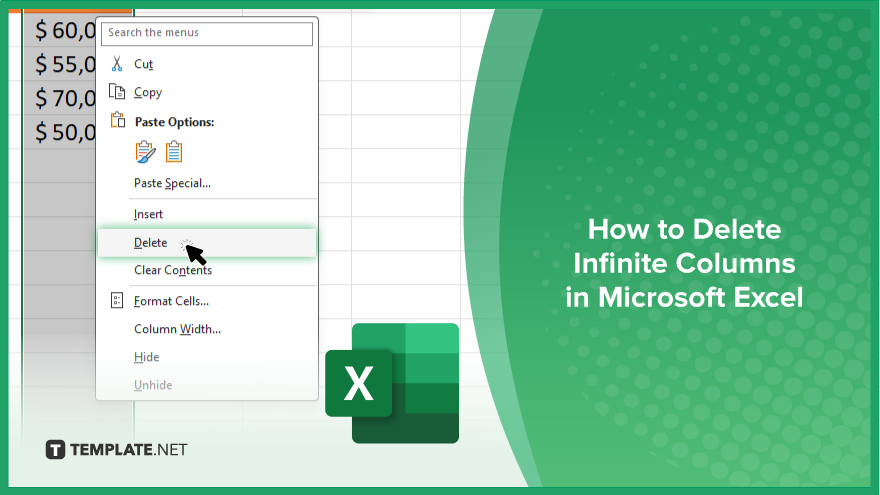
In Microsoft Excel, dealing with infinite columns can be a headache, cluttering your workspace and slowing your workflow.…

Microsoft Excel revolutionizes teamwork by allowing multiple users to edit spreadsheets simultaneously. This collaborative feature streamlines workflow and boosts productivity…
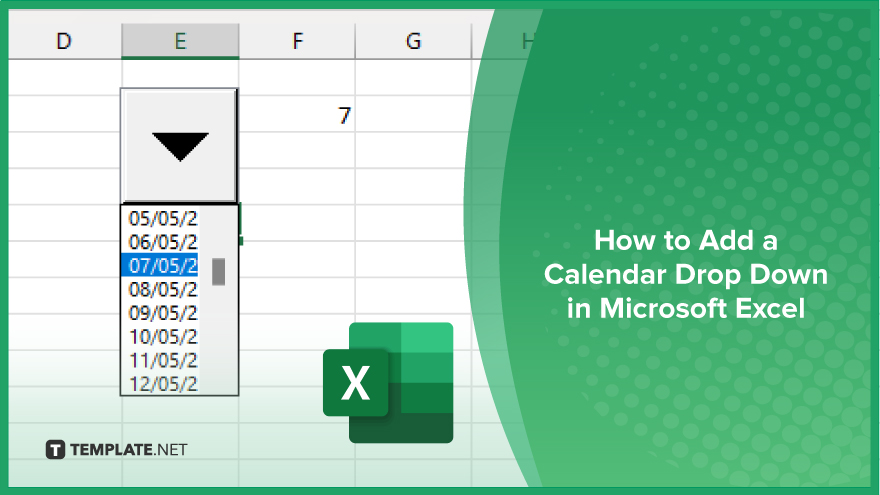
In Microsoft Excel, simplifying data entry just got easier with calendar drop-downs. Learn how to integrate this feature into…
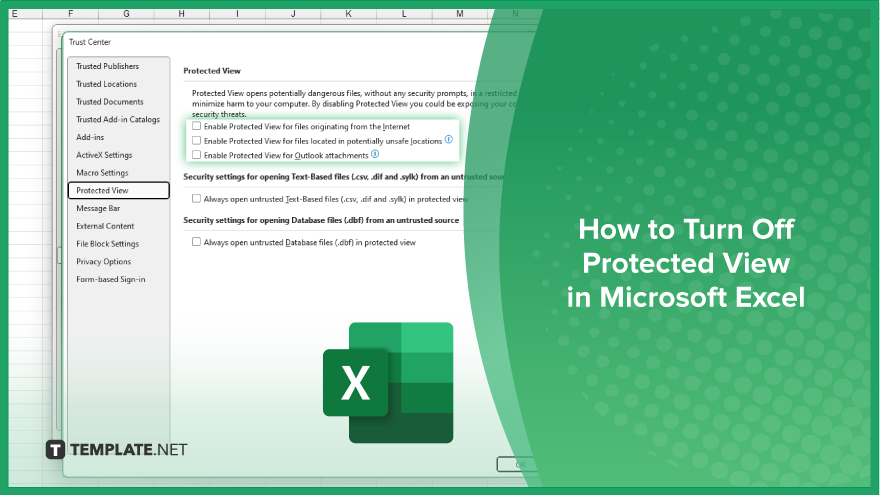
Microsoft Excel users, have you ever encountered the frustration of being unable to edit or interact with a…
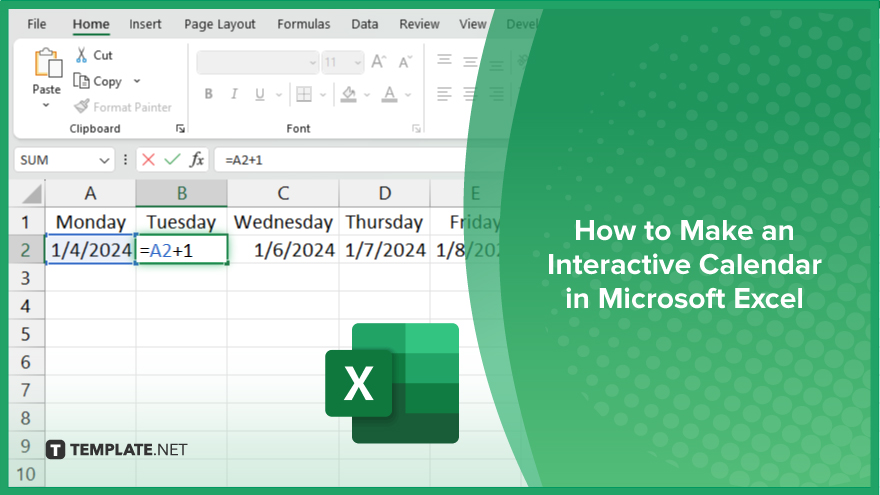
Microsoft Excel is not just for crunching numbers—it can also be transformed into a powerful planning tool by integrating interactive…
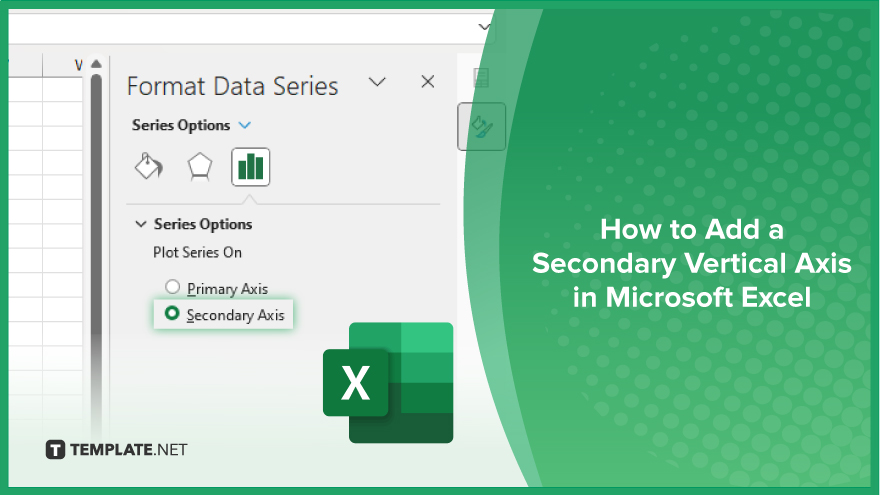
Microsoft Excel users, are you struggling to effectively visualize your data? In this article, we’ll show you how…
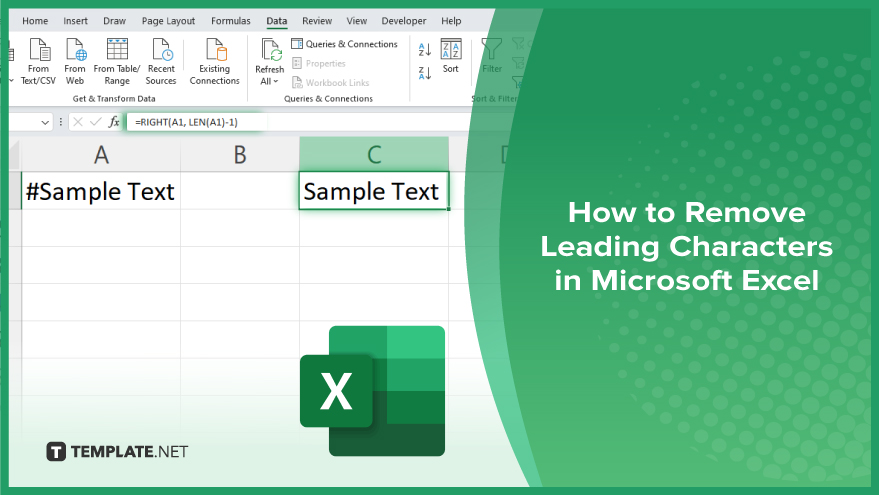
Microsoft Excel provides versatile tools to refine your data, including removing leading characters from cell values. This skill is crucial…