How to Set Default Date Format in Excel
Microsoft Excel is a powerful spreadsheet program that offers a myriad of features that allow users to organize, analyze, and manipulate data efficiently. One such feature is the ability to set a default date format in Excel. This article provides a comprehensive guide on how to set a default date format in Excel.

How to Set Default Date Format in Excel
Setting a default date format in Excel involves configuring the spreadsheet software to display dates in a consistent and preferred manner automatically. This ensures uniformity across the workbook, streamlining data presentation, and enhancing the overall professional appearance of the spreadsheet. Here’s how you can do it:
-
Creating a Custom Date Format

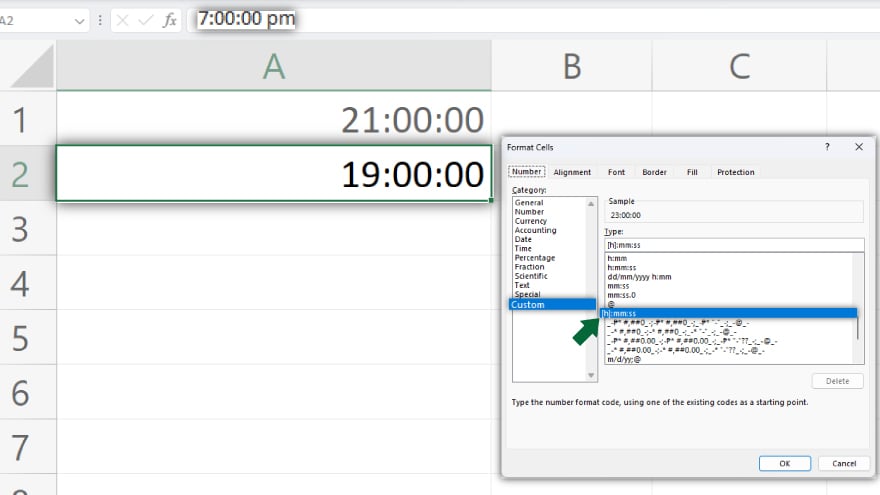
Begin by selecting the cells you wish to format. Right-click on the selected cells and navigate to ‘Format Cells’ in the context menu. In the ensuing ‘Format Cells’ dialog box, click on the ‘Number’ tab, and then choose ‘Custom’ from the category list. In the ‘Type’ input box, input your desired date format.
Once satisfied, click ‘OK’ to apply the format. Your custom date format will now be accessible in the ‘Custom’ category within the ‘Format Cells’ dialog box.
-
Using Excel’s Default Date Formats

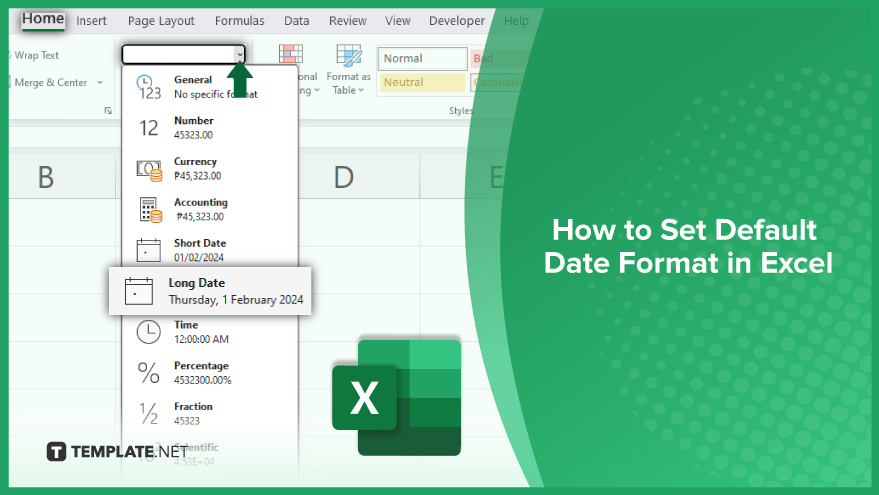
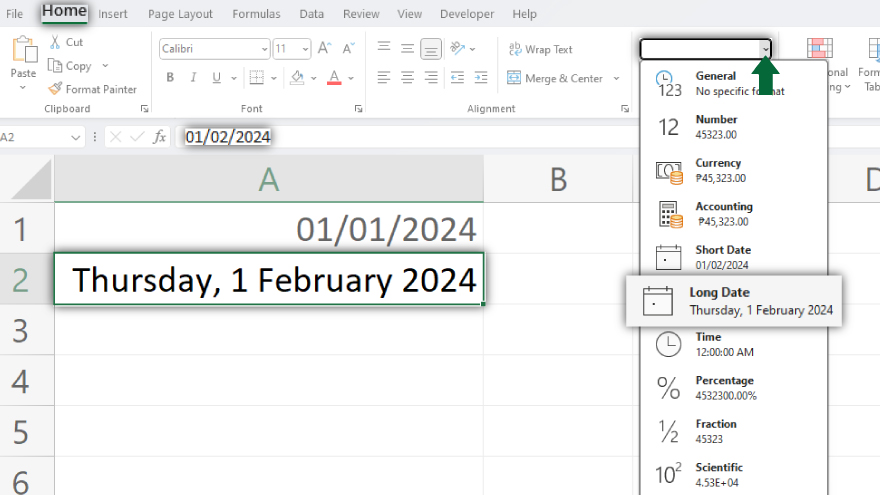
In addition to allowing custom date formats, Excel offers a selection of default date formats for user convenience. To apply one of these predefined formats, start by selecting the cells you wish to format. Then, on the Home tab, navigate to the Number group and click the ‘Number Format’ drop-down arrow. From the drop-down list, choose either ‘Short Date’ or ‘Long Date.’ The ‘Short Date’ format presents the date as ‘mm/dd/yyyy’, while the ‘Long Date’ format displays it as ‘dddd, mmmm dd, yyyy.’
You may also find valuable insights in the following articles offering tips for Microsoft Excel:
- How to Add Days to a Date in Microsoft Excel
- How to Switch Axis in Microsoft Excel
FAQs
How do I change the default date format in Excel?
To change the default date format, go to the ‘Format Cells’ dialog, choose the ‘Number’ tab, and select your preferred date format.
Can I create a custom date format in Excel?
Yes, you can create a custom date format by selecting cells, right-clicking, choosing ‘Format Cells,’ and entering your desired format under the ‘Custom’ category.
What is the default short and long-date formats in Excel?
The ‘Short Date’ format displays as ‘mm/dd/yyyy,’ and the ‘Long Date’ format appears as ‘dddd, mmmm dd, yyyy.’
How do I apply a specific date format to a cell or range?
Select the cells, go to the ‘Number Format’ drop-down on the Home tab, and choose from the list, such as ‘Short Date’ or ‘Long Date.’
Why does the date format look different in Excel based on regional settings?
Excel adapts date formats to the system’s regional settings, ensuring compatibility and consistency with the user’s preferred date display conventions.


