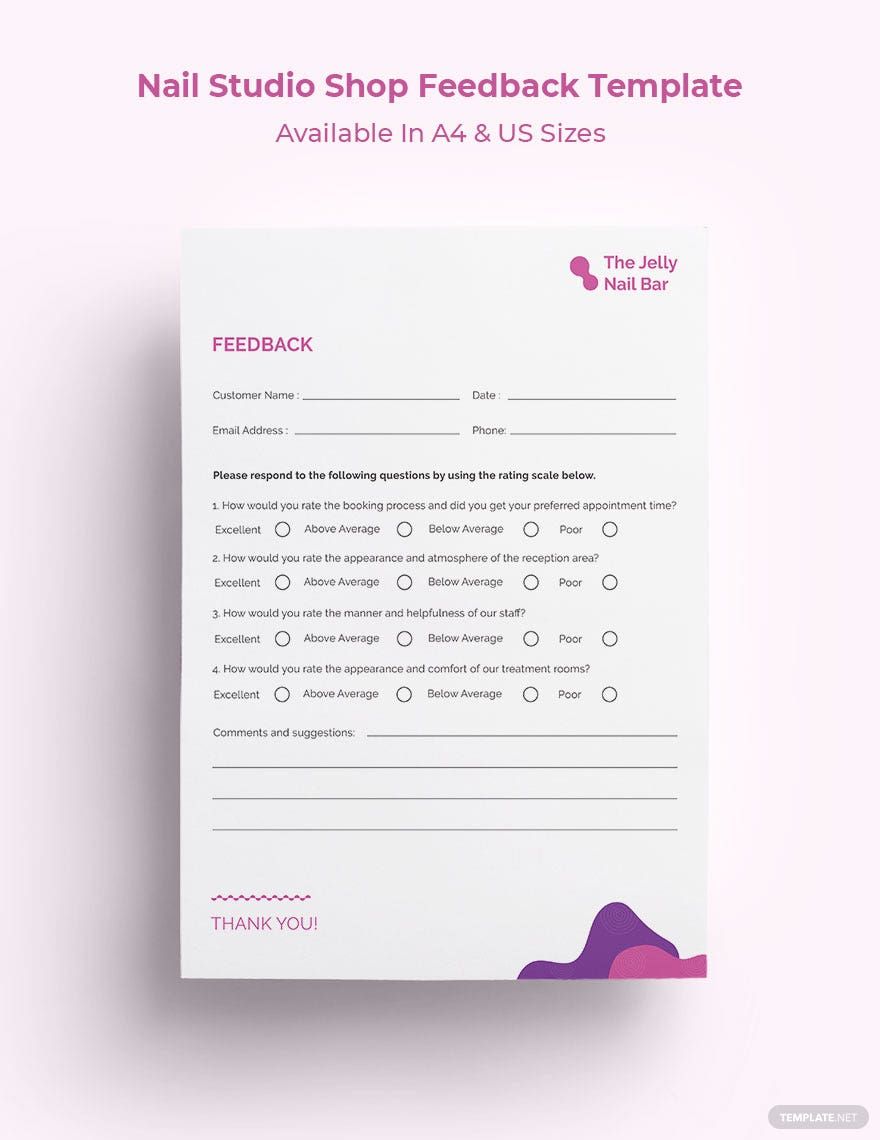
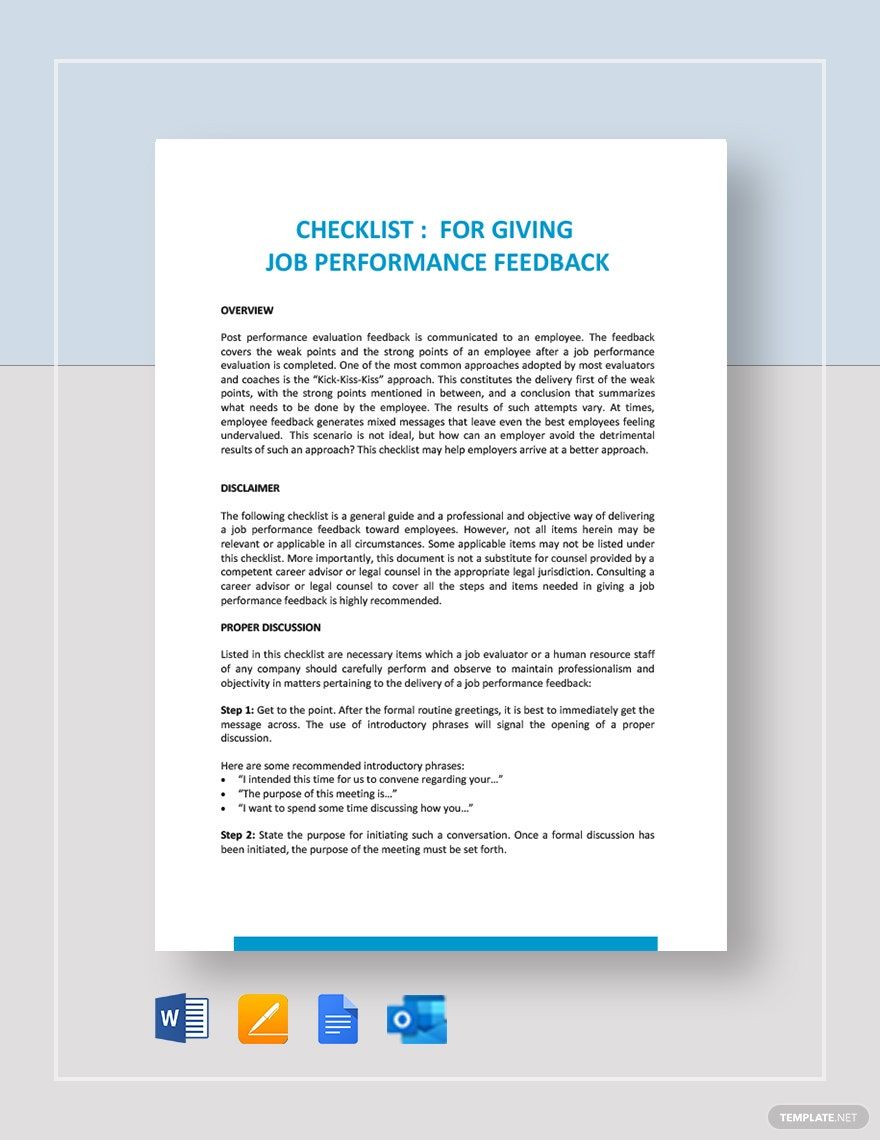
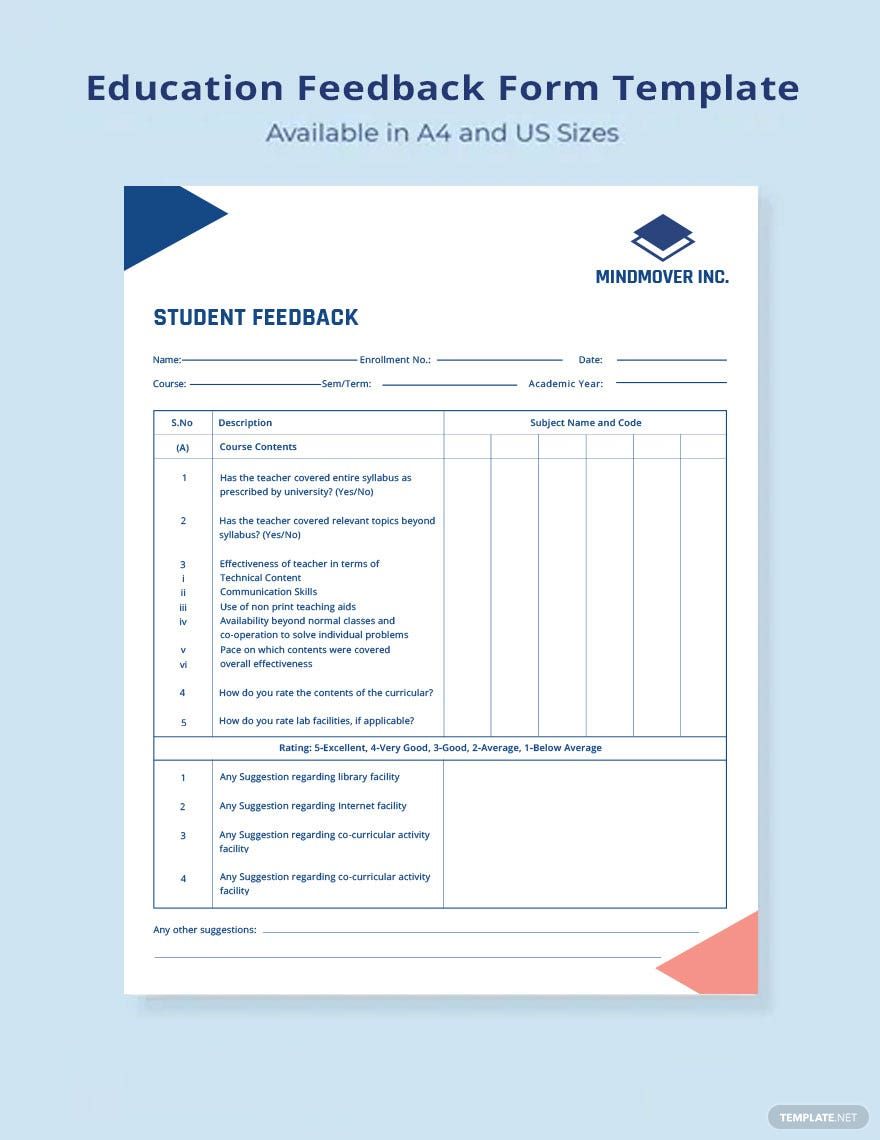
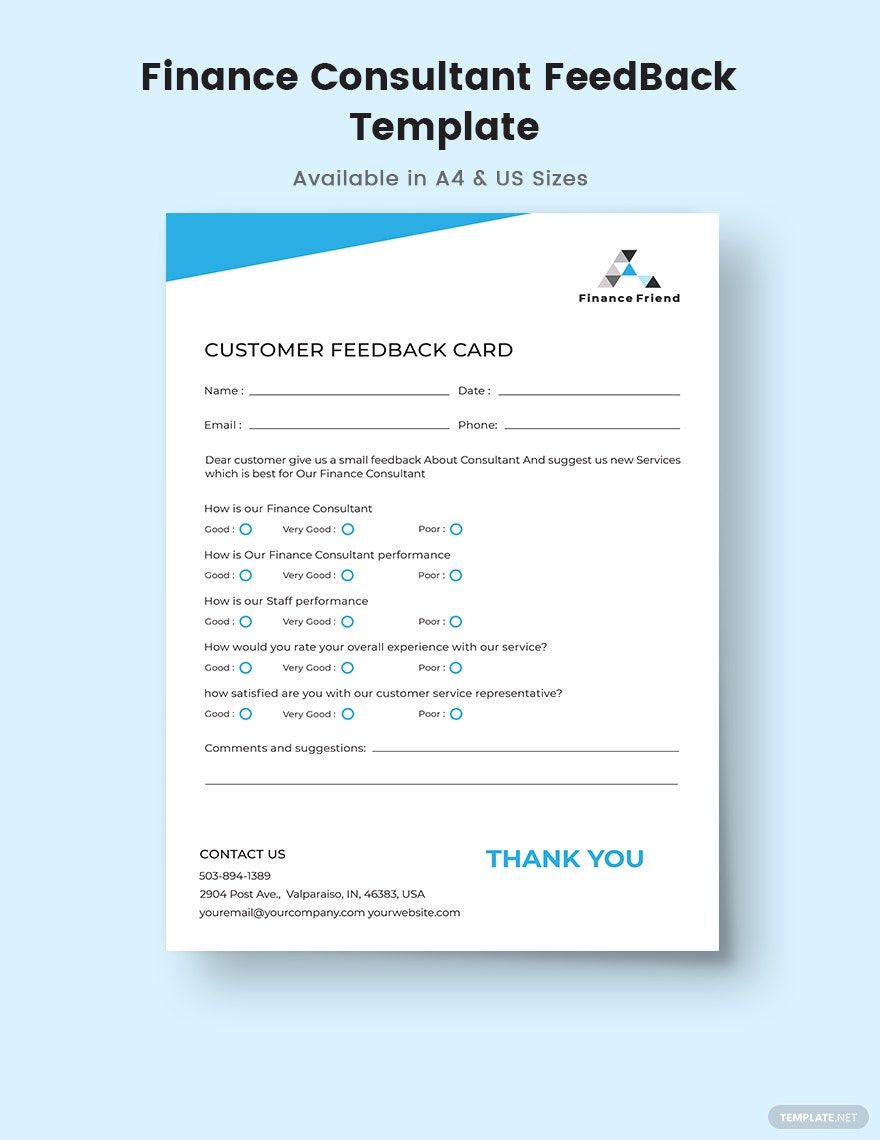
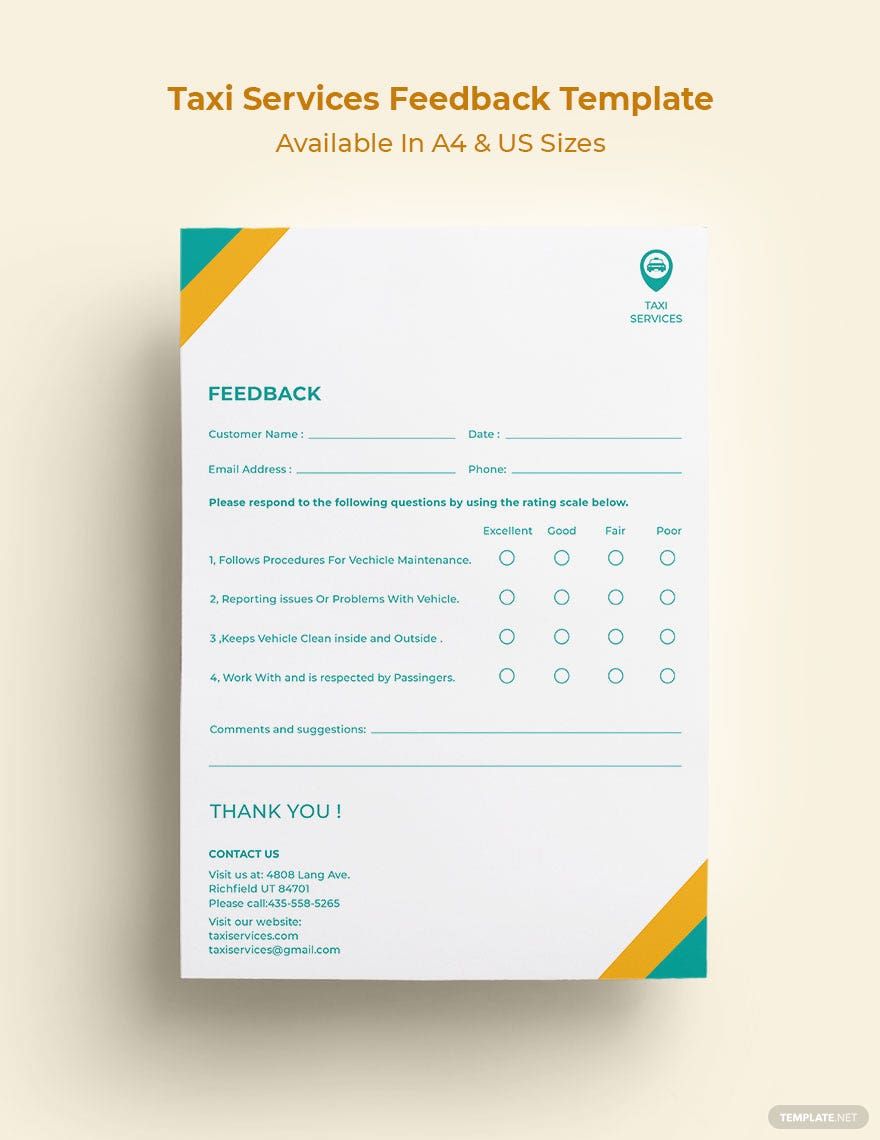
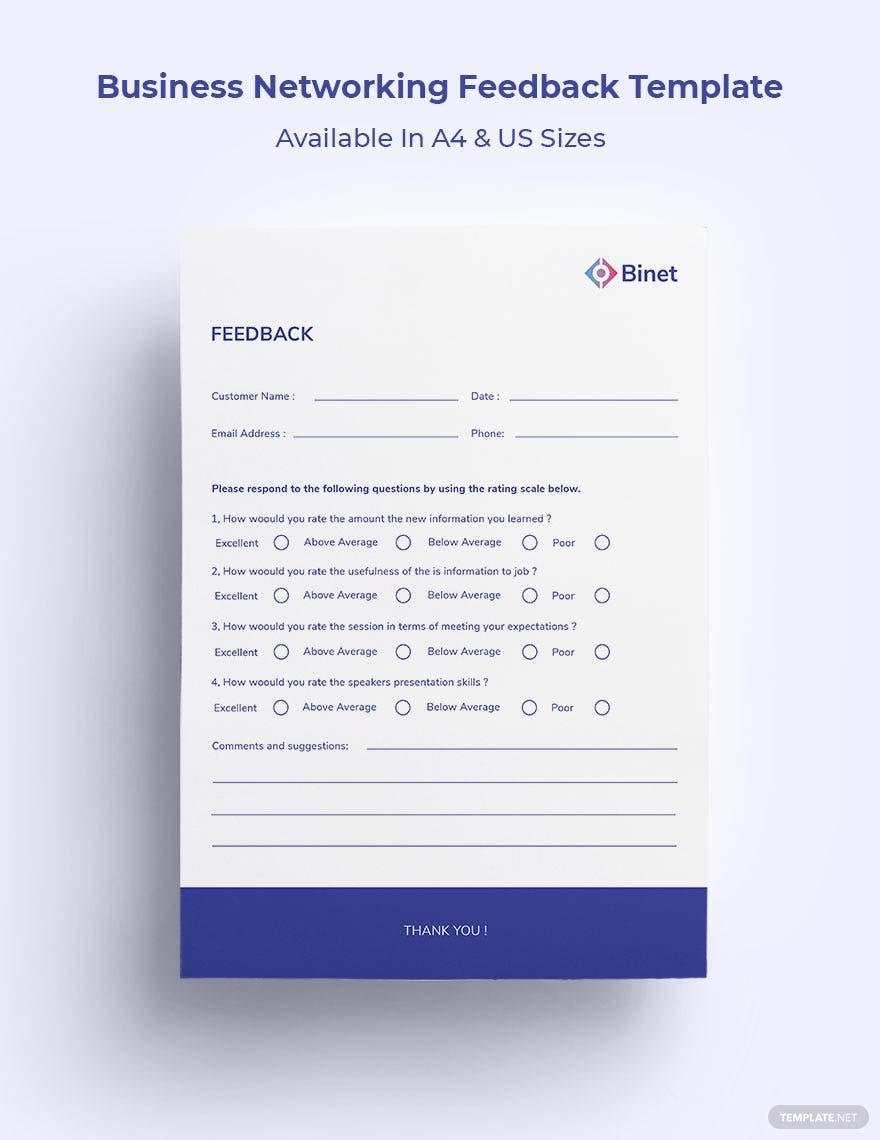
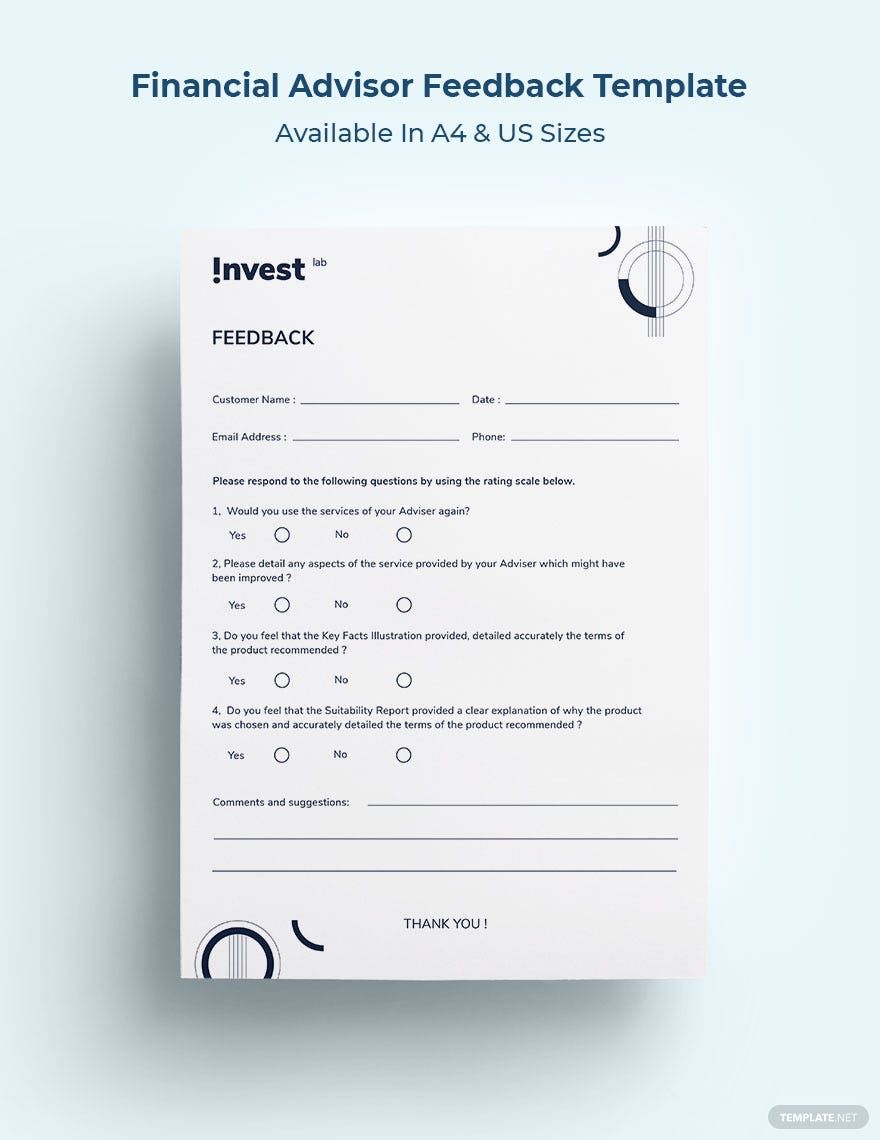
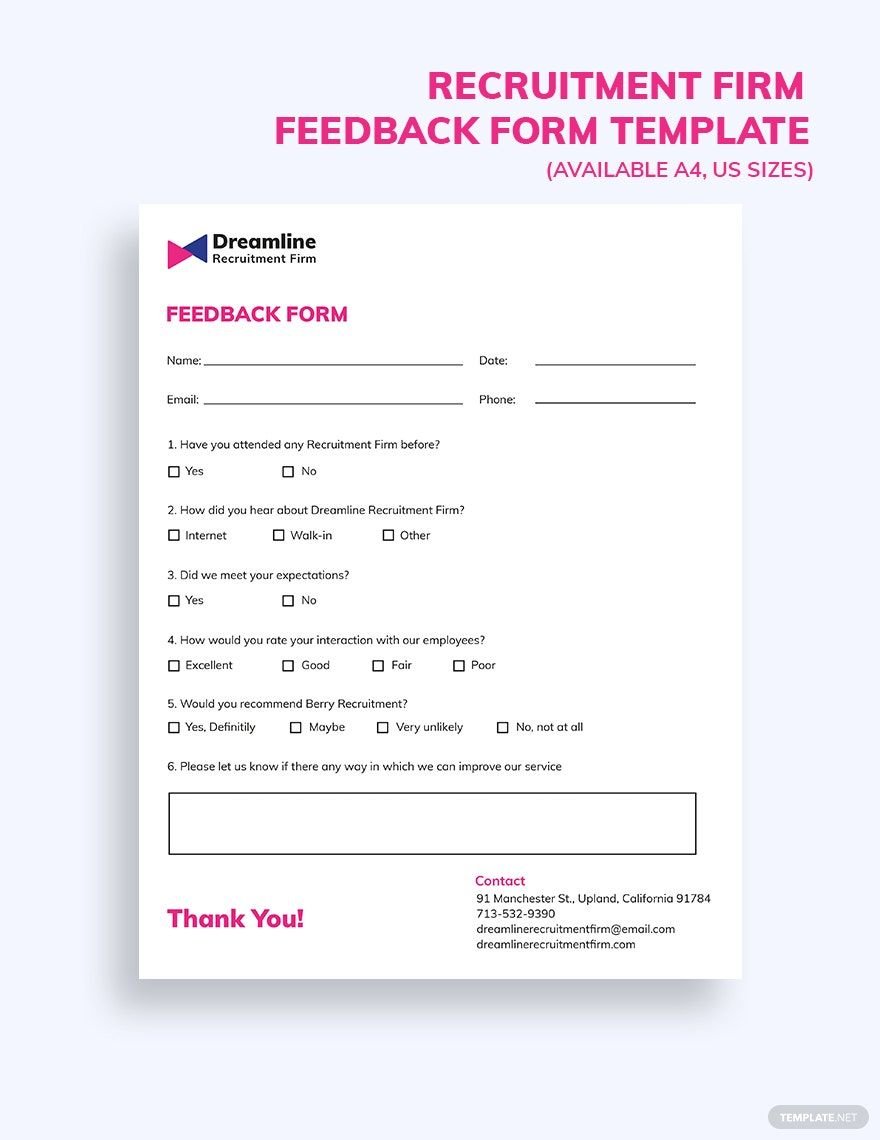
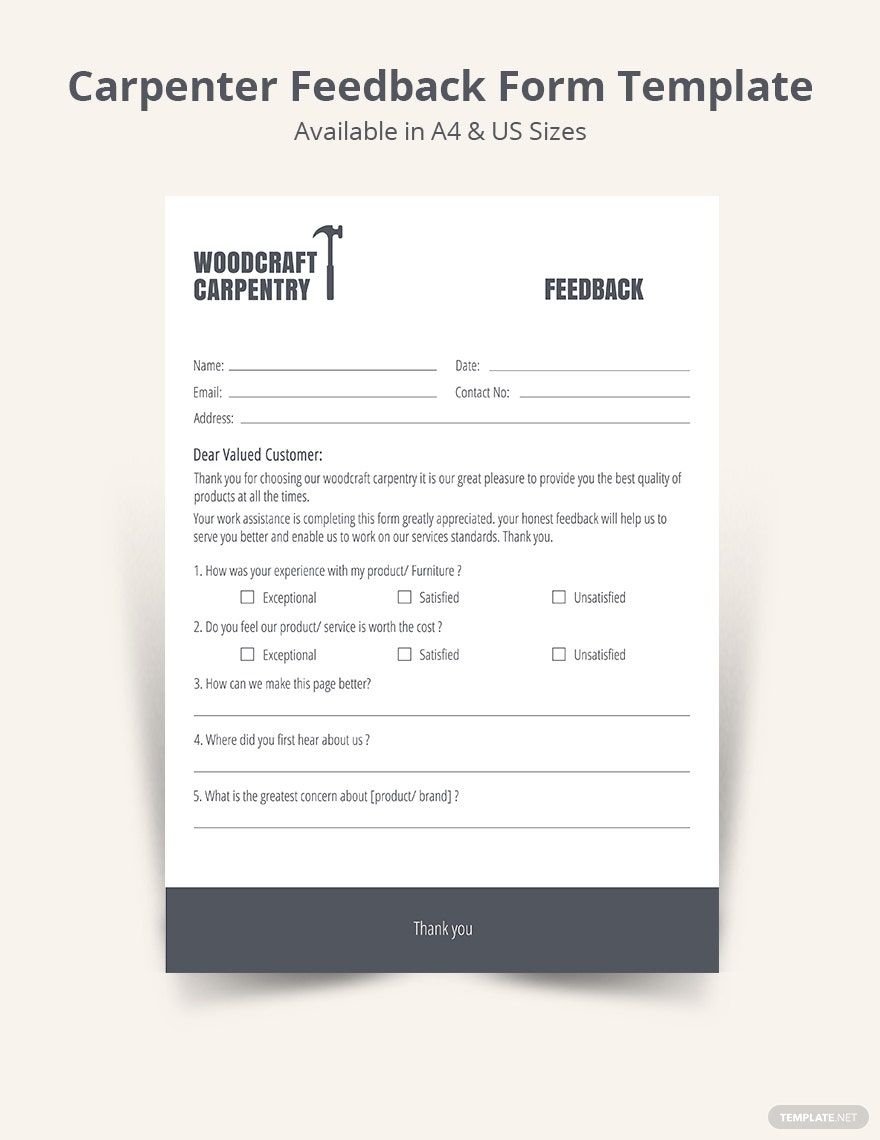
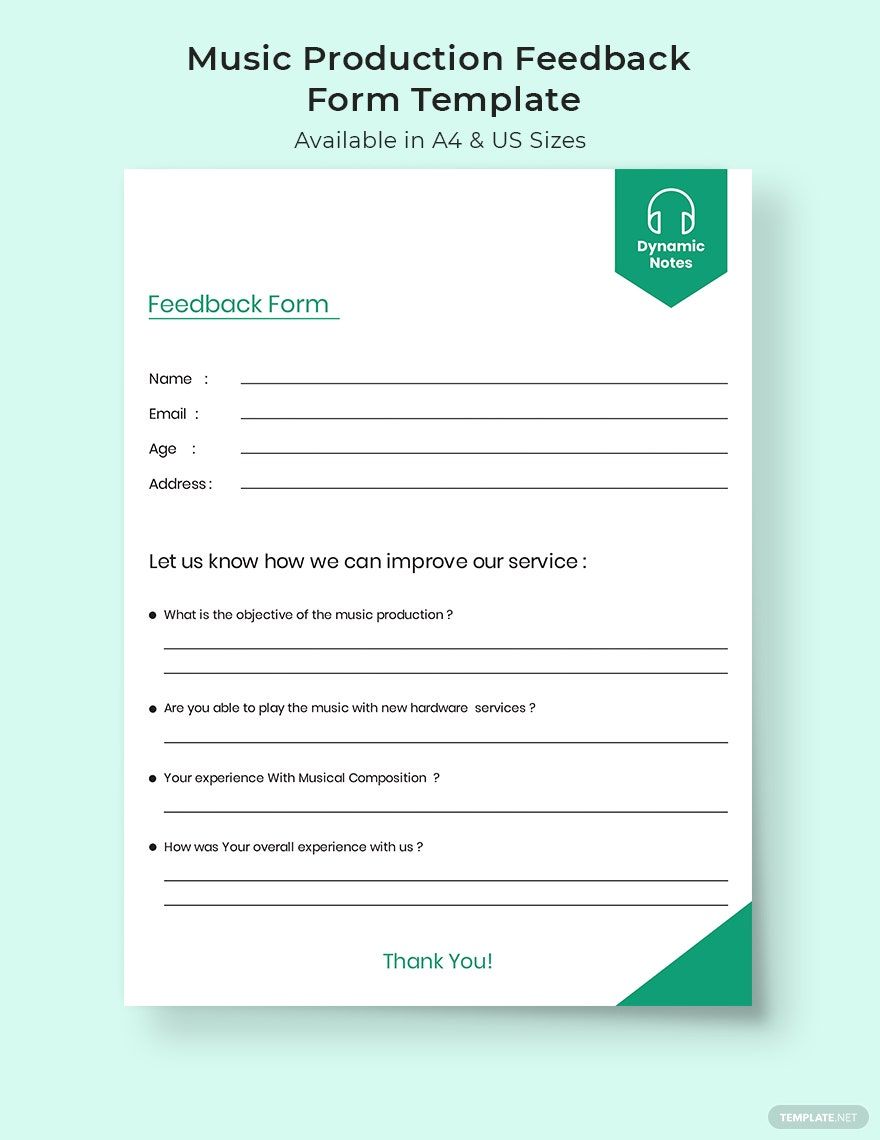
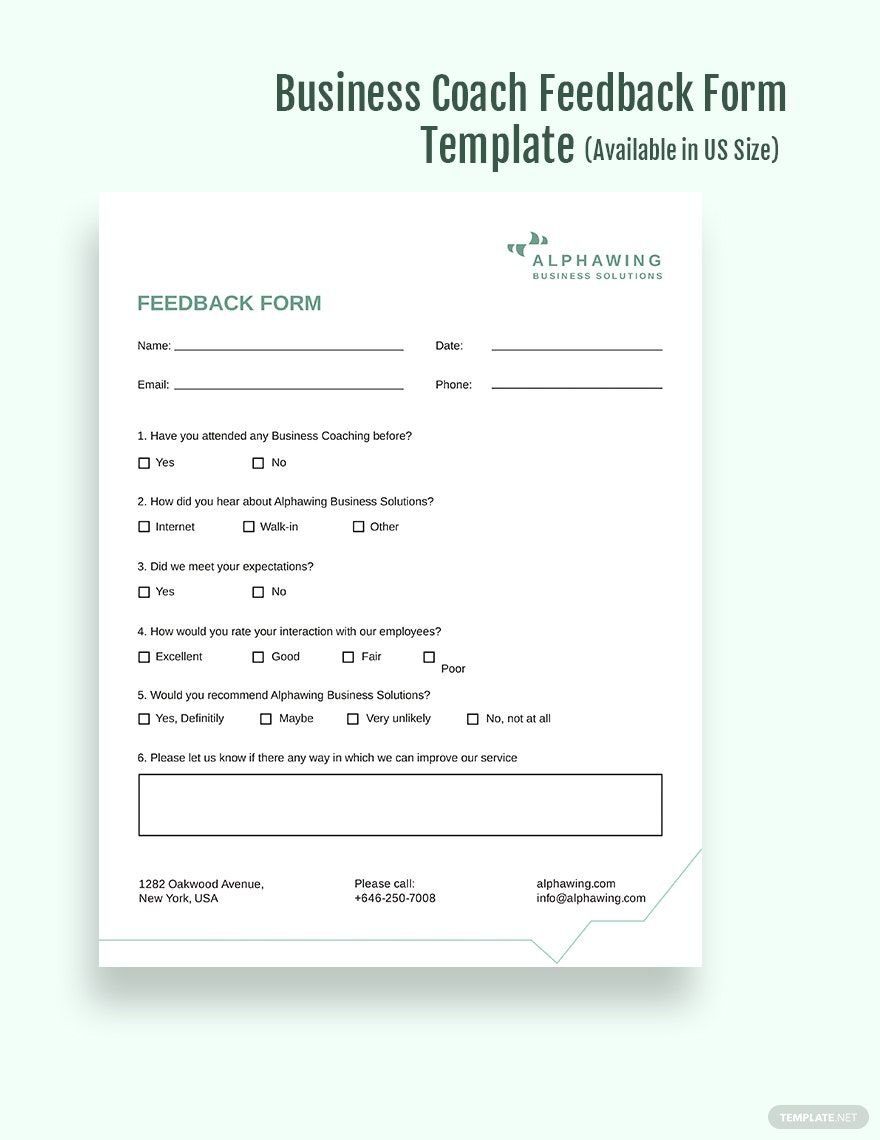
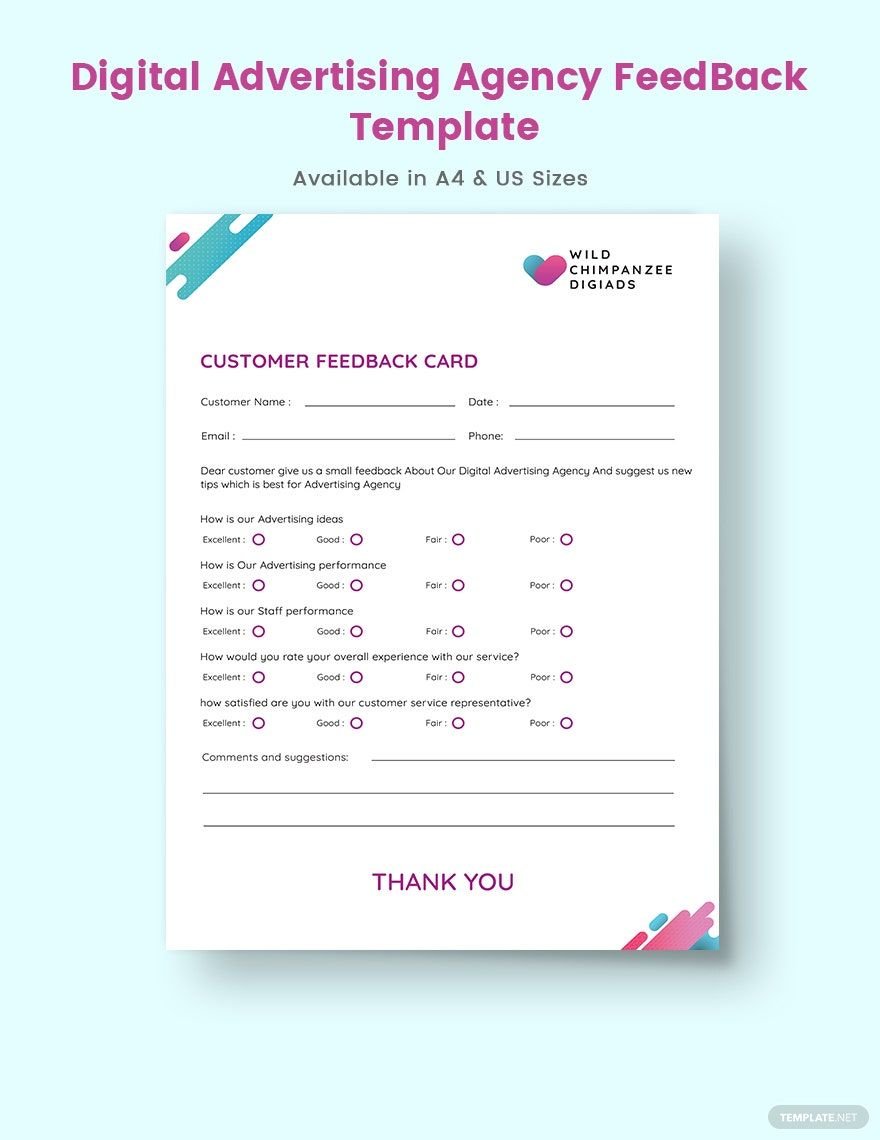
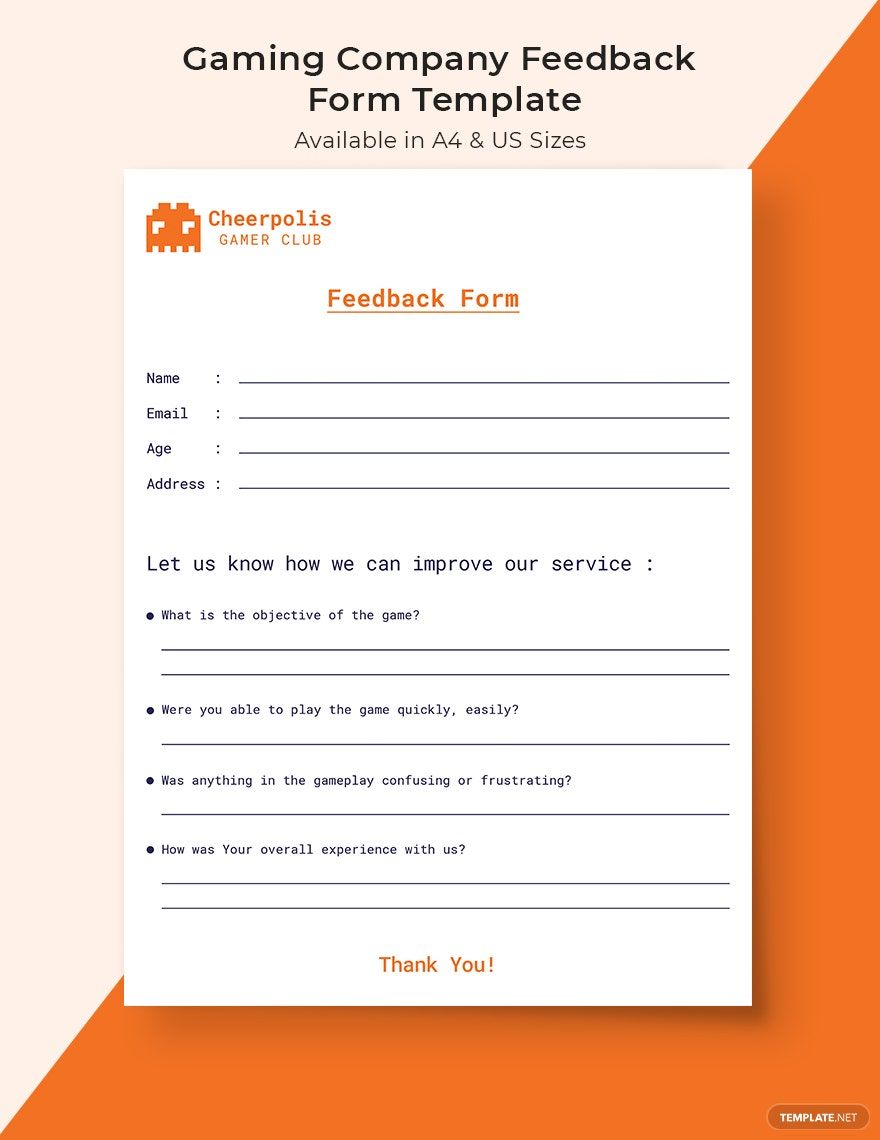
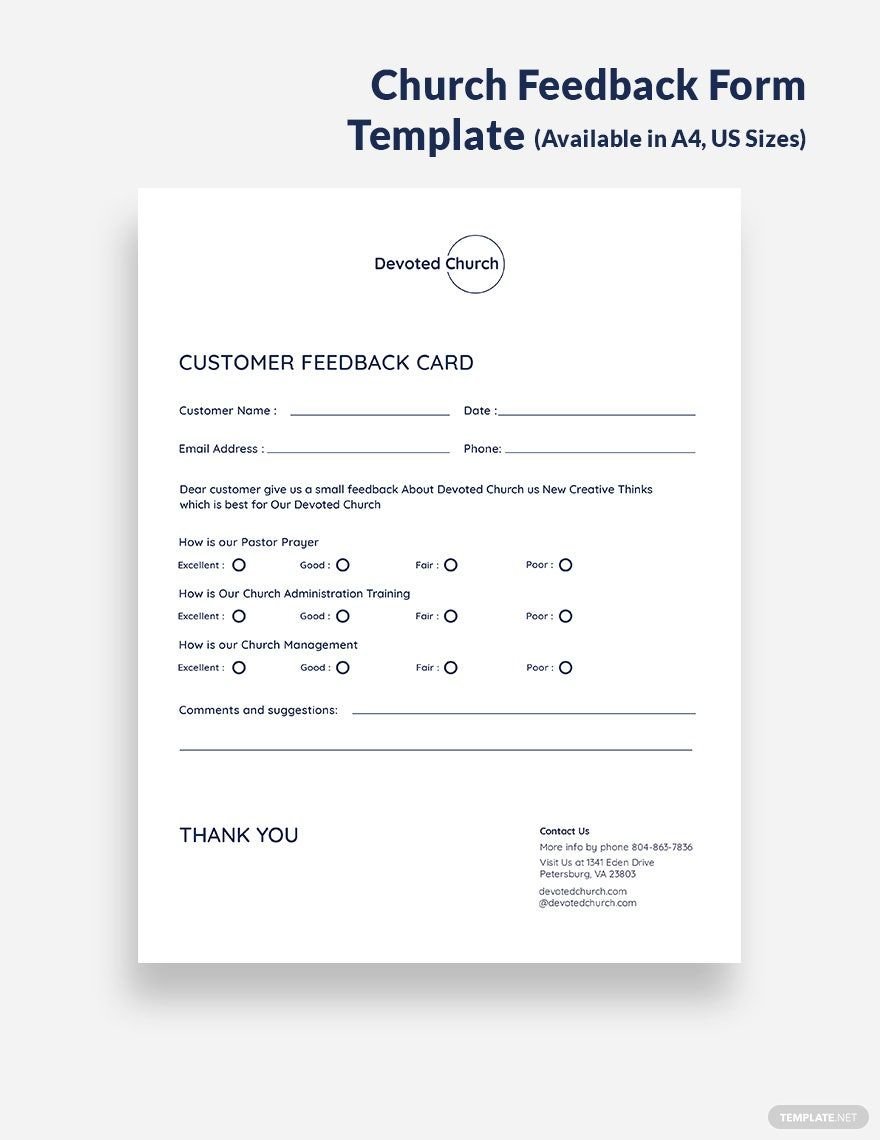
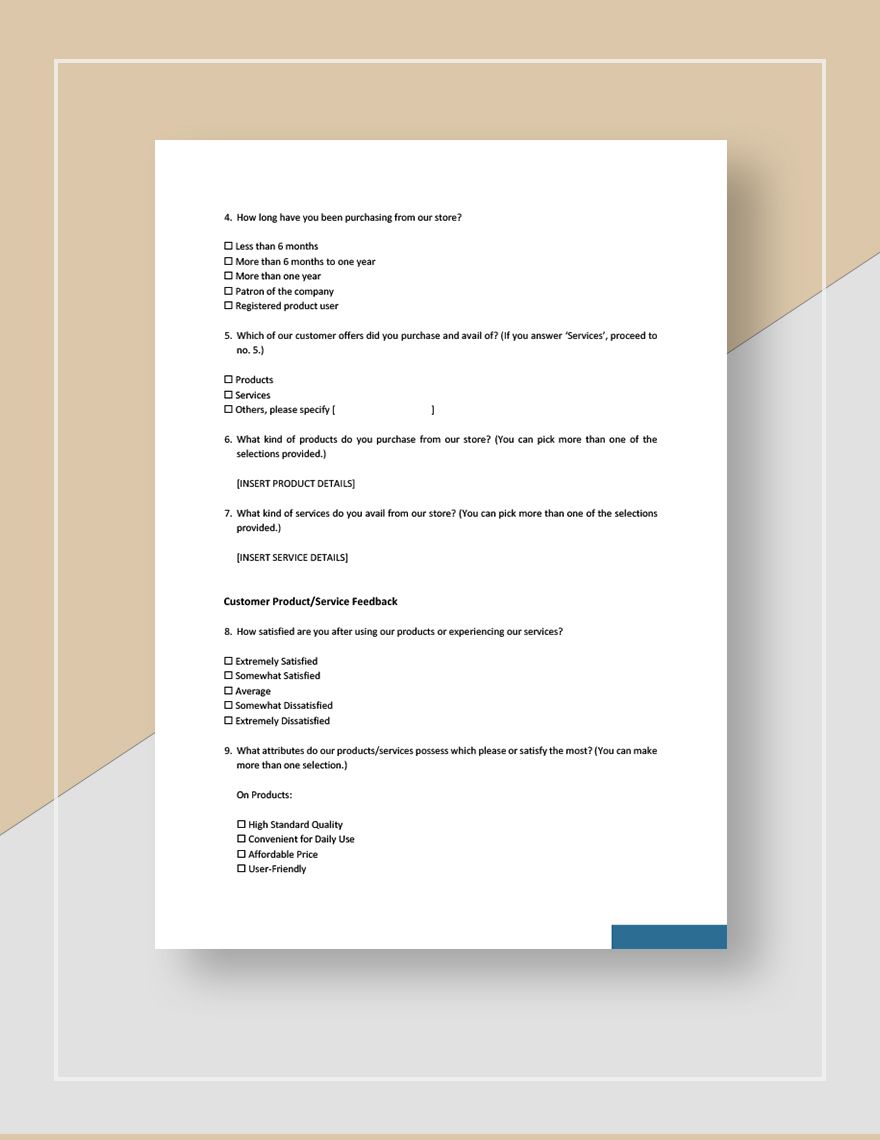
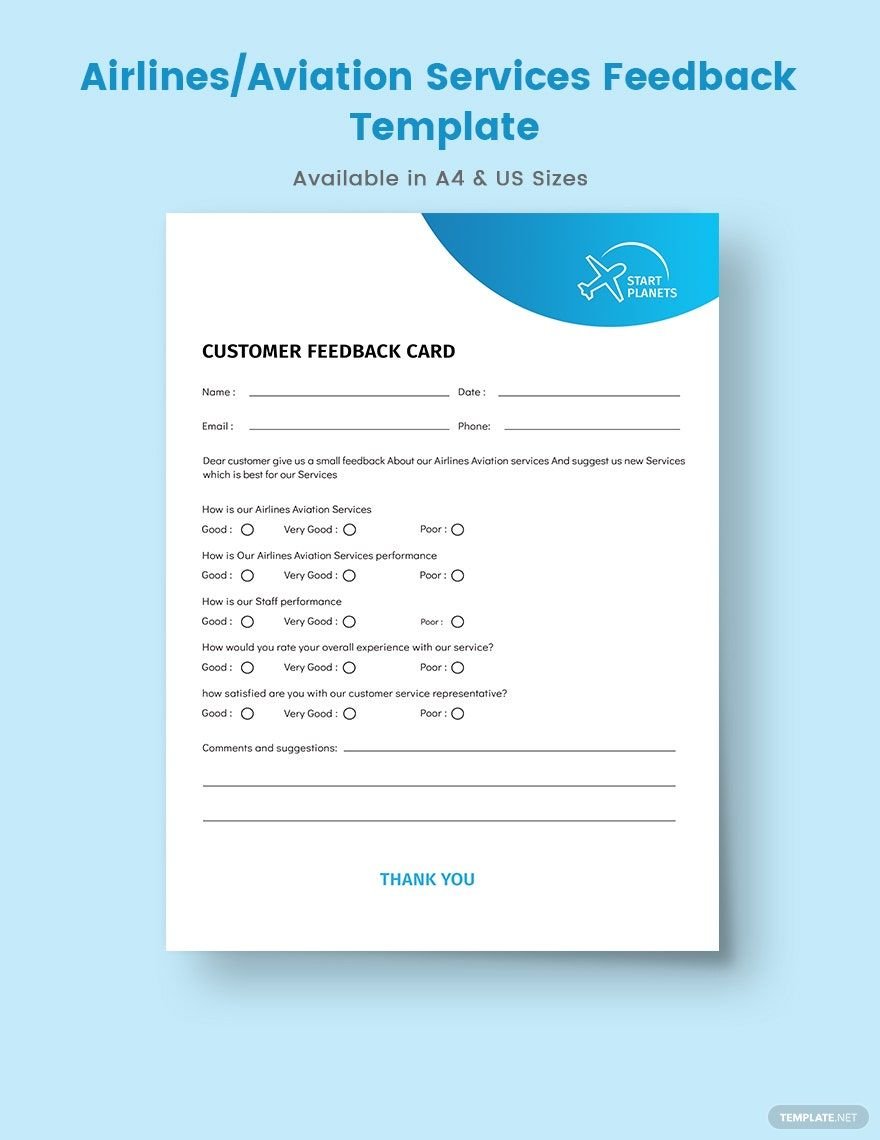
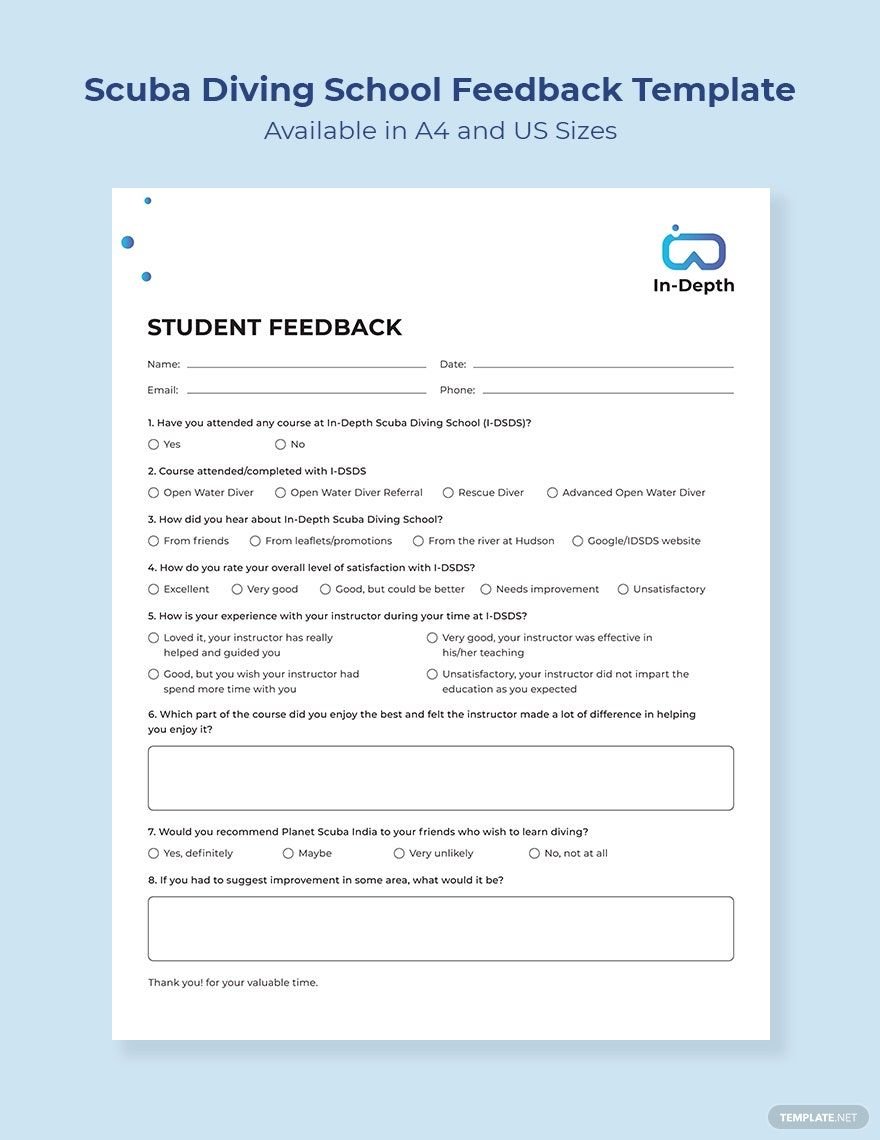
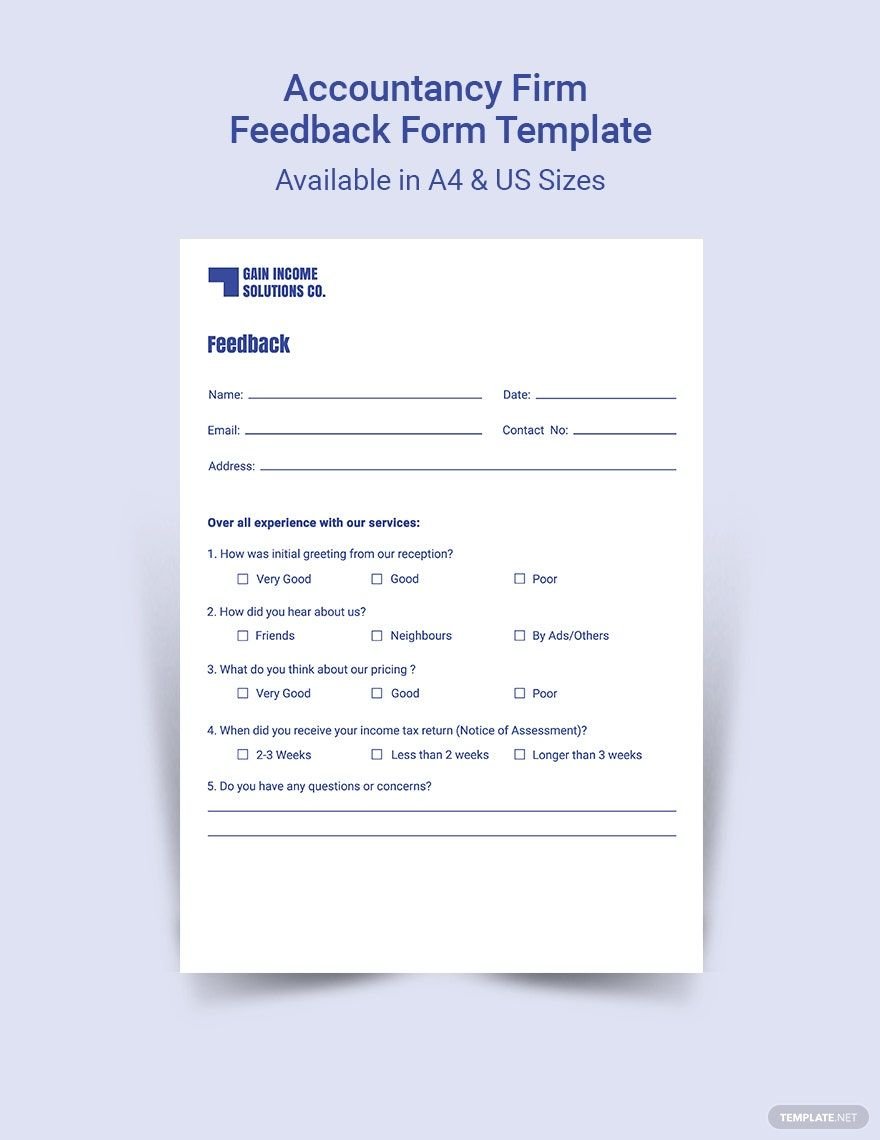
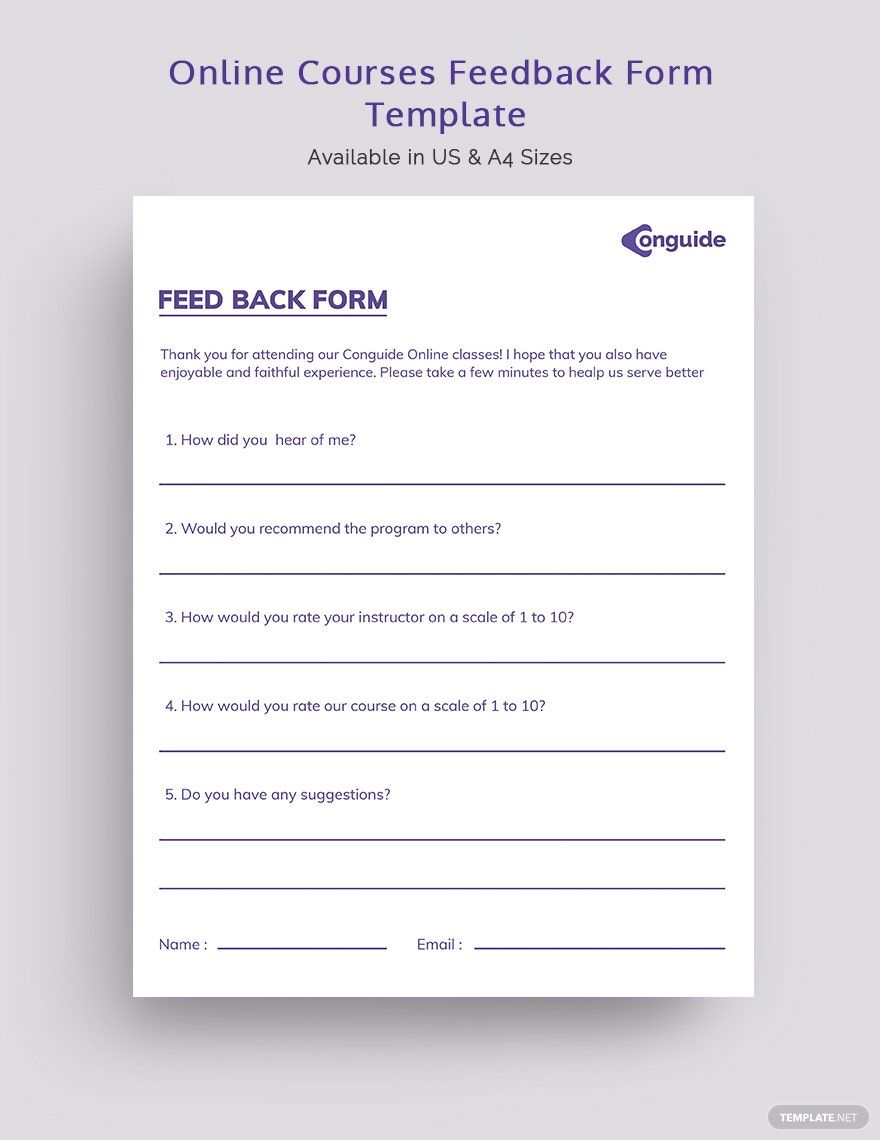
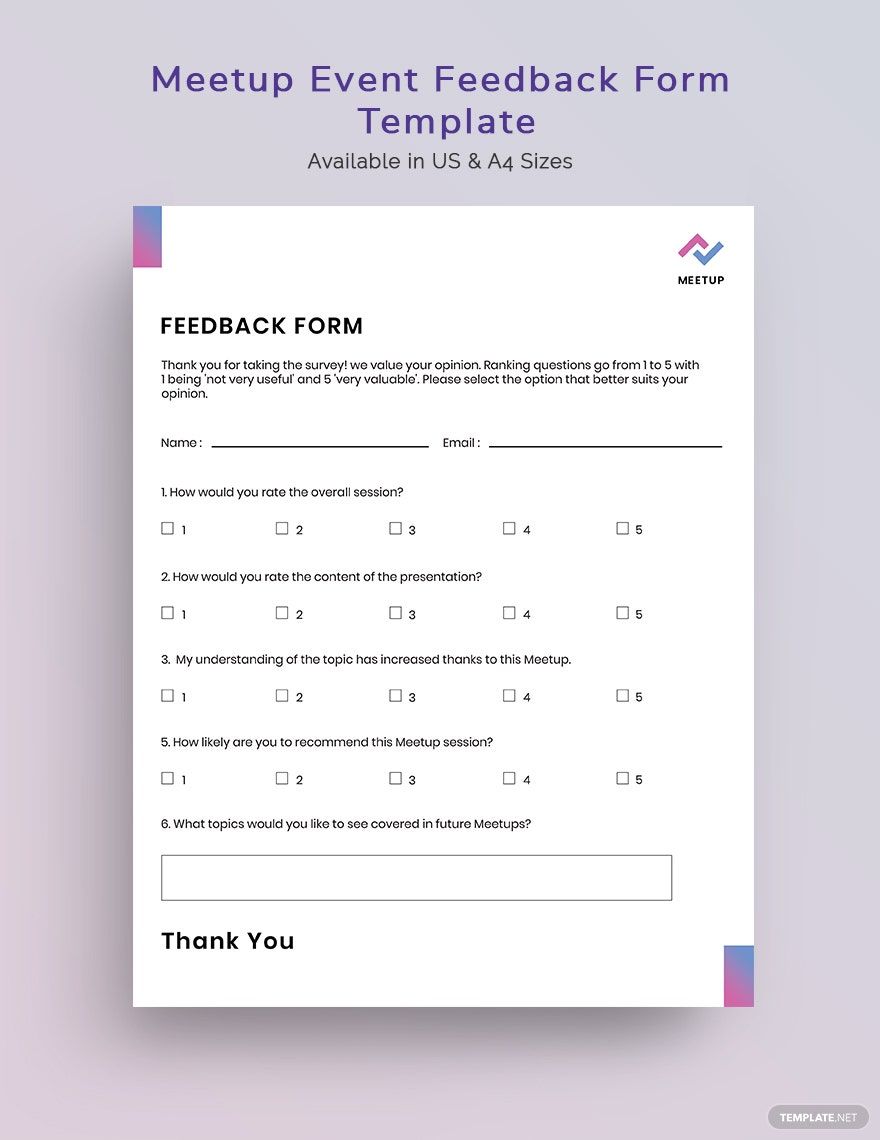
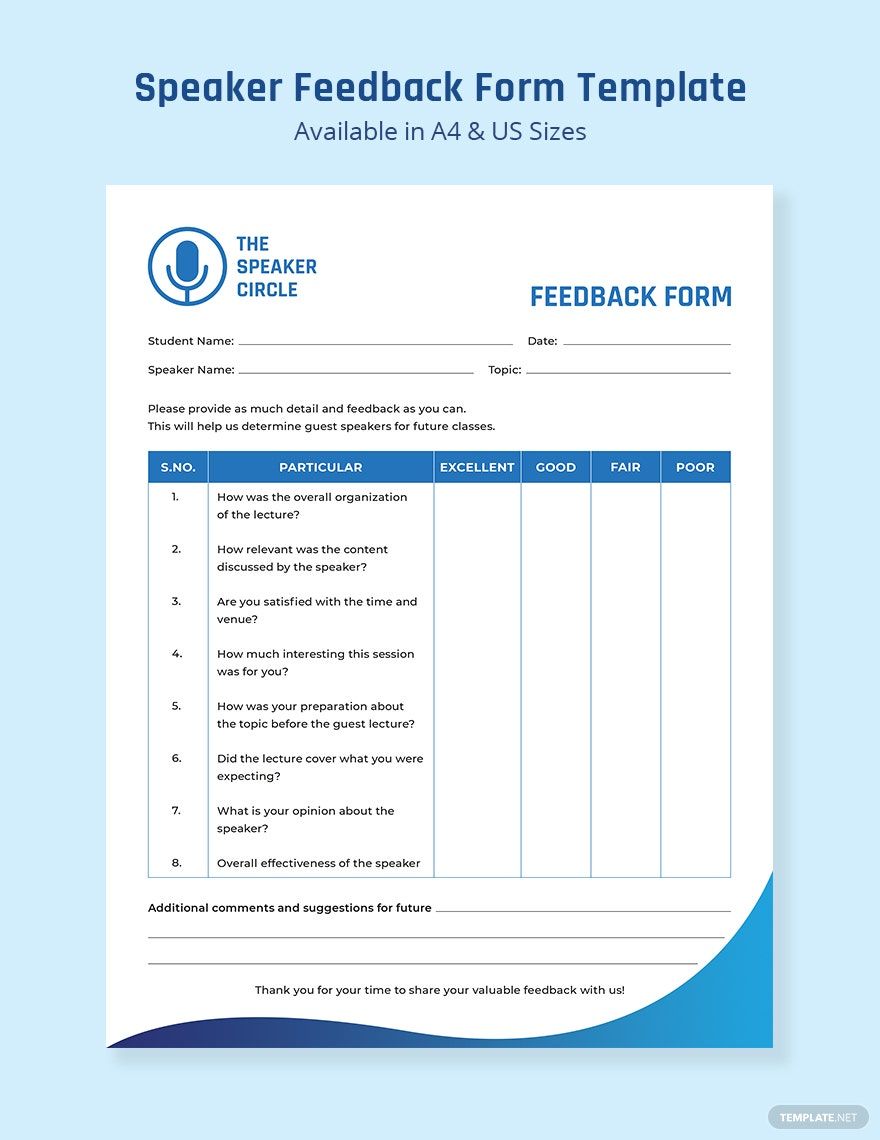
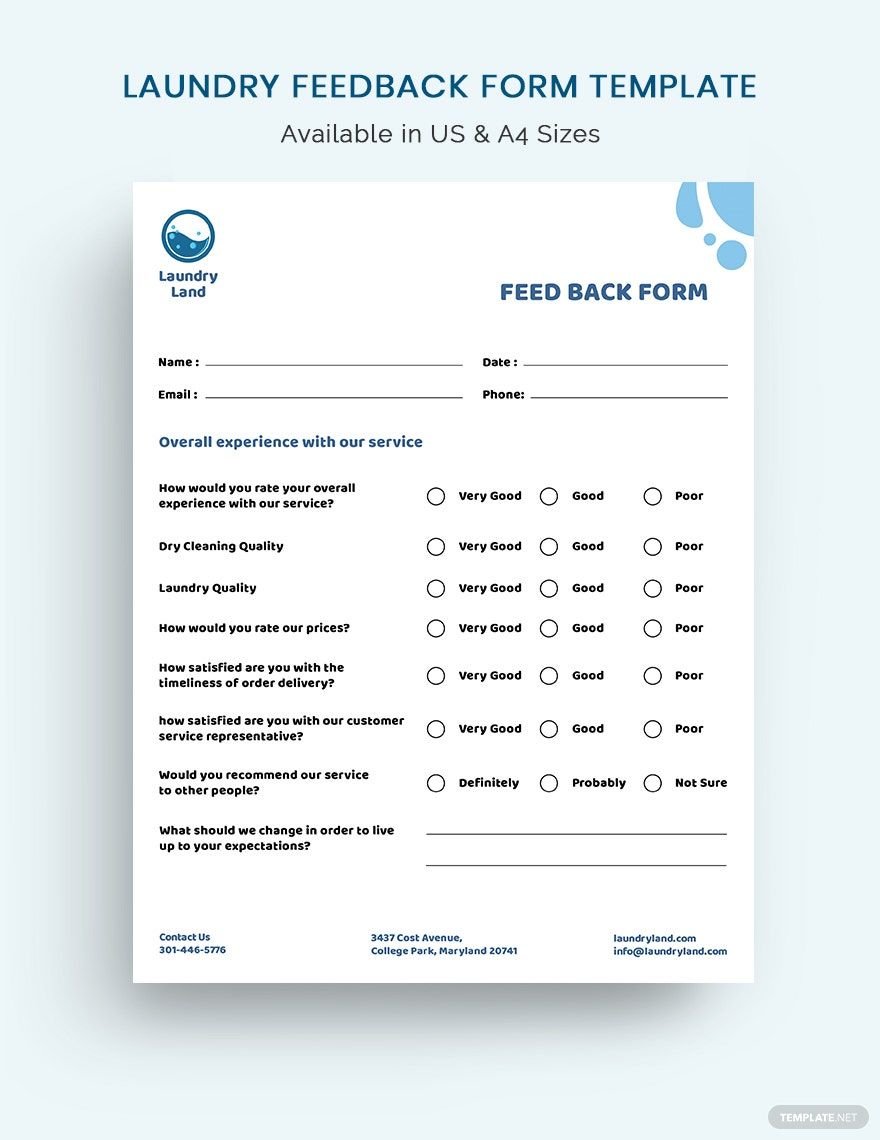
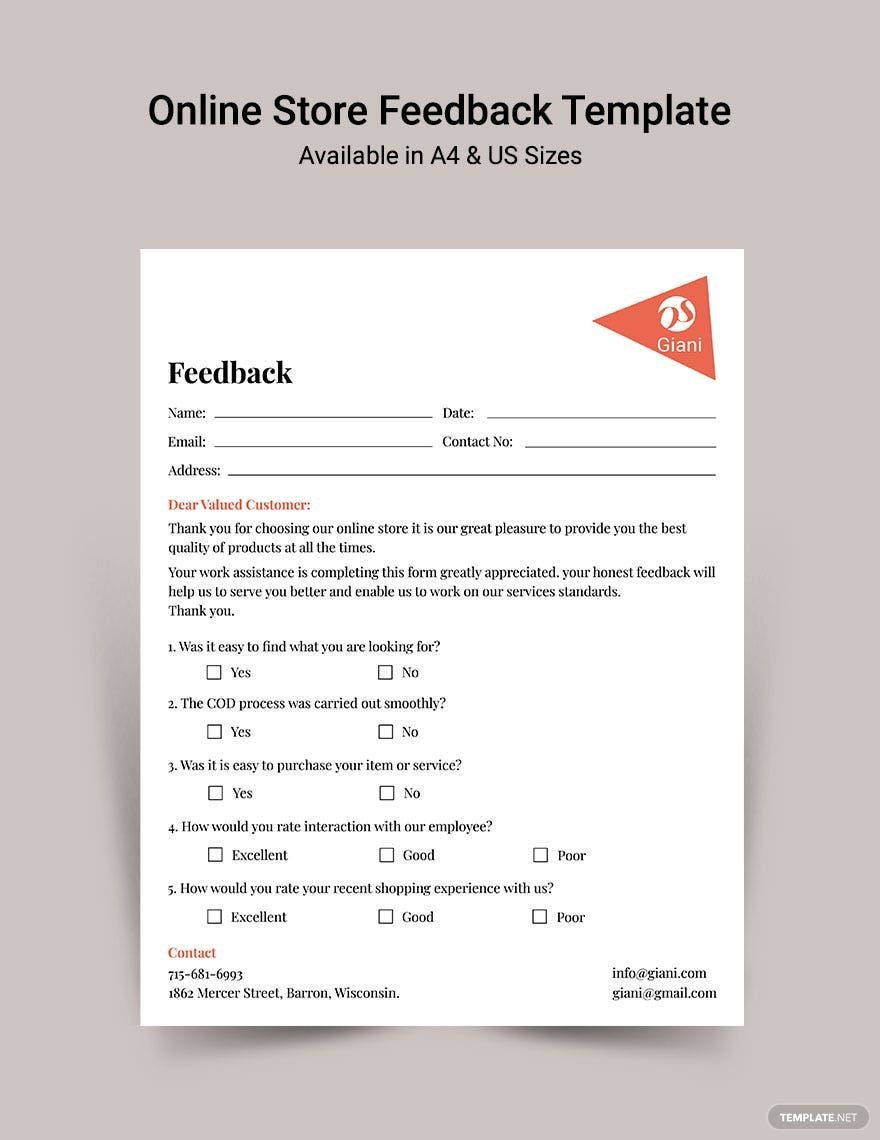
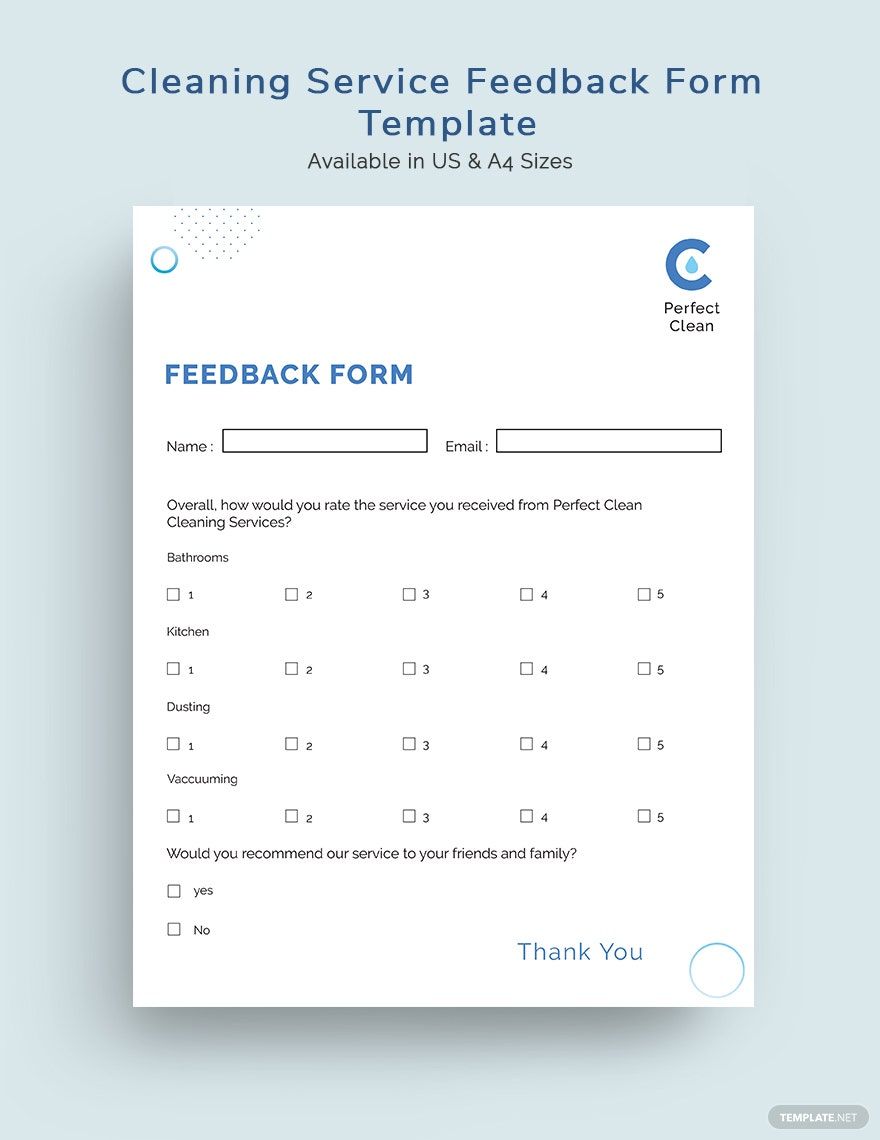
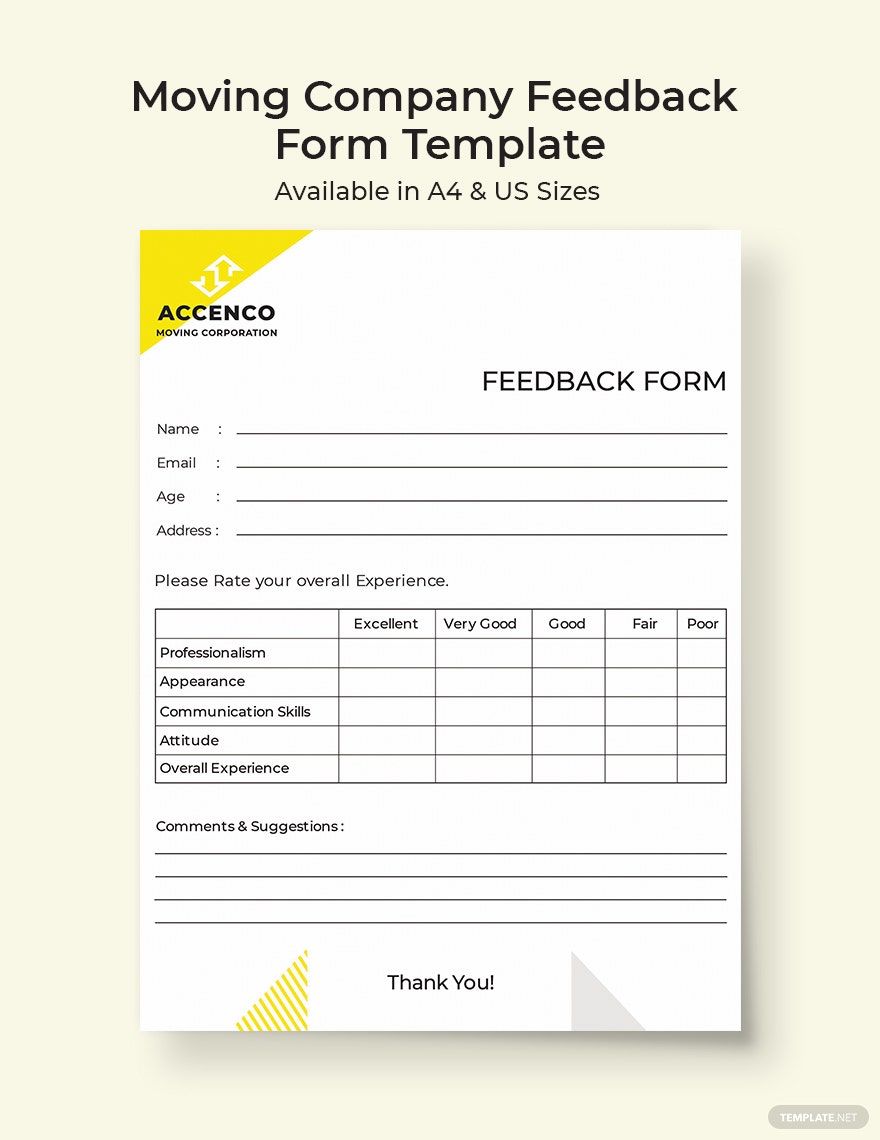
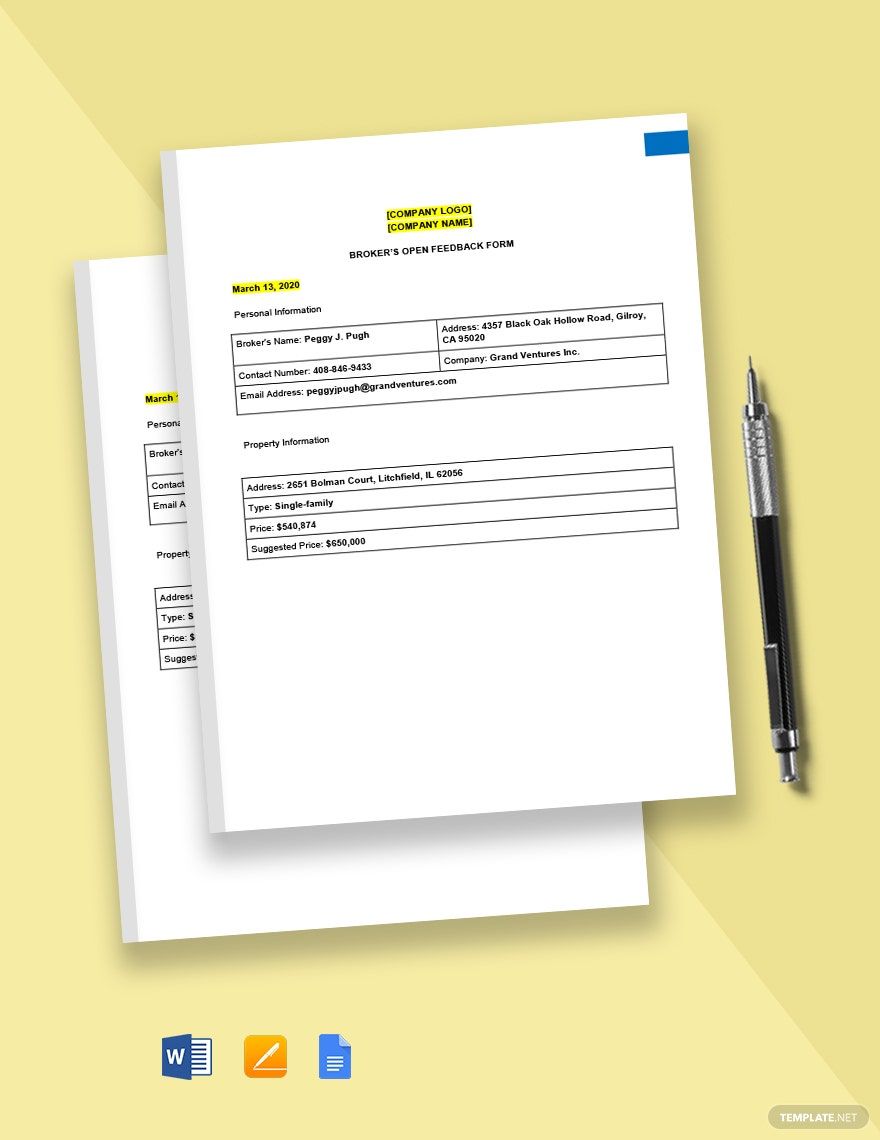
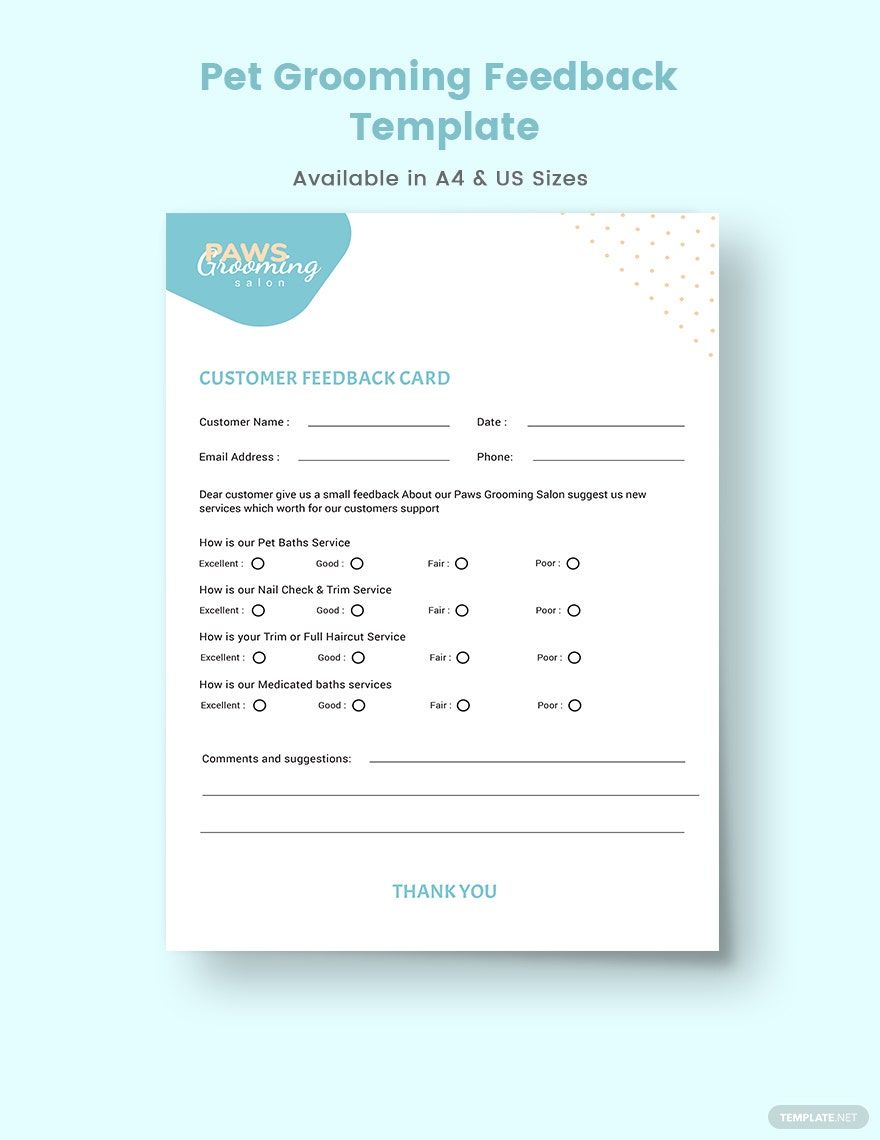
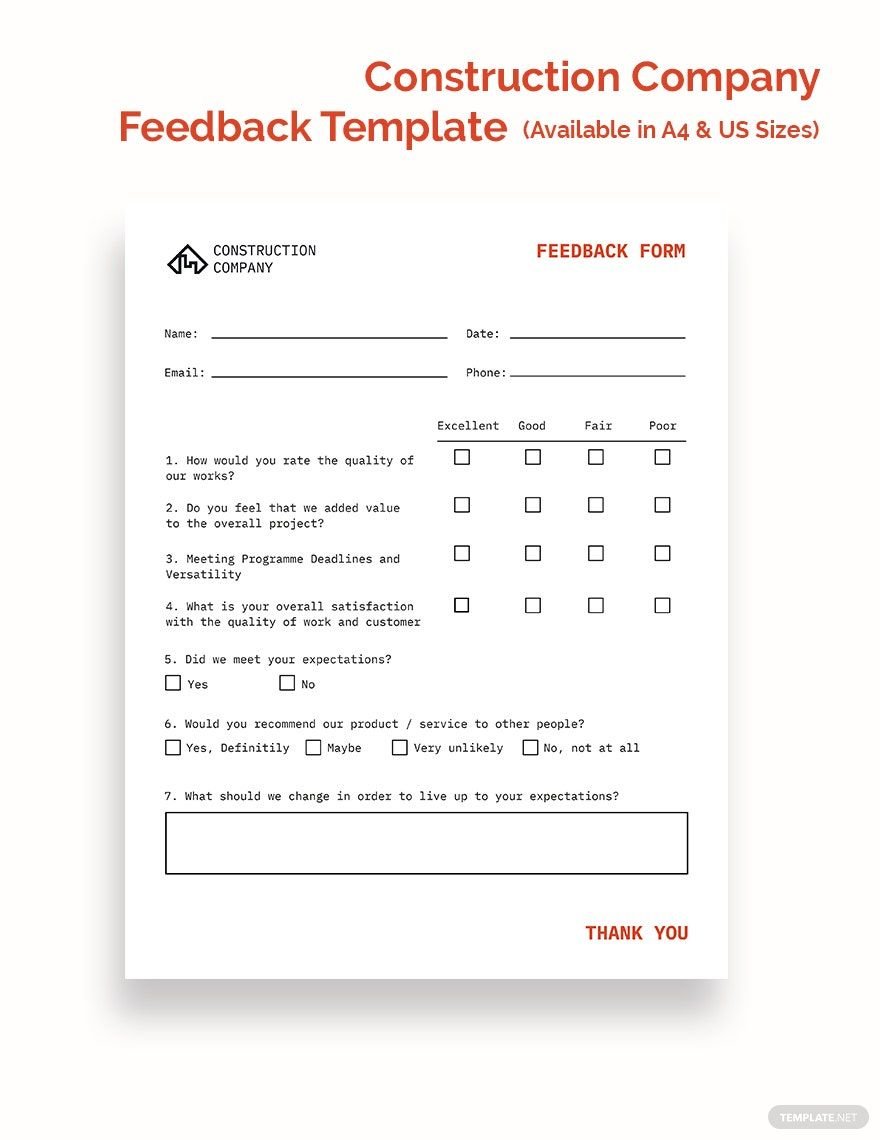
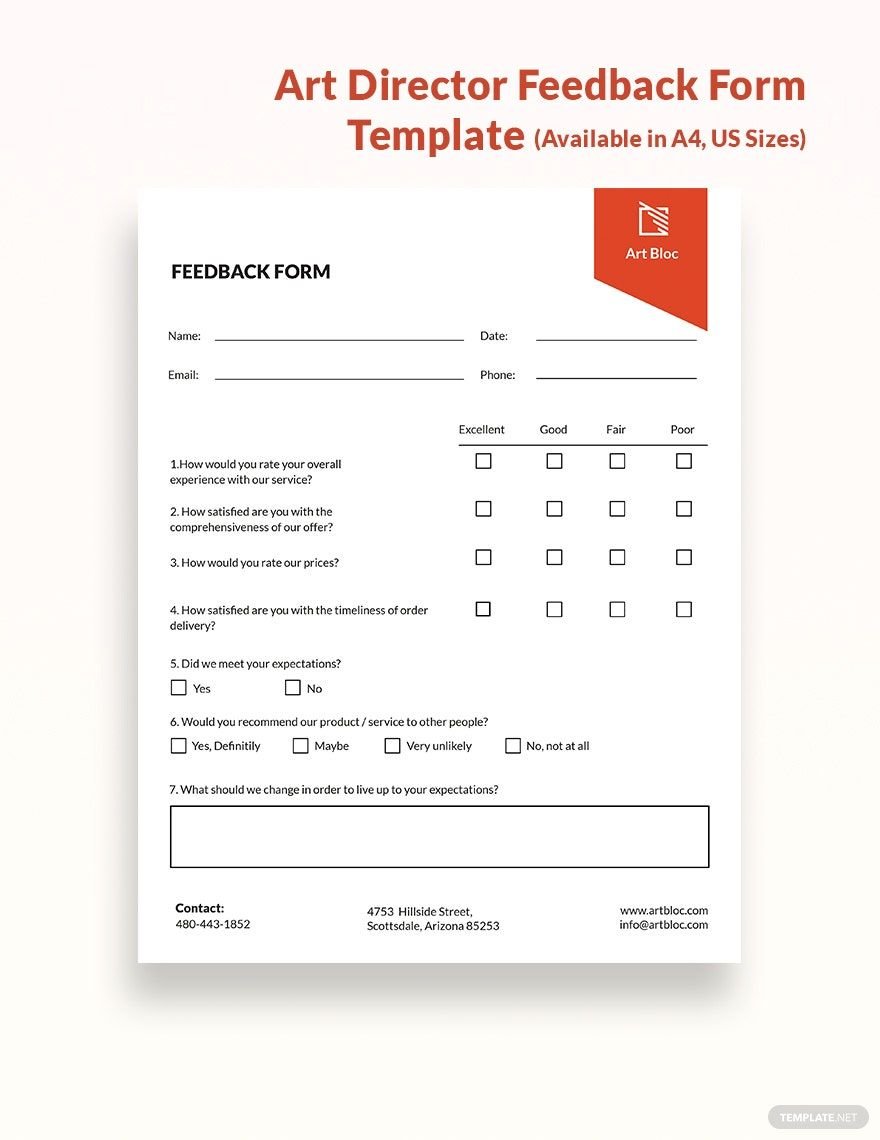
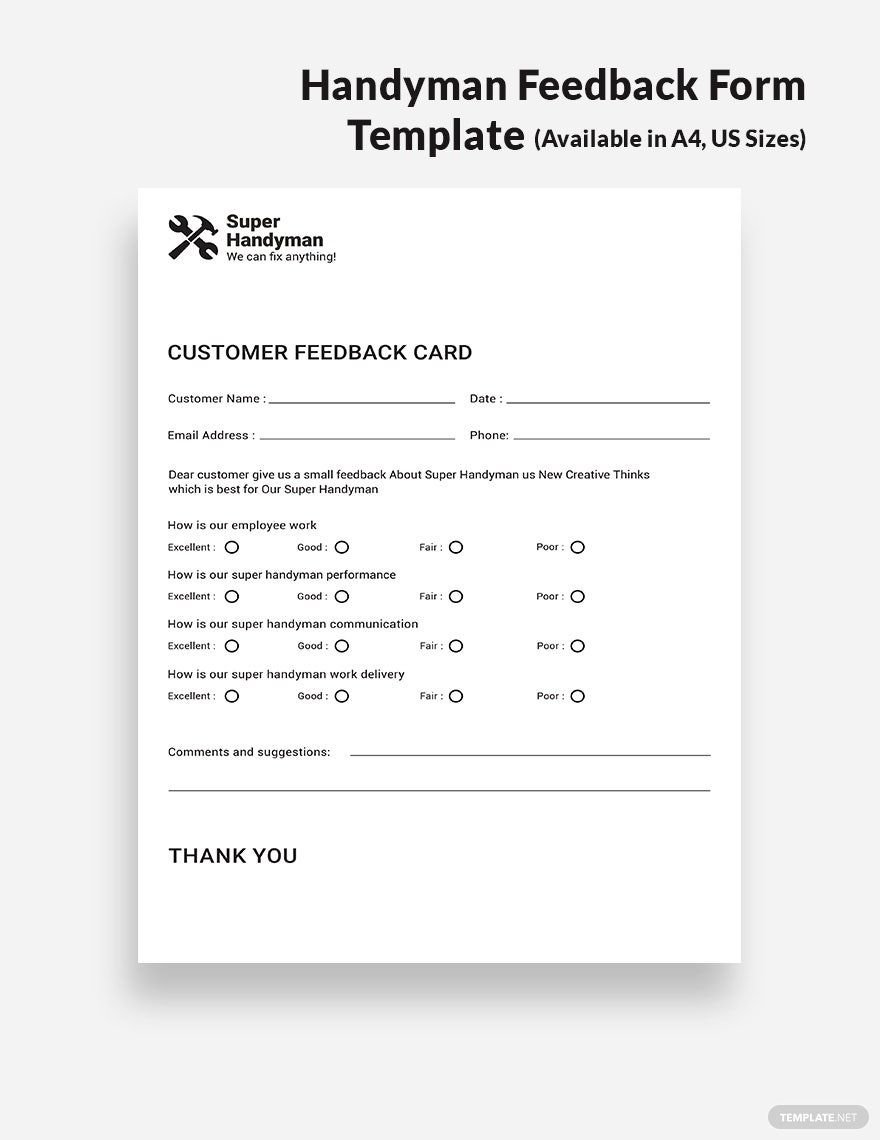
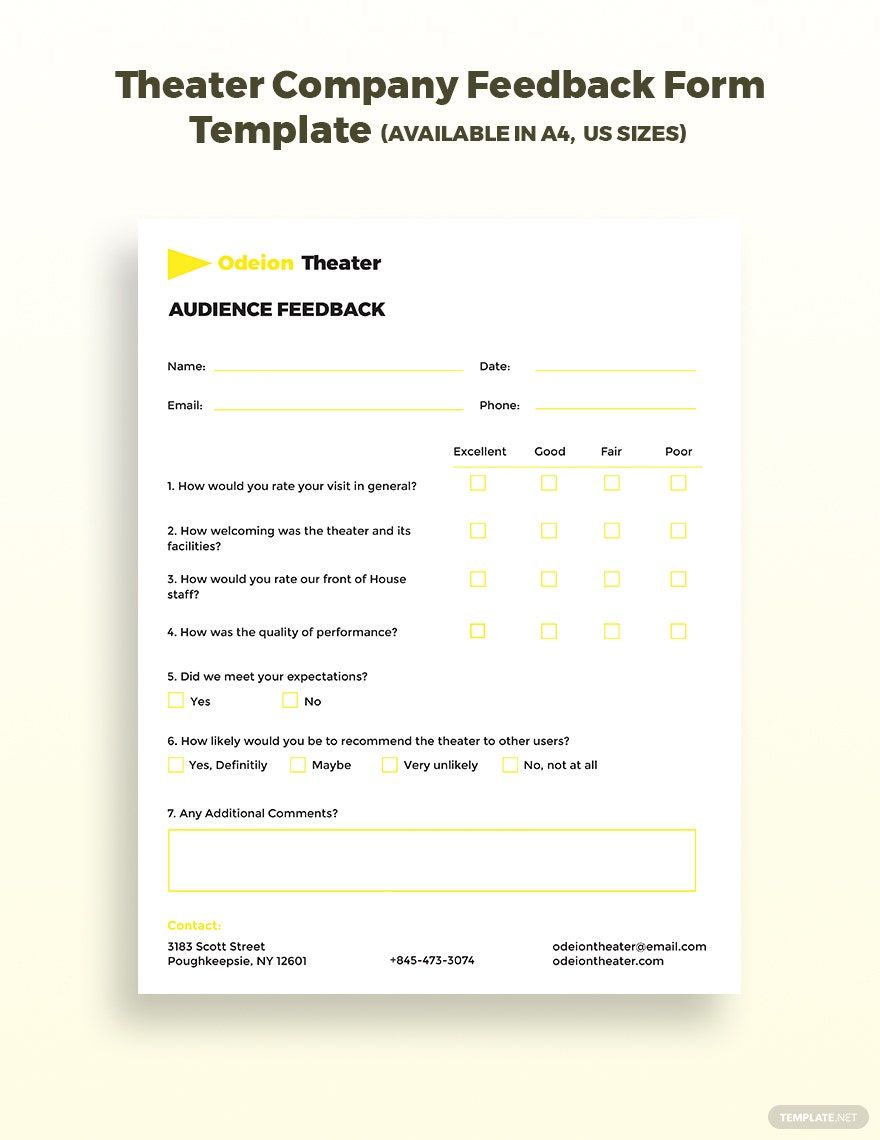
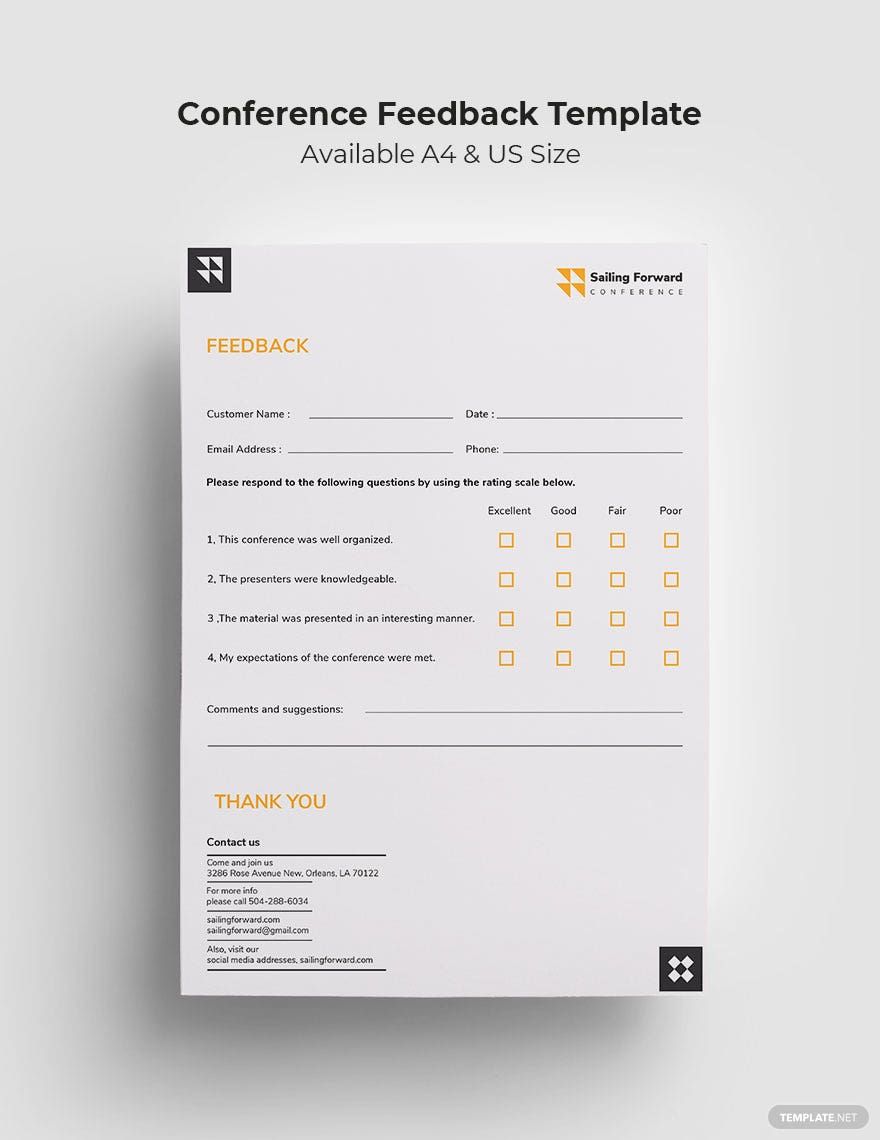
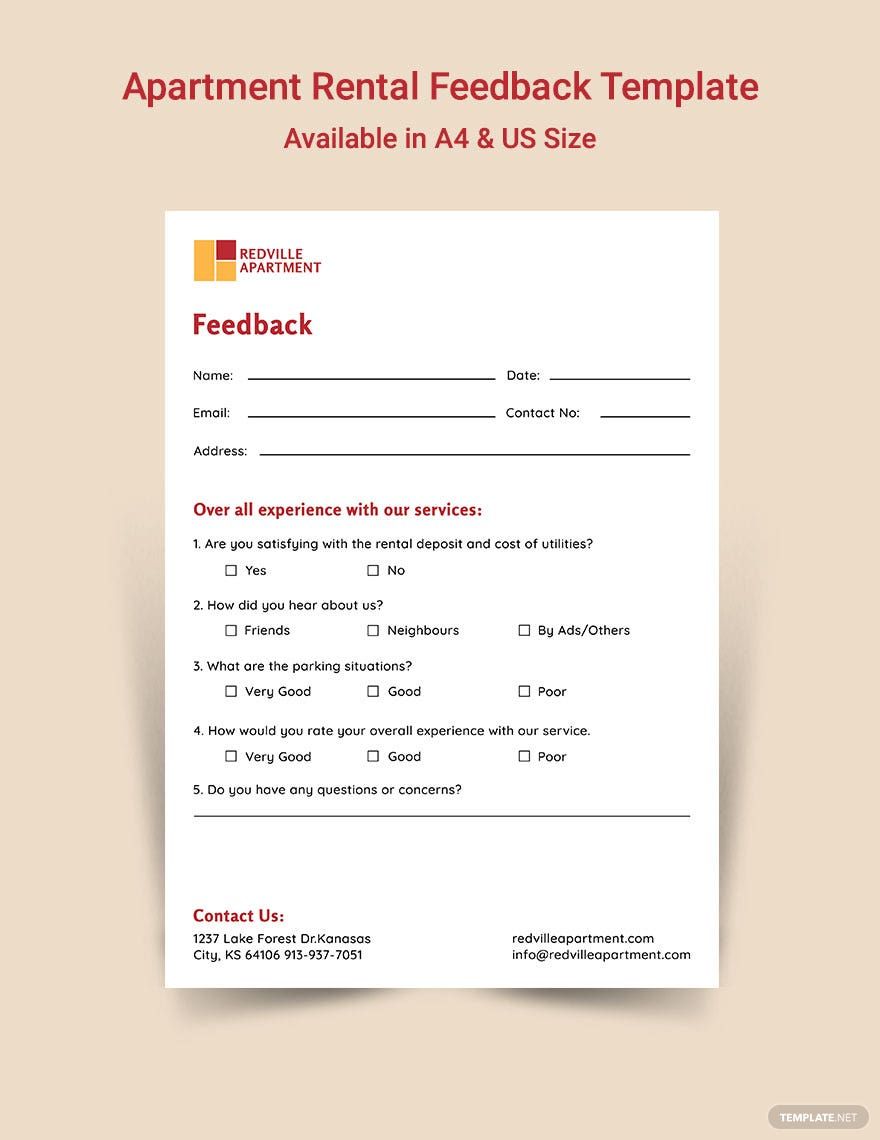
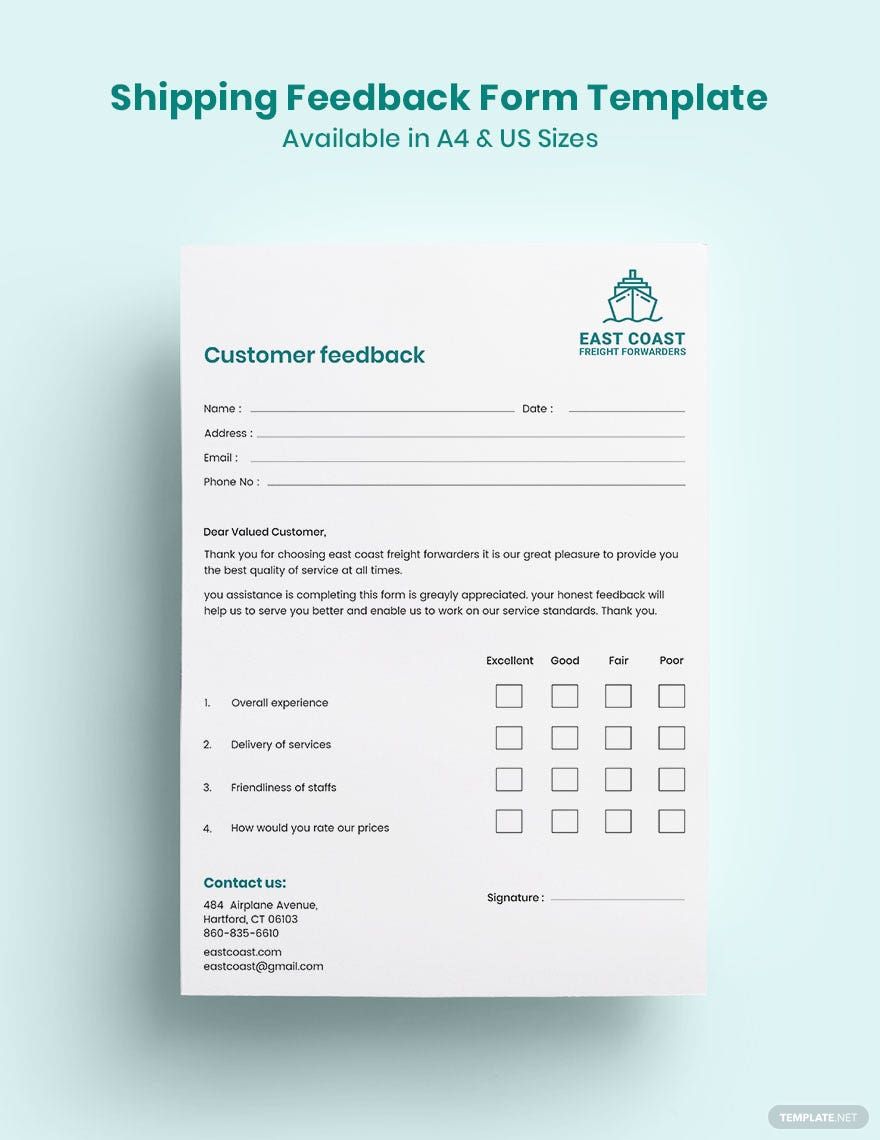
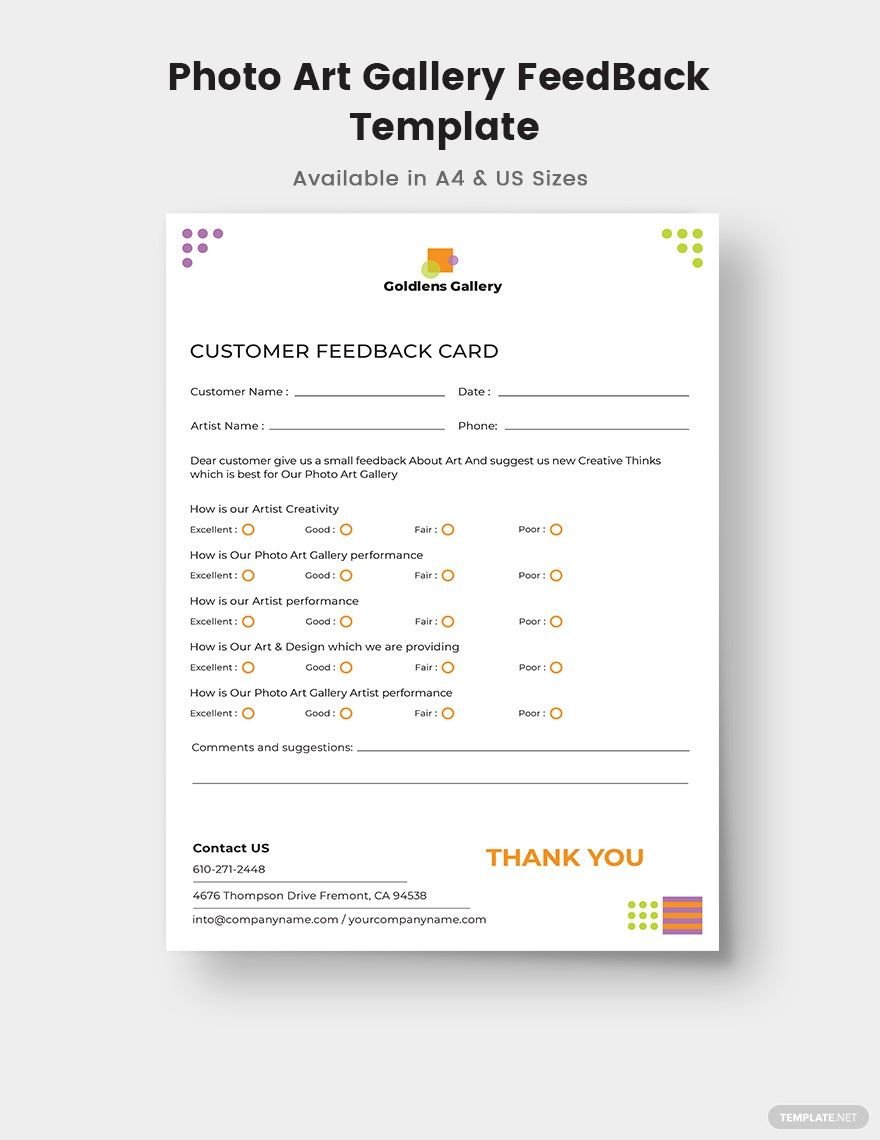
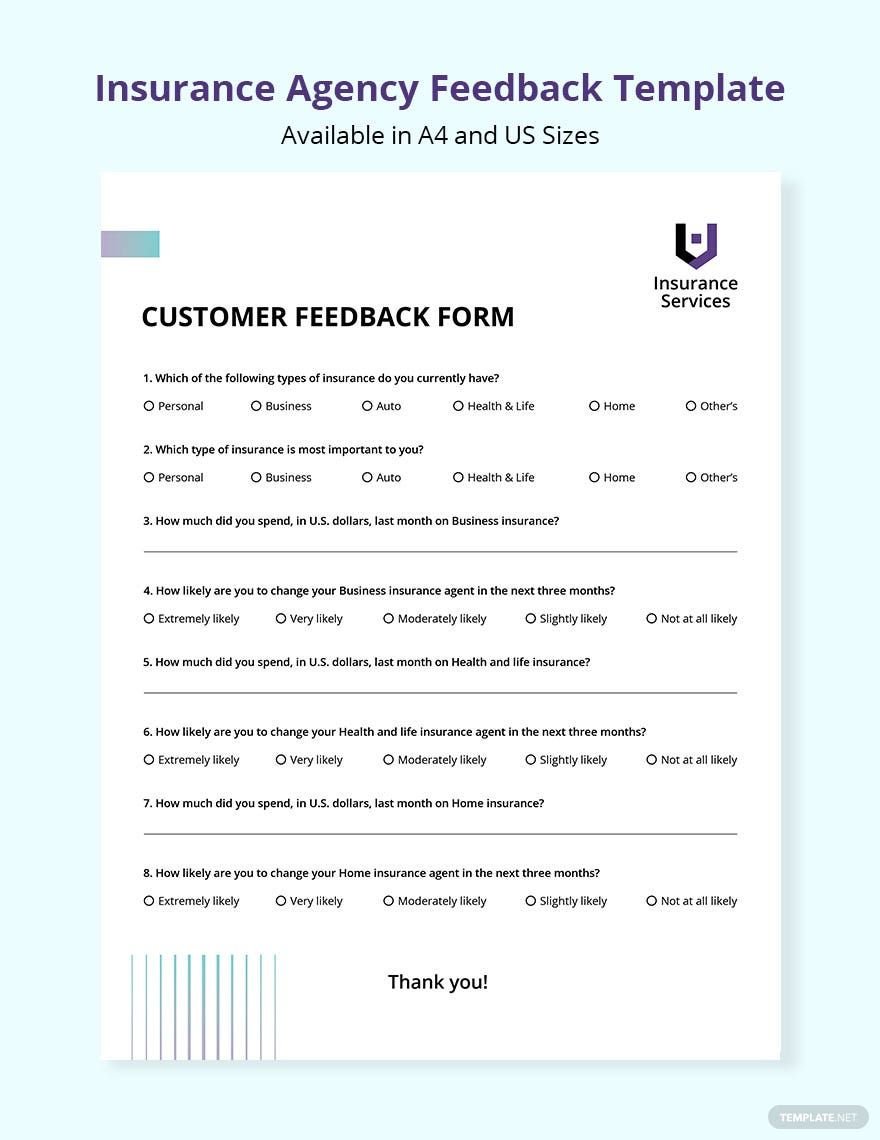
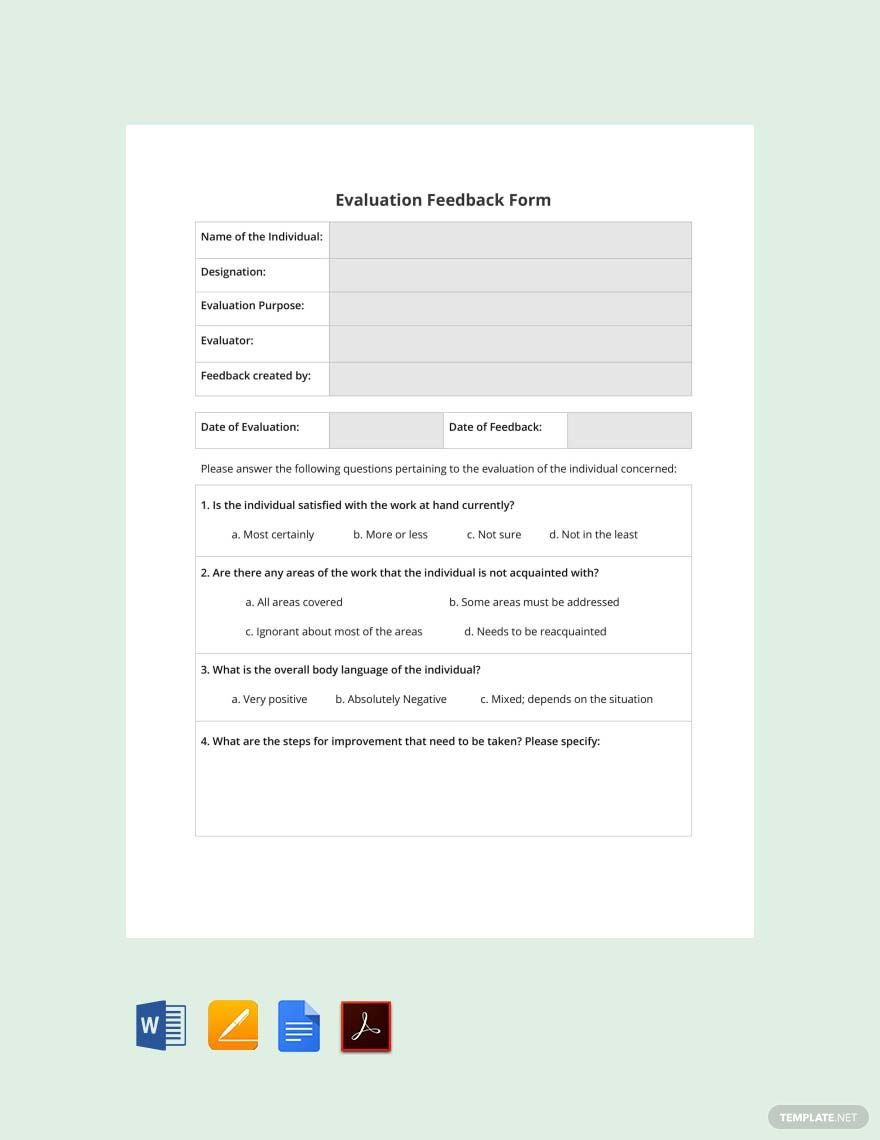
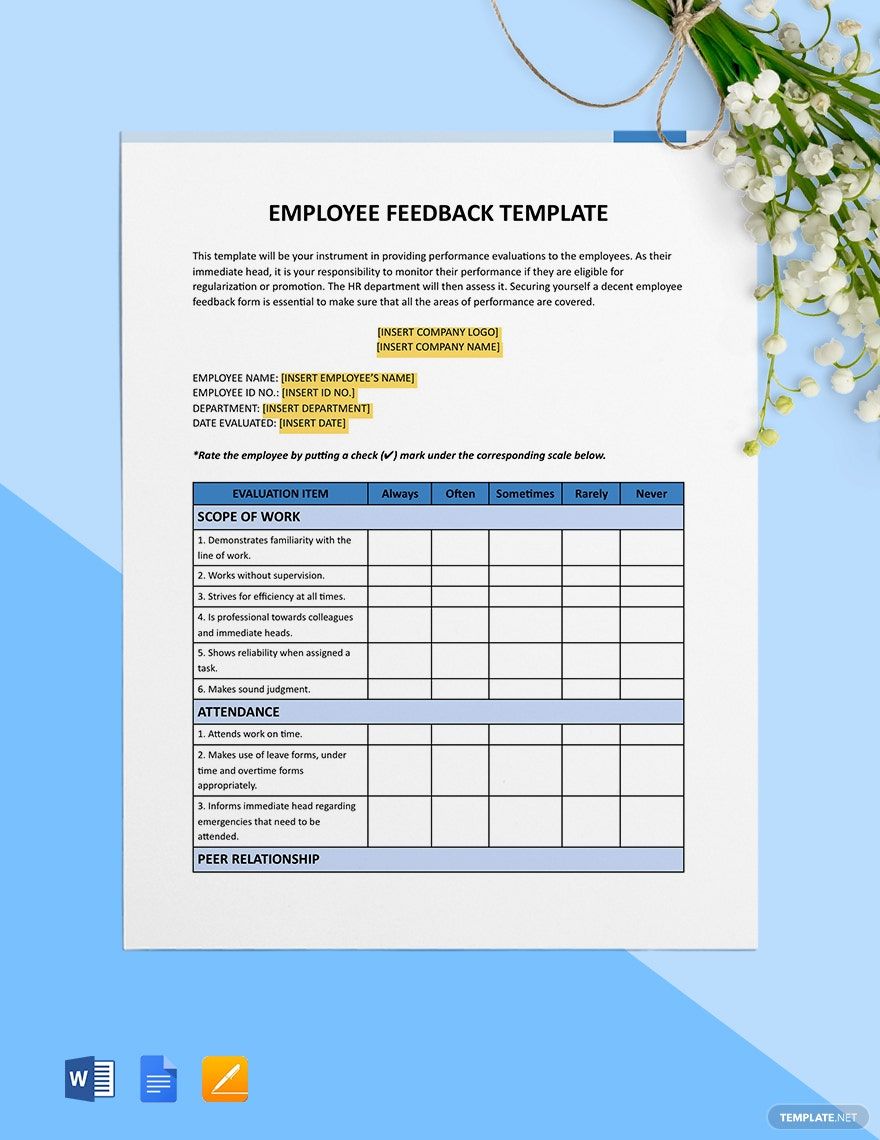
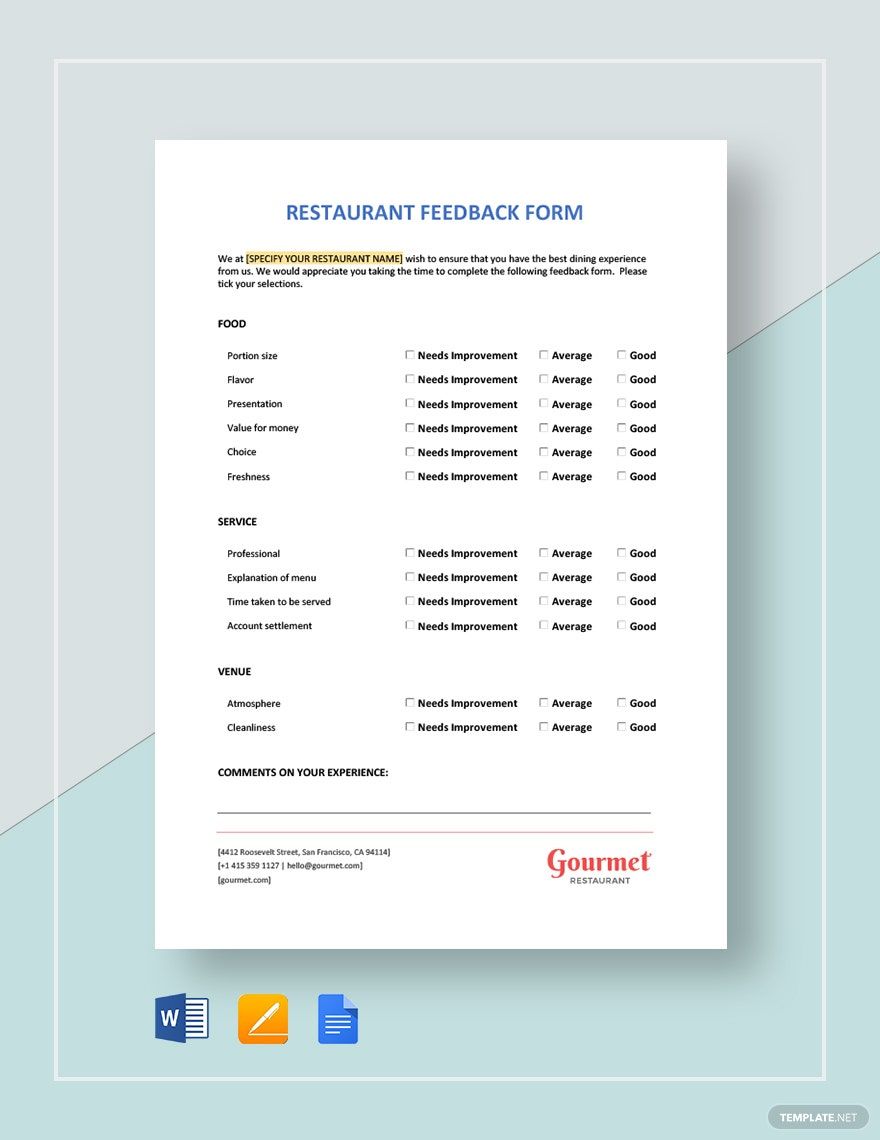
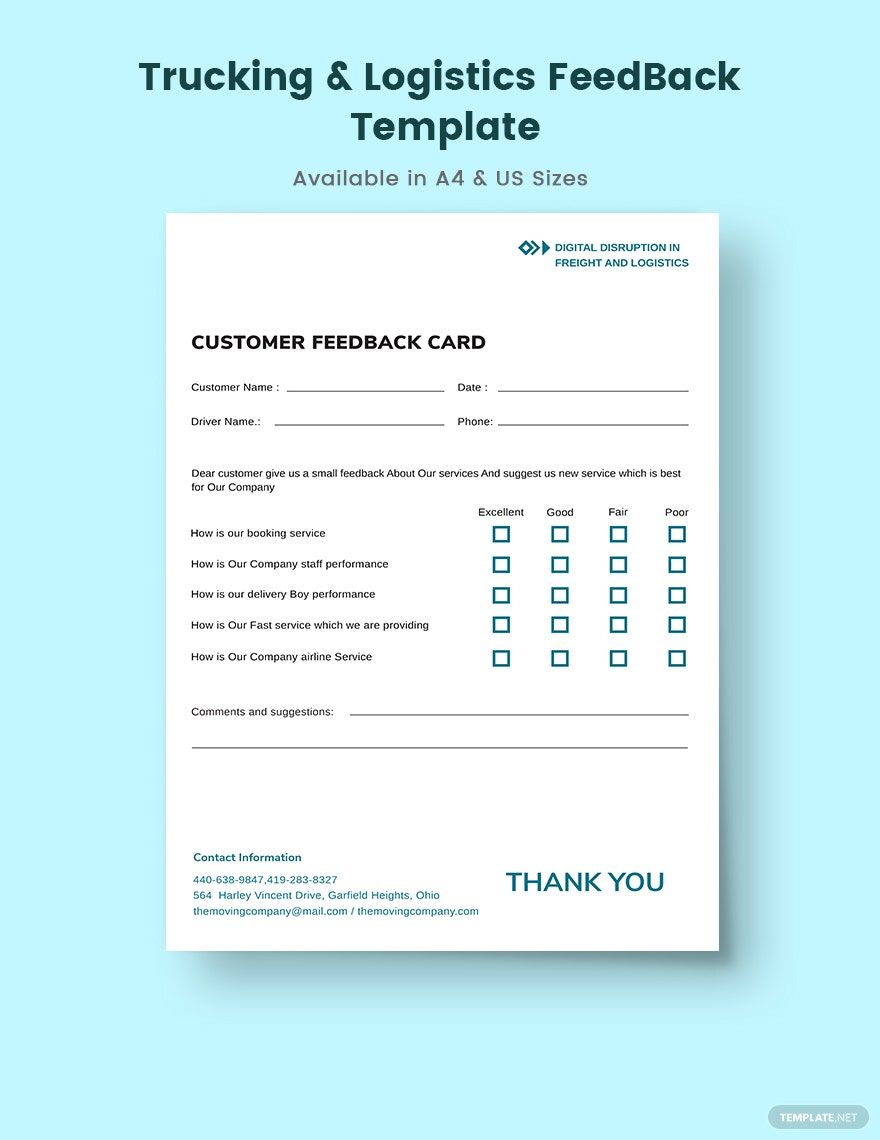
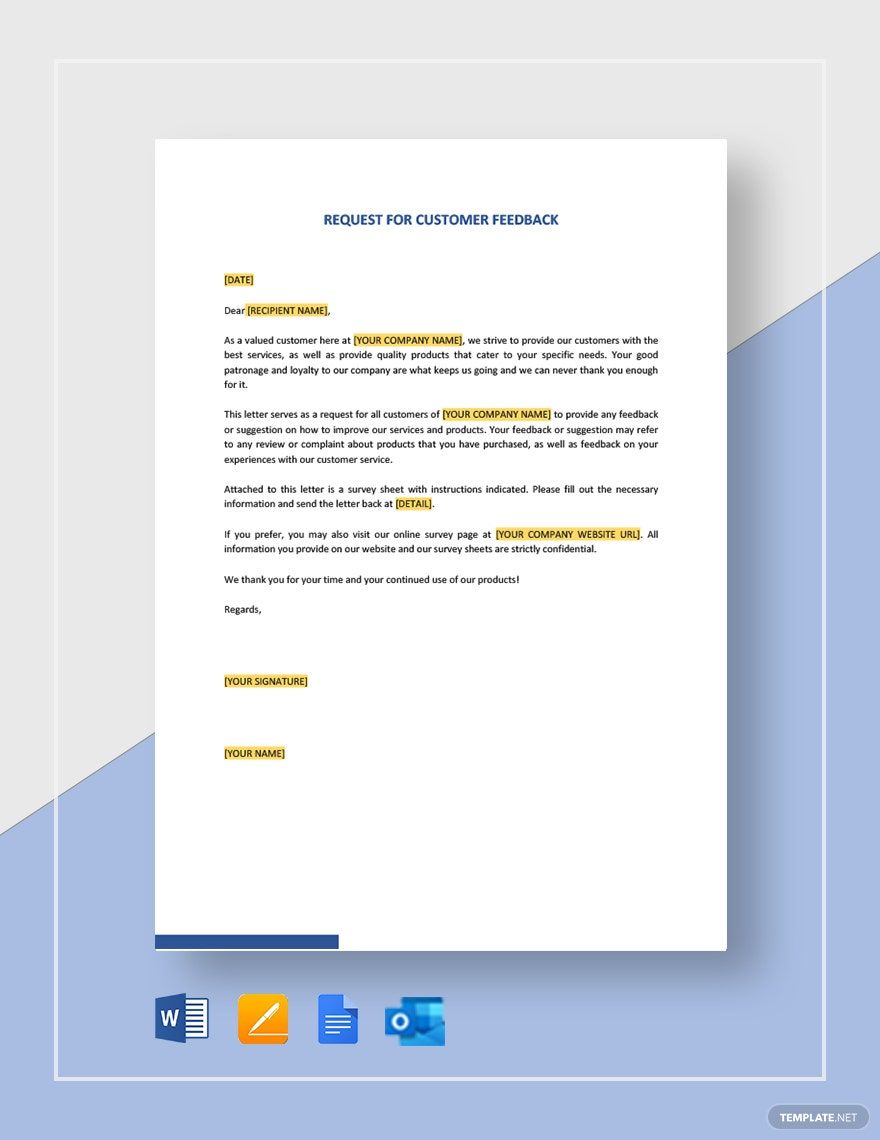
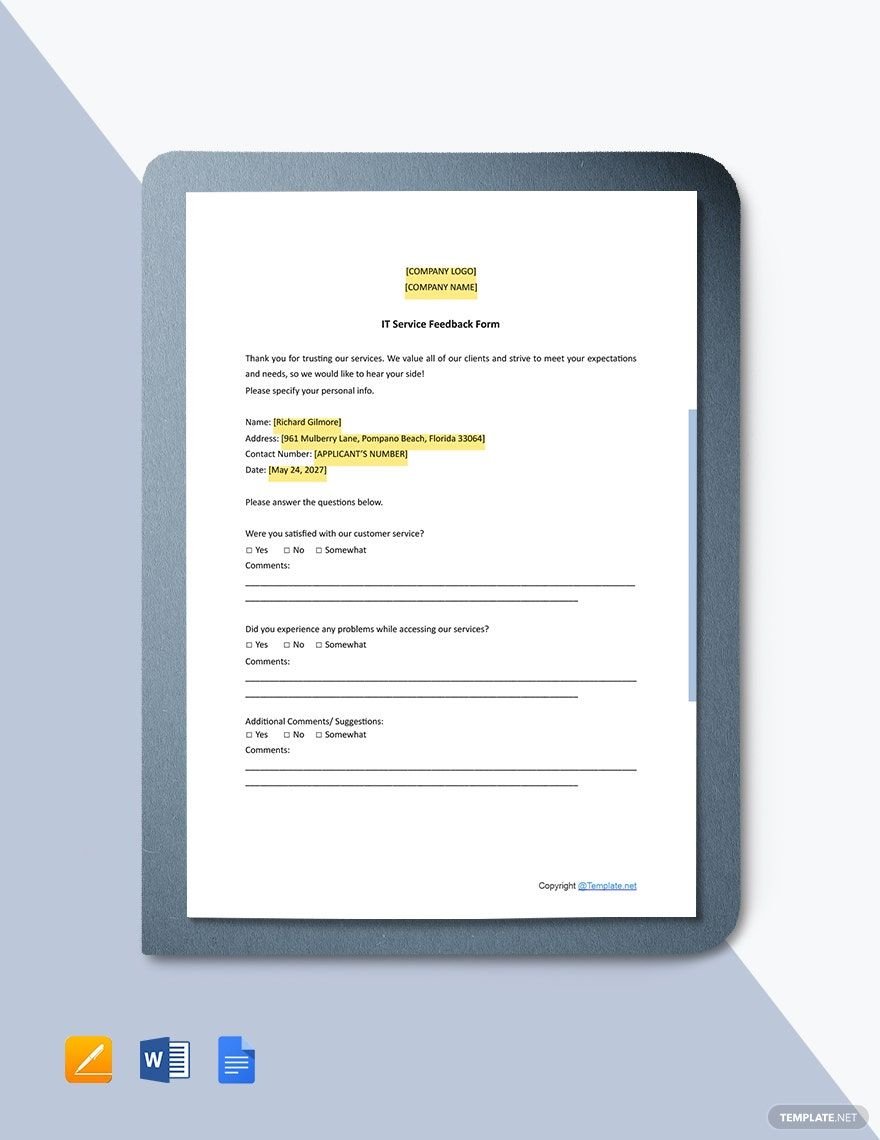
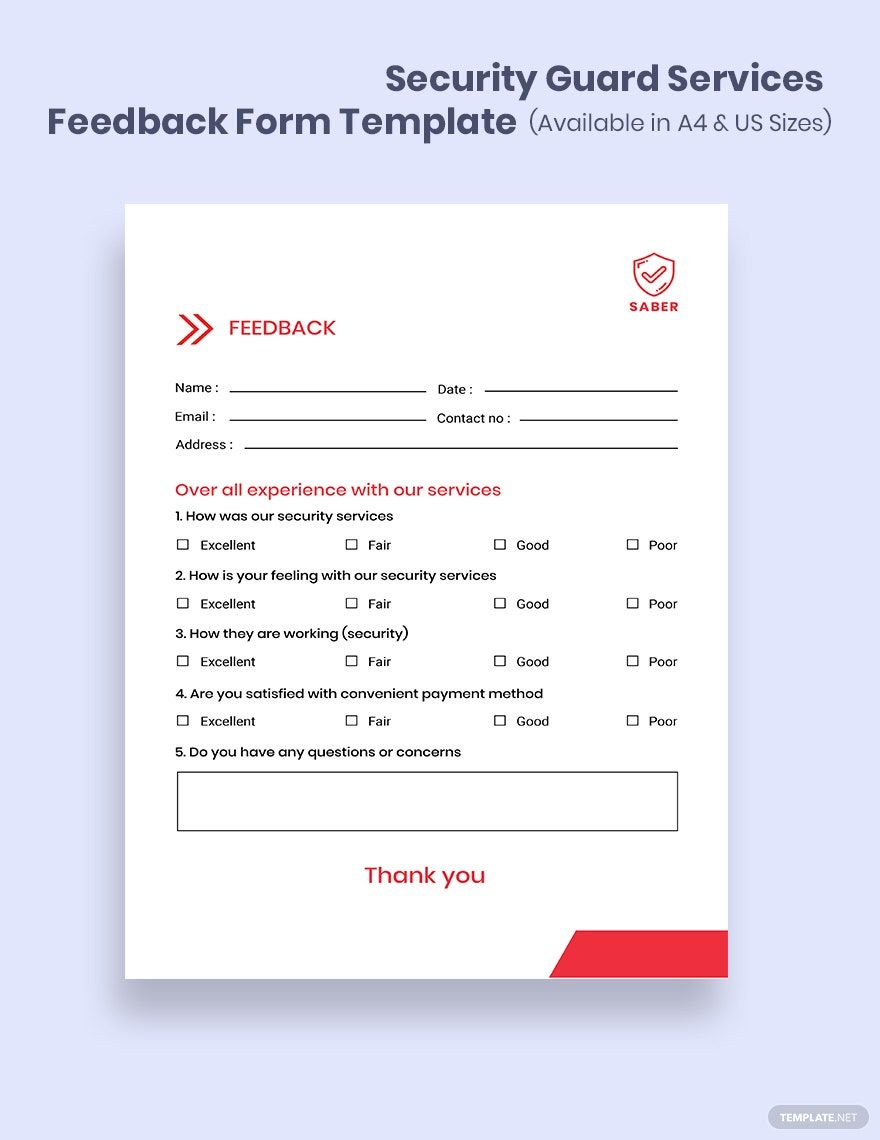
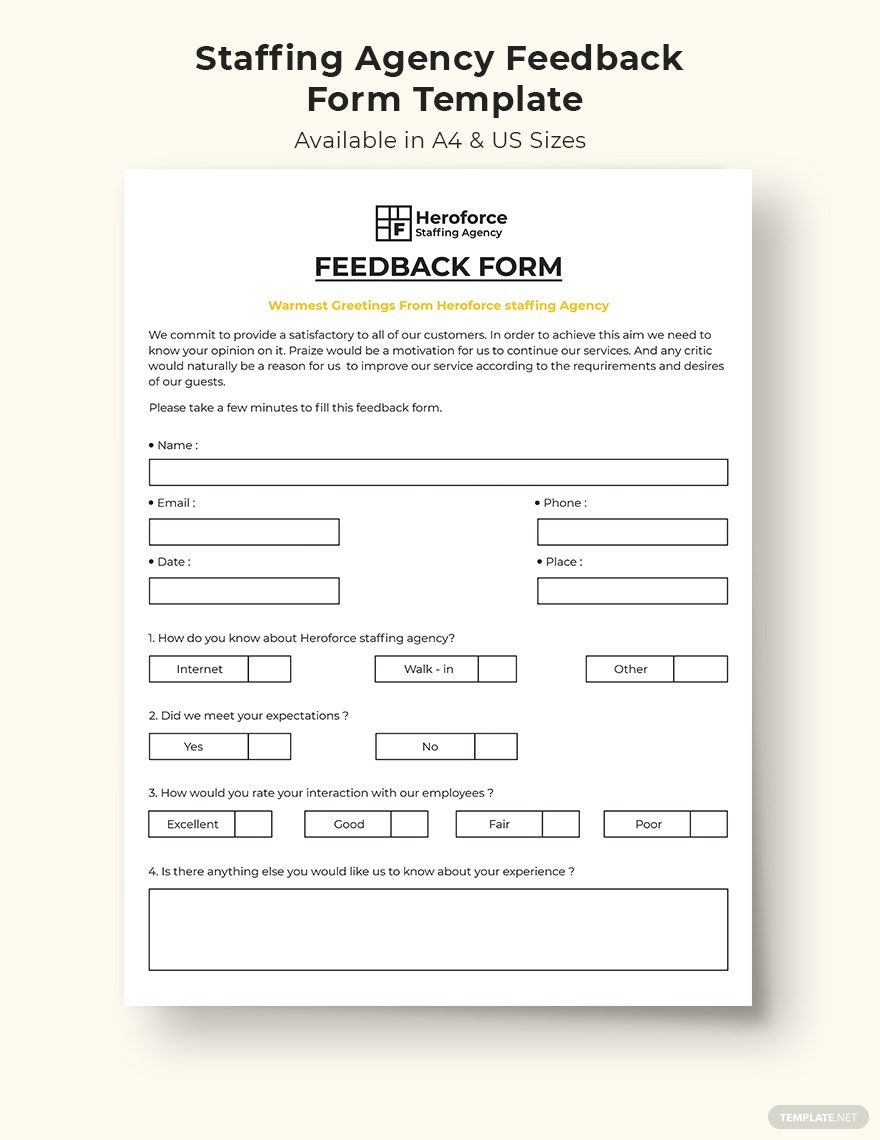
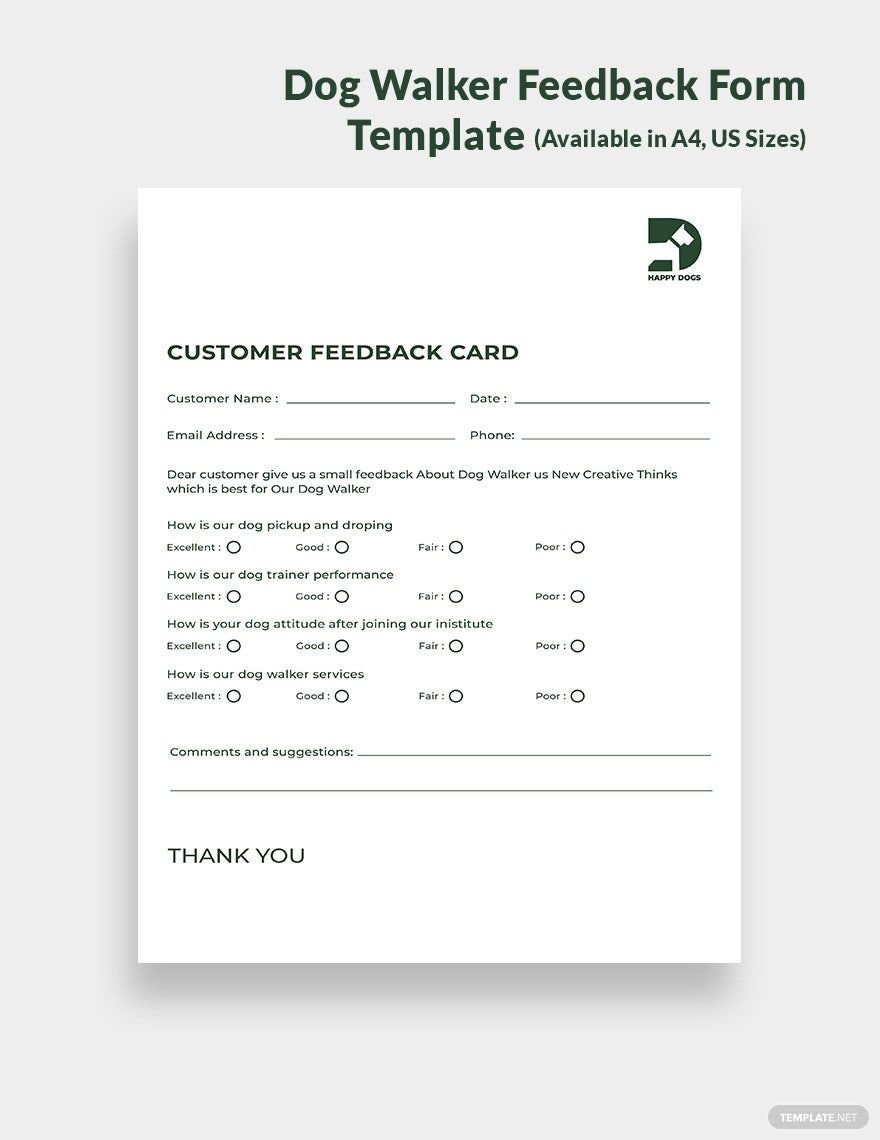
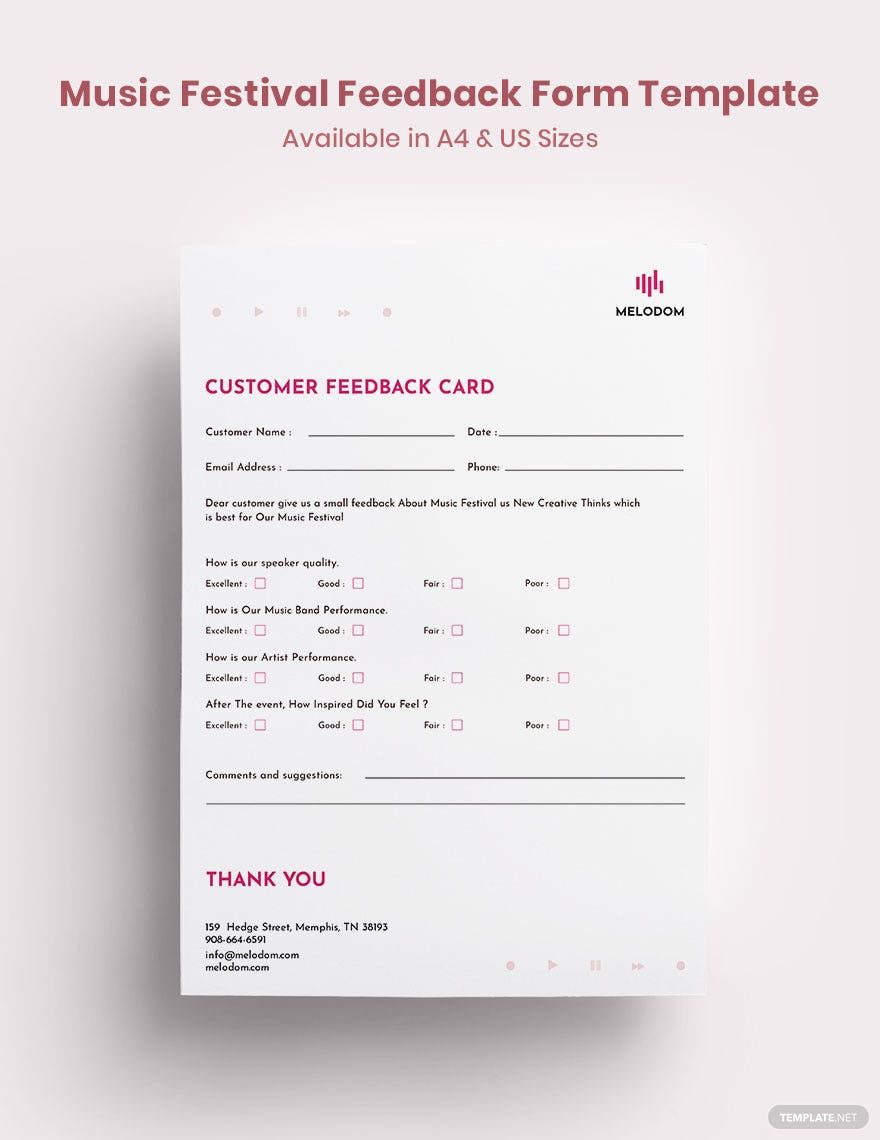
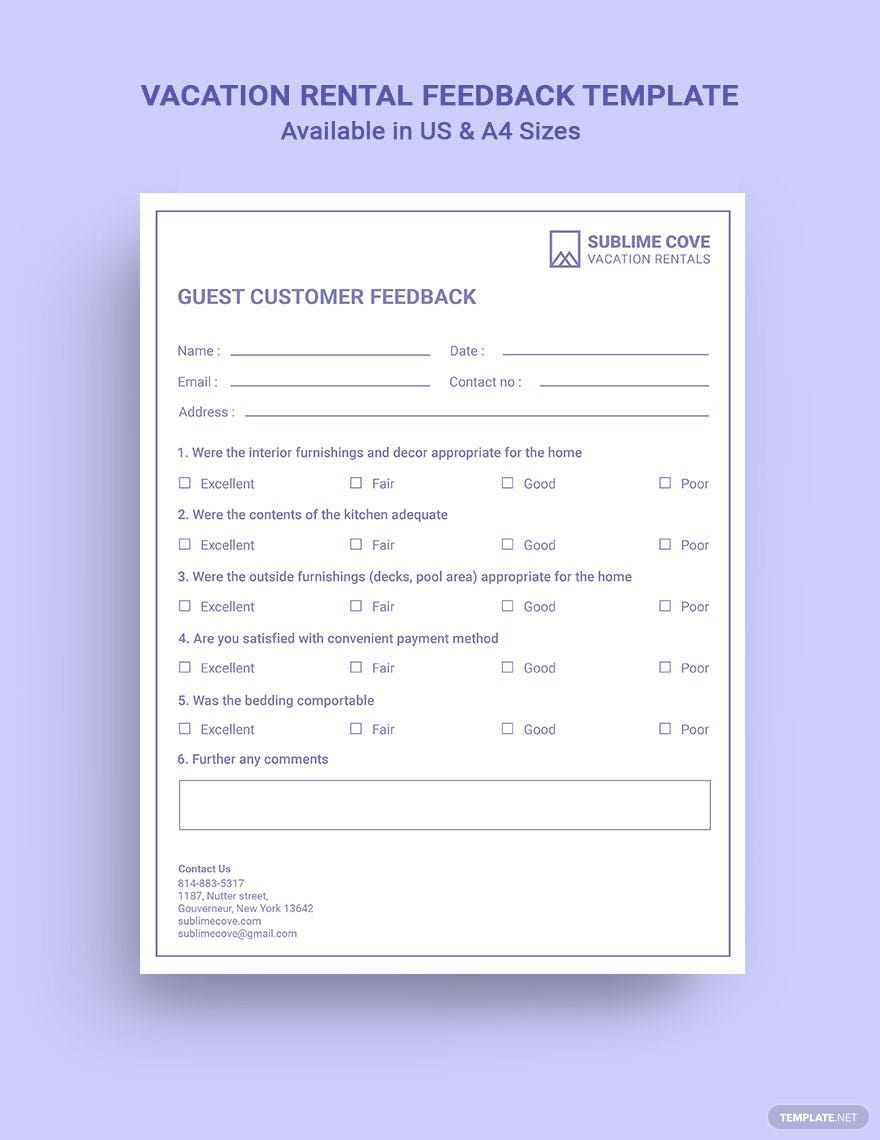
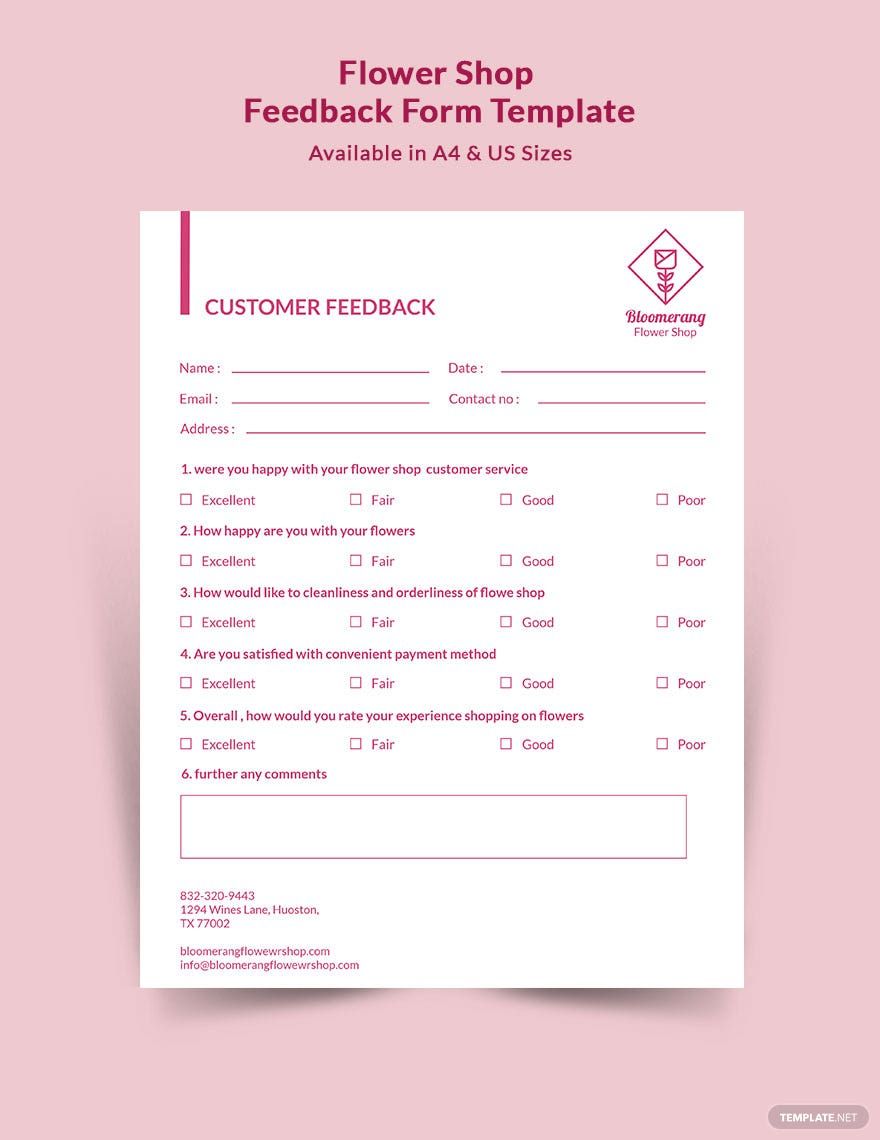
When it comes to getting official feedback from multiple sources at once, putting together a proper document is necessary. Do you need 100% customizable samples for your needs? Then consider downloading our professional Feedback Templates. Quickly create a form for performance evaluation, employee coaching, or school teacher surveys. And no worries if you’re on Mac, as our samples are compatible with Apple Pages. Go ahead and download today—design an effective feedback sheet of your own!
How to make a Feedback Document in Apple Pages
From customers to students, you need a professional document to get proper feedback from your target demographic. One example of such documents is a survey, which is essential for gathering unspoken information from your intended audience (as explained by Chron, a business resource).
Apple Pages is perfect if you need an application for creating your feedback sheet. For some tips on how to effectively use Pages, continue reading down below.
1. Start With Your Feedback Document’s Title
After opening a new document in Apple Pages, start by giving your feedback sheet an appropriate title. At the top of your document, create a title that’s simple yet descriptive, like “Workplace Team Training Survey” or “Business Manager Evaluation Feedback.”
2. Open Your Document With Some Dialogue
Before writing down your questions, you need some simple yet concise dialogue as an introduction to your feedback sheet. First, let the reader know what they’re filling out by summarizing the purpose of your feedback document. Next, provide instructions on how to answer the form.
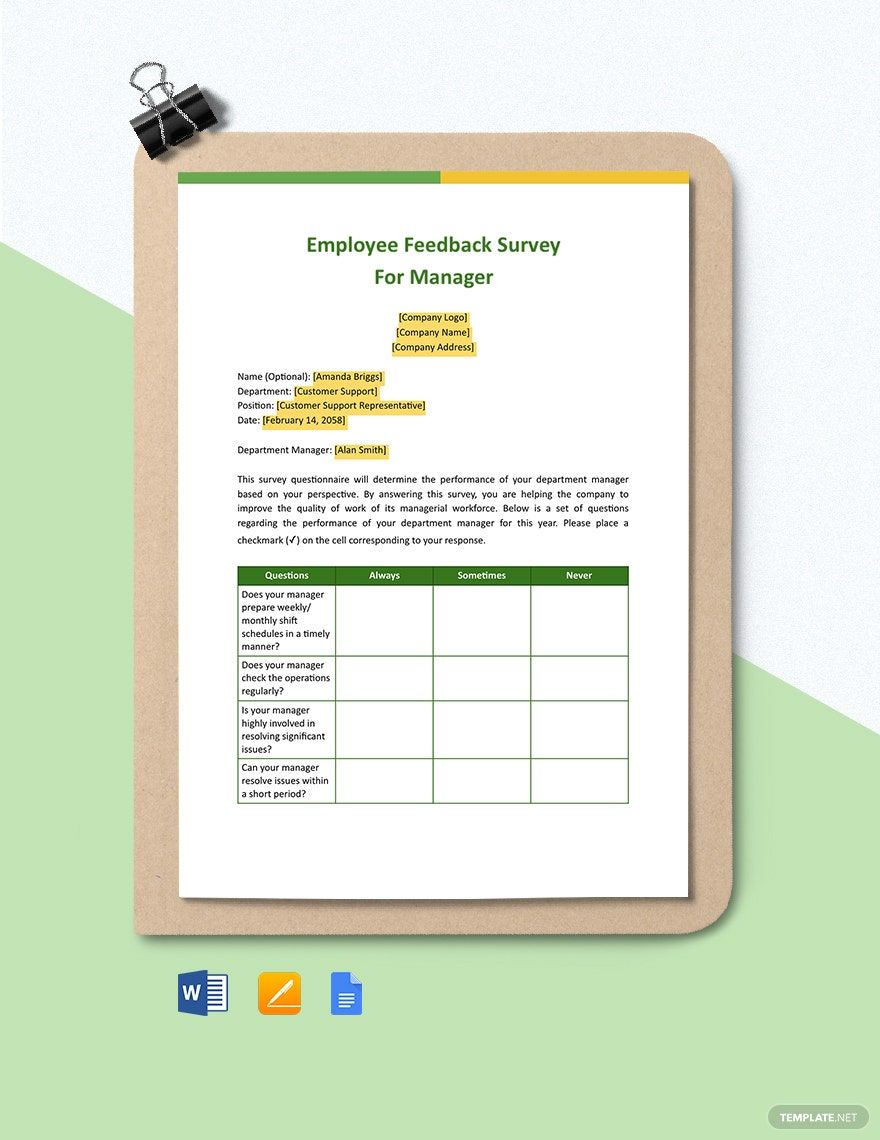
3. Use Grid Tables for Creating Your Feedback Questions
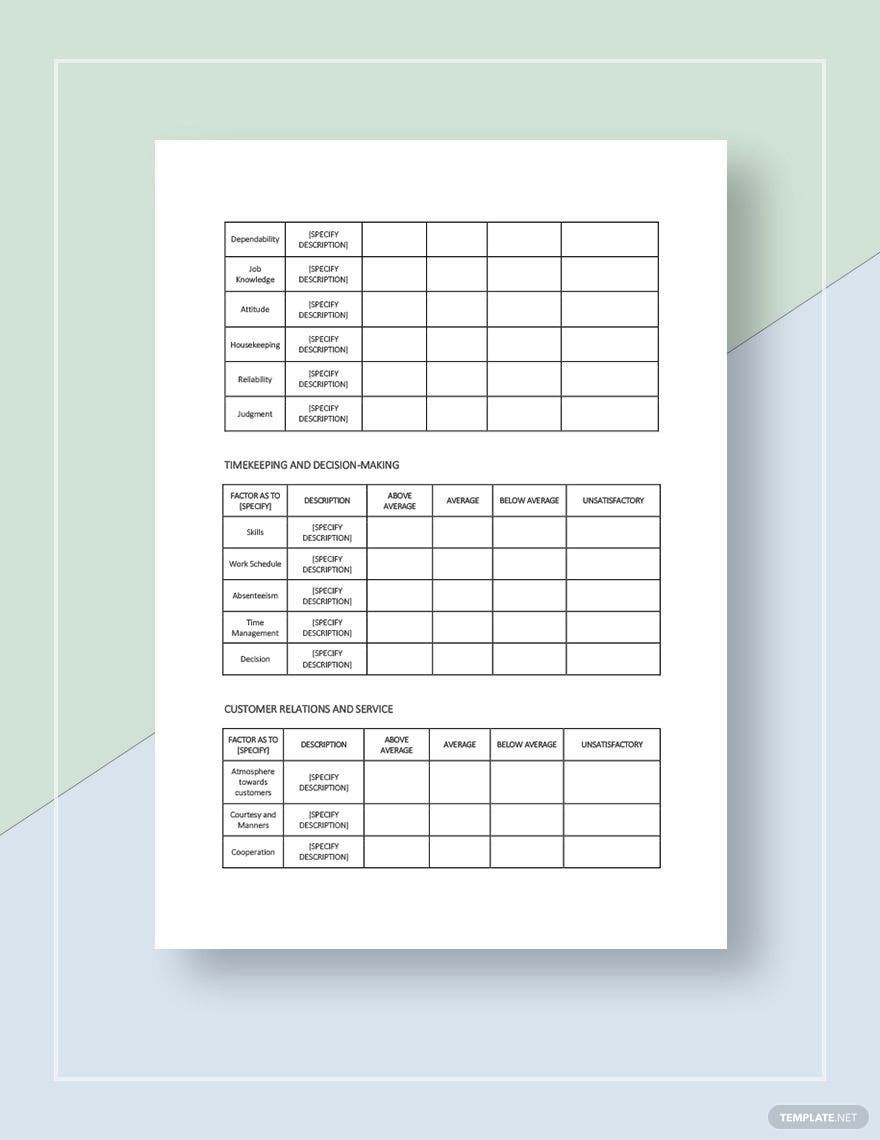
The main element of your feedback form is its questions. To keep your items neat and orderly, write them down in a grid table. Add a table in Pages by opening the Table menu (in the upper toolbar) and selecting from one of the premade layouts.
4. Customize Your Table as Needed
In your table, reserve the leftmost column for your feedback questions. If your reader needs to answer a question with a sentence, then simply add one large column to the right. However, for multiple-choice questions, add as many columns as you need for each choice. To add or remove rows and columns, use the arrow buttons in the top-right and bottom-left corners of the table. To delete a row or column, Ctrl-click a cell in the desired row or column before selecting Delete Row or Delete Column.
And those are our tips! Finally, to expedite your content creation process, remember to use our easily editable Feedback Templates!


