


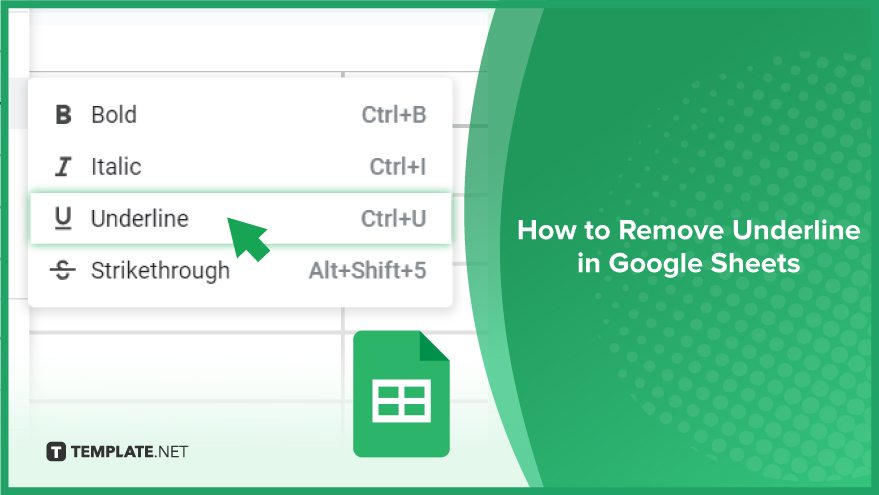
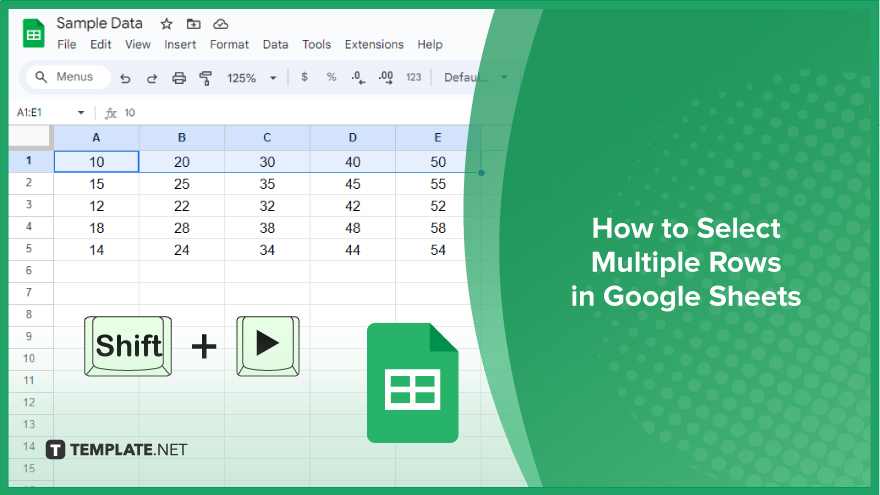
How to Remove Underline in Google Sheets
Google Sheets not only excels in data management but also offers flexible text formatting options, including the removal of underlines. Ideal…
Feb 12, 2024


Jun 28, 2022
A presentation is a collection of concrete information and ideas that a presenter aims to share with the audience. The presenter showcases them in a form of a slideshow with elegantly crafted images, graphics, data diagrams, charts, fonts, and other visual elements. In 2006, Google launched their own online presentation software called Google Presentation which we know today as Google Slides. The release of Slides happened a year after they bought Writly in 2005 from Sam Schilace.

Google Slides is an online program for creating high-quality presentations and slideshows.
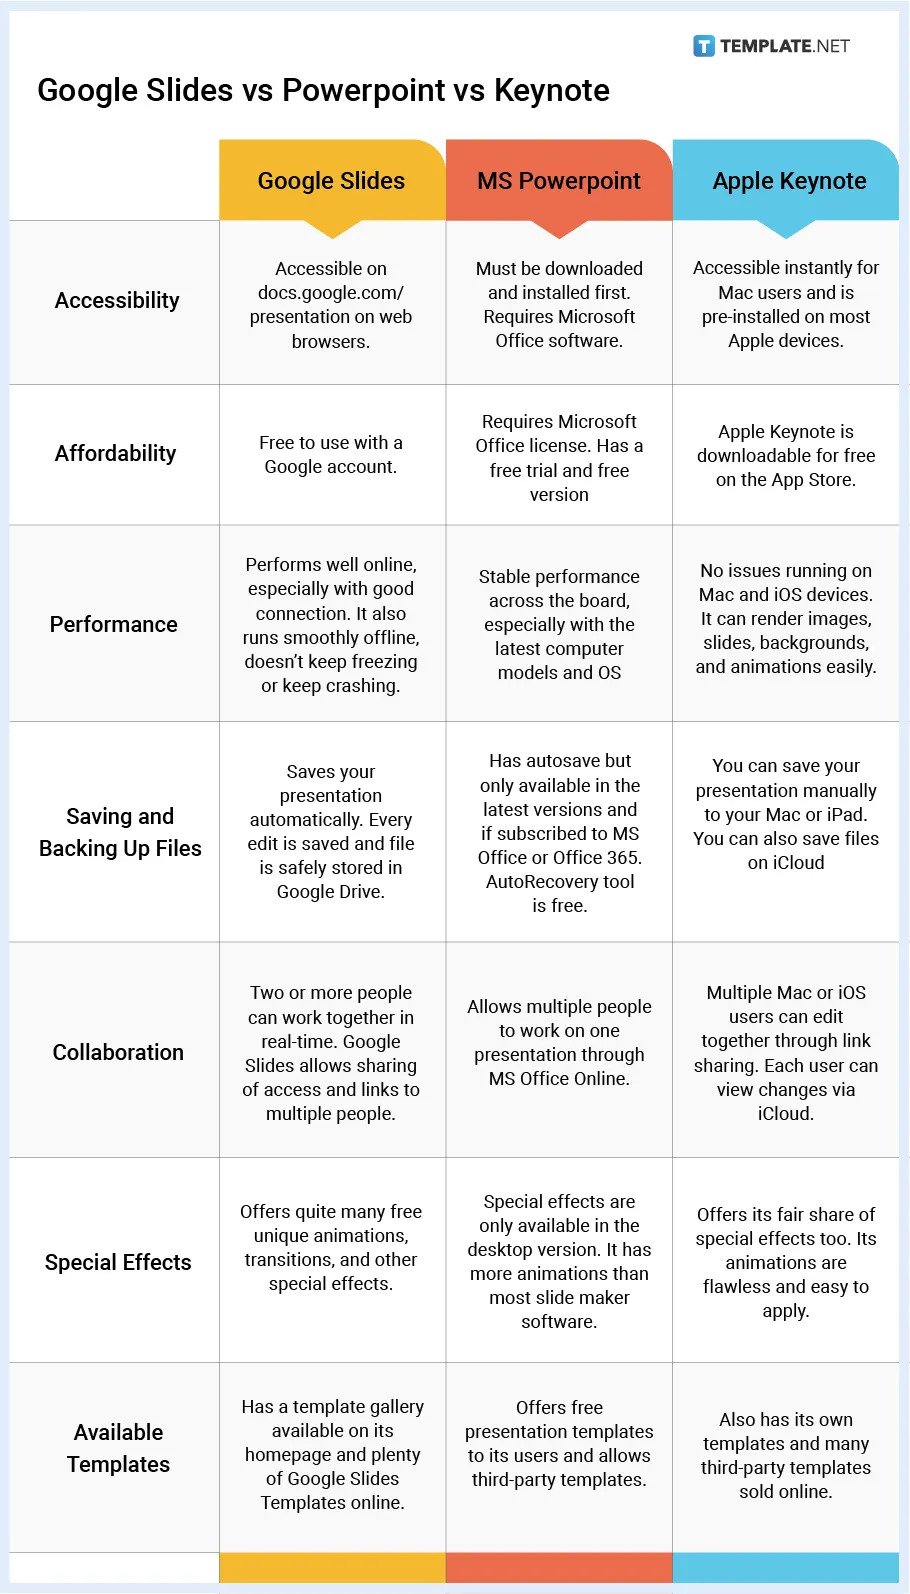
Google Slides is an online application for building simple, professional, and elegant presentations. As its name implies, it’s a platform developed by Google, a company that we’re all very familiar with. Google Slides is a Google Workspace app with a diverse set of editing tools that empower its users to build the best presentations. It is simply one of the best collaborative software presentation programs alongside the likes of Microsoft PowerPoint & Apple Keynote.
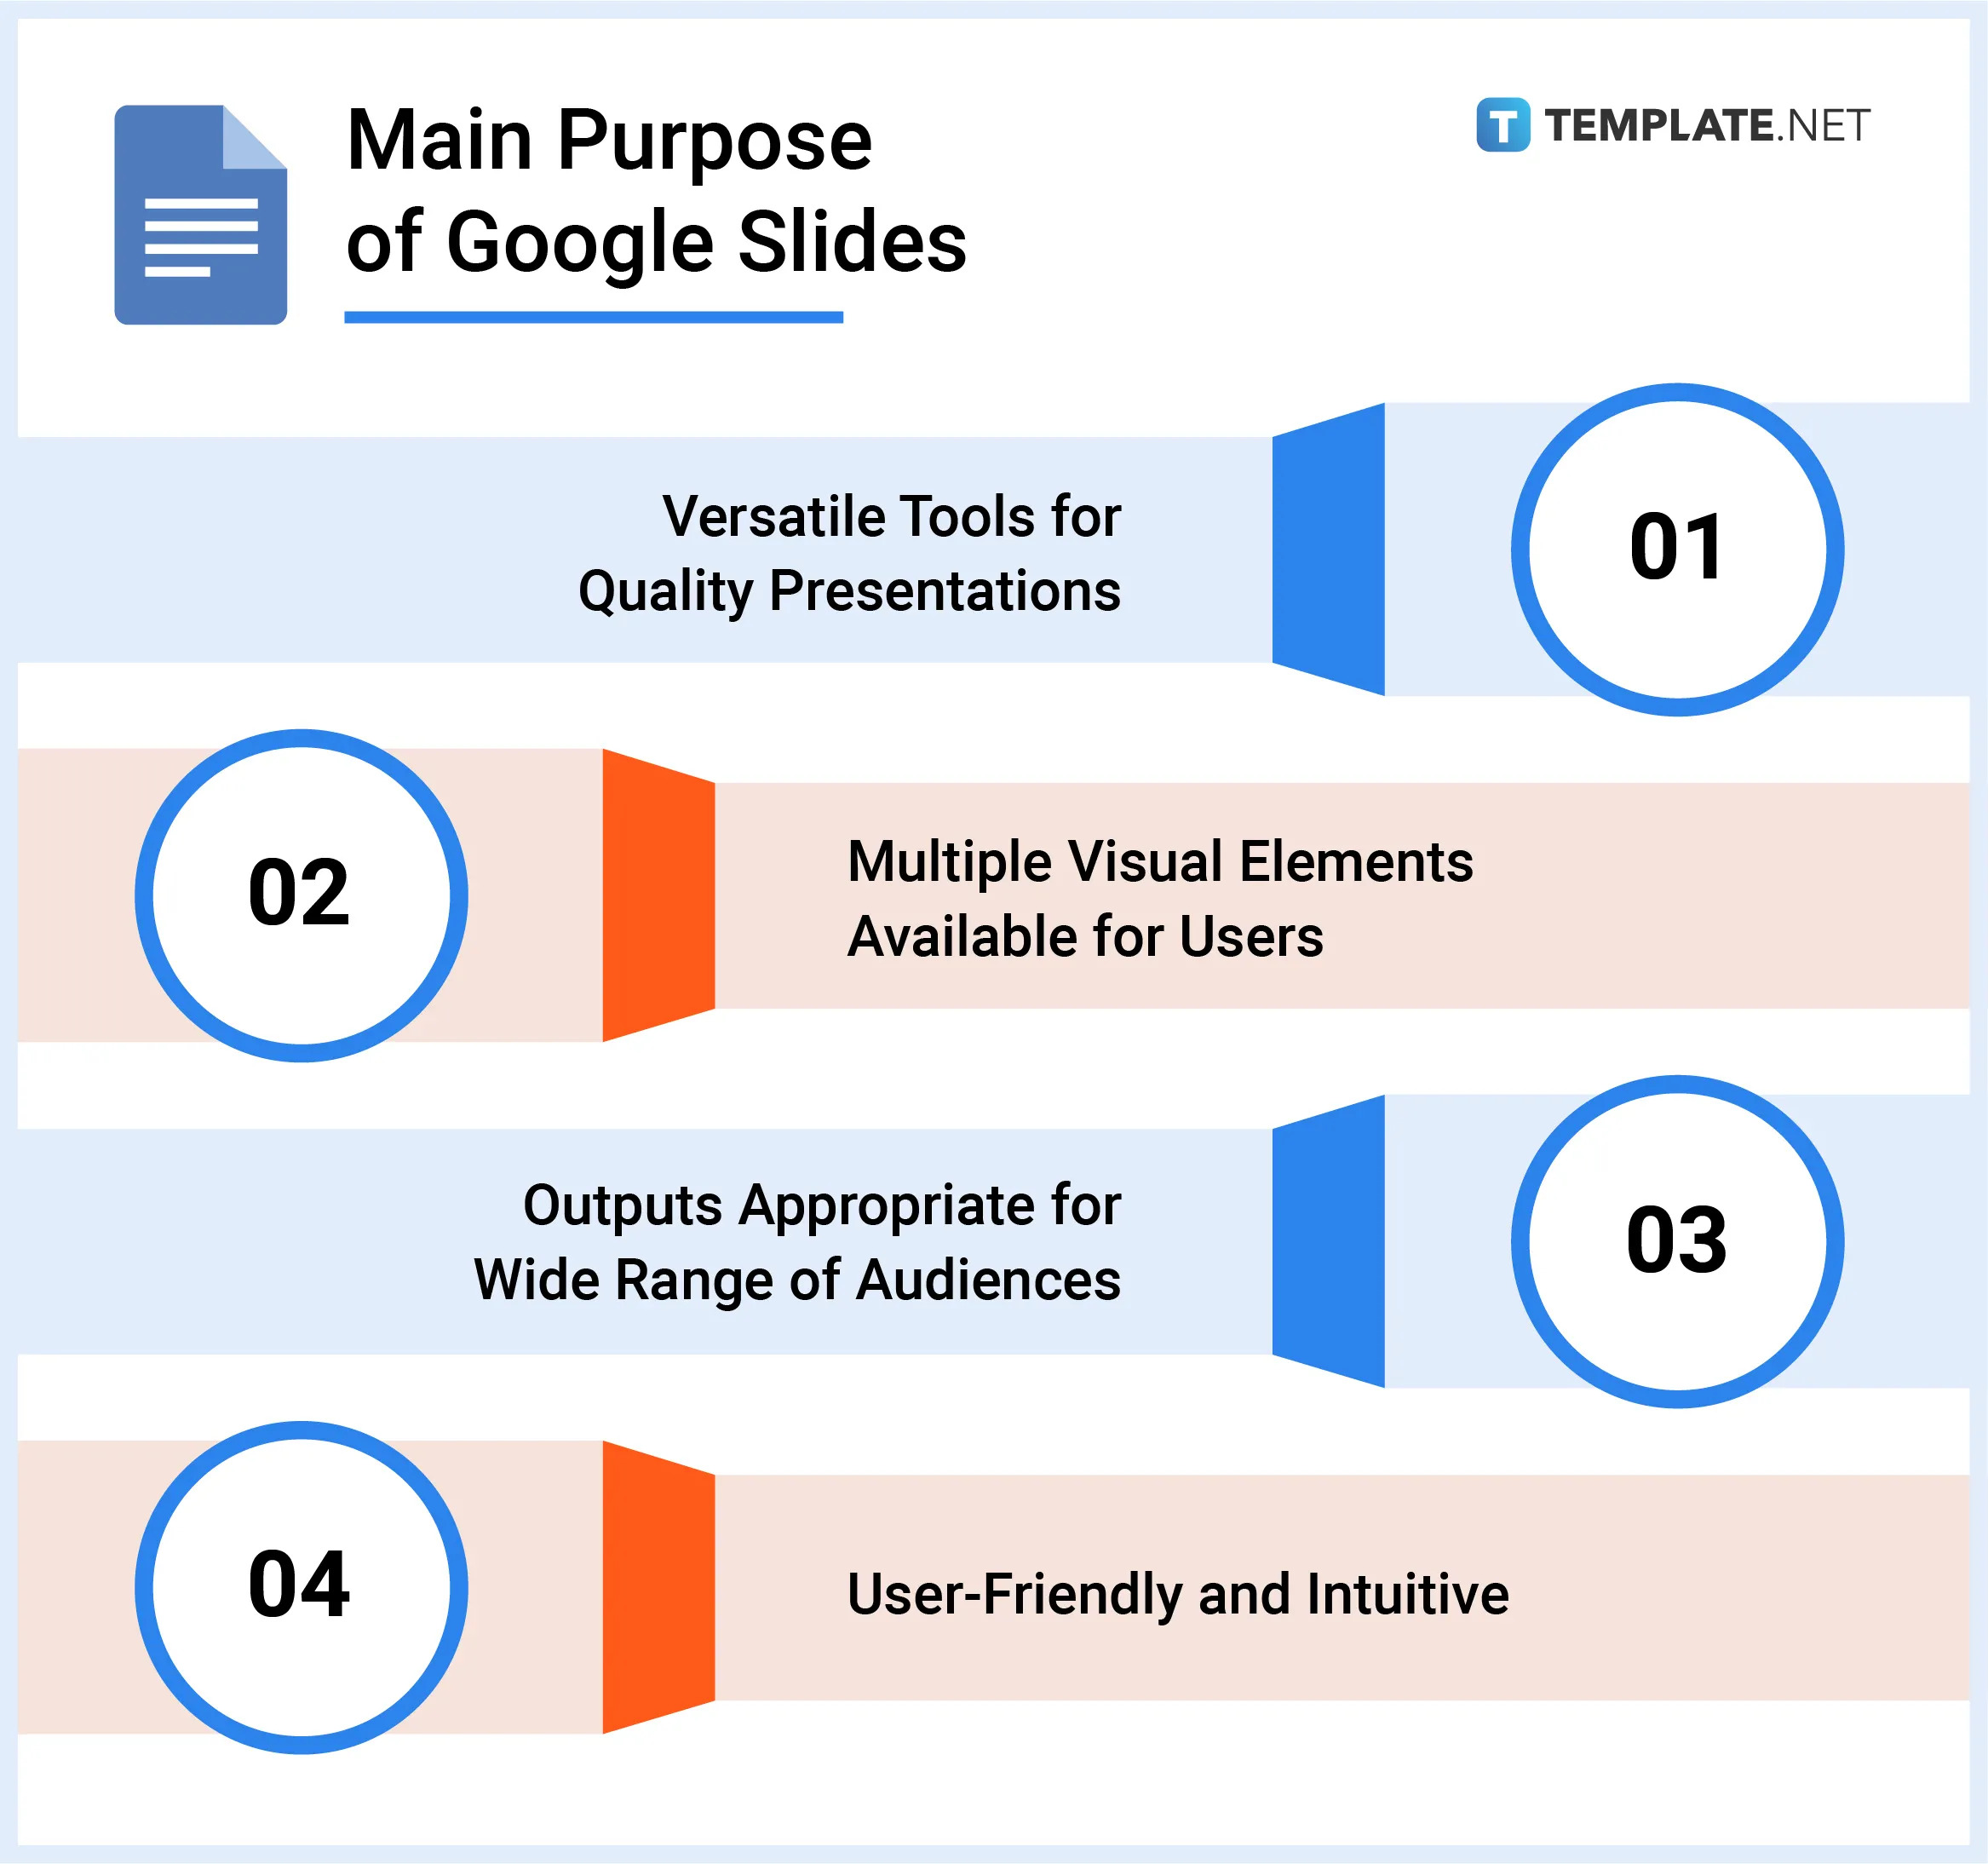
The main purpose of Google Slides is to provide tools for producing quality presentations. It enables users to add multiple visual elements to each slide to make information comprehensible. And lastly, it can be utilized to showcase presentations in a slideshow for the audience to see.
Google Slides is also made for students. They can create presentations with artistic fonts and fancy images, meme pictures, background, animations, and GIFs that kids would love.
Many teachers use Google Slides for their on-site and remote classes, straying away from the use of whiteboards and markers. Google Slides helps make their lecture engaging for the students. They can also insert entertaining images, animations, and slide transitions that help make lessons fun. If you’re a teacher, we invite you to read our guide to creating Google Slides for teachers. You can use Google Slides for quiz questions and interactive educational games.
The Google Slides logo is also for professionals. It has simple themes and tools that help working professionals create formal presentations with easy-to-read fonts and straightforward slide transition effects. They can also grant colleagues editor access to their slides and check their viewing/editing history.
Users have the option to make their Google Slides presentations public for anyone to see. They can be made public by selecting “Publish to the web” under the File menu. Learn the steps in our guide to make a Google Slides presentation public.
You can view, edit, and design Google Slides presentations anonymously if their share permission settings allow it. To open presentations anonymously, you must log out of your Google account or open the presentation’s link in incognito mode or on a different web browser.
All the needed tools and functions are there to create Google Slides presentations for business. You can insert graphs, tables, and references charts to present business data, reports, and other critical information. Also, there are plenty of formal, business-type themes in the themes gallery.
Your presentation’s aesthetics can be greatly improved in Google Slides. You can use Word Art, insert high-quality images with meaningful quotes, elegant graphic designs without a watermark, engaging background, font colors, font styles, and more. Just explore the tools on the menu bar and toolbar and get creative. Learn how in our guide to making an aesthetic Google Slide.
If you want your slides to have a pretty beautiful look, you can achieve that in Google Slides. Simply explore and experiment with different themes, background images, colors, shapes, font styles, and formatting options.
By default, presentations in Google Slides are horizontal. However, there’s a workaround to make them vertical. All you need to do is interchange the width and height measurements of your slide’s aspect ratio. See our guide on how to make Google Slides Vertical and Landscape for the details.
You can change Google Slides presentations from landscape to portrait. Portrait is the less traditional orientation of crafting presentations. You can quickly switch from landscape to portrait in Google Slides’ Page Setup settings. Learn the specific steps in our guide on how to change Google Slides from Portrait to Landscape.
Dark mode helps alleviate stress on your eyes due to spending long hours making presentations. Luckily, the Google Slides mobile app lets you switch from light mode to dark mode anytime. So make sure to learn how to put Google Slides in dark mode.
Google Slides presentations can play automatically in a loop in slideshow mode like a kiosk mode. You can activate it in just a few steps. Once activated, you can sit back and relax and let your presentation run its course without a timer indicating when it’ll stop. No need to press anything. Have a look at our guide to making Google Slides play automatically.
Interactive presentations are possible in Google Slides. You can make Google Slides interactive easily. Interactive presentations are creative, smart, and engaging. They can even help you impress the audience and keep them hooked on your topic.
Google Slides is usable both offline and online. That said, slow or no internet connection won’t be too much of a problem. You can continue your progress and save it from time to time.
Google Slides has all of the advance tools and materials you need to create compelling pitch decks. No need to embed codes or whatsoever to create pitch decks. From the design, texts, background, themes, and images, the options are practically limitless. You can easily craft pitch deck presentations in Google Slides with quality footers for business proposals, product proposals, project proposals, and more.
Yes, you won’t be paying a single cent to use Google Slides, not even a starting fee. All you need to is enter your Google login which you likely already have. But if you don’t have one, don’t worry. Signing up for a Google account is also for free! Visit accounts.google.com/signup to create a Google account.
You can also gain access to the pro versions of other apps related to Google Slides. Google Workspace pricing starts at an affordable rate of $4.20 per user per month.
You can download the Google Slides application on your desktop or your mobile. It works both online and offline. See the Google Slides download links below.
Themes in Google Slides are abundant and they offer a range of aesthetical styles and layouts. No need for theme generators. Choose any that you like and if it fits your presentation’s tone. These themes improve your presentation’s presentability. They enhance the overall feel of your slides and help set a clear tone about what you’re discussing.
To find themes, access the Slides menu in Google Slides and go to Change Theme. There are themes with dark backgrounds and light backgrounds. There are also themes perfect for formal presentations and fancy presentations. In addition, you can import third-party themes in Google Slides. Simply familiarize yourself with the process of how to add / import themes to Google Slides to get started.
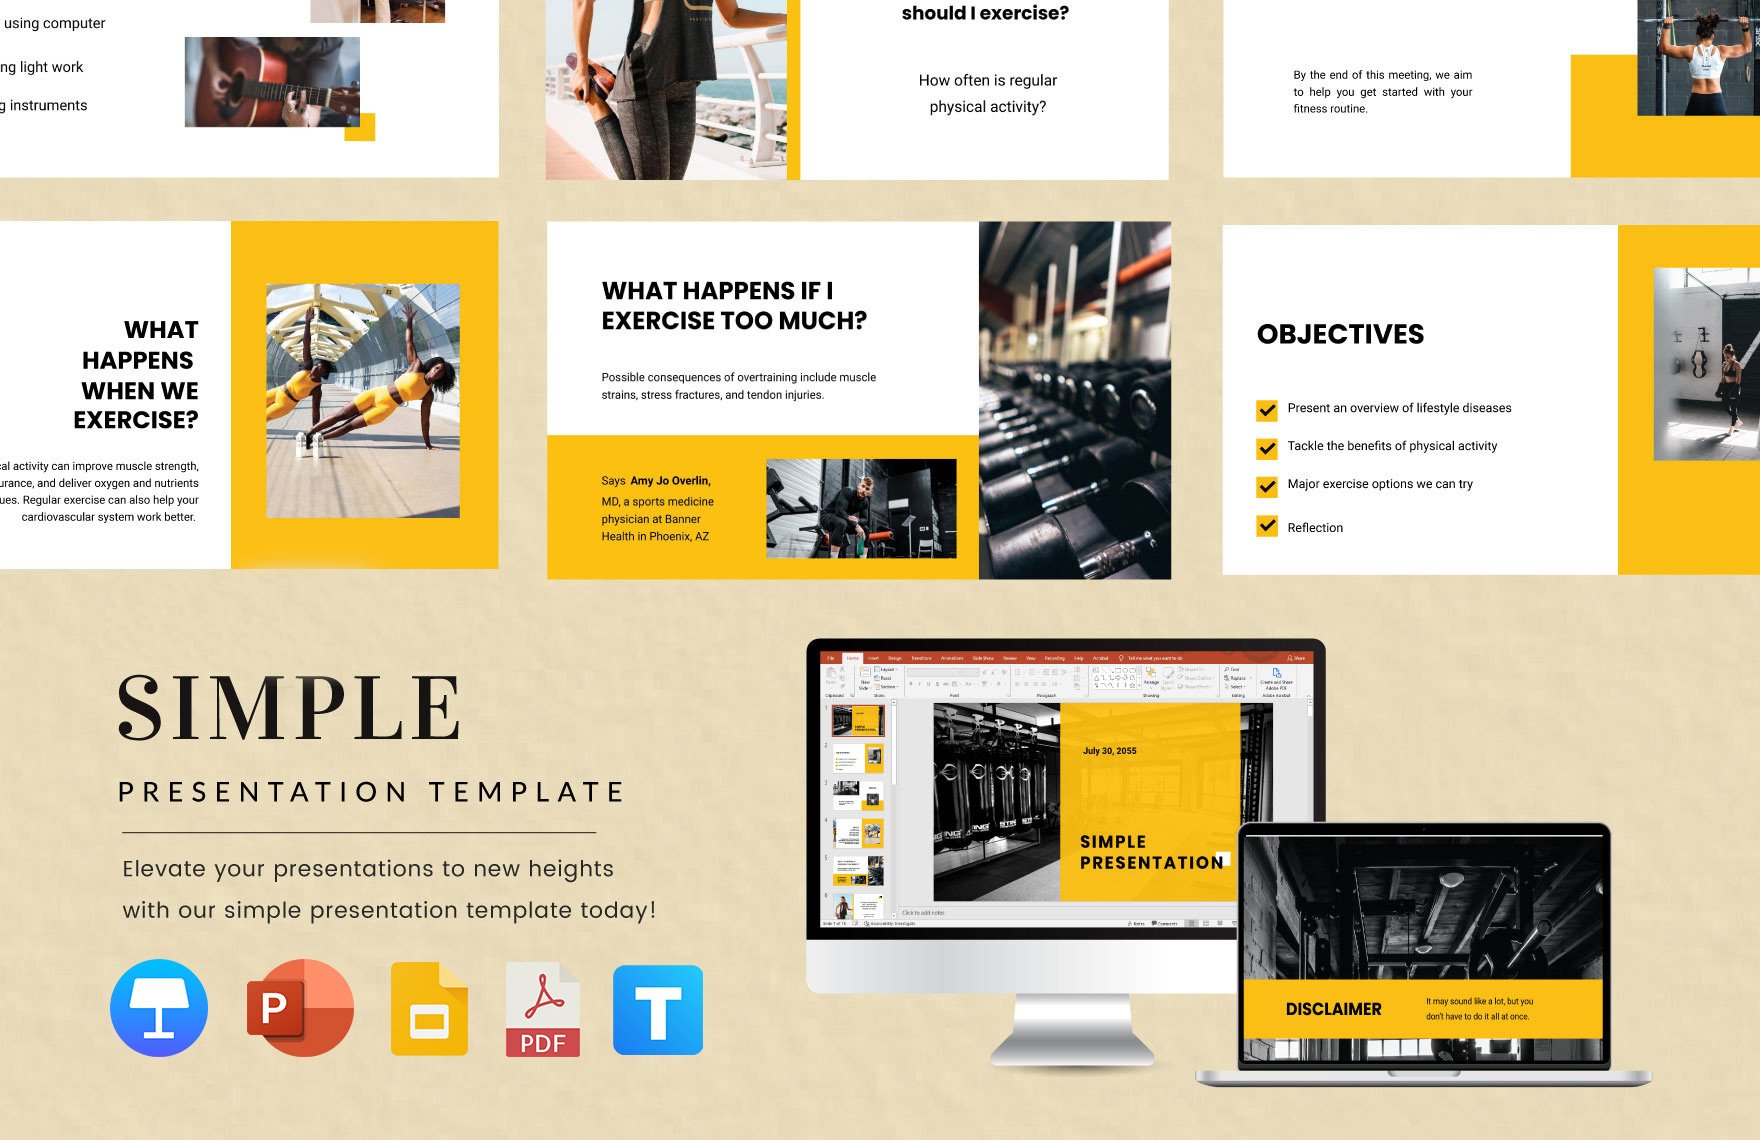
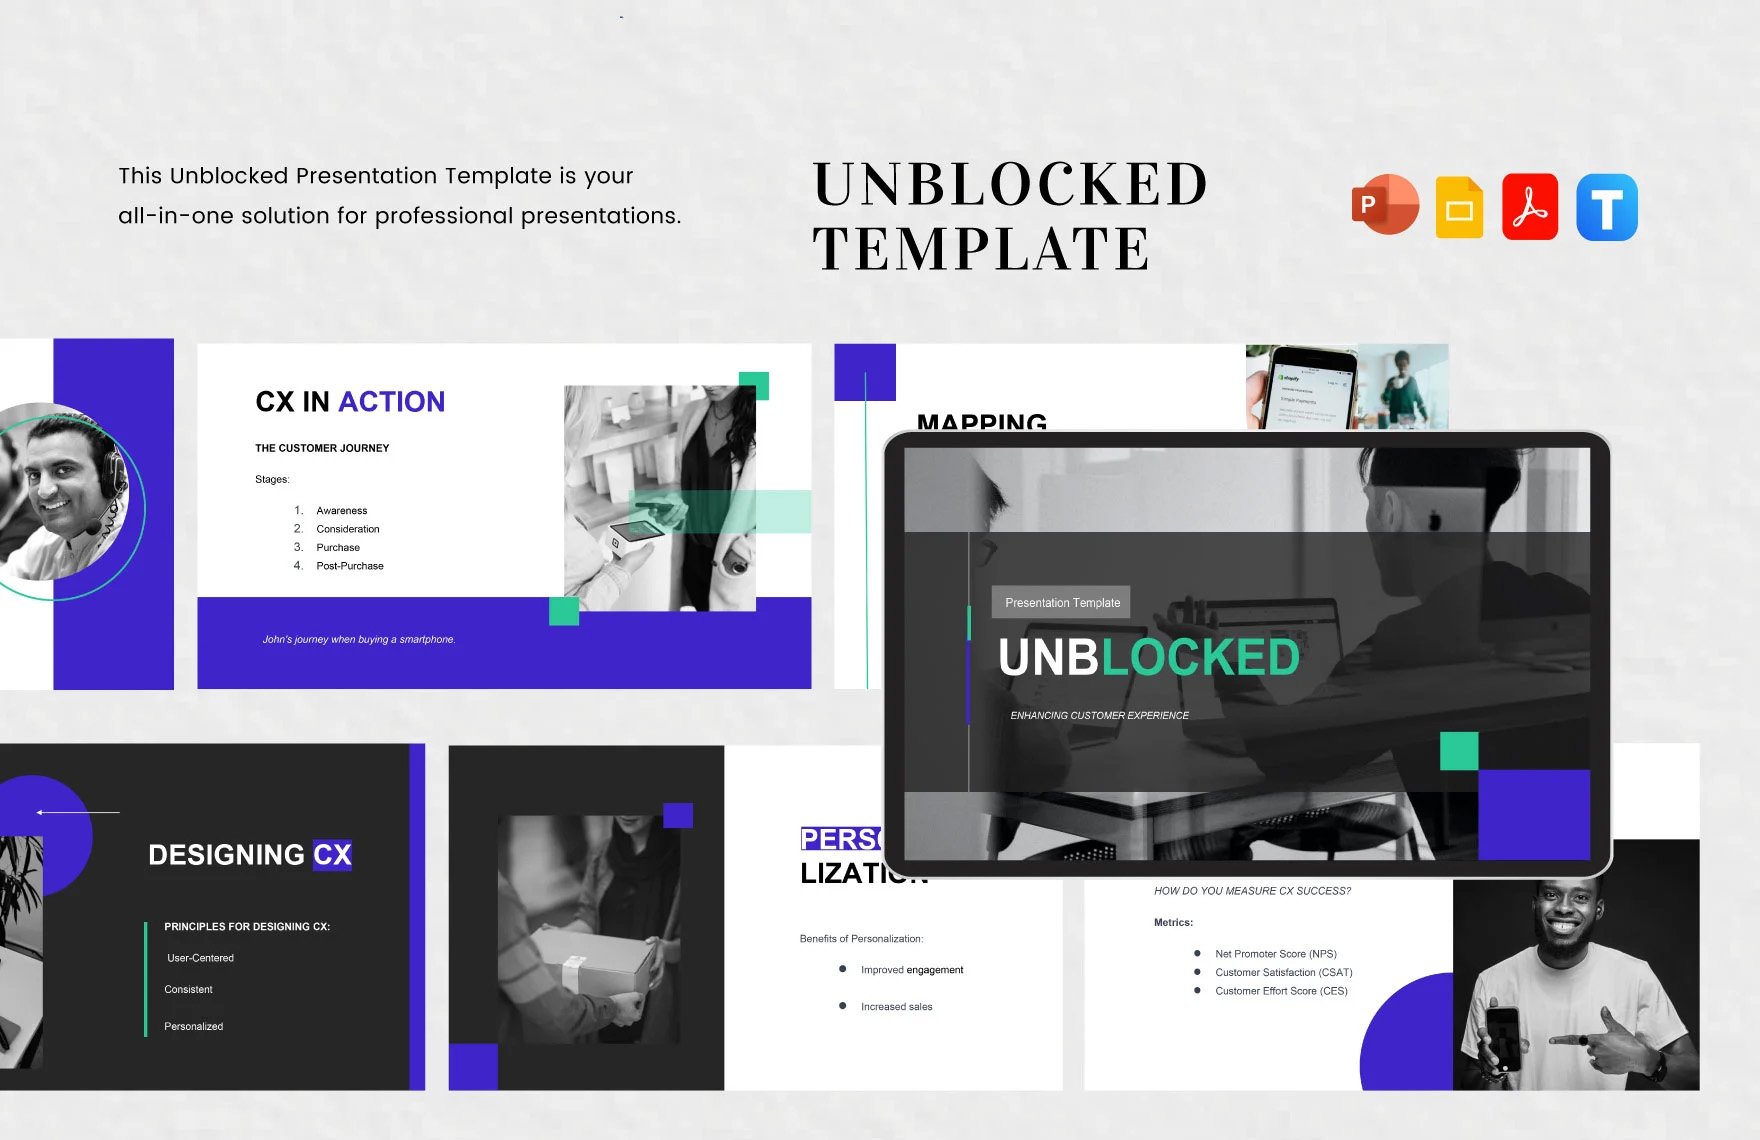
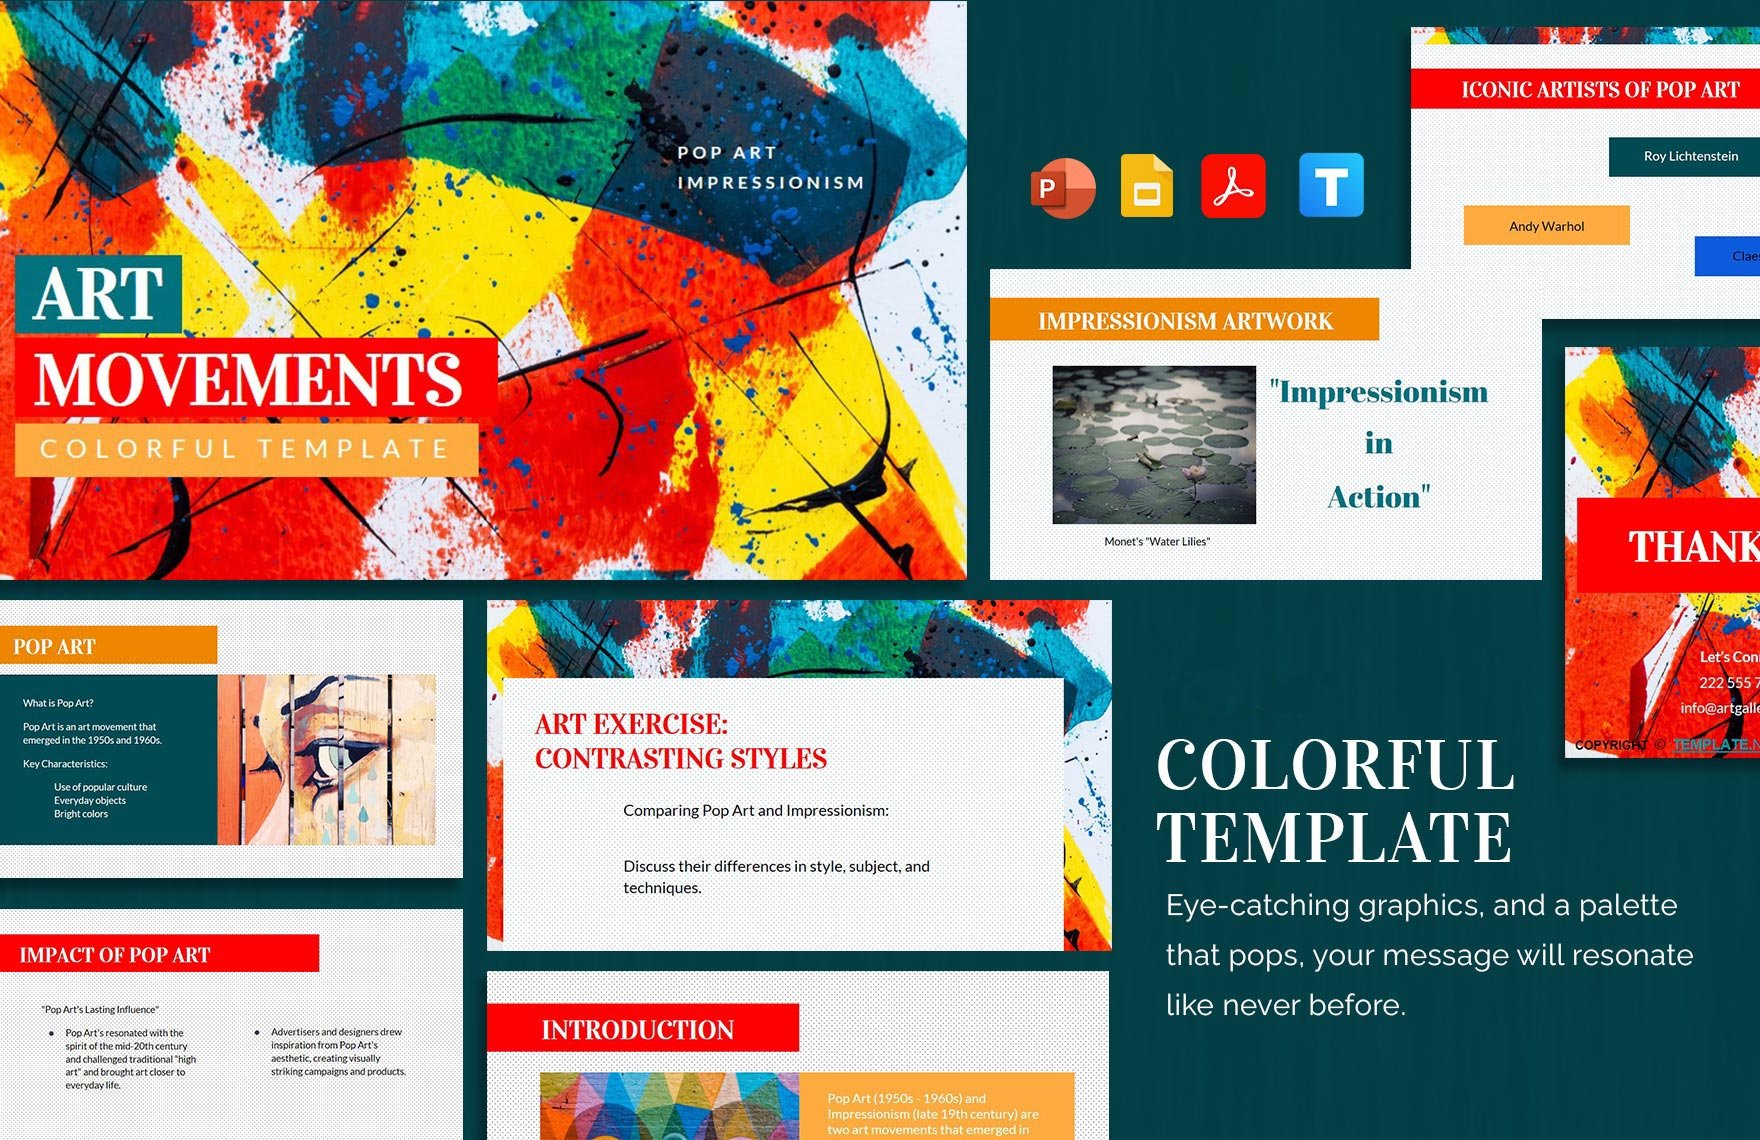
You don’t have to start a completely blank presentation. Google Slides has a template gallery that you can access for free. Even better, we have hundreds of high-resolution Google Slides templates and examples on Template.net. You can find templates for business presentations, graphic organizers, pitch decks, finance, education, portfolio, sales, human resources, charts, mind maps, roadmaps, and timelines.
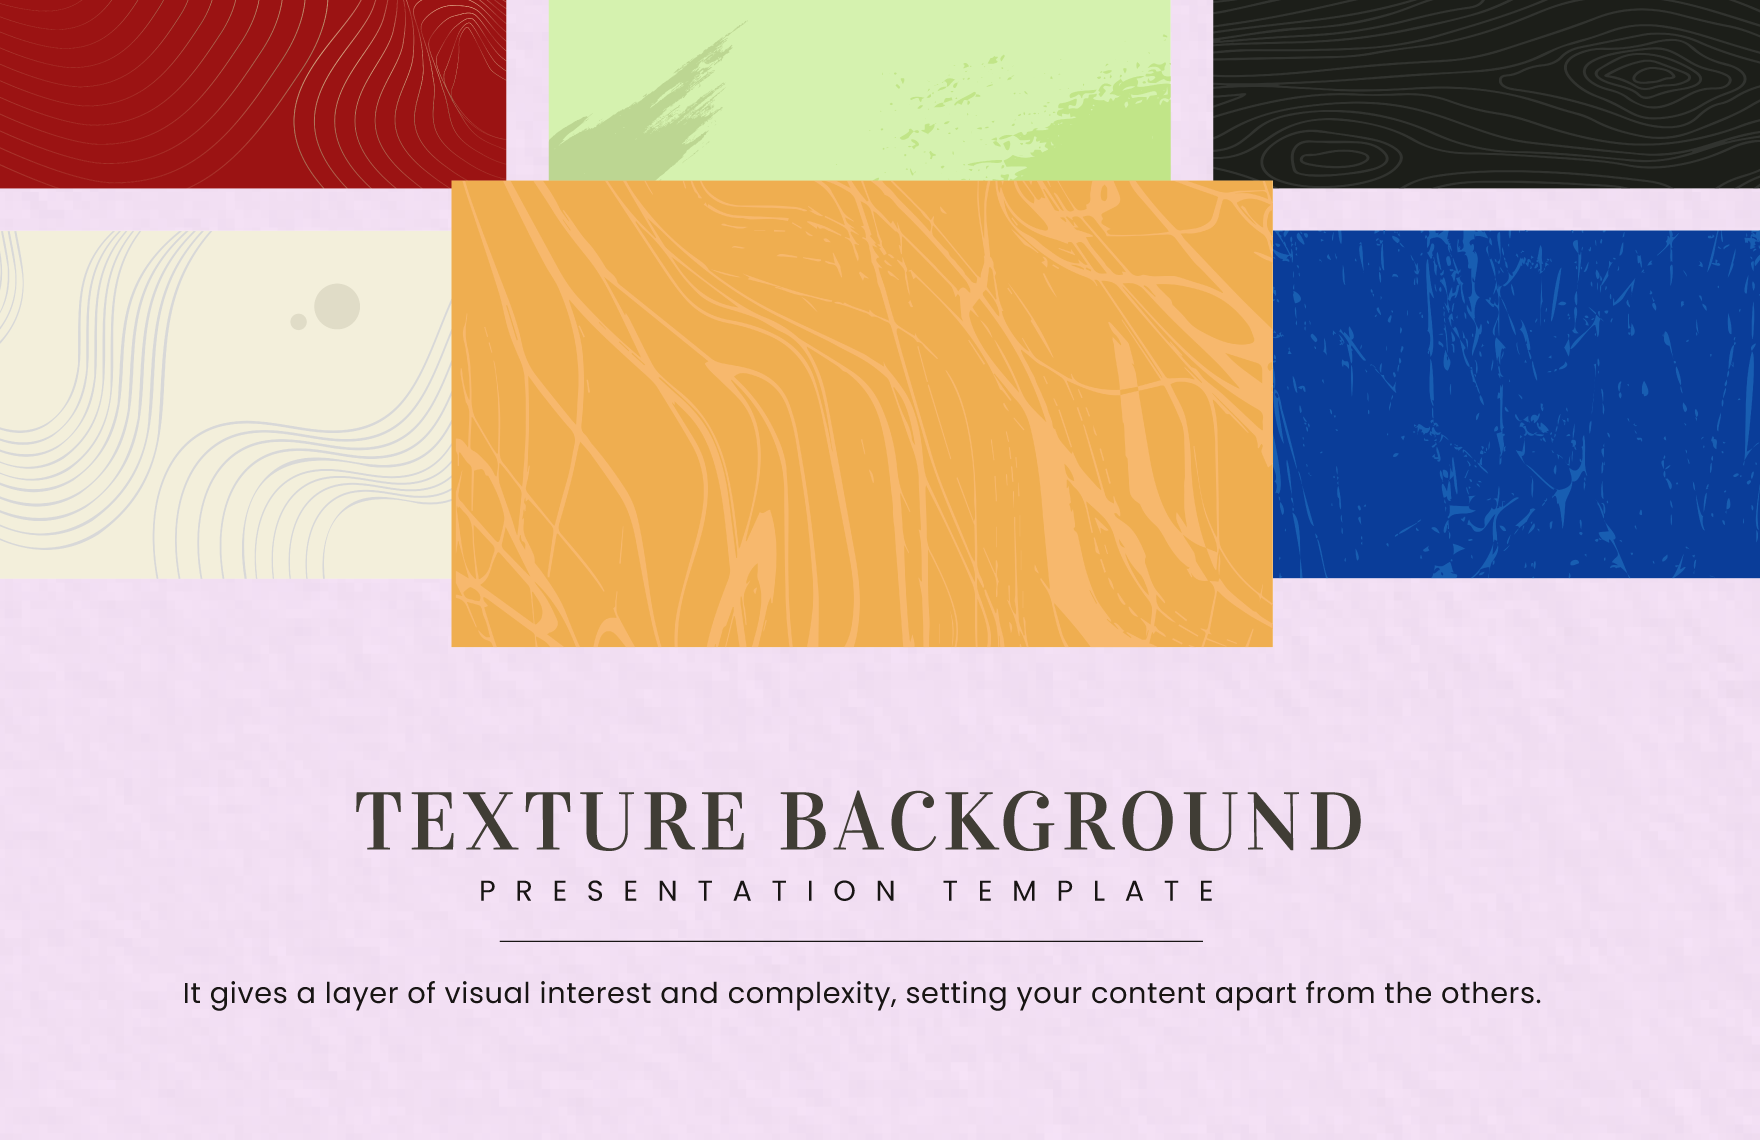
The background is a major element of your presentation’s aesthetic quality. It could be the difference-maker in judging your slide’s presentability. So make sure to choose themes with the right visuals and upload high-quality images to be used as backgrounds.
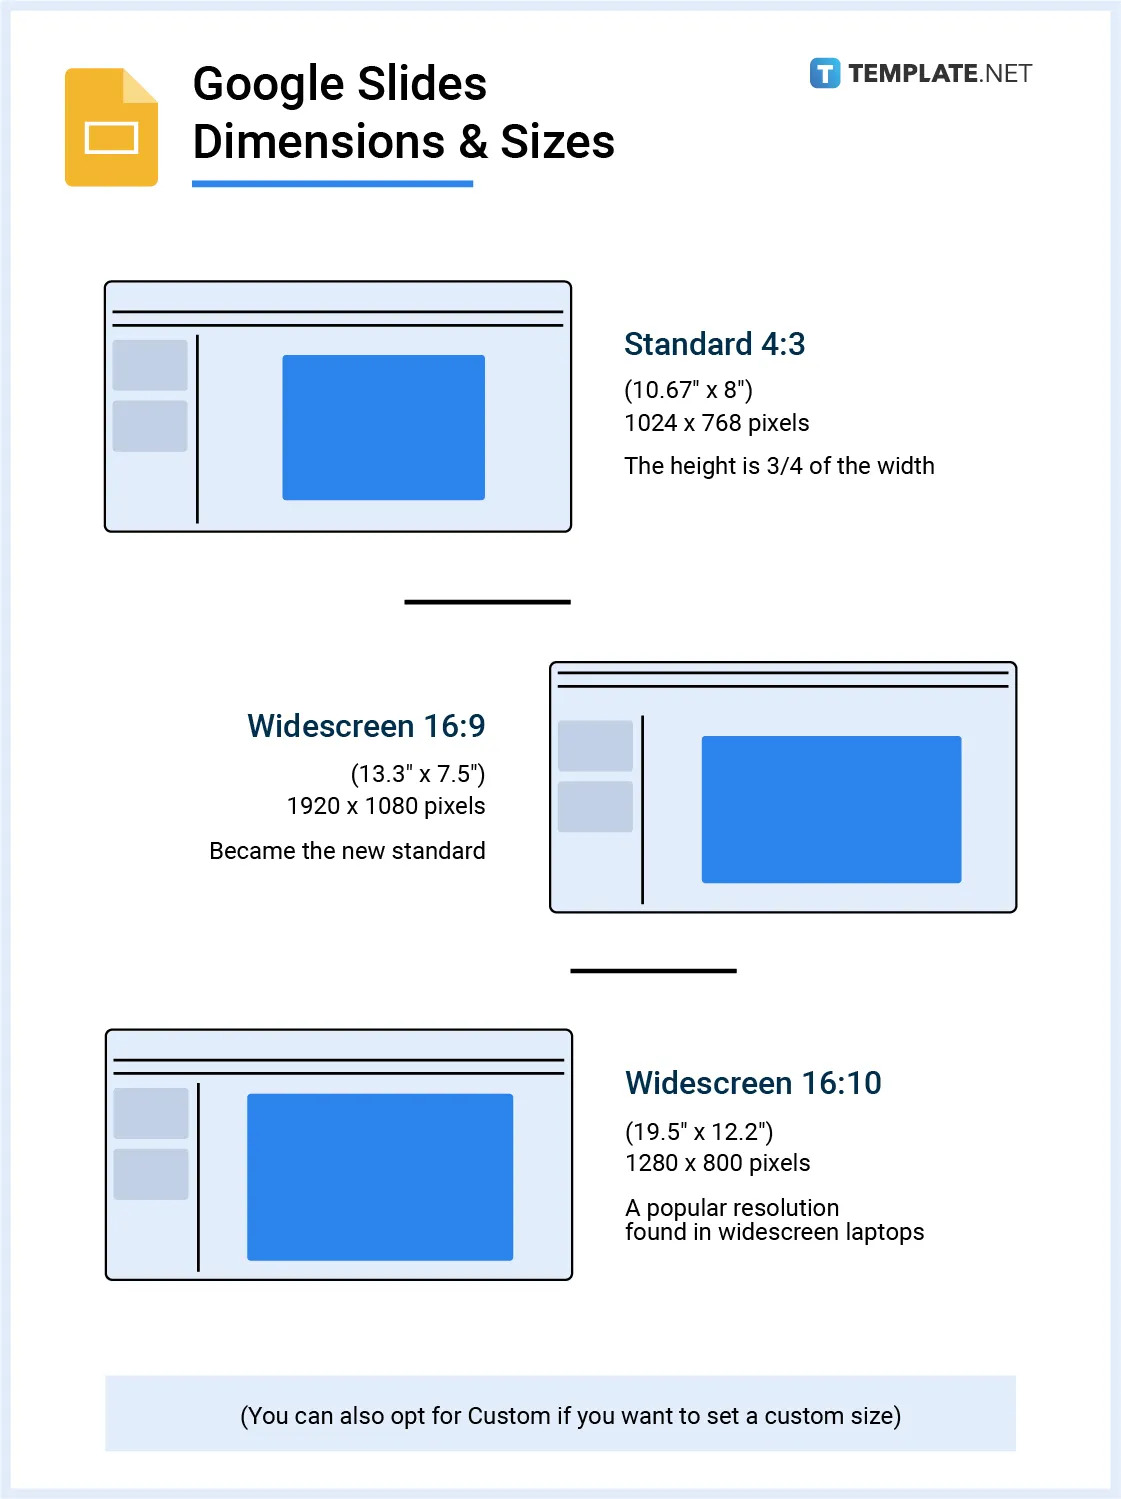
The preset Google Slides dimensions and sizes are Standard 4:3, Widescreen 16:9, and Widescreen 16:10. You can also opt for Custom if you want to set a custom size. Learn the steps in our guide on how to change dimensions of Google Slides.
Now that we’ve properly introduced Google Slides to you, let’s start with the basic procedures of the platform’s various use cases and useful hacks.
1. Visit docs.google.com/presentation in your web browser.
2. Start a new presentation on the Google Slides homepage.
3. Create an official title for your presentation.
4. Check out some templates in the template gallery and our library of Google Slides Templates.
1. Download the Google Slides mobile app from Google Play Store or the App Store.
2. Open a new blank presentation or open a saved file.
3. Start adding text boxes and write your content.
4. Add more slides for as many as you need.
5. Look for themes and apply one that you like.
6. Give groupmates access to your presentation through the Share option.
1. Open a saved presentation or begin a new one.
2. Open the Slide menu and select Change Theme.
3. Choose a pre-existing theme or upload a custom one.
1. Go to docs.google.com/presentation and access your saved slides
2. Access the Slide menu and select Edit Theme.
3. Go to the Background option to change the background color.
4. Go to the Colors menu to discover more theme color options.
1. Open Google Slides and start a presentation.
2. Add a single slide by clicking the New Slide icon.
3. Click Duplicate Slide as many times as you need depending on the number of groupslides you want to add.
4. Remove a slide by right-clicking on it and selecting Delete on the context menu that appears.
5. Hold Shift and click multiple slides you want to remove. Right-click then choose Delete.
1. Either start a new one or open a saved file.
2. Access the File menu and head on to Page Setup.
3. Adjust the aspect ratio by adjusting the default dimensions.
4. Select Custom to set a customized size for your slides.
1. Launch Google Slides using your preferred web browser.
2. Go to File and select Page Setup.
3. Click Custom on the Page Setup menu.
4. Swap width and height measurements to make vertical slides.
5. Swap width and height measurements again to make landscape slides.
1. First, open Google Slides on your browser.
2. Open a slide and select it to copy.
3. Open the Slide menu and click Duplicate Slide.
4. Right-click on a slide and click Duplicate Slide. (Shortcut)
5. Go to File and select Make a Copy to duplicate multiple slides or copy the entire presentation.
1. Reopen a saved presentation or start making a new one.
2. Go to the Slide Navigation Pane on the left side of the screen.
3. Right-click on slide and choose Skip Slide.
4. Repeat Step 3 to unhide a slide.
1. Access the Google Slides homepage to start or open a presentation.
2. Click Page Setup found in the File menu.
3. Make adjustments to the aspect ratio.
4. Choose Custom if you want to set up a custom slide size.
1. Open your previous presentations or make a new one.
2. Go to the Insert menu to add a shape.
3. Make the inserted shape transparent.
4. Adjust the shape’s border weight.
5. Change the shape’s border color to emphasize it.
1. Open Google Slides on your browser.
2. Access the File menu and go to Page Setup.
3. Choose Custom on the Page Setup settings menu.
4. Interchange width and height measurements.
5. Click Apply.
1. Head on to docs.google.com/presentation on your web browser.
2. Manually rotate a text box with your mouse.
3. Right-click on a text box and select Rotate.
4. Choose a rotate option.
1. Reopen a saved Google Slides presentation.
2. Go to the Insert menu to add an image.
3. Place the image next to the text box.
4. Add and position a text box below the image.
1. Open your browser and go to docs.google.com/presentation.
2. Open the Format menu and go to Format Options.
3. Highlight the text and click Drop Shadow.
4. Change the shadow color.
1. Open a Blank Presentation.
2. Use Word Art in the Insert menu to encode your text.
3. Fill the word art text with color.
4. Increase the word art’s border weight to emphasize the outline.
5. Change the outline color.
1. Launch Google Slides and open a new or saved presentation.
2. Highlight the text to be used as subscript or superscript.
3. Go to Format and Open the Text drop-down menu.
4. Type Ctrl+. for superscript and Ctrl+, for subscript. (Keyboard Shortcuts)
1. Use a template to start a new presentation or open an existing one.
2. Highlight text in text box.
3. Click the Bulleted List option.
4. Open the Text Color menu to add color.
1. On your browser, go to docs.google.com/presentation.
2. Go to the Insert menu and select the Text Box option.
3. Select Duplicate Slide to add more slides with the same format.
4. Open the Edit menu and select the Delete option to remove a text box.
1. Launch Google Slides on your browser.
2. Encode your presentation’s content.
3. Highlight your text and drag the indent control.
4. Click, hold, and drag the left indent control.
1. Open any of your saved Google Slides presentations.
2. Highlight everything or a portion of your text.
3. Click on the Font menu on the toolbar.
4. Browse through the list of font styles and select one that you like.
1. Start a blank presentation on Google Slides.
2. Click Insert on the menu bar and go to Image.
3. Choose a method of inserting an image.
4. Right-click on the image and select Crop Image on the context menu.
5. Click and drag any of the corners of the image inward and release to crop it.
6. Click the image and select Mask Image on the toolbar.
7. Select a shape or object to mask your image.
8. Adjust the object as needed.
1. Download a GIF and save it in a folder.
2. Open a Google Slides presentation.
3. Go to Insert on the menu bar and open the Image drop-down menu.
4. Select the Upload from Computer option to insert your downloaded GIF.
1. Open a blank Google Slides presentation.
2. Go to Insert and hover your cursor over the Line option.
3. Select Scribble on the Line drop-down menu.
4. Start drawing objects using your cursor.
1. Start a blank presentation on Google Slides.
2. Go to Insert and Open the Shape menu to insert a shape.
3. Click the Fill Color icon on the toolbar and choose a color to fill your shape.
1. Open a saved Google Slides presentation with images.
2. Right-click on an image that you want to adjust to make the context menu appear.
3. On the context menu, click Format Options.
4. Click the Adjustments arrow and adjust the Transparency slide.
1. Start with a blank Google Slides presentation.
2. Go to Insert on the menu bar and head on to Line.
3. On the Line drop-down menu, select Scribble.
4. Use your cursor to start drawing shapes and other objects.
1. Reopen a Google Slides presentation with attached images or group objects.
2. Click on an image and click Format Options on the toolbar above the ruler.
3. On the Format Options menu, click Adjustments.
4. Drag the Transparency slide to the right to increase image transparency.
1. Launch Google Slides and open a presentation with images.
2. Click on an image you want to remove.
3. Go to Edit on the menu bar and select Cut or Delete to remove background image.
4. Make the image completely transparent on the Format Options. (Alternative Method)
1. Open a presentation with an attached image.
2. Resize the image to the same size as the slide.
3. Download the image to your computer.
4. Go to Background on the toolbar and select the downloaded image as the background.
1. Open a blank presentation or revisit a saved file.
2. Insert a shape first if you started a blank presentation.
3. Click on the shape that you want to make transparent.
4. Click the Fill Color icon.
5. On the Fill Color menu, select the Transparent option.
1. Reopen a presentation with an image.
2. Click on the image you want to fade.
3. Select Format Options on the toolbar above the ruler.
4. Open the Adjustments settings.
5. Slowly drag the Transparency slide to the right. The image will fade as you move it.
1. Start with a blank presentation or open a previous one.
2. Go to Insert found on the menu bar.
3. Open the Line drop-down menu and select Elbow Connector.
4. Click and drag your mouse to form an elbow connector on your slide.
5. To add more elbows, copy-paste the one you inserted or repeat Step 2 to Step 4.
1. Open any of your saved Google Slides presentations.
2. Insert an object if there is none.
3. Click on the object.
4. Click Animate on the toolbar to open the Motion settings menu.
5. Choose any animation effect you like.
6. Click on a slide on the Slide Navigation Pane.
7. Click Transition on the toolbar and choose a slide transition effect.
1. Open Google Slides and start a presentation.
2. Go to insert and choose audio or video.
3. Get audio/video files from Google Drive.
4. Arrange the positions of the files in your slides.
1. Start by opening Google Slides on your browser.
2. Click Insert and select Audio.
3. Choose an audio file to attach.
4. Go to Audio Playback settings for configurations.
5. Resize the speaker icon if needed.
1. Head to the Google Slides homepage.
2. Go to Insert and select the Video option.
3. Grab a video file from Google Drive or copy-paste YouTube video URL.
4. Apply configurations in Video Playback settings.
5. Resize the video thumbnail.
1. Start a presentation on the Google Slides homepage.
2. Download and add a Chrome voice recorder extension.
3. Click the extension to start recording.
4. Edit the recording.
5. Upload the audio to Google Drive.
6. Go back to your presentation and insert the audio from Google Drive.
1. Launch Google Slides and open a presentation.
2. Go to Insert and select Audio.
3. Choose an MP3 file in Google Drive.
4. Adjust audio playback settings.
5. Resize the speaker icon.
1. Open a saved Google Slides presentation.
2. Go to Share and search for people and groups.
3. Go to Get Link and select a type of access to grant.
4. Click Slideshow or type Ctrl+F5.
1. Open a saved presentation in Google Slides.
2. Click File and select Publish to the web.
3. Choose an interval for auto-advancing slides.
4. Click Publish.
1. Launch Google Slides.
2. Add speaker notes.
3. Open Print Settings and Preview.
4. Choose the slides with notes option.
1. Open the Google Slides mobile app on your device.
2. Tap a slide and select the Edit Slide option.
3. Tap Show Speaker Notes in settings.
4. Add speaker notes if you have none.
1. Open your presentation.
2. Access the View menu.
3. Go to Zoom and choose a zoom in or zoom out option.
1. Launch Google Slides on your computer or laptop.
2. Download an extension for screen and audio recording.
3. Start recording using the extension.
4. Trim and save the recording.
1. Open your saved presentation.
2. Go to File then Download.
3. Select all the options under Download.
1. Open one of your presentations.
2. Go to the File menu and go to Download.
3. Choose Microsoft PowerPoint under Download.
1. Create a folder in Google Drive
2. Upload your PowerPoint file to the folder.
3. Open the PowerPoint file.
4. Save the presentation as Google Slides to convert.
1. Reopen a saved presentation.
2. Go to Print Settings and Preview under the File menu.
3. Make speaker notes appear
4. Set the number of slides per page.
5. Click Download as PDF.
Google Sheets not only excels in data management but also offers flexible text formatting options, including the removal of underlines. Ideal…
Google Sheets offers a wide range of features that can help you organize, analyze, and manipulate data effectively. One…
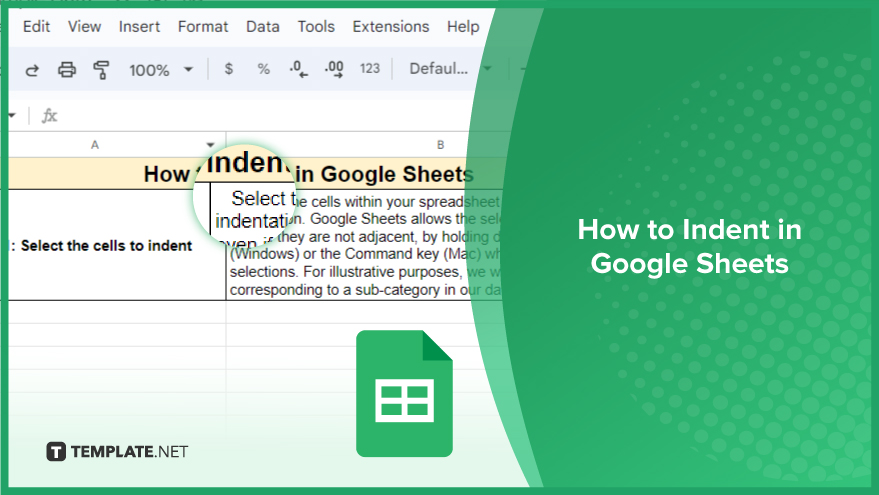
Indentation in Google Sheets is a handy feature that can significantly enhance the readability and organization of your…
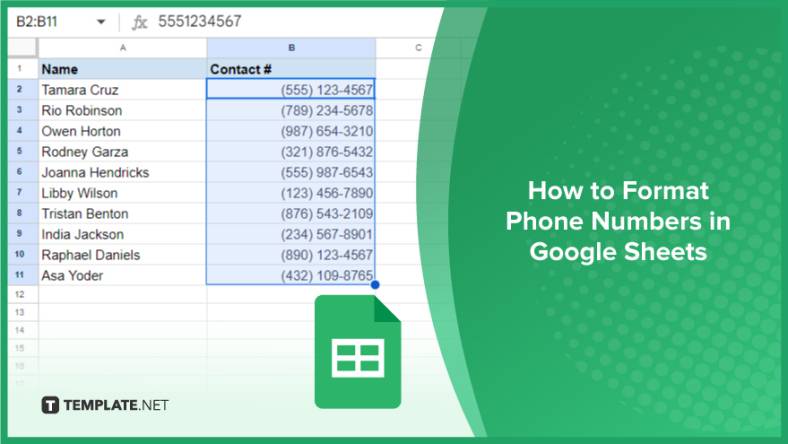
Google Sheets is a vital component of the Google Workspace suite that empowers users with diverse functionalities for efficient data…

Google Sheets simplifies the process of statistical analysis, particularly in calculating the range of a data set. This guide will walk…
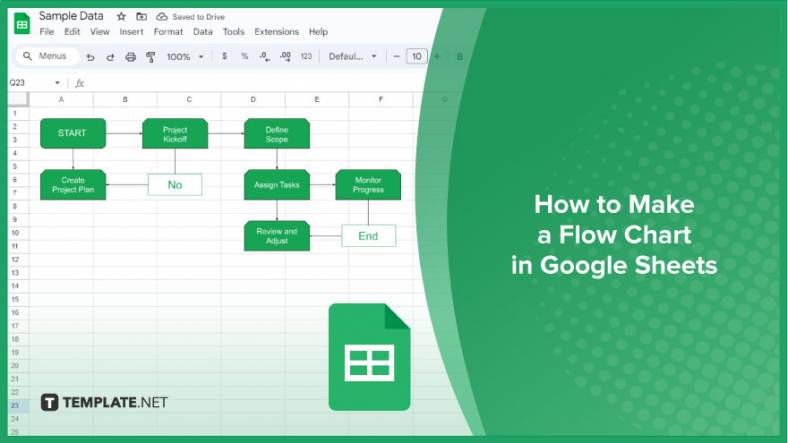
Google Sheets is a popular spreadsheet application that offers a variety of features that can be used to create flow…
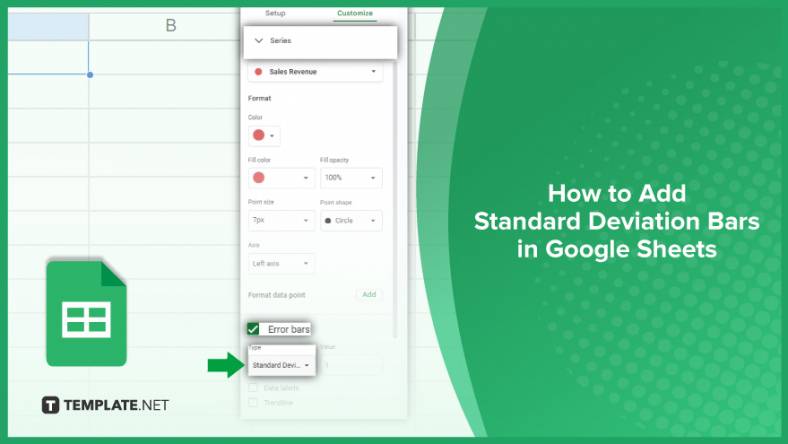
Standard deviation, a key statistical measure for gauging data variability, plays a crucial role in fields like finance, science, and…
Google Sheets is a versatile spreadsheet application that allows for a variety of formatting options, including the addition of lines. This…
Personal loan trackers are one of the ways people can manage the finances of their property and gain financial power…