How to Remove Underline in Google Sheets
Google Sheets not only excels in data management but also offers flexible text formatting options, including the removal of underlines. Ideal…
Jun 25, 2022
Images are essential visual elements to your Google Slides presentation. So learn the basics on how to insert, crop, or mask them by reading this short, simple guide.
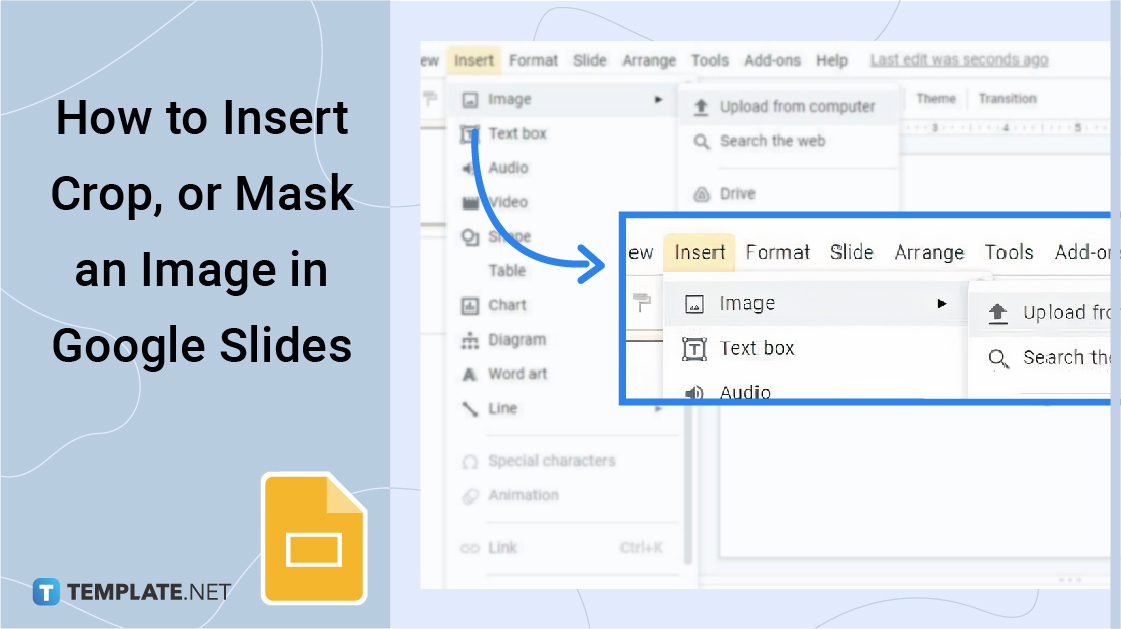


Visit docs.google.com/presentation using your go-to web browser. That brings you to the Google Slides homepage where you can start a new presentation. You can start a blank one or choose from Google’s template gallery. There are even more template options in our own gallery of Google Slides Templates.
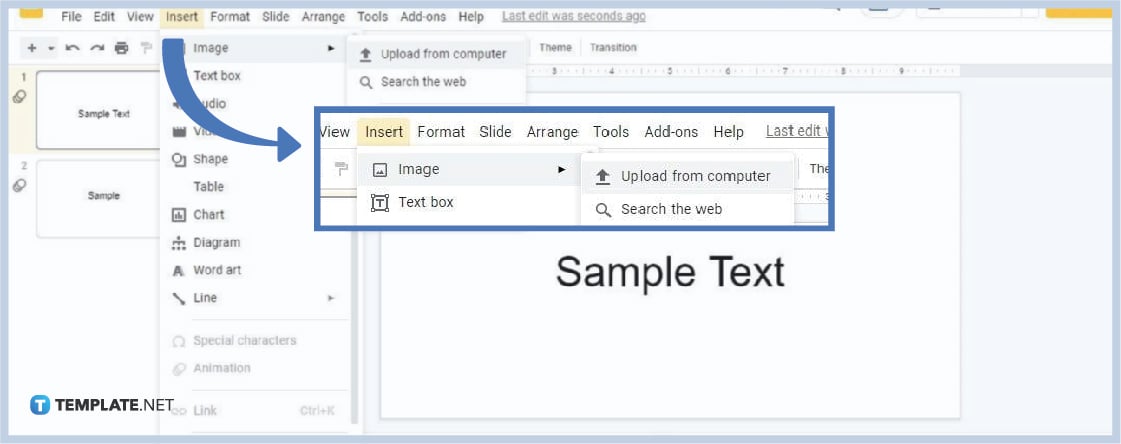
Open the Insert menu found between View and Format on the menu bar. Once it’s open, go to Image and choose a method of inserting an image. You can either upload from your computer, search the web, grab images from Google Drive, insert images from the photo gallery, insert by URL, or capture an image using your webcam. You can also embed a video or YouTube video in Google Slides.
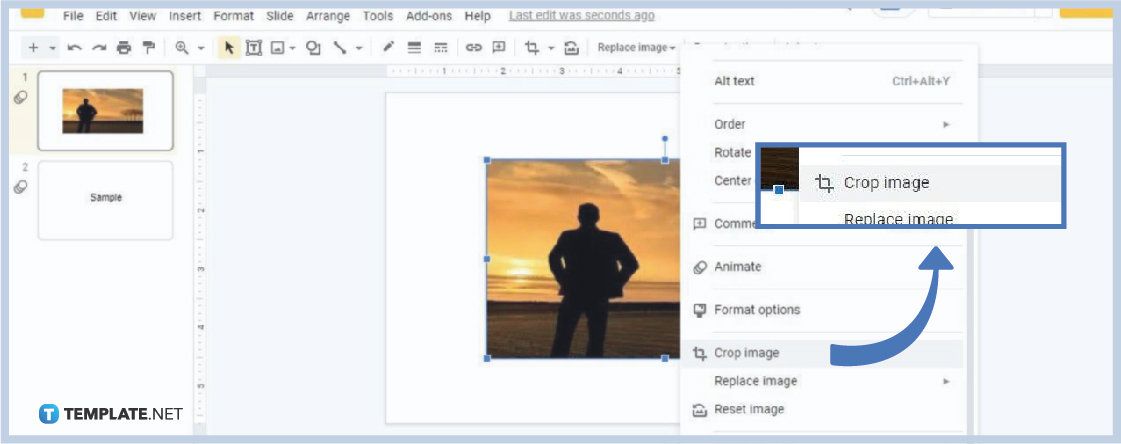
To access the image cropping tool, right-click the image and a context menu will appear. On that menu, scroll down to find the Crop Image option. Click it so that you can activate the image cropping tool.
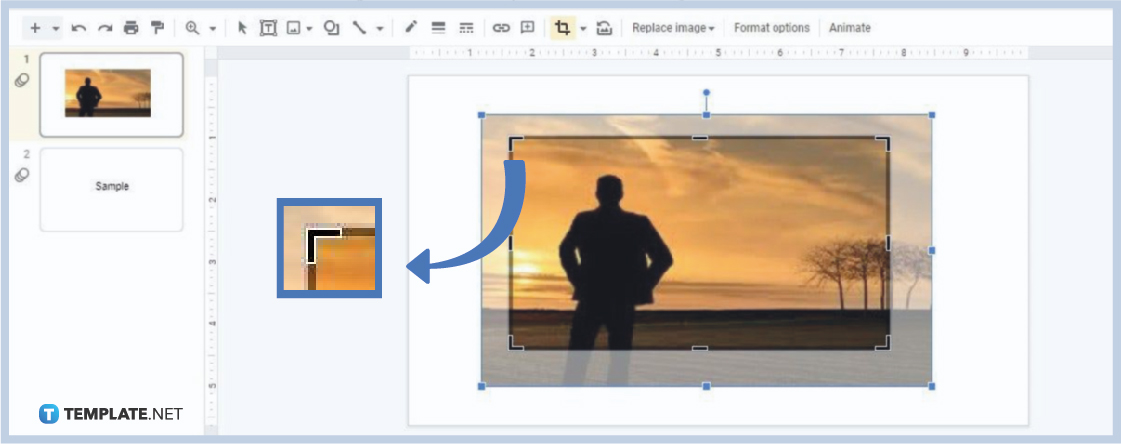
You’ll notice black lines on the edges of your image. What you want to do is to click and drag any of them inward to start cropping images. In this process, you’re essentially moving and resizing pictures but you’re cutting out some of their outer parts.
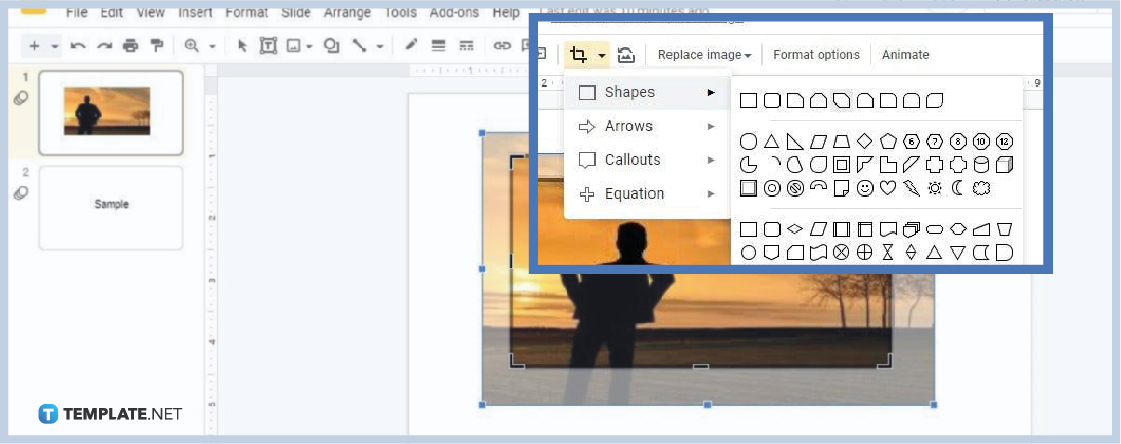
If you want to mask an image or crop an image to a shape, click the Mask Image option. It’s represented by an upside-down triangle icon beside the Crop Image icon. Check out the image above to be further guided. After clicking Mask Image, select a shape that you want your image to take form. Then after that, move the black lines to crop the image.
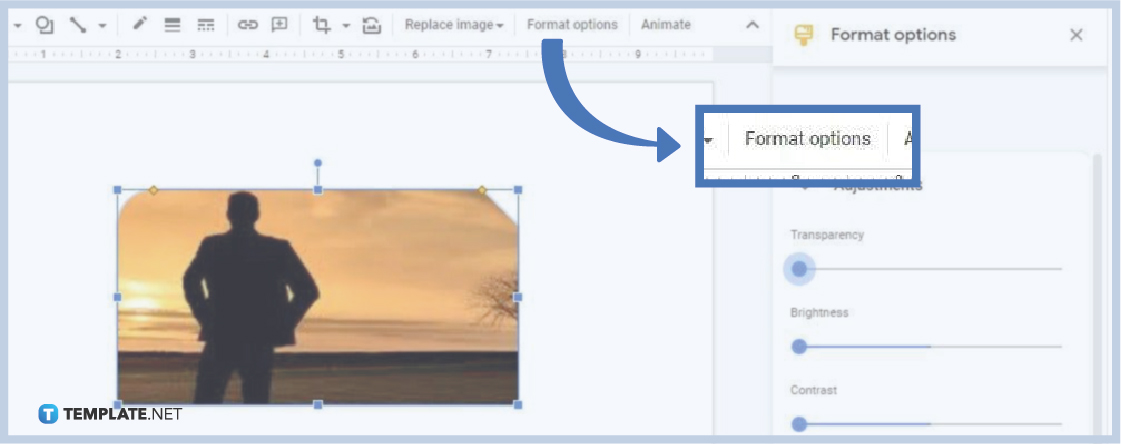
Deeply formatting pictures is possible in Google Slides. So if you want to adjust your image transparency, brightness, and contrast, open the Format Options menu. Go to Adjustments and drag the sliders below it. Adjust them slowly until your image looks right for you. You can even completely make an image transparent in Google Slides if you want.
Yes, you can easily search and insert free images without leaving Google Slides. On the Insert Image menu, select the “Search the web” option. A search bar will appear on the right where you can search images. On the search bar, you can type something “free images” or “stock free images no copyright.” Press Enter and free images will appear on the search results. Select one or multiple images then click Insert to add them to your presentation.
Yes, you can insert an image or GIF in Google Slides. You can insert GIFs the same way you insert images. It could be by uploading from your computer, searching the web, or getting from Google Drive or your photo gallery.
Google Slides supports images in JPEG, PNG, and GIF formats.

Google Sheets not only excels in data management but also offers flexible text formatting options, including the removal of underlines. Ideal…
Google Sheets offers a wide range of features that can help you organize, analyze, and manipulate data effectively. One…
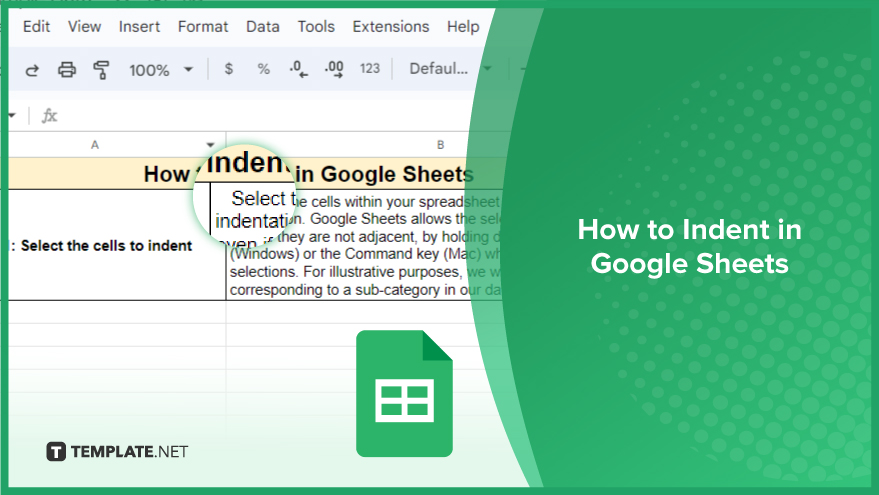
Indentation in Google Sheets is a handy feature that can significantly enhance the readability and organization of your…
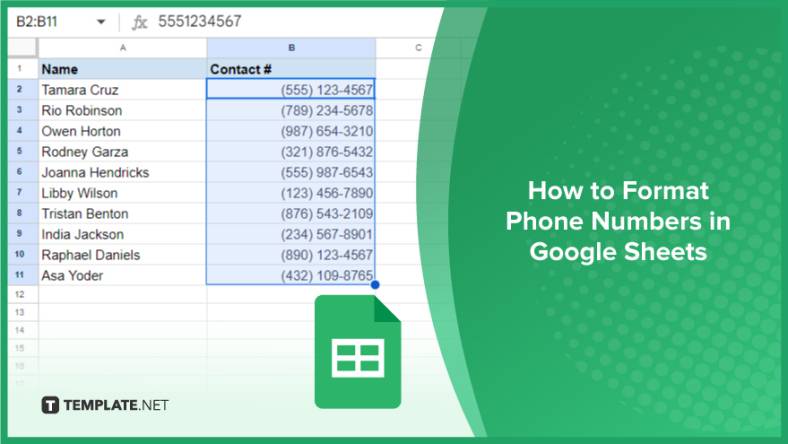
Google Sheets is a vital component of the Google Workspace suite that empowers users with diverse functionalities for efficient data…
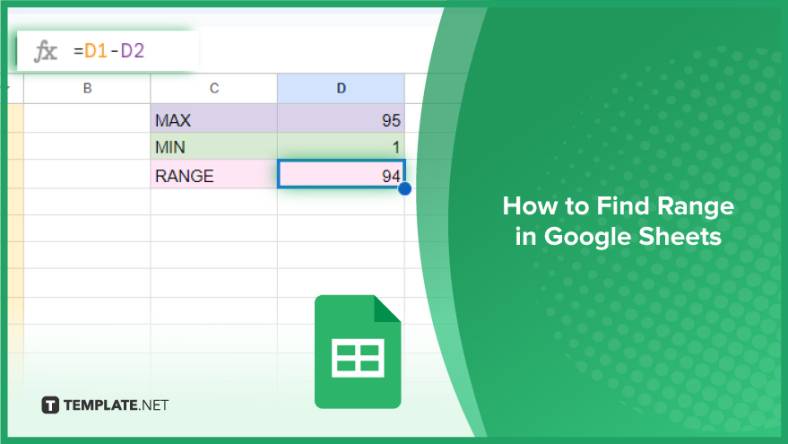
Google Sheets simplifies the process of statistical analysis, particularly in calculating the range of a data set. This guide will walk…
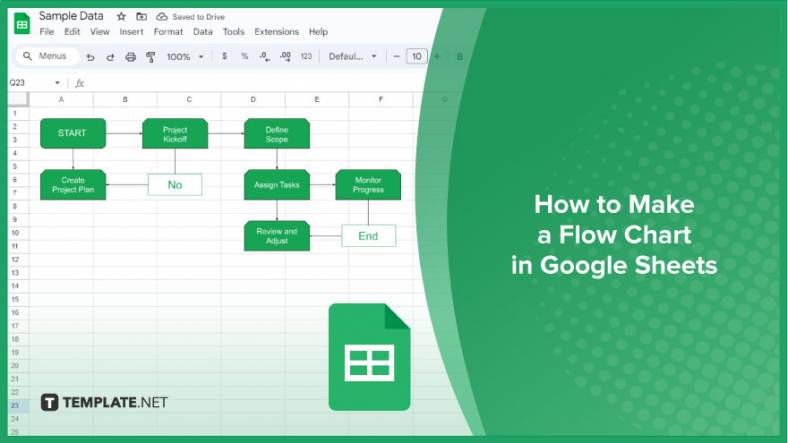
Google Sheets is a popular spreadsheet application that offers a variety of features that can be used to create flow…
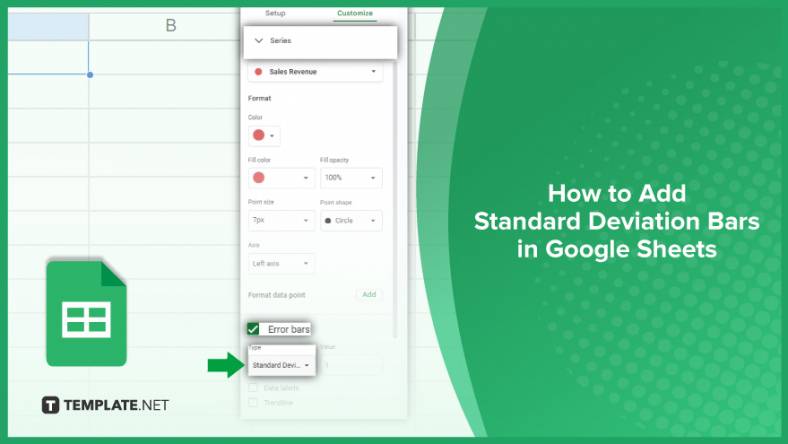
Standard deviation, a key statistical measure for gauging data variability, plays a crucial role in fields like finance, science, and…
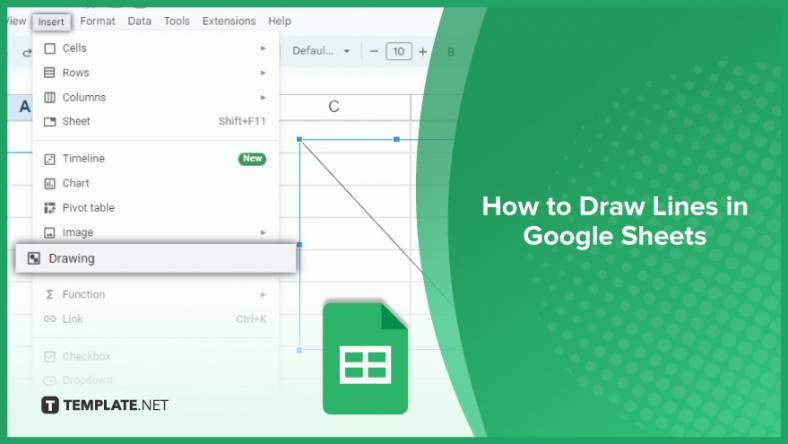
Google Sheets is a versatile spreadsheet application that allows for a variety of formatting options, including the addition of lines. This…

Personal loan trackers are one of the ways people can manage the finances of their property and gain financial power…