How to Remove Underline in Google Sheets
Google Sheets not only excels in data management but also offers flexible text formatting options, including the removal of underlines. Ideal…
Oct 11, 2022
Got some questions about what a document outline is and how to function it in your Google Docs file? This article on how to use the document outline in Google Docs has got you covered.
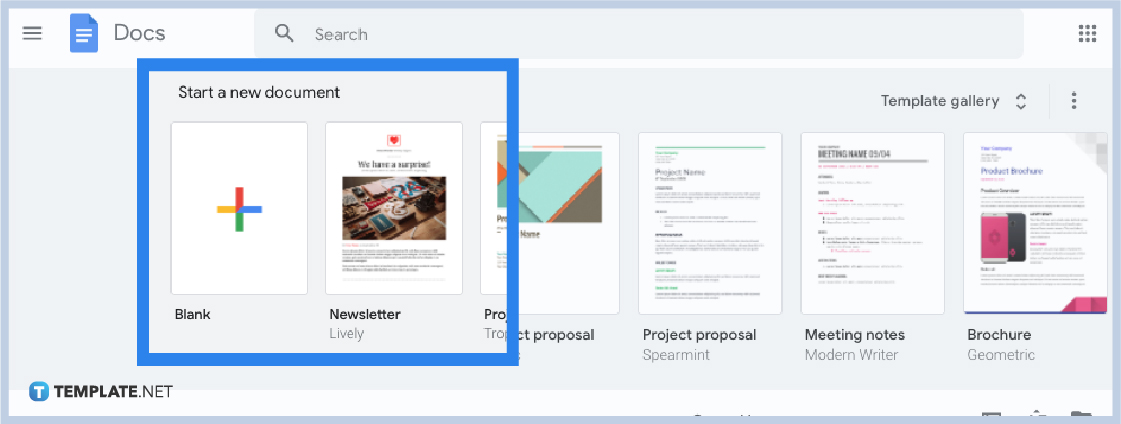 Head to docs.google.com for desktop/web users. Or install the Google Docs app from the Apple Store or Google Play for Android and IOS users. Then, open the app. Once you are inside Google Docs, you can create a new document to get started or open an existing one.

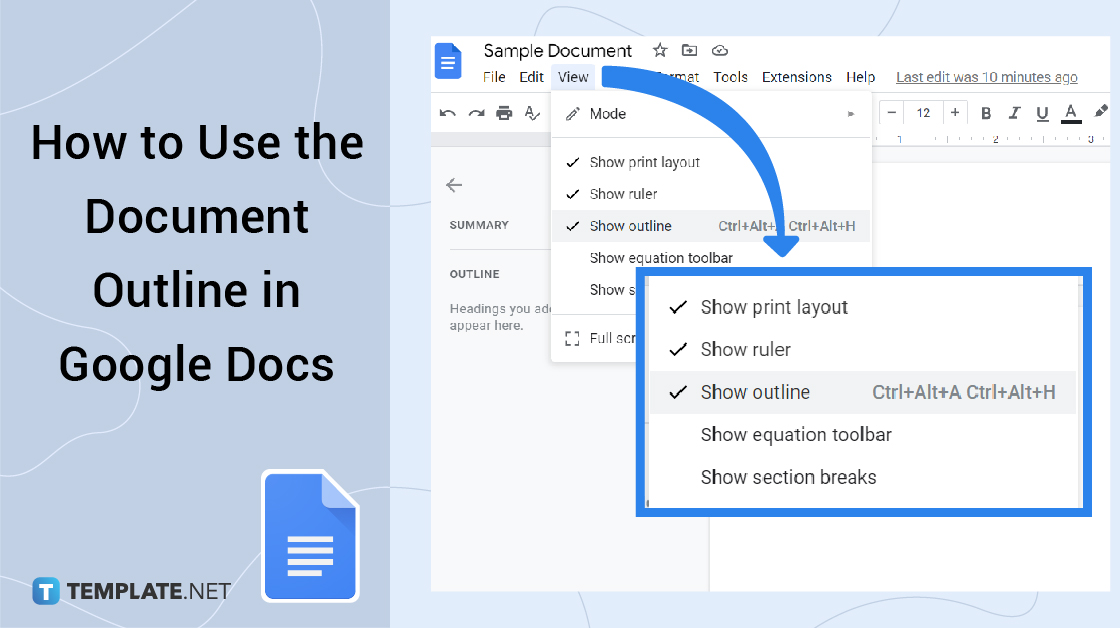
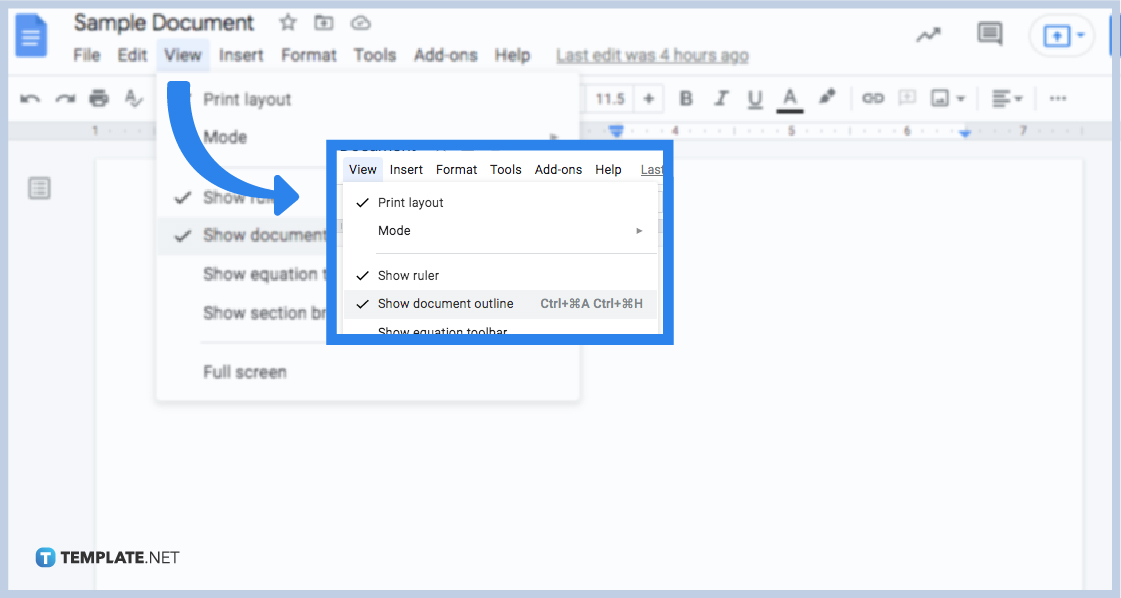 The document outline is actually a built-in feature in Google Docs that you can control whether you want to display it or not. Showing it is simple. Create a Google Docs, move to the top menu of your screen, and click “View.” Then, select “Show document outline” to make sure it is checked and displayed on your screen.
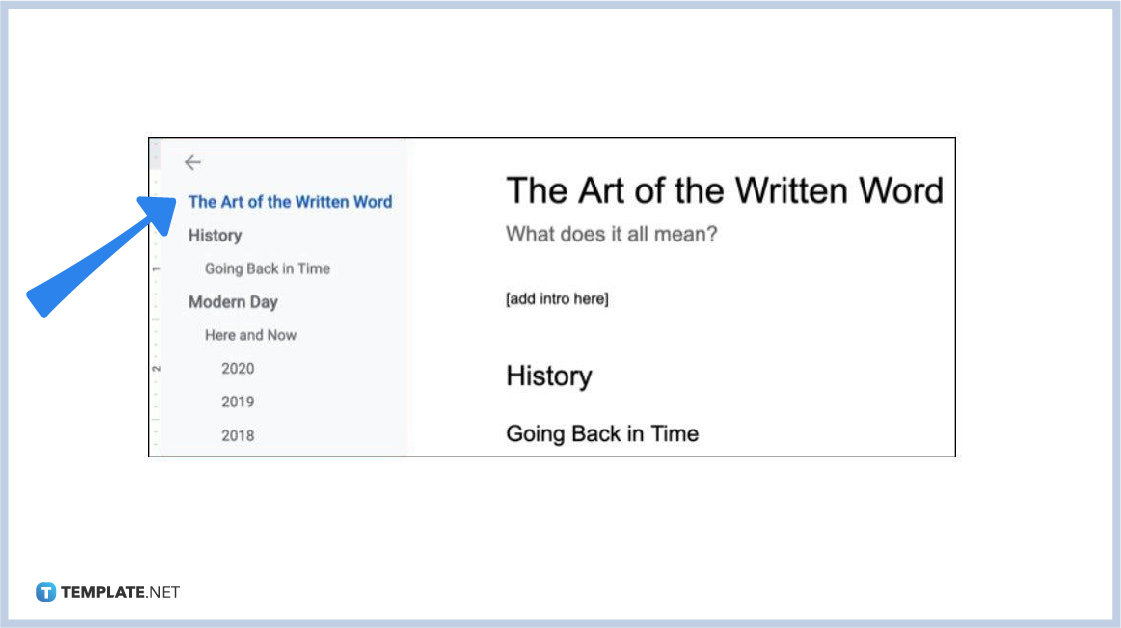 The outline will be automatically displayed on the left side of your document. The example above is how it is supposed to look.
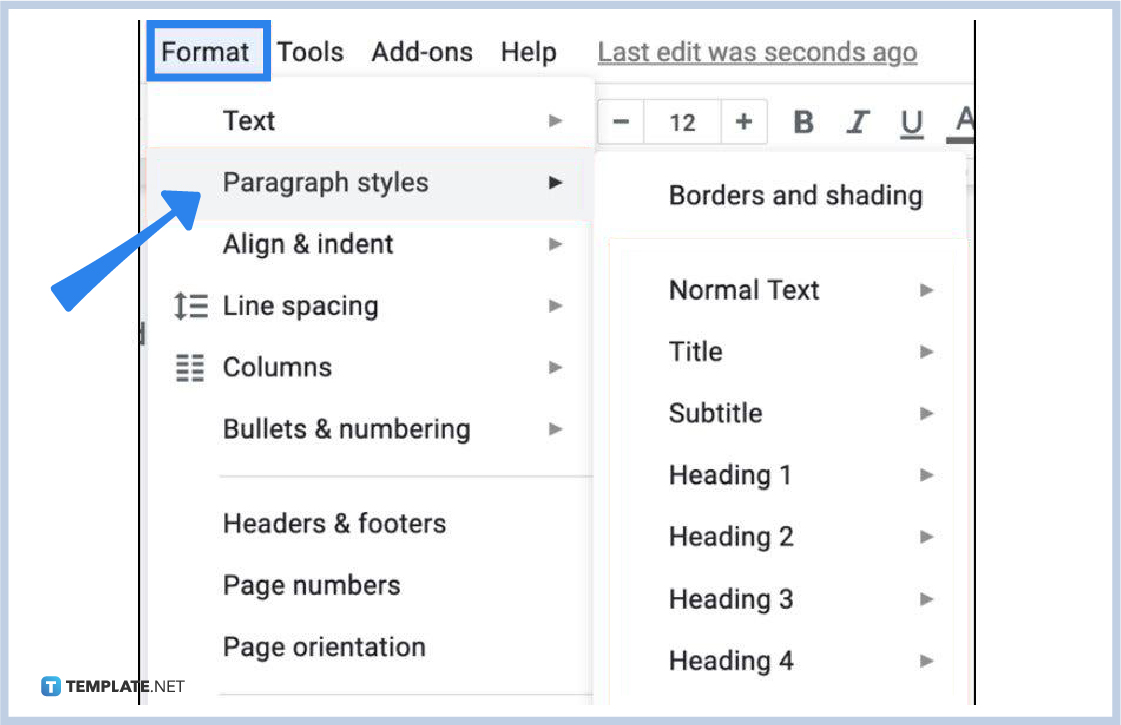 It is possible that you might not see outlines or that your document outline is still blank. And that is because you still have not formatted some texts into titles, subtitles, headings, or subheadings in your document. The point is that any level of heading is needed to display them in the document outline. Hence, tap “Format” on the top menu. Select “Paragraph styles” and you can choose different headings besides the normal text for your document.
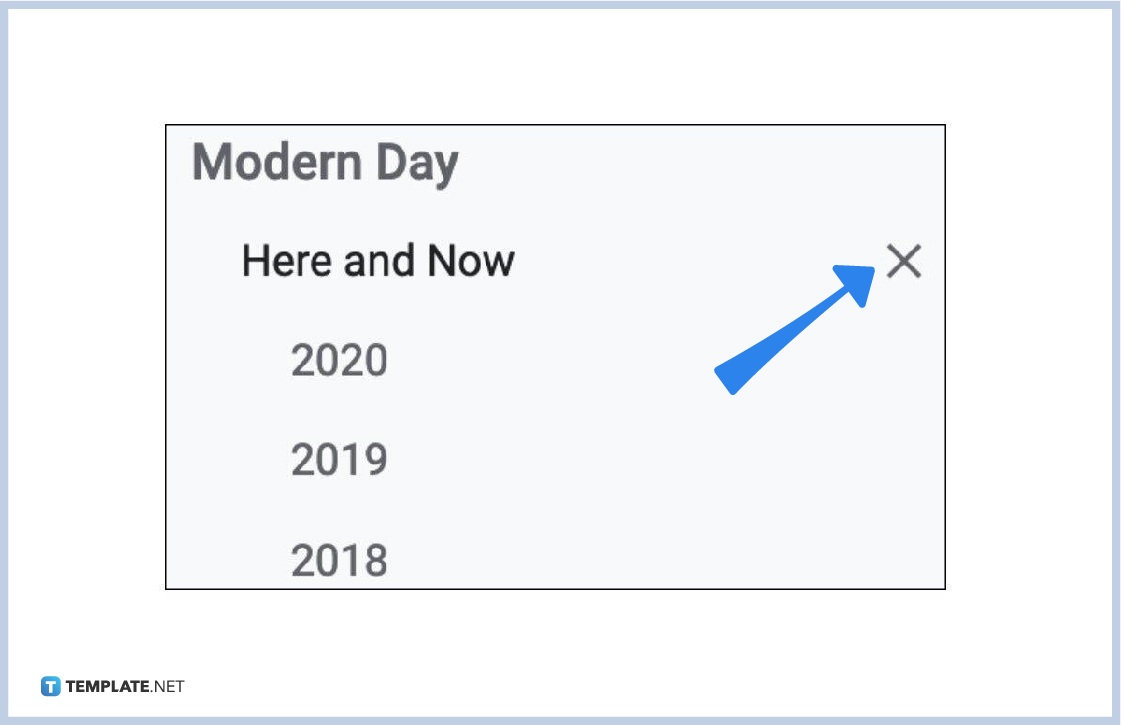 In case you want to get rid of certain outlines in the document outline, the key is to remove specific headings until you remove them as outlines. No format changes are required so it is definitely simple. Just click the “X” icon on the right side of the heading you want to remove in the document outline. Then, it will be out of the outline.
The document outline tool is essential since it helps you keep your document’s content organized. You can structure your document in Google Docs and make it easy for navigation. That means you just click on a heading or title to move to that specific part of your document pronto. Moving around the text using the outline is made easier just like the table of contents.
Since you already know how to remove an outline, you can also add that outline back whenever you want to. Just click the specific text in the document that has not been included in the outline yet. Right-click it and select “Add to document outline.”
Simply press Ctrl + Alt + A or Ctrl + Alt + H to show the document outline in Google Docs. Just remember that this shortcut won’t work if you use Google Docs on mobile.
Besides the document outline, the ruler is helpful for aligning texts, images, and other media. Just head to “View” on the upper menu. Then, tap “Show ruler.” It will put a checkmark on the “Show ruler” button and you can already view the ruler in your file.

Google Sheets not only excels in data management but also offers flexible text formatting options, including the removal of underlines. Ideal…
Google Sheets offers a wide range of features that can help you organize, analyze, and manipulate data effectively. One…
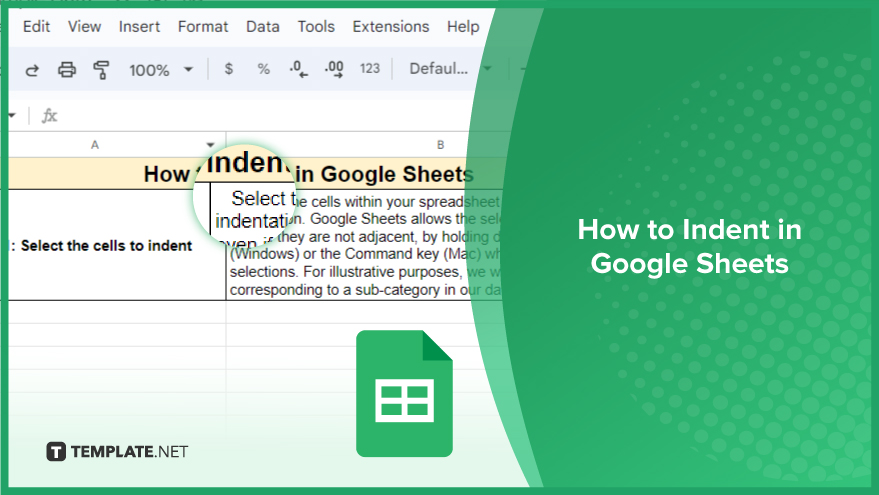
Indentation in Google Sheets is a handy feature that can significantly enhance the readability and organization of your…
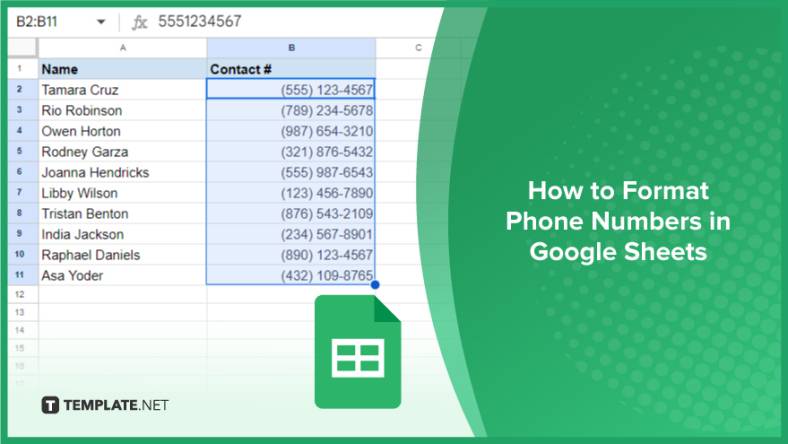
Google Sheets is a vital component of the Google Workspace suite that empowers users with diverse functionalities for efficient data…
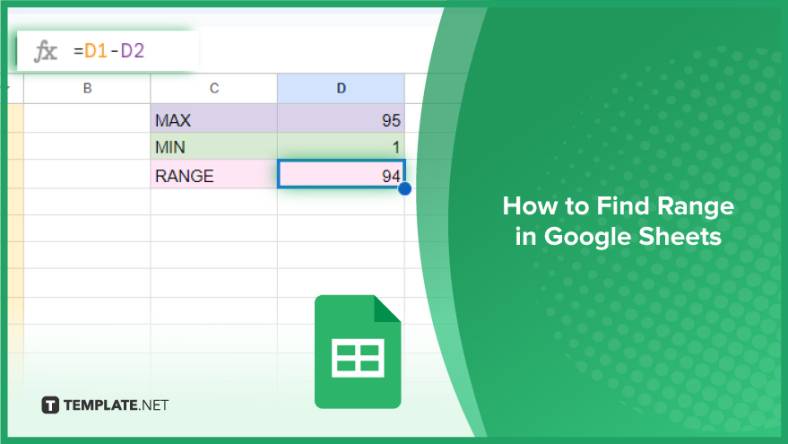
Google Sheets simplifies the process of statistical analysis, particularly in calculating the range of a data set. This guide will walk…
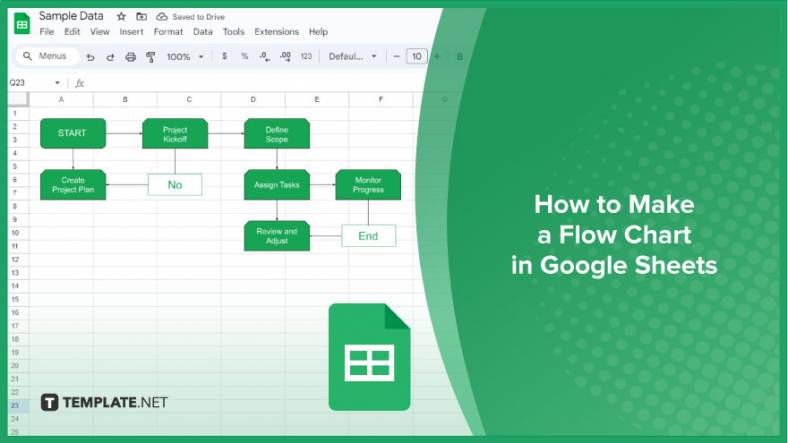
Google Sheets is a popular spreadsheet application that offers a variety of features that can be used to create flow…
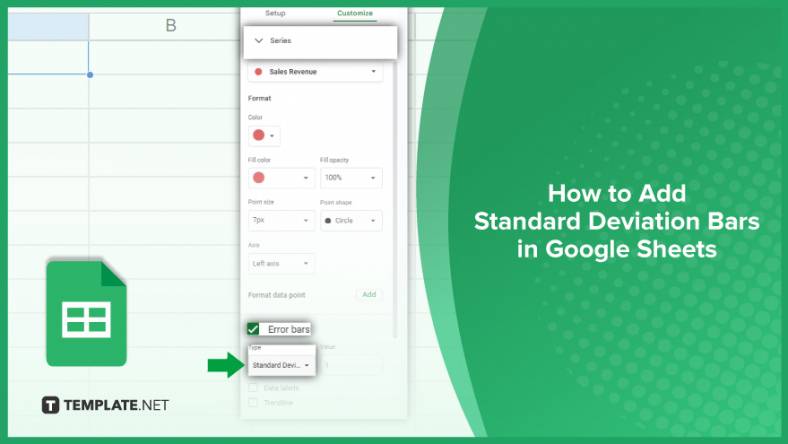
Standard deviation, a key statistical measure for gauging data variability, plays a crucial role in fields like finance, science, and…
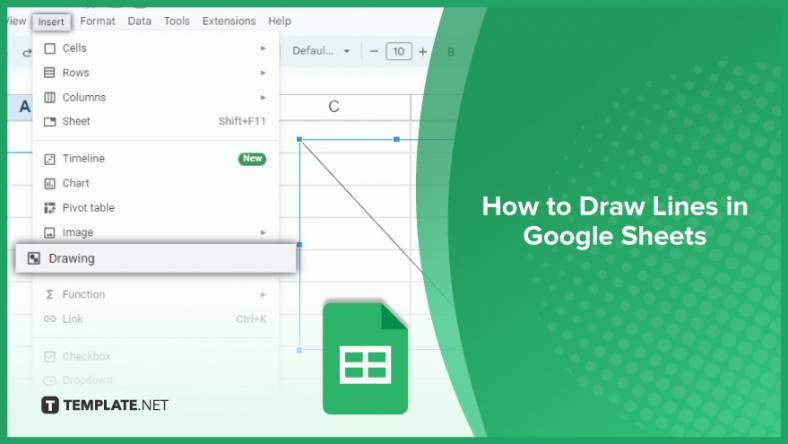
Google Sheets is a versatile spreadsheet application that allows for a variety of formatting options, including the addition of lines. This…

Personal loan trackers are one of the ways people can manage the finances of their property and gain financial power…