How to Remove Underline in Google Sheets
Google Sheets not only excels in data management but also offers flexible text formatting options, including the removal of underlines. Ideal…
Apr 15, 2024
When printing out your spreadsheets, you’ll need to know where it ends and begins. Read on to find out how to do that by applying page breaks in Google Sheets.
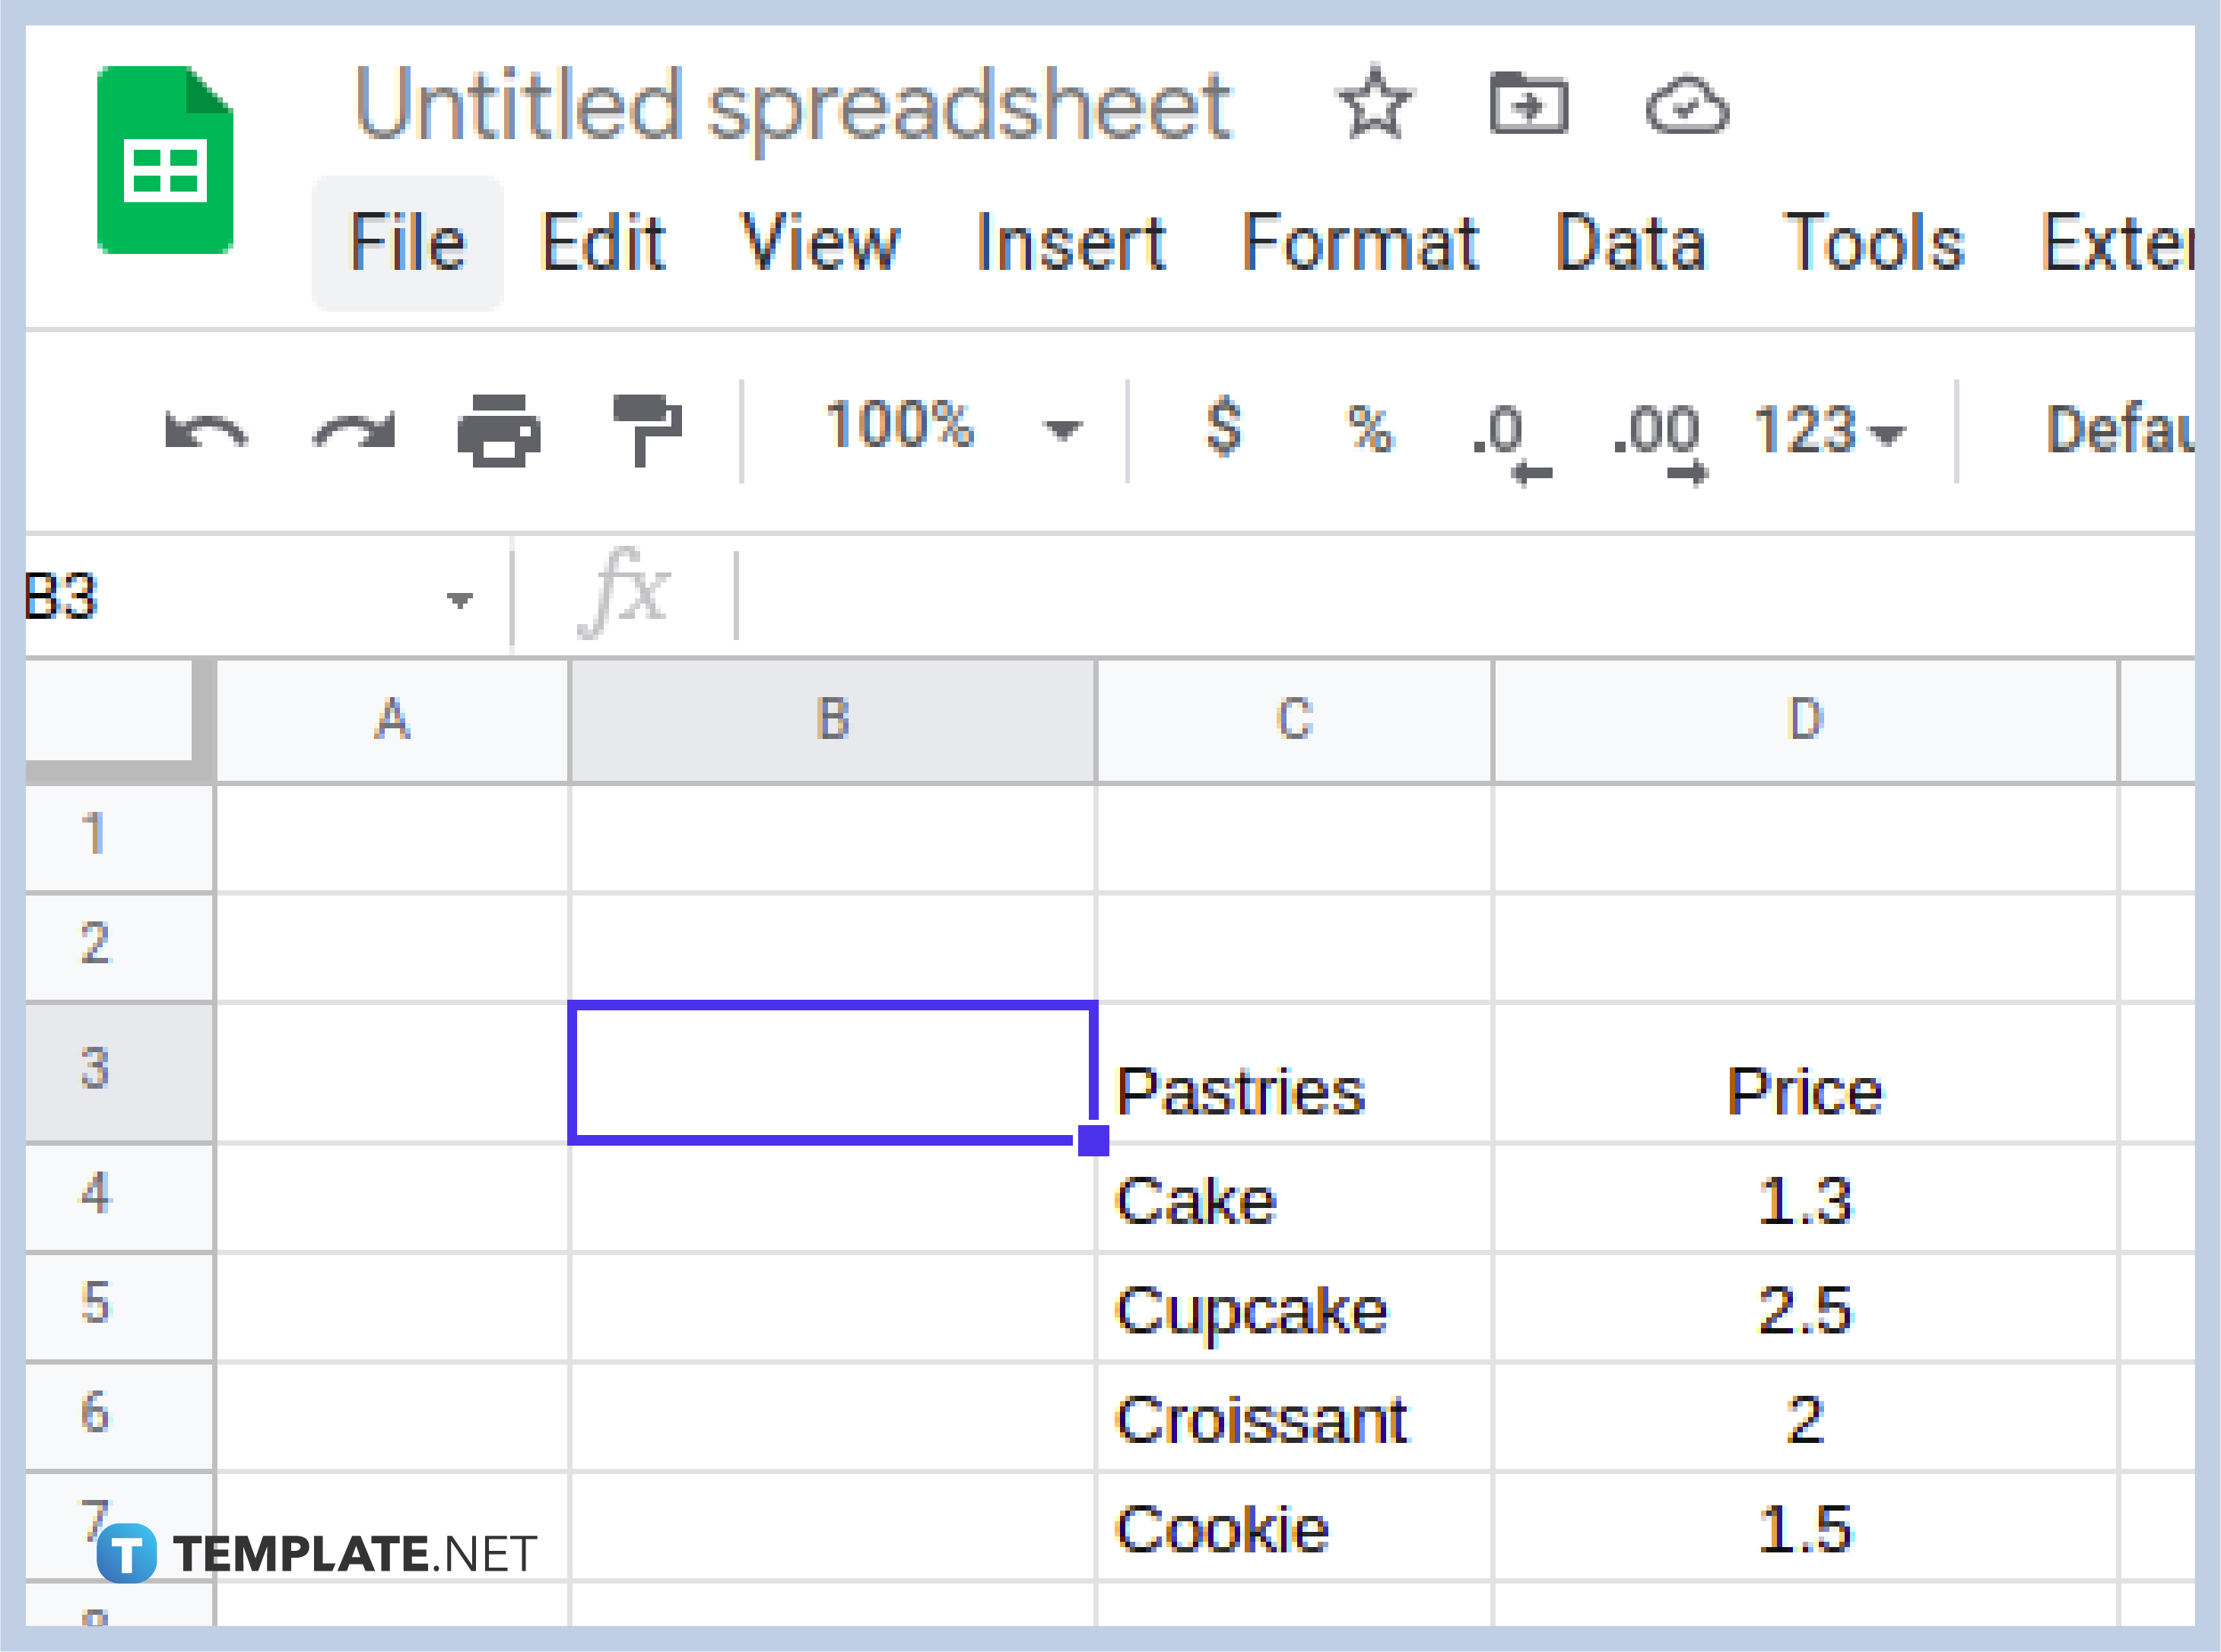
There are times you need to print out a spreadsheet and based on the paper you’ll use, not every part might make it. With a page break you can figure out what you can fit to page and keep it organized. To view a page break on a Google Sheet, first you need to move your cursor to the menu. There click on the word that says ‘File’.
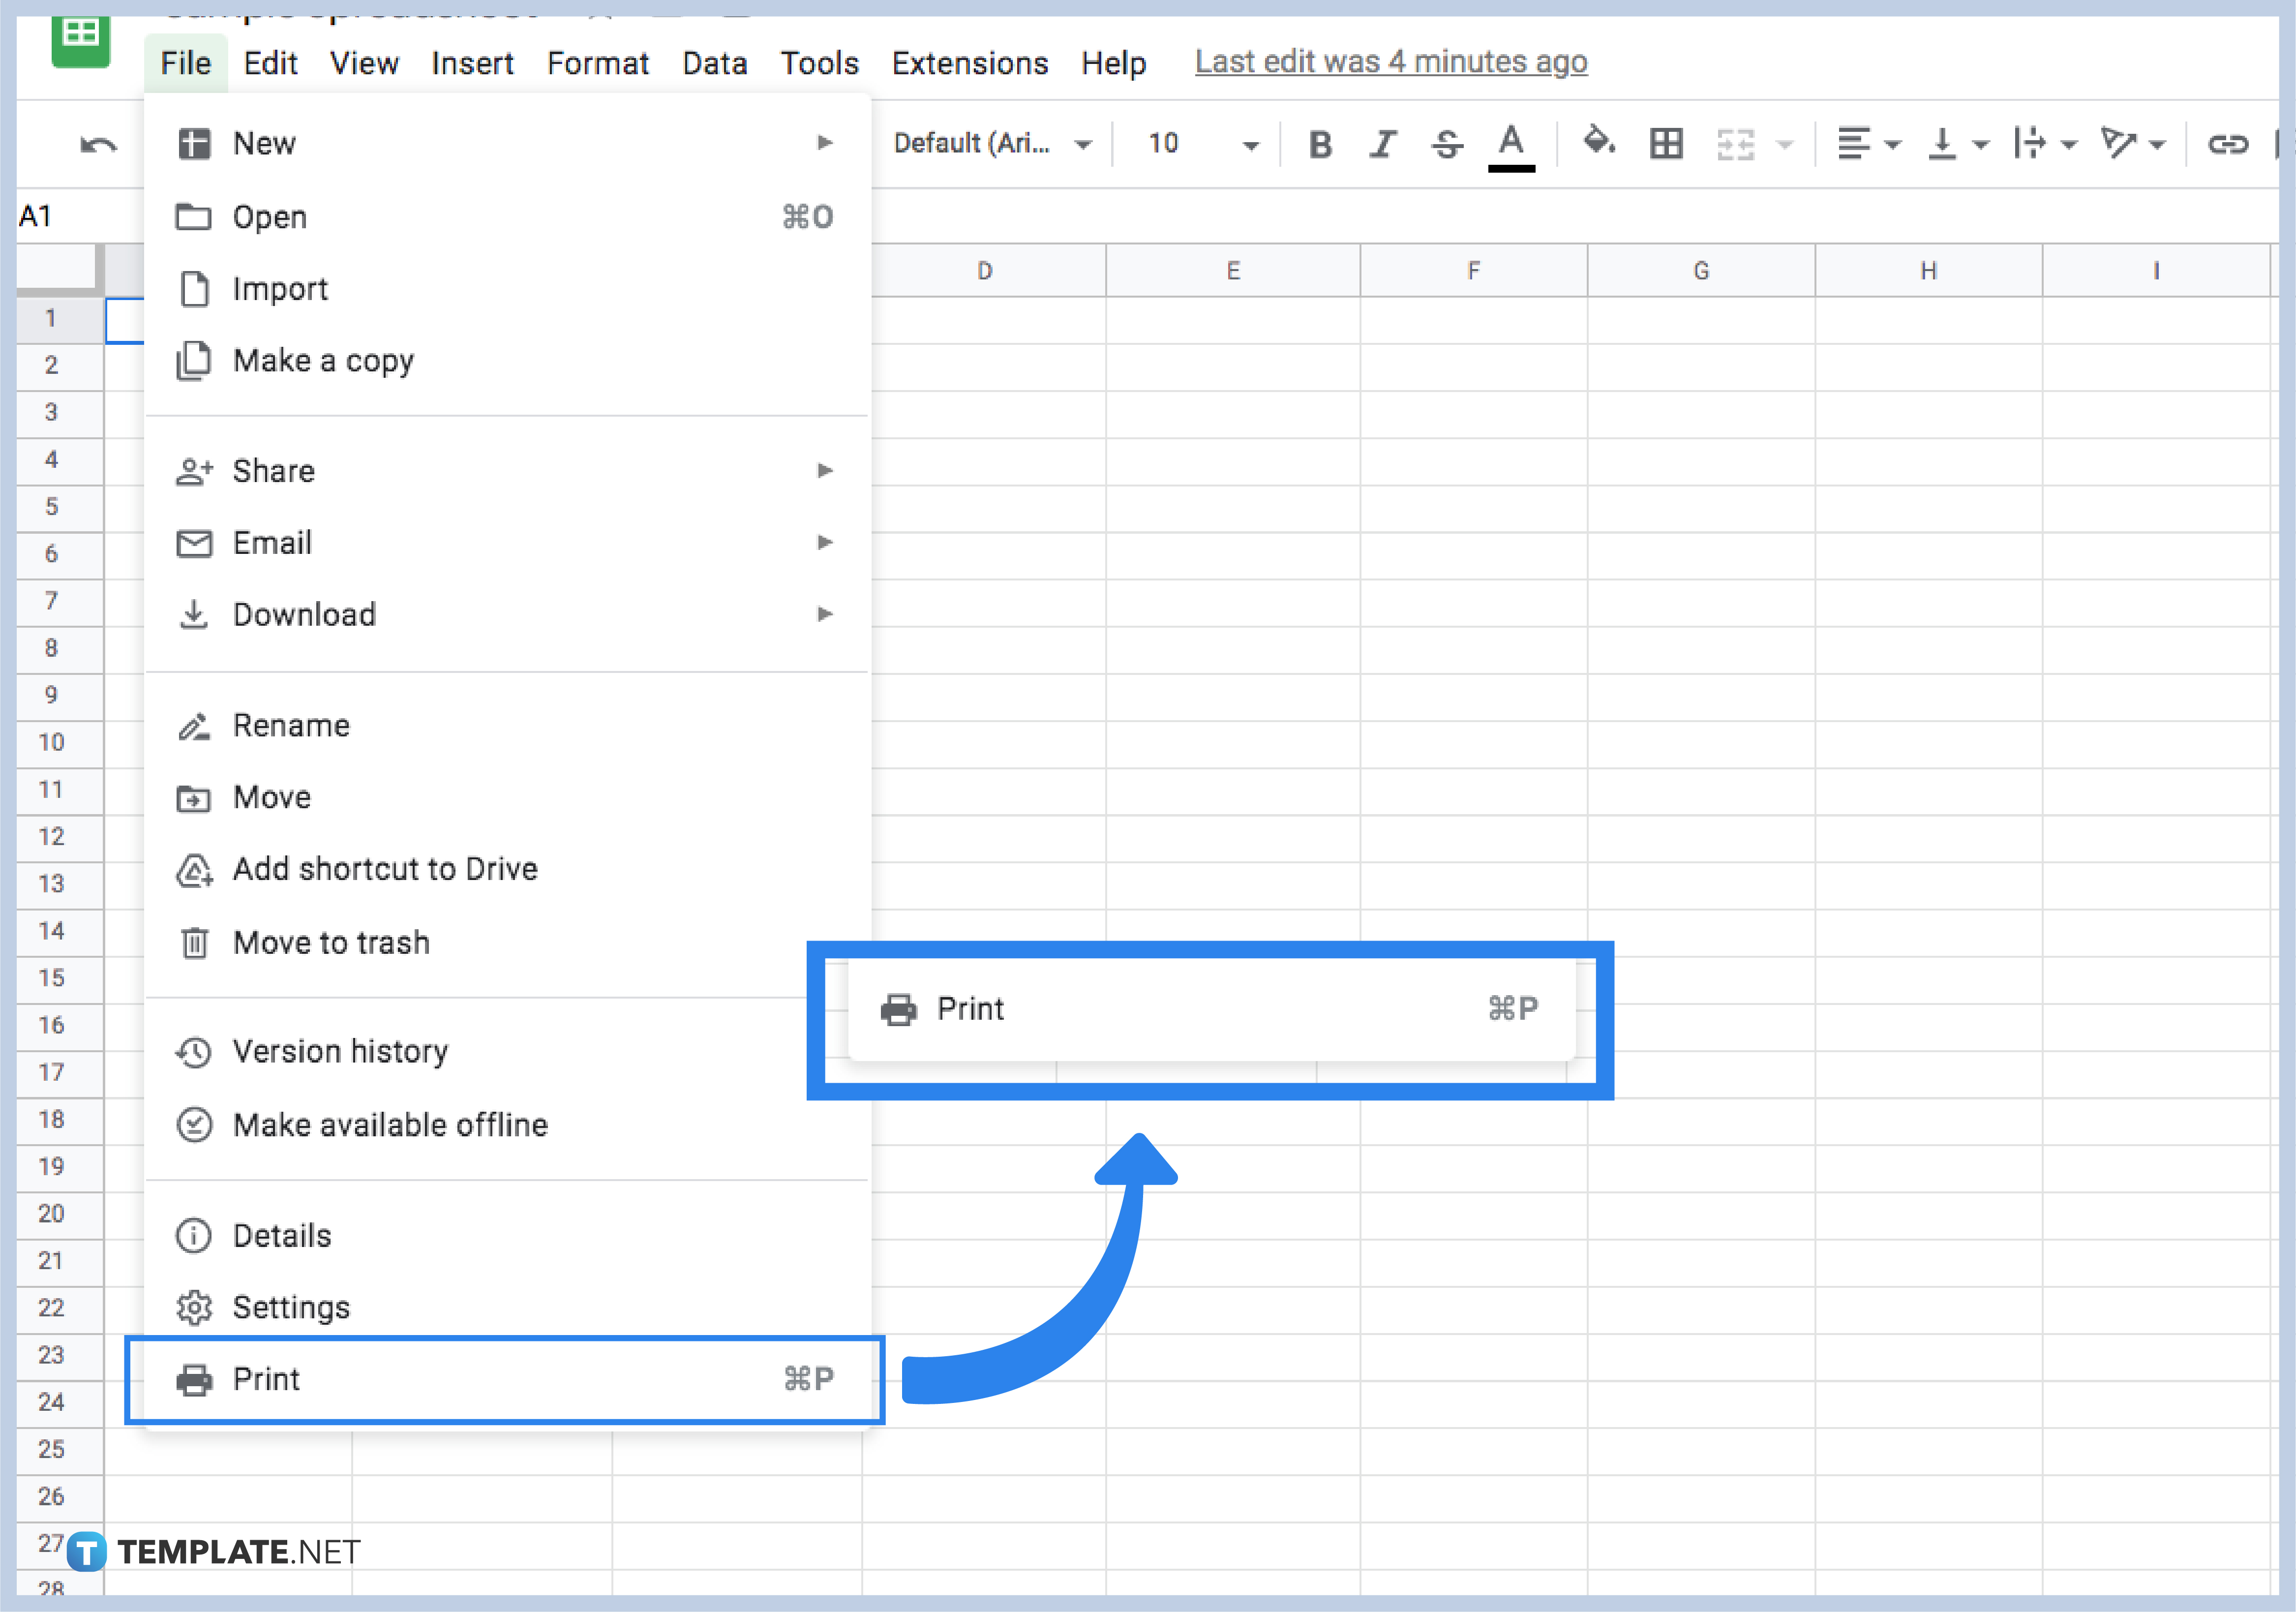
On the drop down options click on the word ‘Print’ located at the bottom of the drop down. This will cause a window to appear.
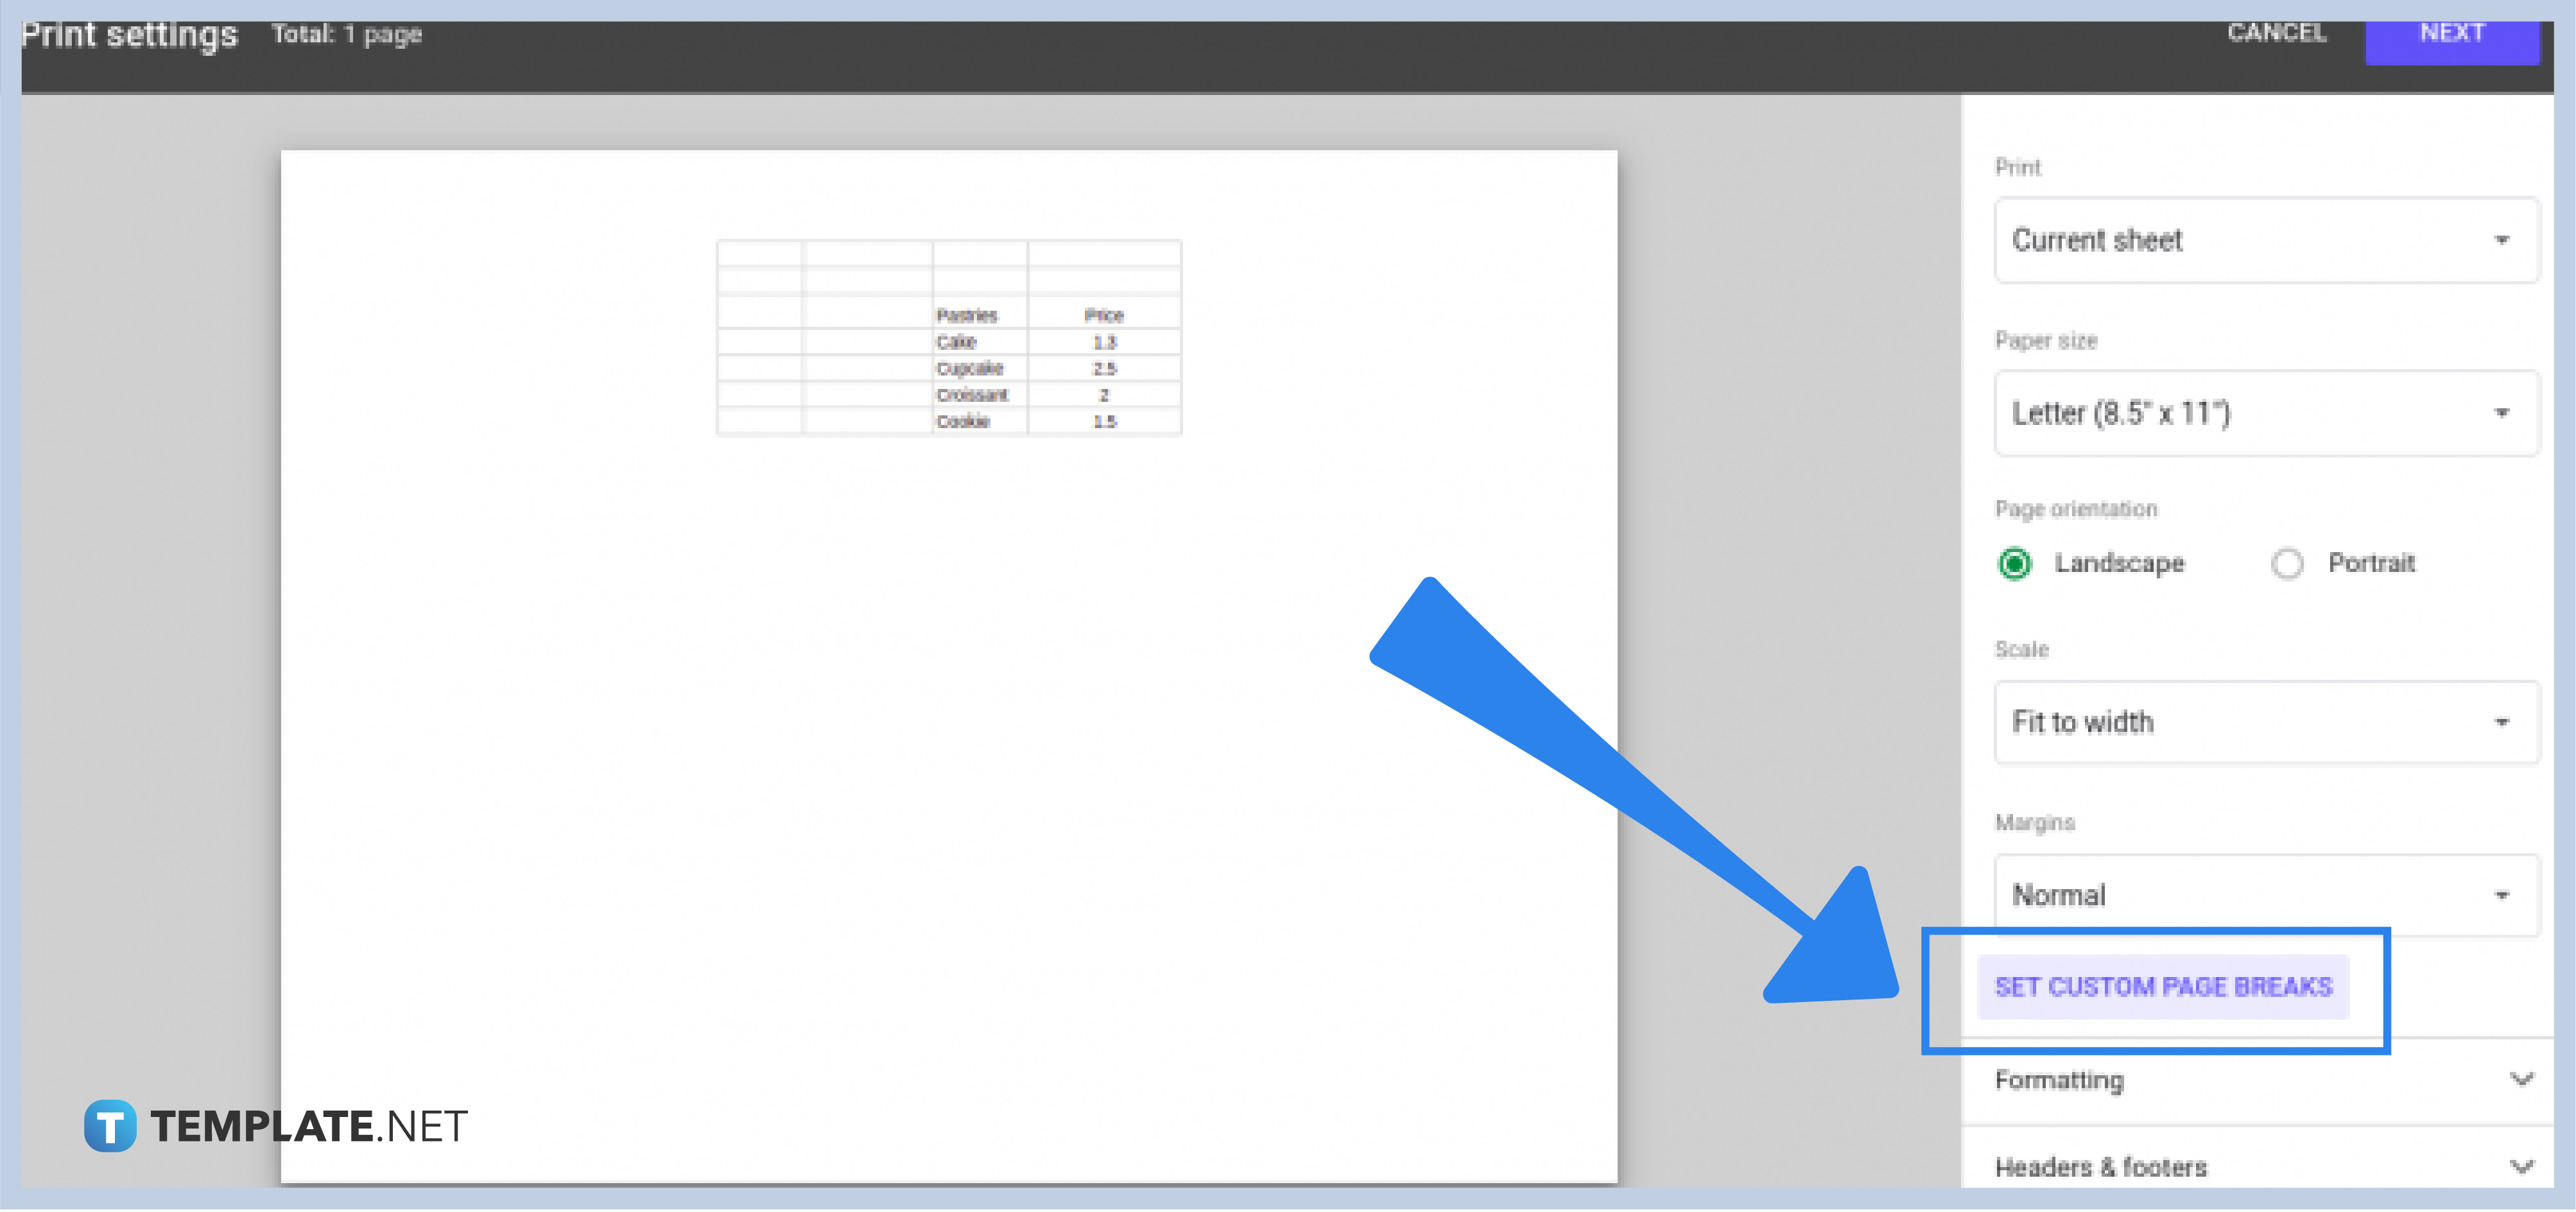
On this window, click on the word ‘Set Custom Page Breaks’ near the bottom left of the screen. It is in all-caps and blue in color.
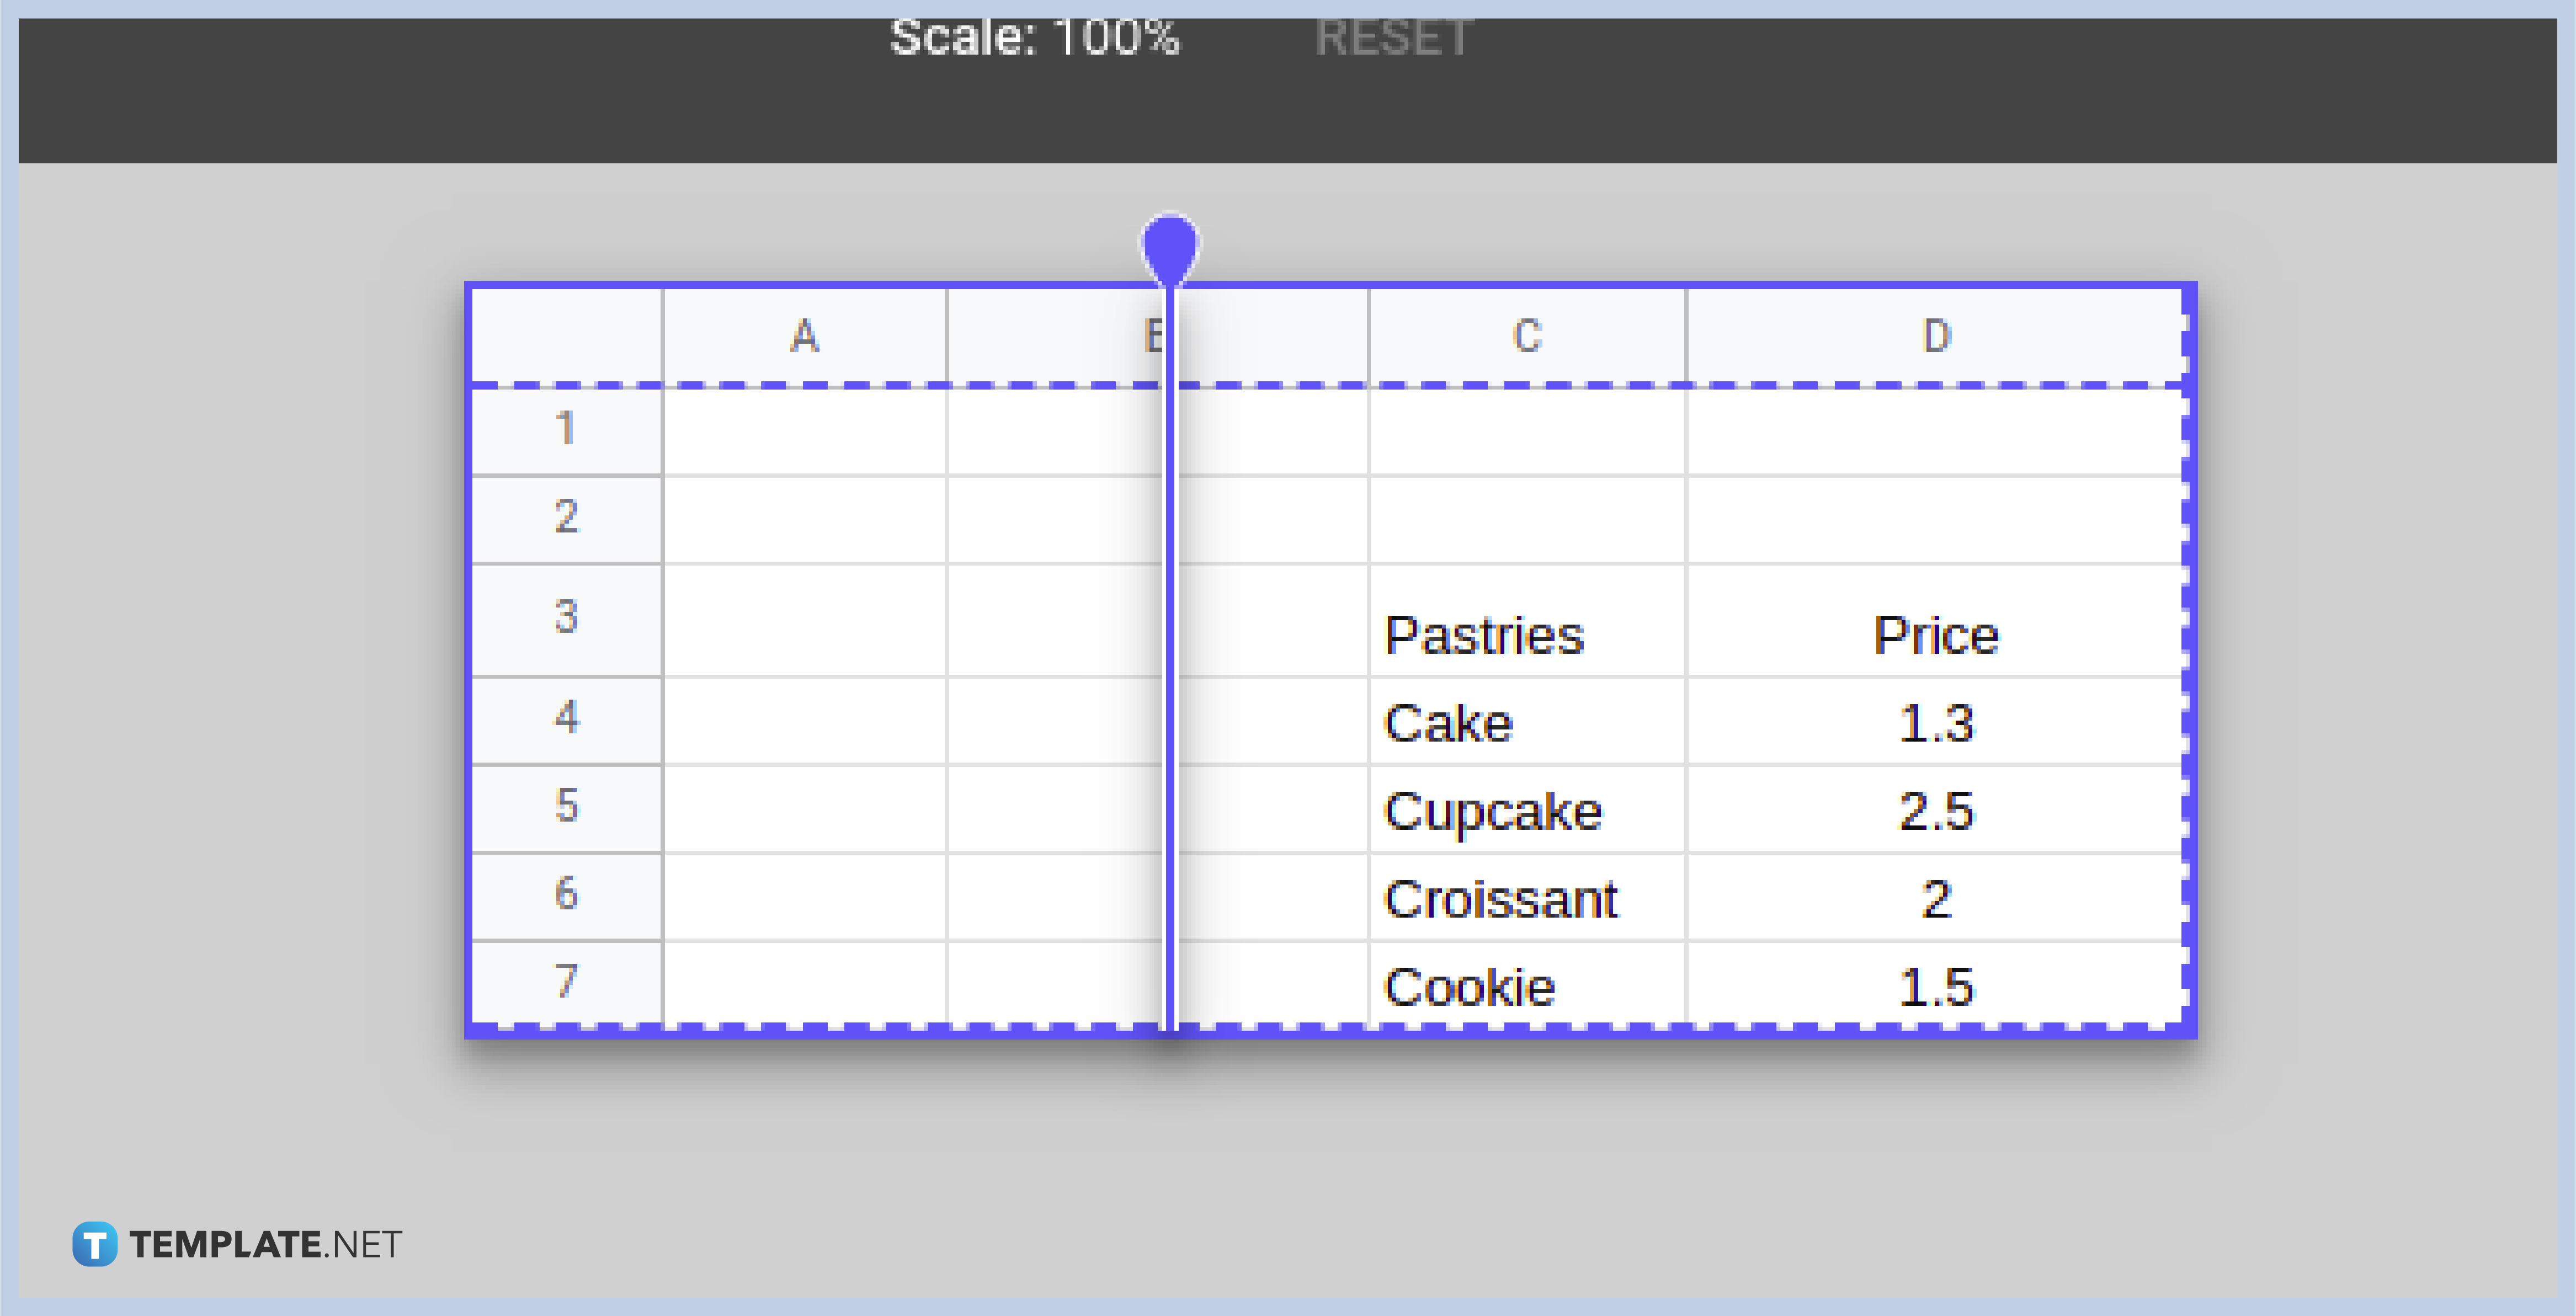
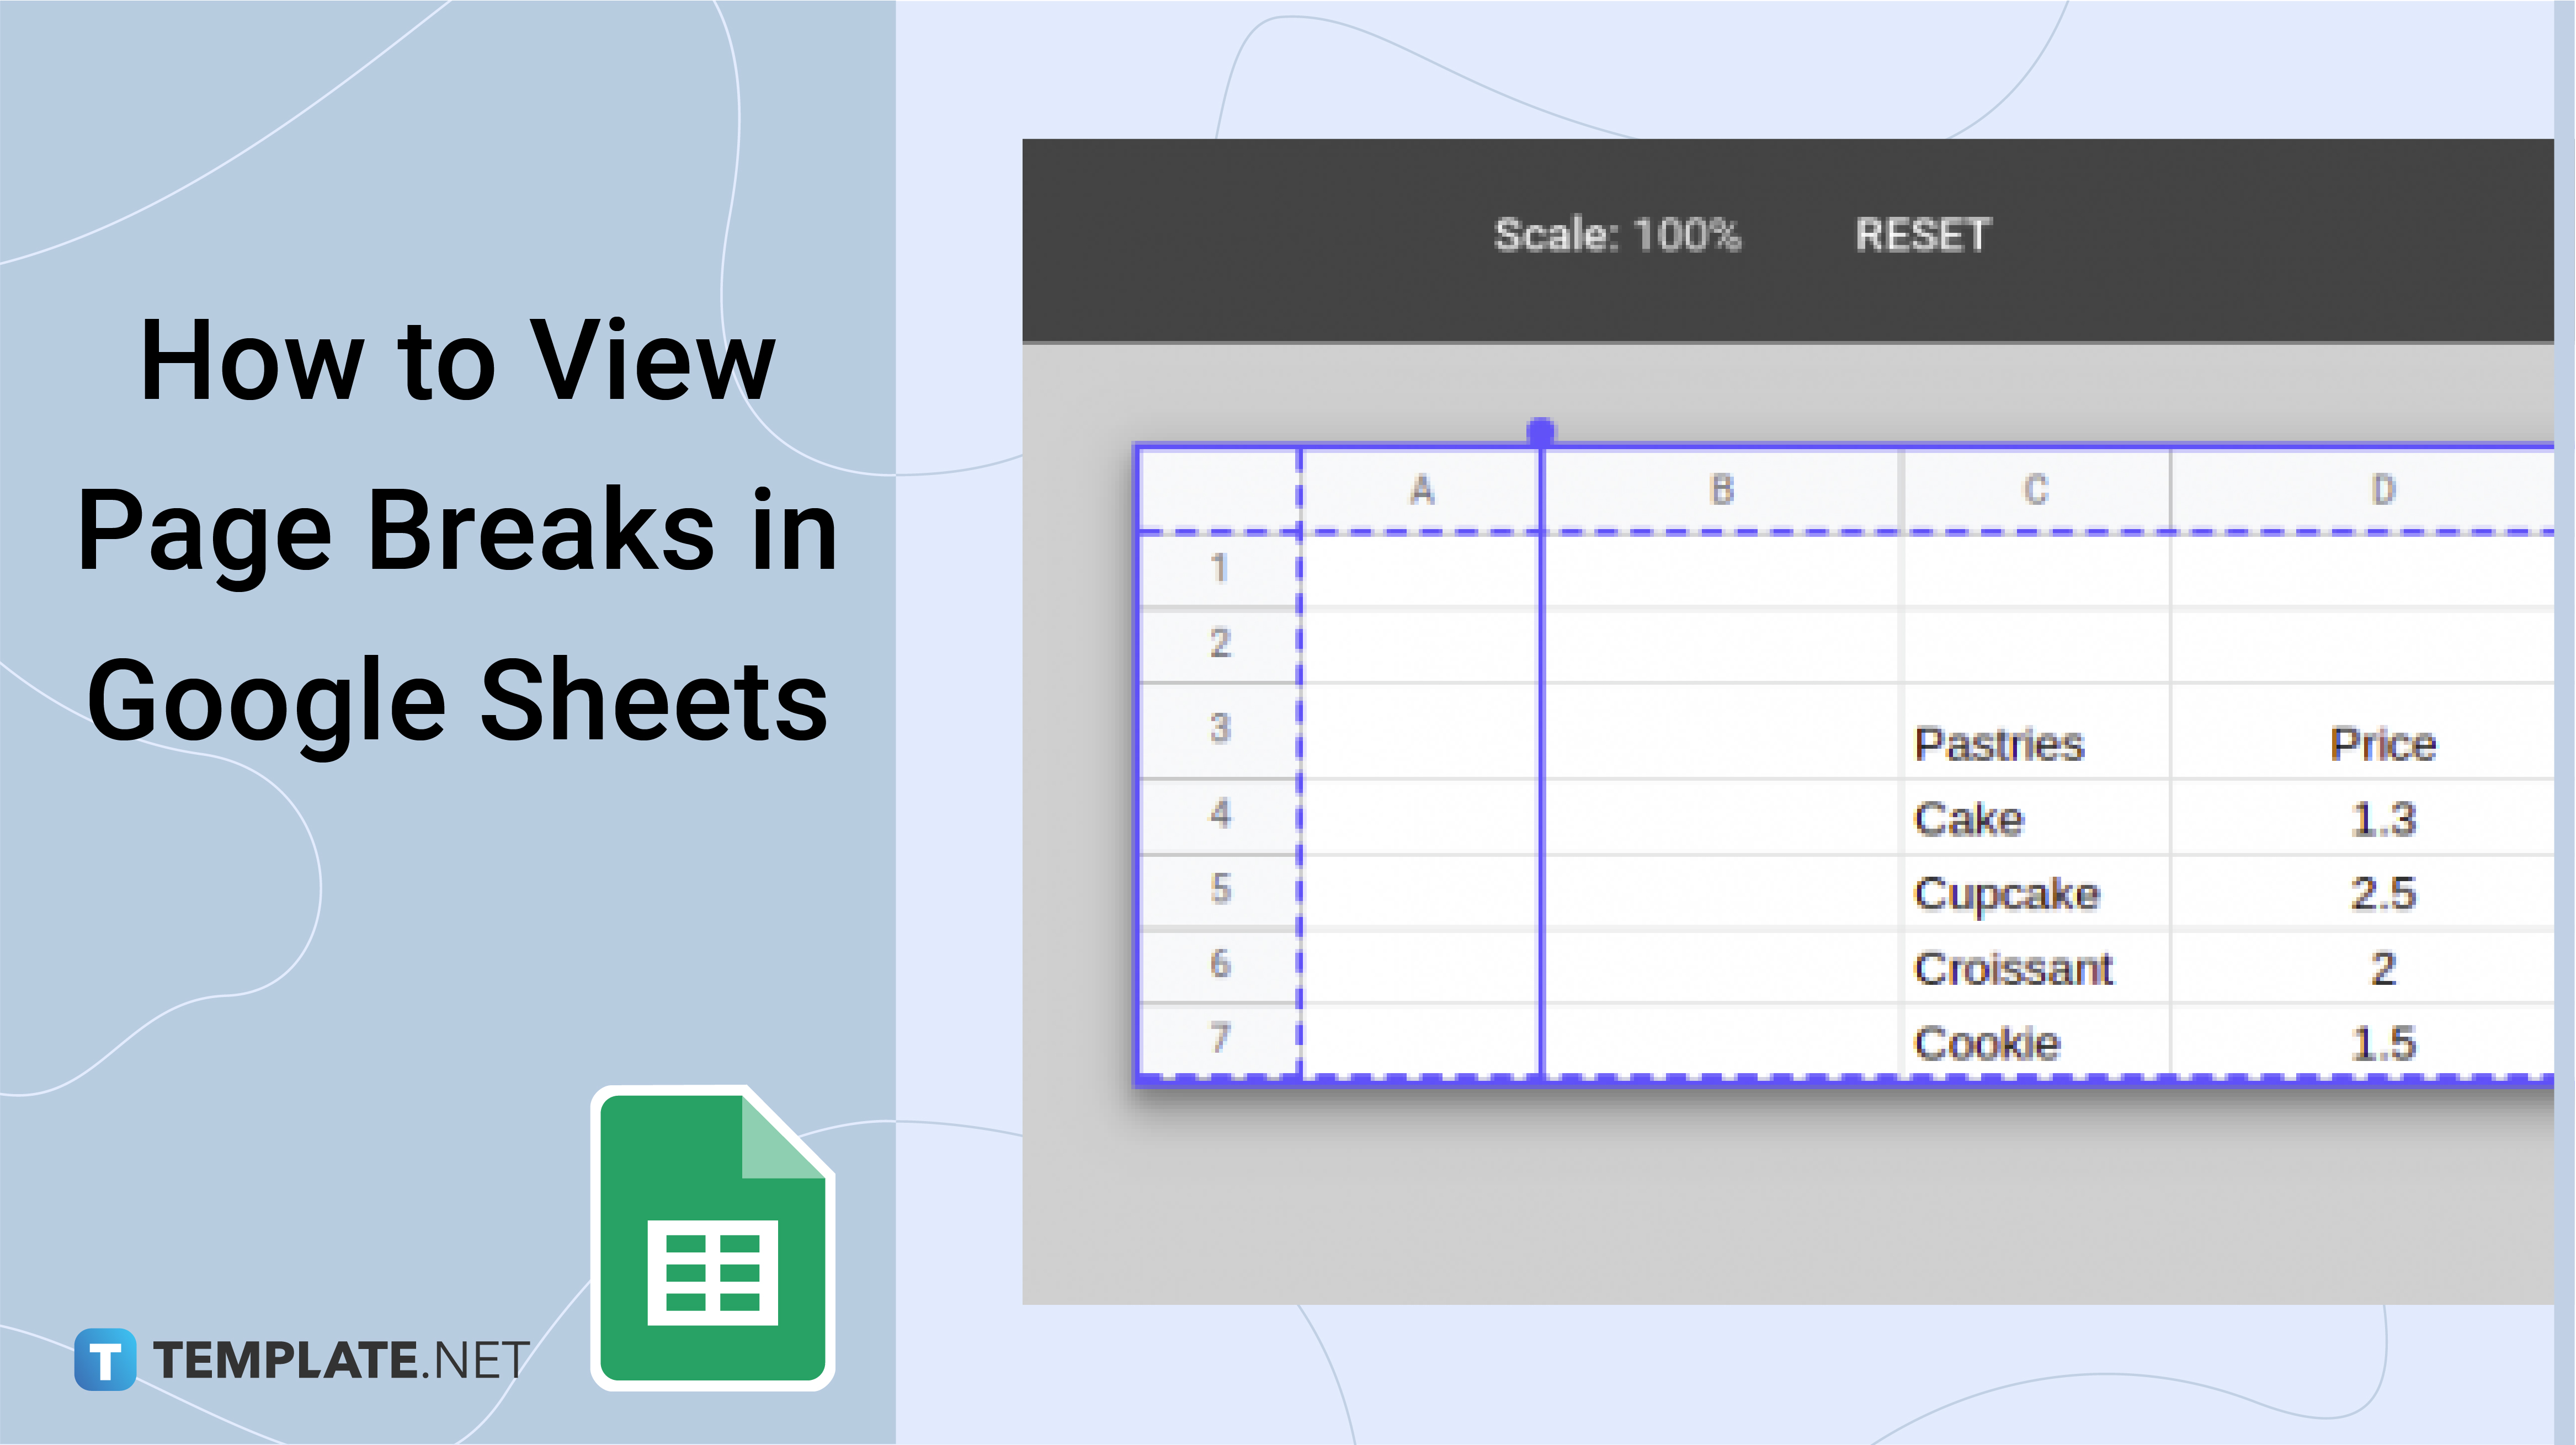
The window will show you the spreadsheet divided by blue dotted lines. You can click and drag them to edit custom page breaks and even reset page breaks. Not only that but you can also view user added page breaks.
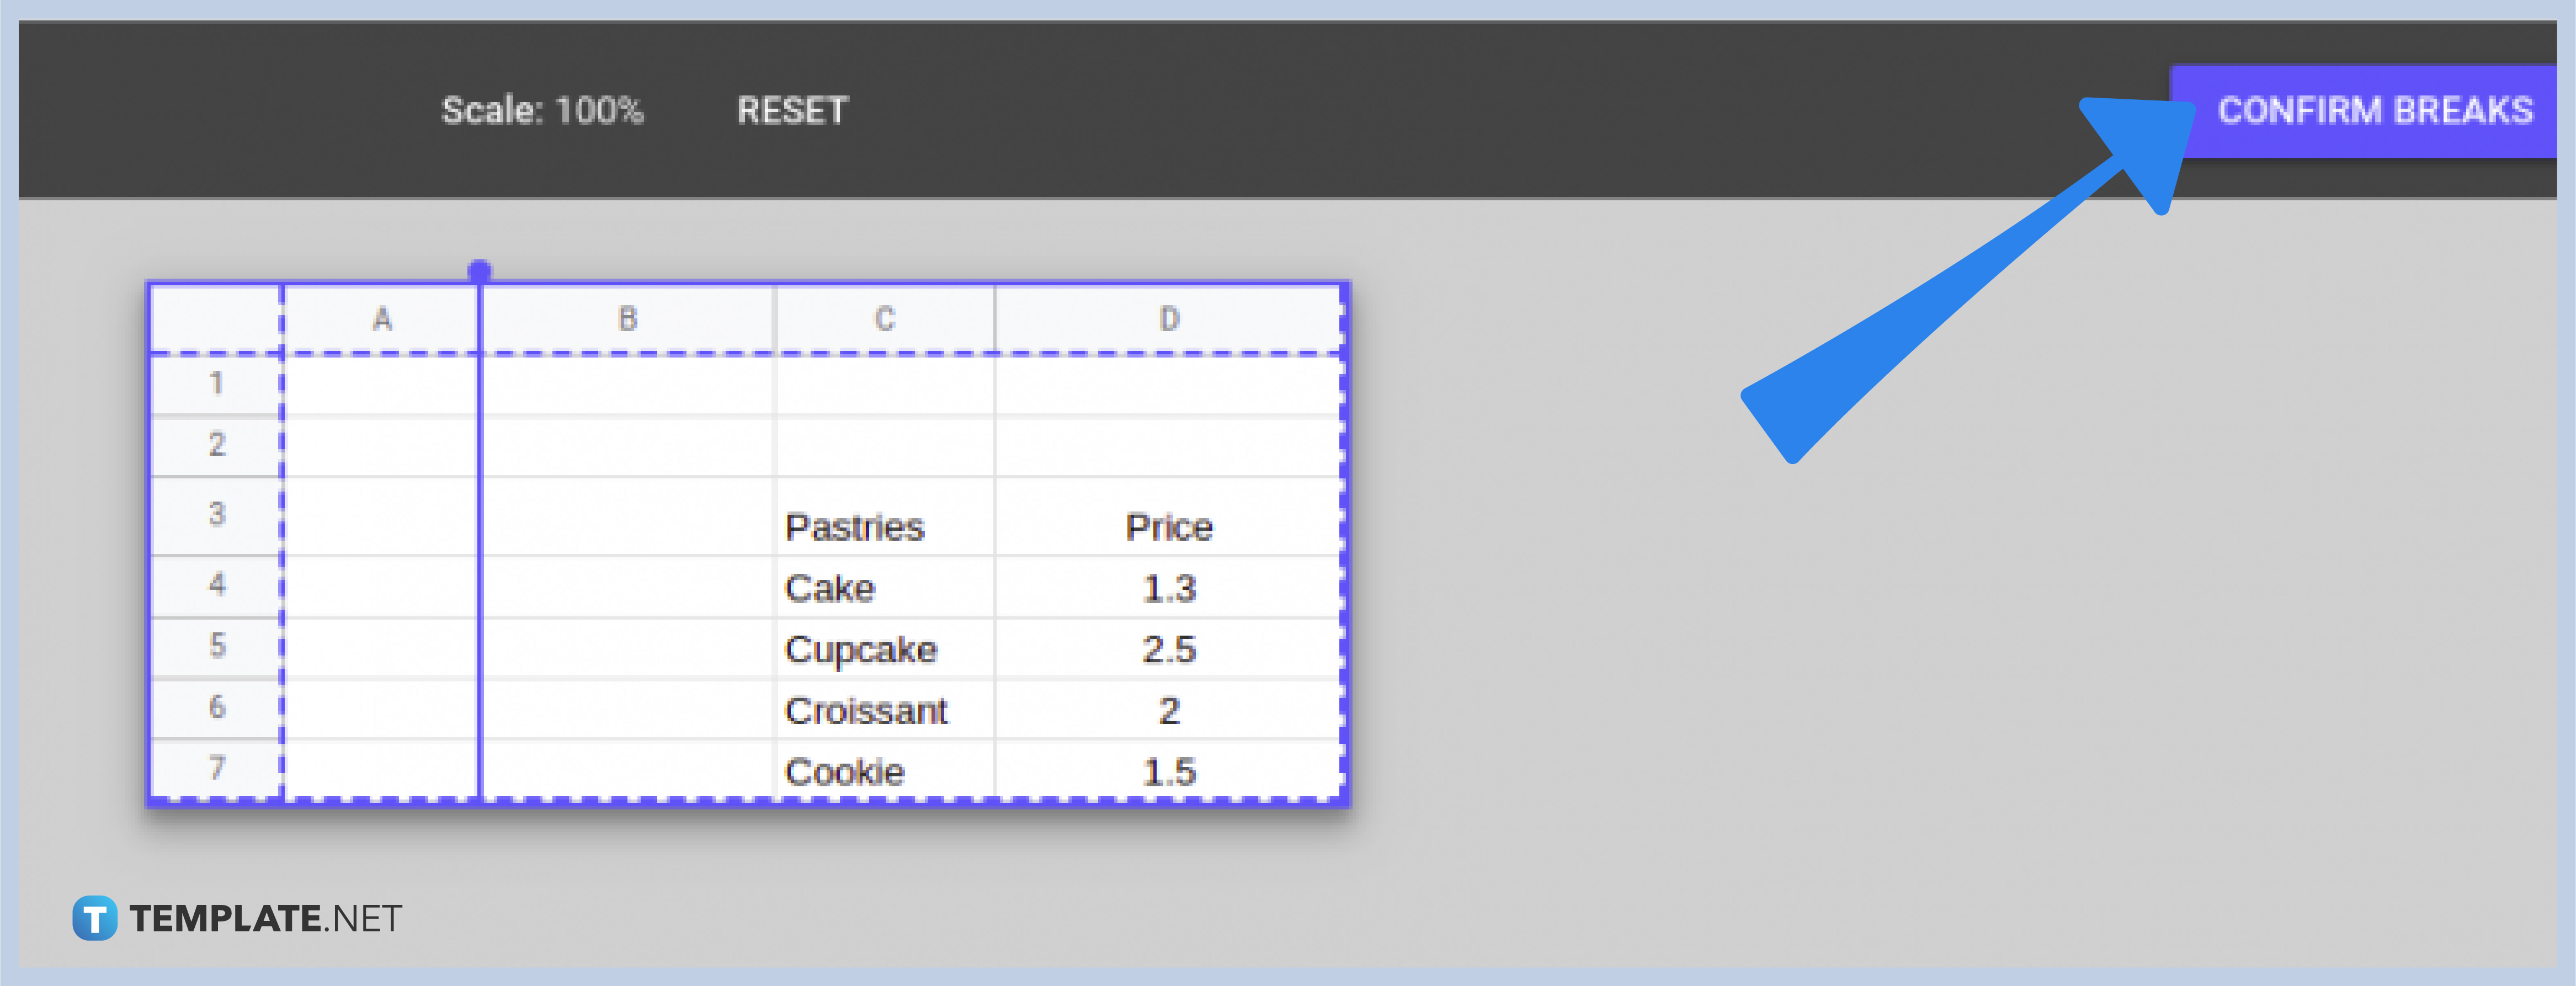
Once you click Confirm Breaks, this can set the page breaks on your spreadsheet allowing you to specify what will be printed or not. Whatever you are working on, be it an itinerary or a quote, you can now insert and remove page breaks giving your spreadsheet a format.
A page break refers to the boundary of the spreadsheet similar to how there’s a clear end to the pages on a Google Docs page.
The purpose of a page break let’s users decide how much of the spreadsheet will be included once they print it out.
Google Sheets’ main display shows a near-endless amount of cells, which is why there are no visible page breaks.

Google Sheets not only excels in data management but also offers flexible text formatting options, including the removal of underlines. Ideal…
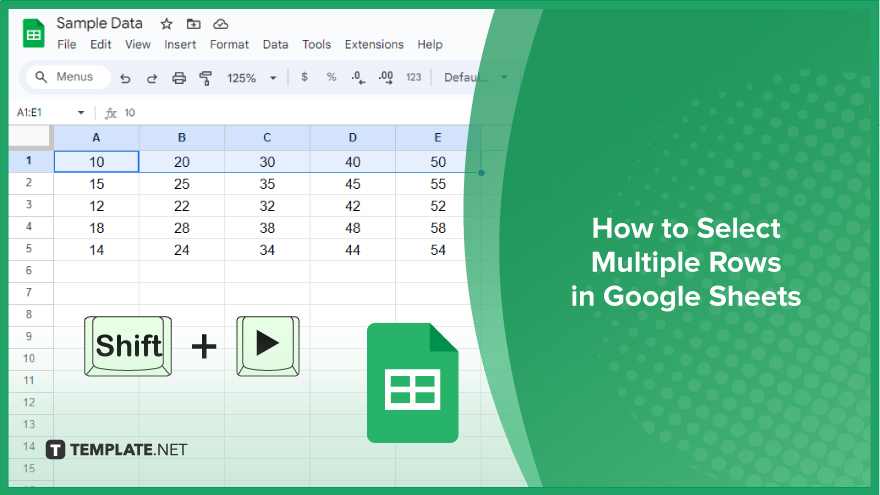
Google Sheets offers a wide range of features that can help you organize, analyze, and manipulate data effectively. One…
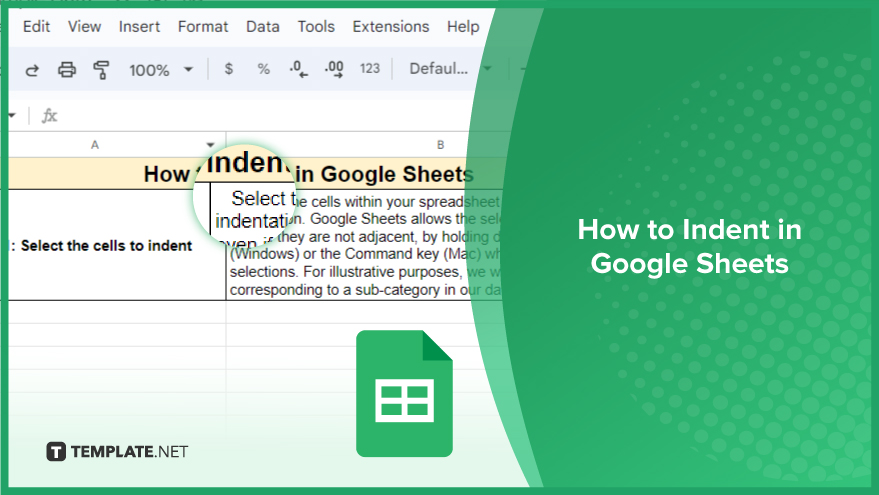
Indentation in Google Sheets is a handy feature that can significantly enhance the readability and organization of your…
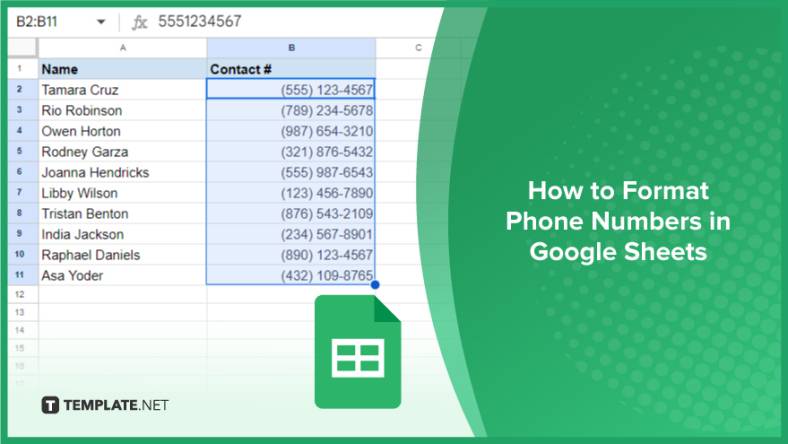
Google Sheets is a vital component of the Google Workspace suite that empowers users with diverse functionalities for efficient data…
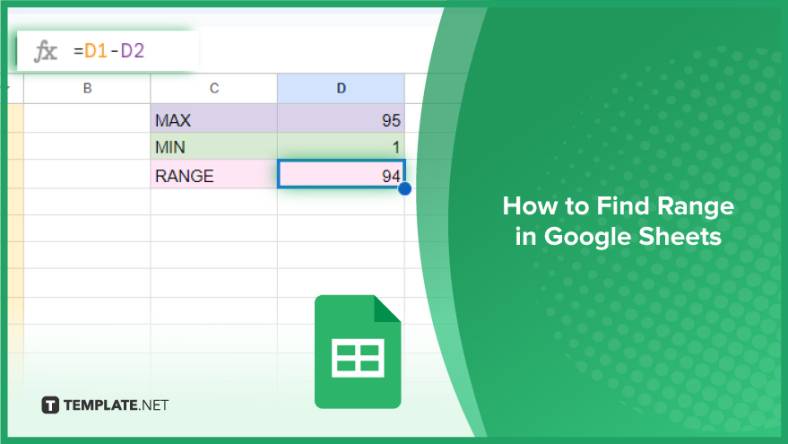
Google Sheets simplifies the process of statistical analysis, particularly in calculating the range of a data set. This guide will walk…
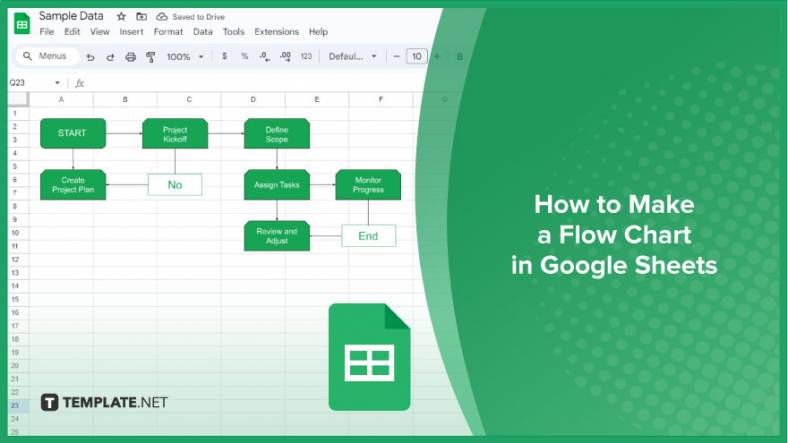
Google Sheets is a popular spreadsheet application that offers a variety of features that can be used to create flow…
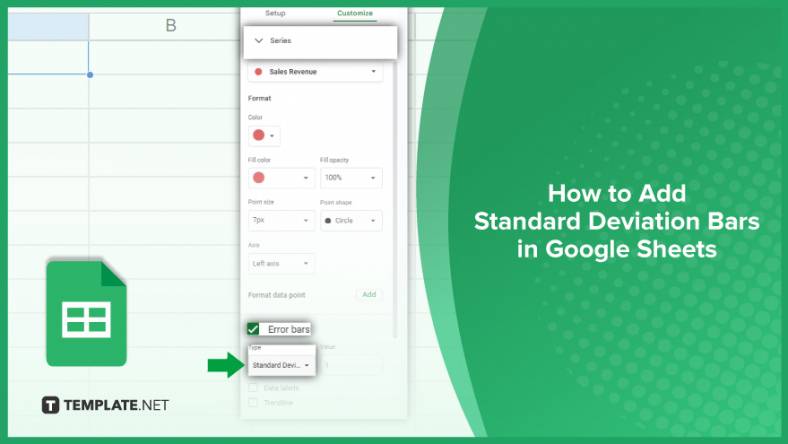
Standard deviation, a key statistical measure for gauging data variability, plays a crucial role in fields like finance, science, and…
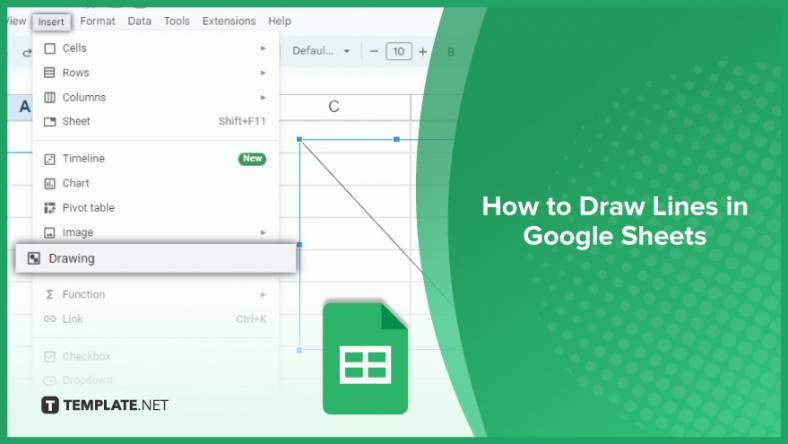
Google Sheets is a versatile spreadsheet application that allows for a variety of formatting options, including the addition of lines. This…

Personal loan trackers are one of the ways people can manage the finances of their property and gain financial power…