![How To Make/Create an Invitation in Google Docs [Templates + Examples]](https://images.template.net/wp-content/uploads/2023/07/How-To-Make_Create-an-Invitation-in-Google-Docs-Templates-Examples-788x443.png)
How To Make/Create an Invitation in Google Docs [Templates + Examples]
To formally invite someone or a group of people to an event or activity, you will need to send out…
Mar 15, 2023
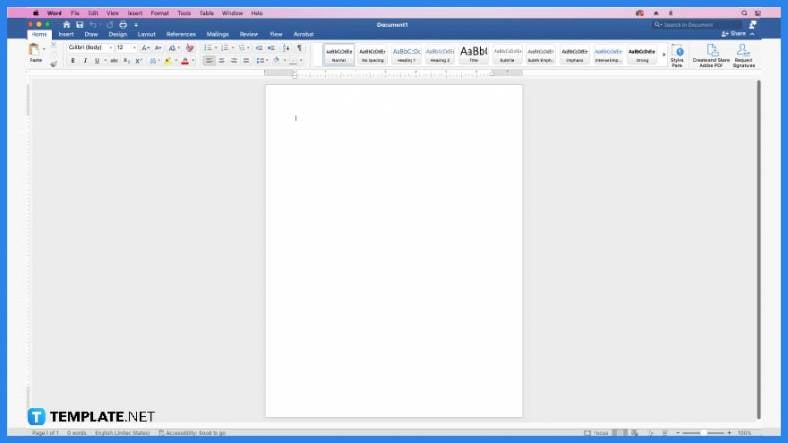 Open Microsoft Word either on Office.com for the free version or the premium version if you have it installed. Whichever of the two MS Word versions you’ll use, you’ll be able to follow the succeeding steps.
 Create a custom letterhead in another Word document that’s blank. Learn some tips for making letterheads to make your custom letterhead as good as possible. Don’t forget to include your company name, business logo, and contact details.
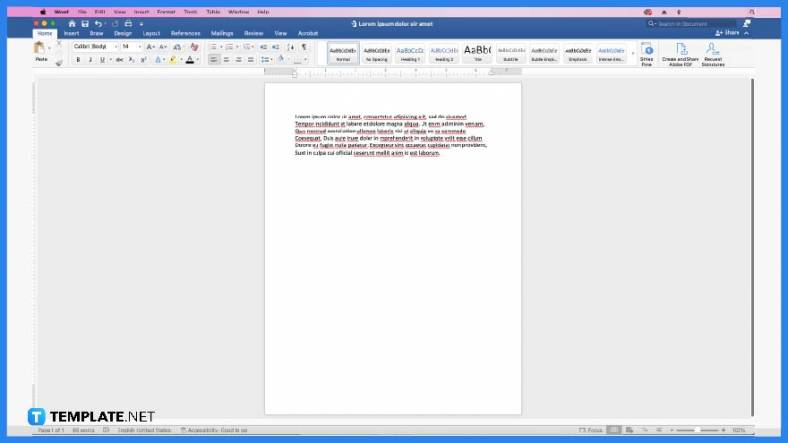 After creating a custom letterhead, open any of your saved MS Word documents. Don’t close the blank document containing your custom letterhead.
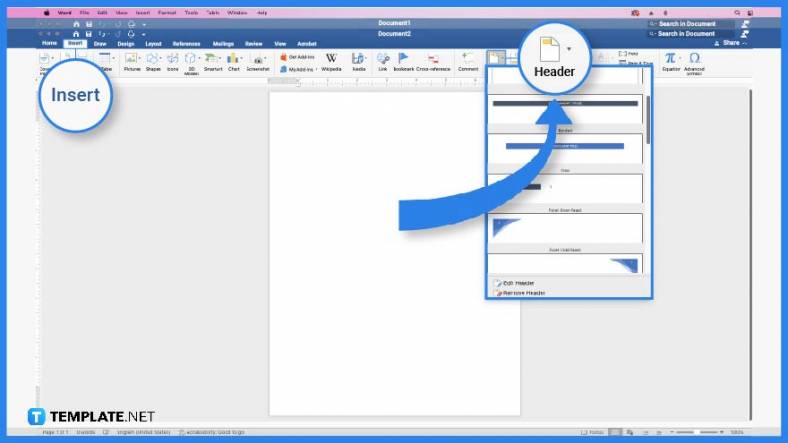
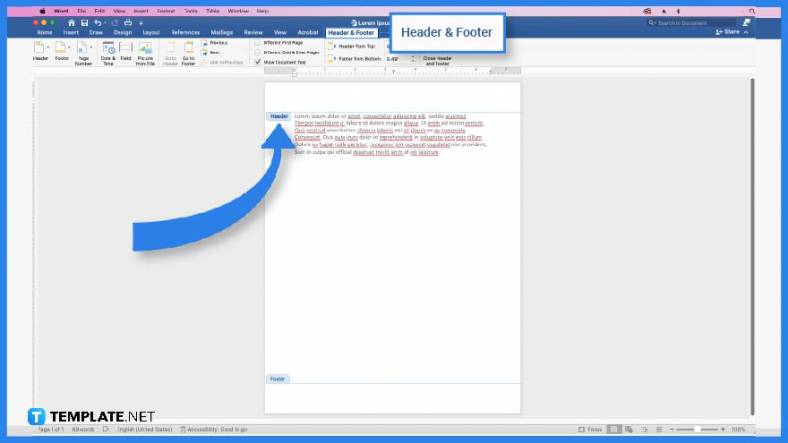 The header is where your letterhead will be inserted. To add a header, click Insert and select “Header & Footer.” After that, the header space will show up above your document’s margin.
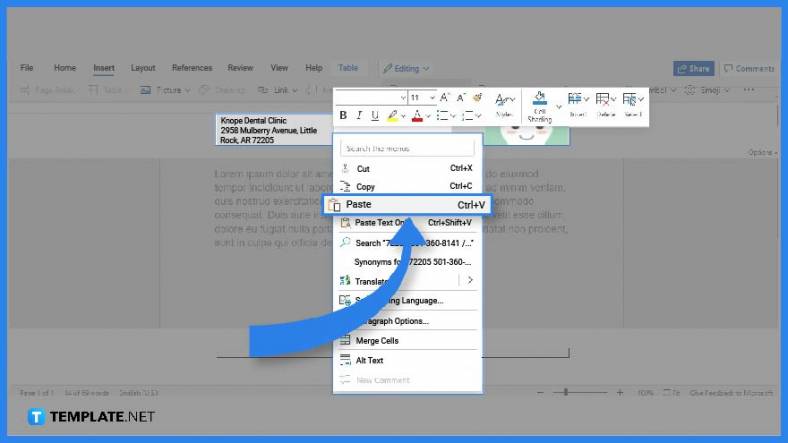 Go back to the blank document that has your custom letterhead. Copy the custom letterhead, head back to your saved document, and then paste the custom letterhead on the header. After that, your document will have a quality letterhead. What’s left to do is make some minor adjustments if necessary.
Yes, you can print documents with letterheads using Word or practically any document creation app. Make sure the letterhead appears in the Print Preview panel. If it does, then it’ll be printed along with the other contents of the document.
The ideal size of a company letterhead is 210 mm x 297 mm.
Some of the best font styles for letterheads are Classic Roman, Century Gothic, Helvetica, Bulldog, Enchanted, Hick Sticks, Sadey Pants, and Angel.
![How To Make/Create an Invitation in Google Docs [Templates + Examples]](https://images.template.net/wp-content/uploads/2023/07/How-To-Make_Create-an-Invitation-in-Google-Docs-Templates-Examples-788x443.png)
To formally invite someone or a group of people to an event or activity, you will need to send out…
![How To Create an ID Card in Google Docs [Template + Example]](https://images.template.net/wp-content/uploads/2023/07/How-To-Create-an-ID-Card-in-Google-Docs-Template-Example-788x443.png)
ID cards are used as a way to represent an individual to the company or organization they work or volunteer…
![How to Make an ID Card in Microsoft Word [Template + Example]](https://images.template.net/wp-content/uploads/2023/07/How-to-Make-an-ID-Card-in-Microsoft-Word-Template-Example-788x443.png)
ID cards are an essential part of any employee working for a company or an organization to be recognized as…
![How To Make/Create a Book Cover in Google Docs [Templates + Examples]](https://images.template.net/wp-content/uploads/2023/07/How-To-Create-a-Book-Cover-in-Google-Docs-788x443.png)
Aside from protecting a book, book covers are specifically designed to attract readers and convey the essence of the book.…
![How To Make/Create a Book Cover in Microsoft Word [Templates + Examples]](https://images.template.net/wp-content/uploads/2023/07/How-To-Create-a-Book-Cover-in-Microsoft-Word-788x443.png)
A book cover is the outer layer of a book that is used to protect its contents. Book covers are…

Job vacancy is a common scenario in companies and organizations. Employees leave for all kinds of reasons and when they…

Save the date sizes are usually the same size as a formal invitation. But there are a number of different…
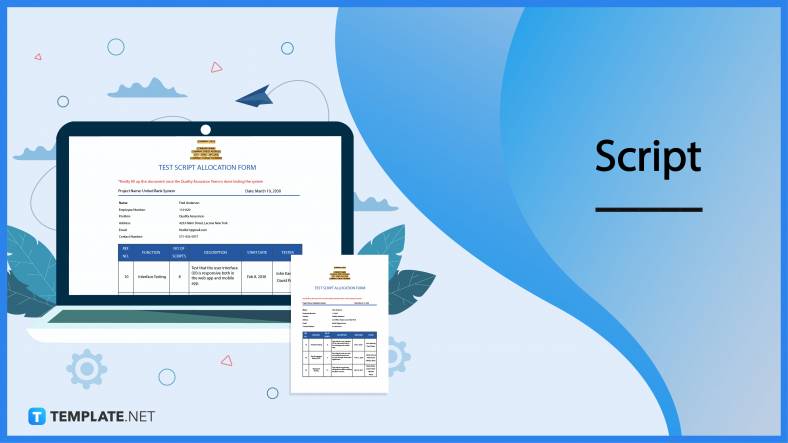
Script is a popular word that is frequently used in the entertainment world. There are a variety of areas and usages…

Presentations may not look as pleasant as how you design them with pictures, animations, videos, and other graphic designs without…