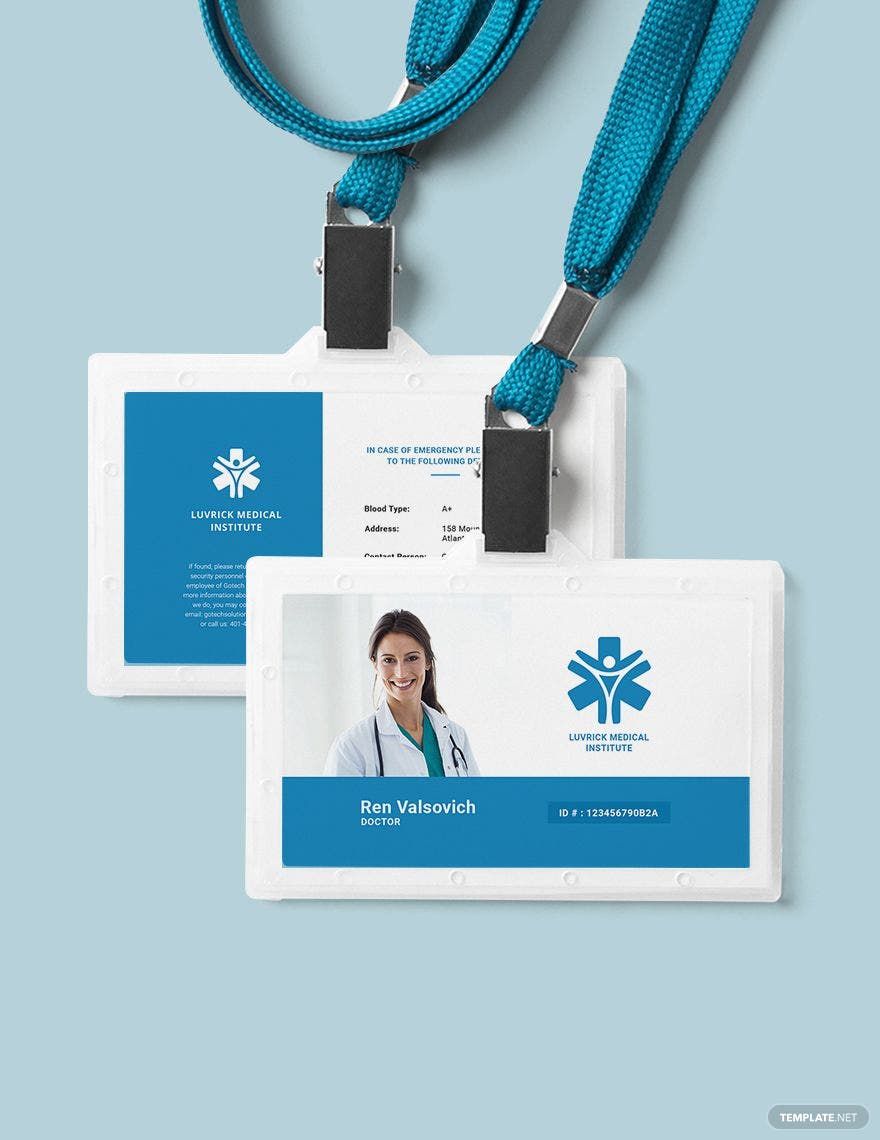
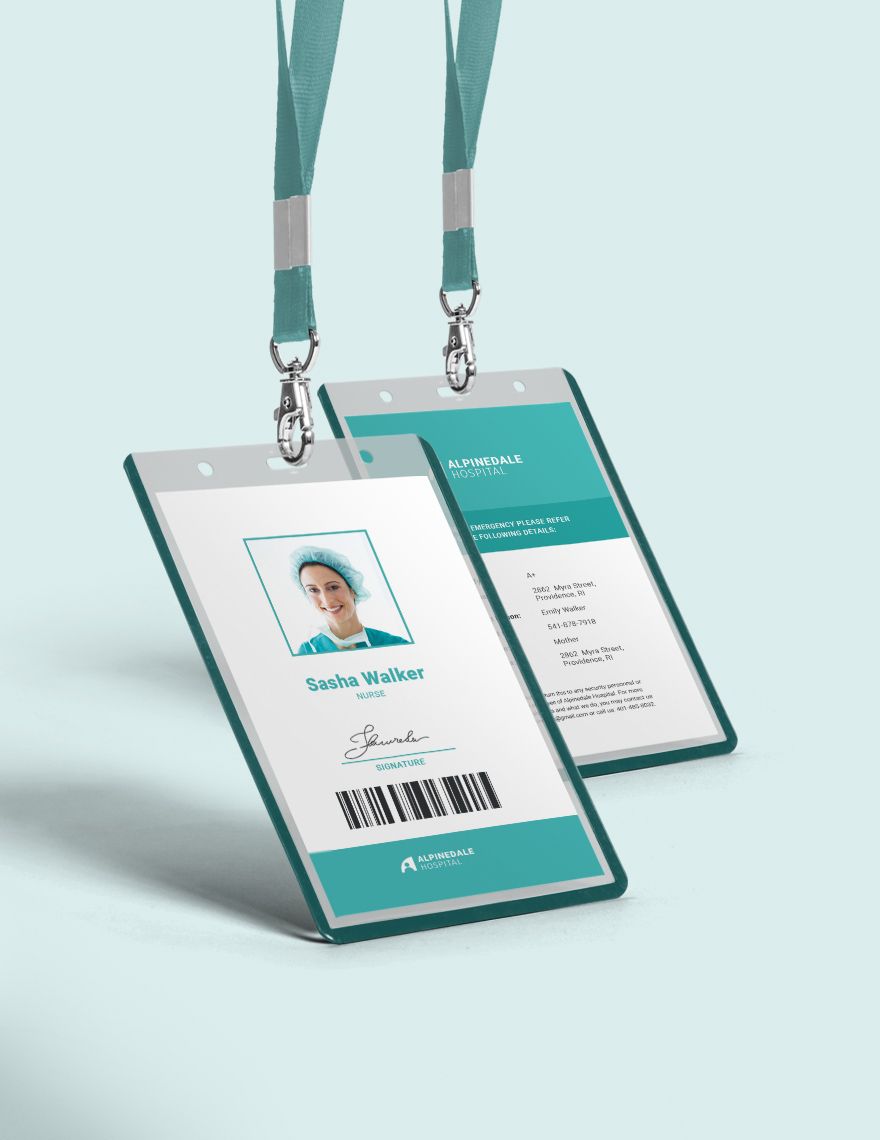
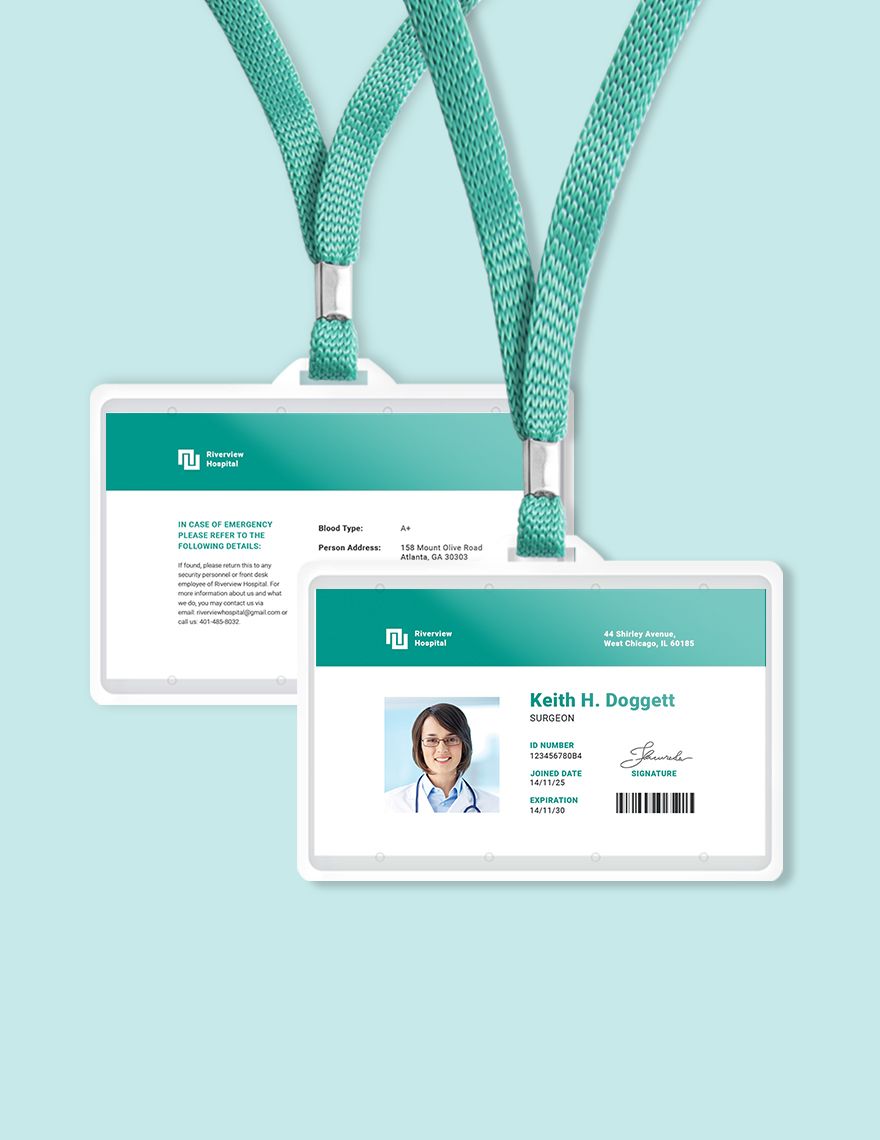
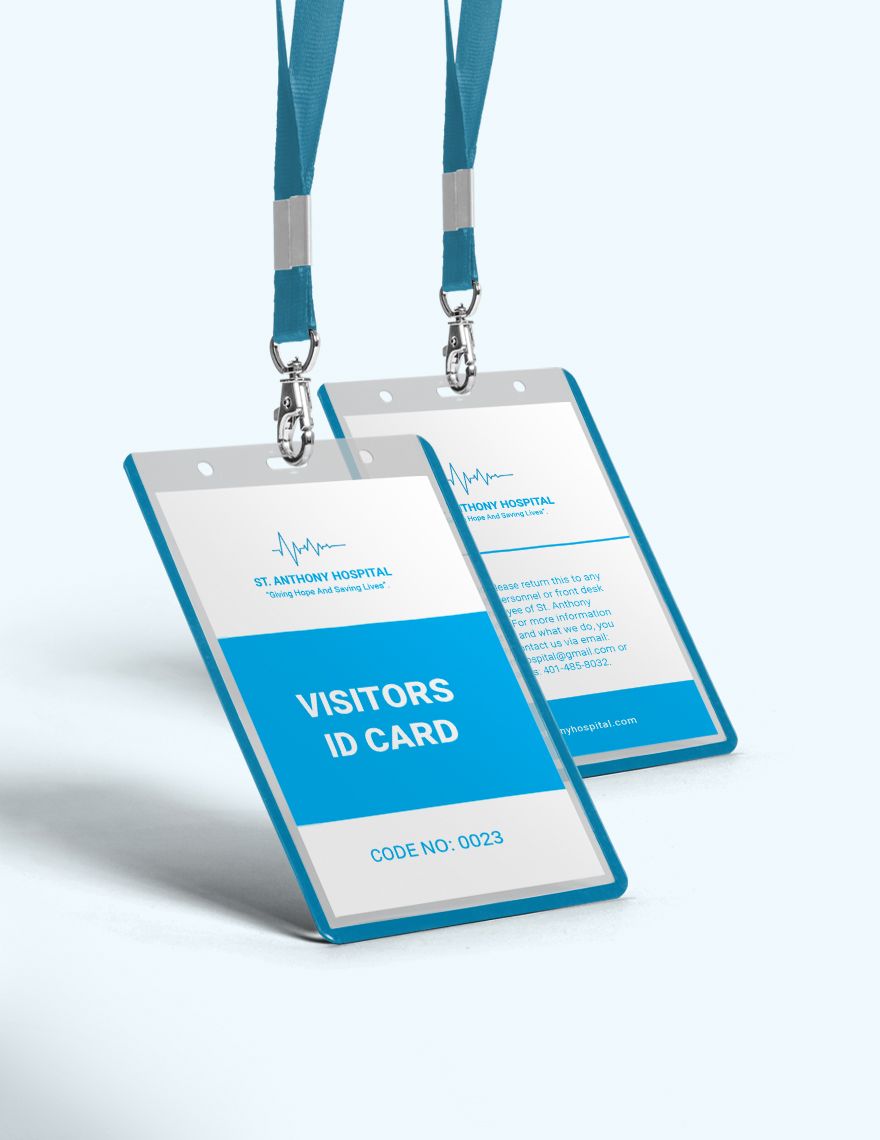
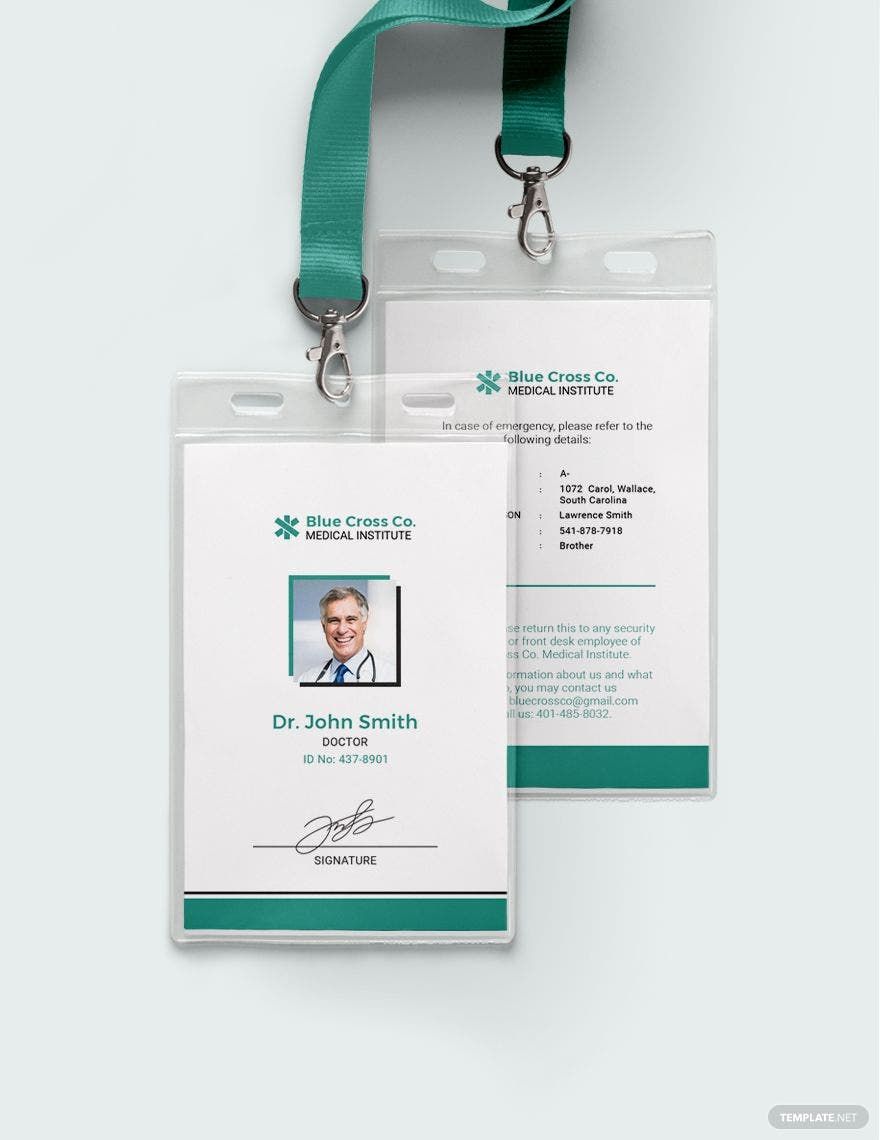
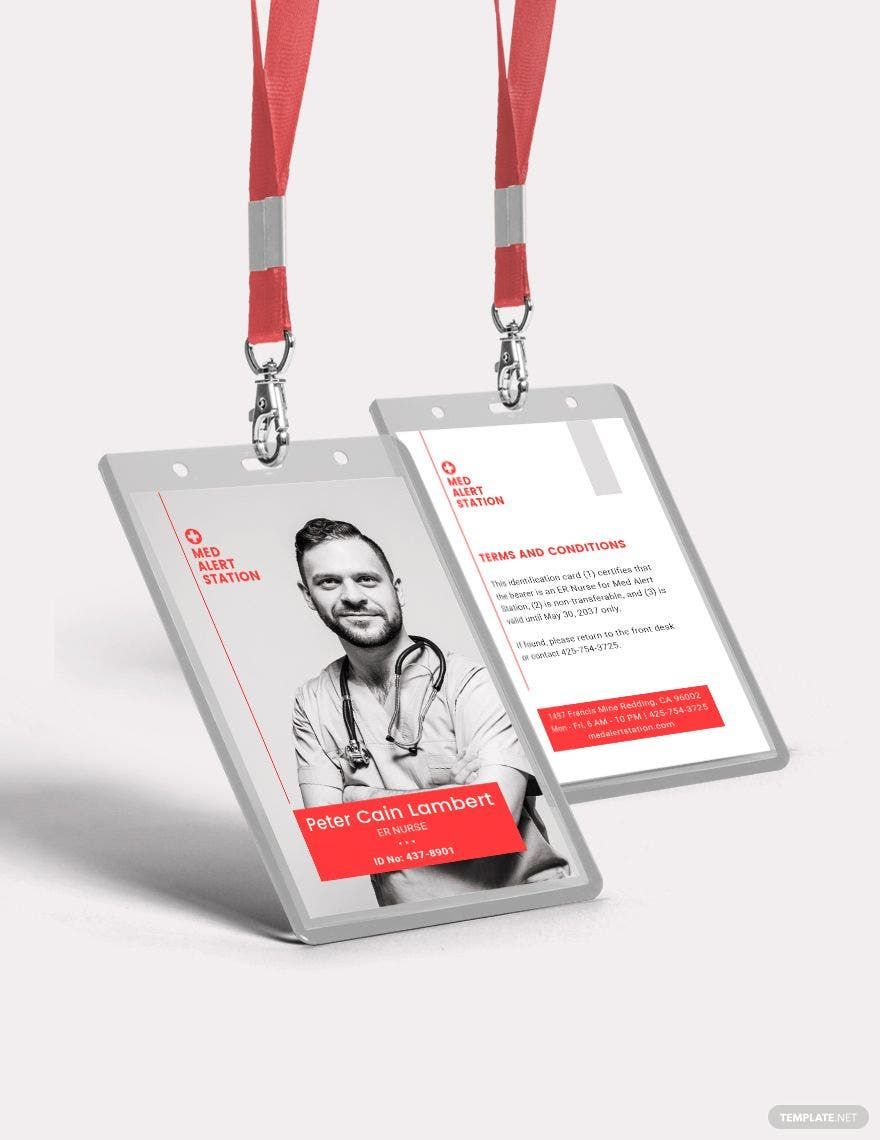
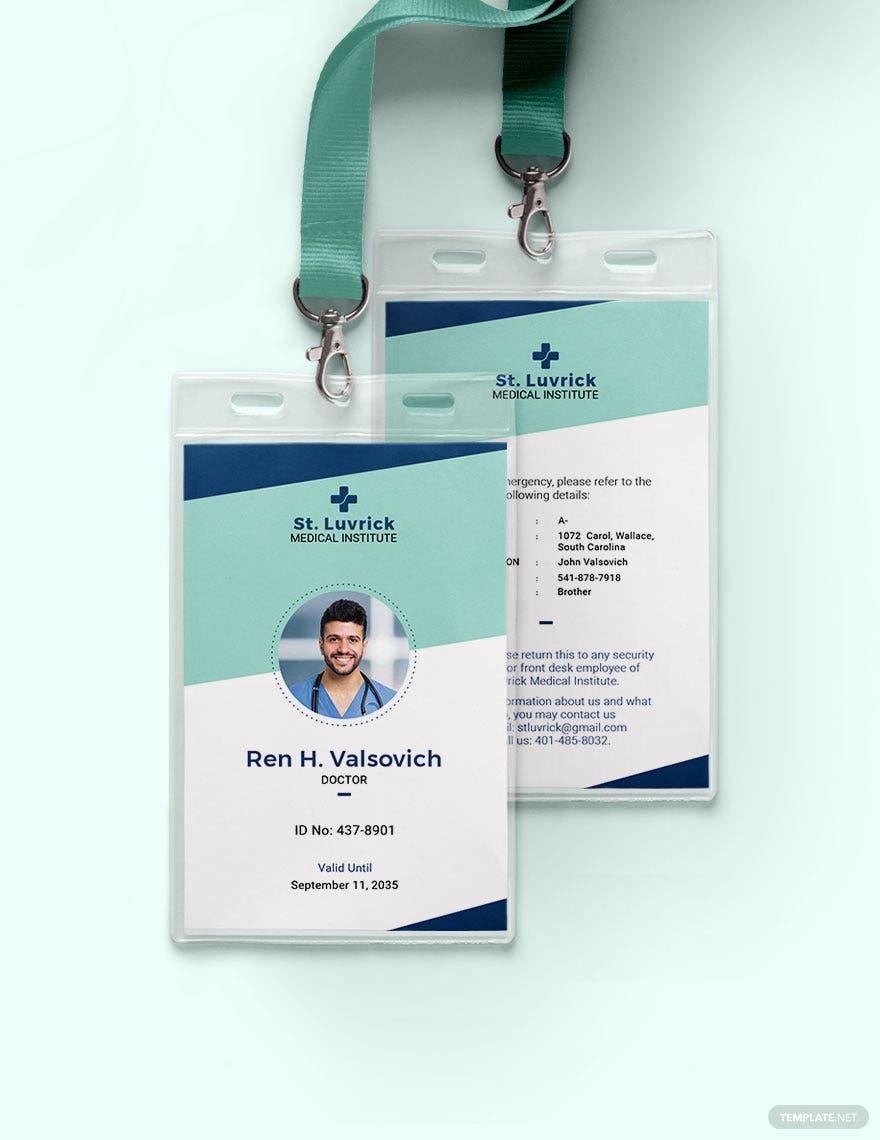
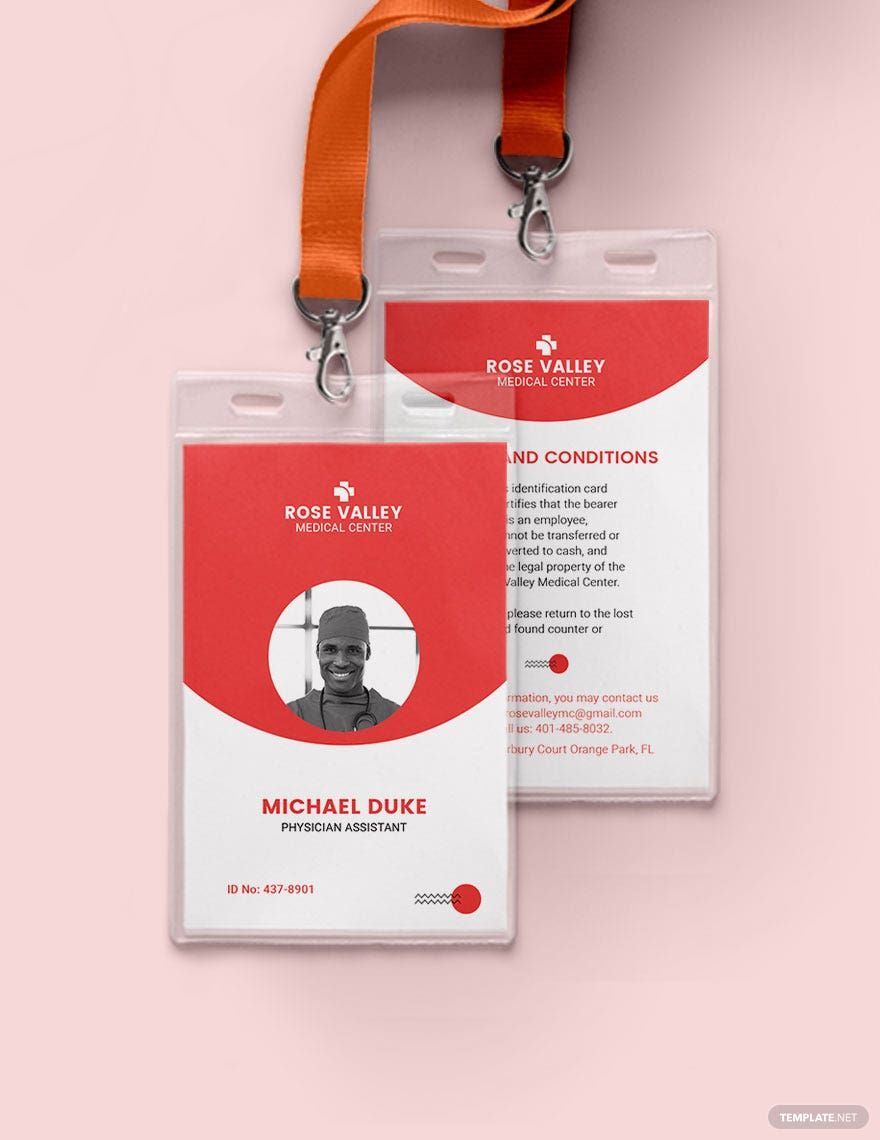
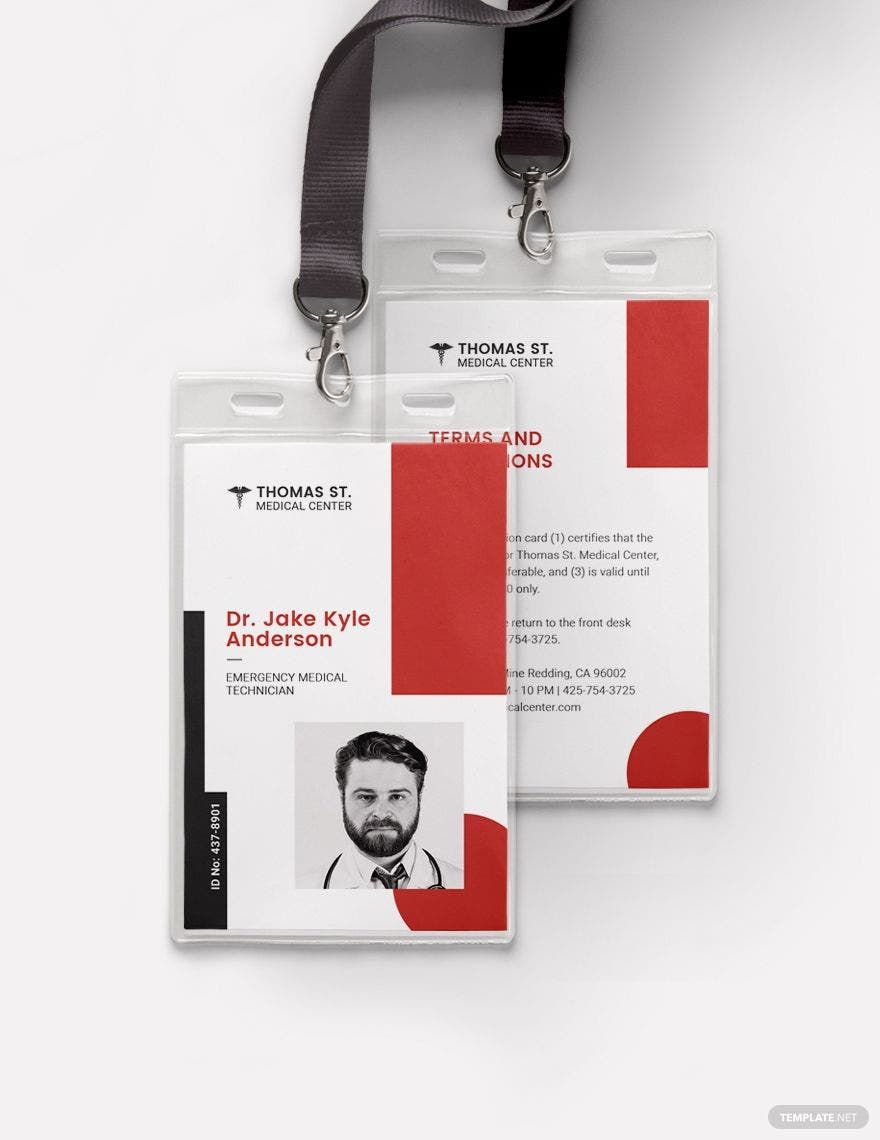
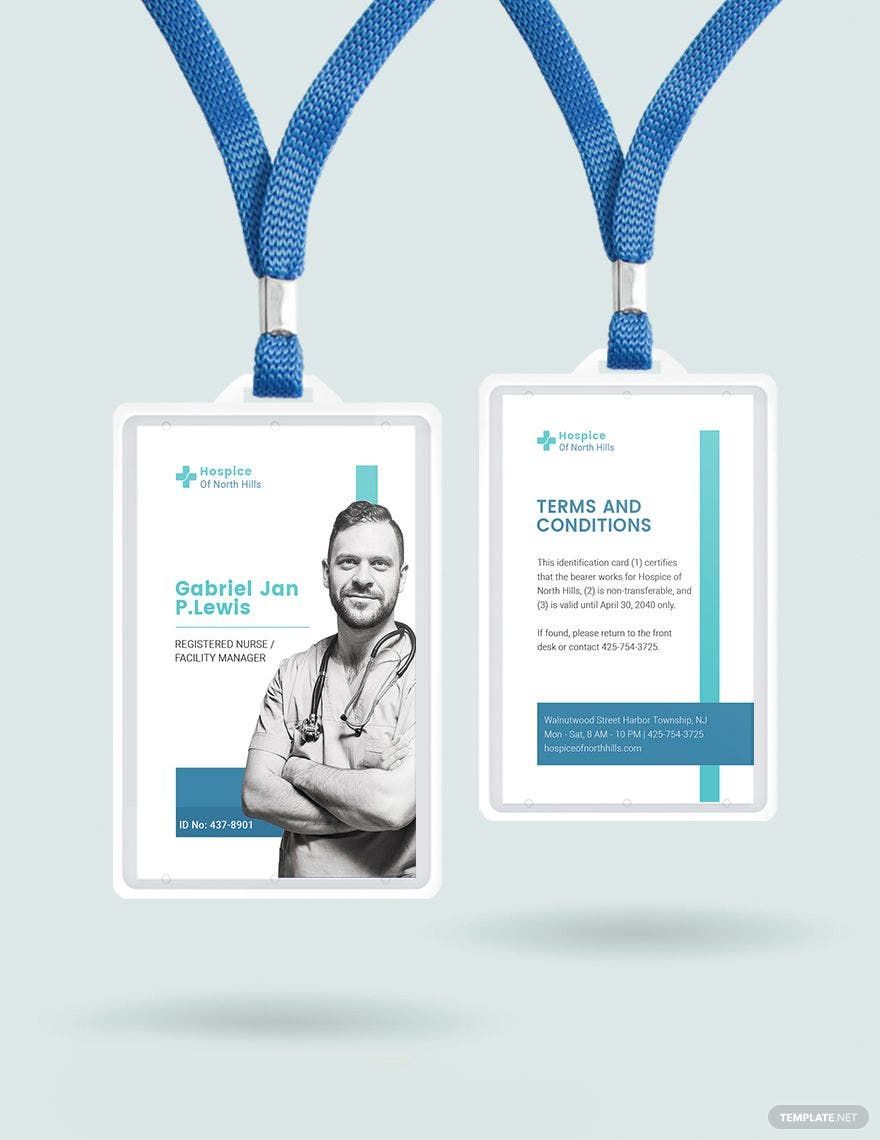
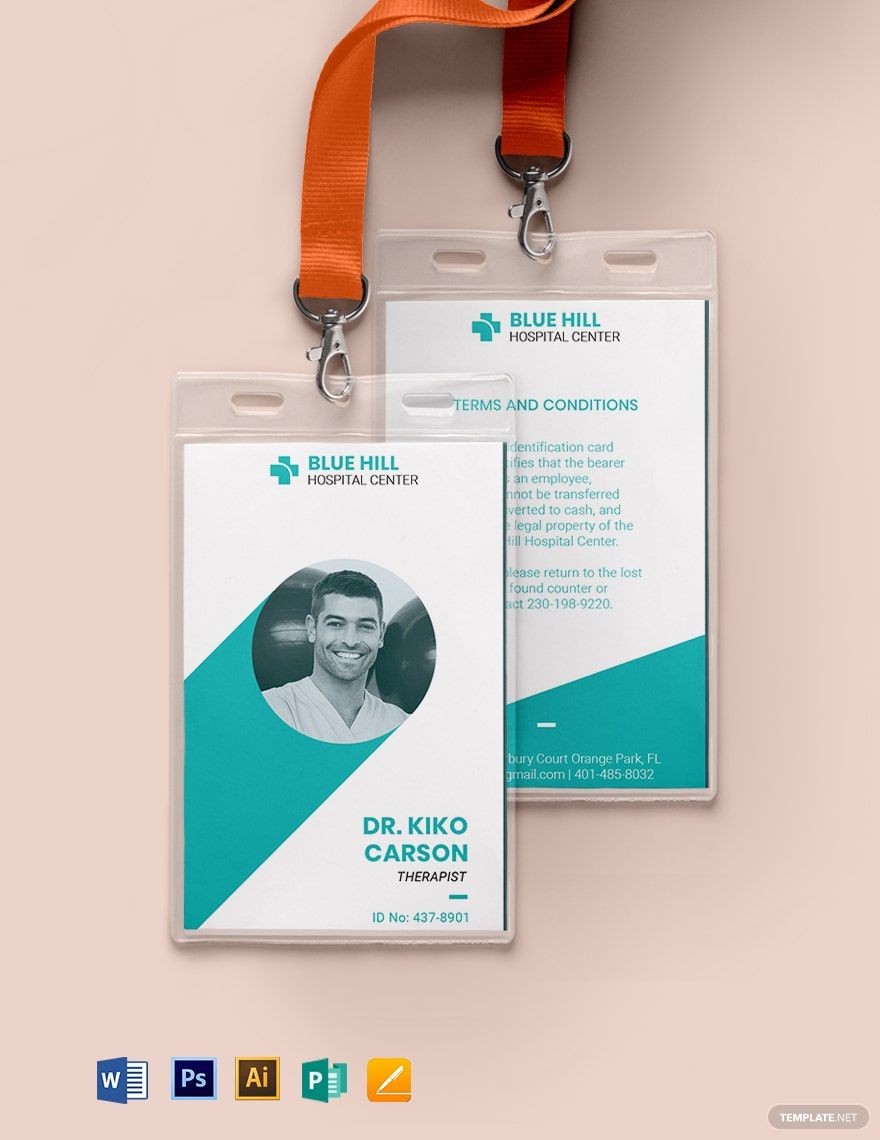
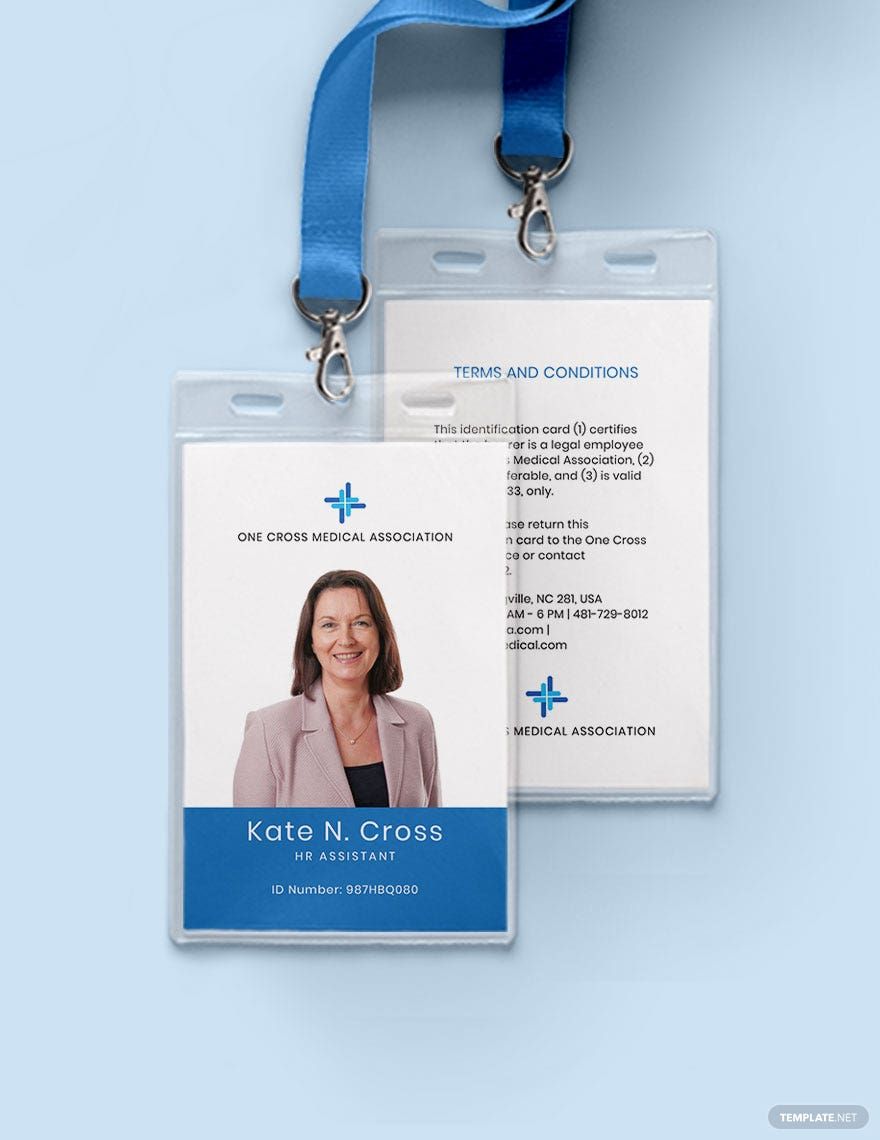
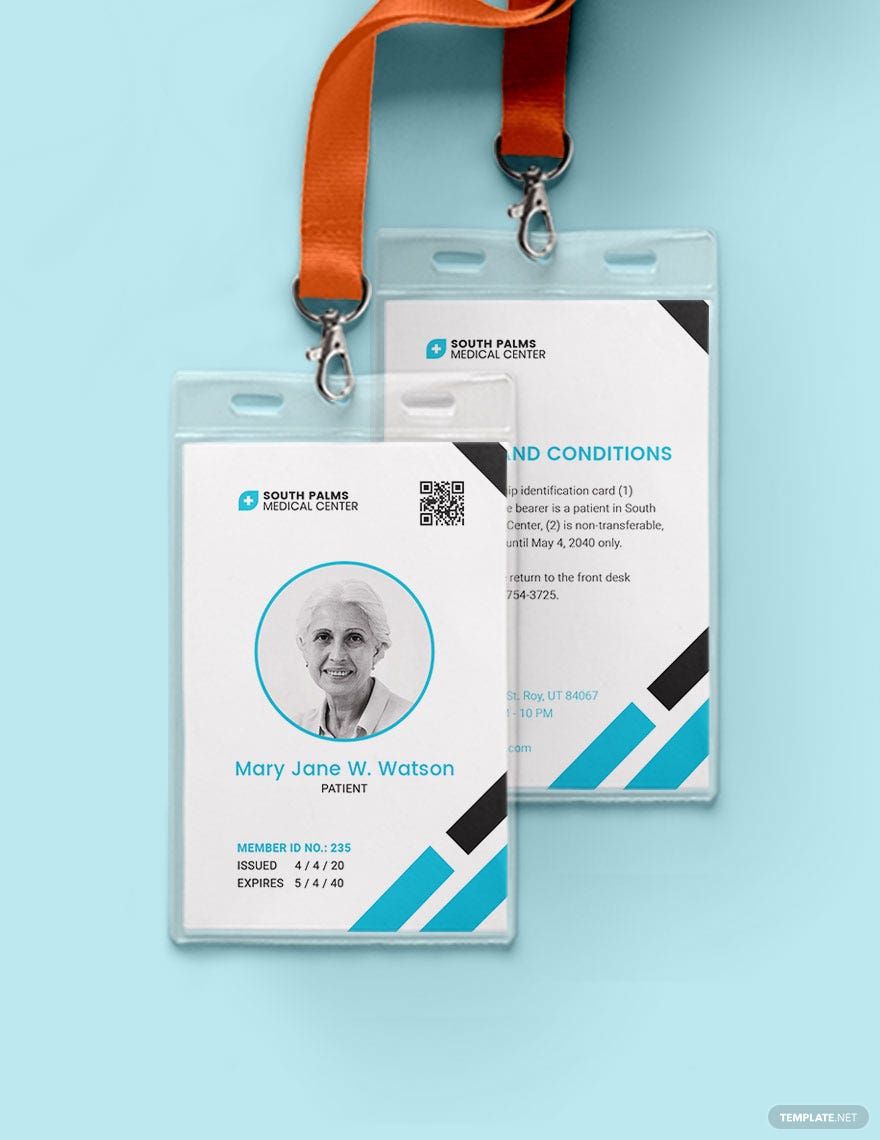
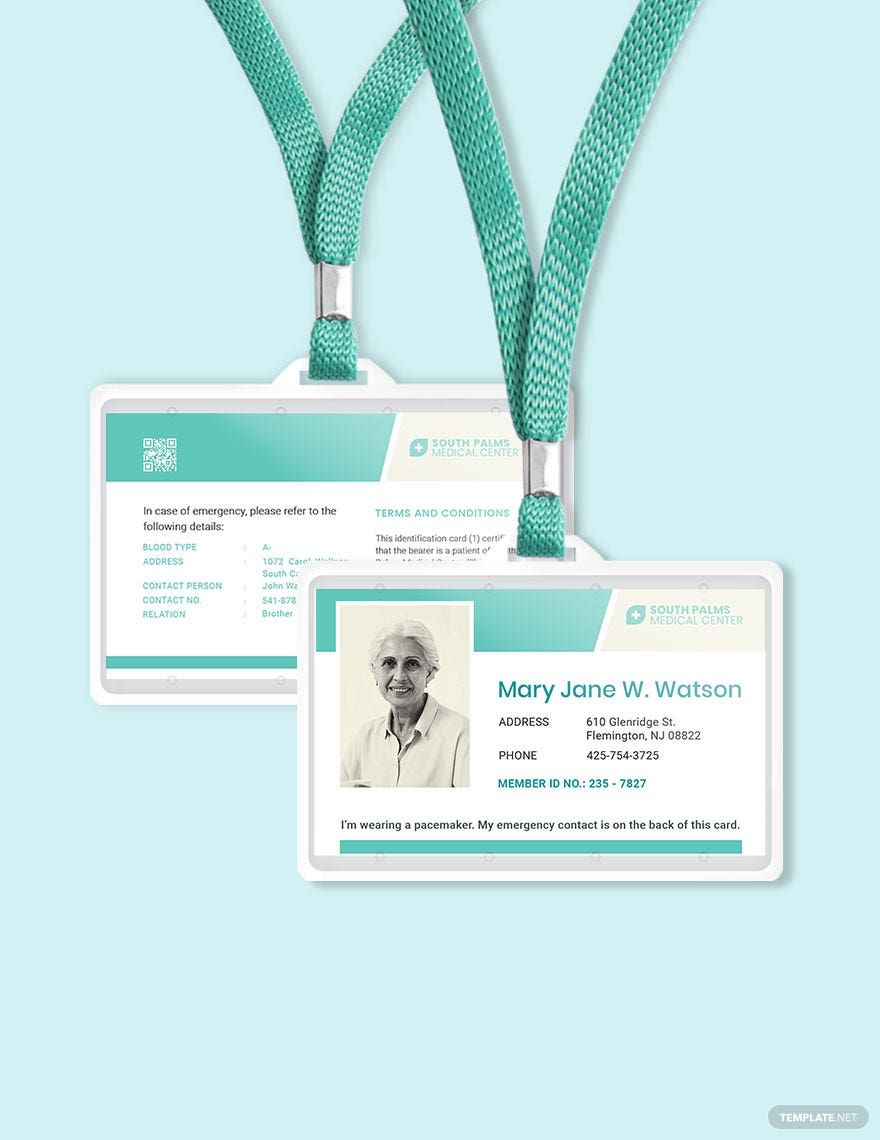
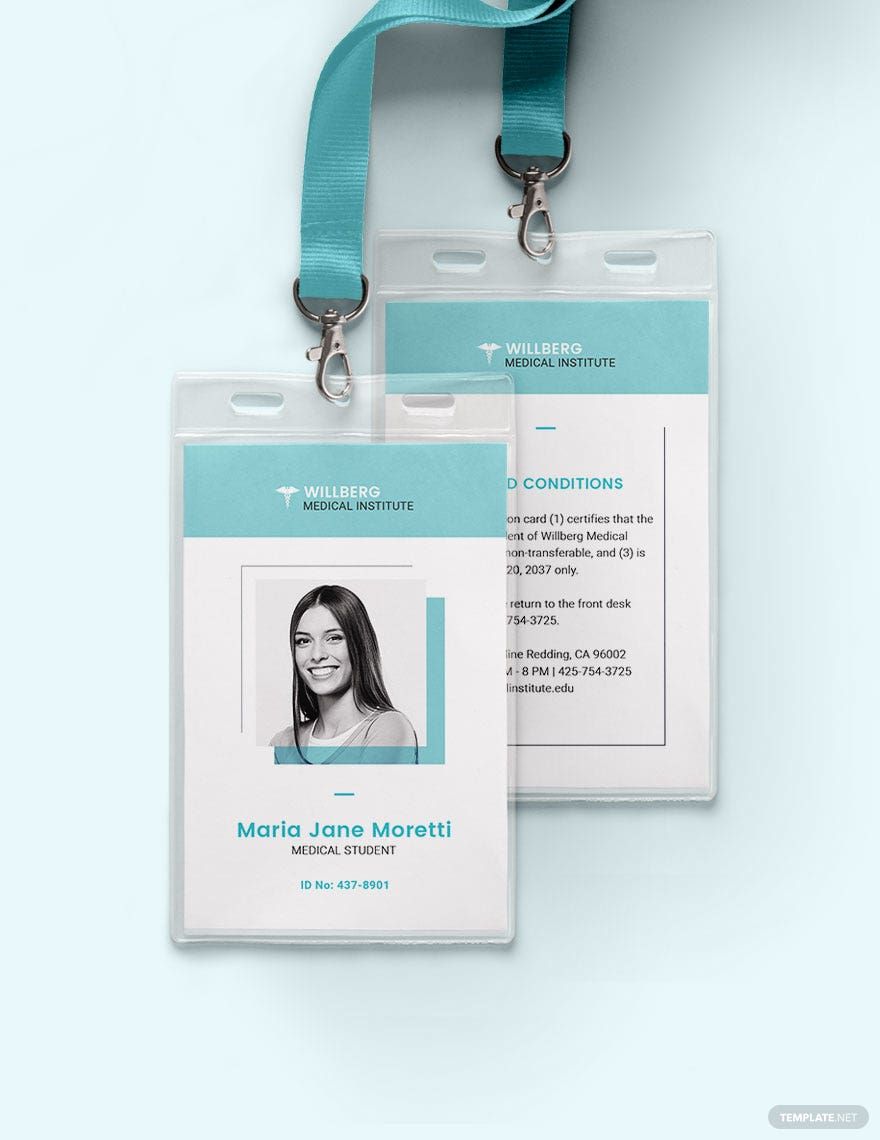
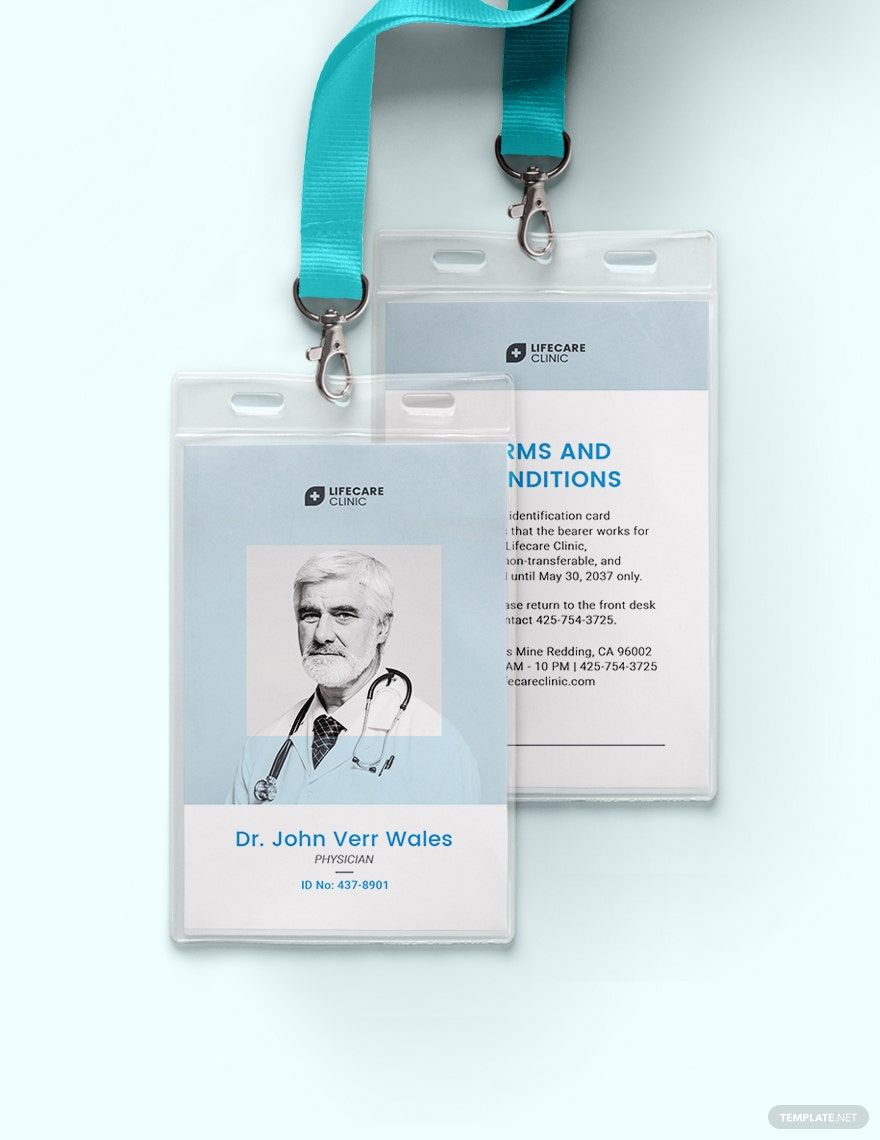
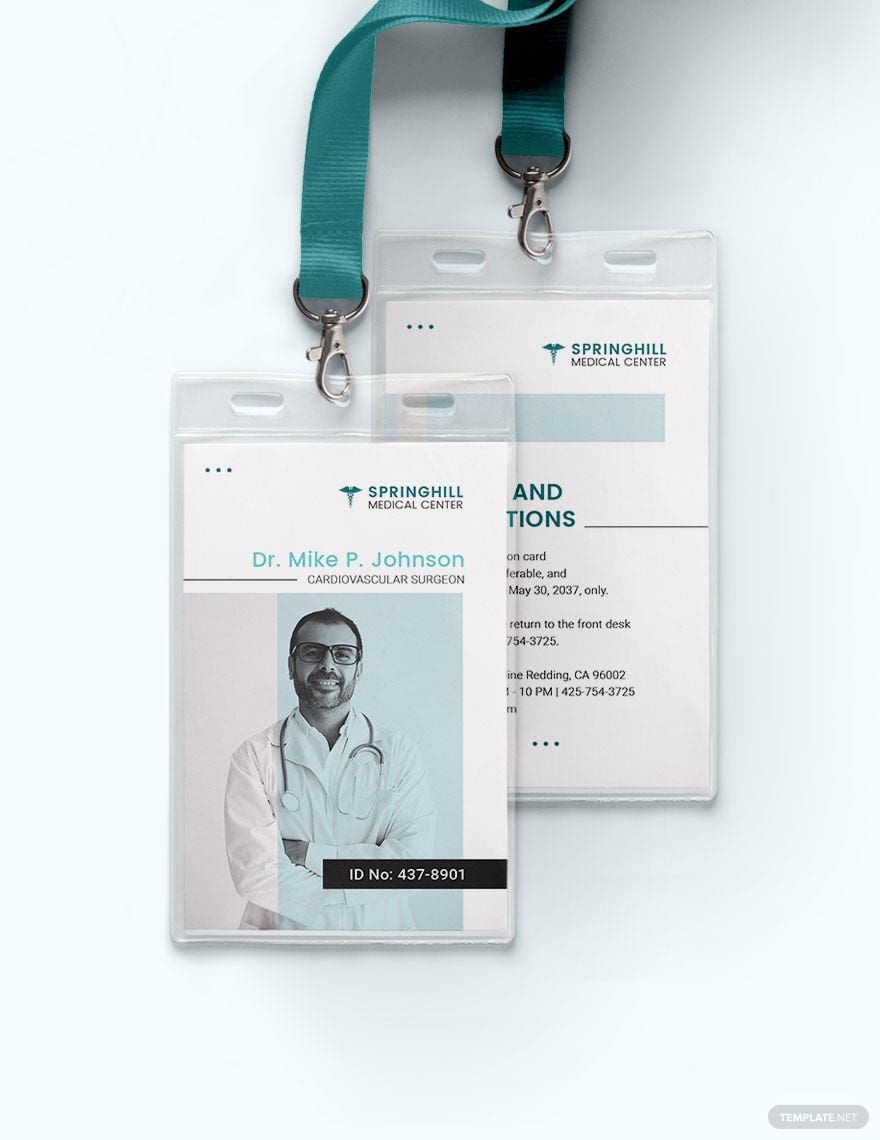
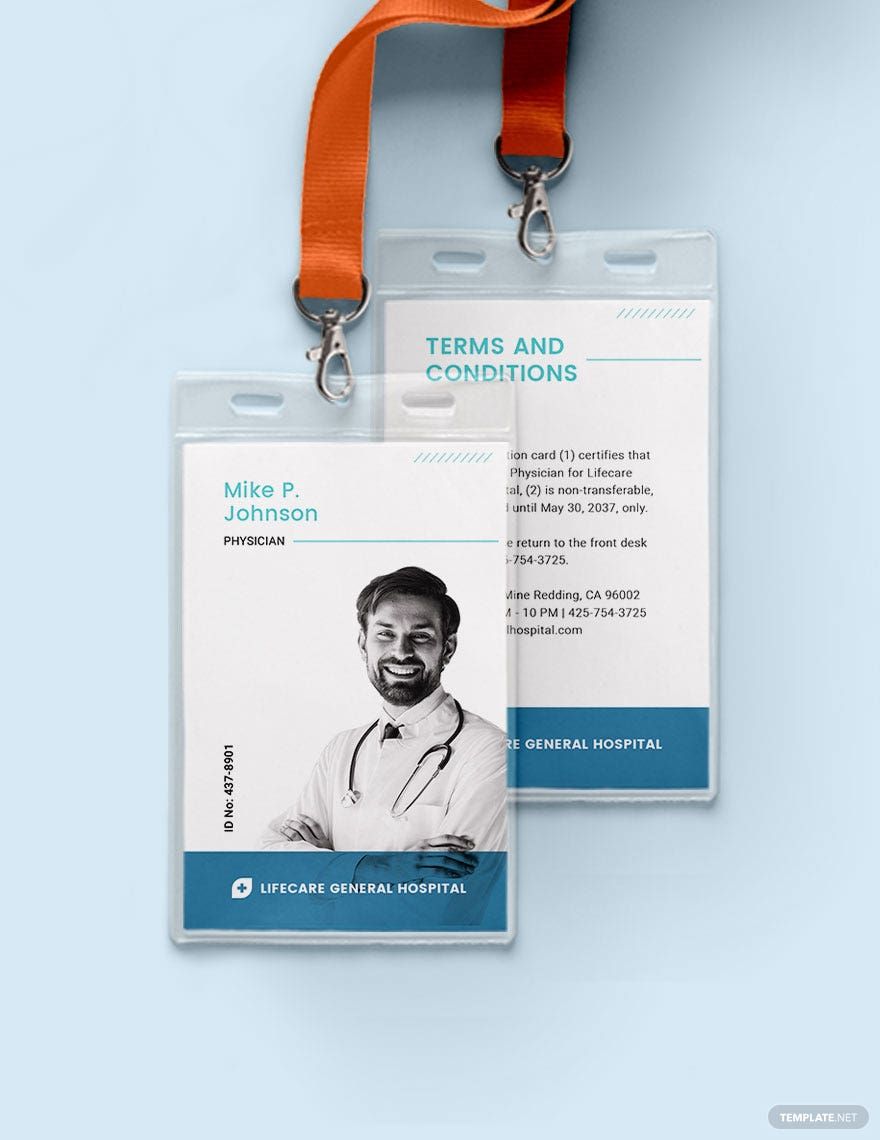
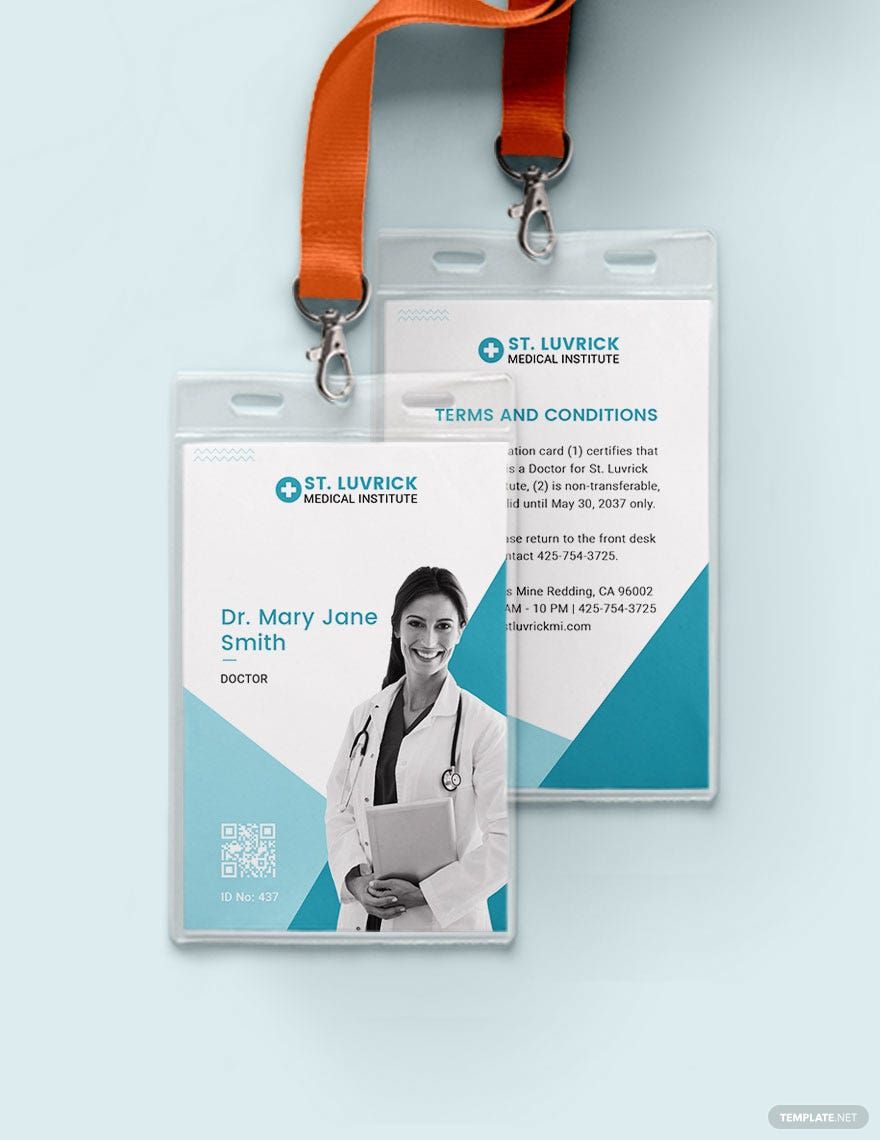
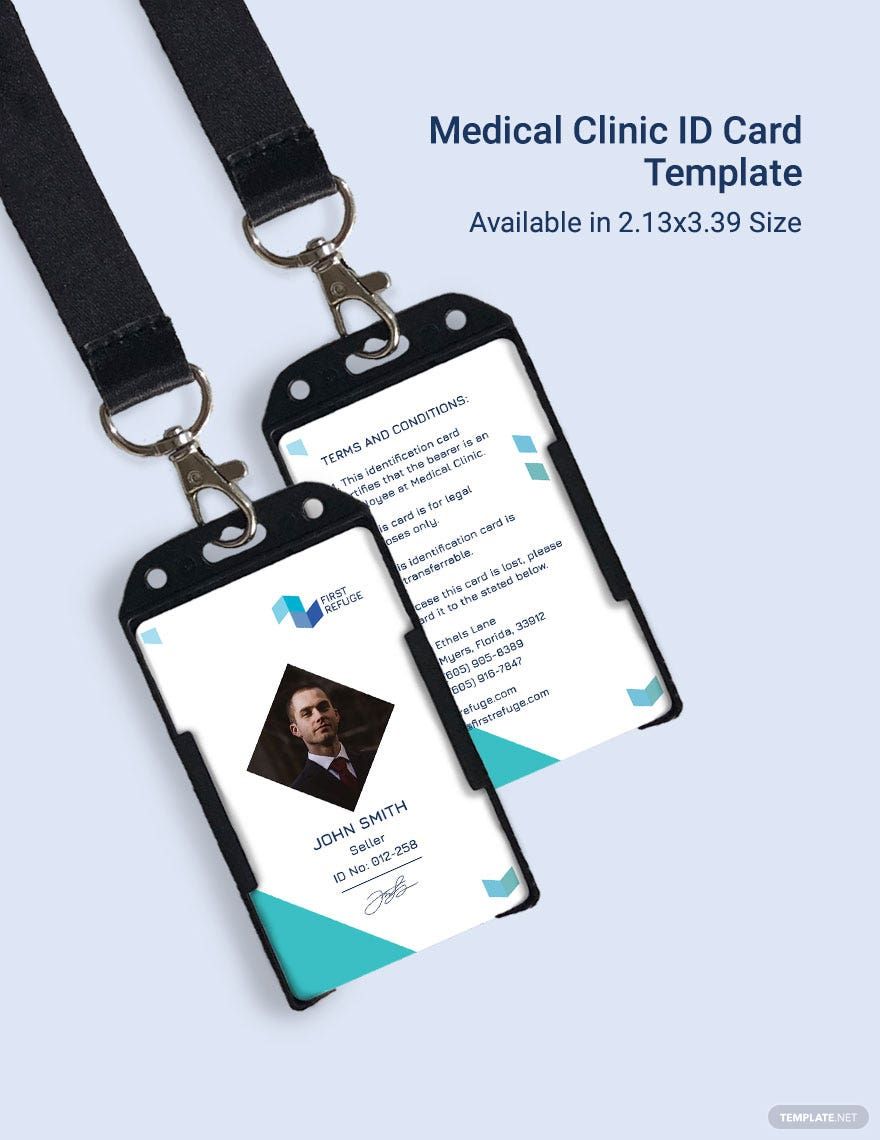
Download one of our Ready-made Medical Templates that can be used in all versions of Microsoft Publisher. These files are perfect for helping you create a personalized identification card for all the employees and staff working at your hospital or medical facility. We have all kinds of creative and effective templates for you to use. The templates are printable, easy to use, and professionally-designed for the user’s convenience. They come with an attractive color scheme and professionally designed contents that you can customize according to your preference with little to no hassle. Get one of our Ready-Made Medical Templates in Publisher today!
What Is a Medical ID Card?
A Medical Identification Card or Medical ID Card is a small emblem or tag worn on a bracelet, neck chain, or on a clothing that bears a message that the individual wearing it has an important medical condition that might require immediate attention. This is to alert any paramedic, physician, emergency department personnel, or other first responders of the condition even if the individual wearing it is too injured, too old, or not conscious enough. A medical ID card can also be in the form of a regular plastic card.
How to Make a Medical ID Card?
An ID or identification card is essential in the medical industry because they act as evidence to the identity and affiliation of a healthcare professional. Having an ID Card can assert the status of the nurses and doctors and introduce themselves to their patients and colleagues is essential. Just follow the steps below to find out how to make a medical ID card of your own.
1. Making a Rough Draft of the Identification Card
Several medical ID cards look identical to each other. The distinguishing characteristic for most of these cards is the color and logo used. So before you can start making your own, consider how the emergency staff and paramedics will be able to find out which hospital or doctor you should be taken to. Let’s begin by creating a rough draft of your ID card. When making your ID card, identify whether you want it in portrait or landscape format, what color palette you may want to use (usually they go with the color of your hospital logo), and the layout of your card.
2. Adding the Information on the Card
The most important component of the medical ID card is the information. The information you put in has to be accurate and relevant. Include details like the name of the bearer (along with a picture), their age, birthday, contact information, blood type, height and weight, and their condition. Along with the personal information of the carrier, also include their doctor’s name, their assigned department, an emergency phone number card, and the hospital name.
3. Include Security Features
Adding a security feature prevents unauthorized figures accessing the facilities, medicine, and reaching other patients. You can include security features such as bar codes, QR codes, RFID, or use magnetic strips. You can consult with your security departments for other features that can be included for your medical ID card.
4. Using Publisher
Now that we have the major steps covered, we can begin using Microsoft Publisher. It’s another product of Microsoft and it’s fairly easy to use. You can ask a friend who’s had experience using this program for help or you can turn to YouTube tutorials. However, if you decide to just get a template instead of creating your own then you can select any of our ready-made templates.
5. Printing Your Medical ID Card
The final step in creating a medical ID card is printing it. If you decide to use a soft card, use a high-quality paper and have the ID laminated. Otherwise you can have it printed on blank plastic cards.


