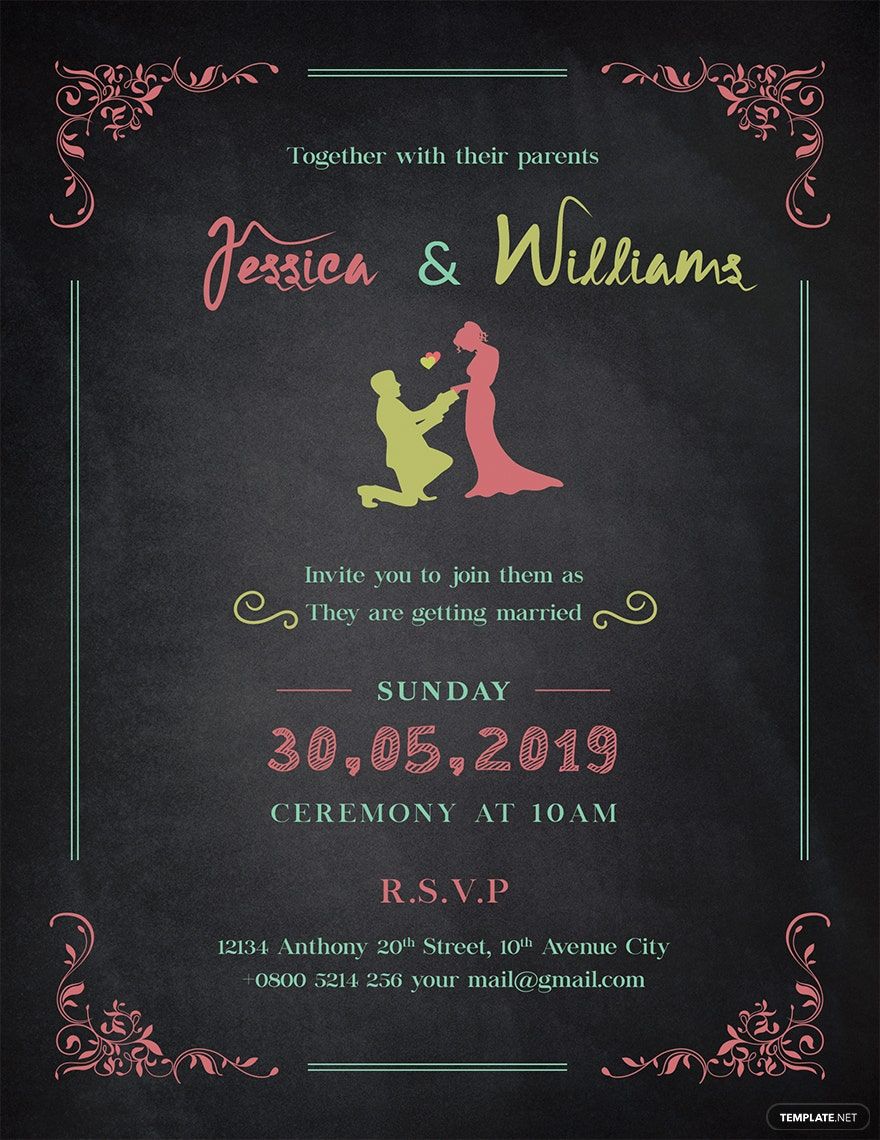
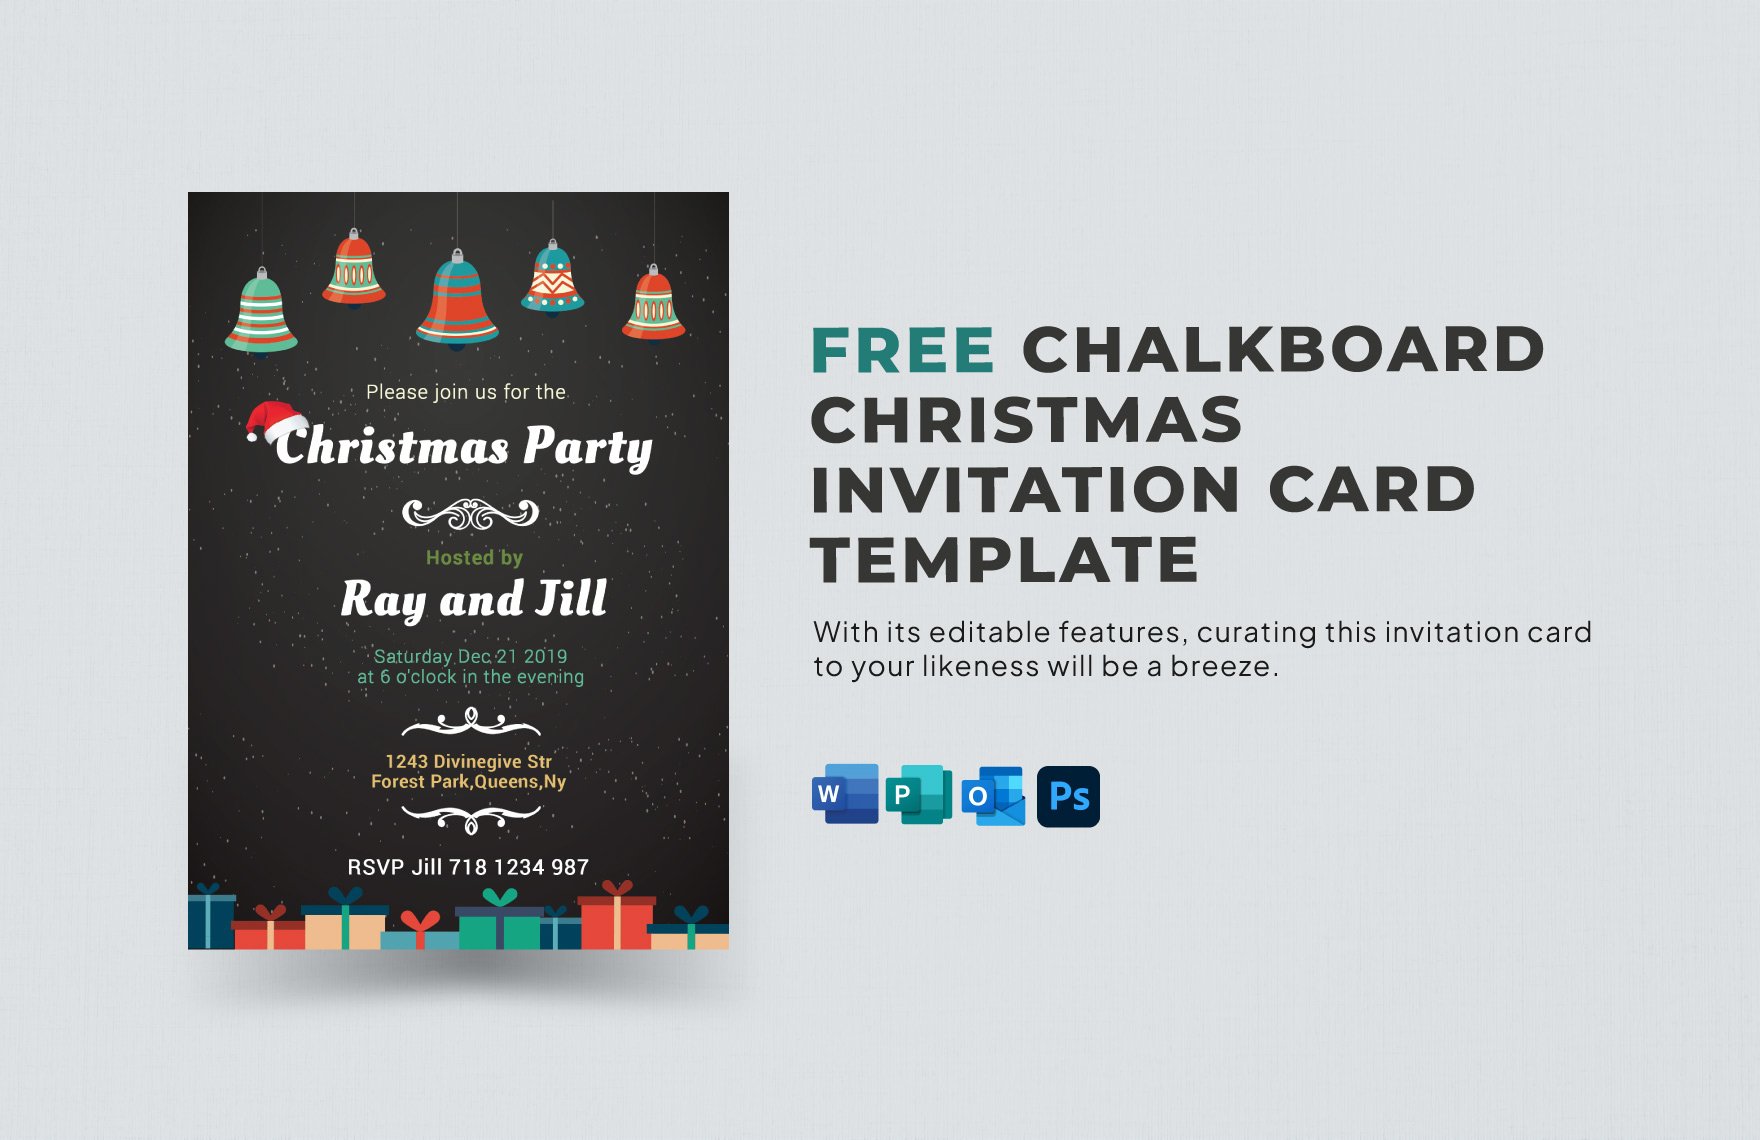
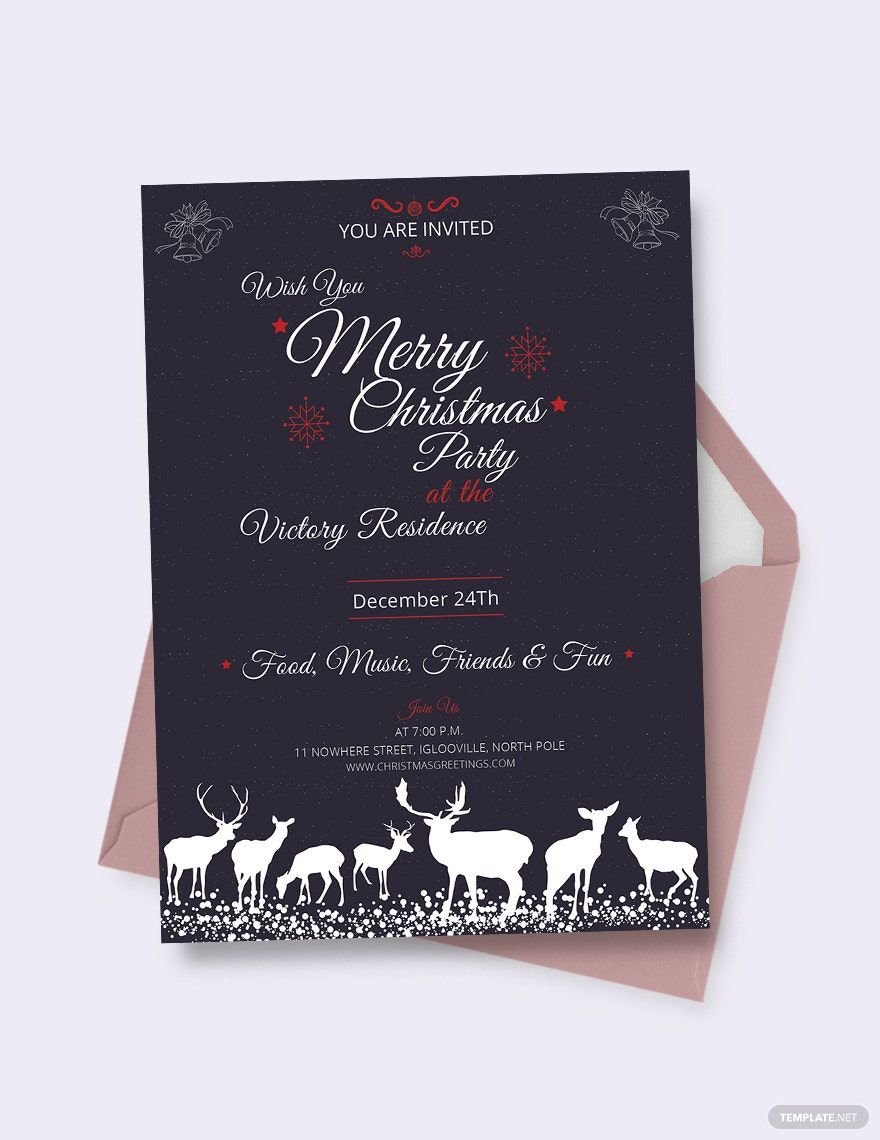
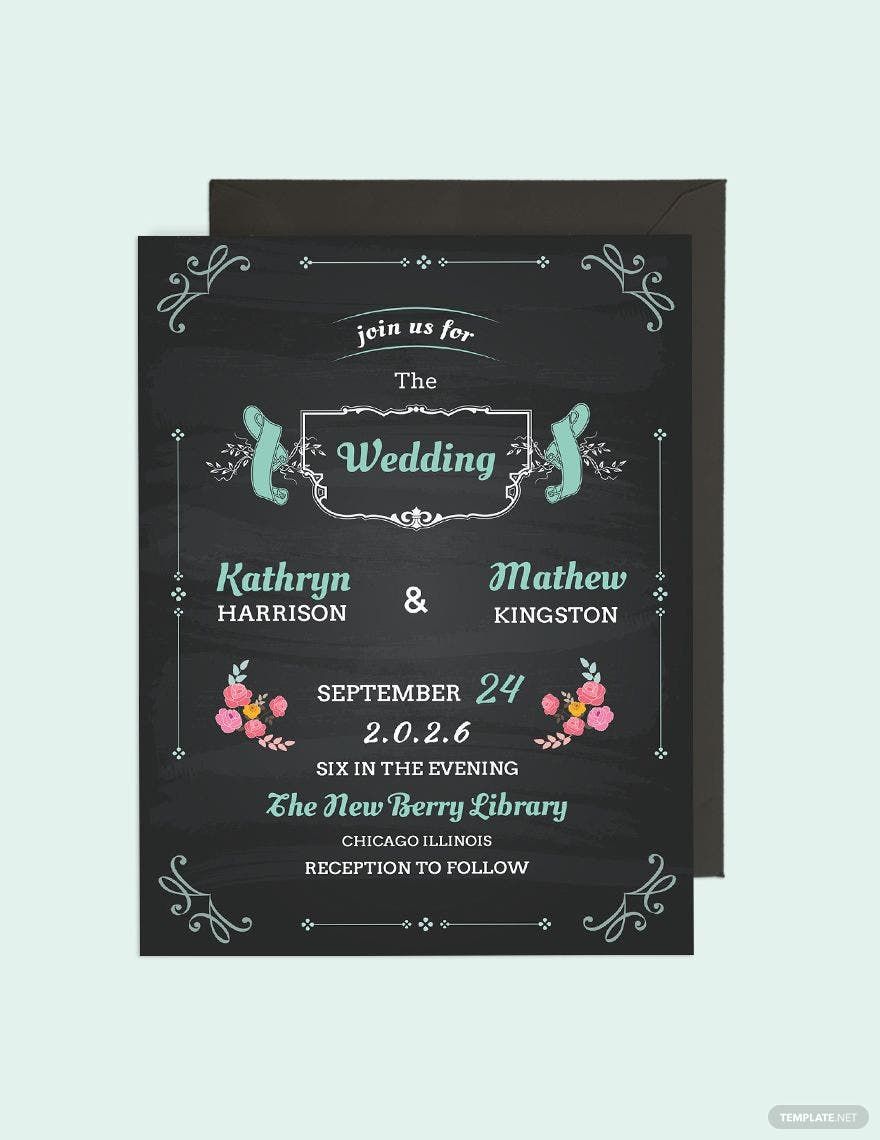
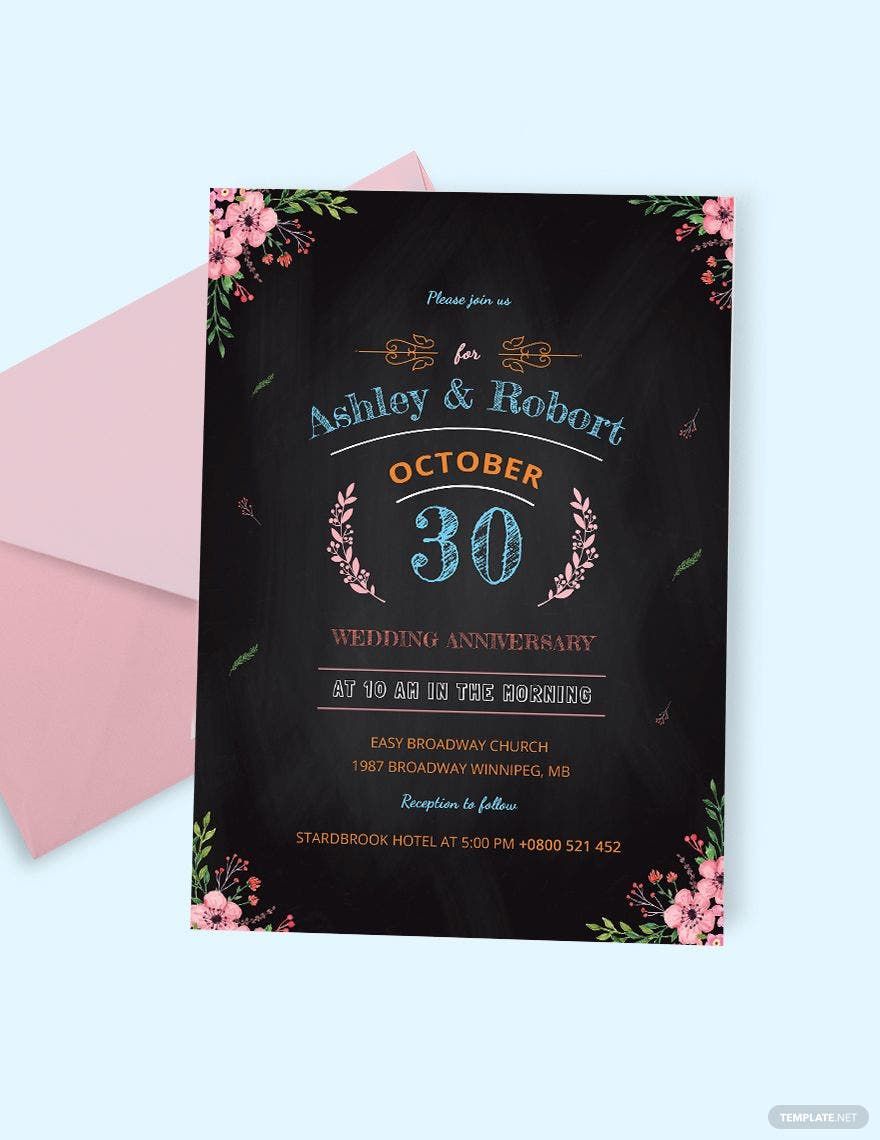
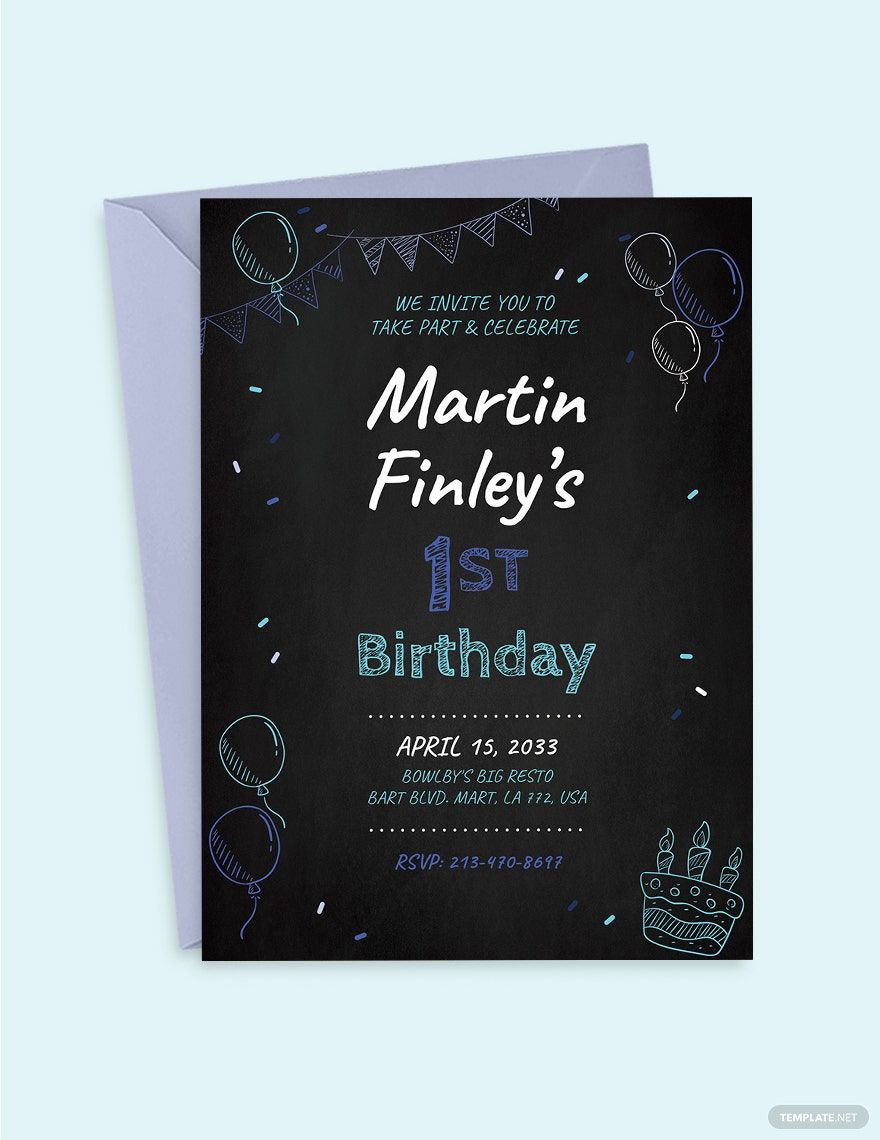
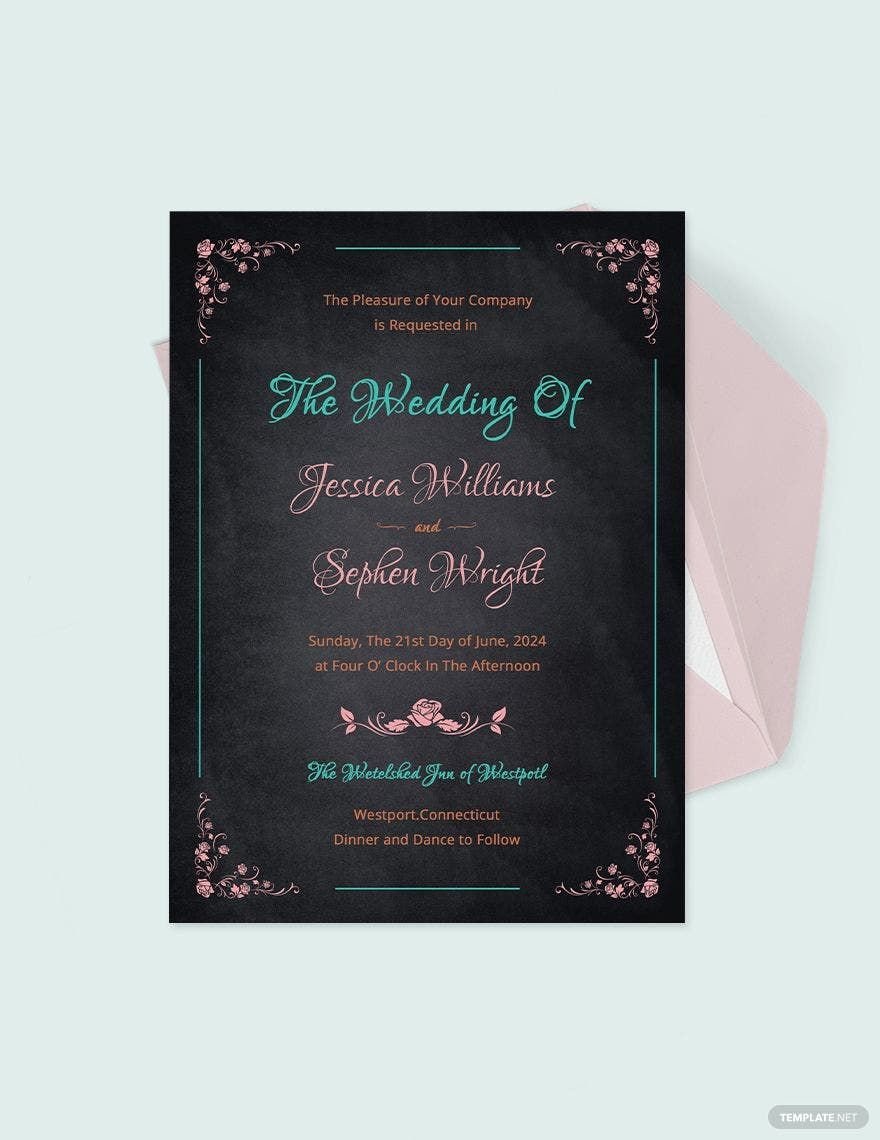
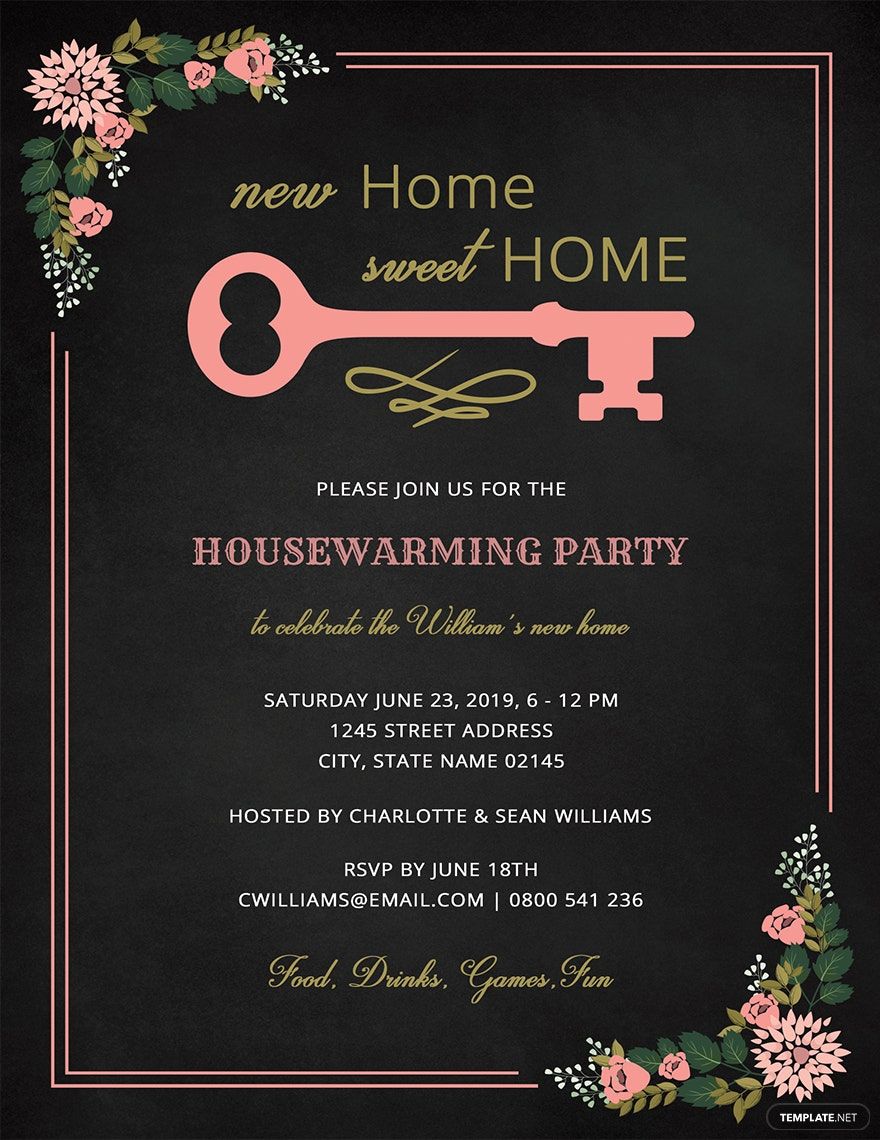
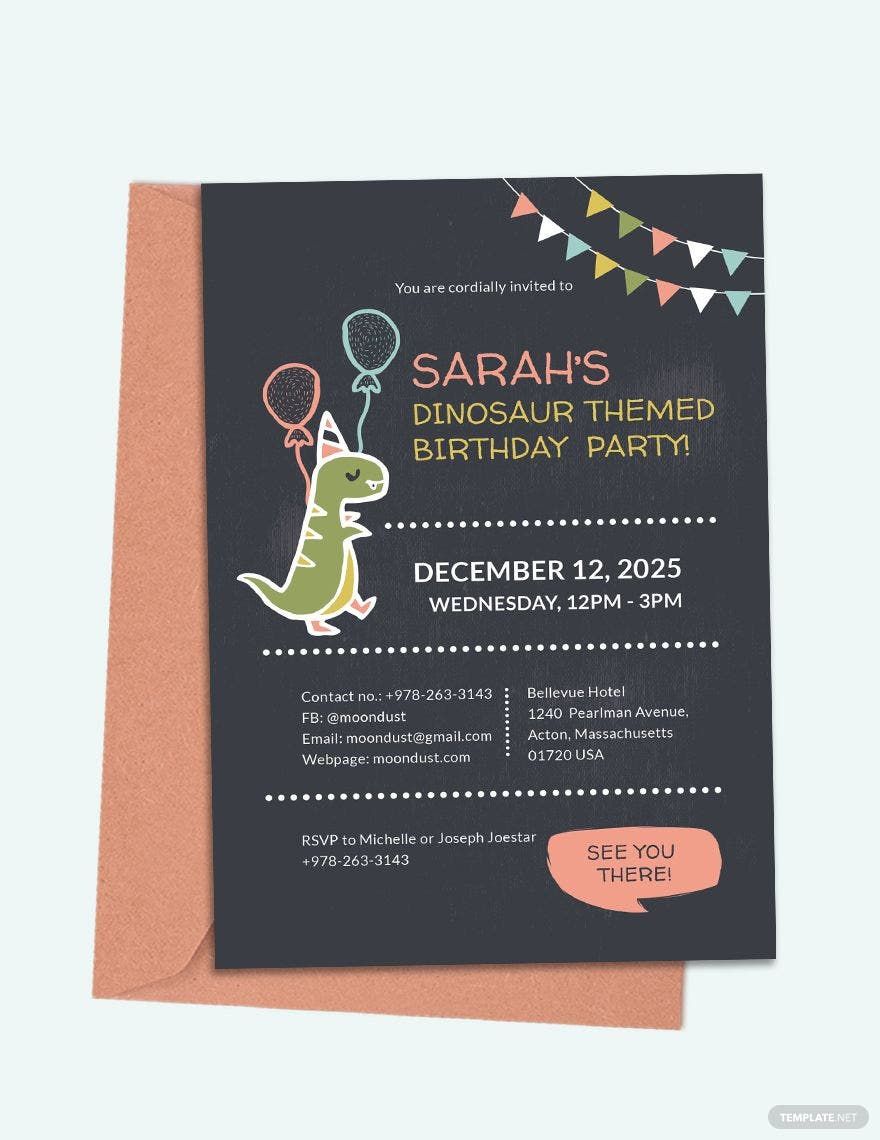
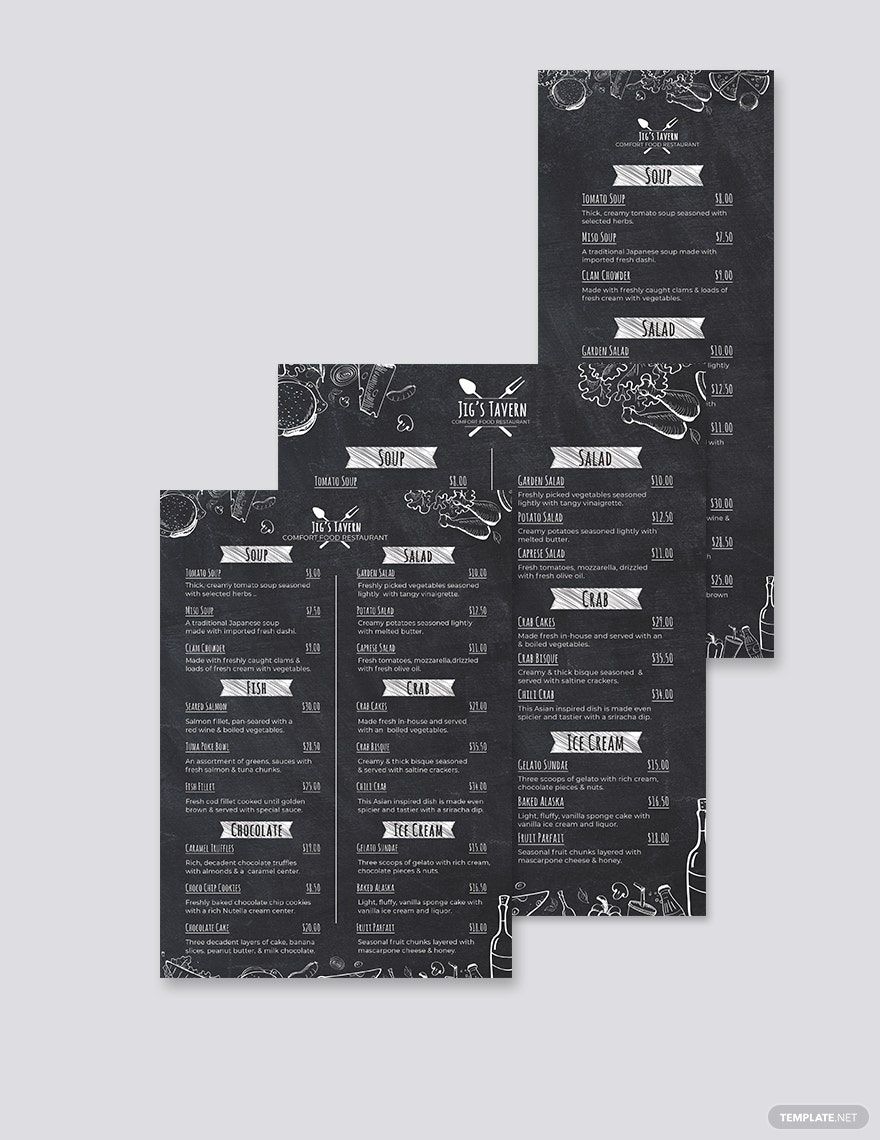
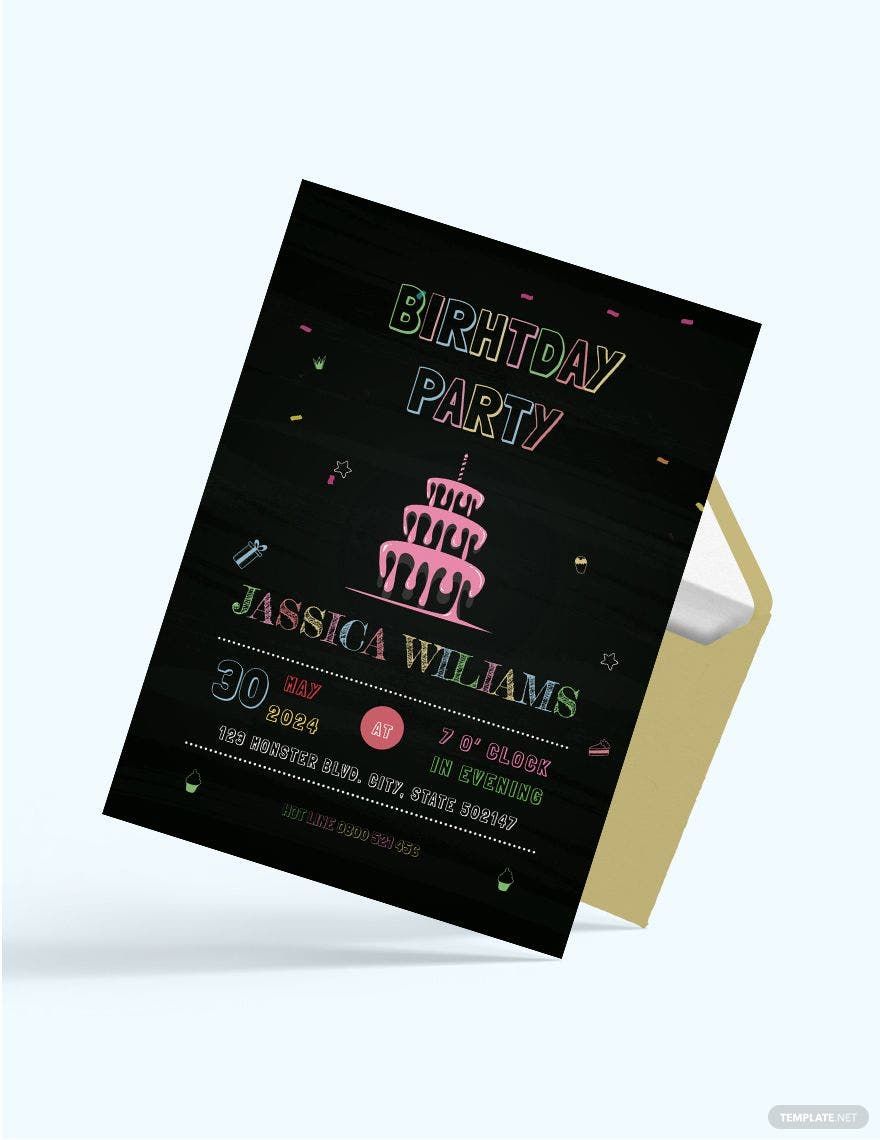
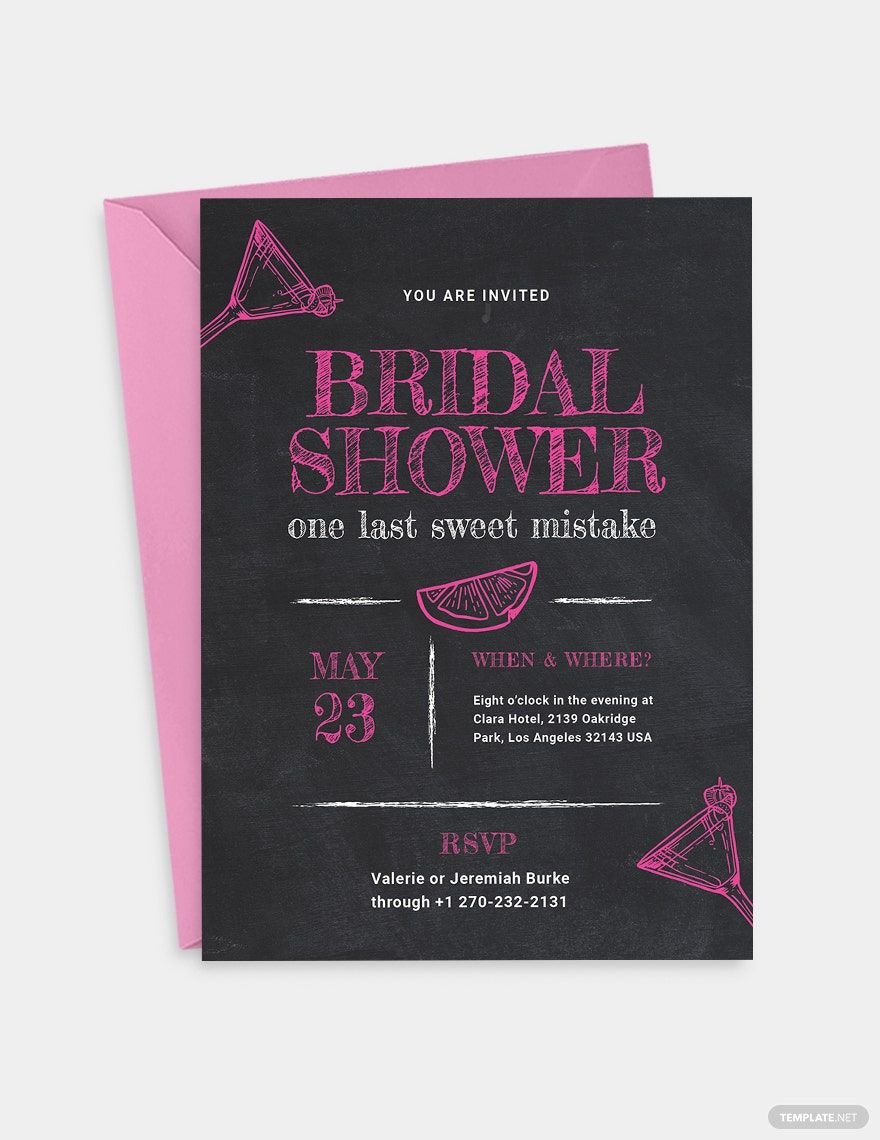
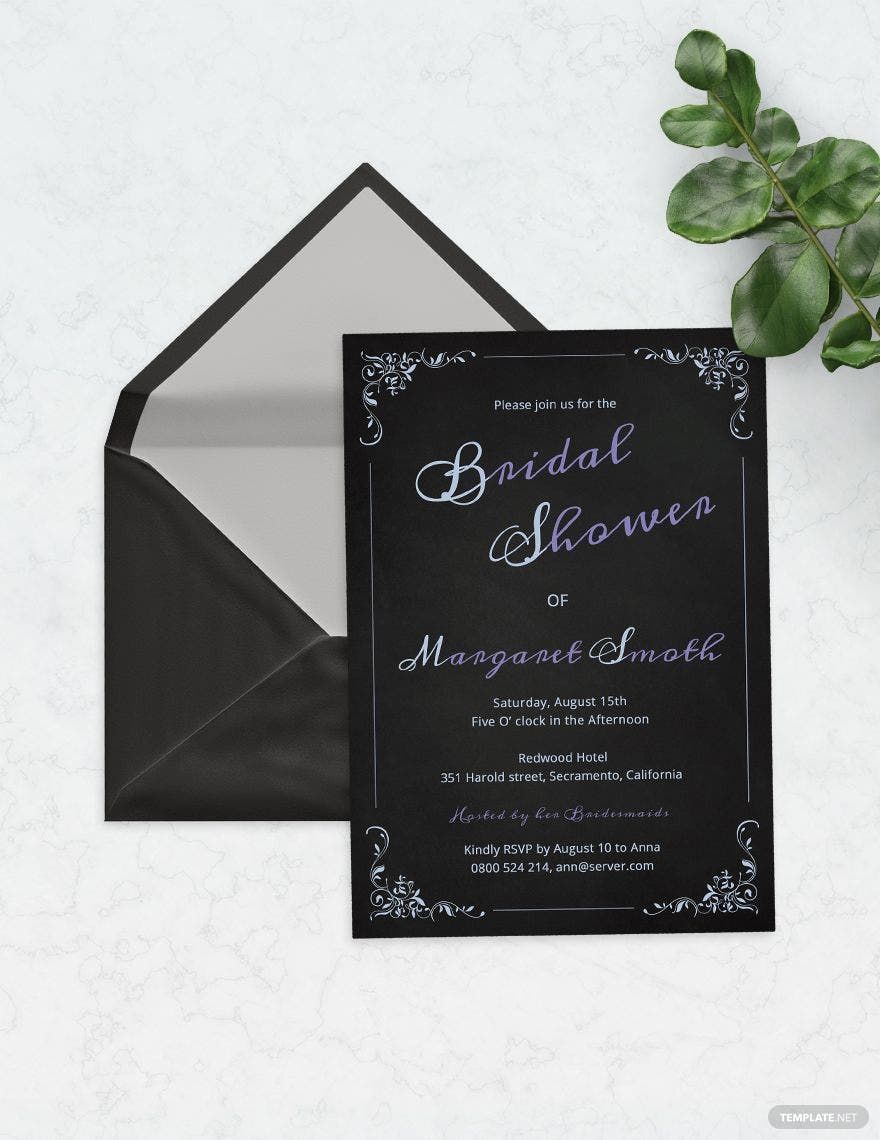
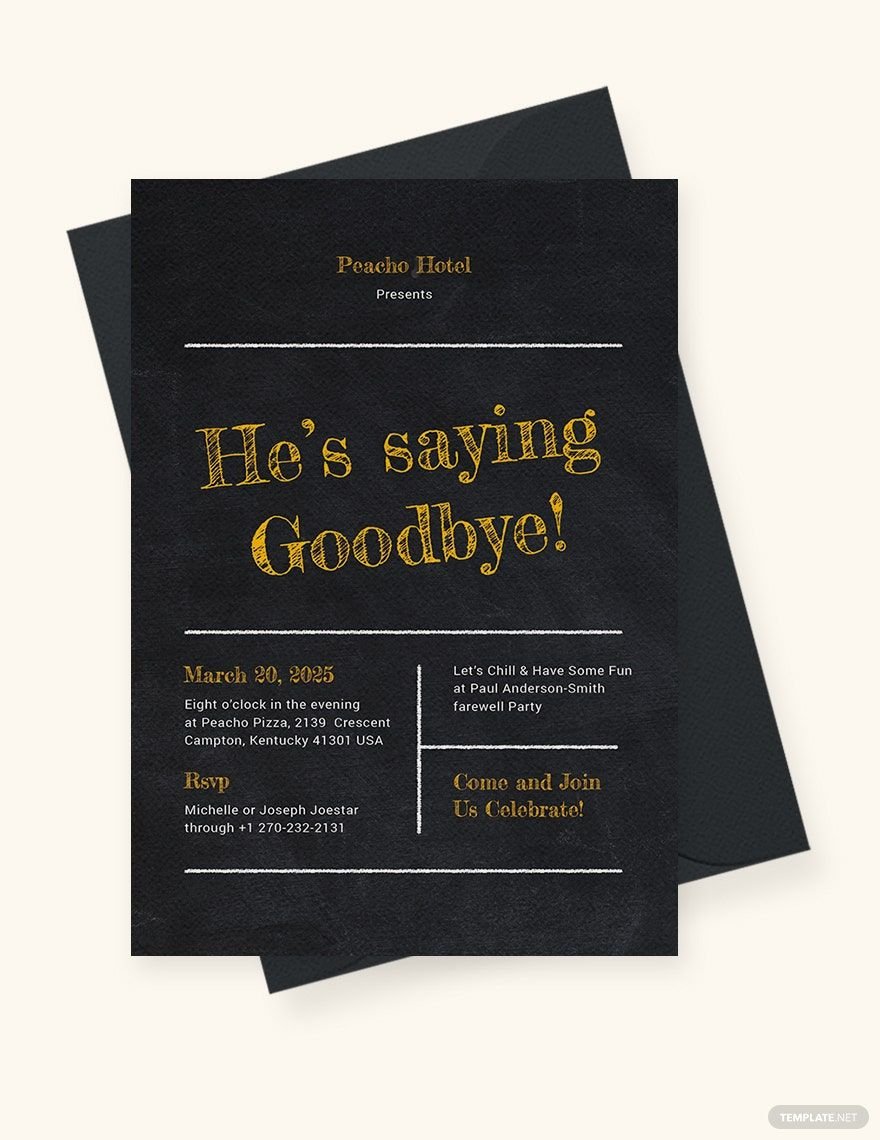
Regardless of the party or event you are planning to hold, an invitation is a must-have. It helps you reach out to guests to request their presence in an upcoming celebration. Therefore, to save your valuable time and effort in creating an invitation from scratch, we offer you our ready-made Chalkboard Invitation Templates. Our templates come with original artworks and royalty-free designs. Plus, these are 100% customizable, printable, high-quality, and beautifully designed to give you the utmost convenience. You can download and edit these documents in all versions of Microsoft Publisher. On this page, we have chalkboard-inspired invitations for a farewell party, wedding ceremony, and more! Why pass up this amazing offer? Download now!
How to Design a Chalkboard Invitation in Publisher?
Trends are evolving and with each passing day. Before, chalkboards are commonly seen in classrooms—with ABCs and 123s inscribed on it. Now, you can see chalkboard-inspired menus, flyers, posters, and invitations. The texture of a blackboard combined with intricate strokes of the text written with the use of a chalk adds aesthetics to any material, be it print or digital. If you are organizing a party or an event and you haven’t invited people yet, start creating invitations and incorporate chalkboard design style in your material. In this short guide, we will help you create a chalkboard invitation in Microsoft Publisher desktop application.
1. Start with the Background
After opening Microsoft Publisher and setting the dimensions of your invitation card, you first have to work on its background. Insert a chalkboard texture on the blank canvas of your computer screen. This blackboard like texture will serve as a background in your design. Make sure that you attach a high-resolution background photo for a desirable printing outcome. Chalkboard designs can be used in any kind event invitations, be it for a birthday, baby shower, graduation, Halloween party, etc.
2. Select Fonts
When you select a font style for your design, stick to the theme of your invitation. There are chalkboard-inspired typefaces you purchase or download online. For an engagement, bridal shower, or wedding invitation, you may use a script or calligraphy font style to show elegance. However, make sure that the key information in your invitation are written in serif or sans serif typefaces.
3. Start Adding Text
Now that you already have selected the font styles you will use in your invitation card, start adding the necessary information. You should include the name of the event or party, host of the celebration, location, date, and time. For chalkboard birthday invitations, you may specify the age of the celebrant, especially when it is his/her first birthday.
4. Include RSVP
Whether you are organizing a BBQ party, anniversary party, pool party, or any fun-filled party, you should include an RSVP information in your invitations. The RSVP is important in every invitation card since it gives the organizers a definite number of who will attend the said party. Thus, they will be able to prepare enough meals, seats, tables, etc. for the event. On the other hand, if you are an invitee, make it a habit to confirm or decline your attendance.
5. Play with Colors
A chalkboard-themed invitation does not have to be black and white. You can make use of different colors especially when the celebration is festive. For chalkboard wedding invitations, you may add a floral border for a more visually appealing design.
6. Review, Save, and Send
After having accomplished the steps above, review the information you typed in beforehand. For the date, time, and venue, see to it that you provided the complete details to your guests. Also, have your design finalized and make sure it does not look cluttered. Then, save your file to get it ready for printing. Lastly, send out your invitation cards to guests.
