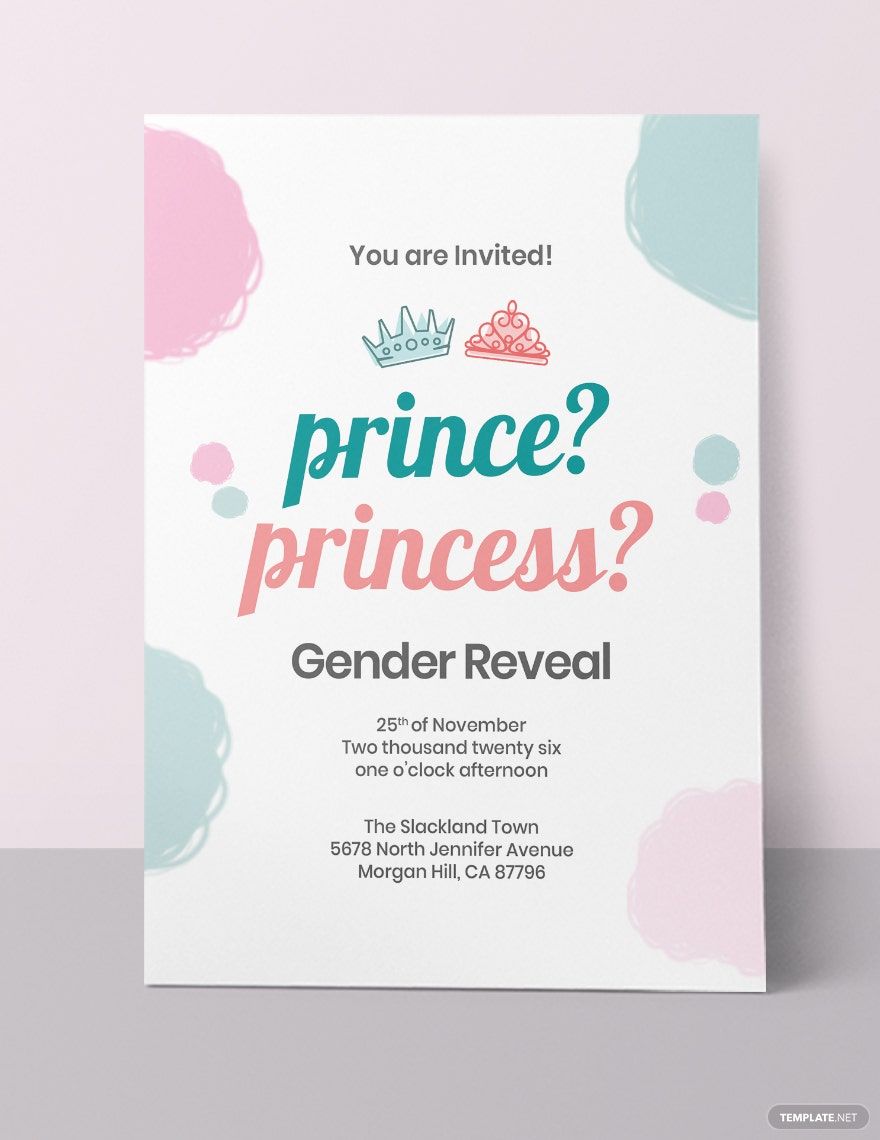
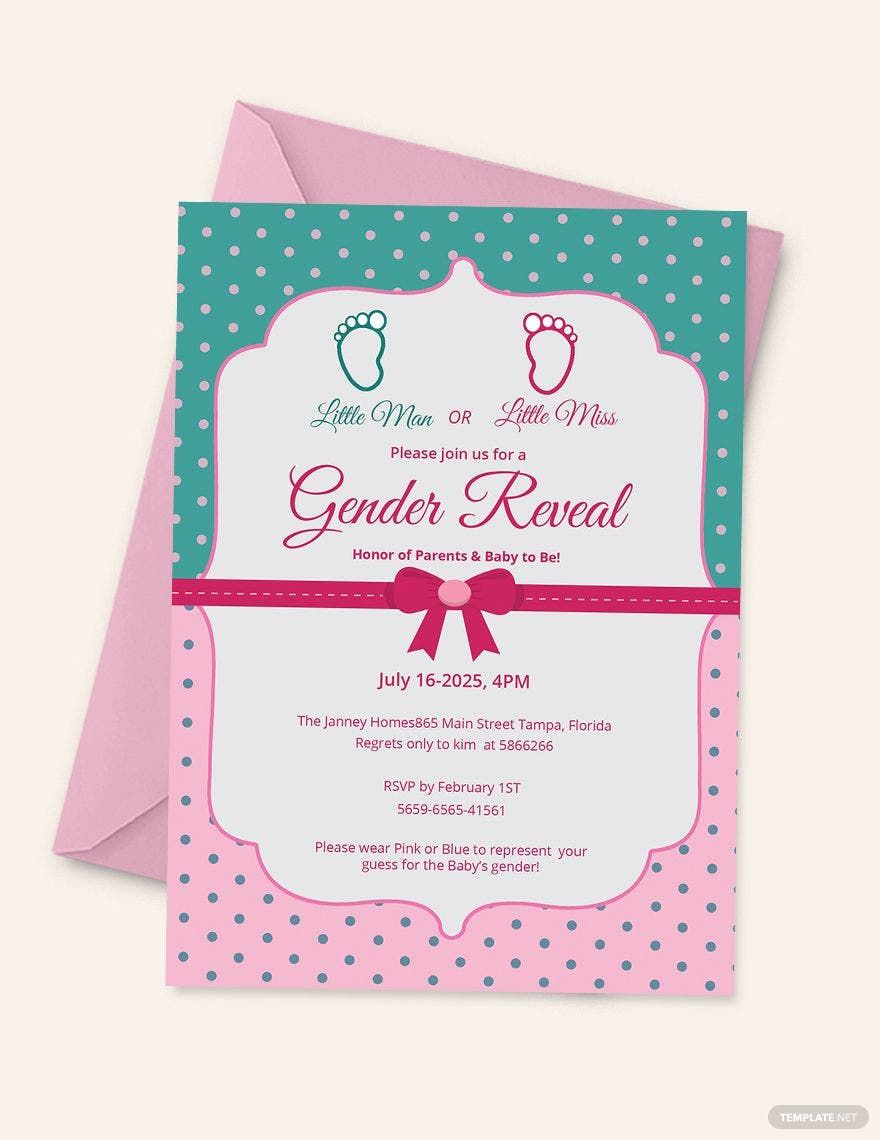
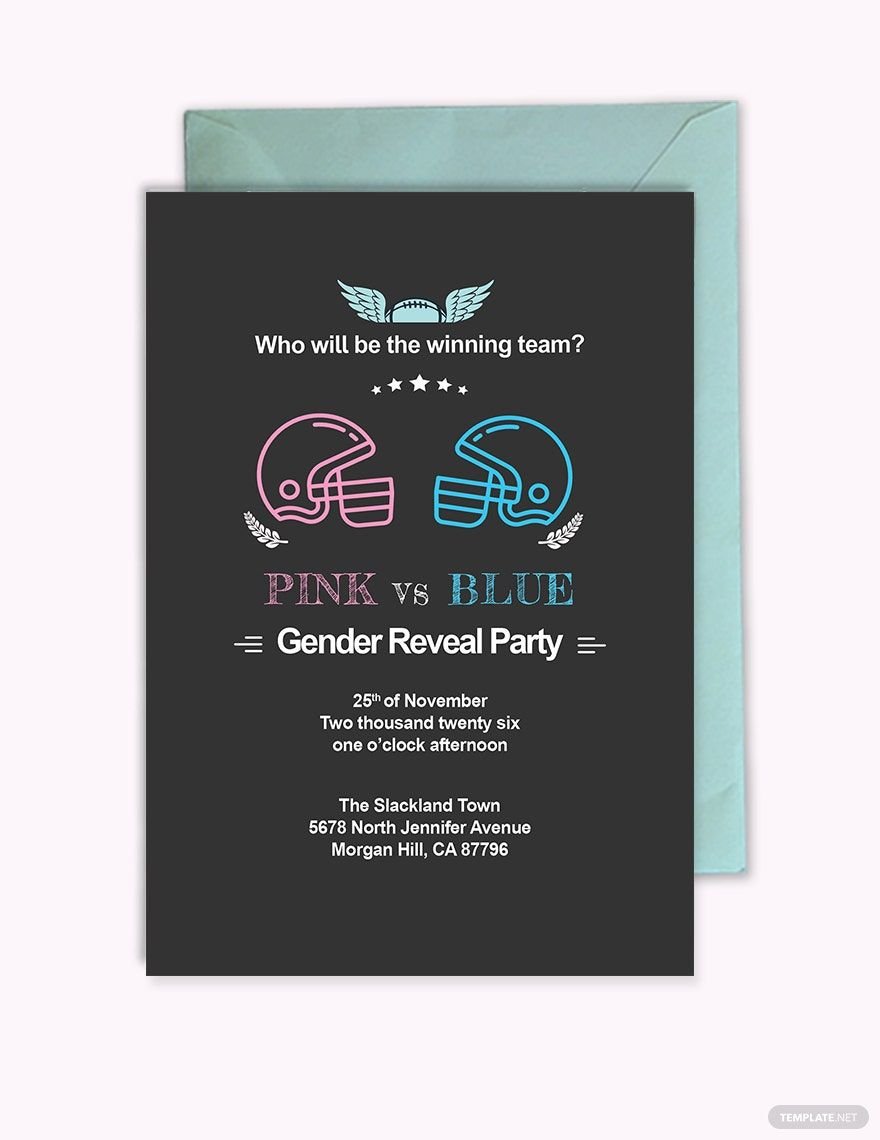
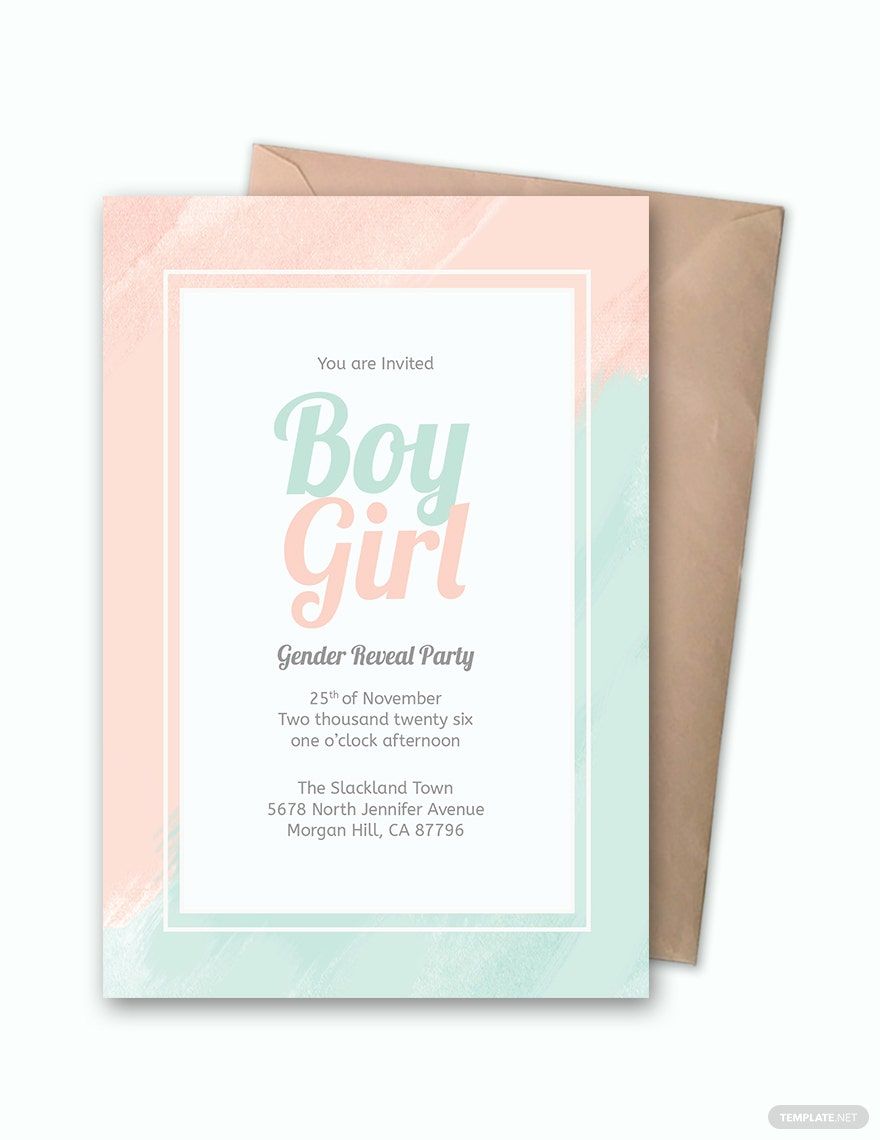
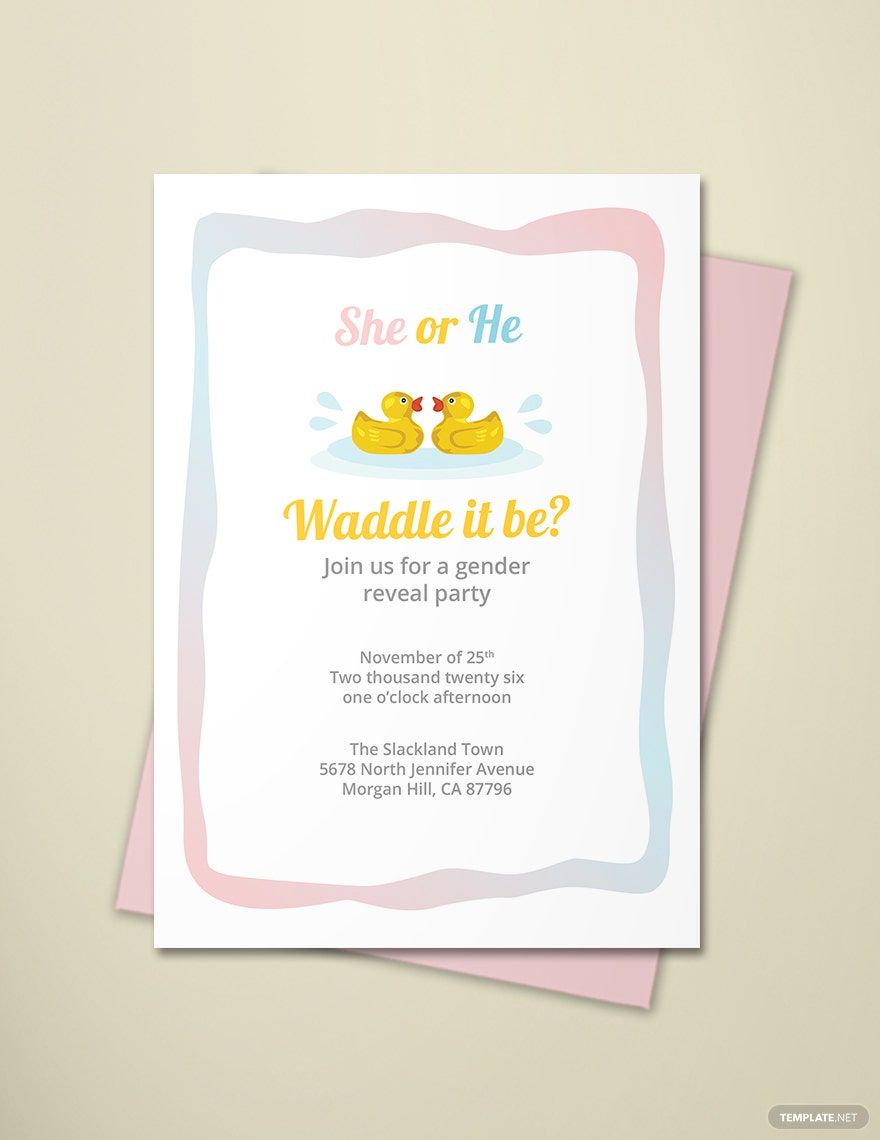
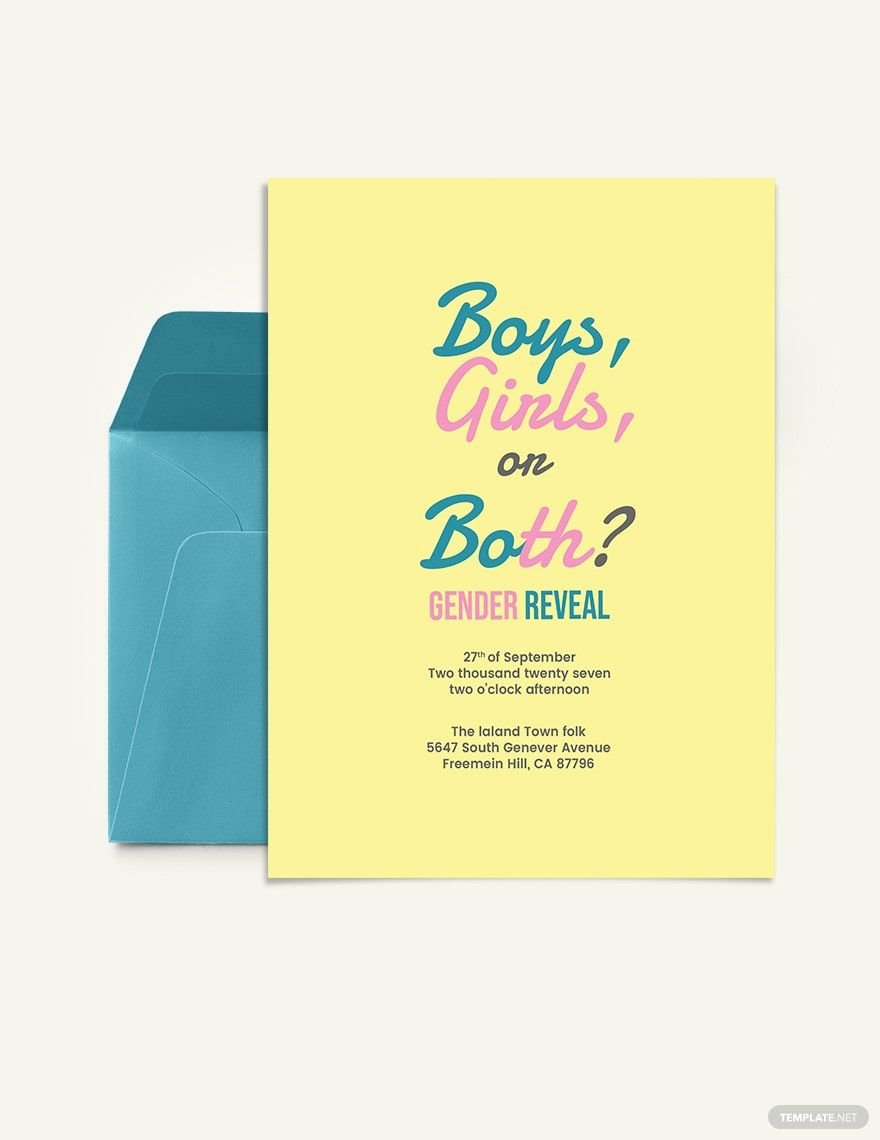
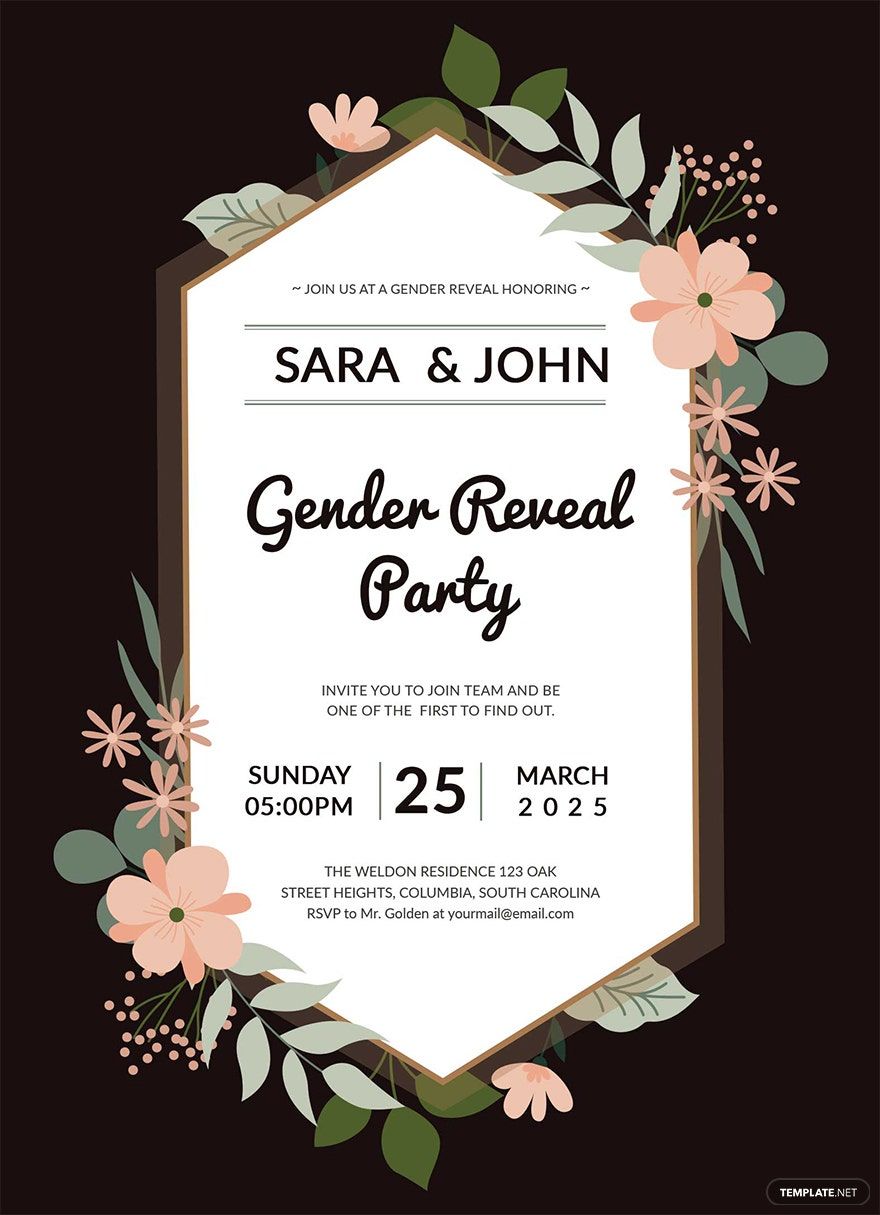
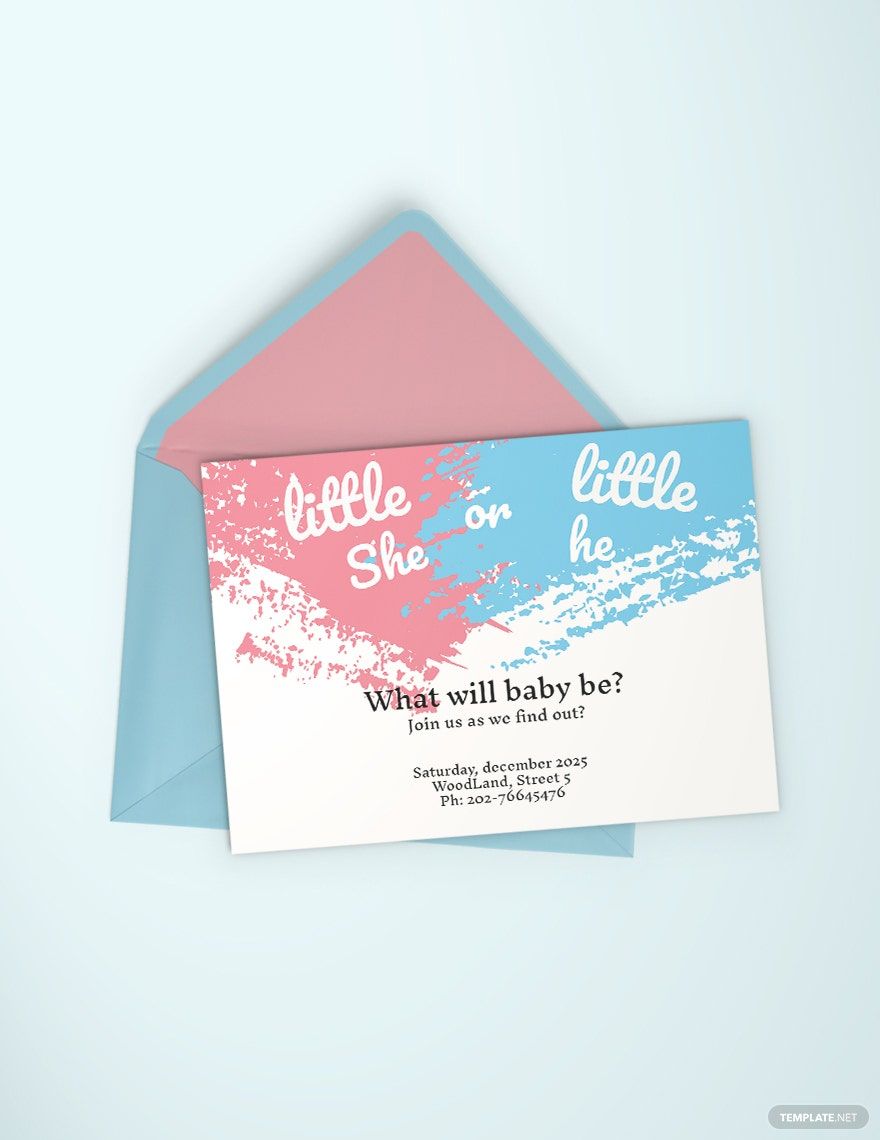
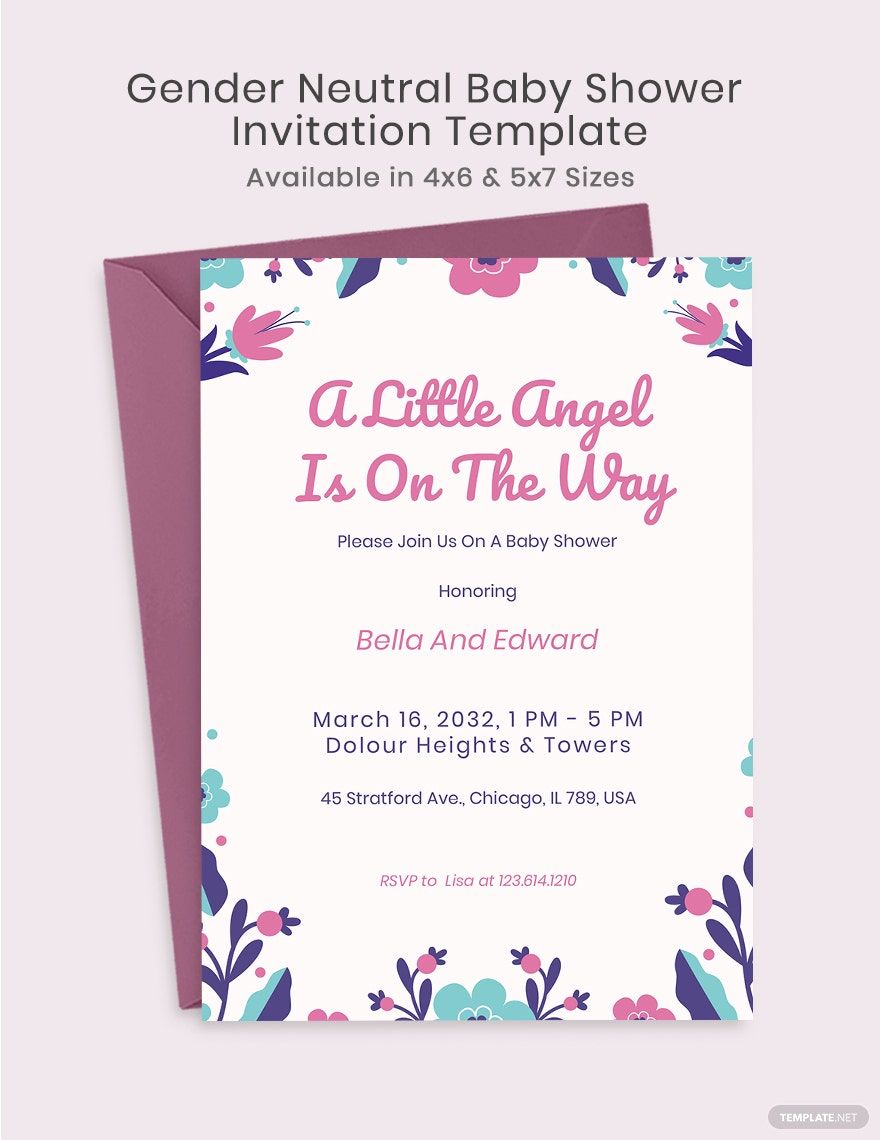
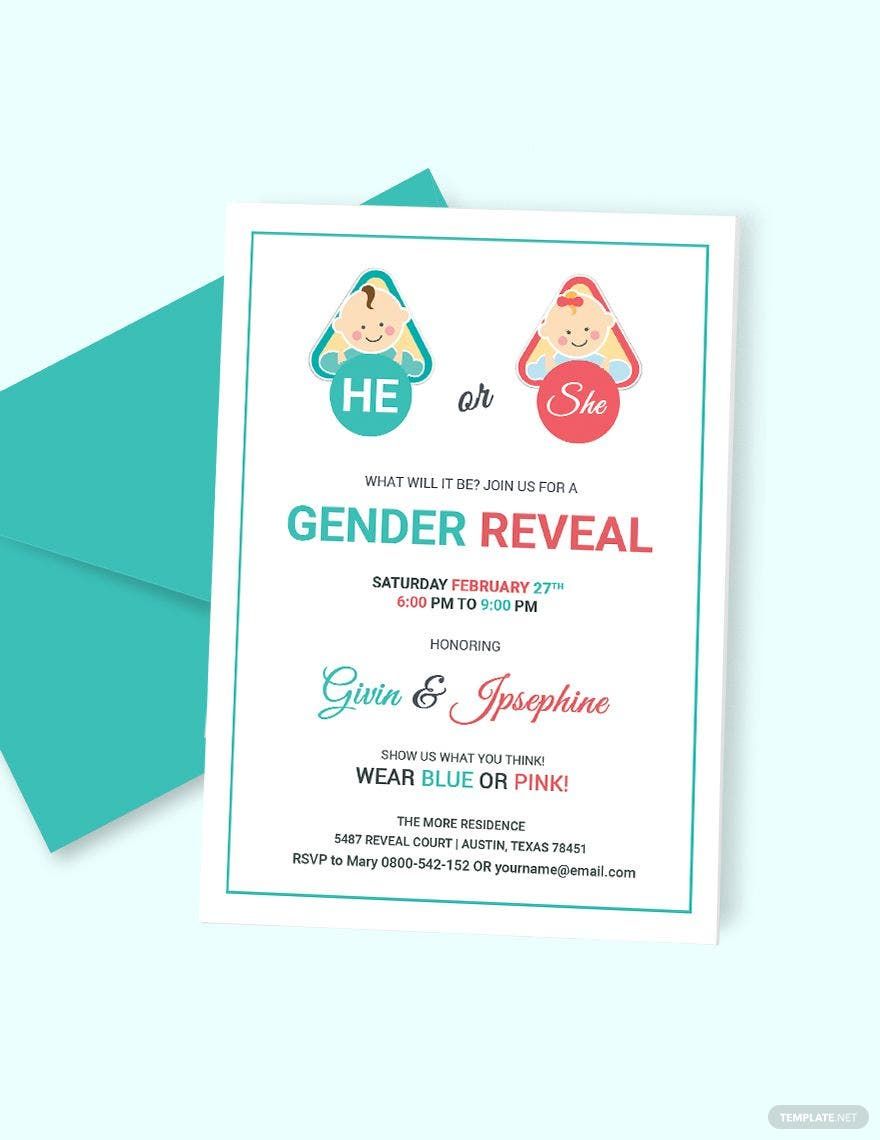
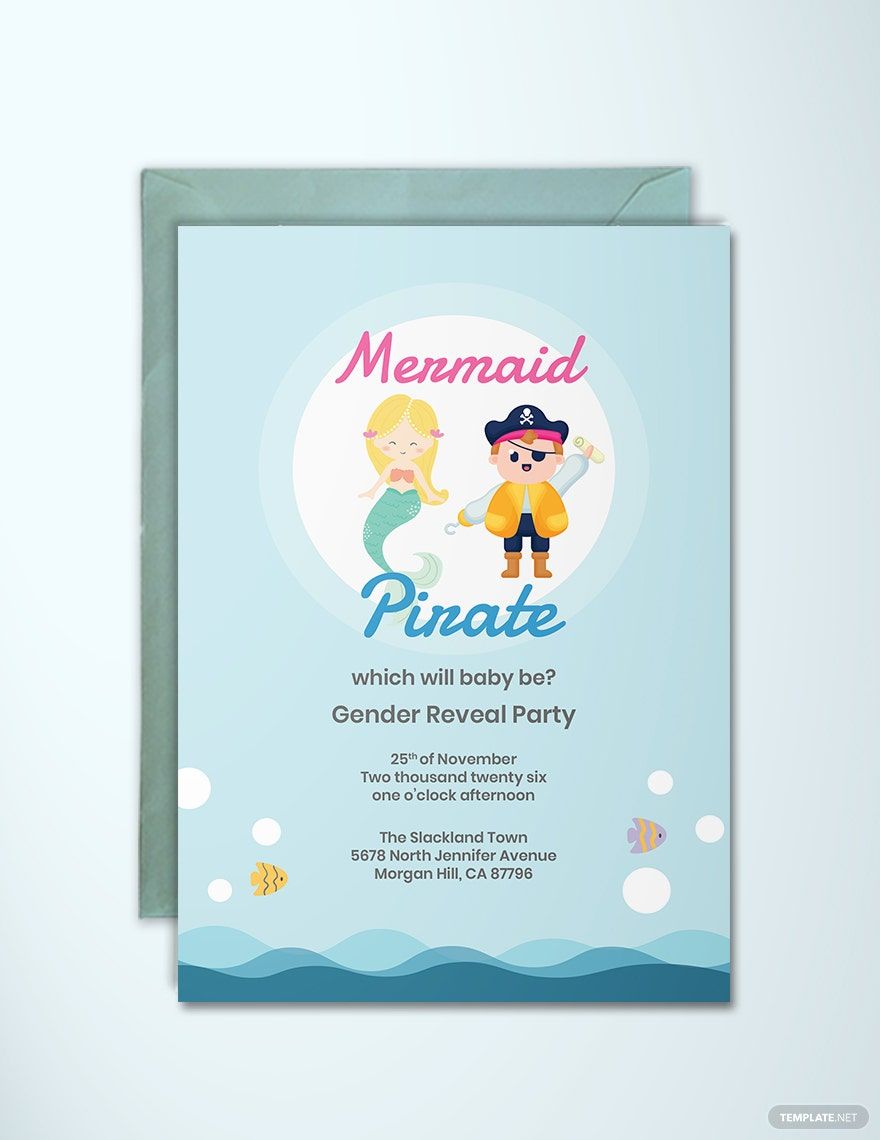
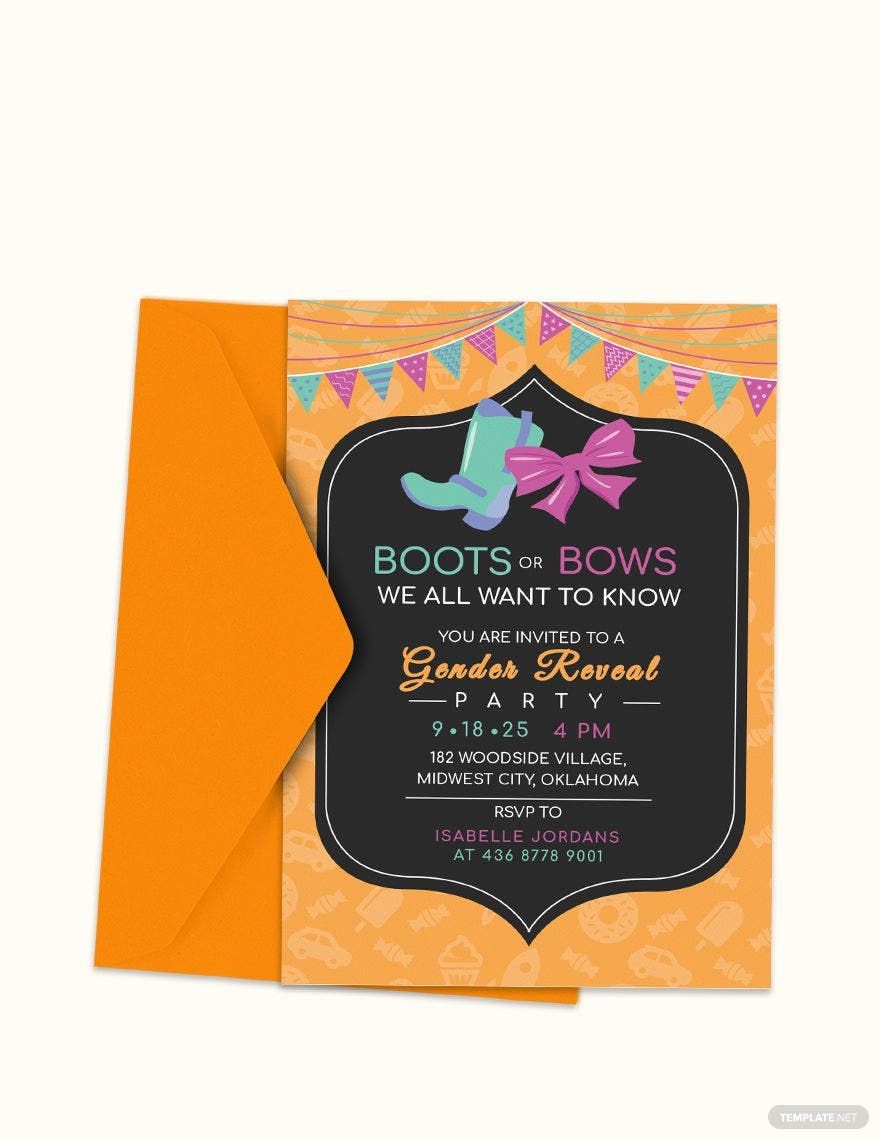
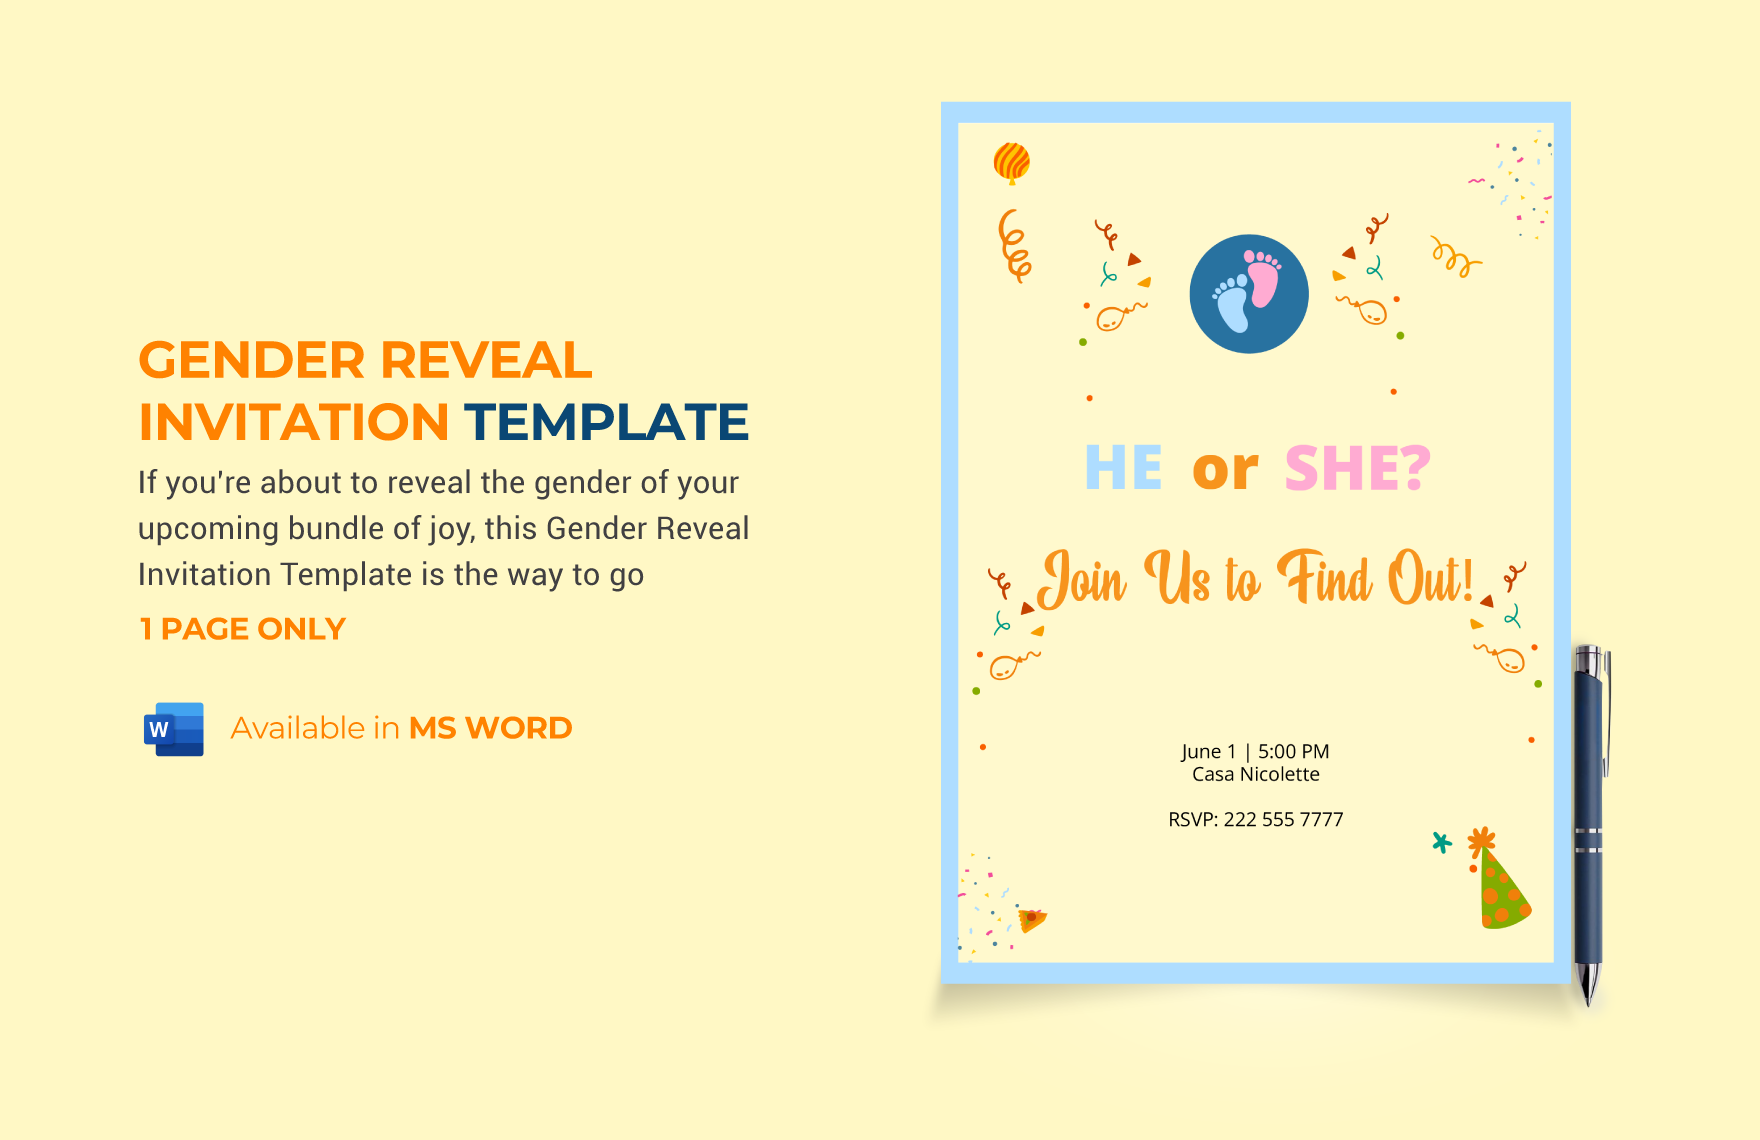
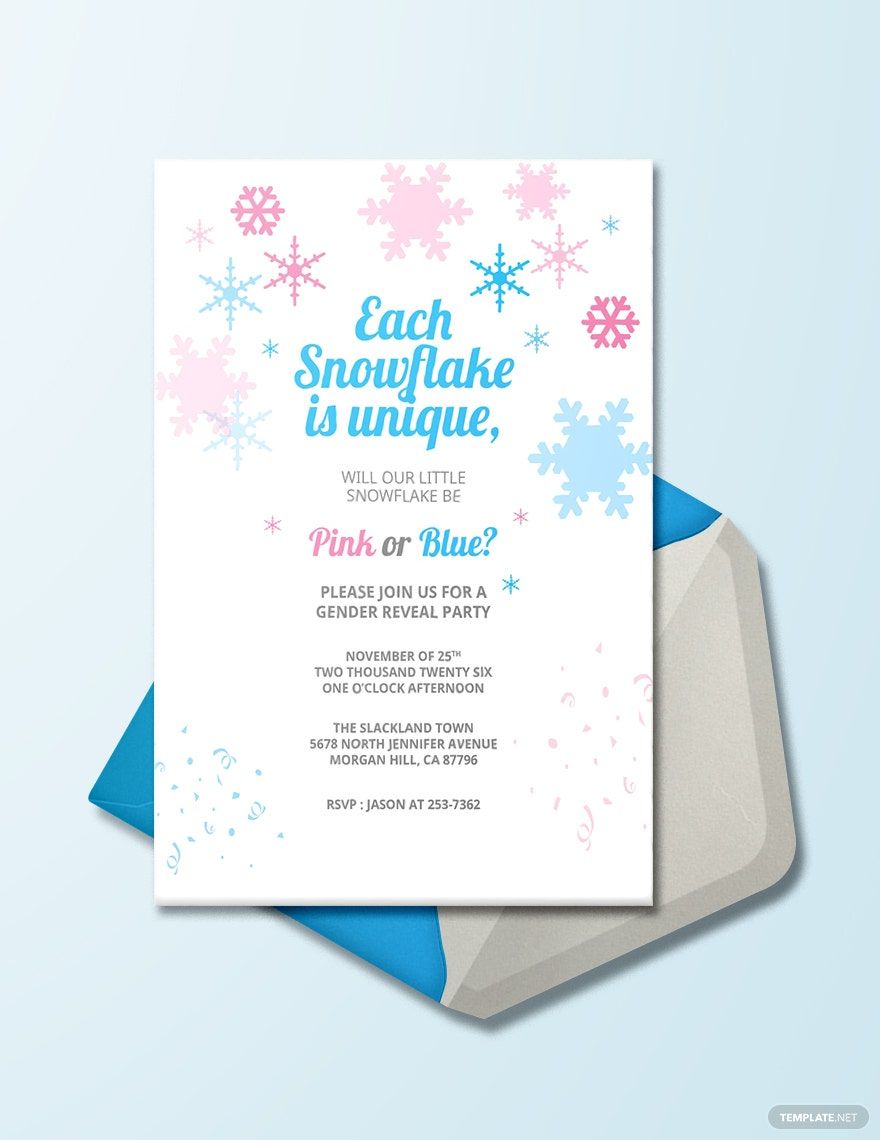
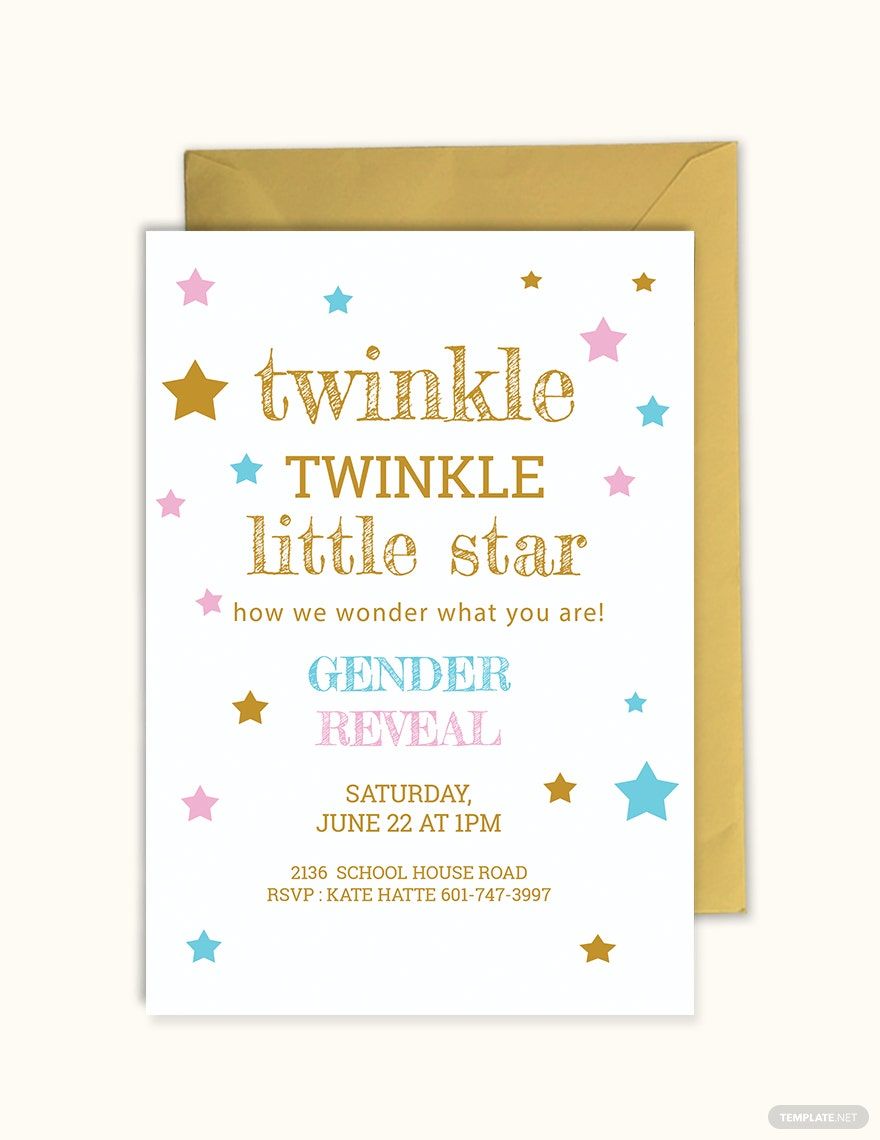
There’s no moment as exciting as anticipating the coming of another life. It is more than just welcoming another child in the family. It’s embracing another little bundle of joy, another shift, another future. Knowing if it will be a gallant knight or a brave princess is always something special. Gather your kin and friends for a nerve-wracking blue or pink guessing game with our topnotch selection of Gender Reveal Invitation Templates in MS Word! They are professionally made with a high-resolution layout and compelling graphic design that allows convenient customization in any way. Get yours now!
How to Make a Gender Reveal Invitation in MS Word
Today traces the origin of gender reveal parties to Jenna Karvunidis. After experiencing saddening miscarriages, she felt the need to celebrate the coming of her oldest daughter with a joyous celebration. More than a decade later, the trend carried on with a bomb. The arrival of a precious gift is a moment worthy of merriment and festivity. And every moment such as this deserves the attendance of the special people in your life. Invite them over a premium and high-quality gender reveal invitation. Here’s how you can make your own:
1. Determine an Event Theme
Identify the overall visual appeal of your event invitation. You can go for the standard baby designs of pastel and light shades with adorable embellishments such as festooned fiesta banners with an assortment of stars, bees, or elephant decorations. However, it doesn’t have to define the word “cute.” For a unique approach, it could be an intimate affair with the serene vintage vibe of rustic and classic colors. Depending on the baby’s birth season, it could also adapt tropical, autumnal, or winter appeal.
2. Pick a Fitting Template
Developing an artistic and appealing printable invitation requires more than just hard work. It needs skills. Generating the perfect invitation layout takes talent. If you have little to no knowledge in graphic designing, it’s better to choose an alternative that will lessen your load and still present you with an exceptional result. This is only possible by using a readymade invitation template. With this, you will only to replace the content with your own details (i.e., time, date, location, names, etc.) conveniently. Choose a template that closely resembles your theme.
3. Personalize
Aside from incorporating your own content on the template layout, own the invitation template by personalizing more than just the texts. Include artworks that are personally connected to you. Putting your photo will also serve as a compelling visual element. You can also alter the theme or add minimal adjustments, so it fits your personal style better.
4. Avoid Wordiness
An professional invitation may mainly involve details, but it’s not a reading material. Make the content as brief as possible. It should have all the necessary details that you can pore over within seconds. Your recipients will not most likely read lengthy content. Any dramatic intro or long messages will not matter to them. They need to know where the occasion will be and when they’re expected to come. If you wish to send further instructions, write it on a separate copy or email it to them.
5. Choose a Heavy Paper Stock
Leave the bland, thin, and low paper quality to your daily office documents. When it comes to materials such as certificates, brochures, and invitations, a good paper material is undeniably a must. An uncharismatic stationery can potentially ruin an excellent graphic design. There are numerous options that you choose. Depending on your layout, a matte, cotton, or glossy paper texture brings out the best of your design. Use that to your advantage and take your options from the line up of heavy stock papers such as cardboards, vellums, or glassine.

