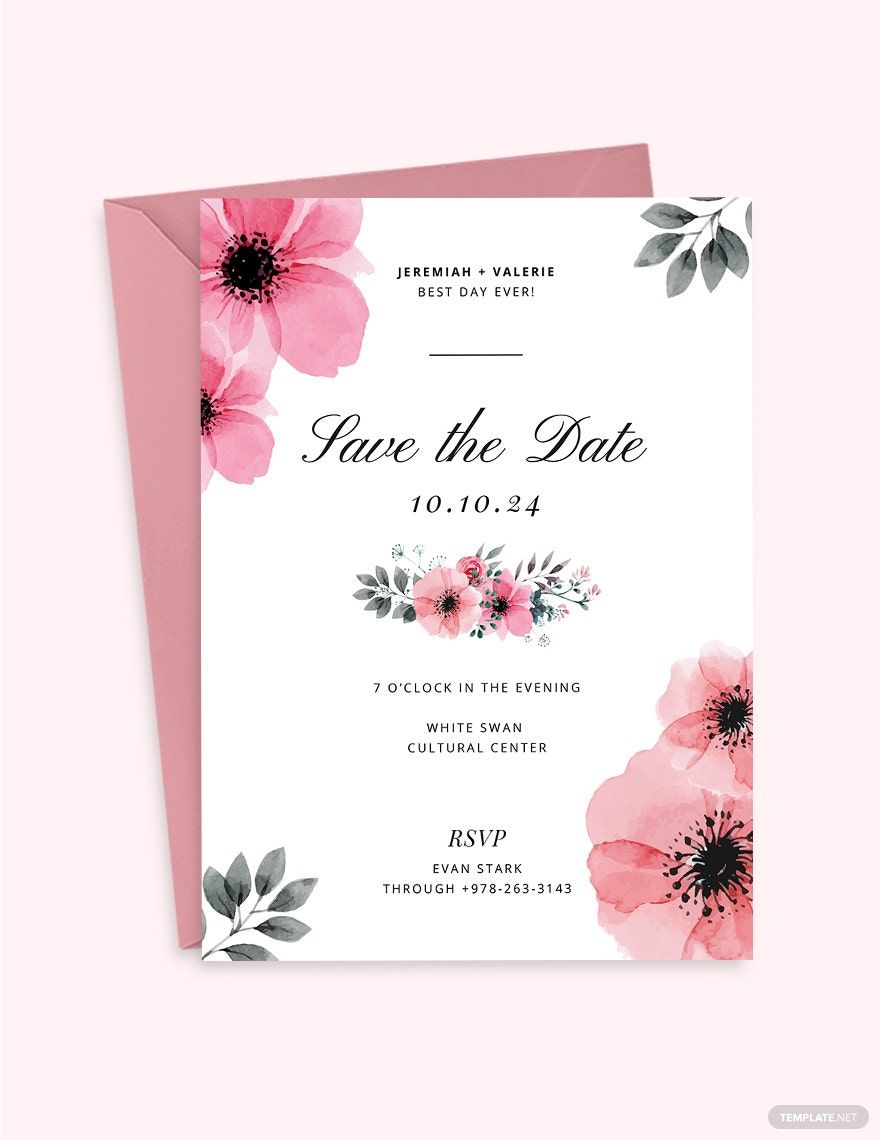
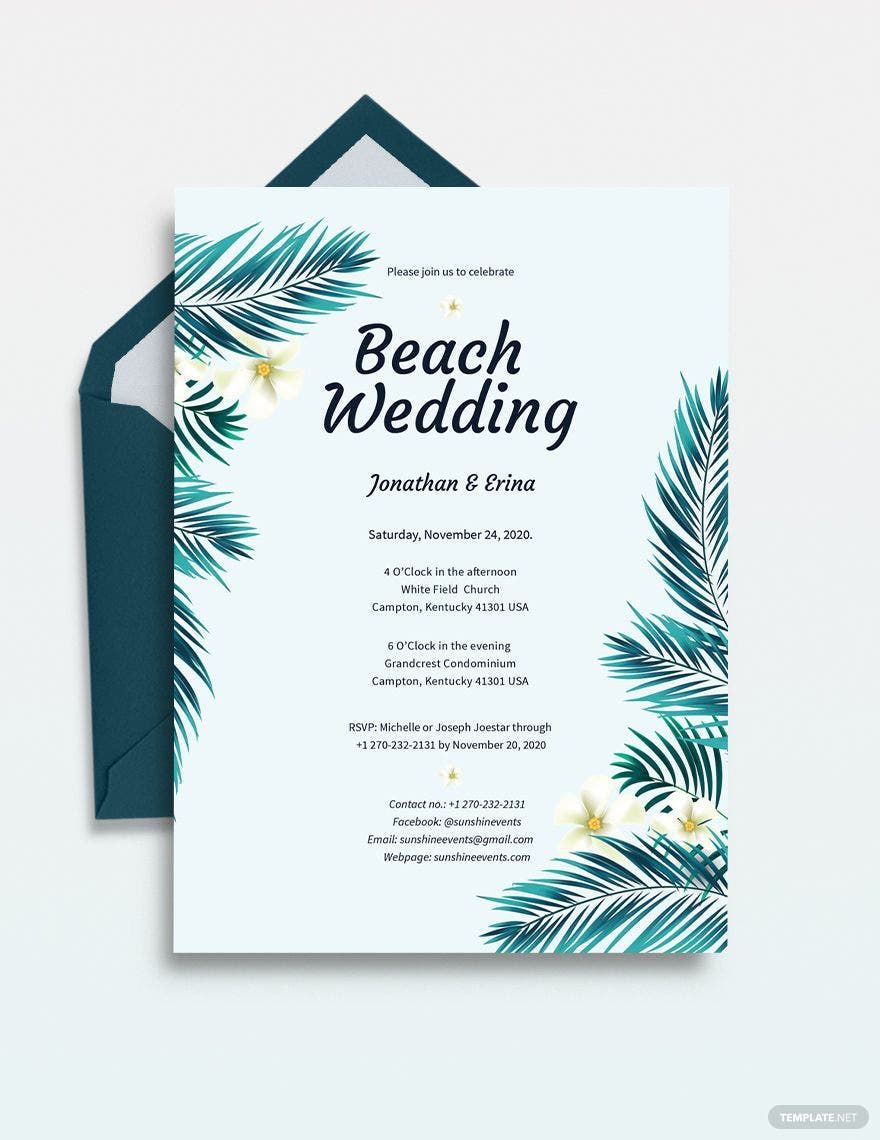
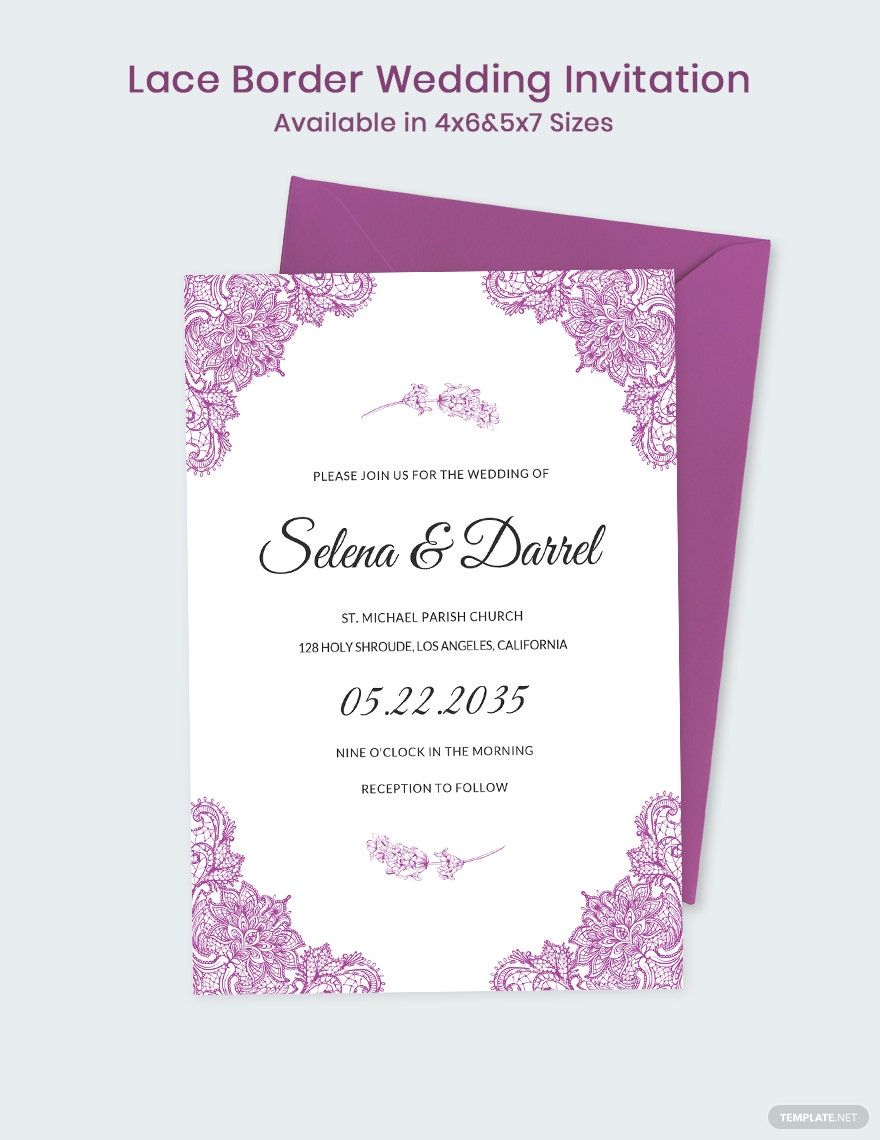
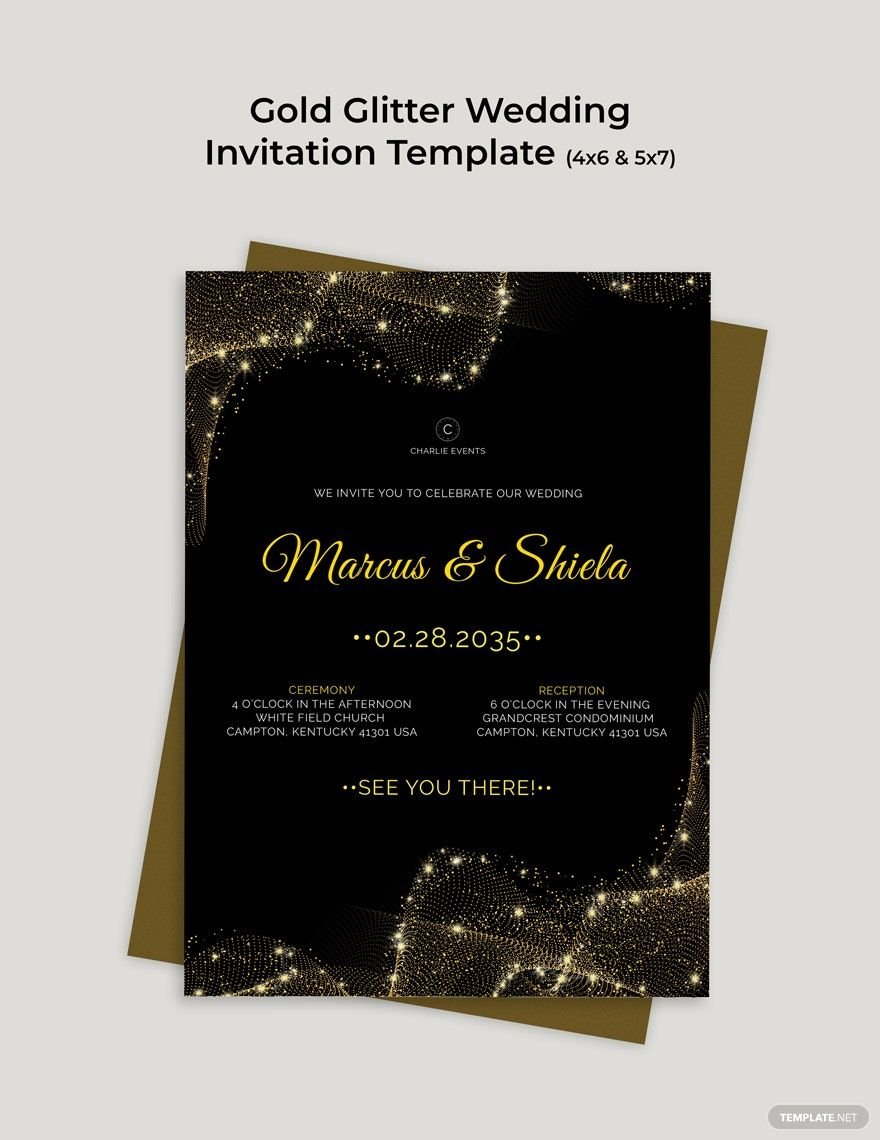
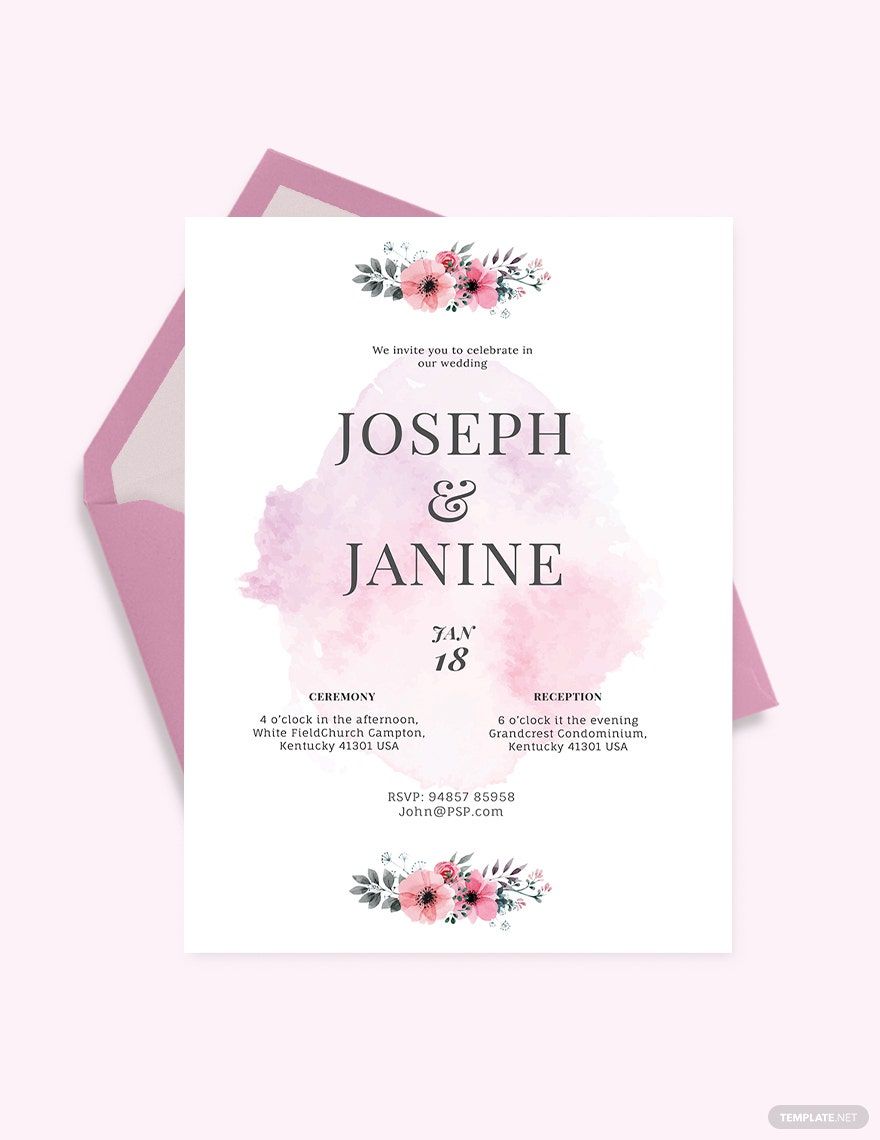
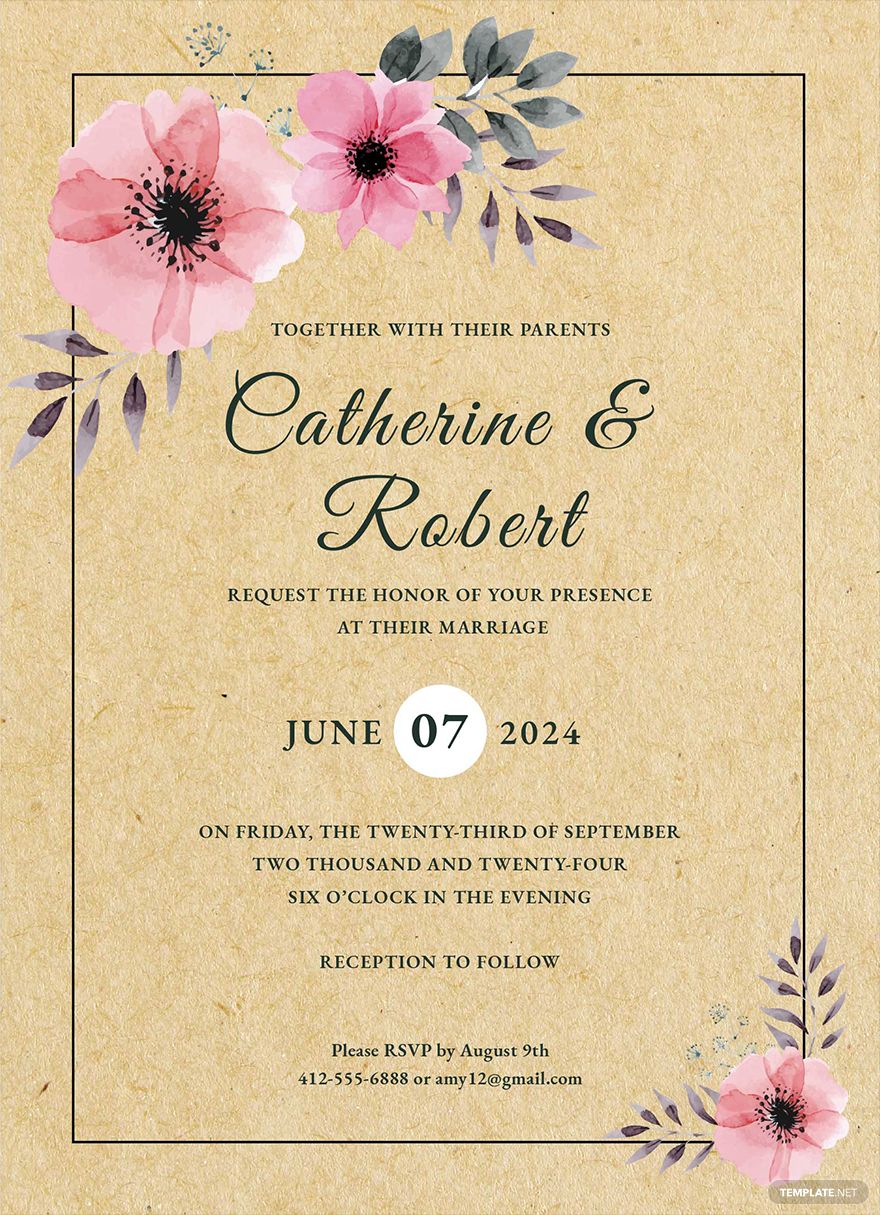
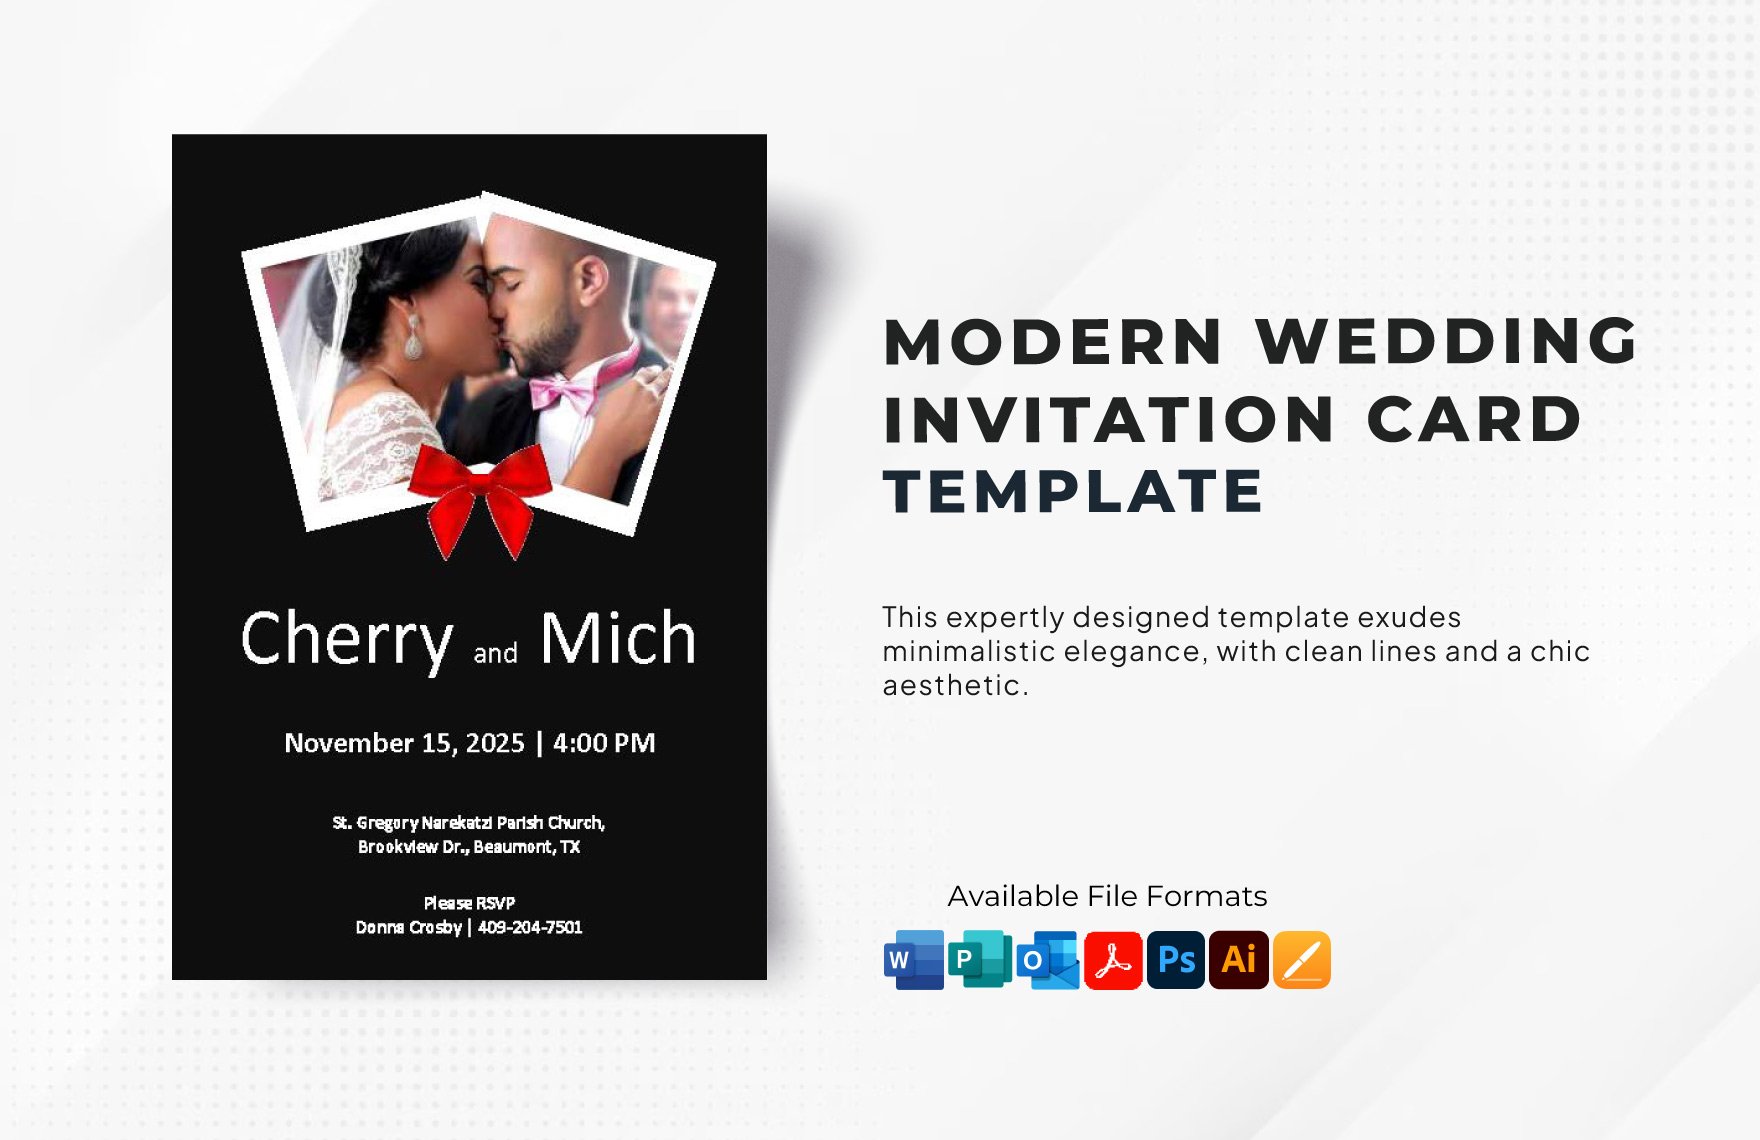
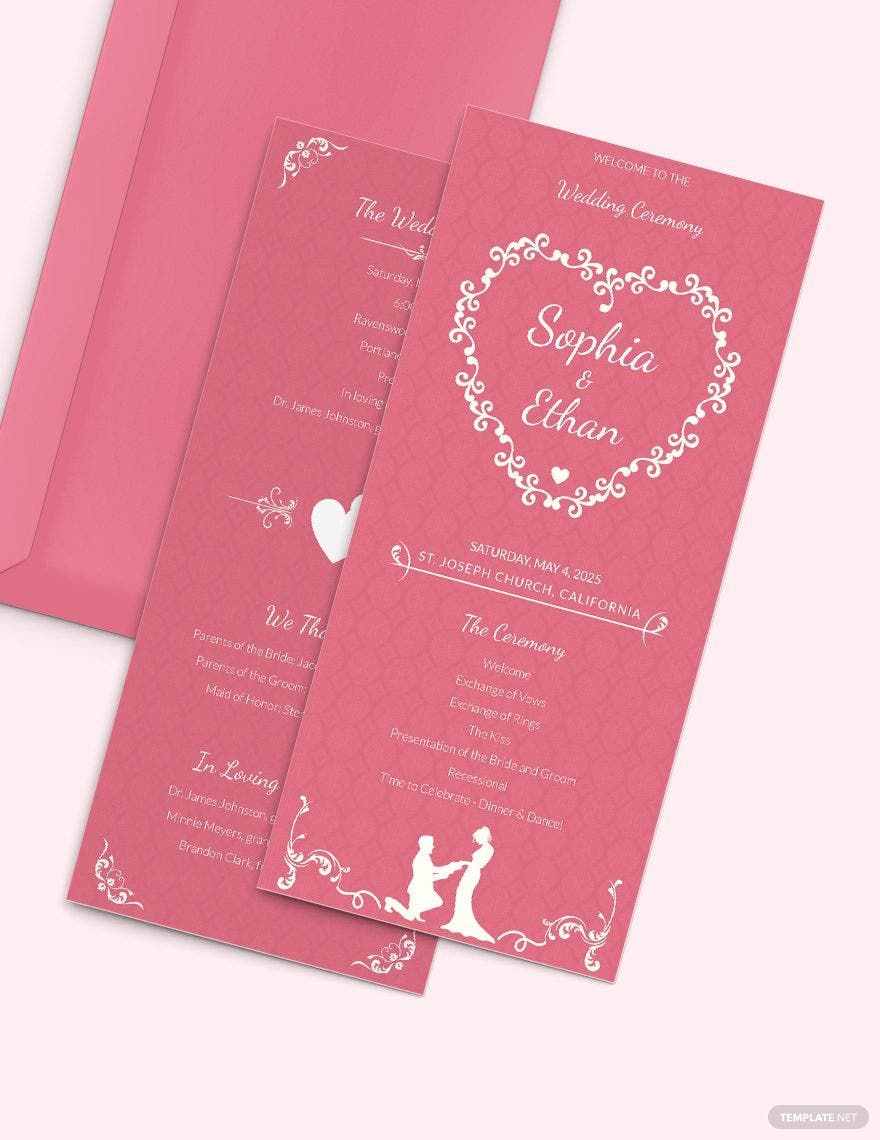
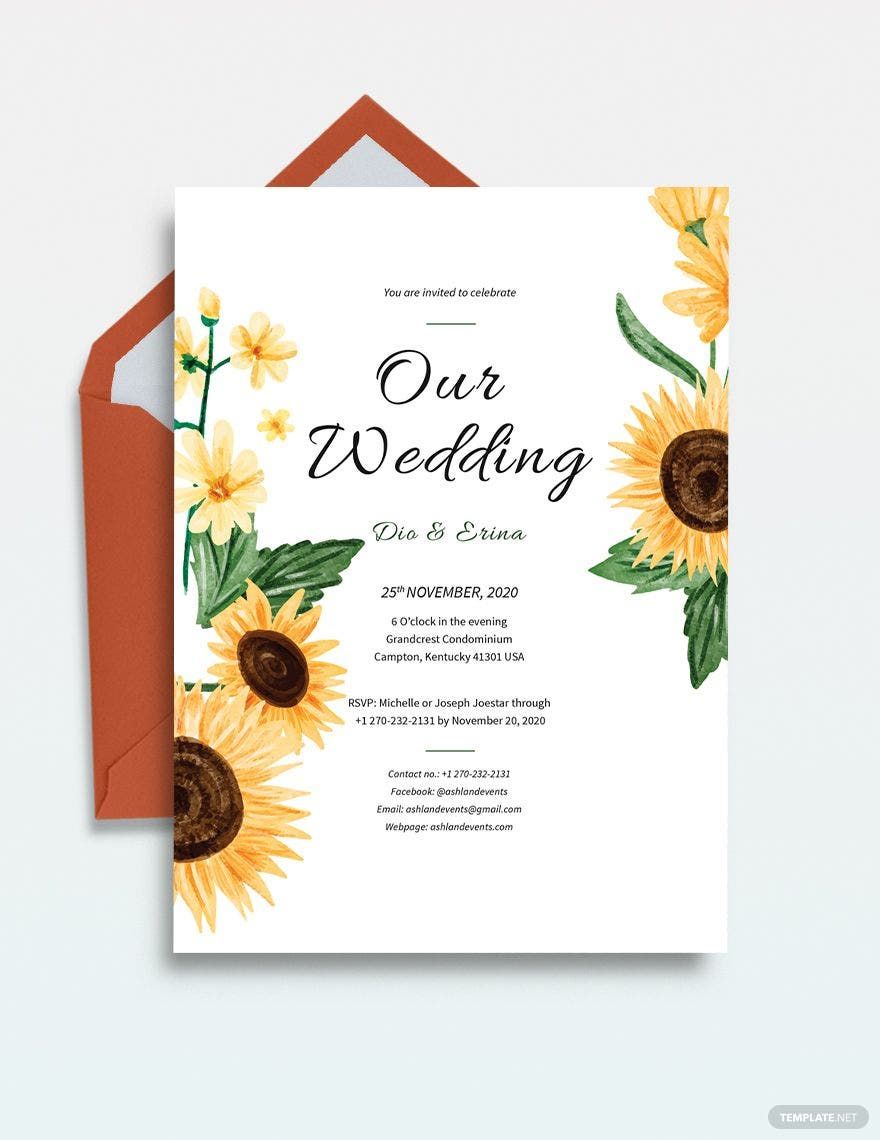
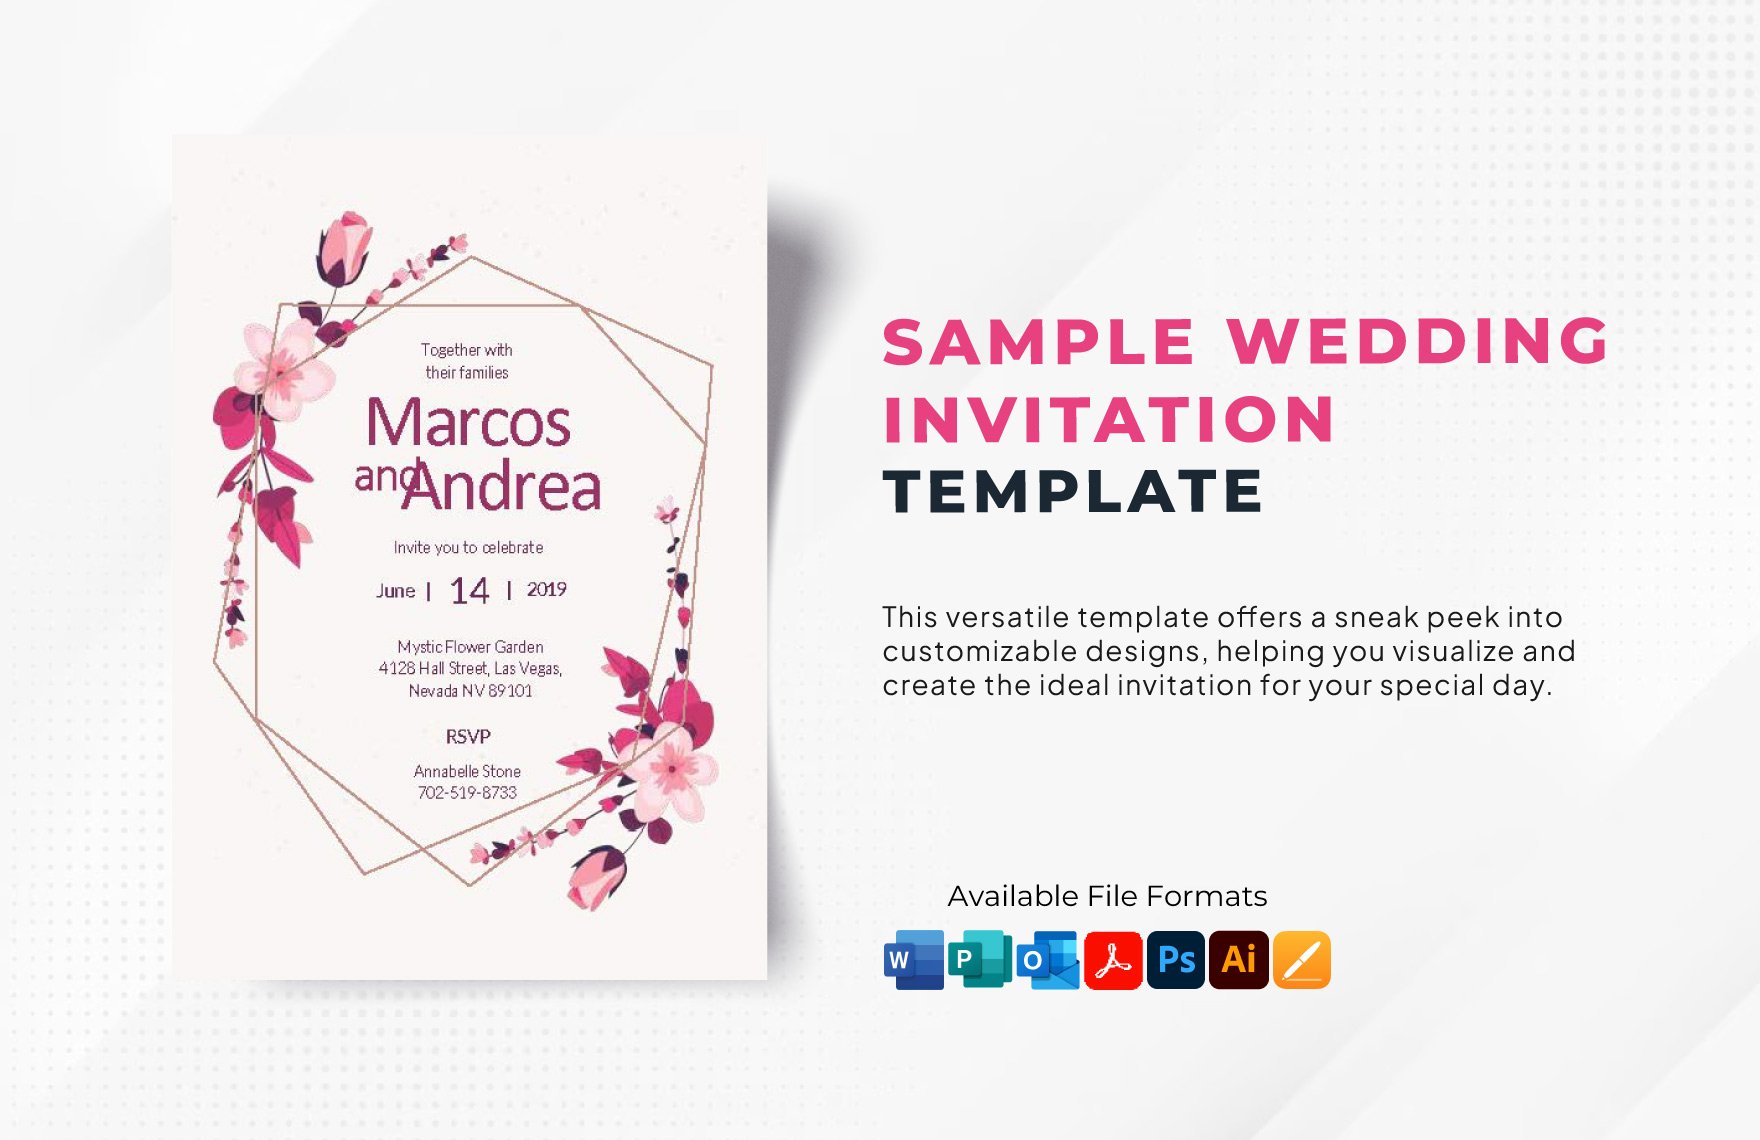
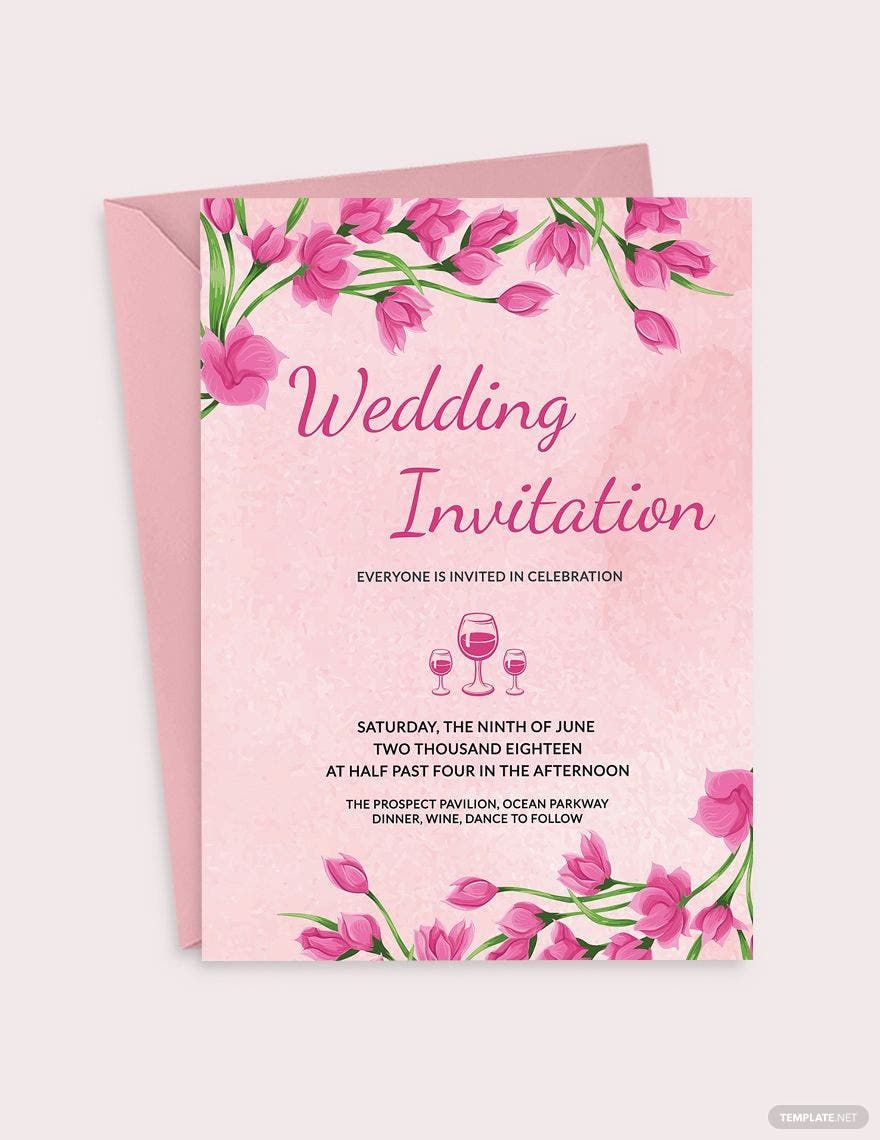
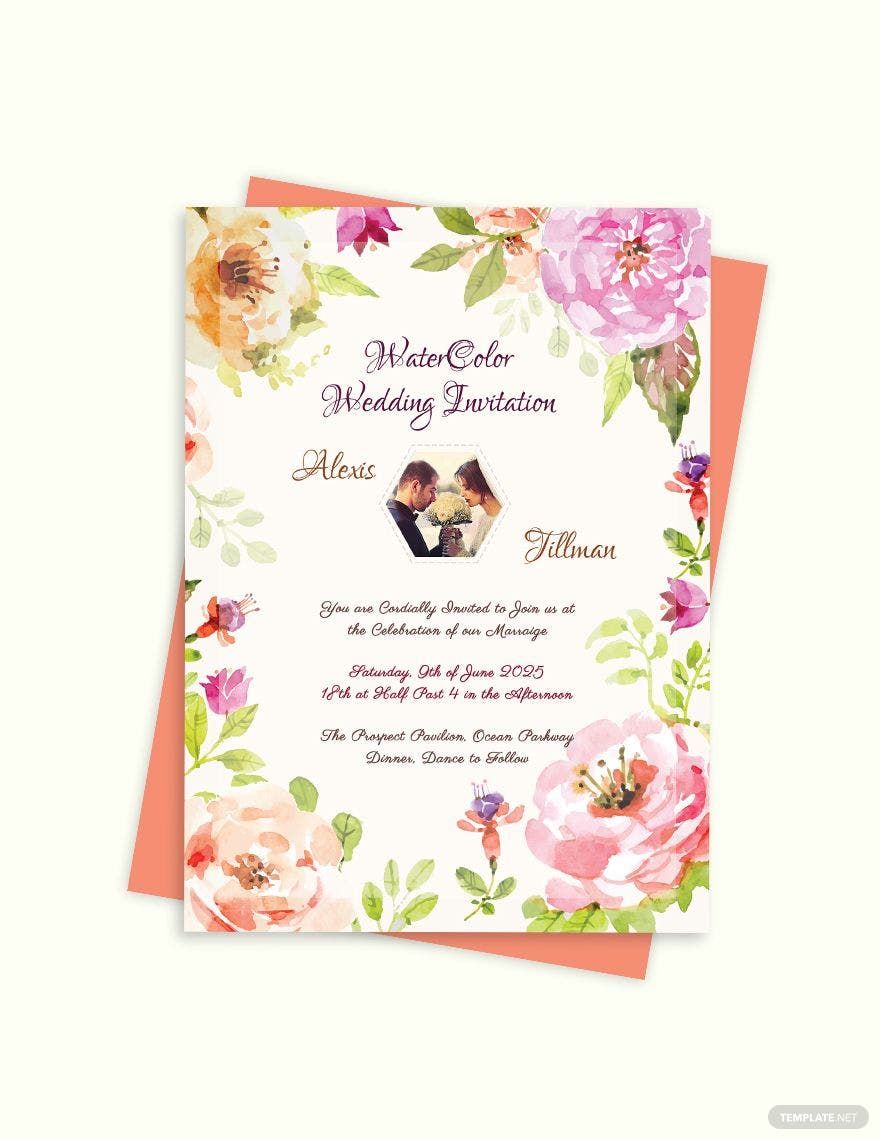
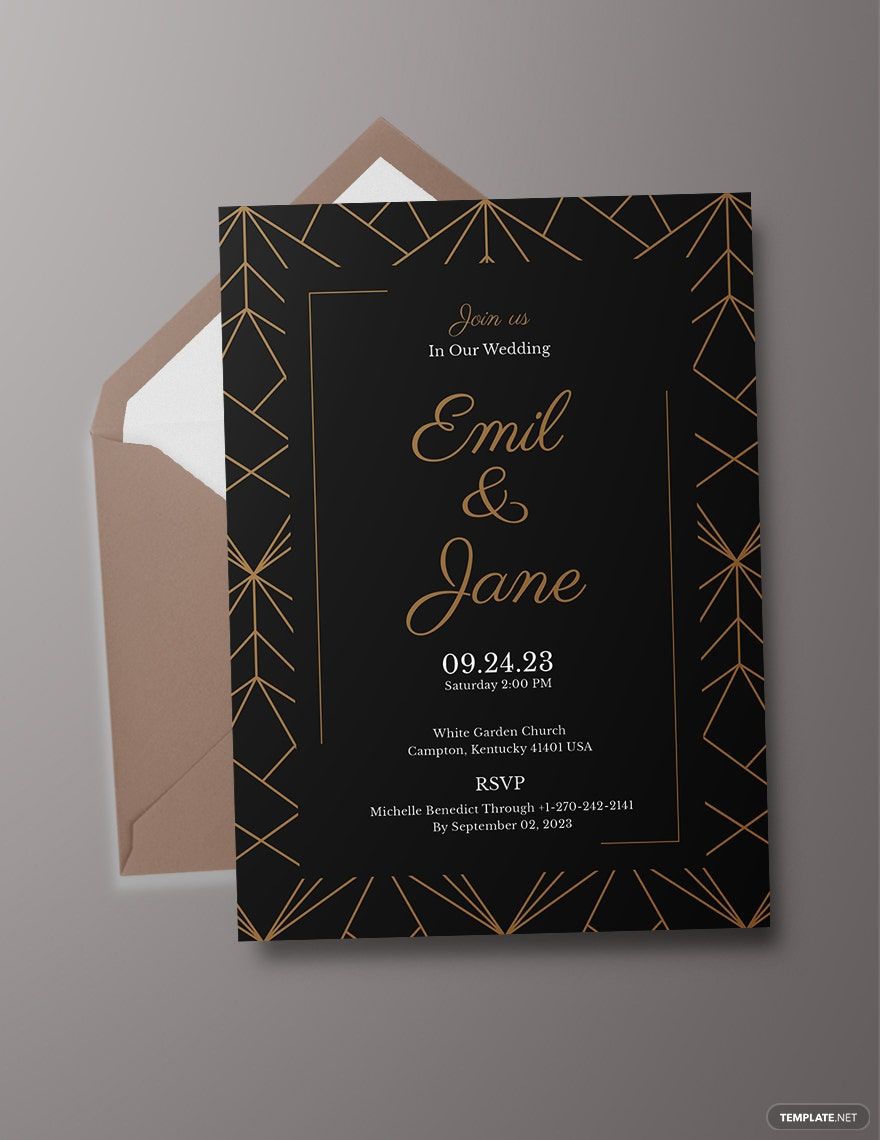
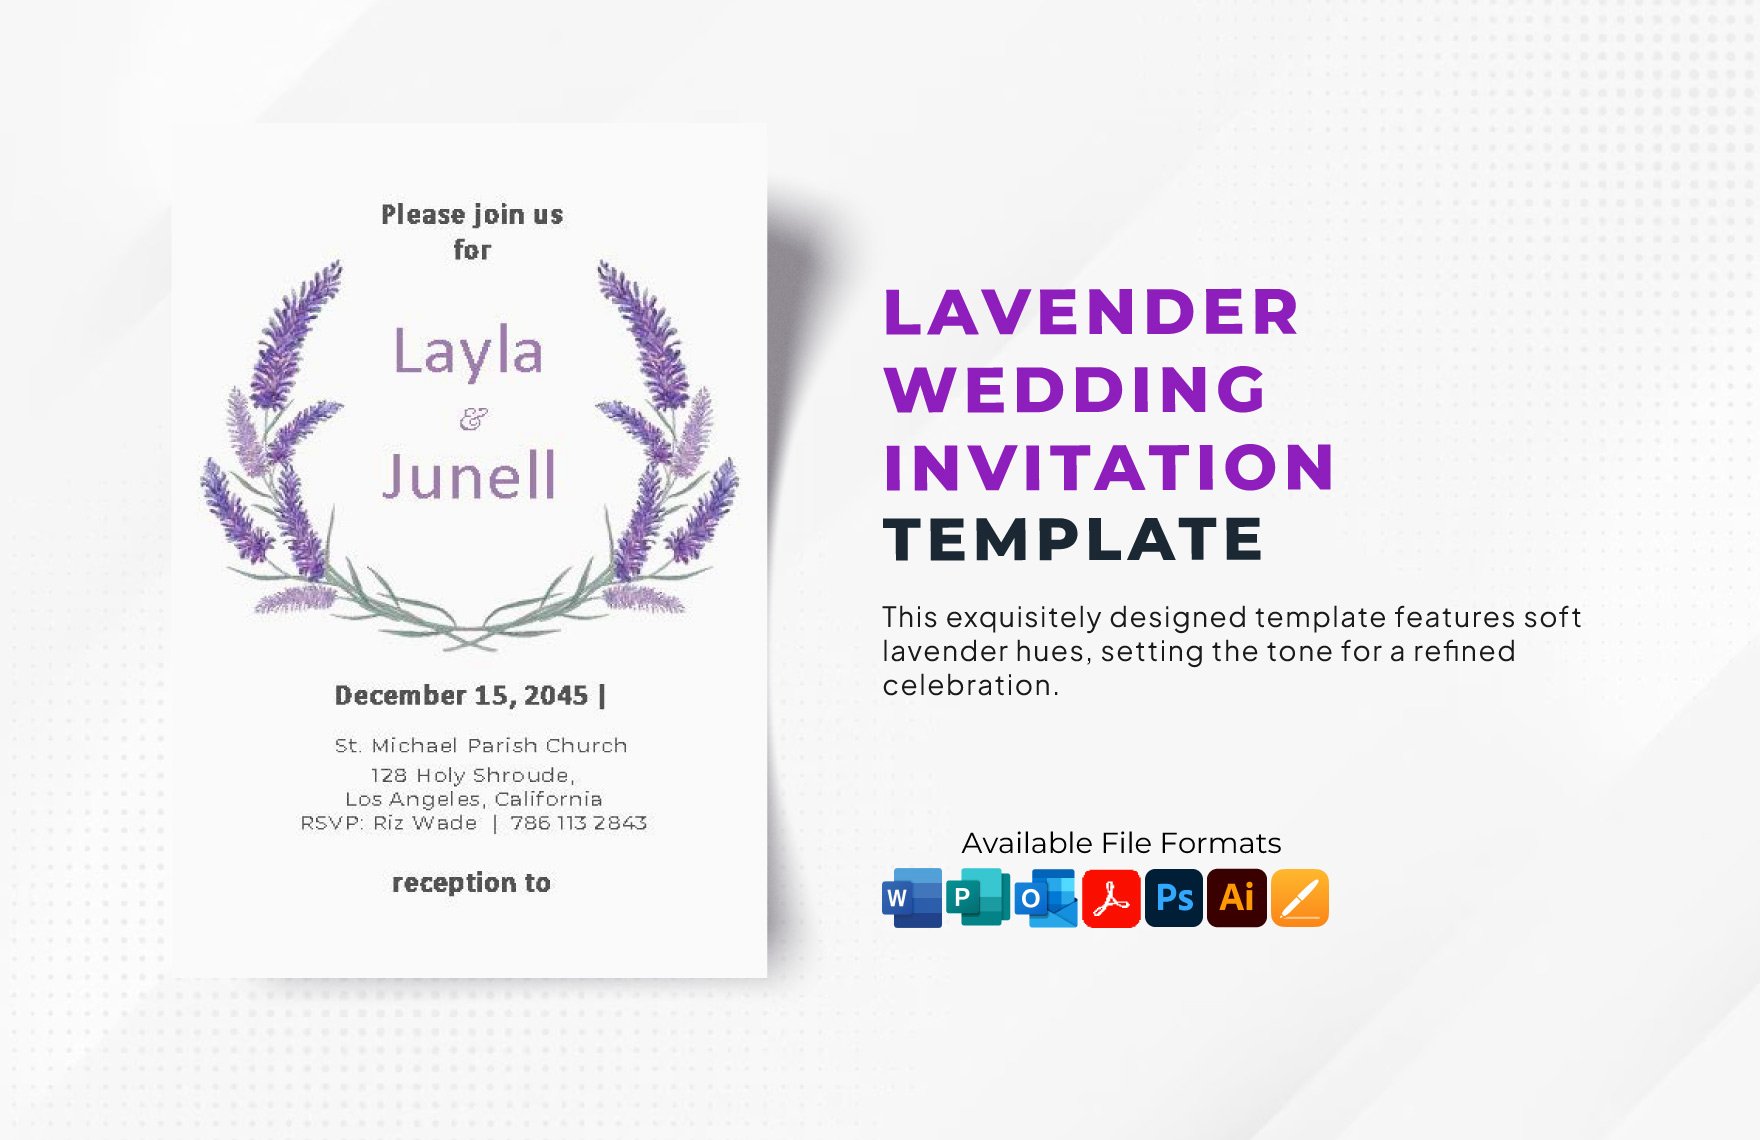
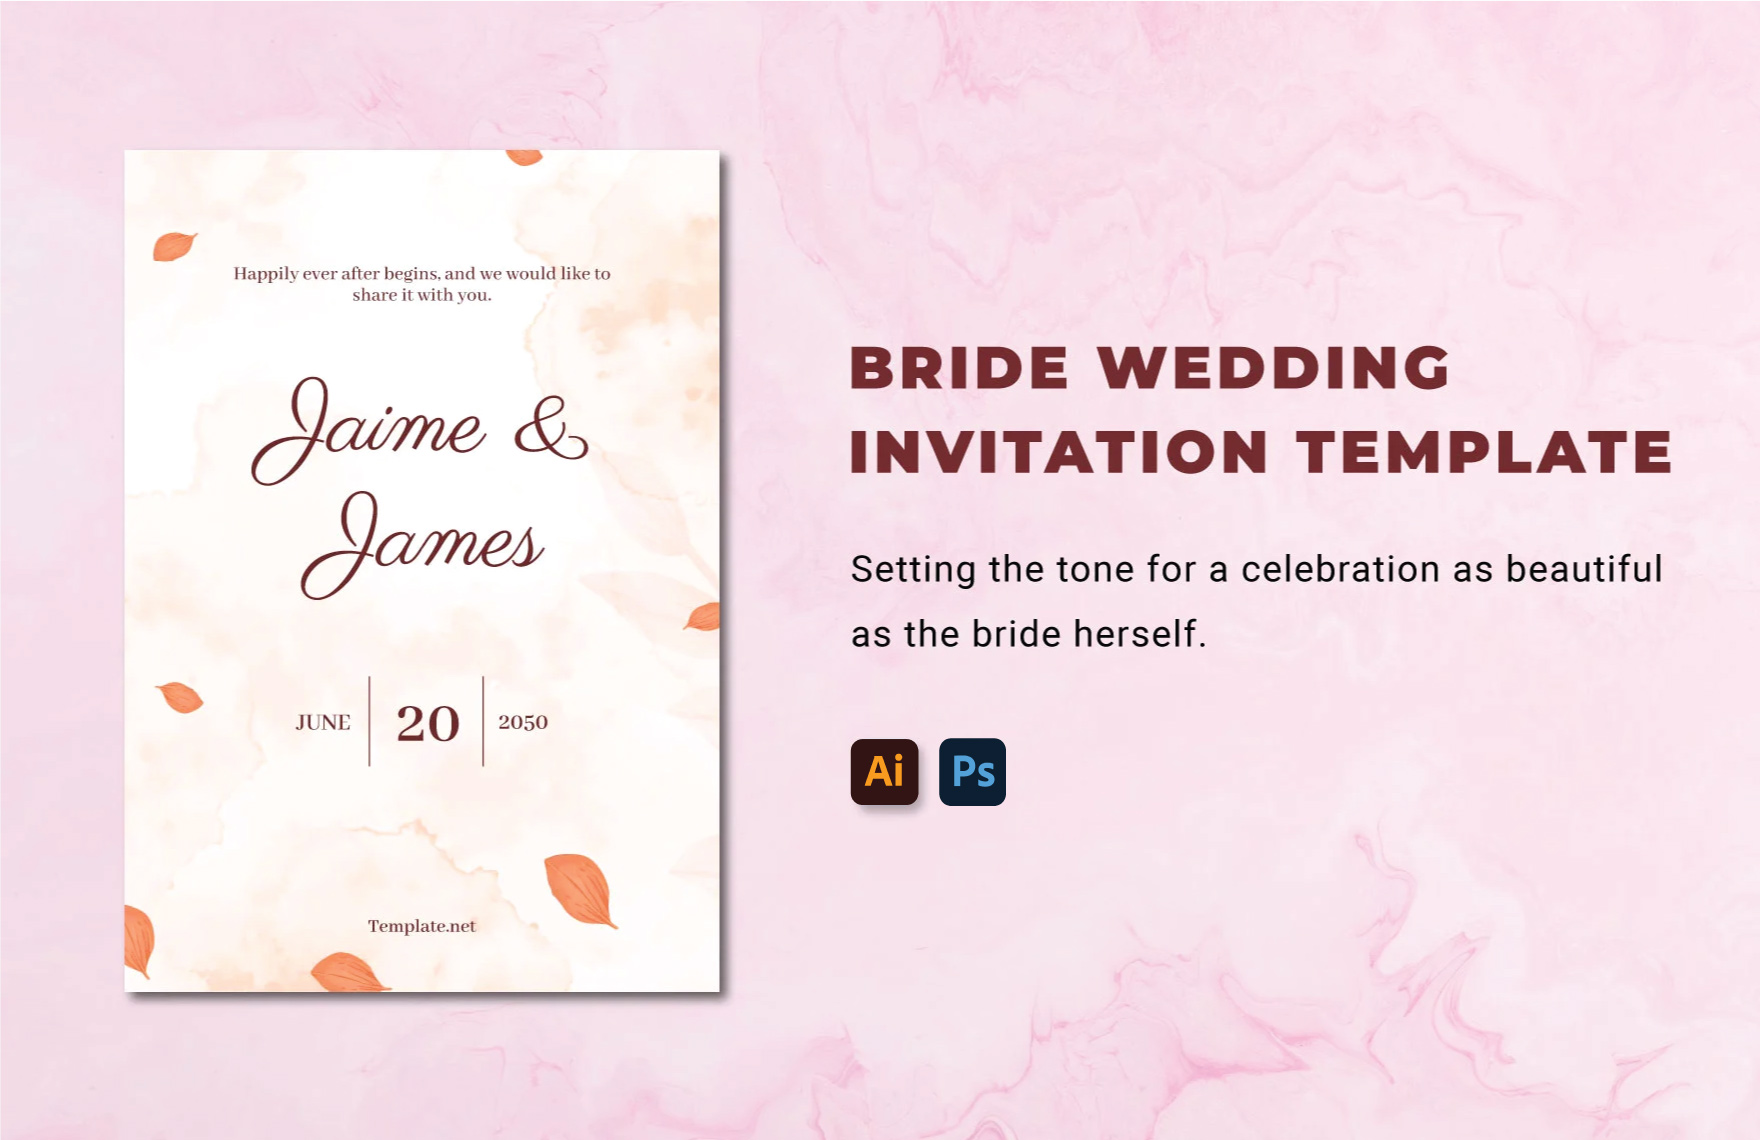
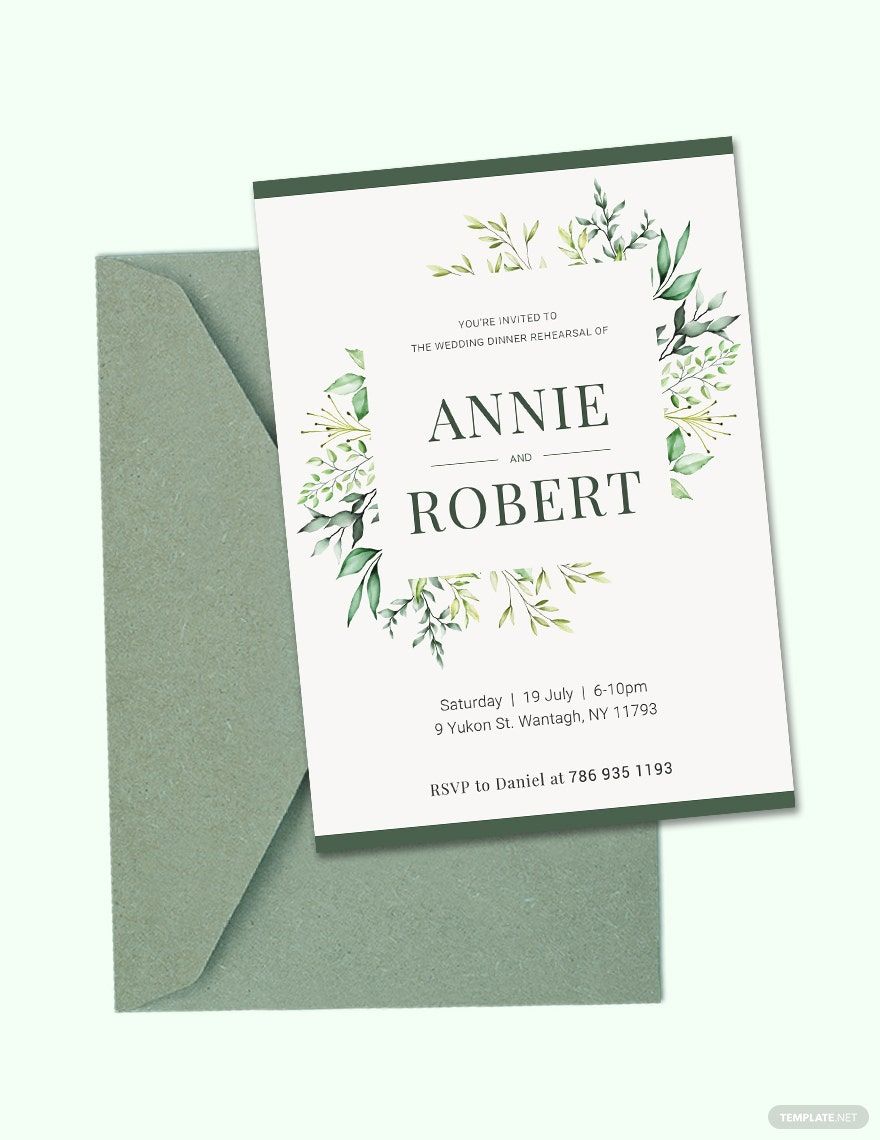
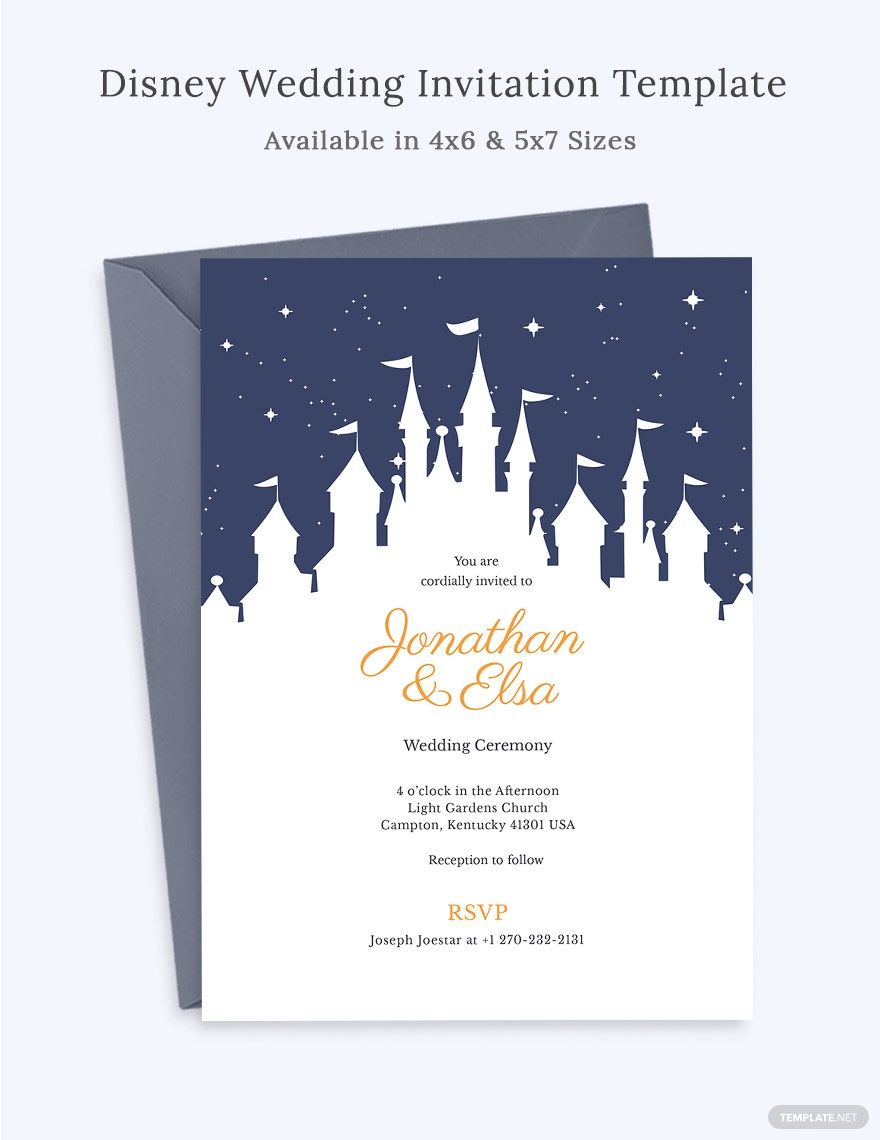
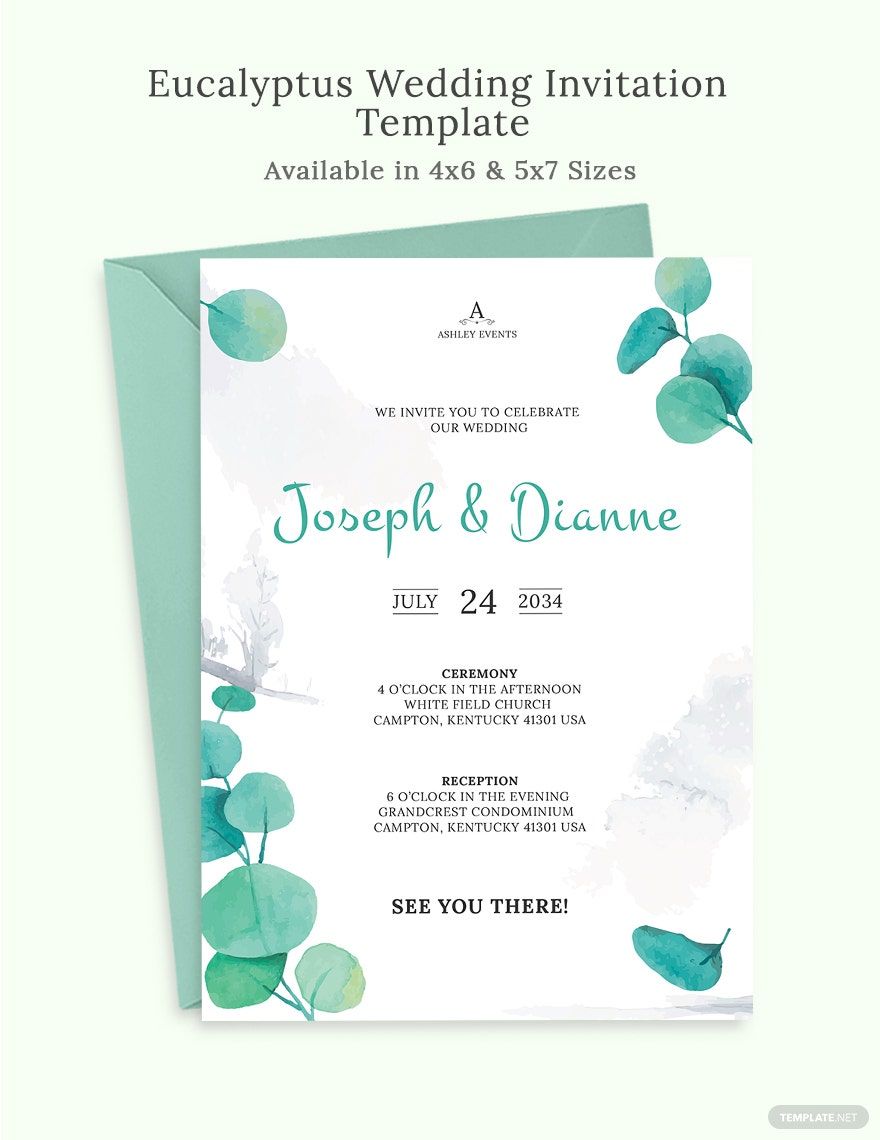
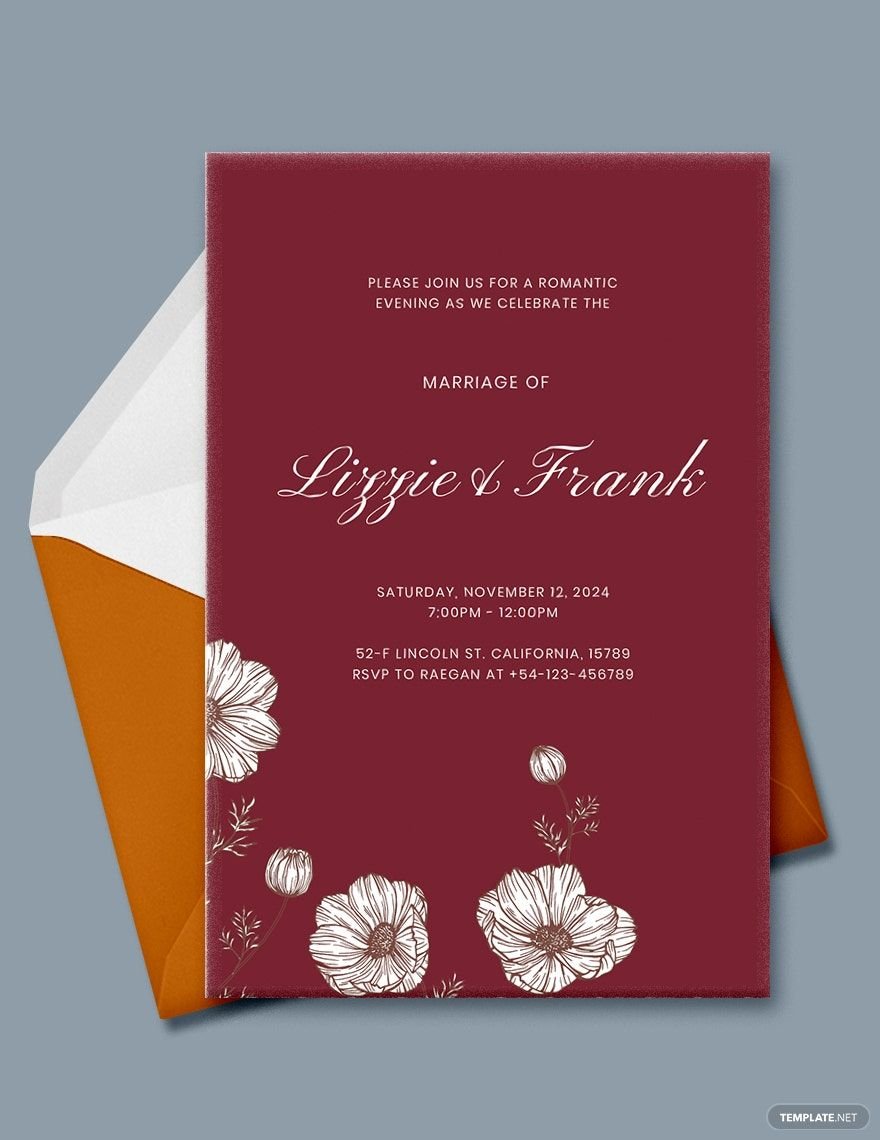
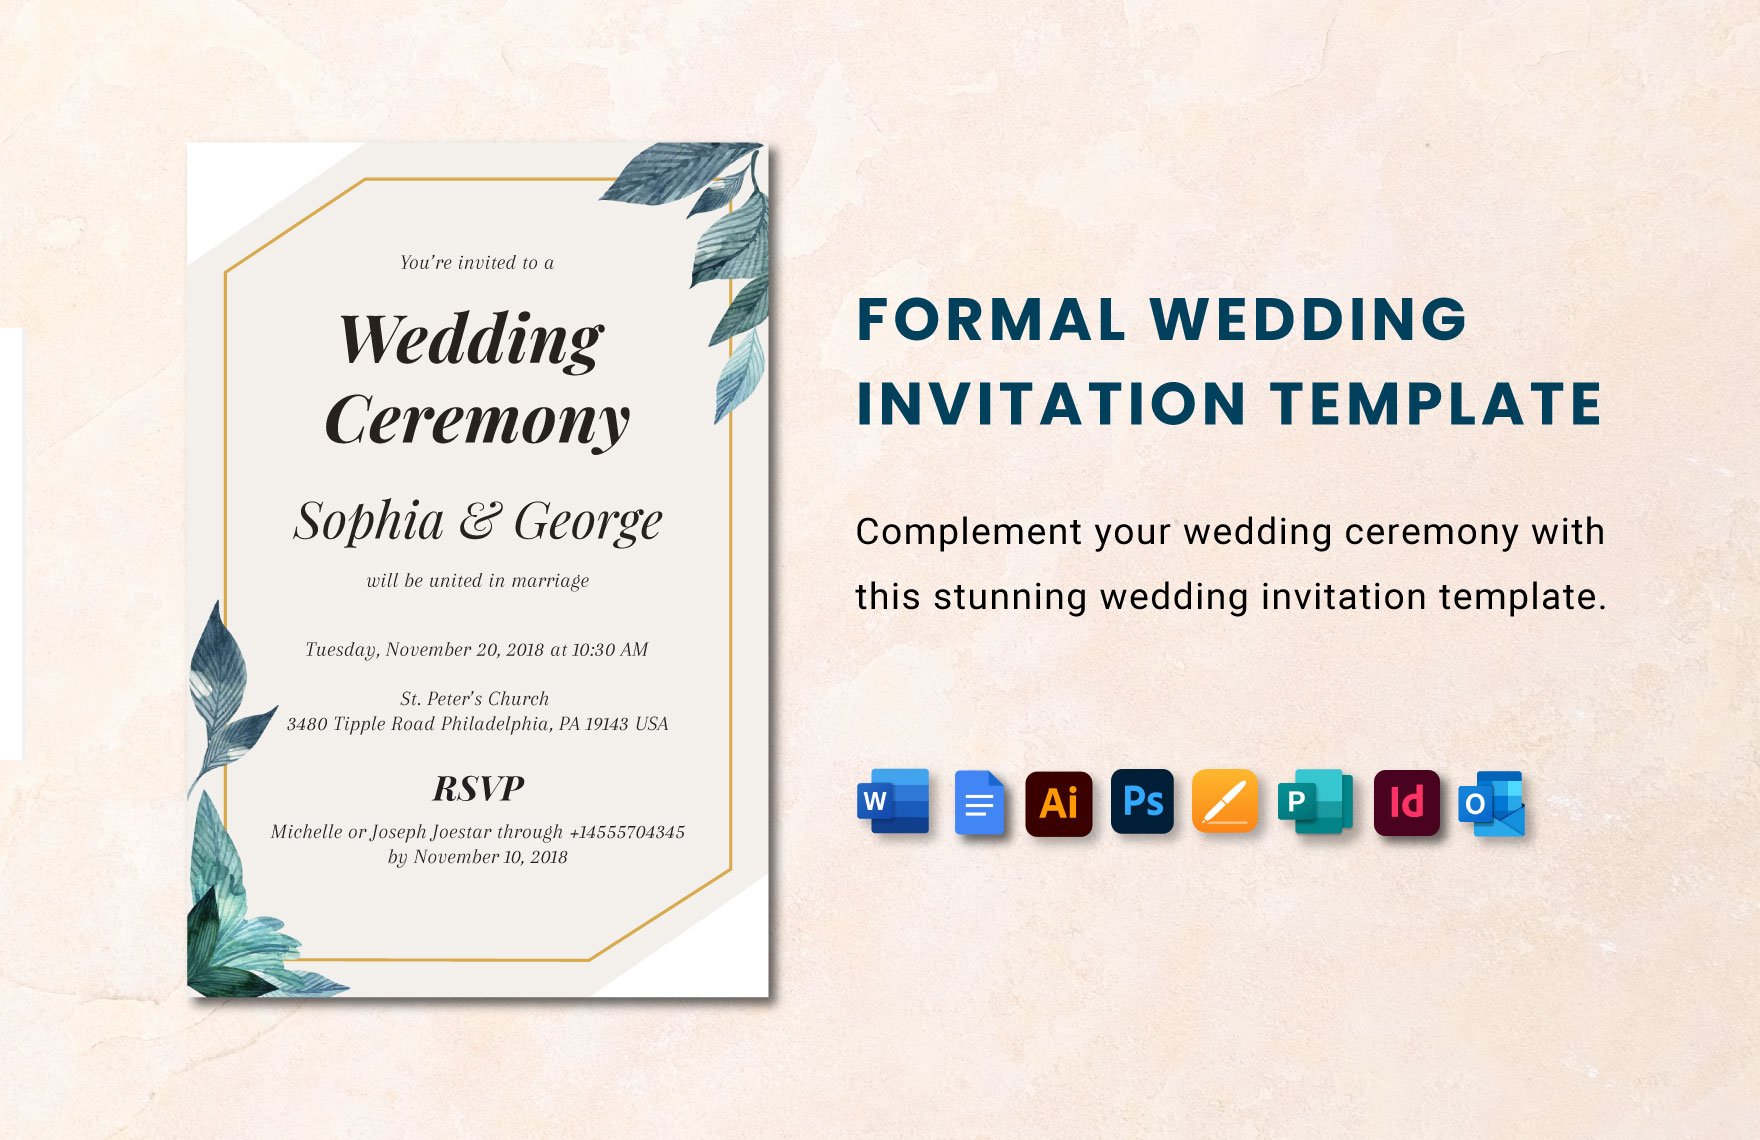
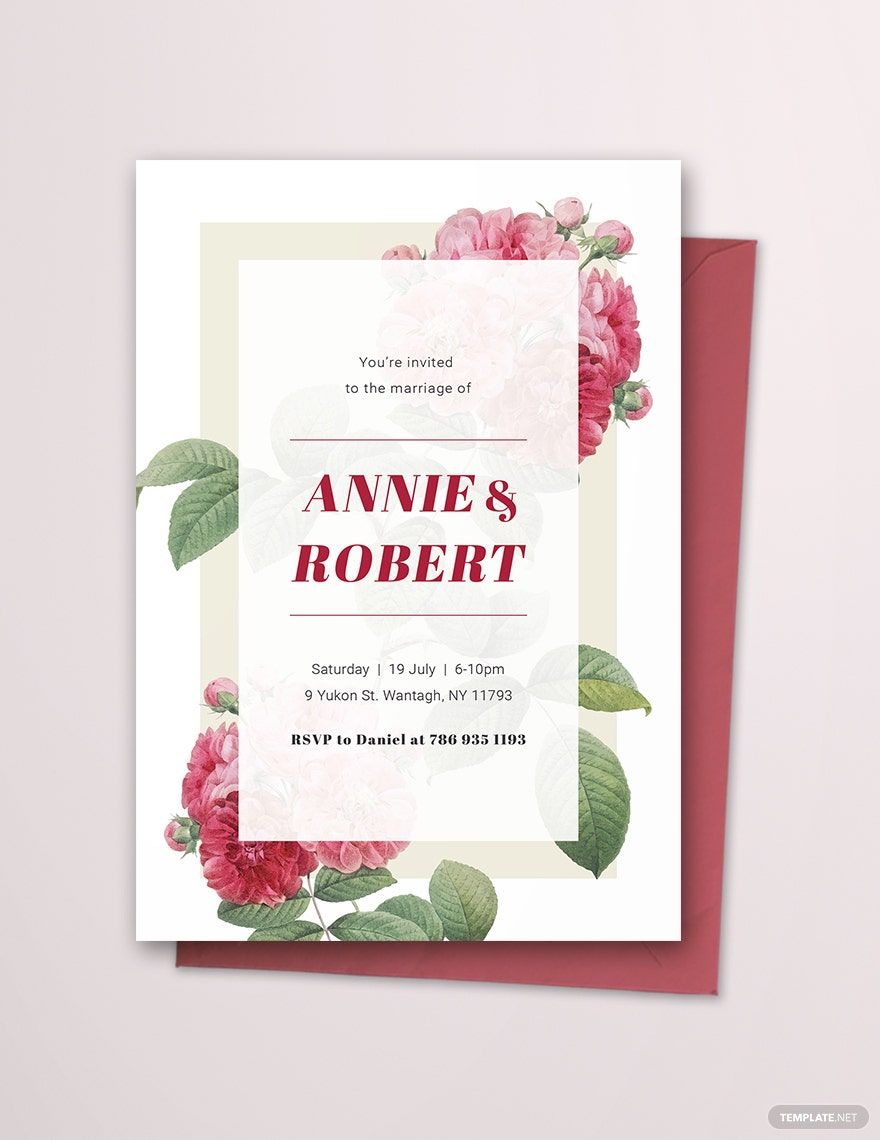
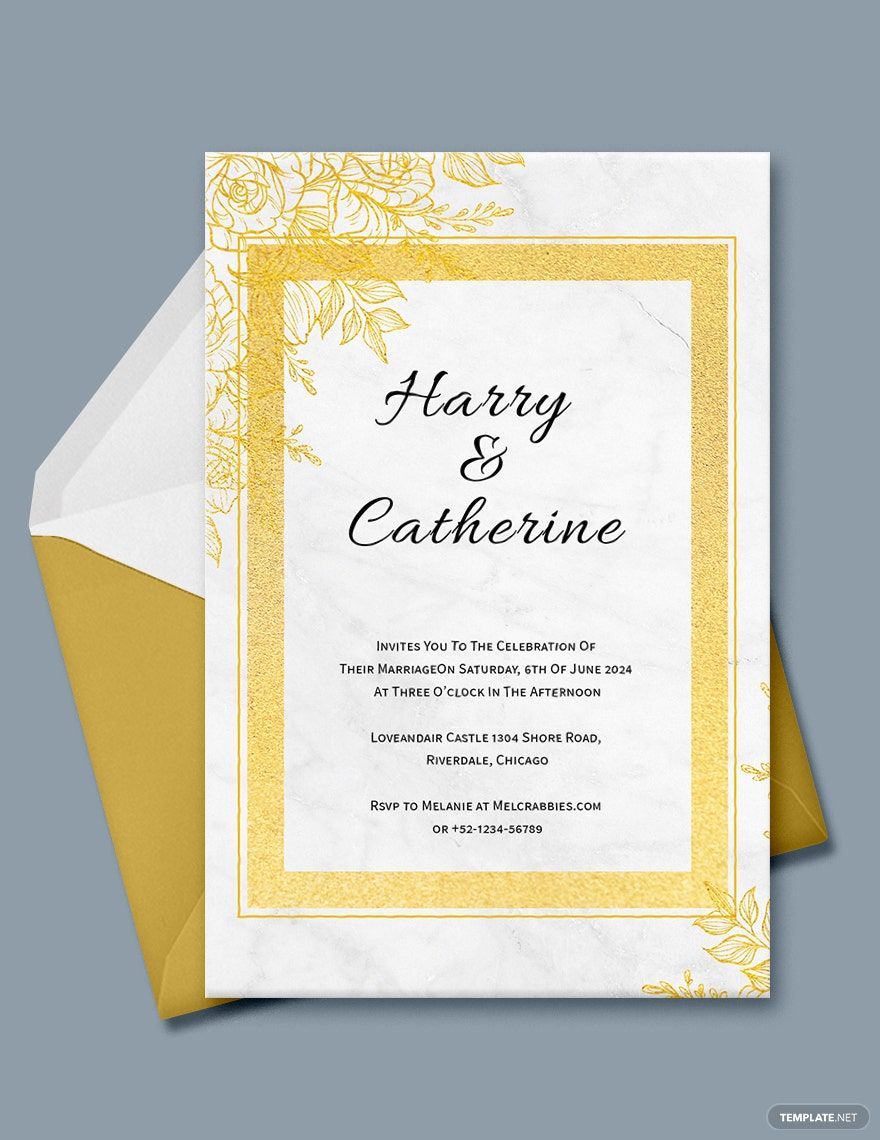
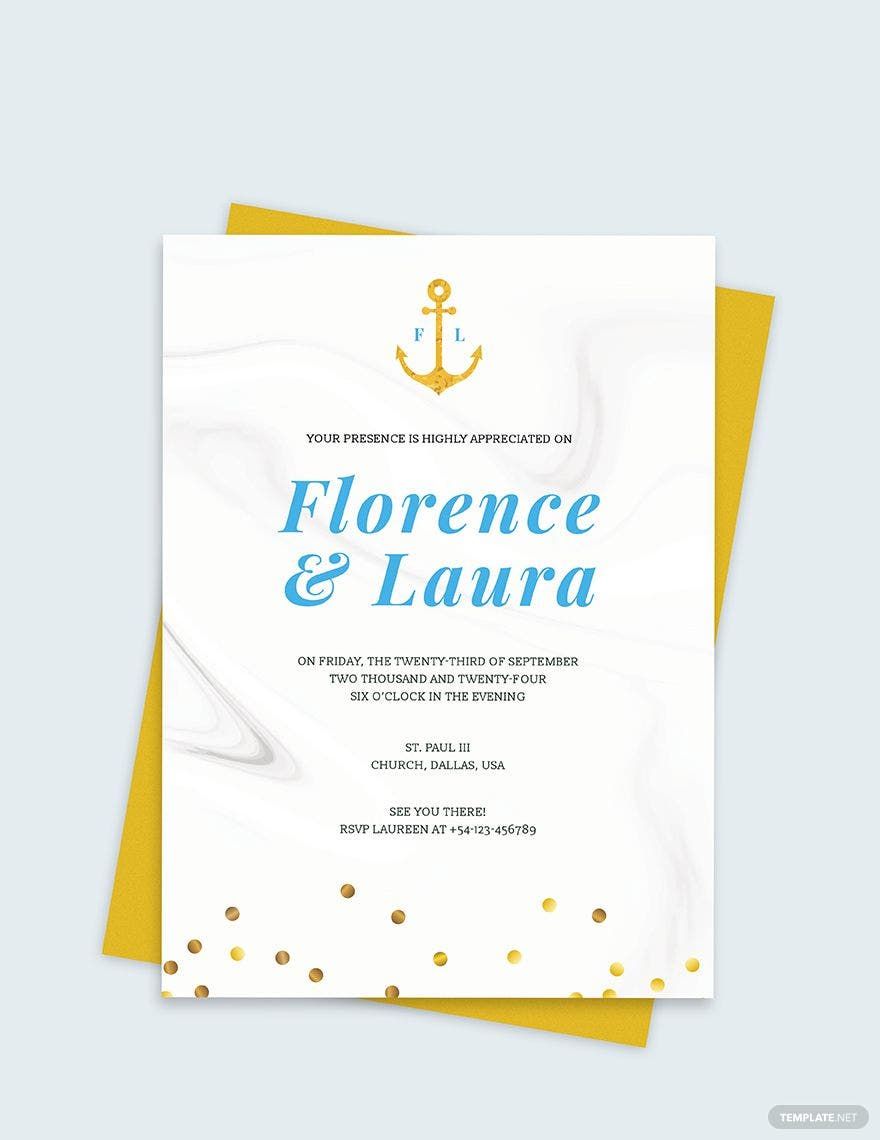
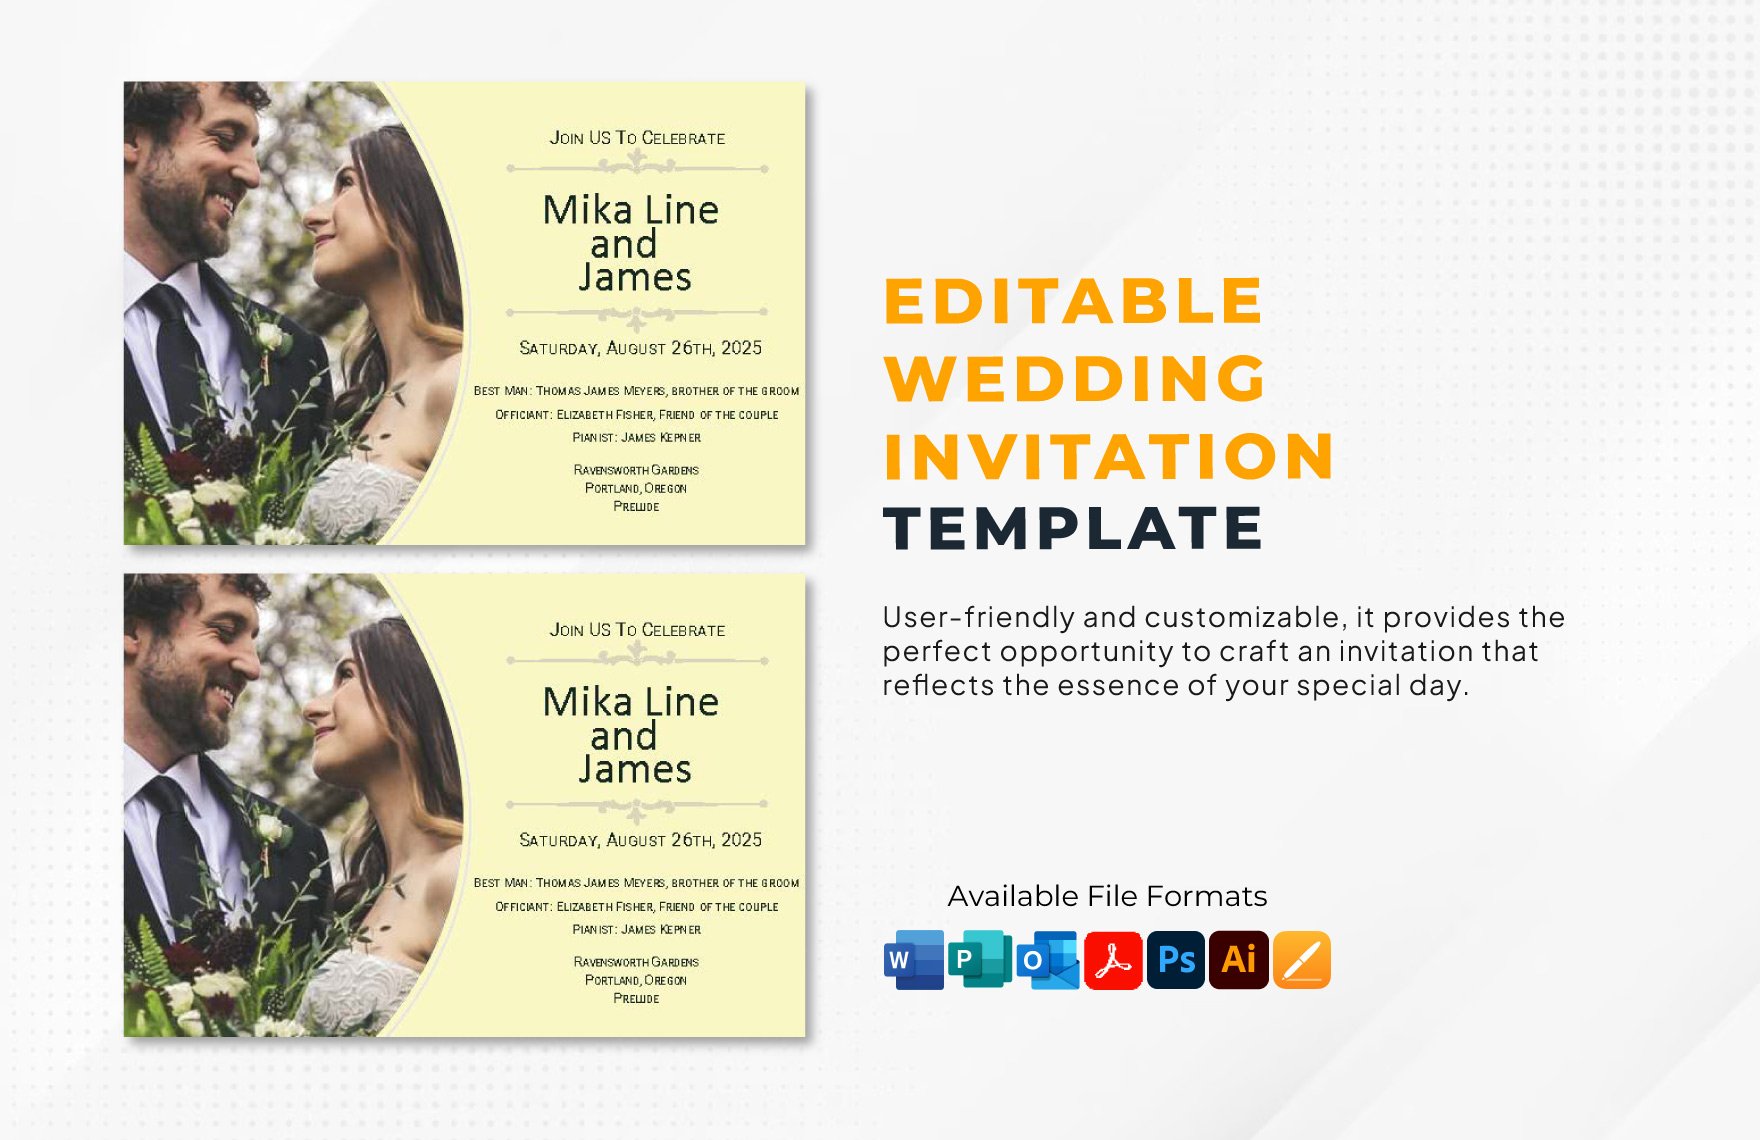
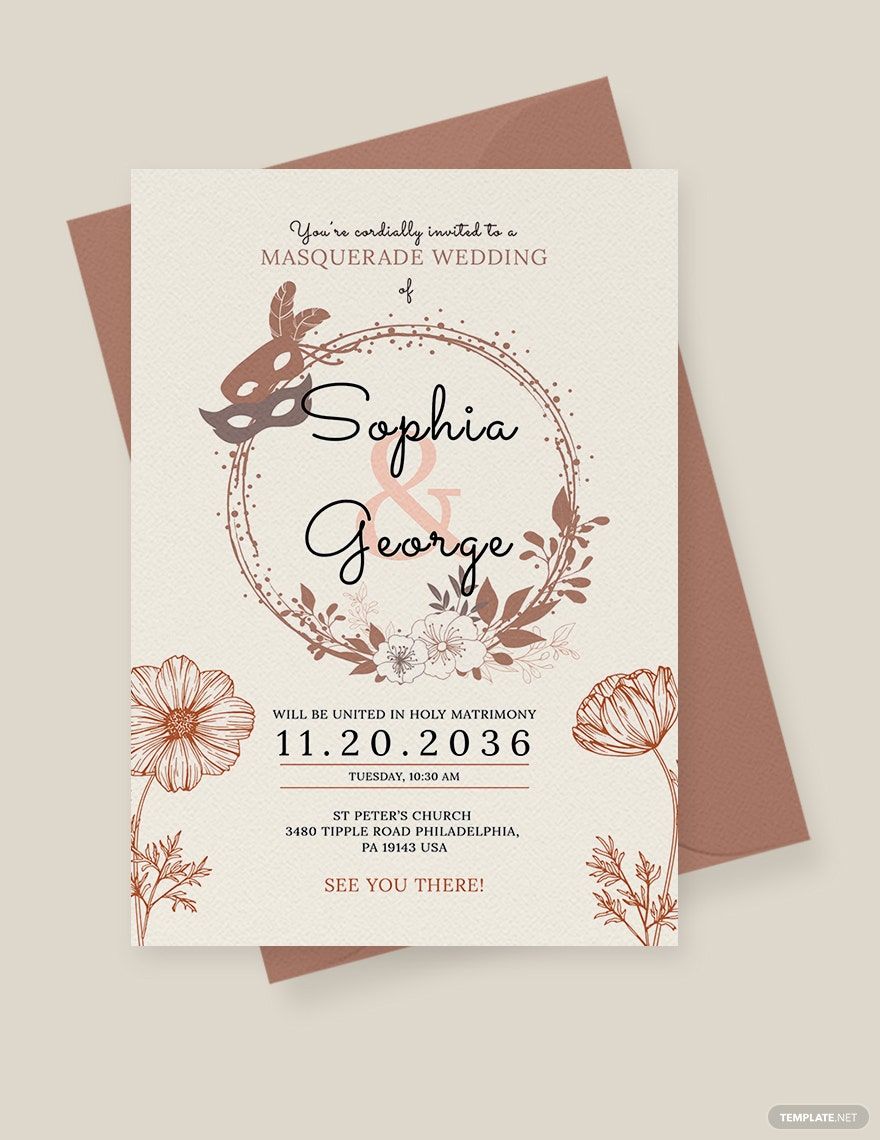
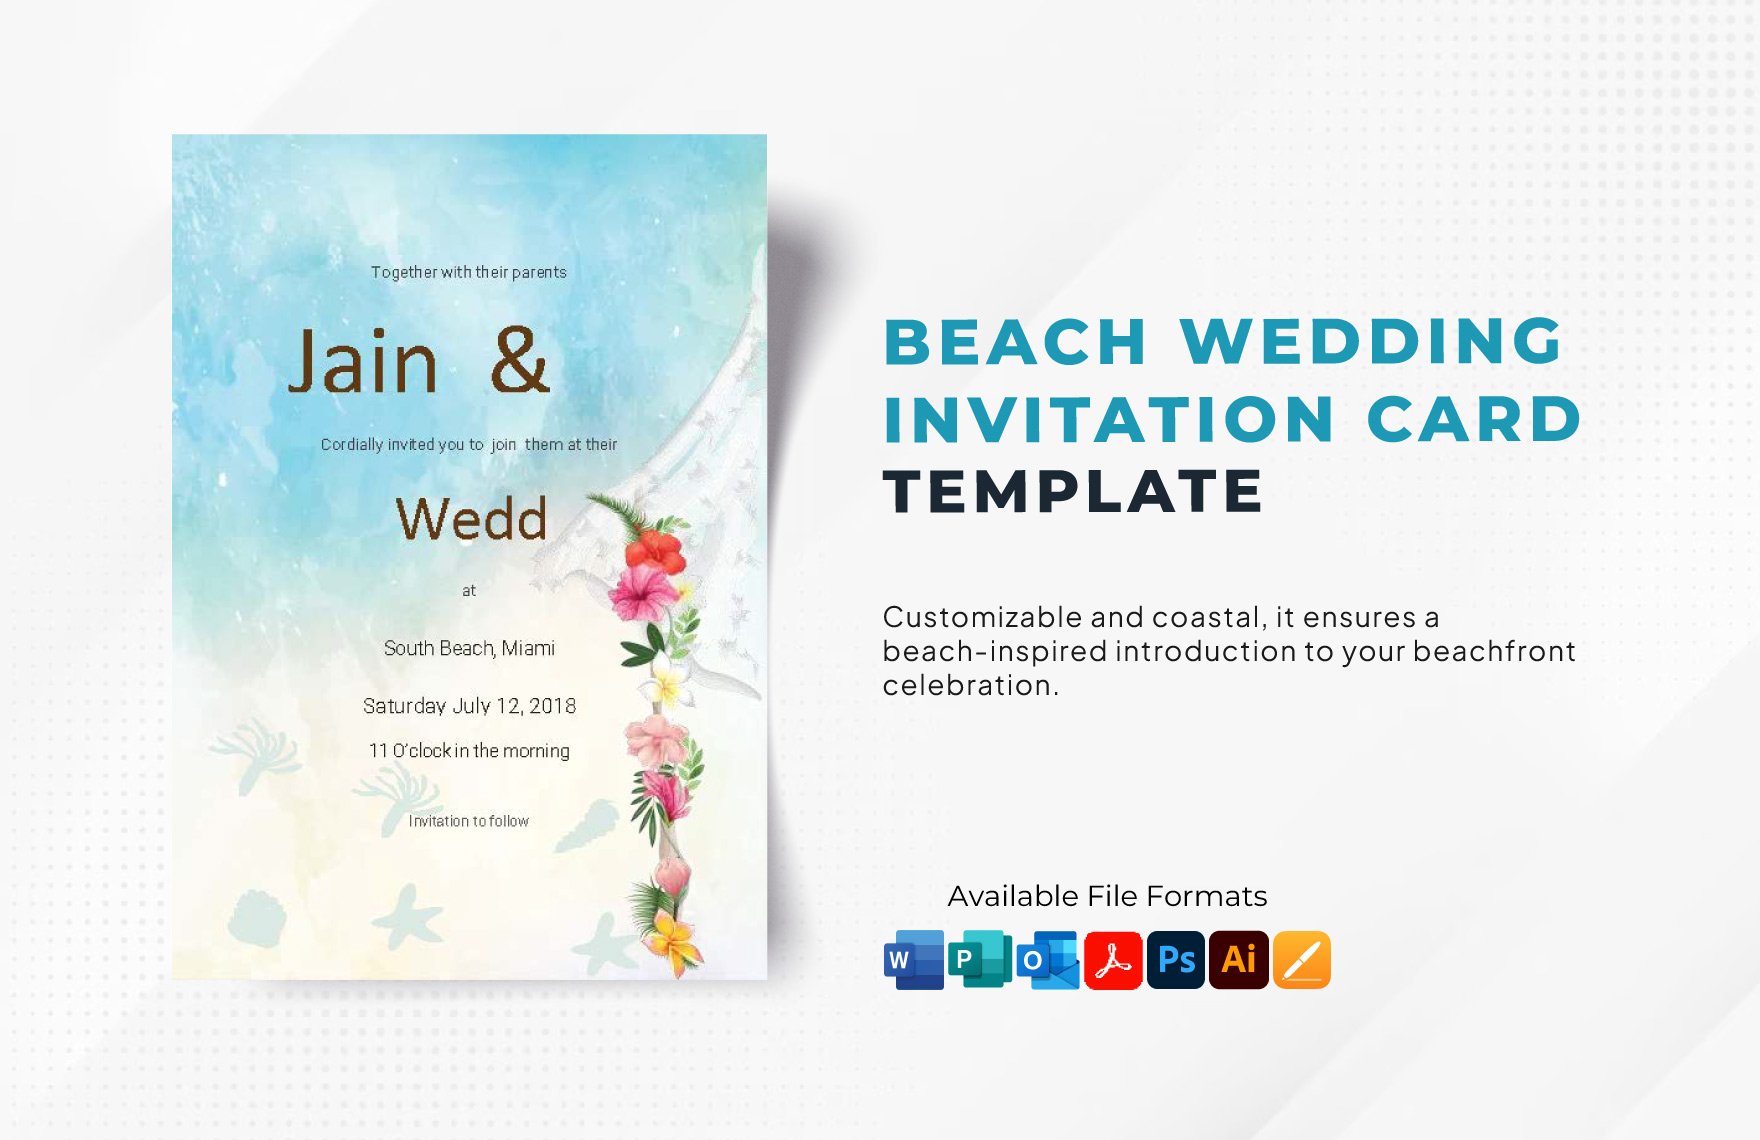
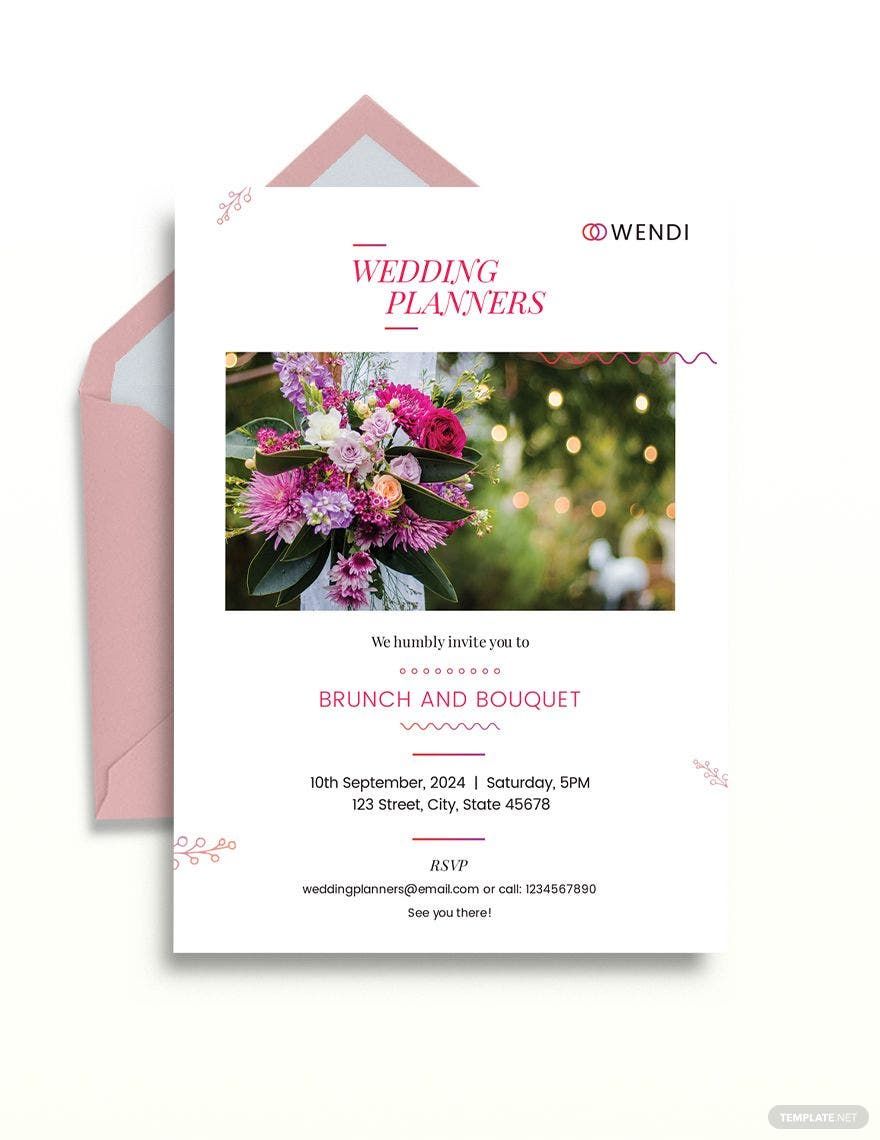
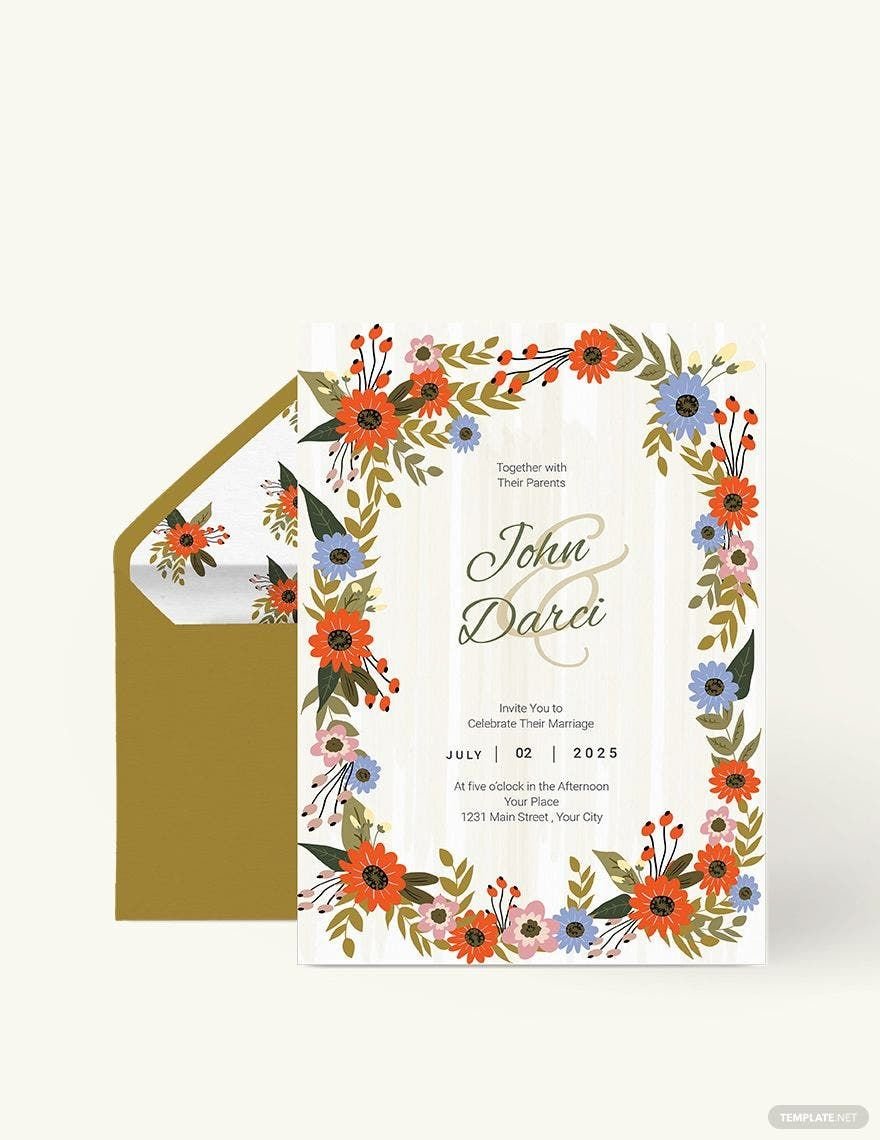
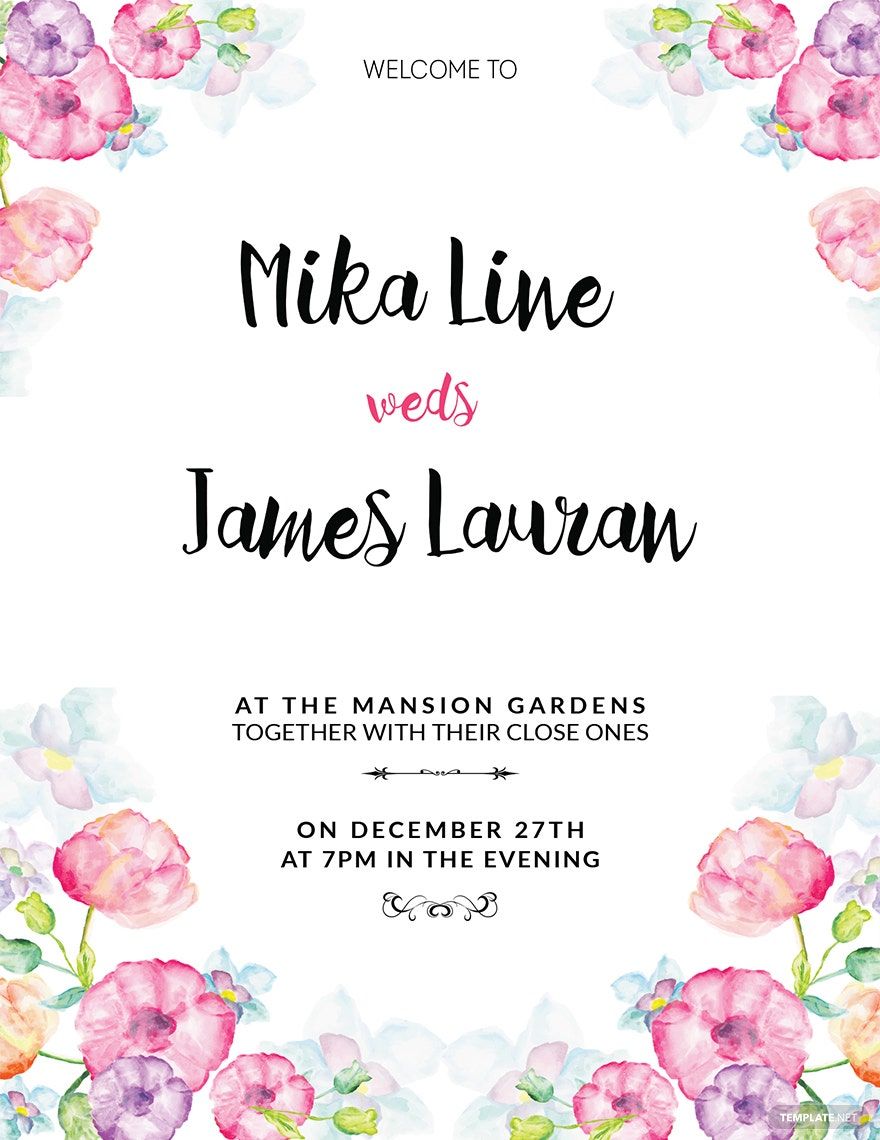
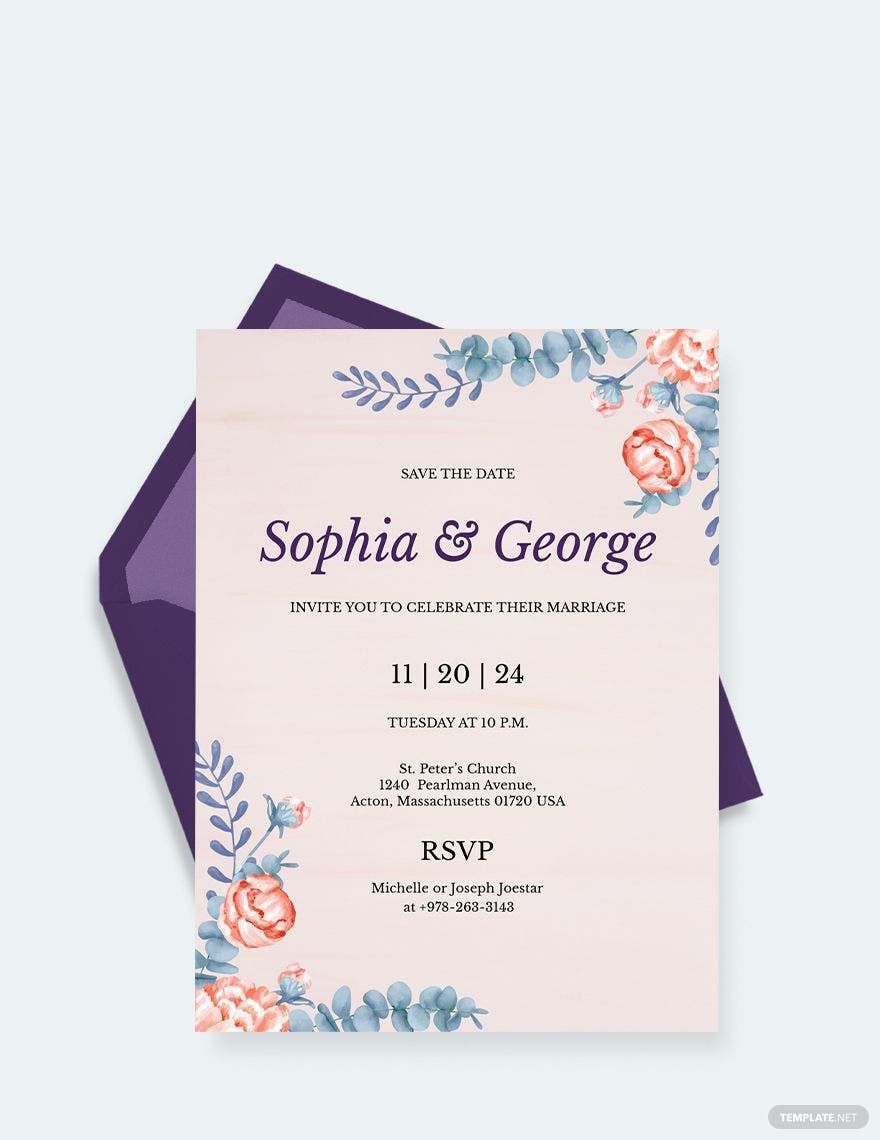
Weddings will always need guests so that people can partake in the joyous occasion. If you were to hold one, then you'll definitely need our beautifully designed wedding invitation templates! All of them are readily available for download and can be accessed with all versions of Adobe Indesign. They also come in different formats such as MS Word or Adobe Photoshop for your convenience. If you want even more downloadable and high-quality templates, then we have many affordable subscription plans for you to choose from. So what are you waiting for? Sign up today!
What Is the Purpose of a Wedding Invitation?
It's basically an invitation card wherein it invites the recipient to a wedding that will take place sometime in the future. Those who receive the invites can use it as a reminder on when and where the marriage ceremony is going to take place. Whether someone's holding a big or small wedding, there's no doubt that sending out invitations is vital if one wishes to have guests during his/her special day.
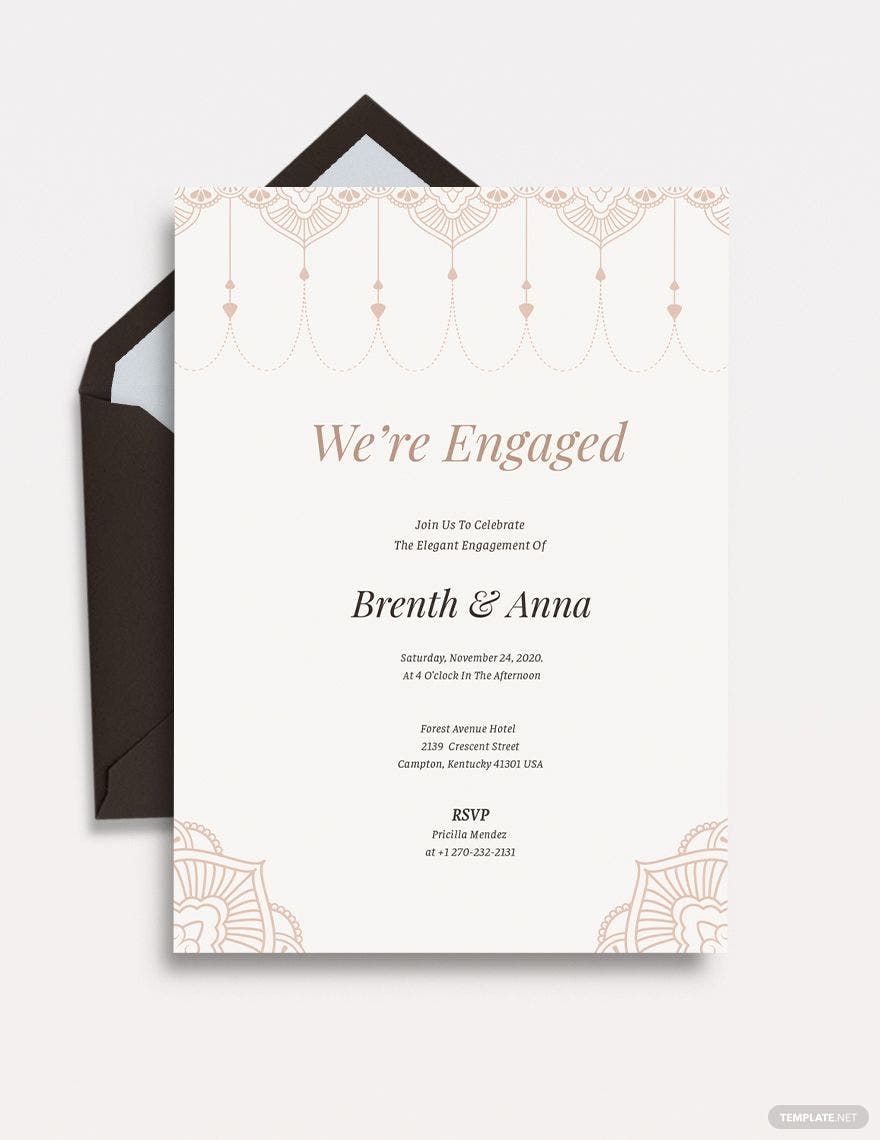
How to Make a Wedding Invitation in Indesign
1. Setup the Invitation in Indesign
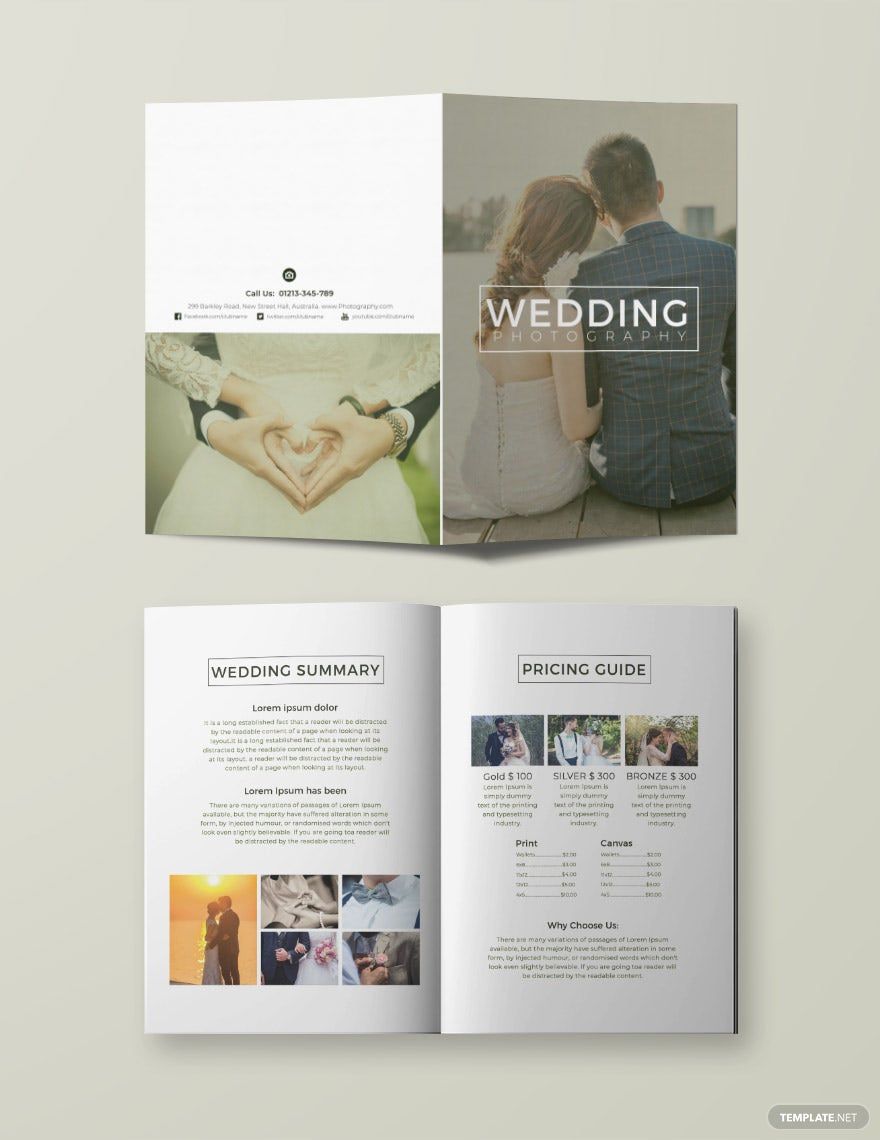
Start by opening up Adobe Indesign and click on Create New. On top of New Document, you'll see an option called Print. Click on it and switch the units to inches. When setting the width and height, you can opt to go with 5 and 7 inches respectively. You'll also need to create a layer for your background and images. Do that by heading to the Layers panel and clicking on New Layer. Do this until you have one for each. Also, be sure to double click and name each layer appropriately.
2. Make the Design of Your Invitation
You'll want to add some color to your background, meaning that you'll need to come up with a color swatch. Expand the Swatches panel by clicking on Windows, Color, and then Swatches. From there, you simply click on New Color Swatch and set the levels of the color you want. Make sure that you chose a color that's appropriate for an elegant wedding occasion. Then you'll need to use the rectangle tool to determine the shape of your simple invitation. Just drag it across the page until you're satisfied with the final output. If you're going to use any images, import and place them wherever you want.
3. Put In Your Message
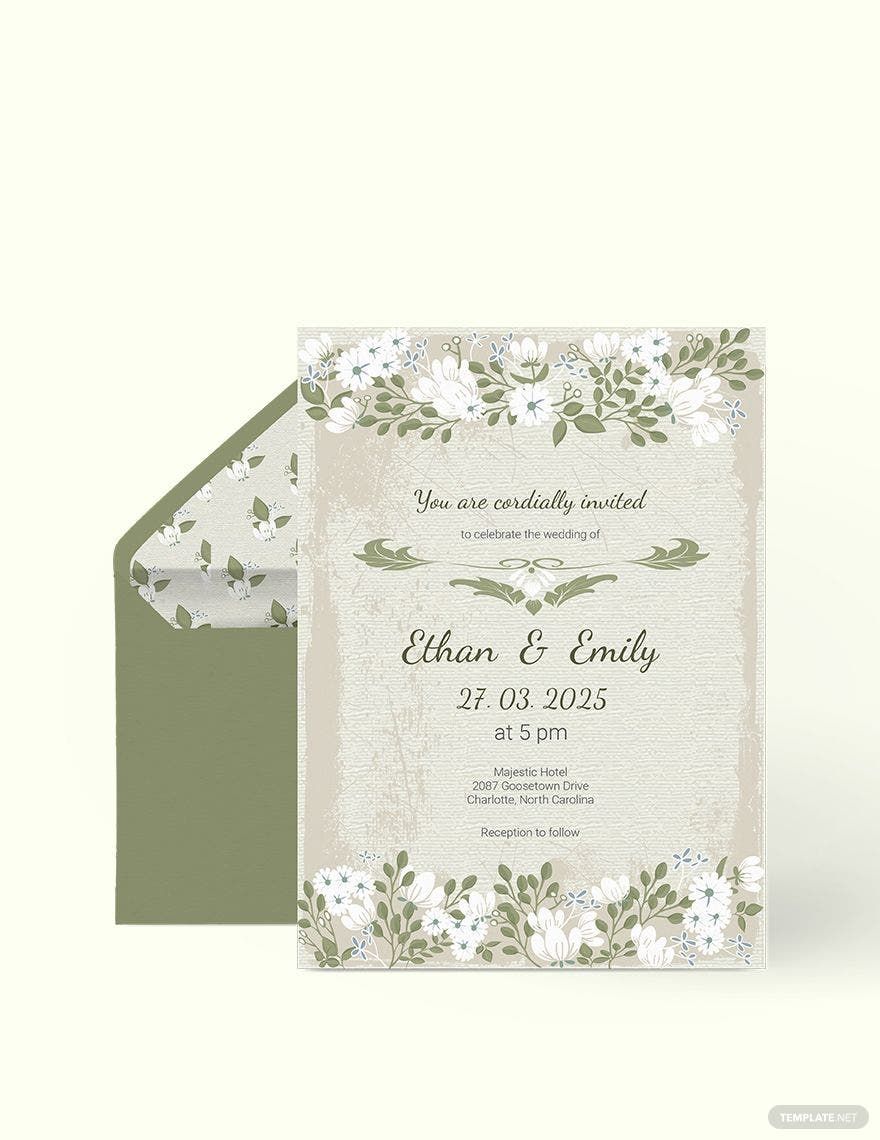
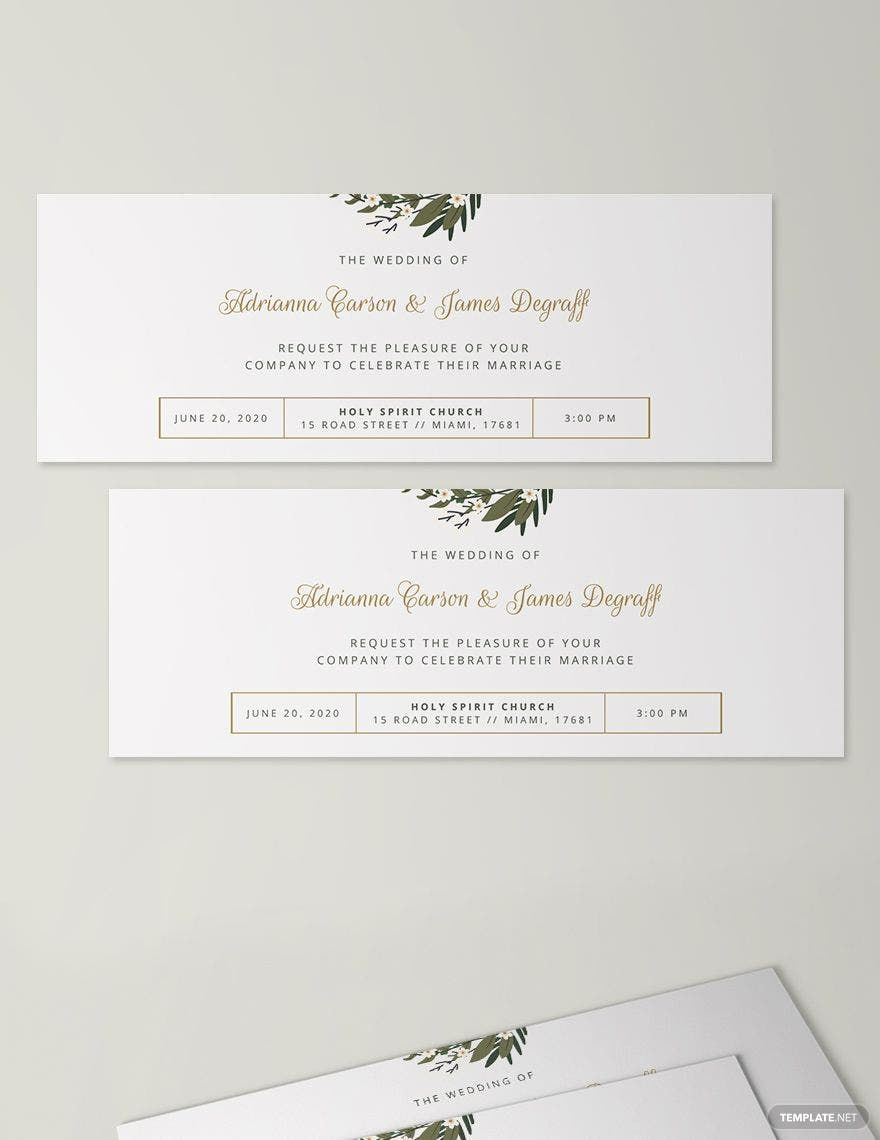
Use the Type Tool so that you can start making your wedding card's text. If you want to change the font and font size, then you'll have to go to the top Control panel or the Character and Paragraph panels. Make sure that you include important information such as the names of the bride and groom, the exact date it's going to take place, and the address of the venue.
4. Check Your Work
It is very important that you go through the contents of the invitation before you print out the final product. Make sure to check for any spelling or grammatical errors. You will also have to check that whatever information you've placed is accurate. As soon as you see any mistakes, be sure to fix them right away. This is to ensure that there will be no problems and that recipients get everything that they need to know in the right manner.
5. Export and Save
Once you are done, you will then have to click on File, Export, and then choose the format that you want to save it in. Name the file and choose the location that you want to save it in. From there, click on Export so that you can start printing out your wedding invitation.