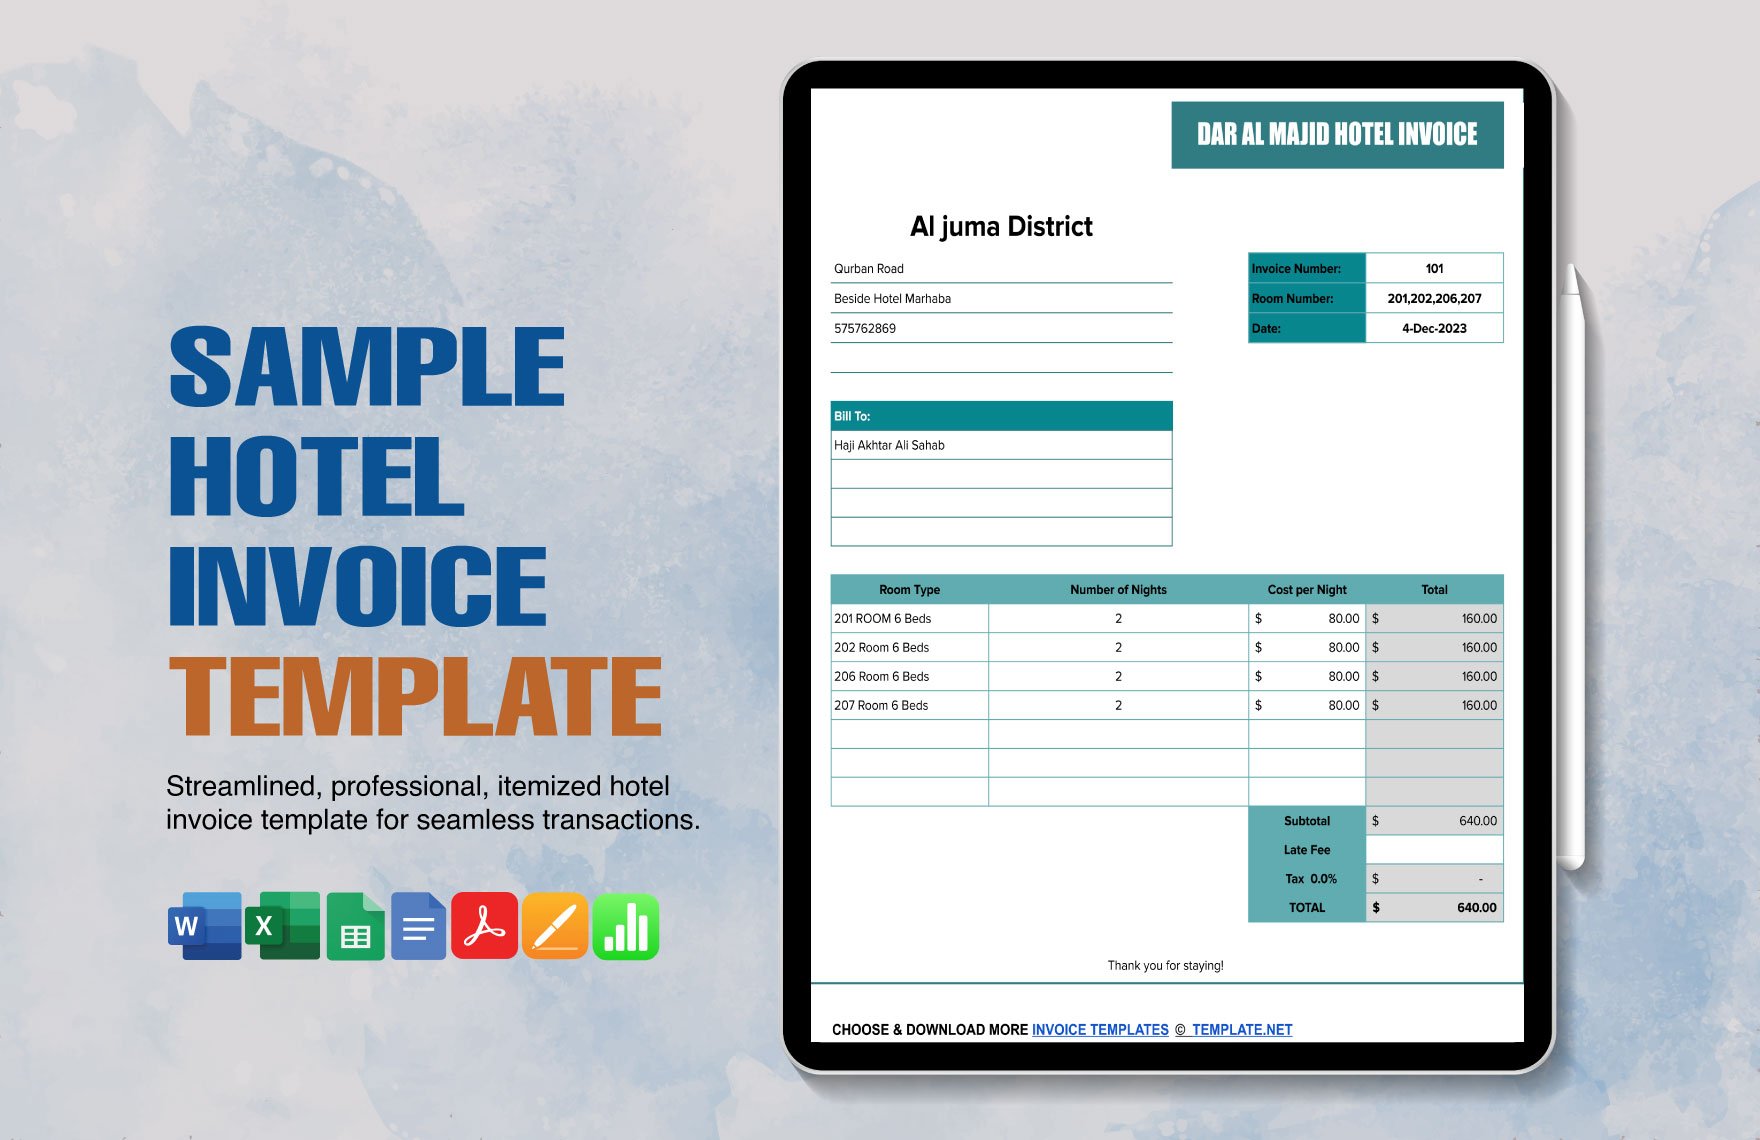
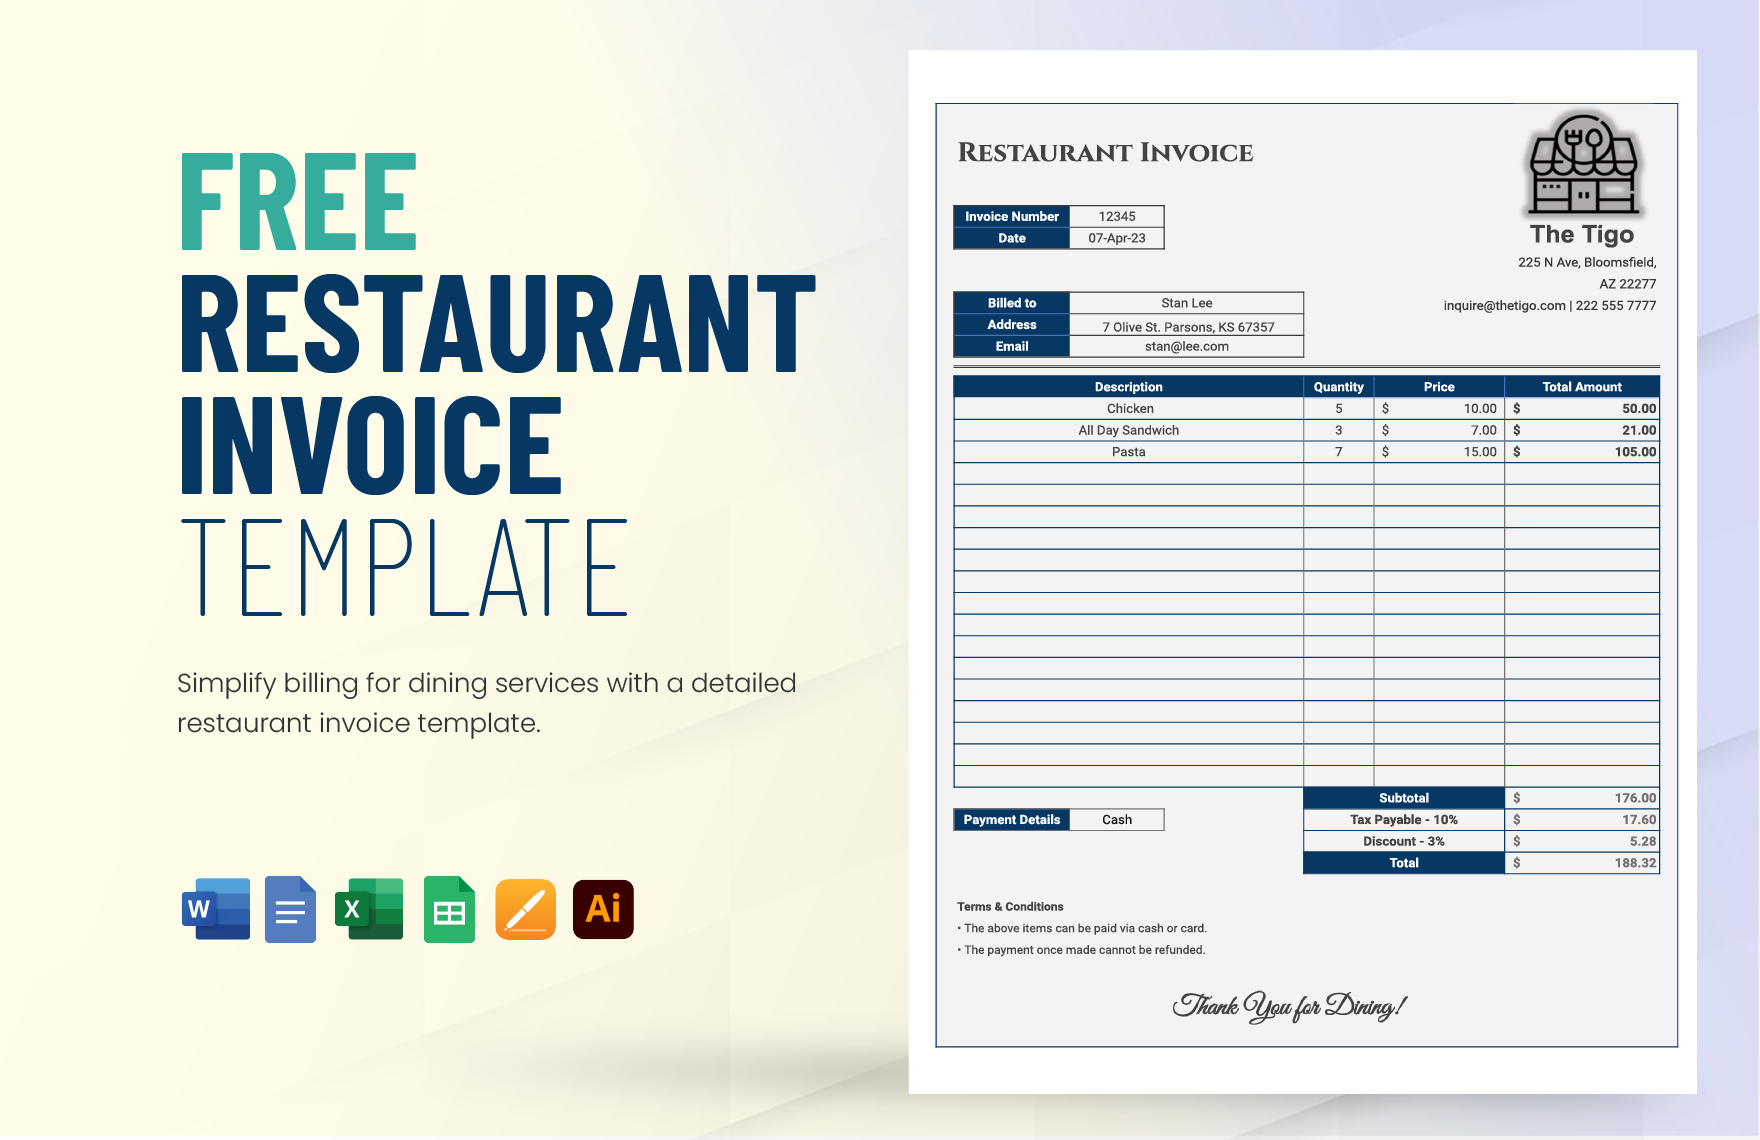
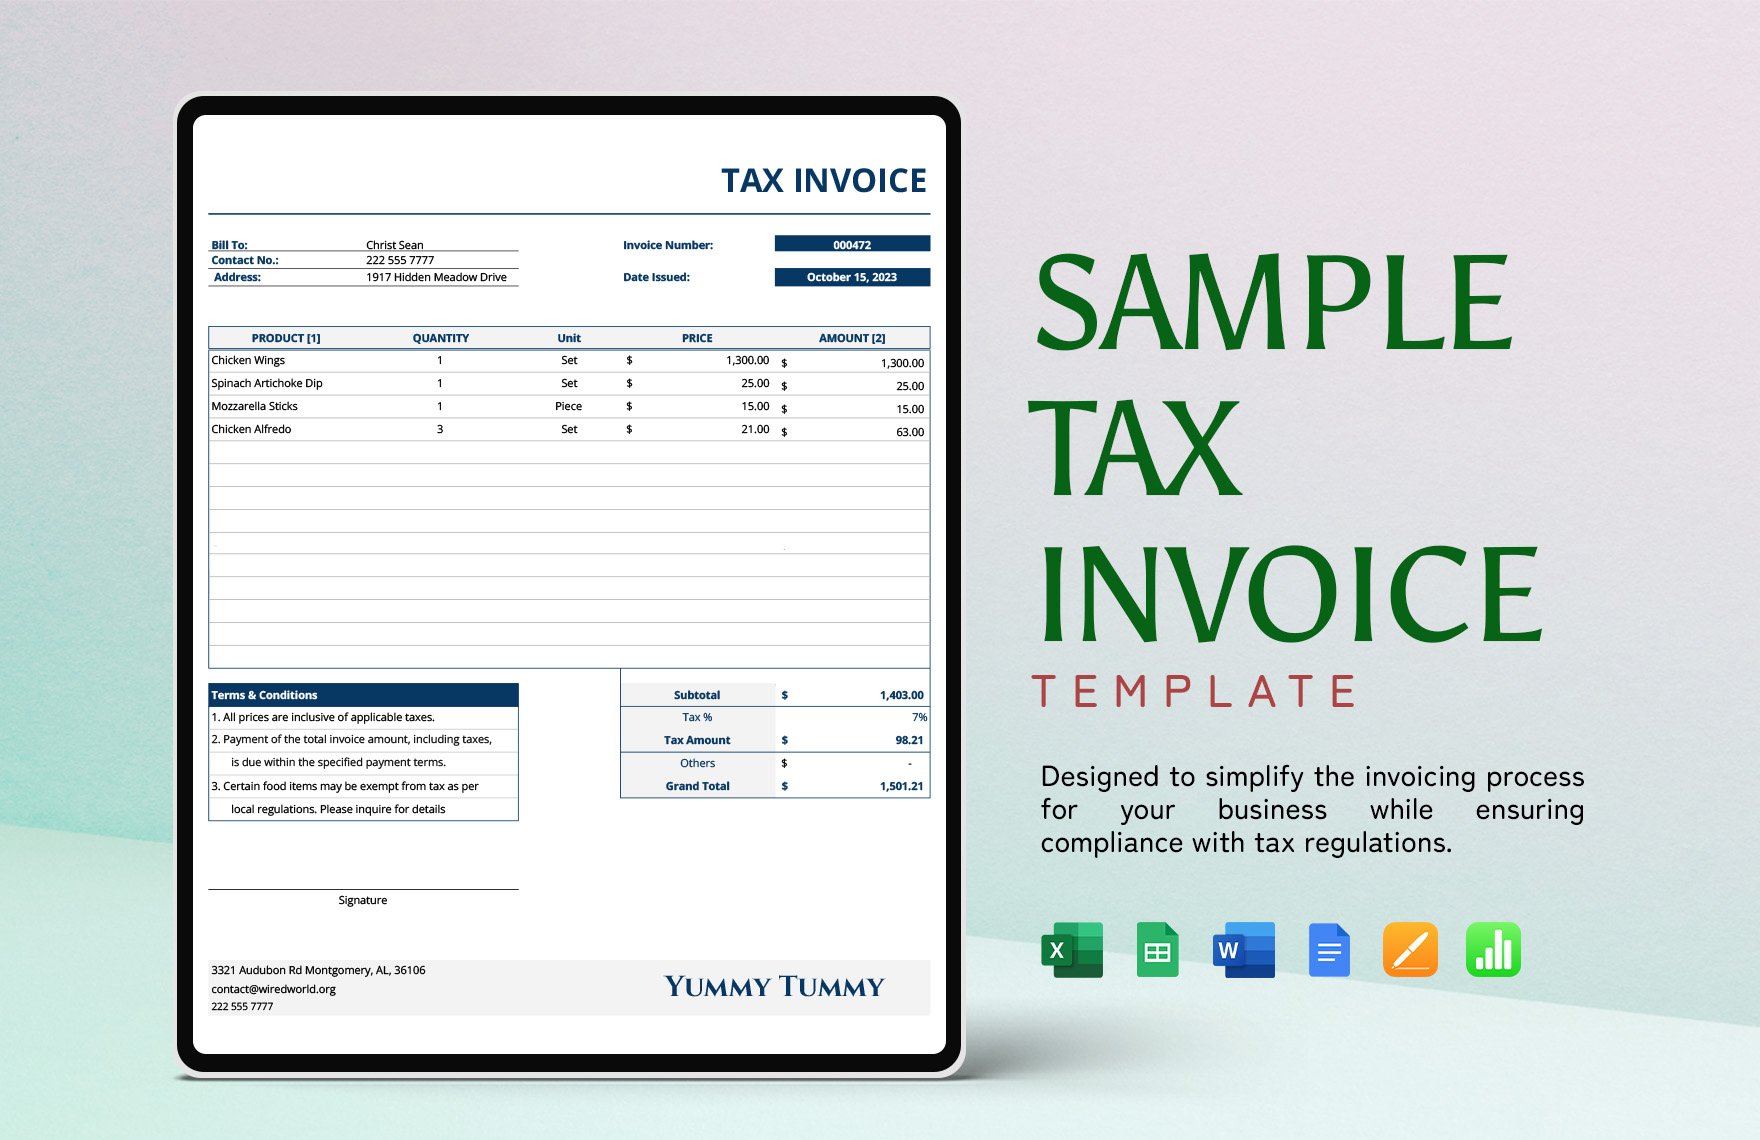
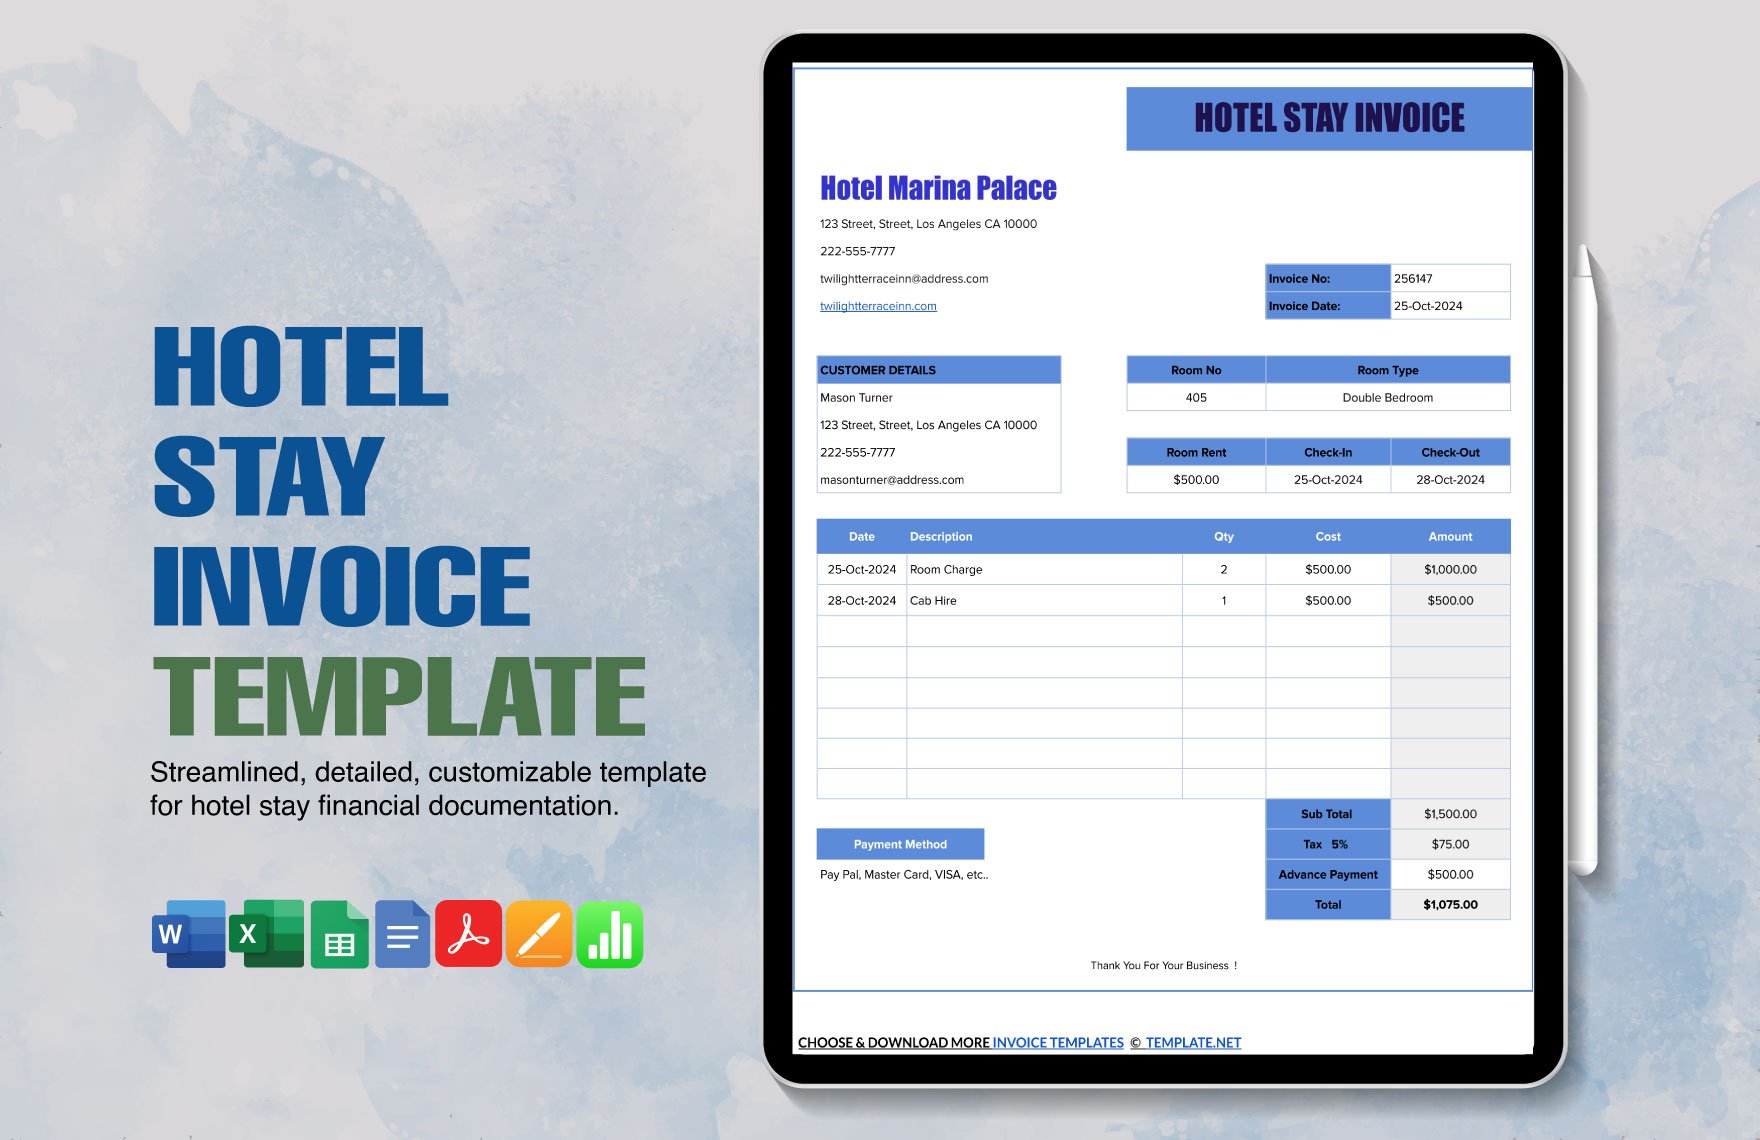
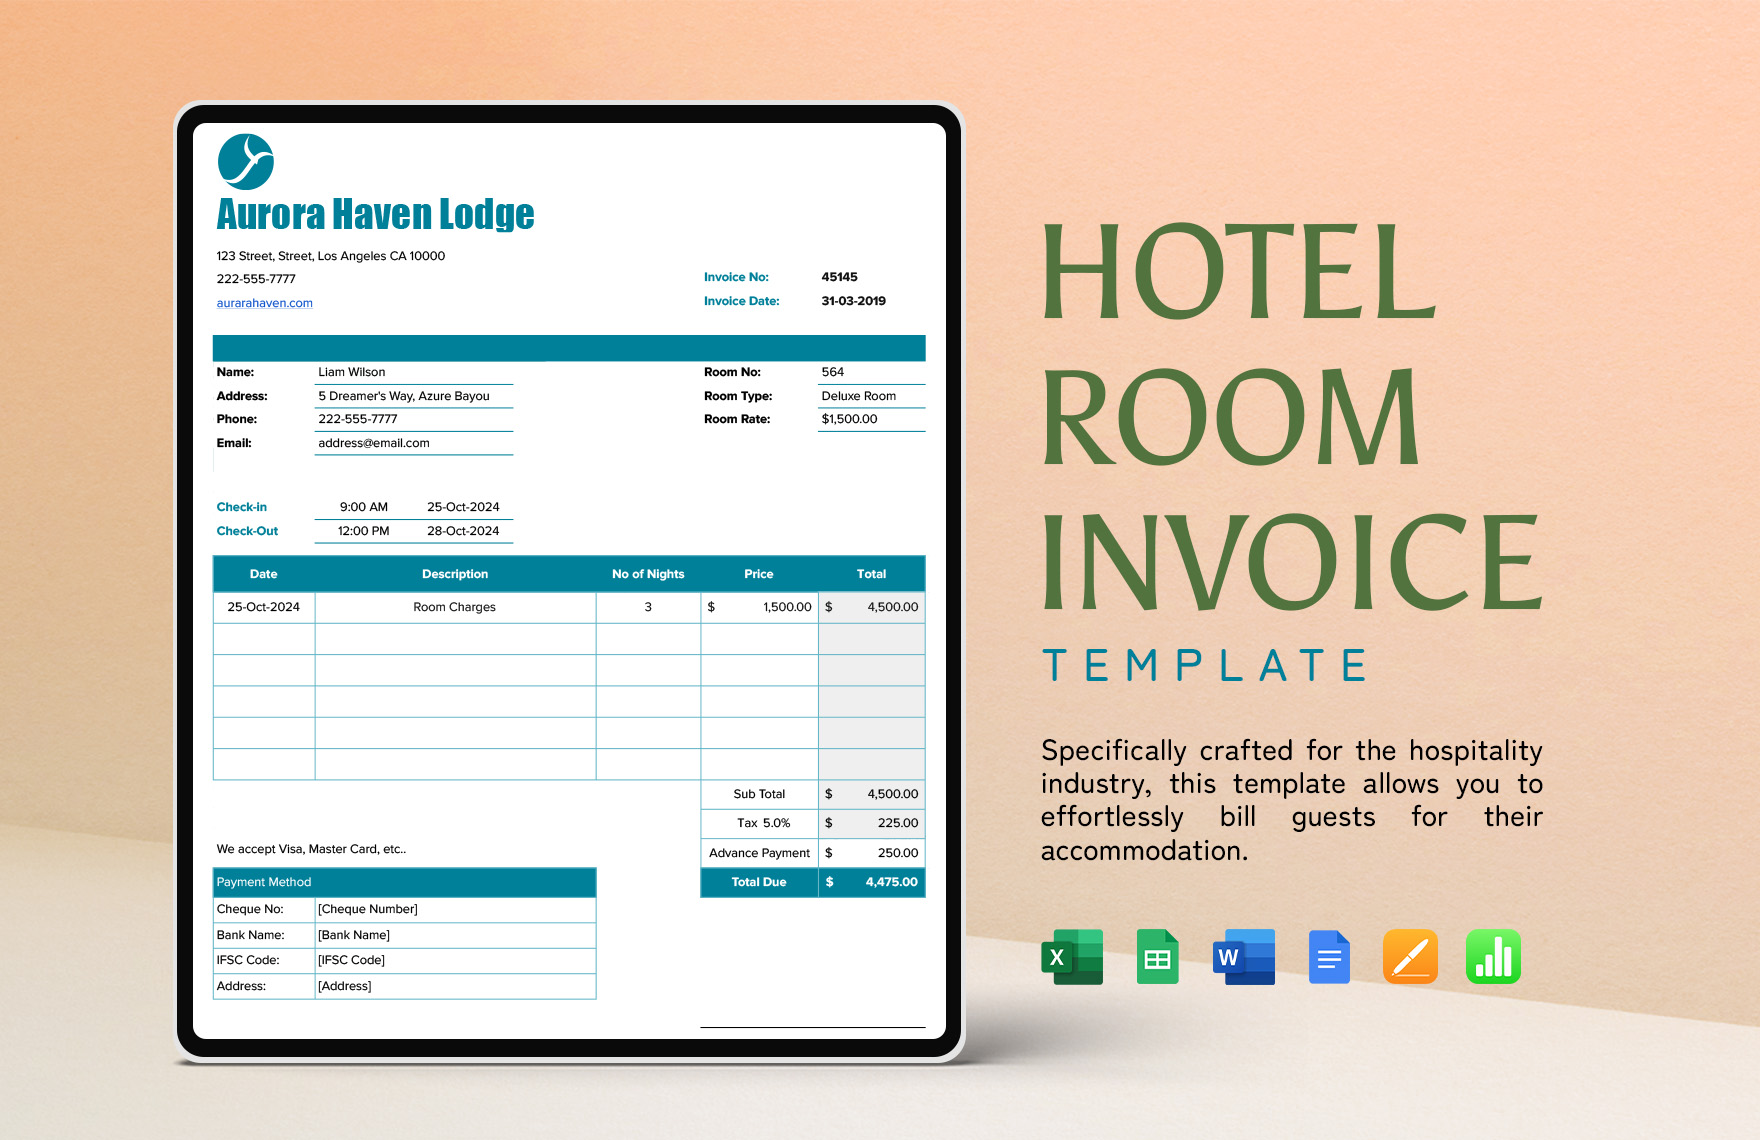
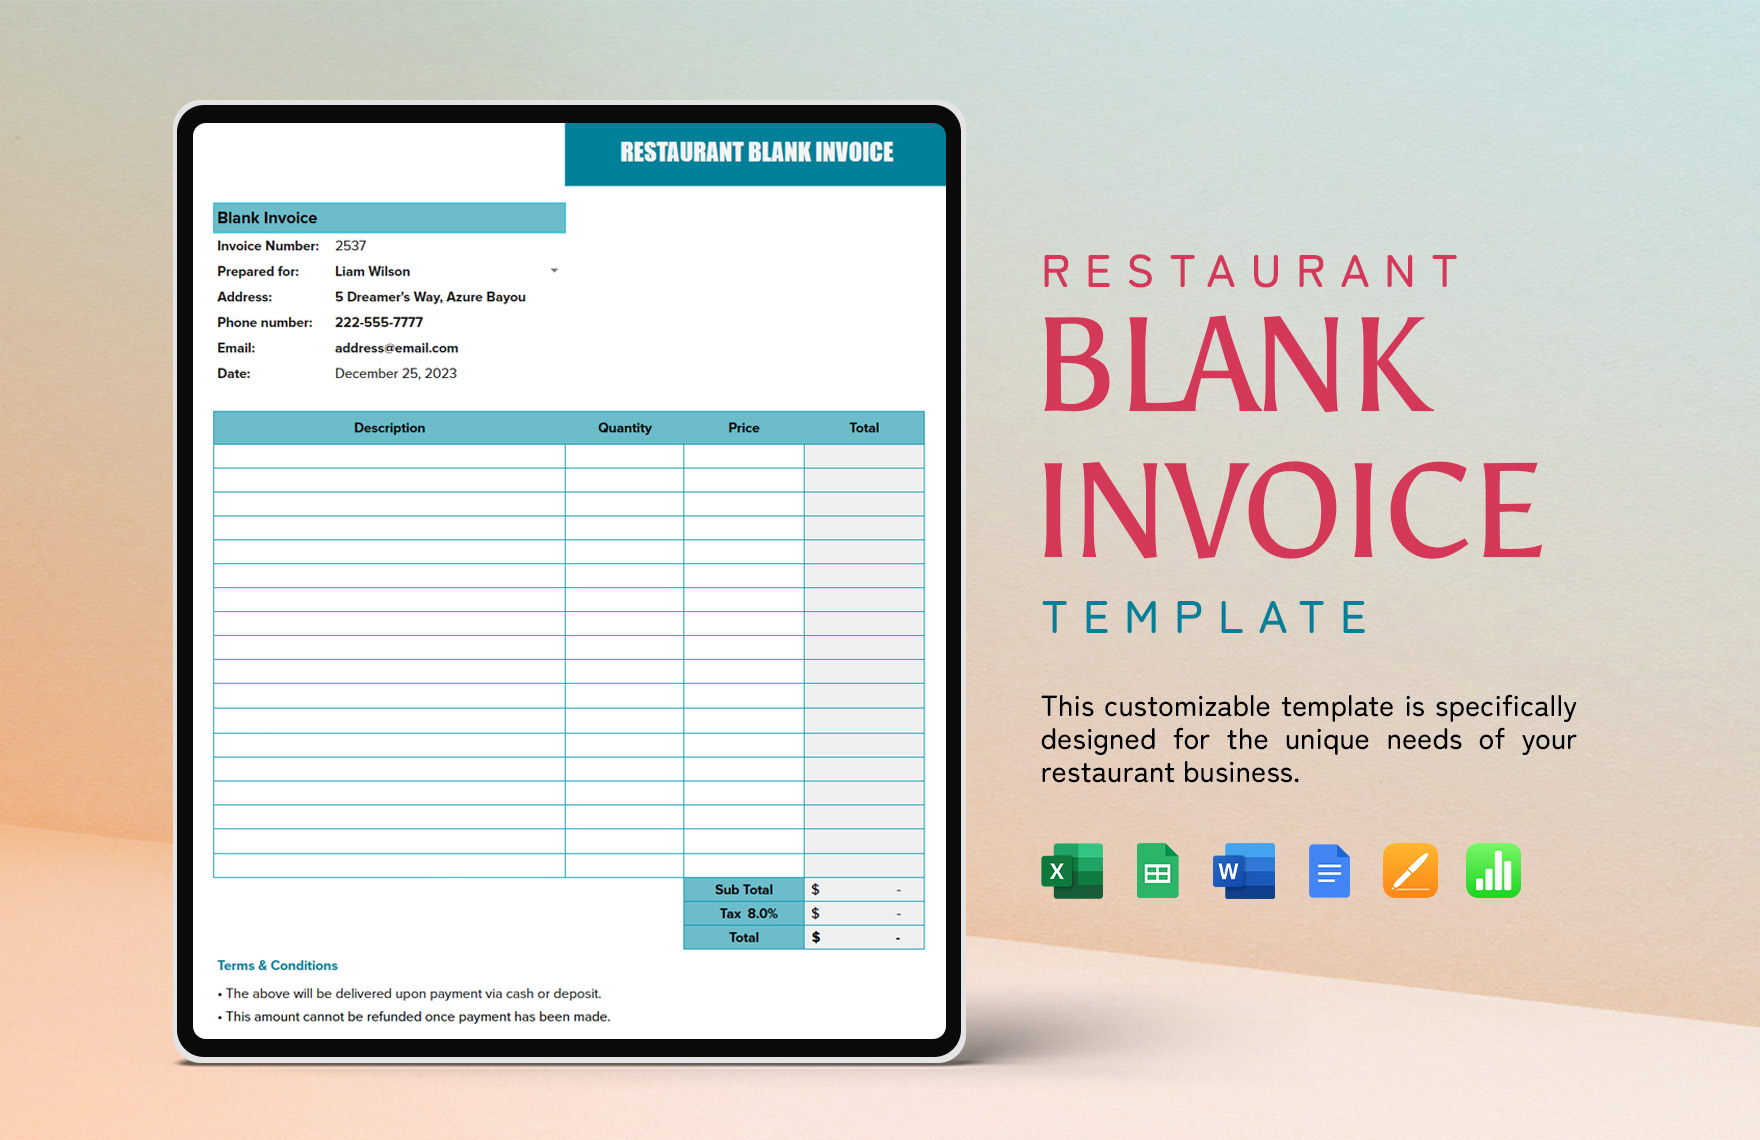
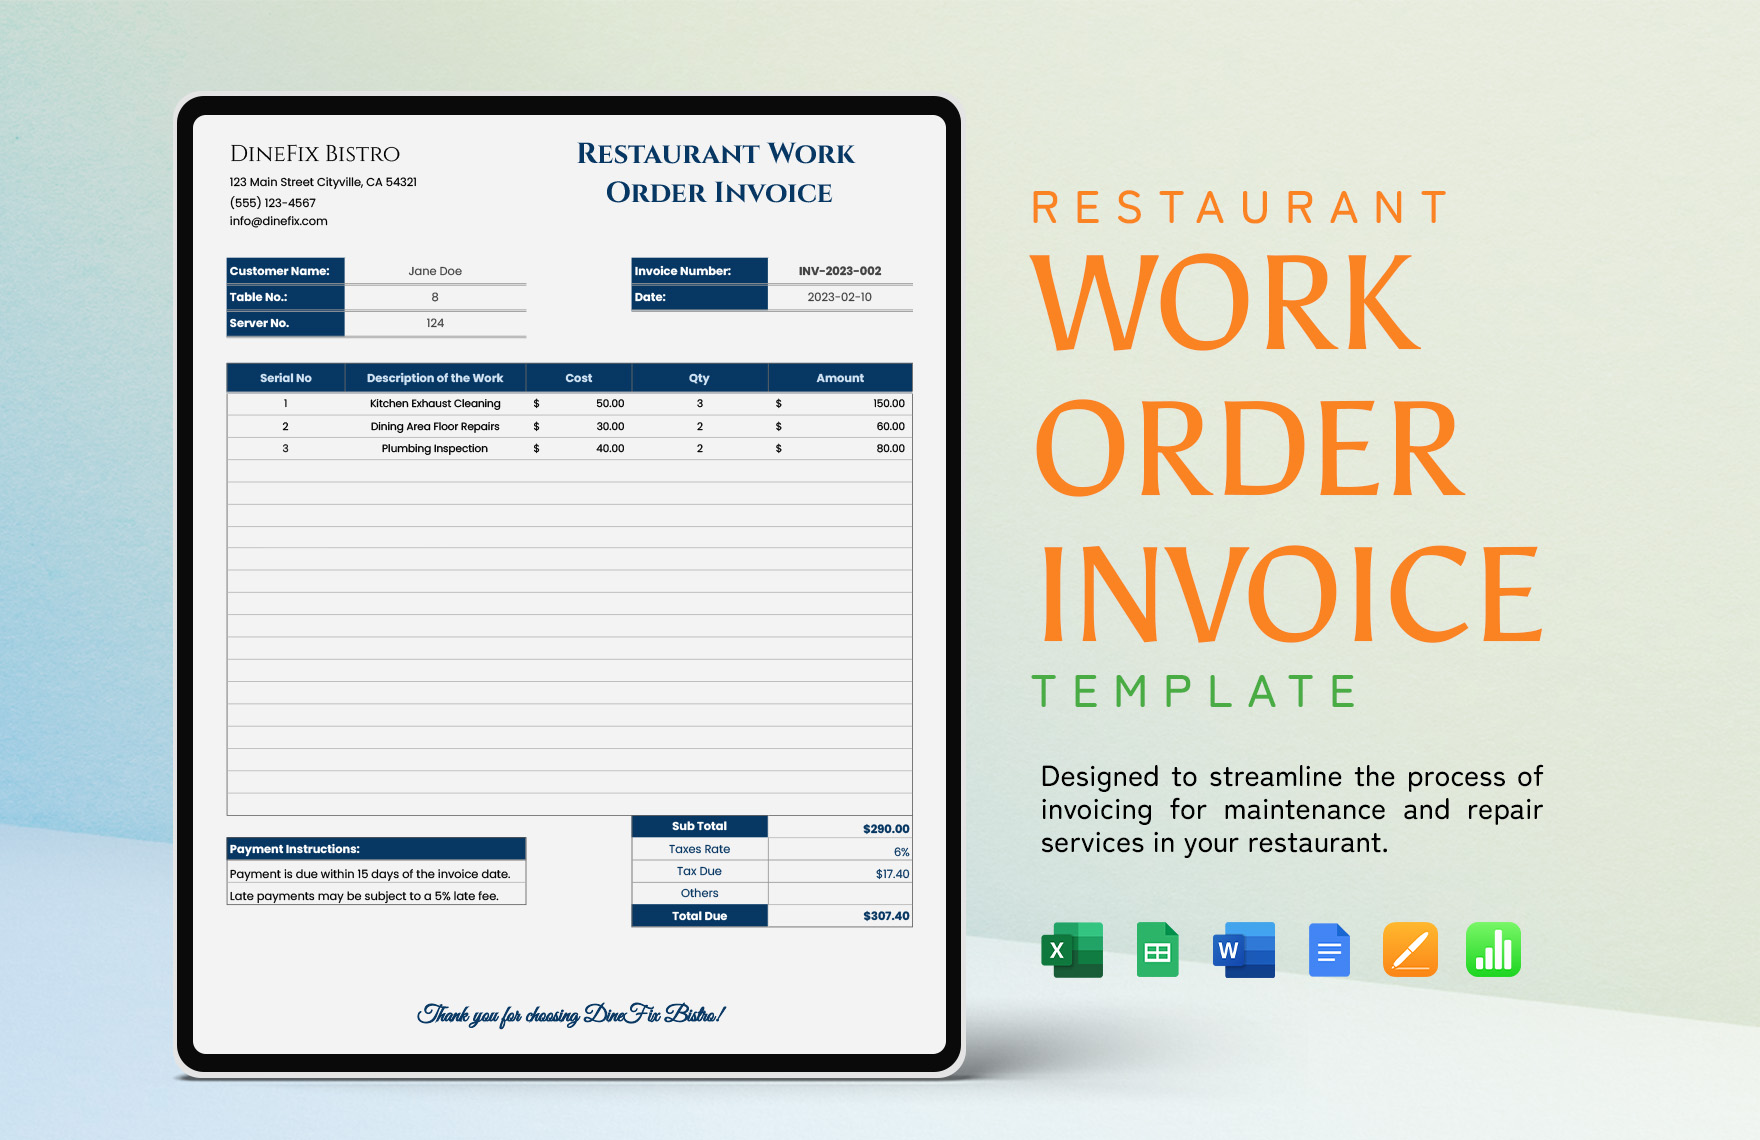
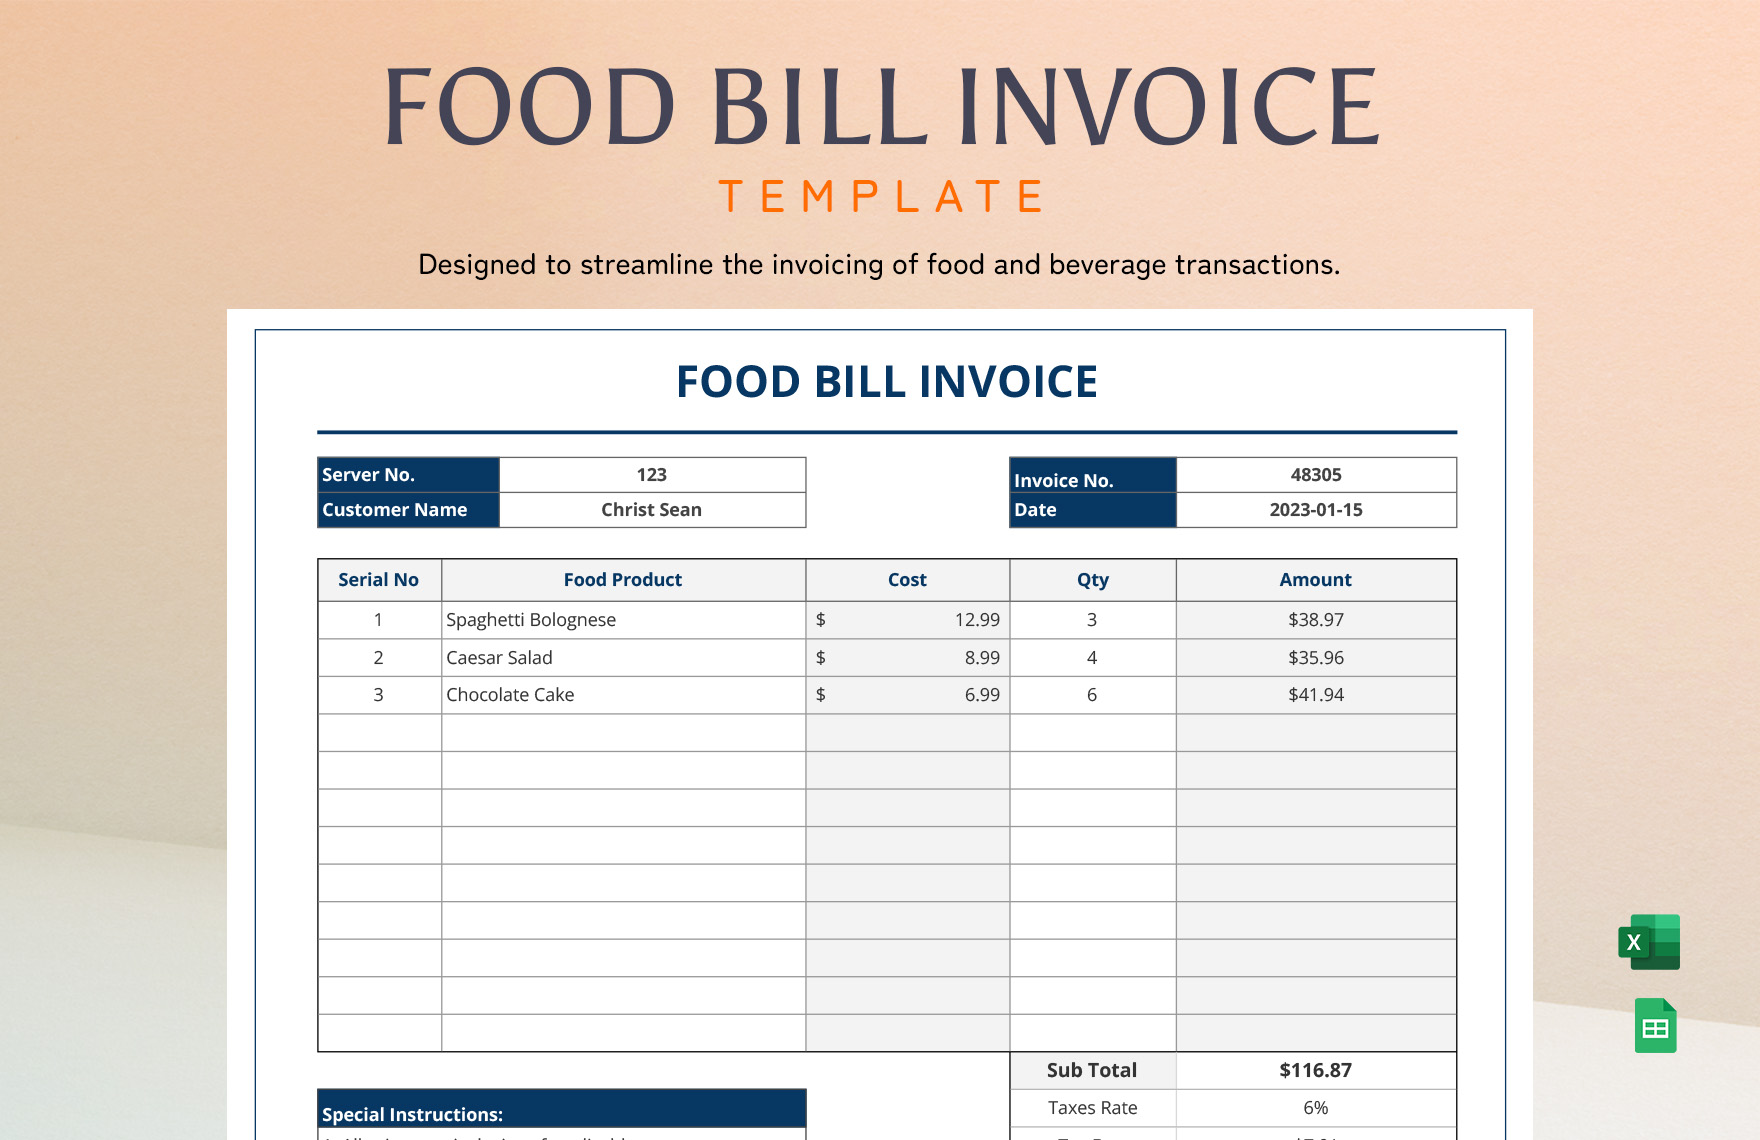
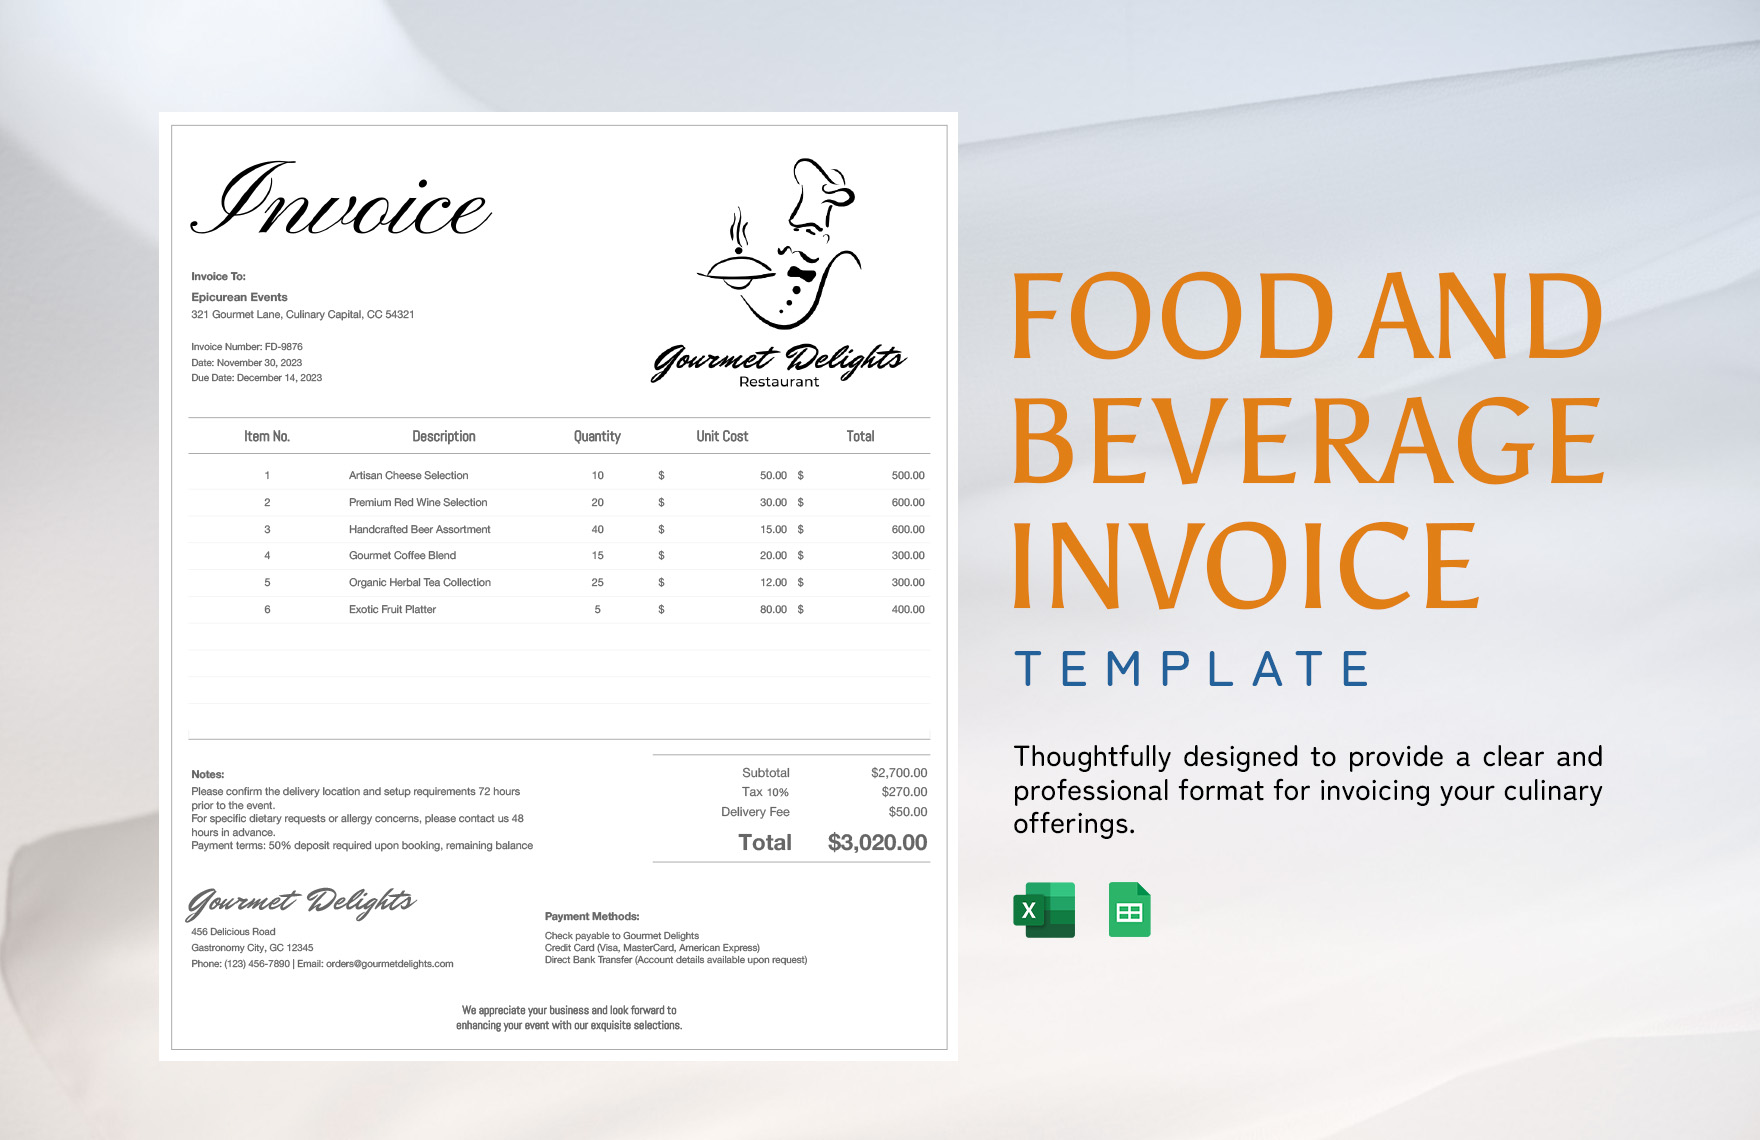
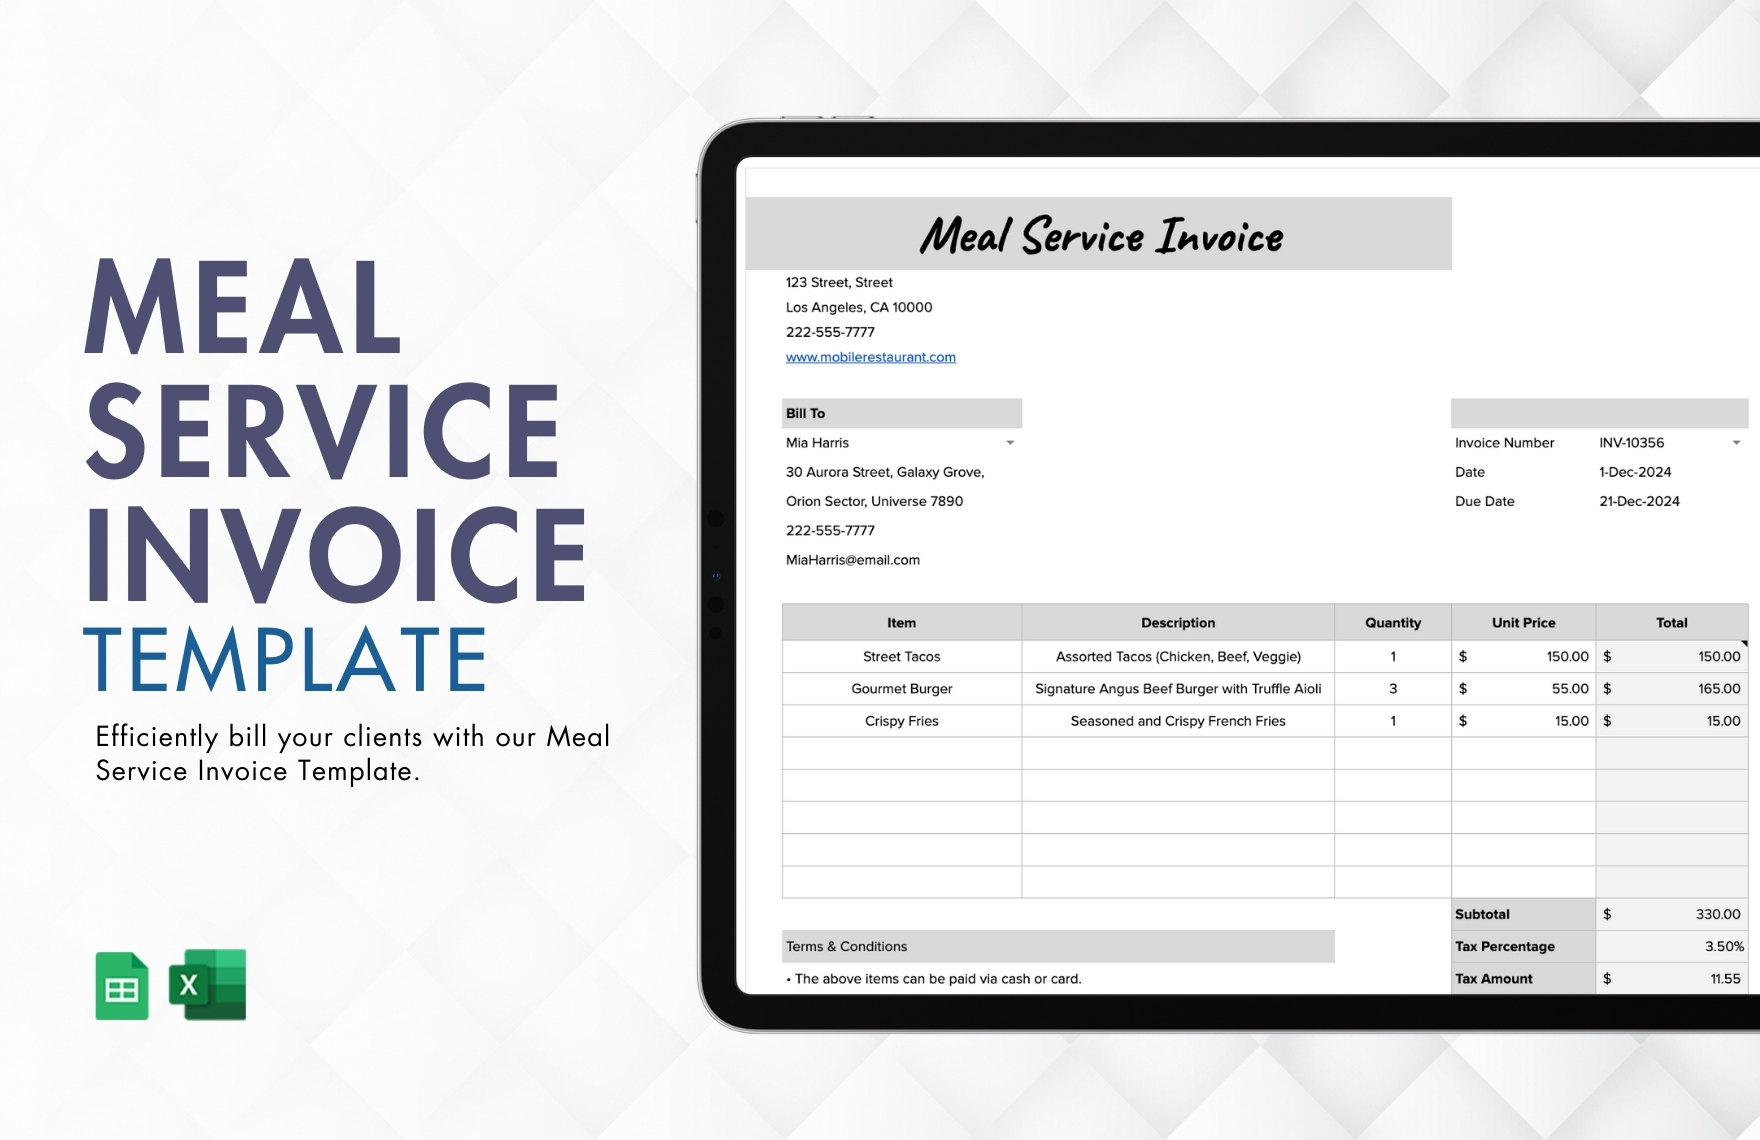
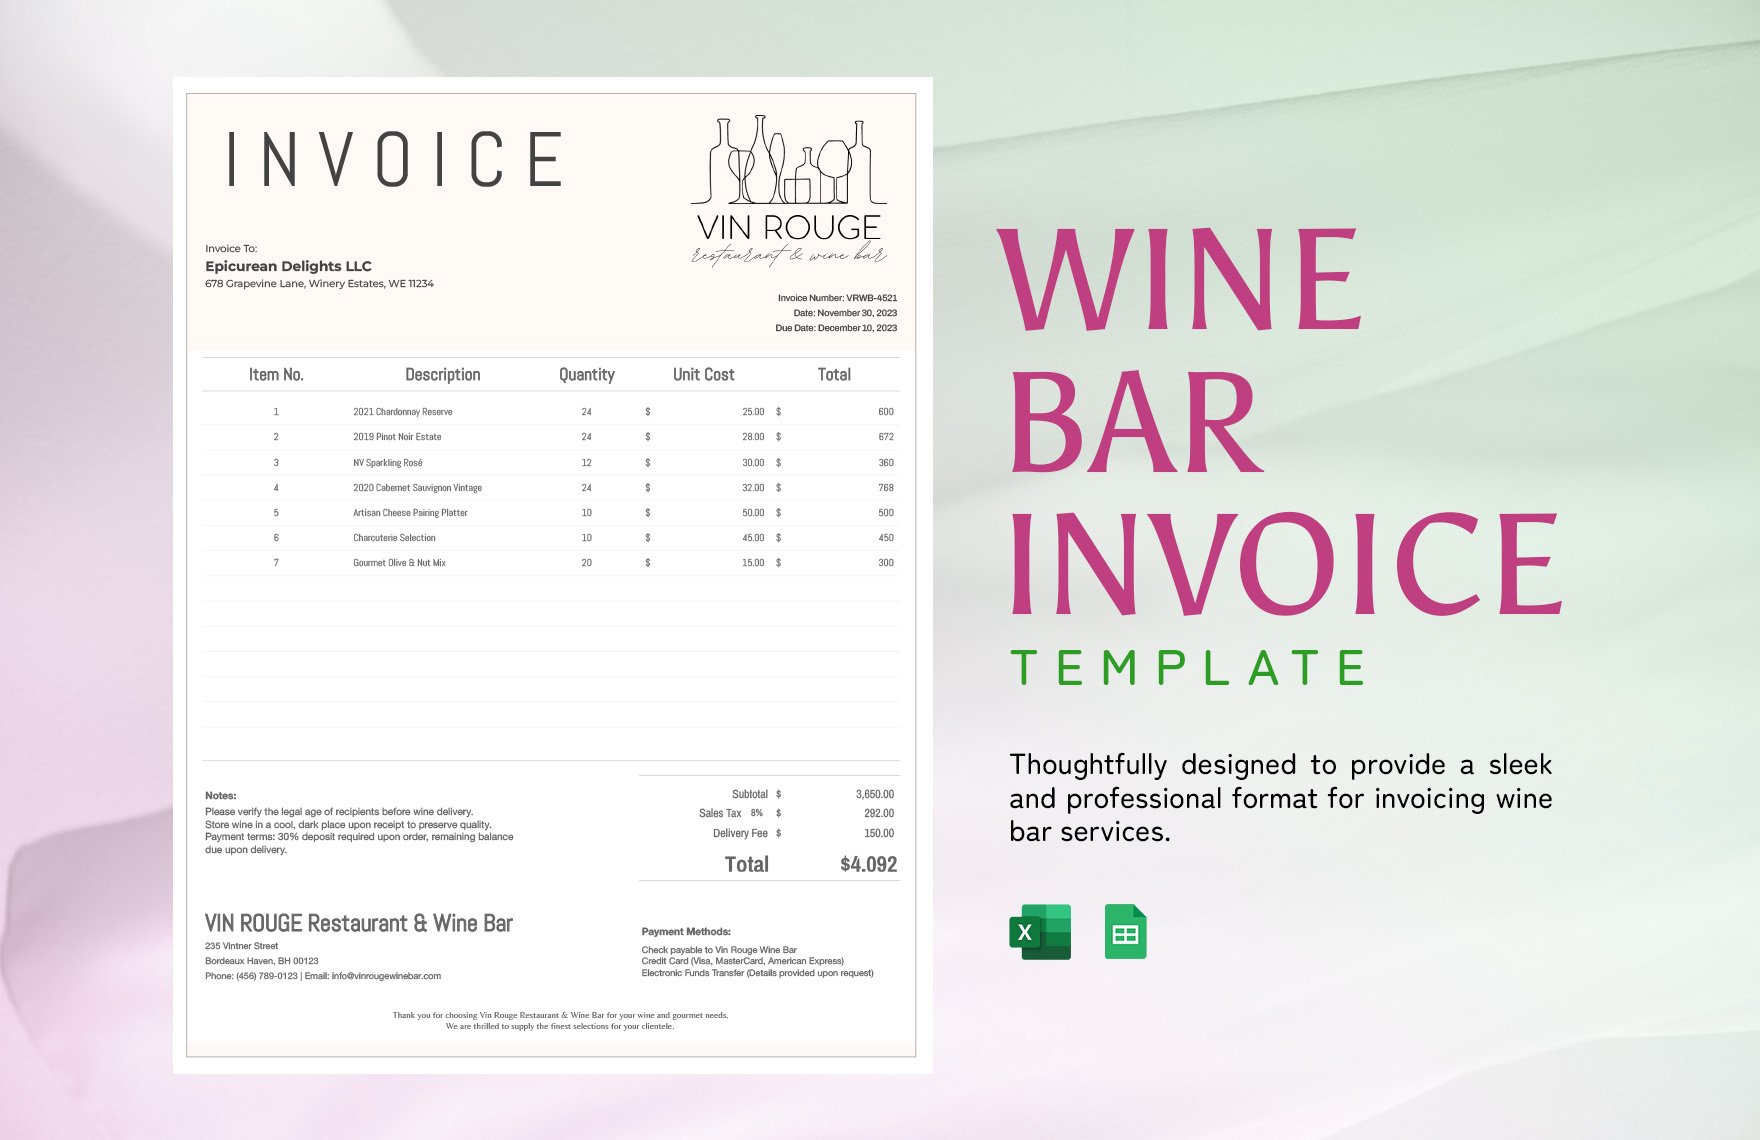
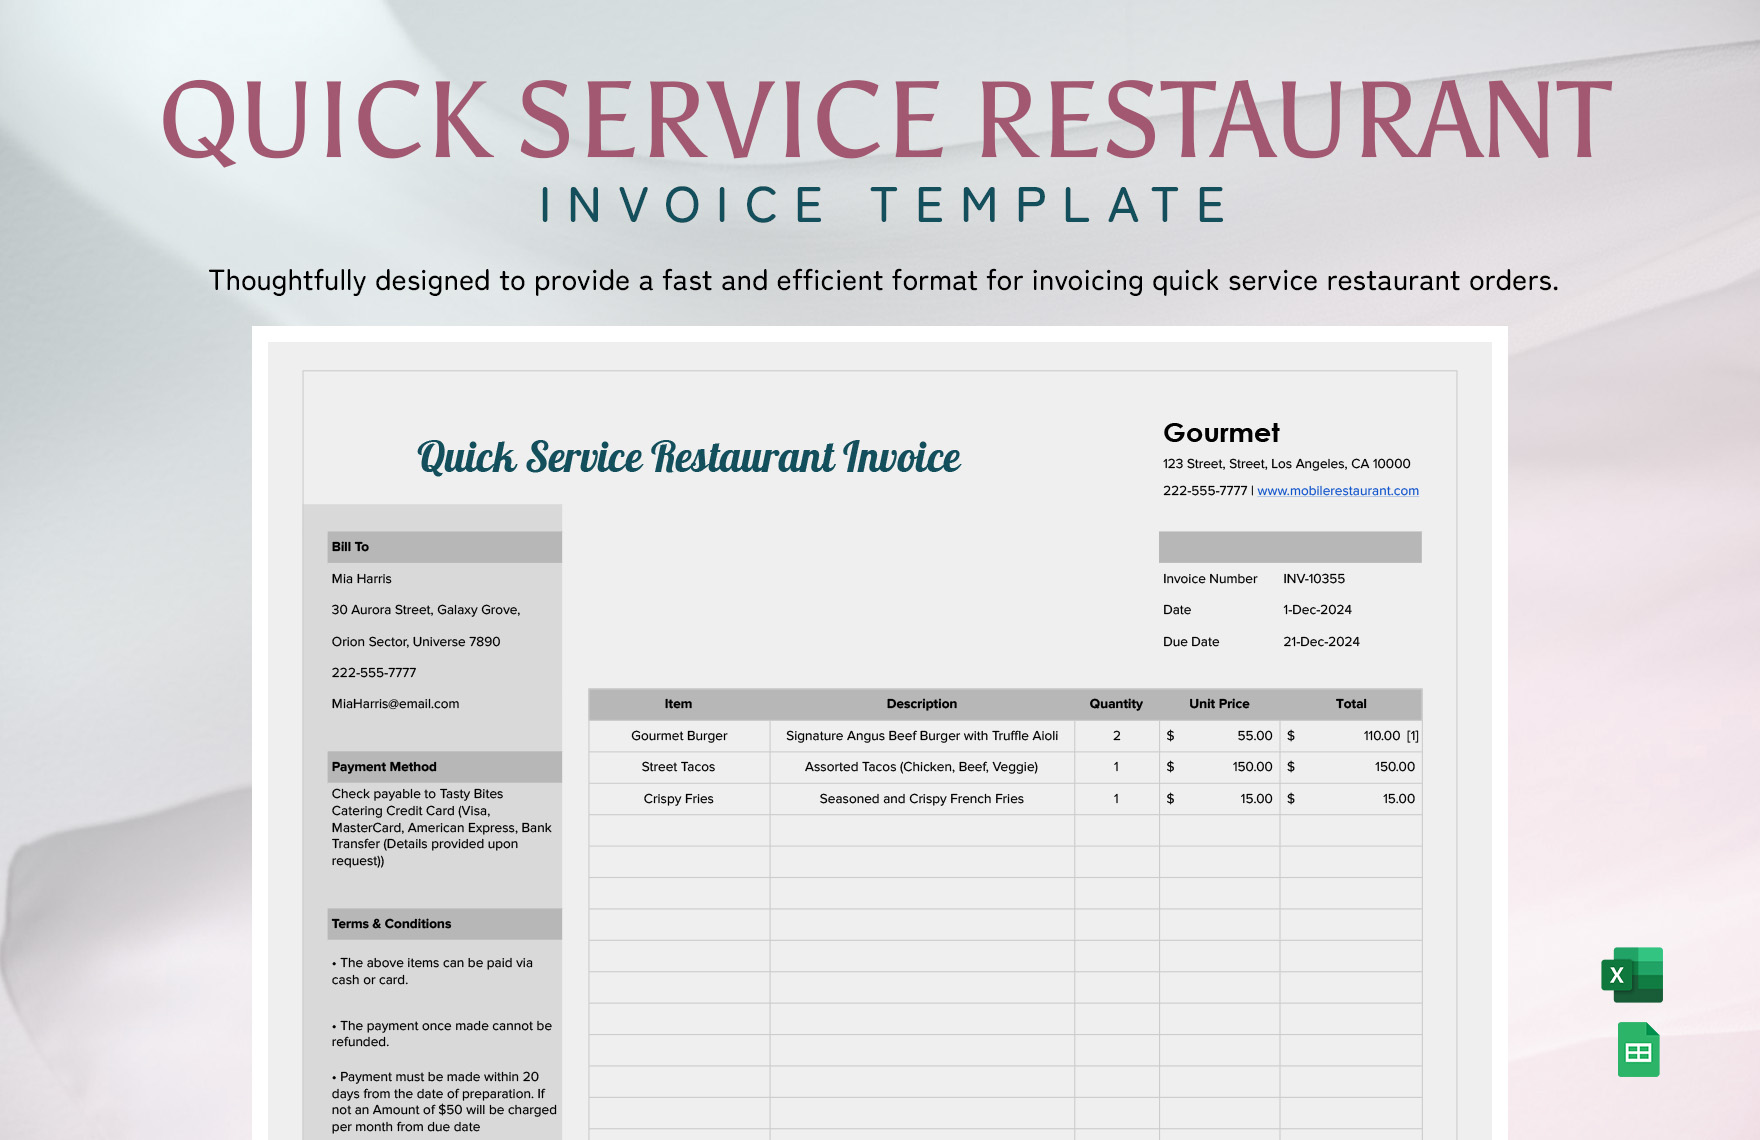
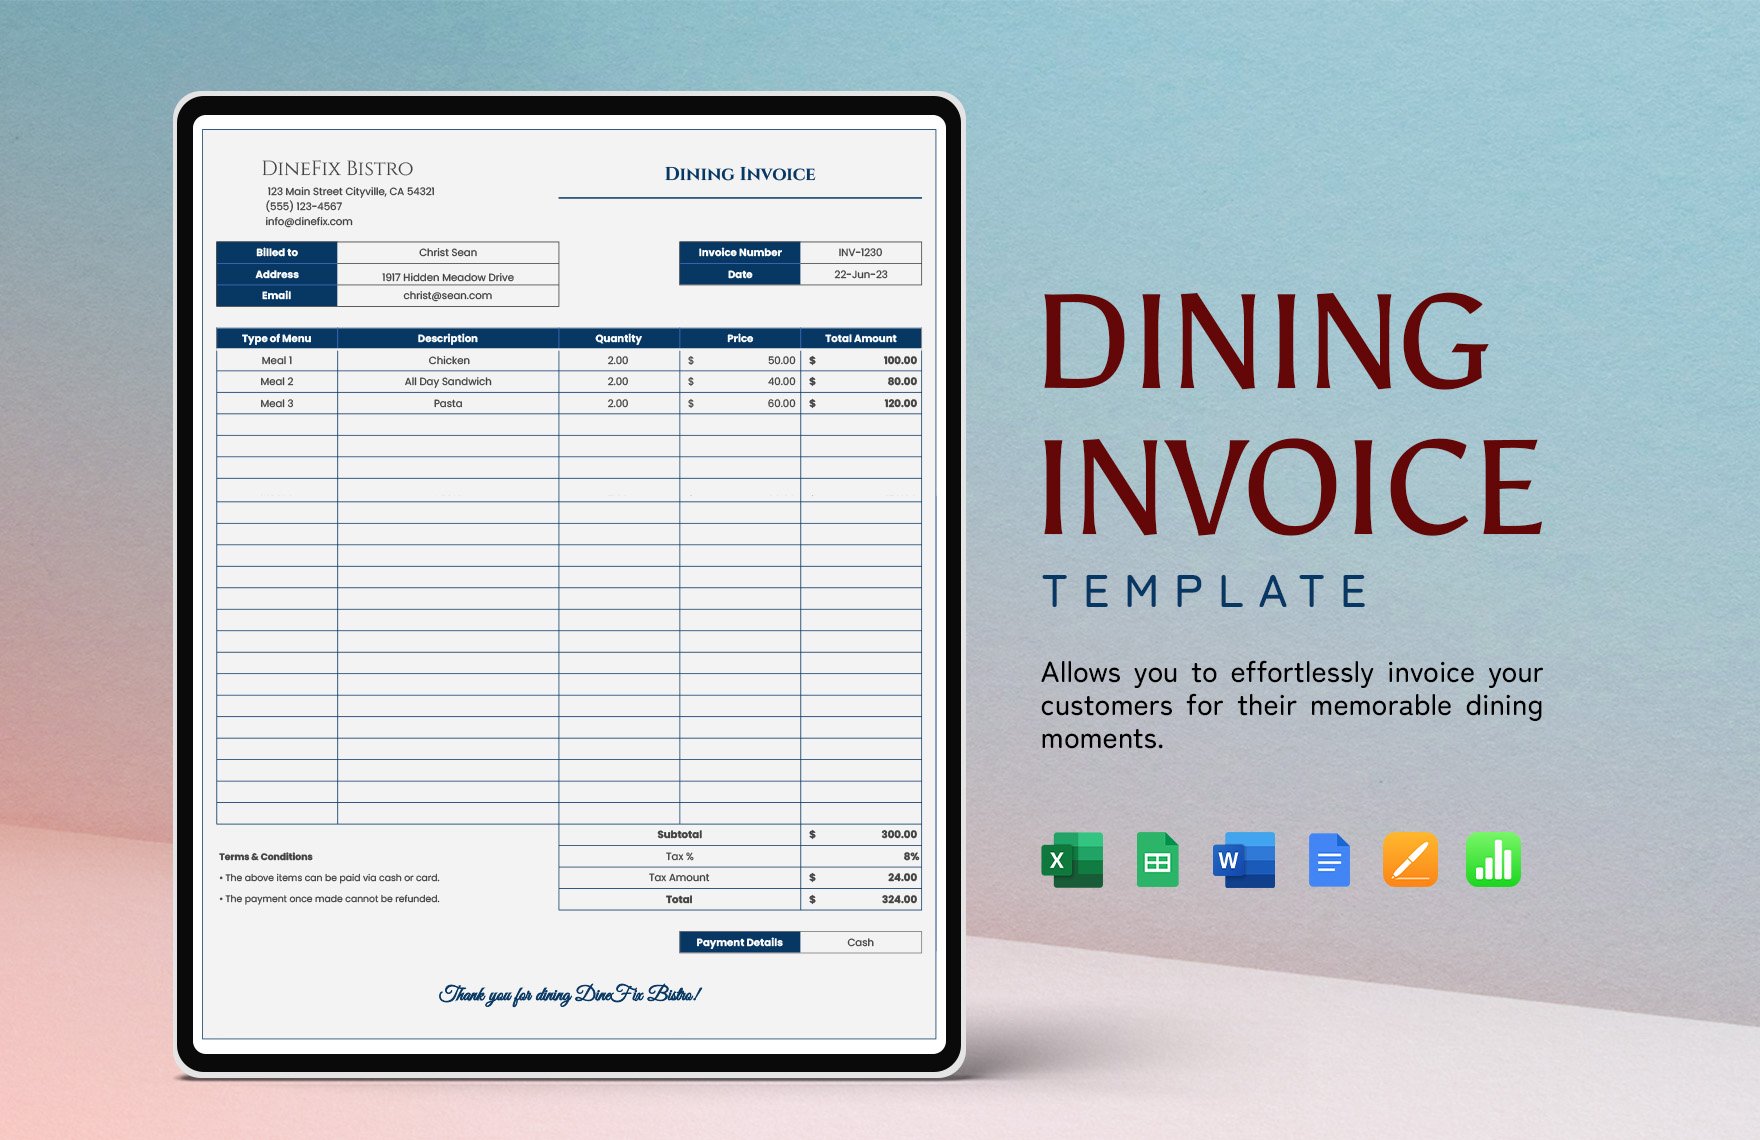
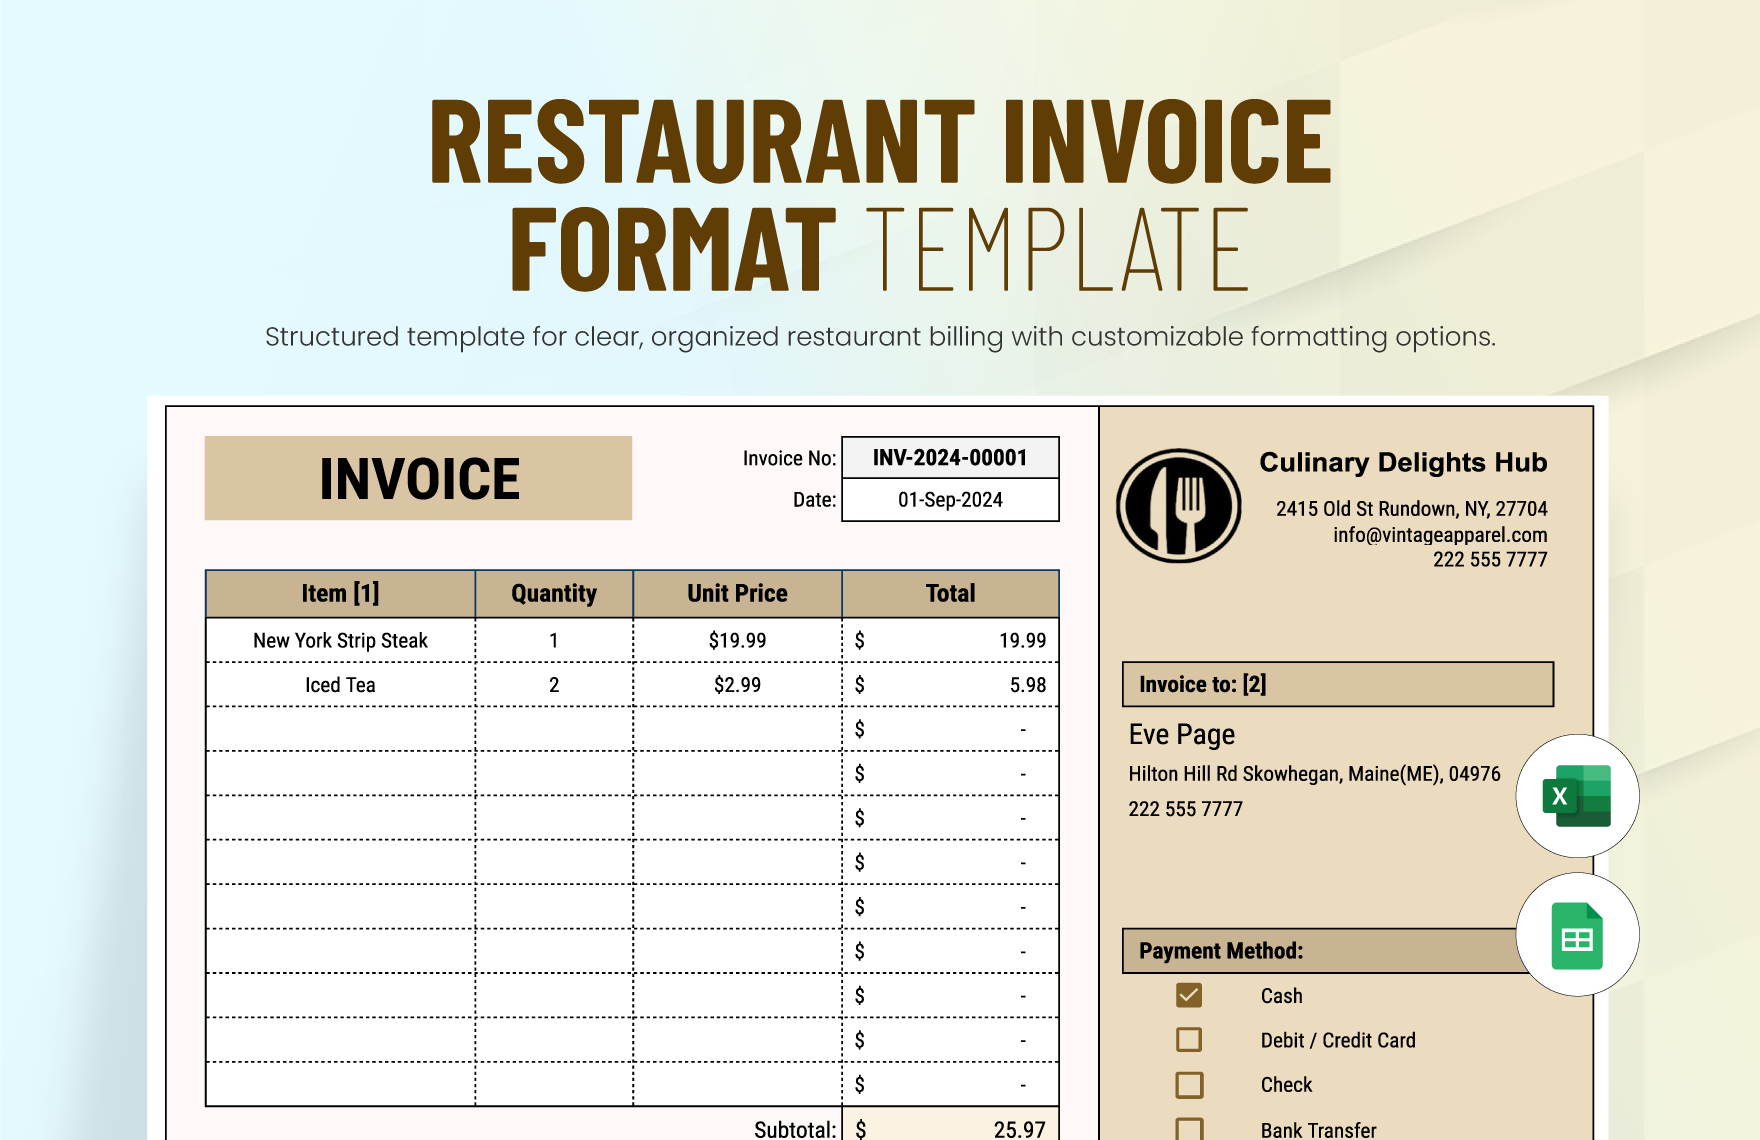
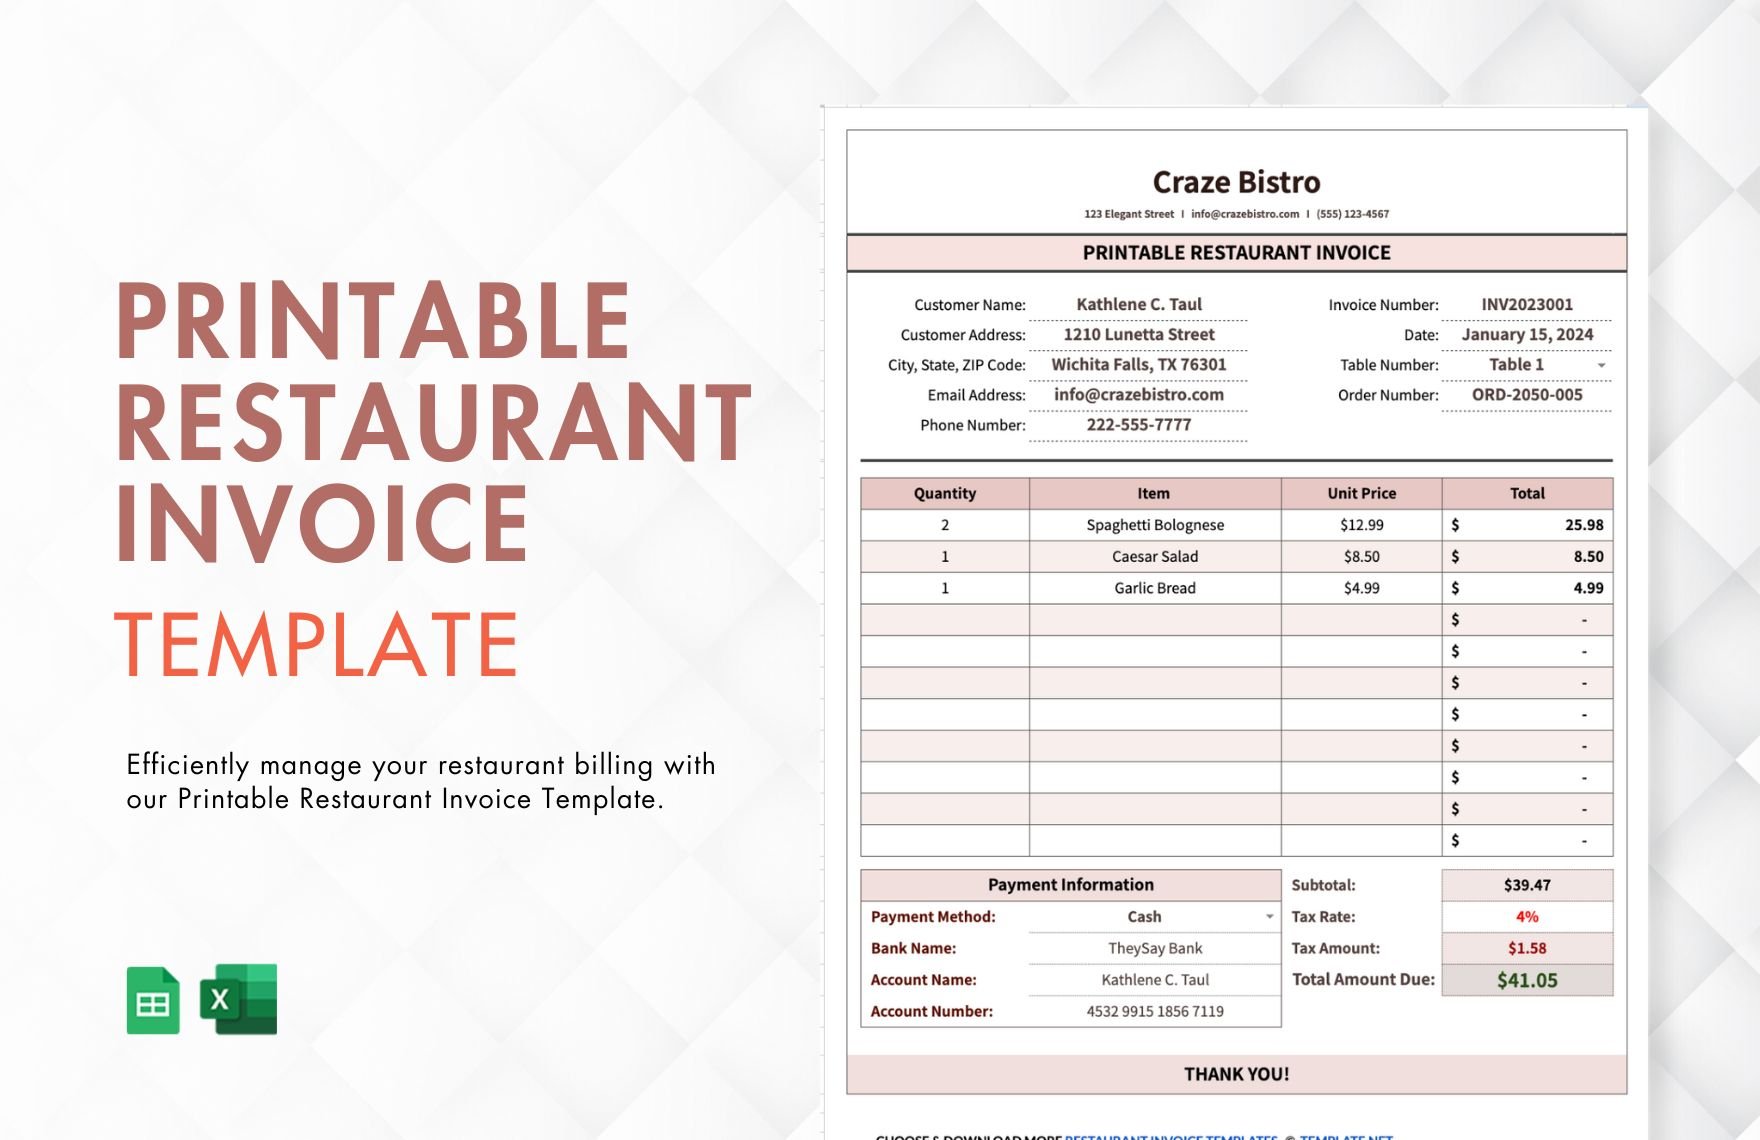
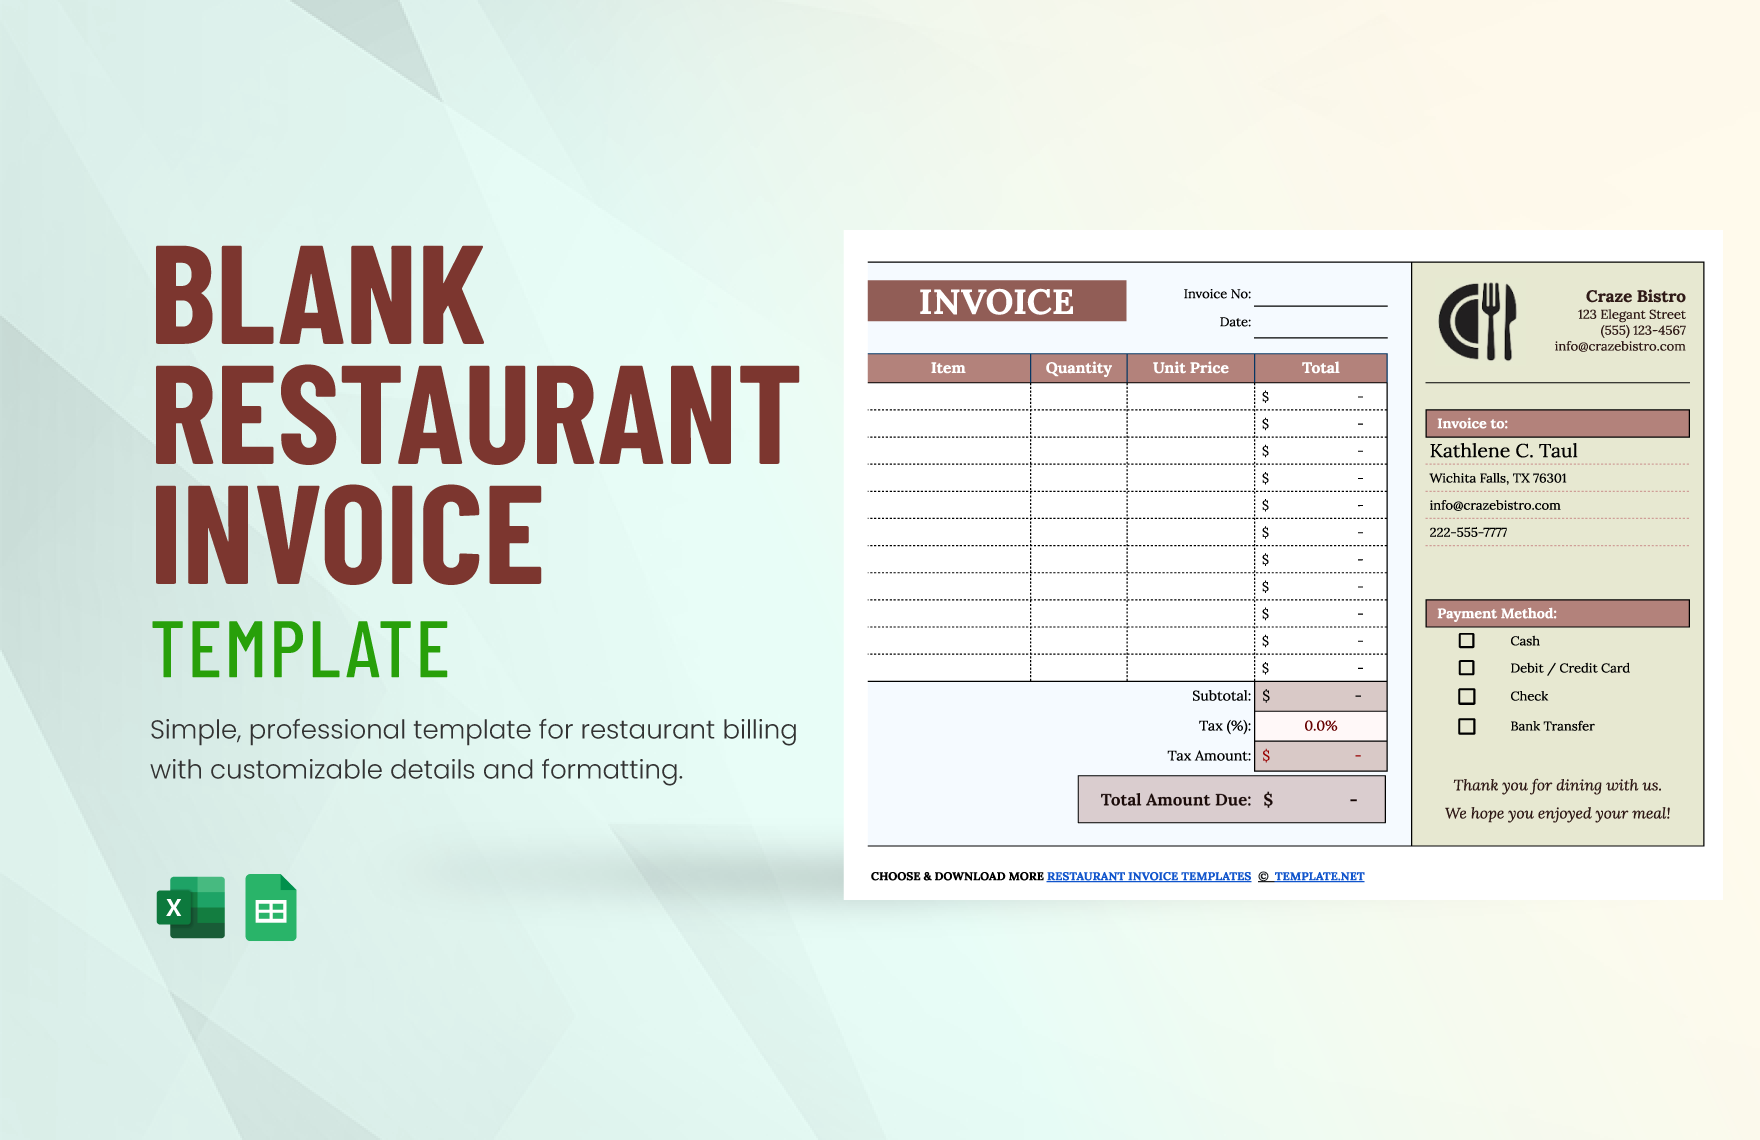
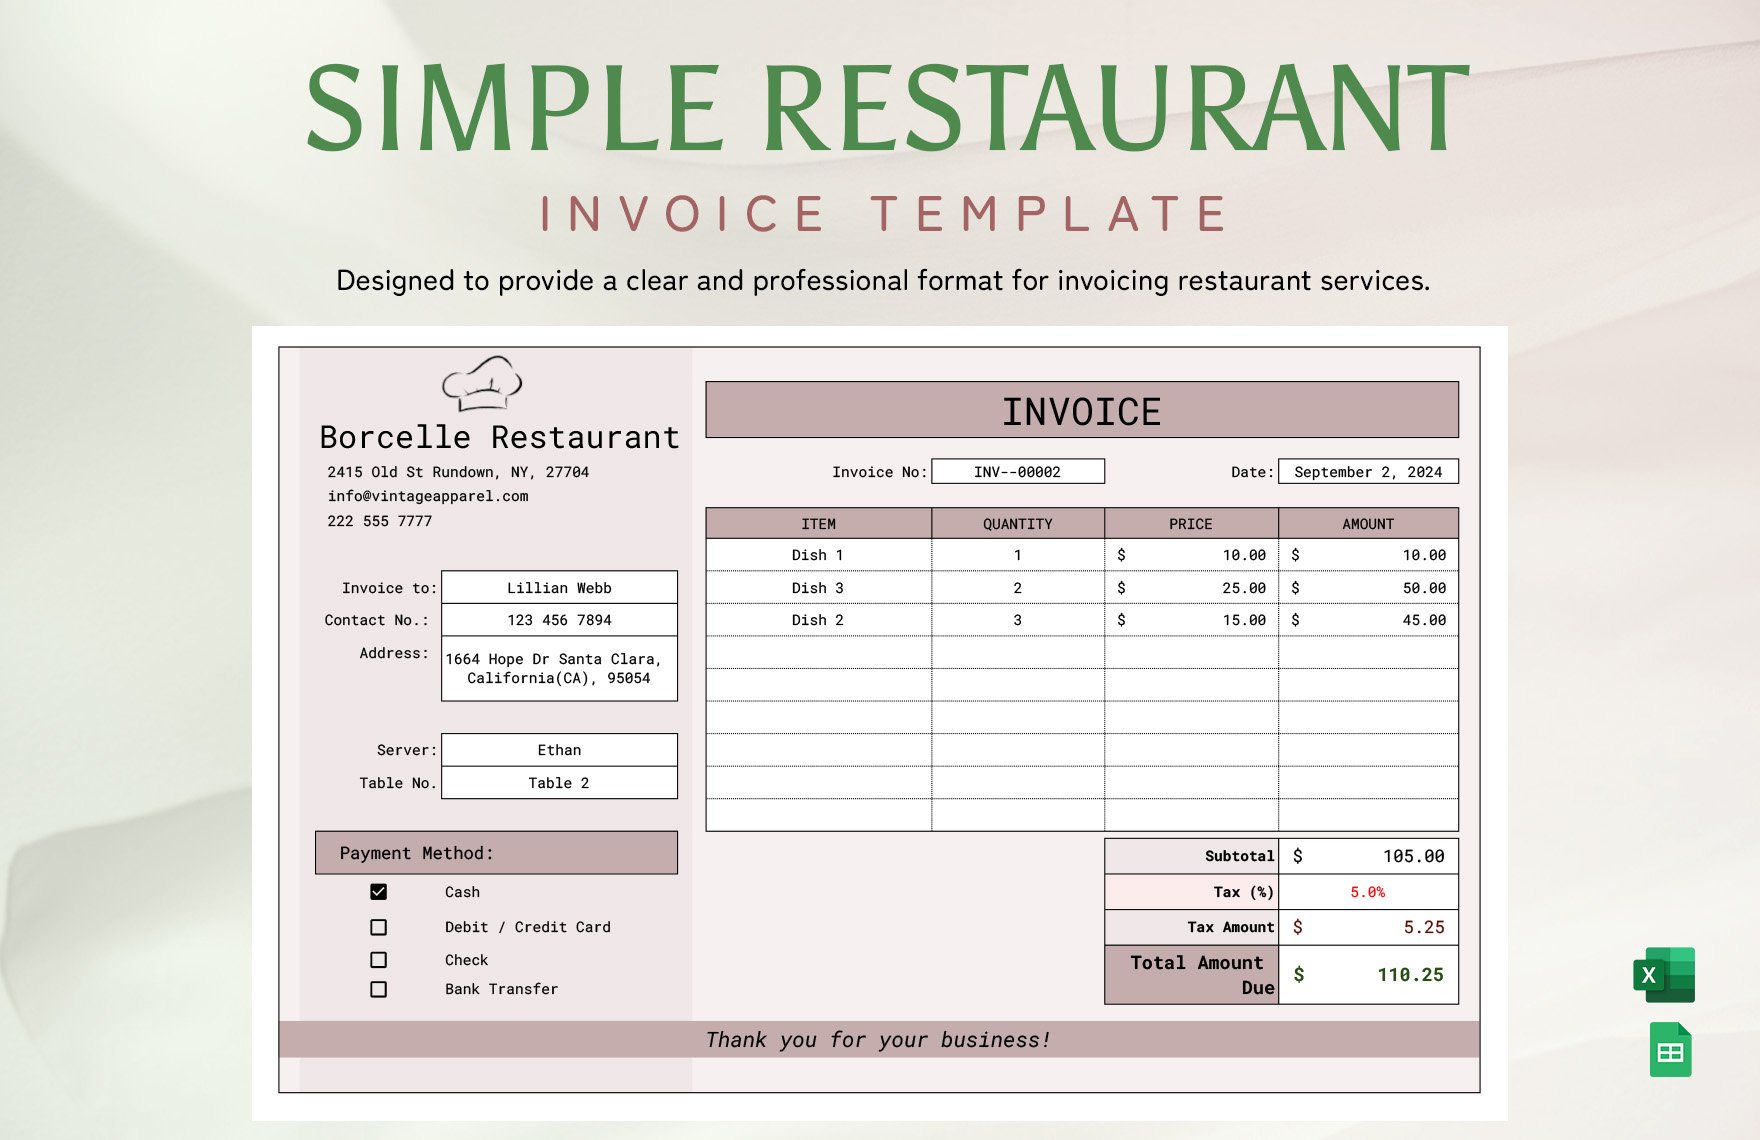
Does your restaurant provide catering services? What about in-house party hosting? Whether your establishment offers beyond standard meals, invoices are necessary to settle their payments. However, despite how essential they are, putting together invoices gets relatively tedious. Fortunately, we can remedy that issue with our easily editable Restaurant Invoice Templates! You can choose from our collection of samples and quickly make bills with professional formats. Our content is fully compatible with Google Sheets, allowing for the most convenient editing with just an internet connection. Go ahead and download any of these now--cut down on the hassle of creating invoices for your restaurant, bistro, or other similar establishments!
How to Make a Restaurant Invoice in Google Sheets
As explained in an article from The Balance (a business-oriented resource), an invoice is essential for confirming your customer's payment. It's also necessary for recording these transactions. Therefore, this document is a requirement for any dining establishment that provides specialized services, from fast food joints to fine-dining restaurants.
Are you unfamiliar with how to make restaurant invoices using Google Sheets? Don't sweat it--we've prepared a few comprehensive tips (below) that'll get you ready after a quick read!
1. Give Your Restaurant Invoice an Informative Title
First things first--write down a proper name for your invoice. After opening a new blank document in Google Sheets,
enter an informative yet straightforward title at the top of the sheet. Make it so that the title describes the type of invoice you're creating. For some examples you can follow, there's "Hotel Restaurant Hosting Service" and "German Buffet Catering."
2. Include Business and Customer Details in Your Restaurant Invoice
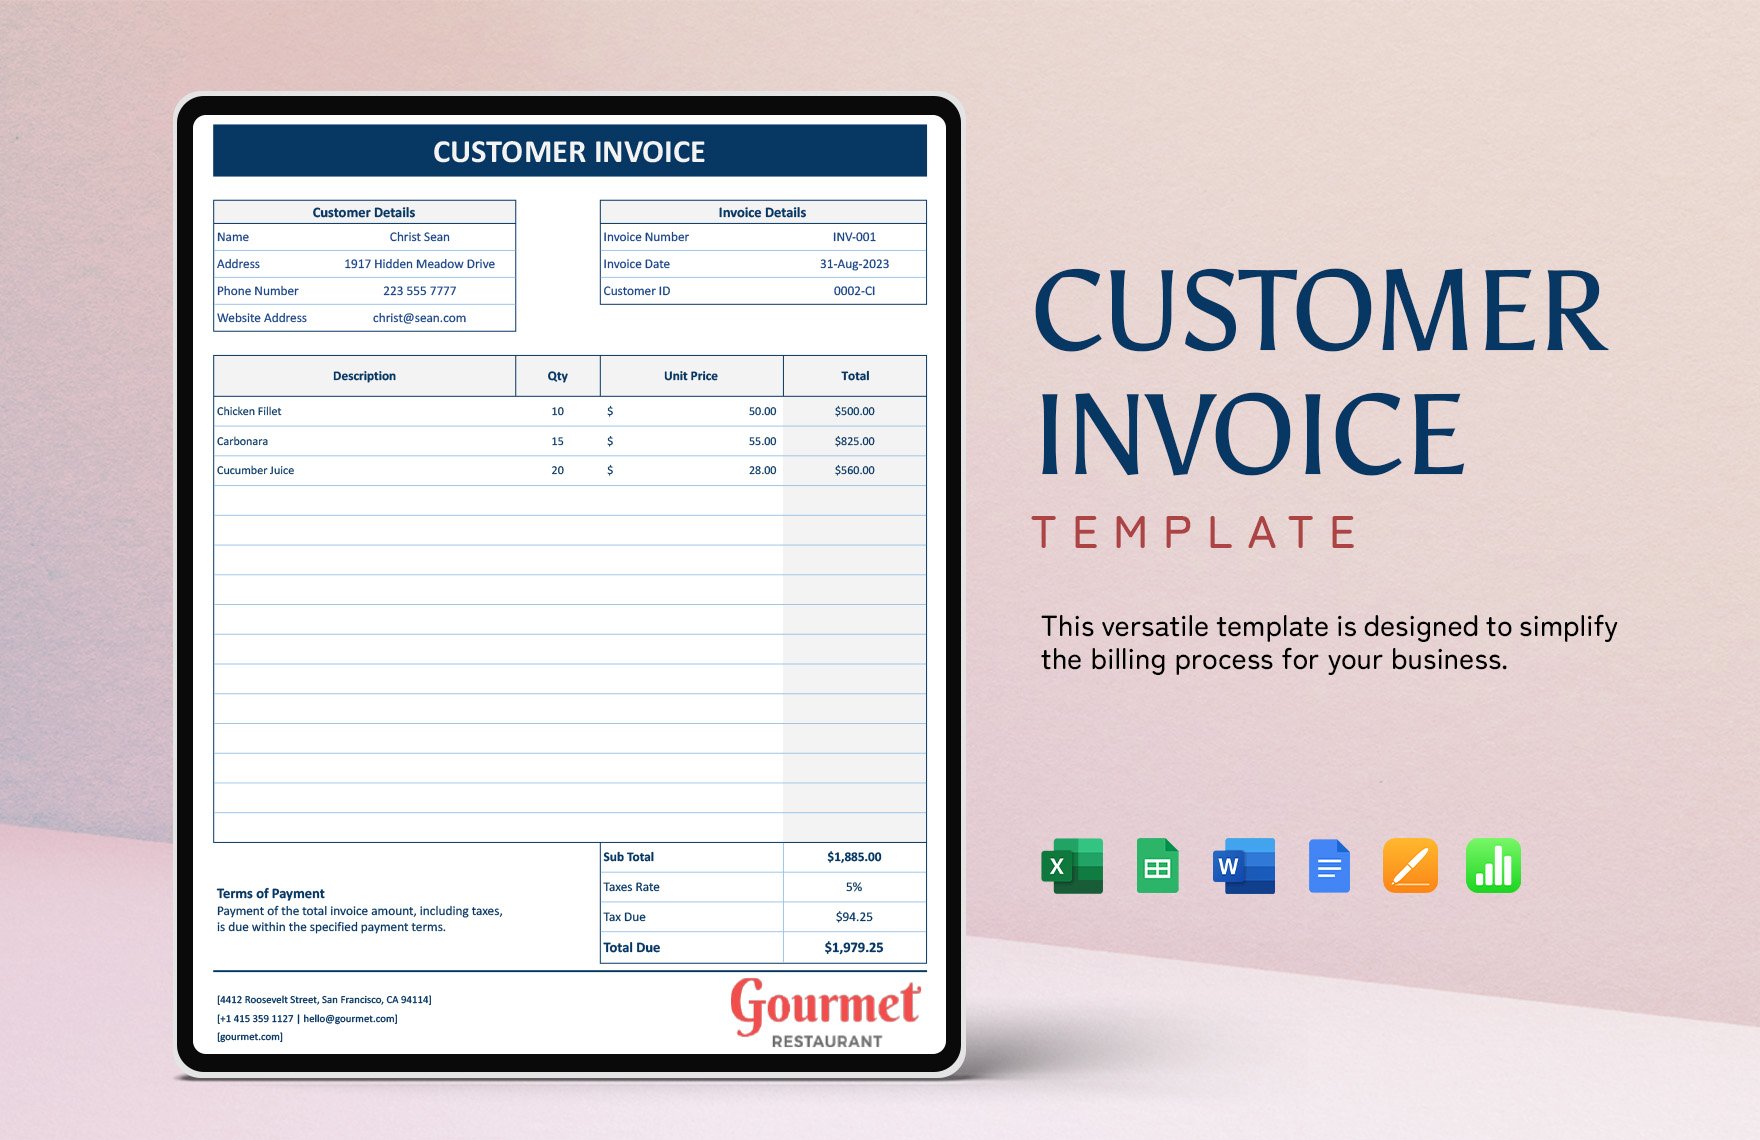
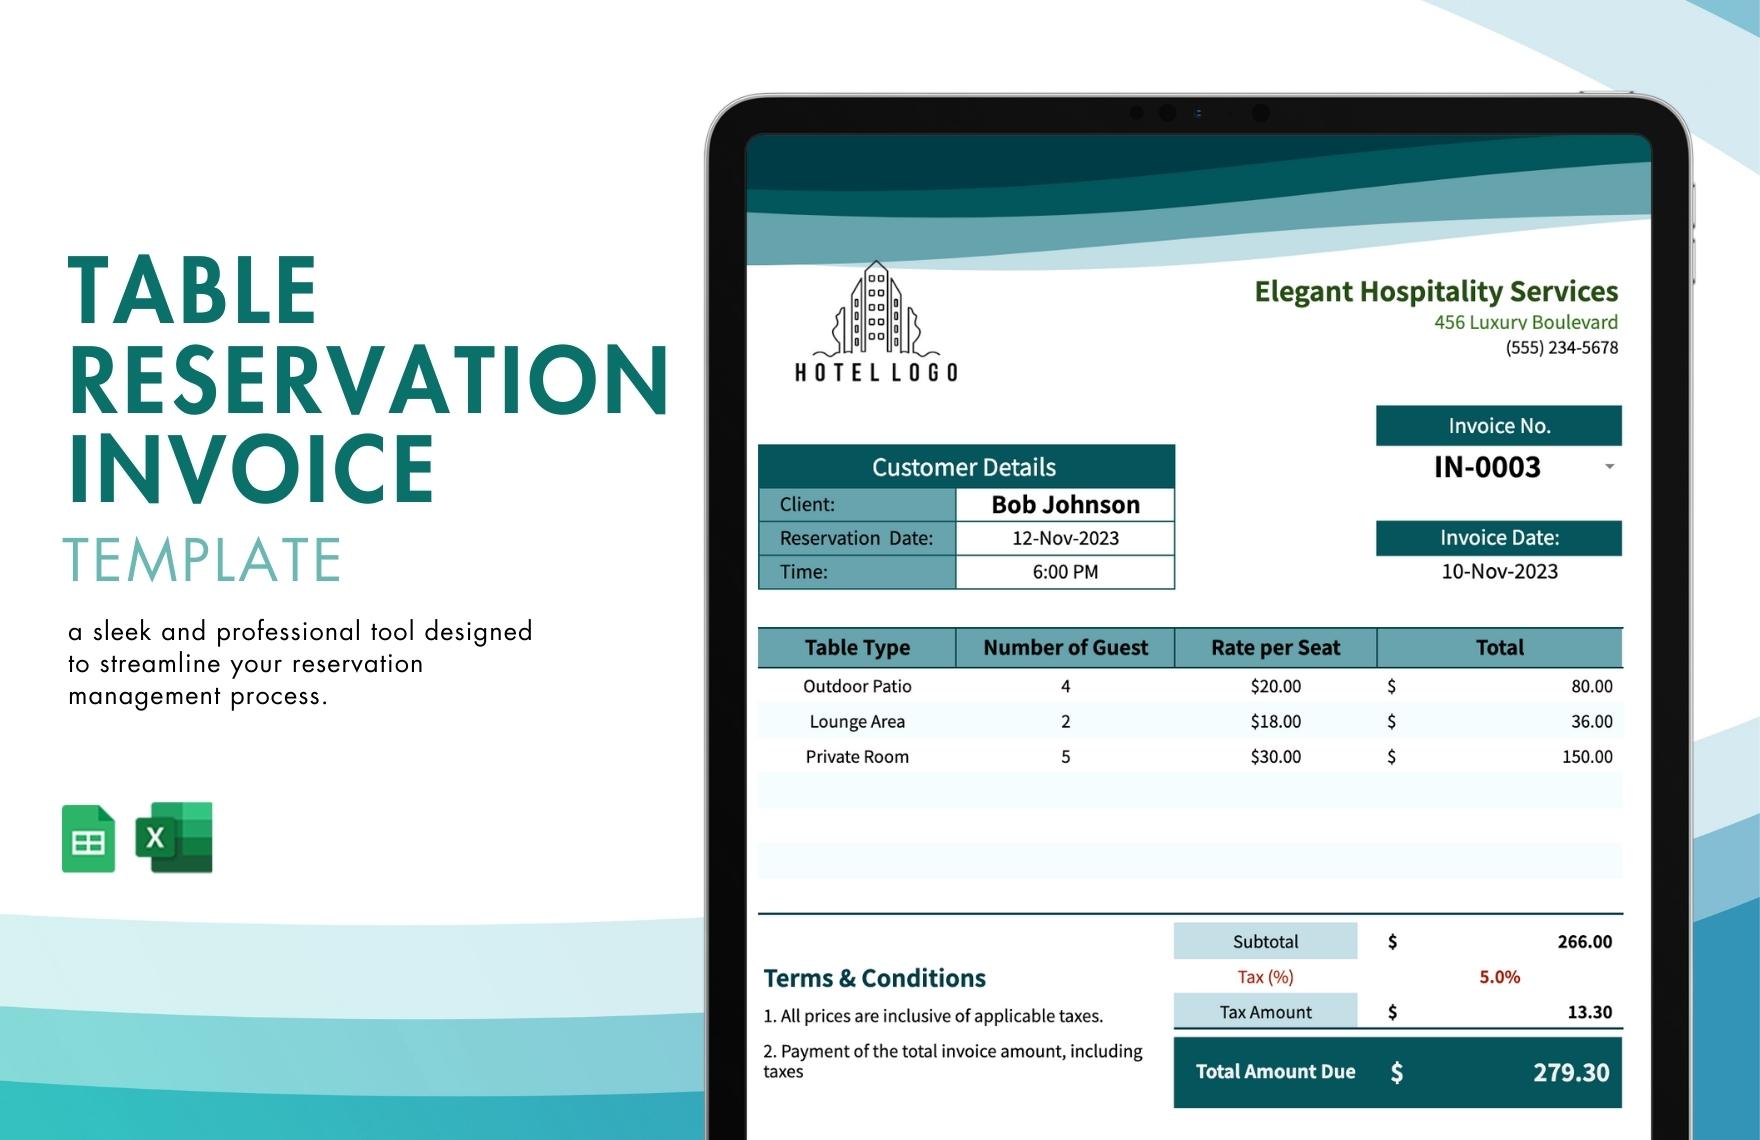
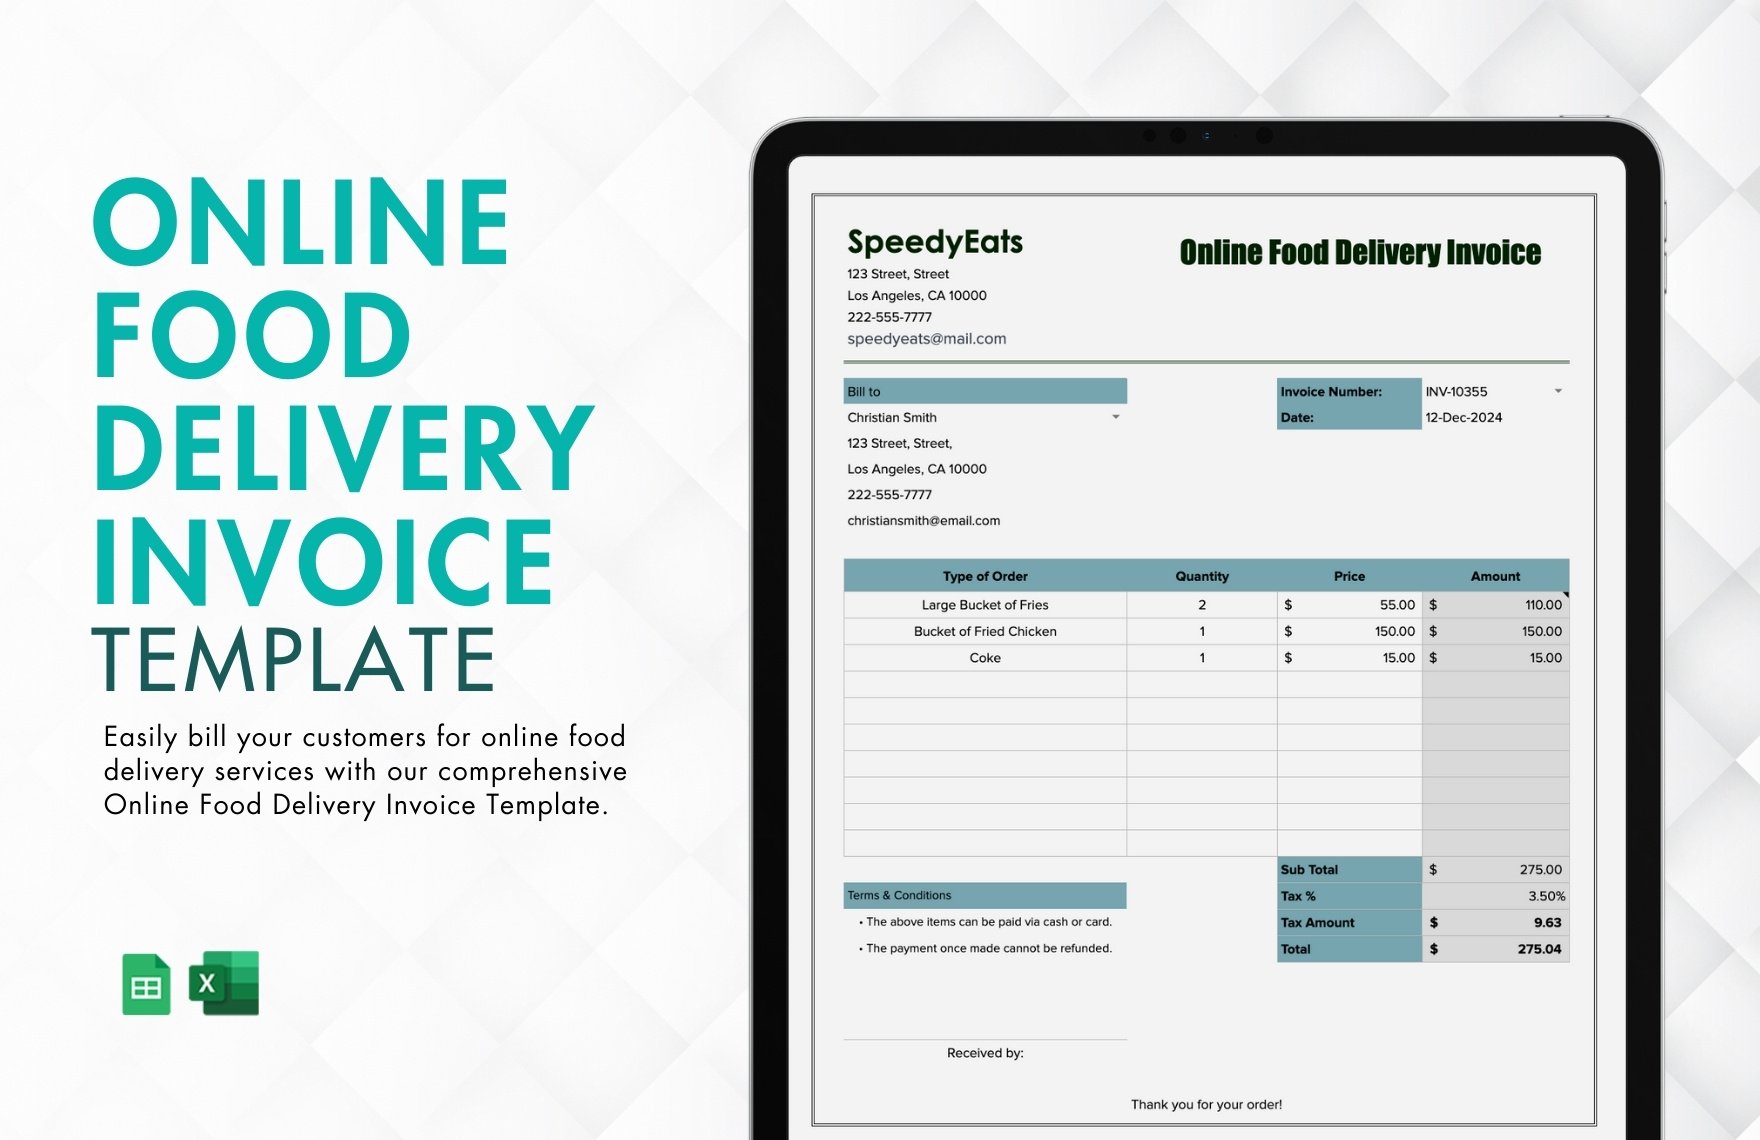
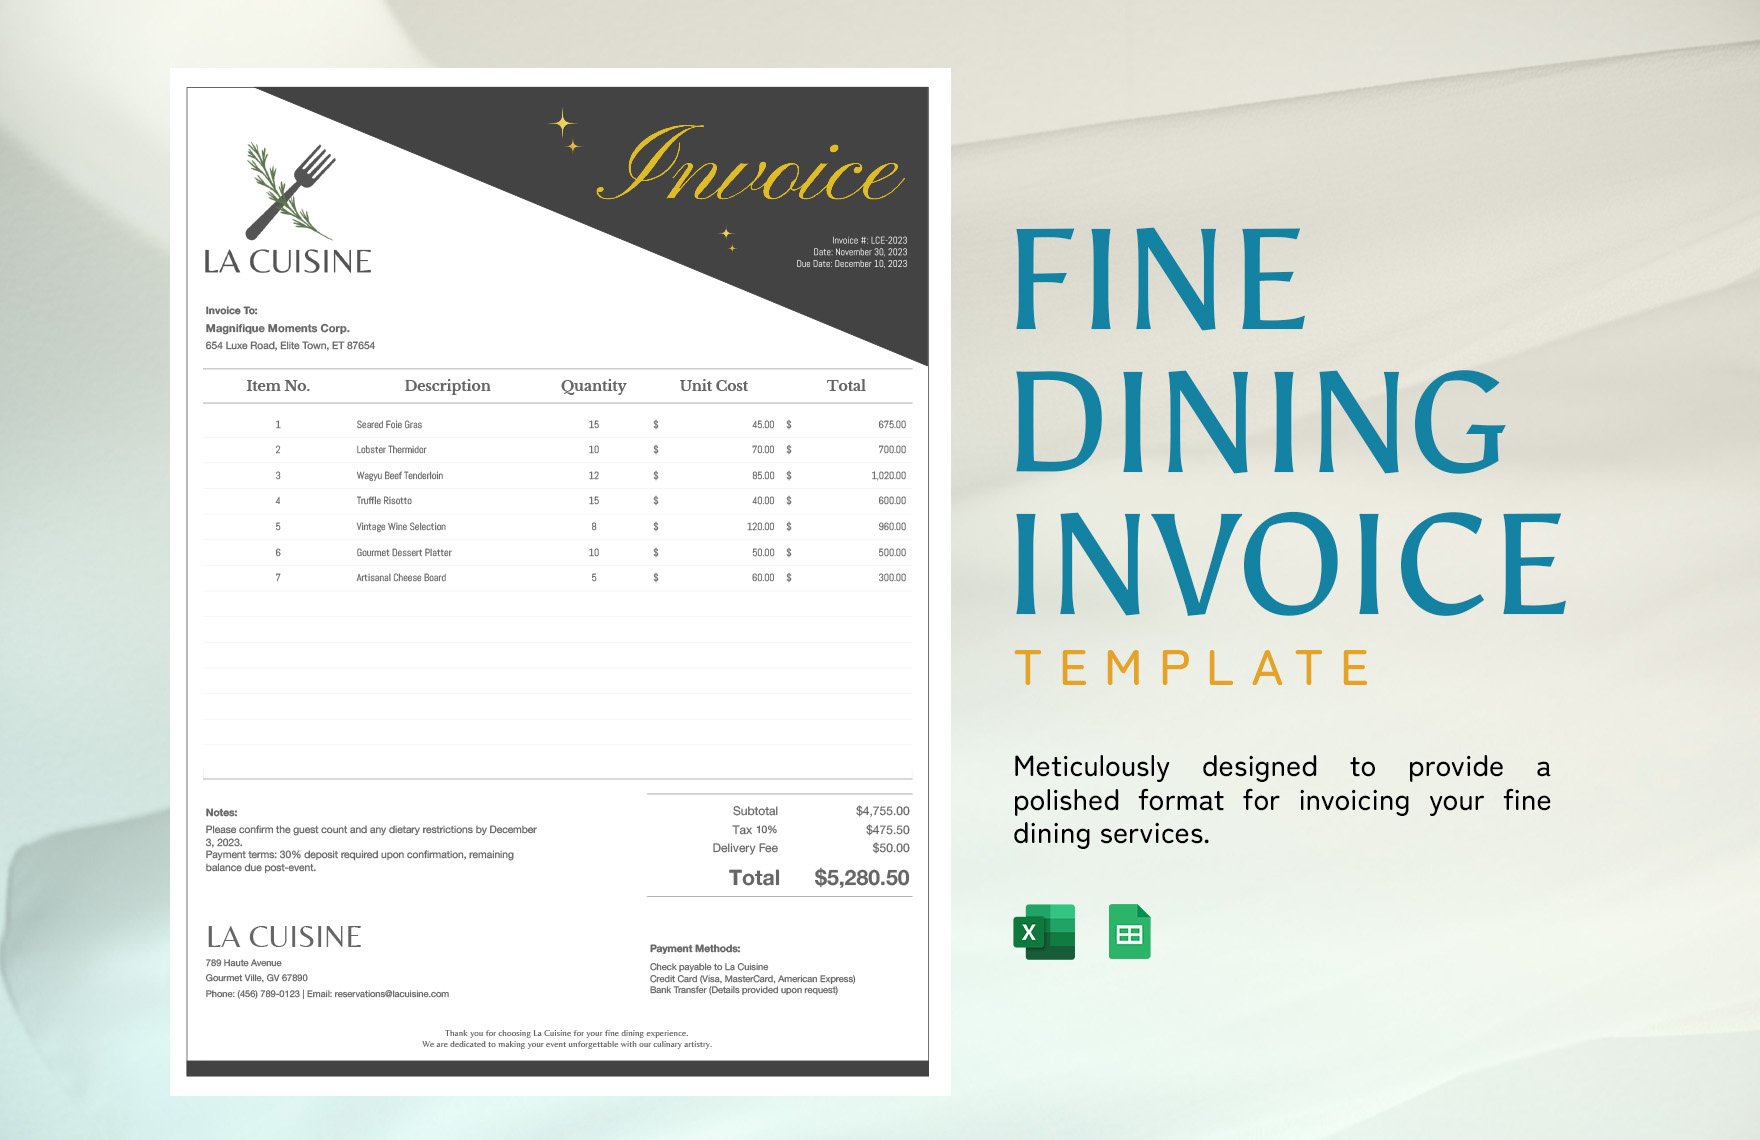
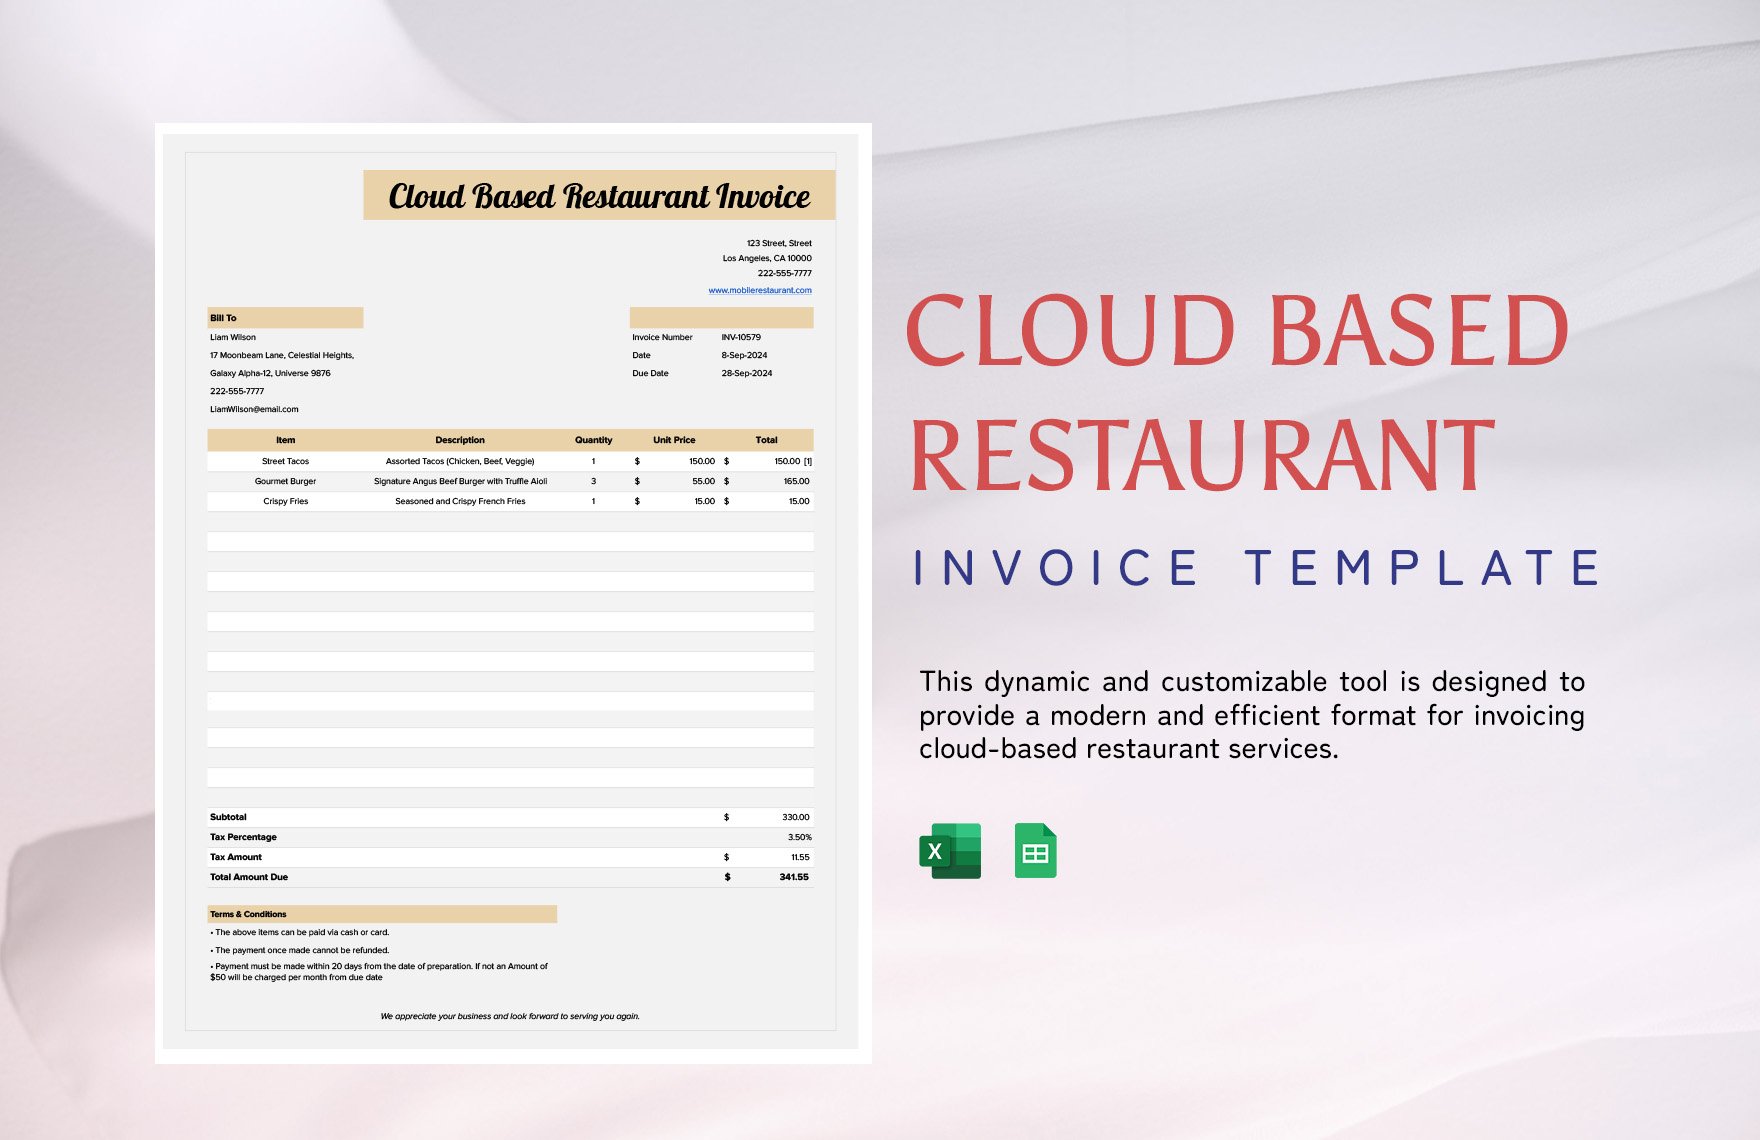
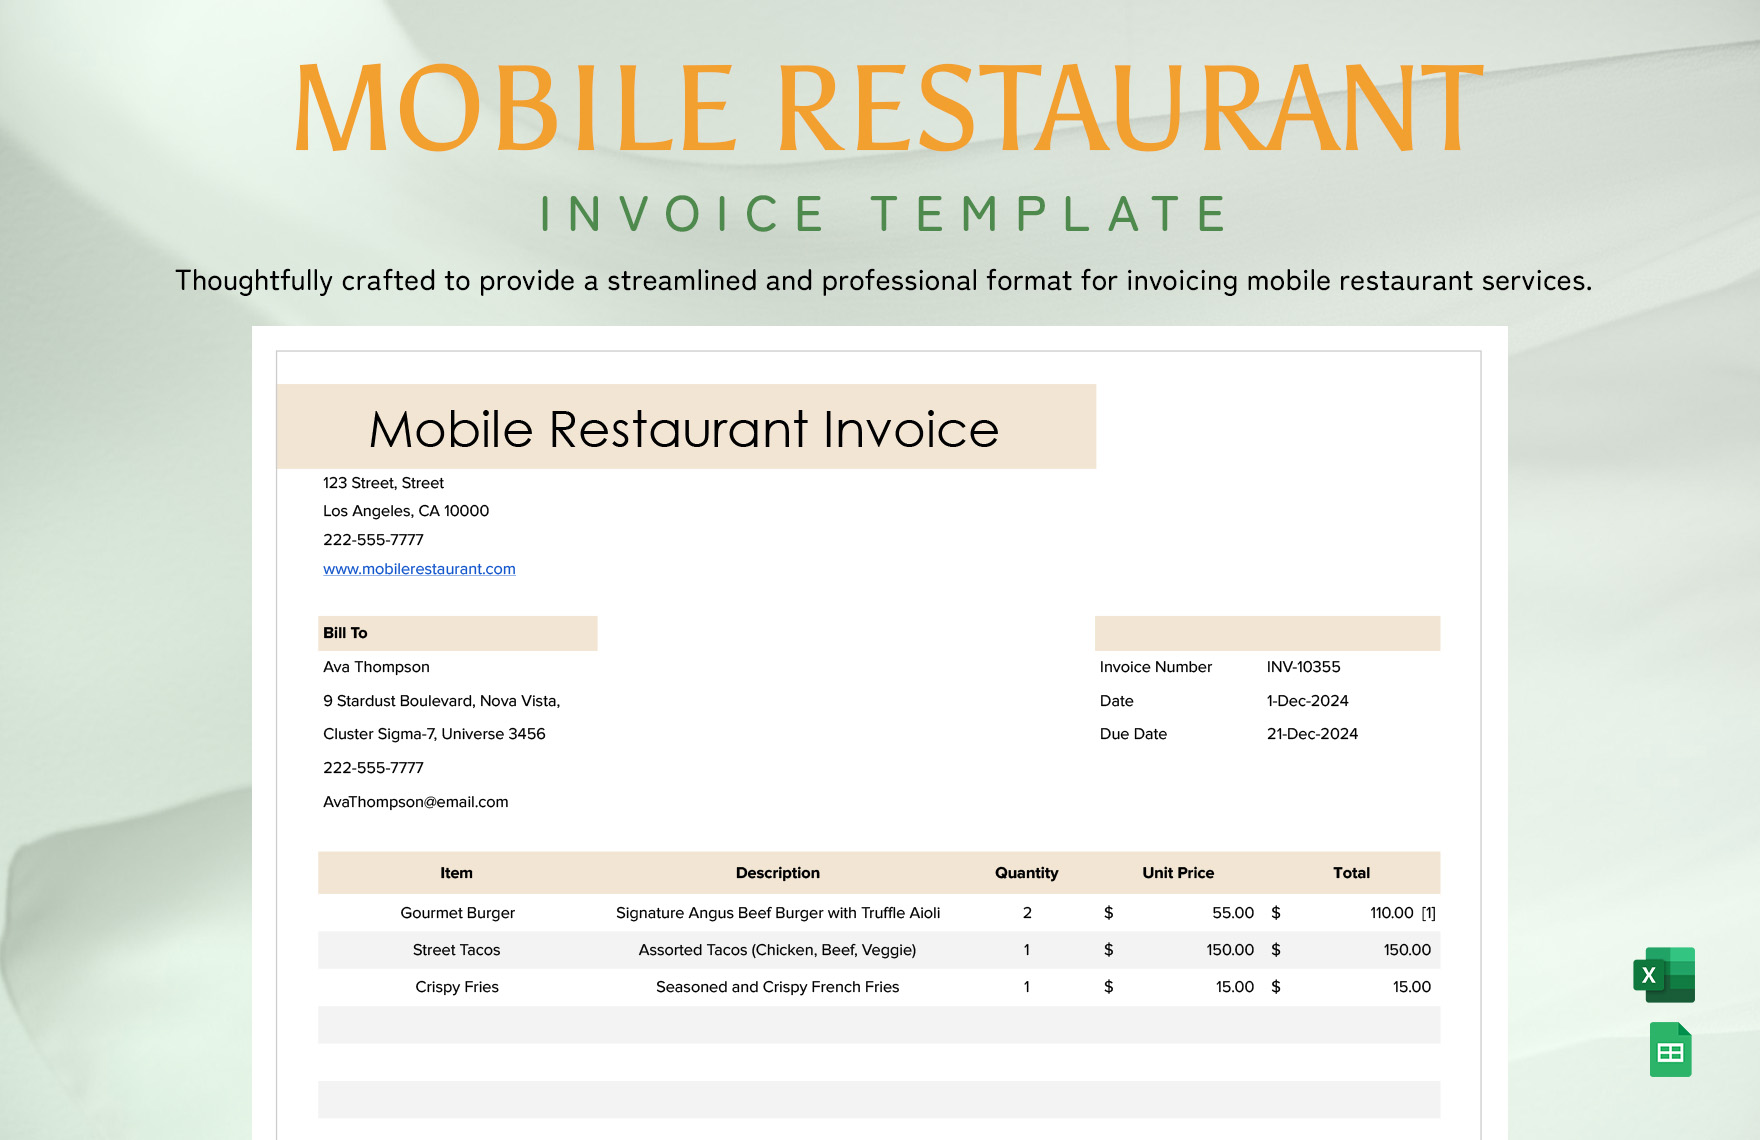
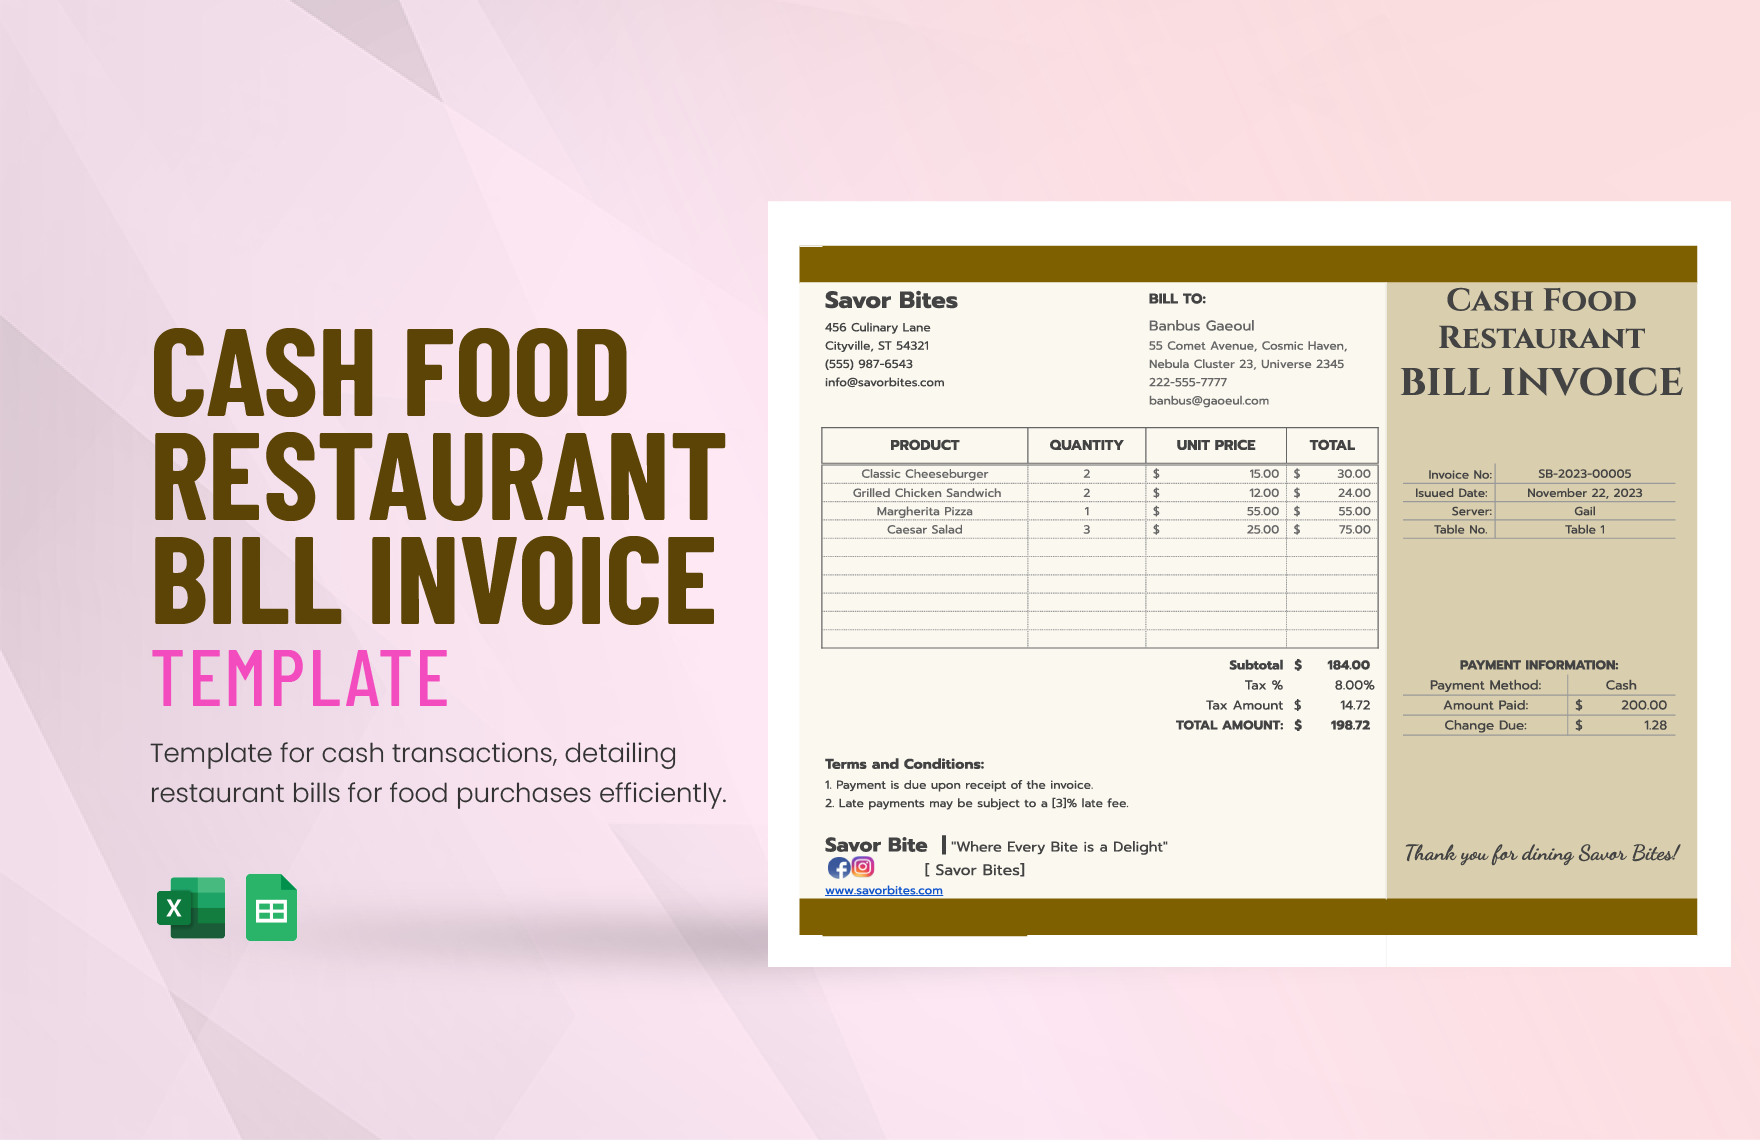
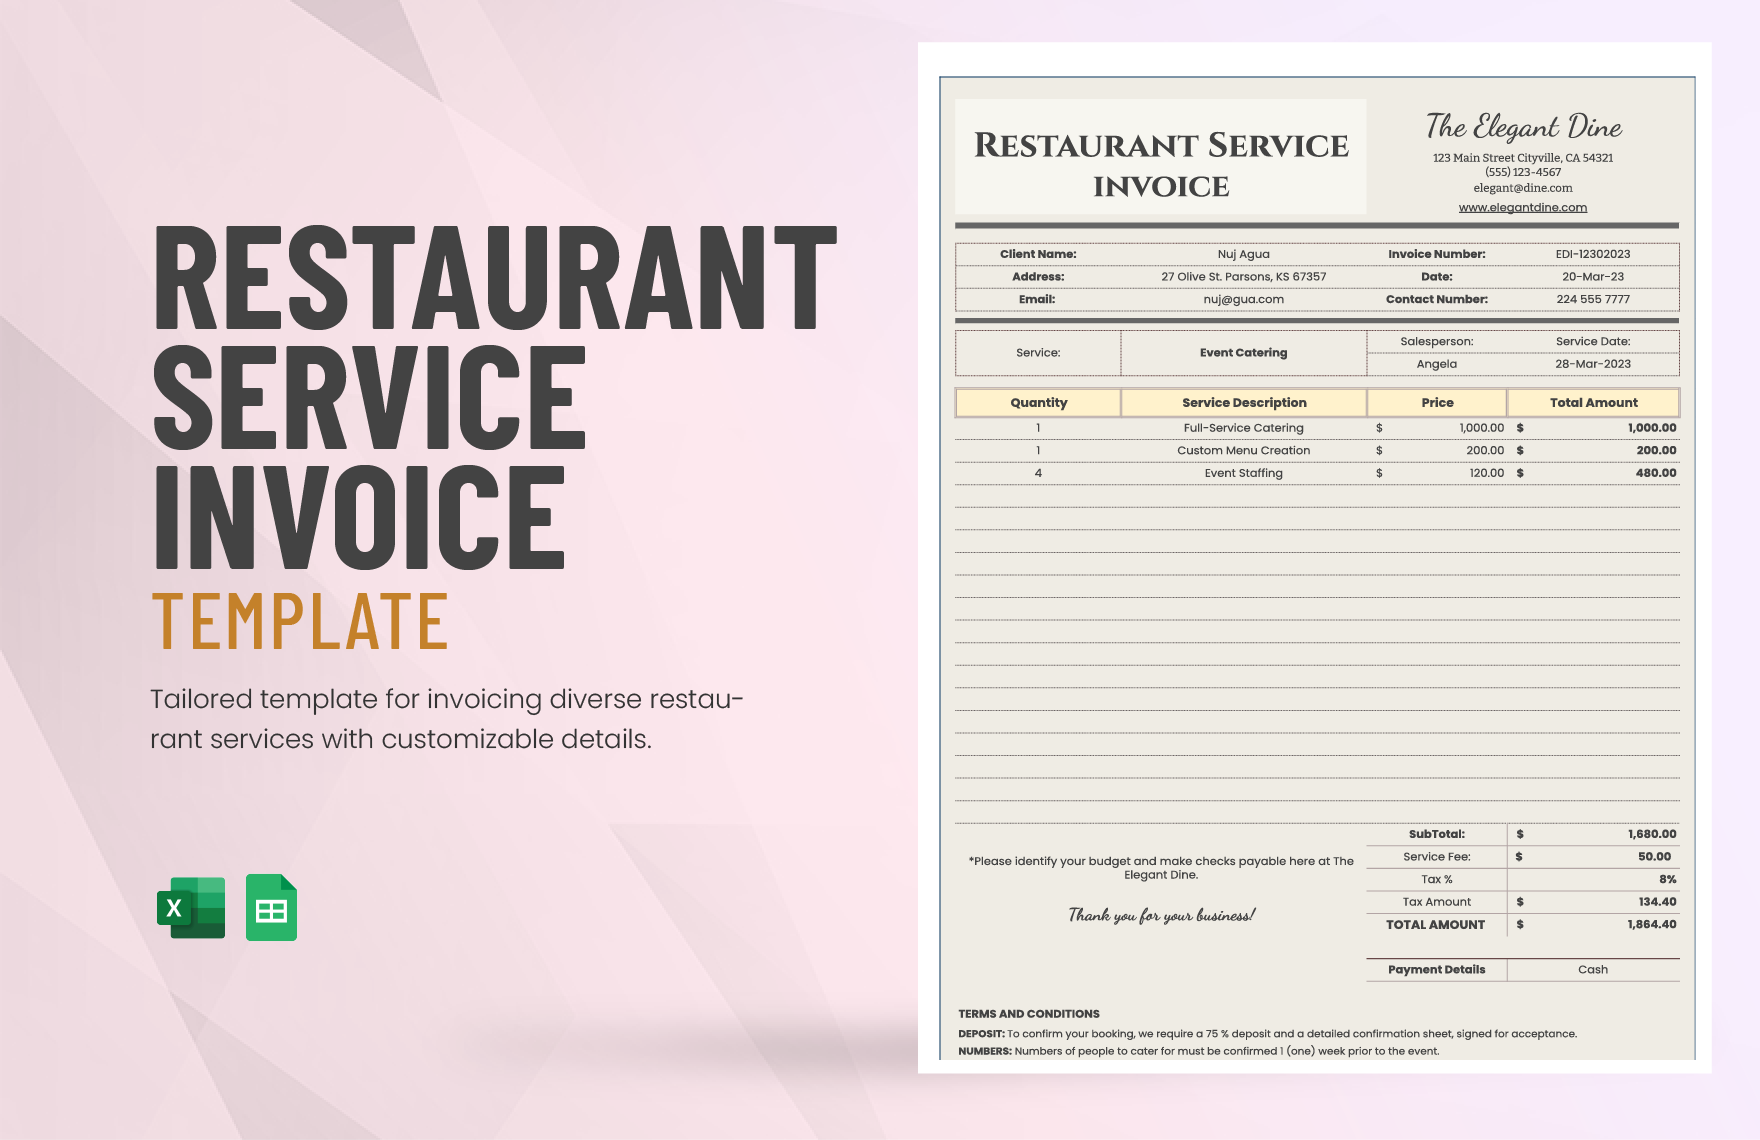
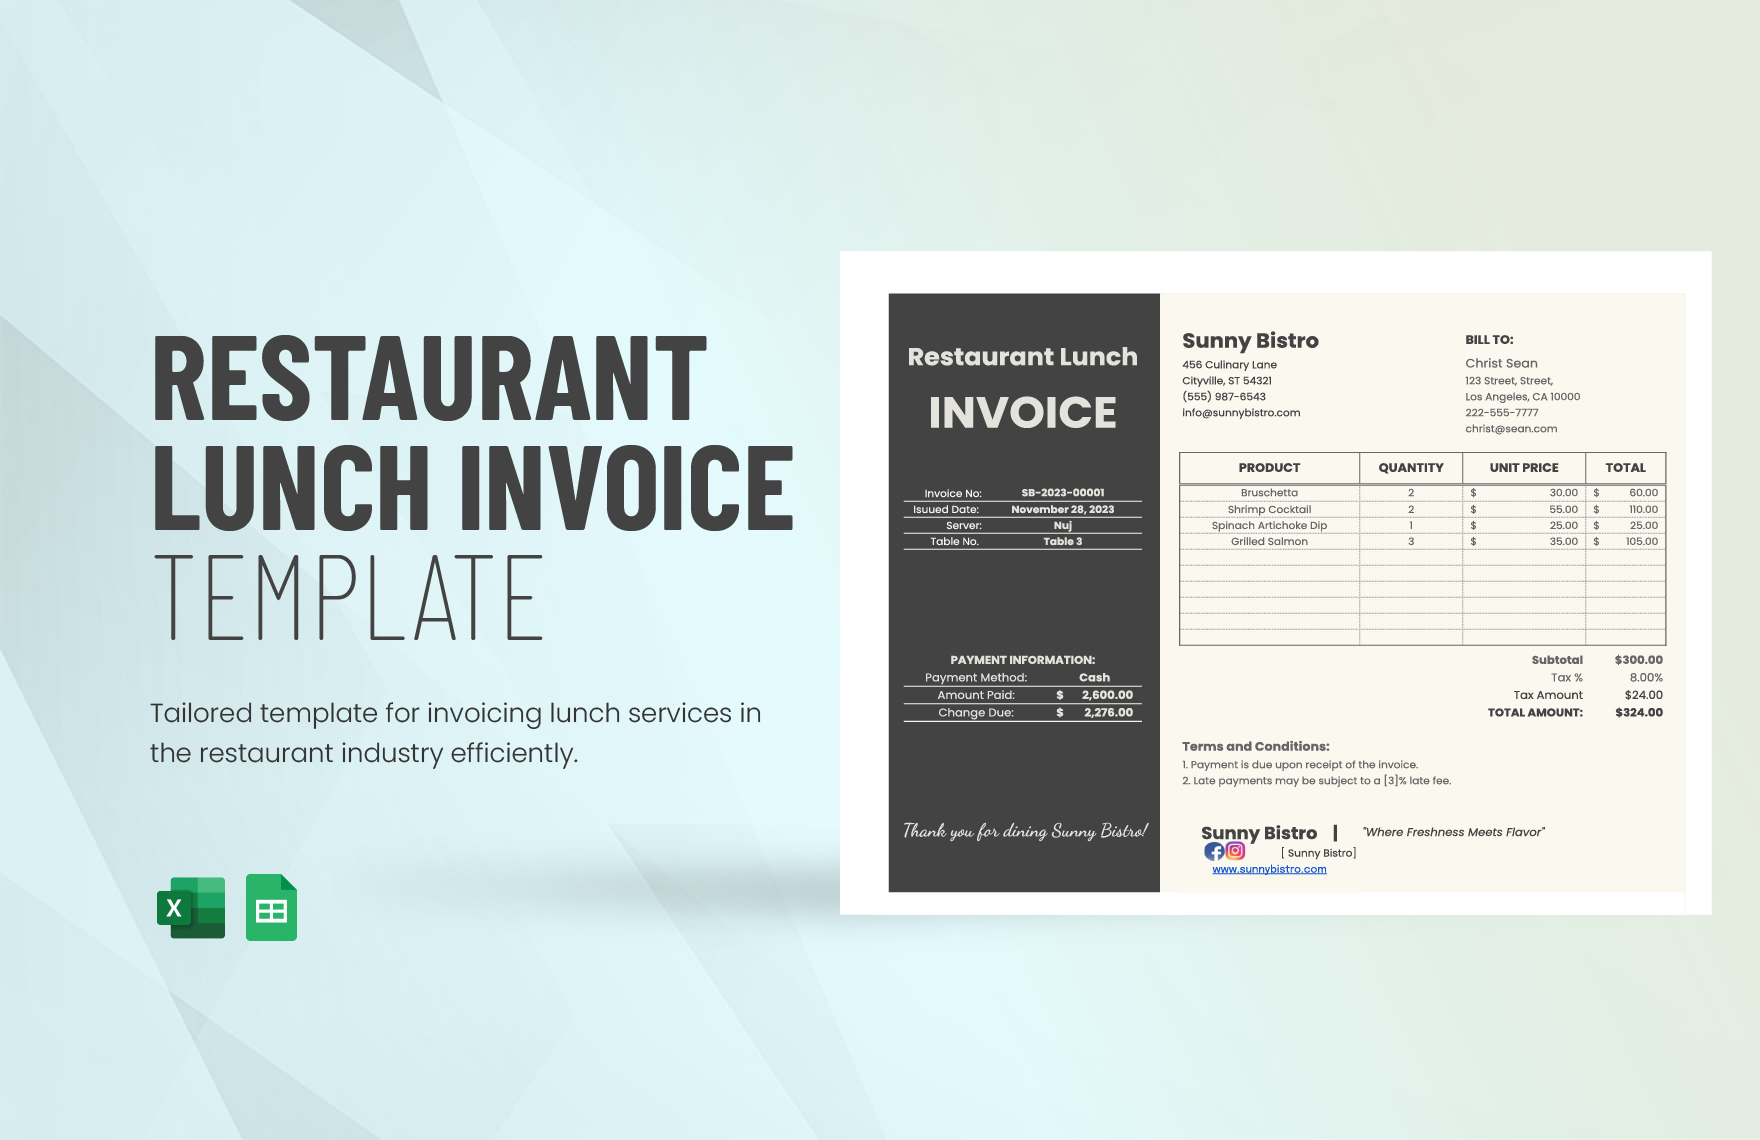
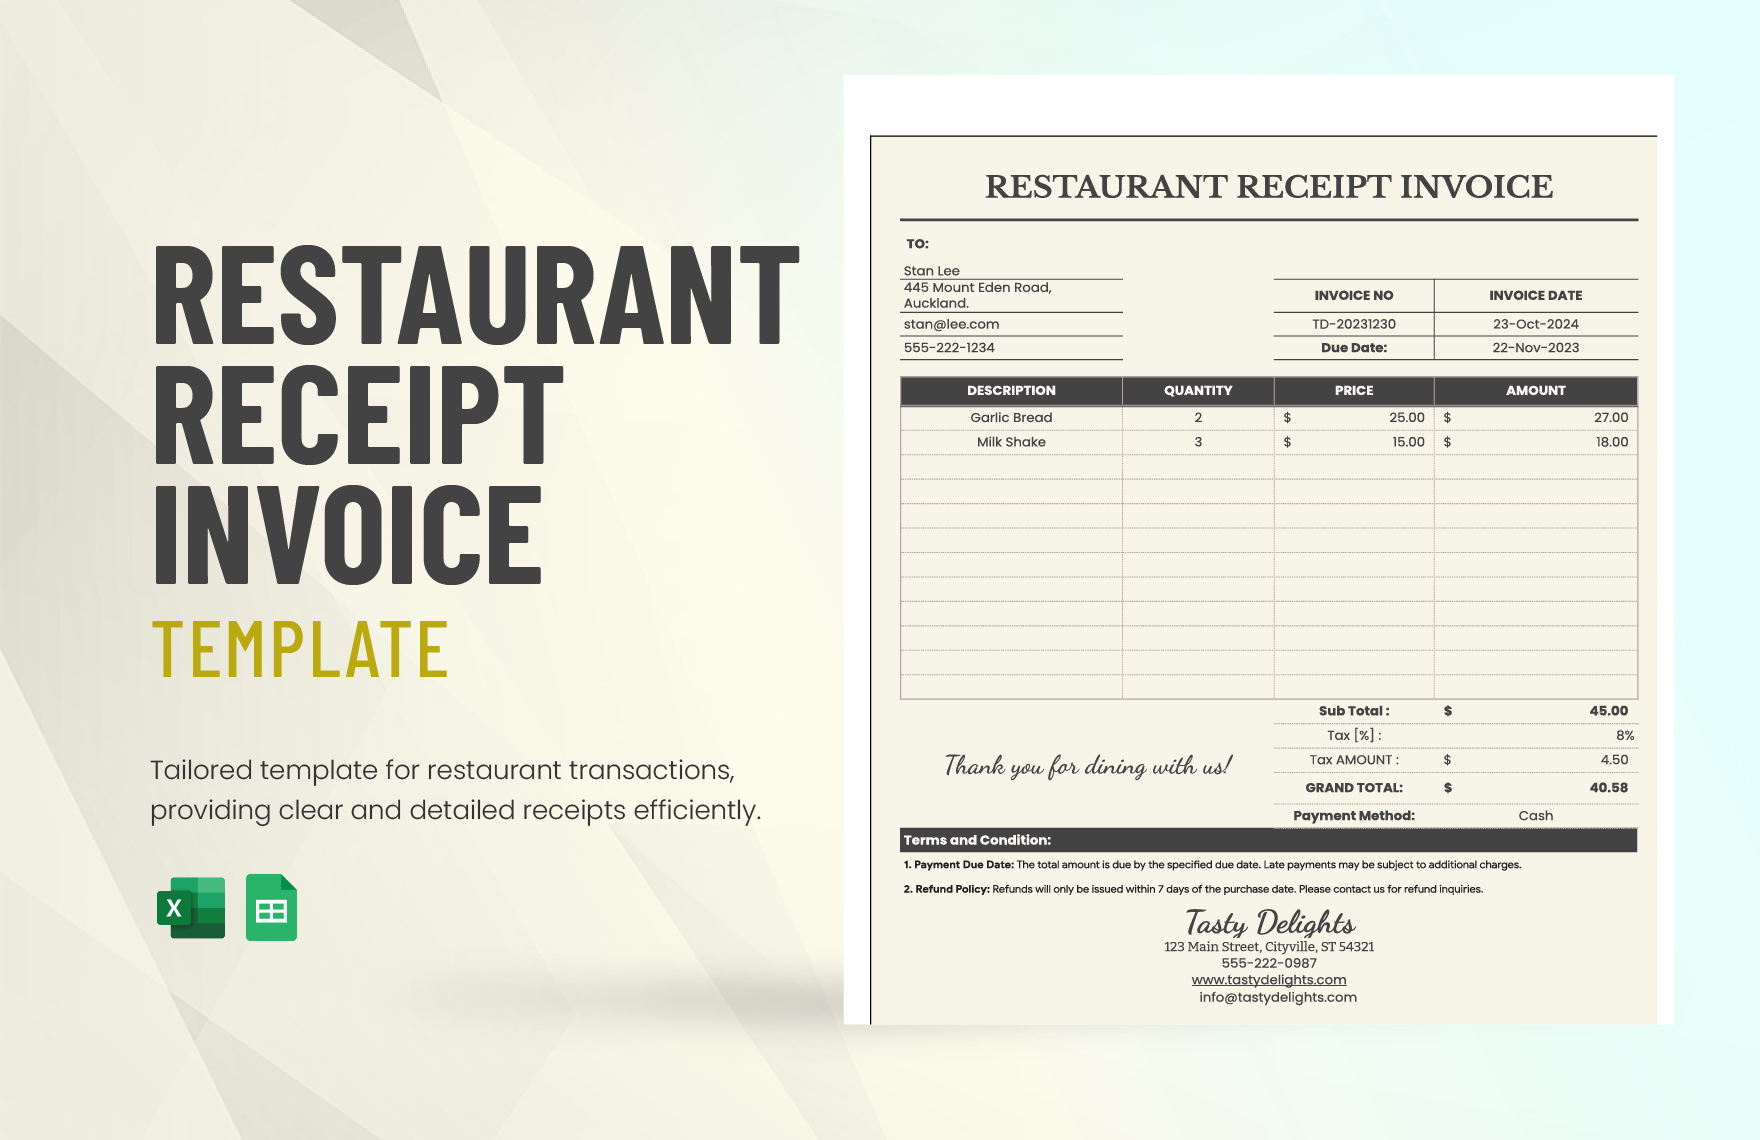
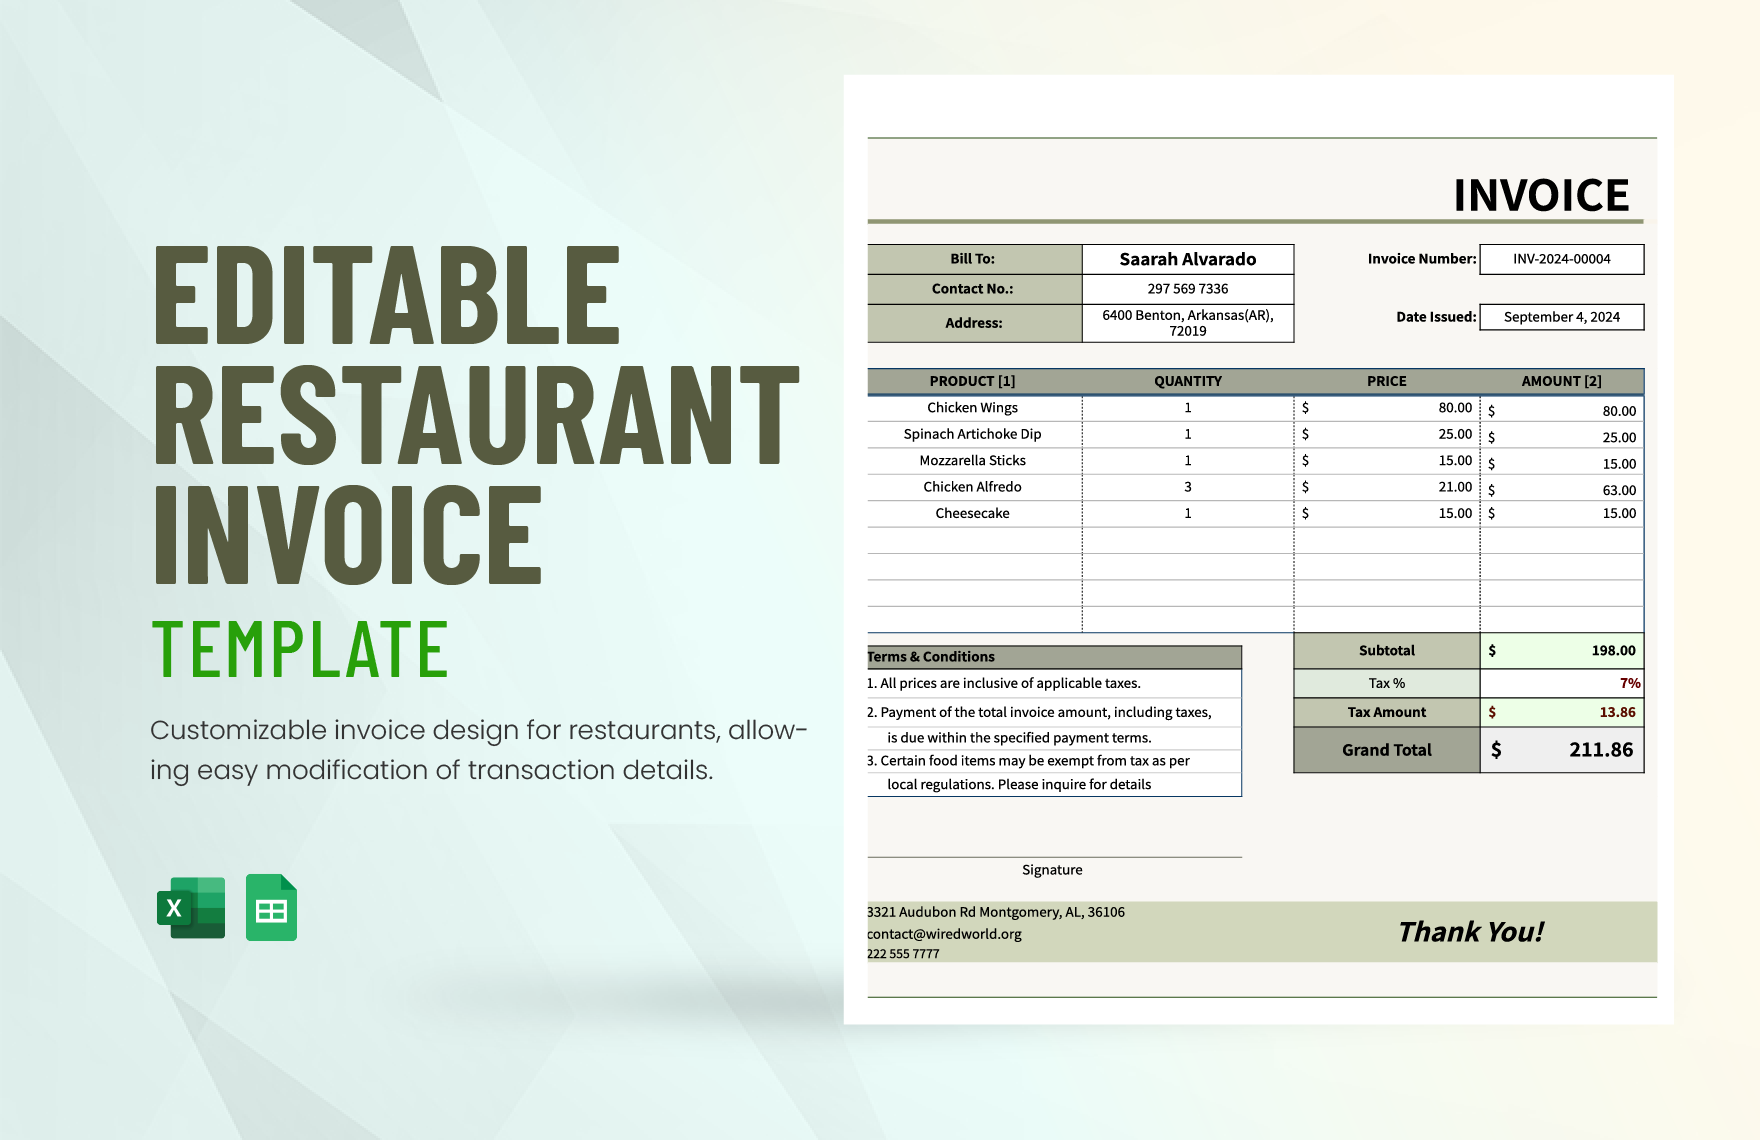
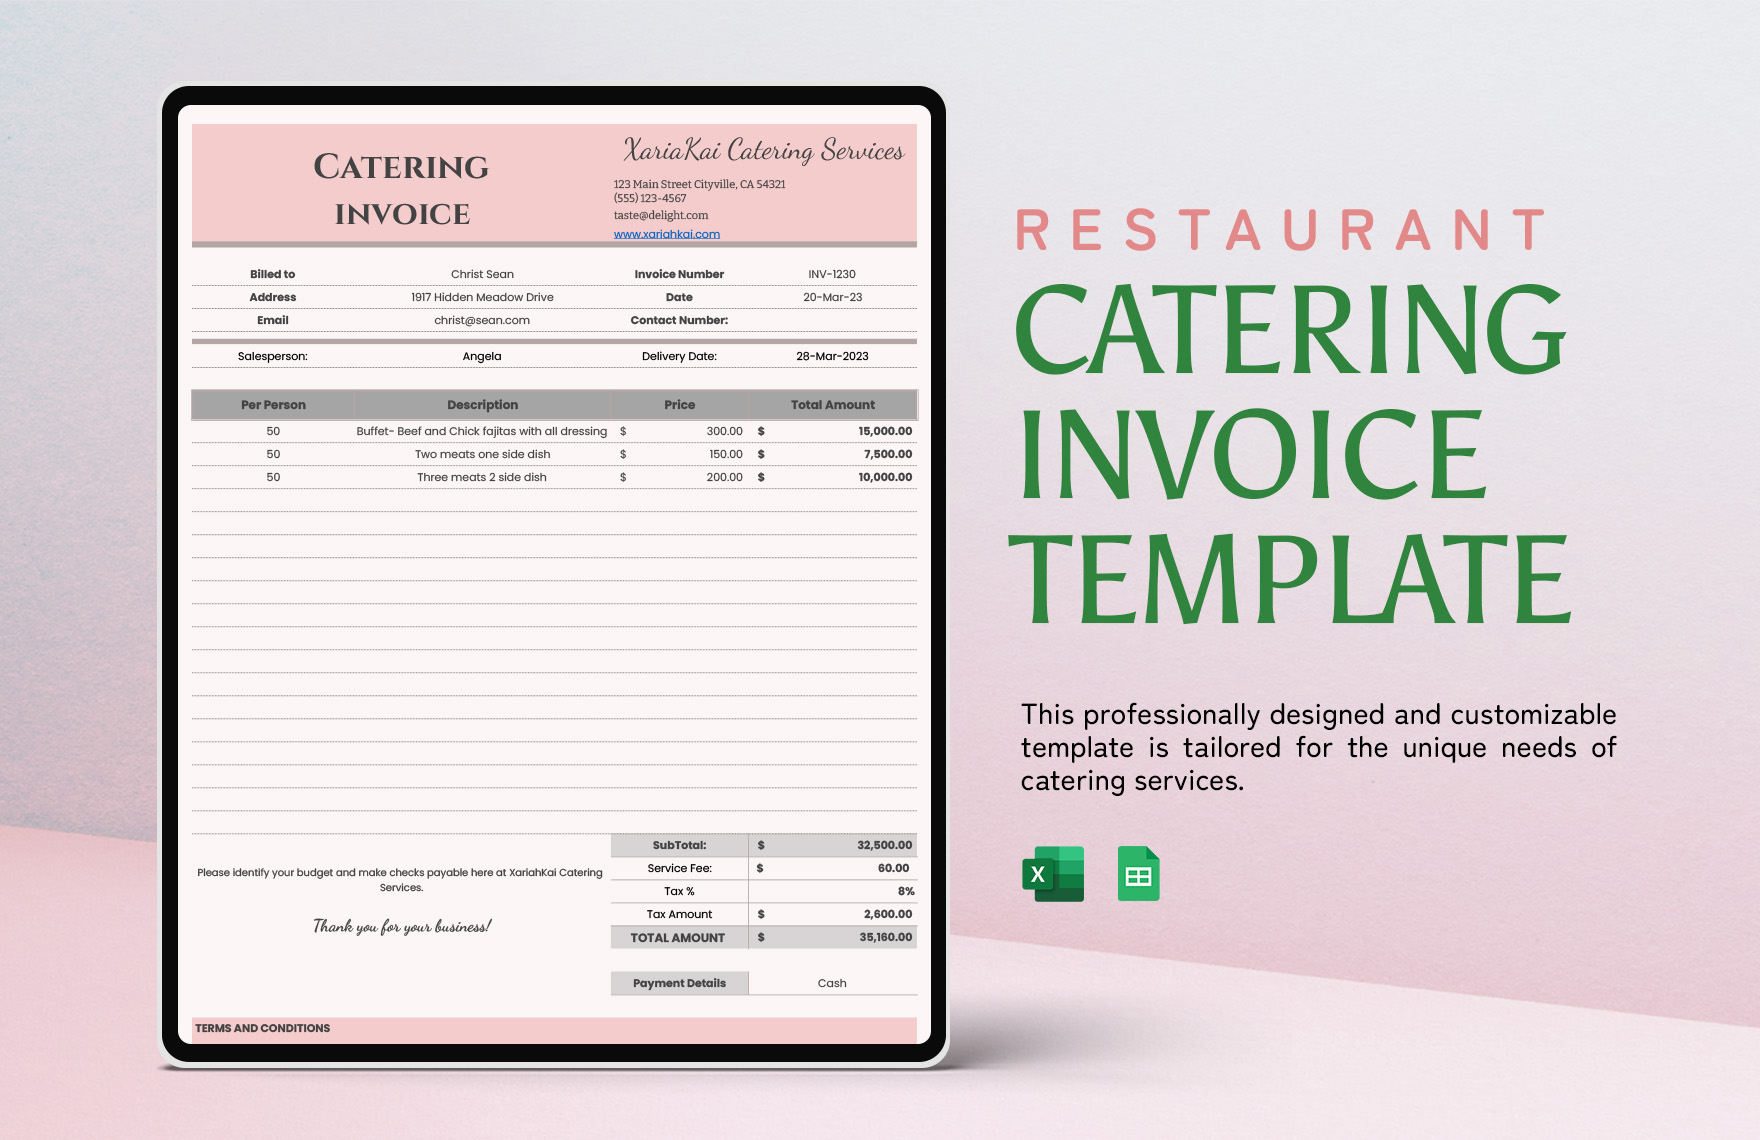
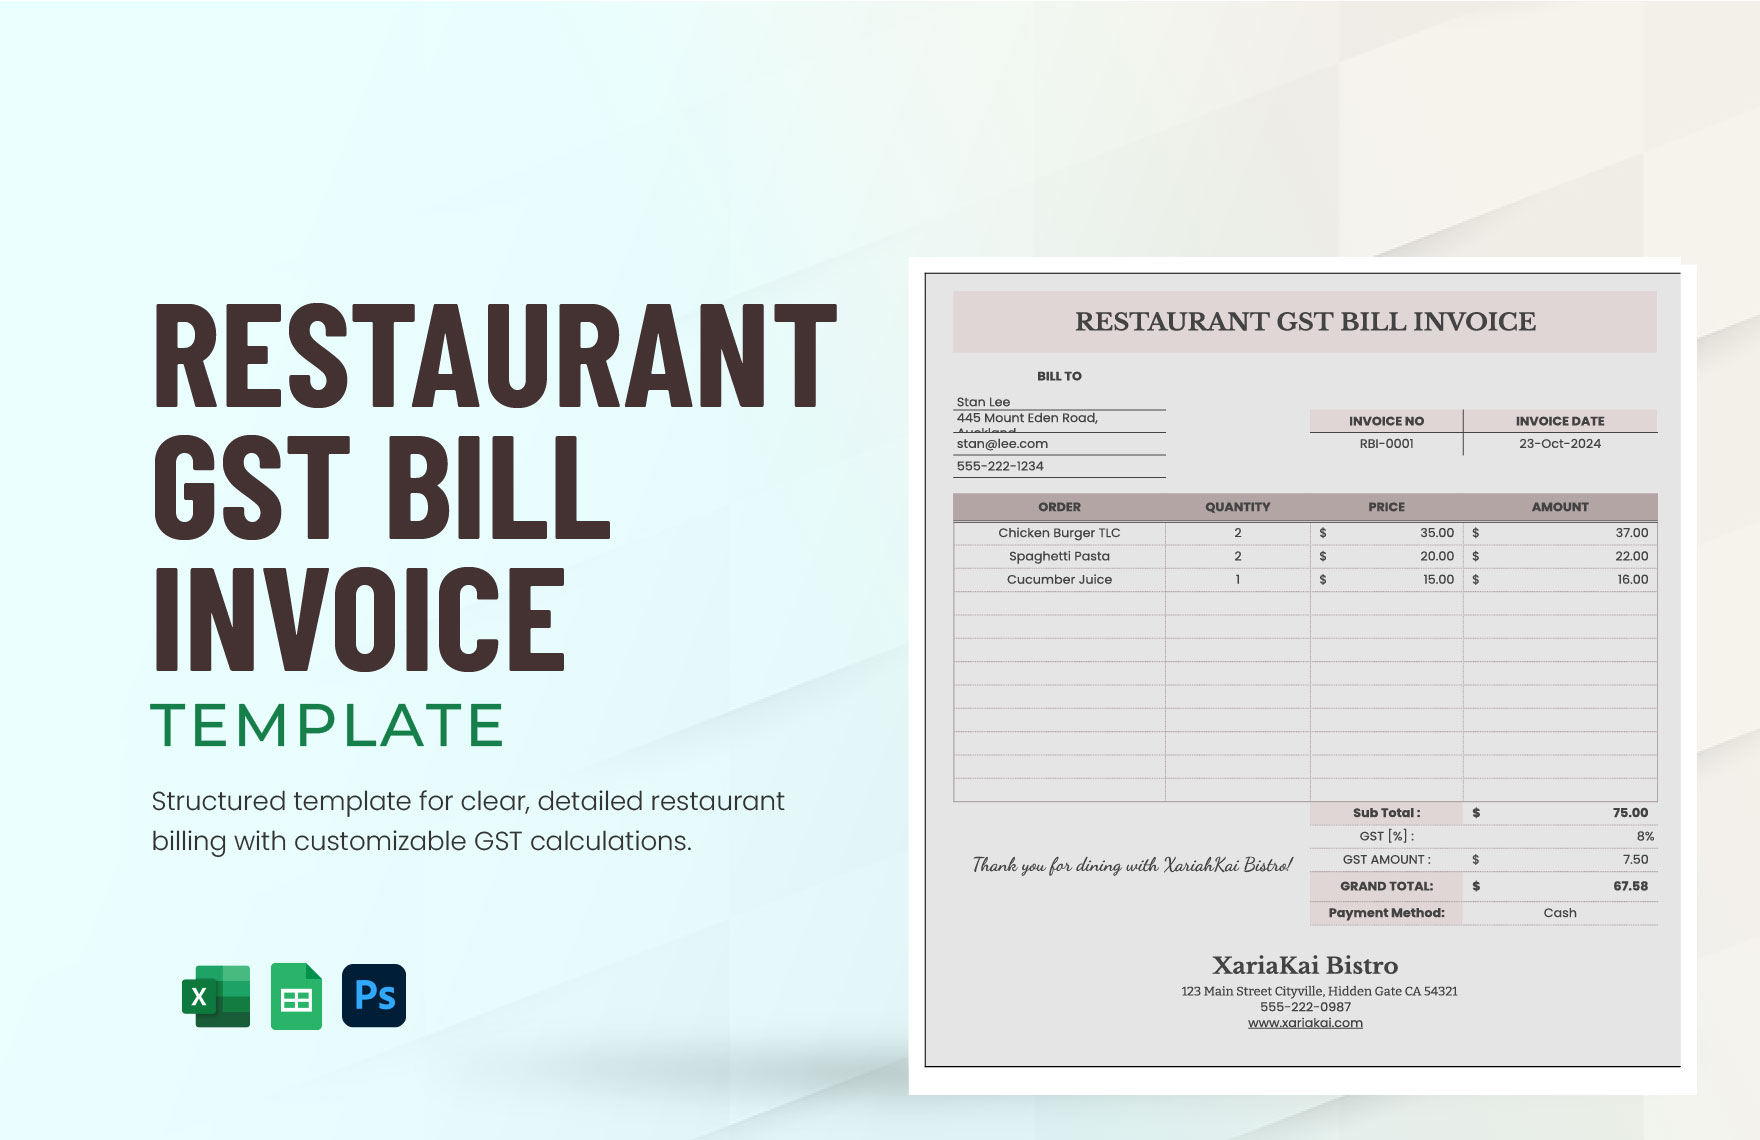
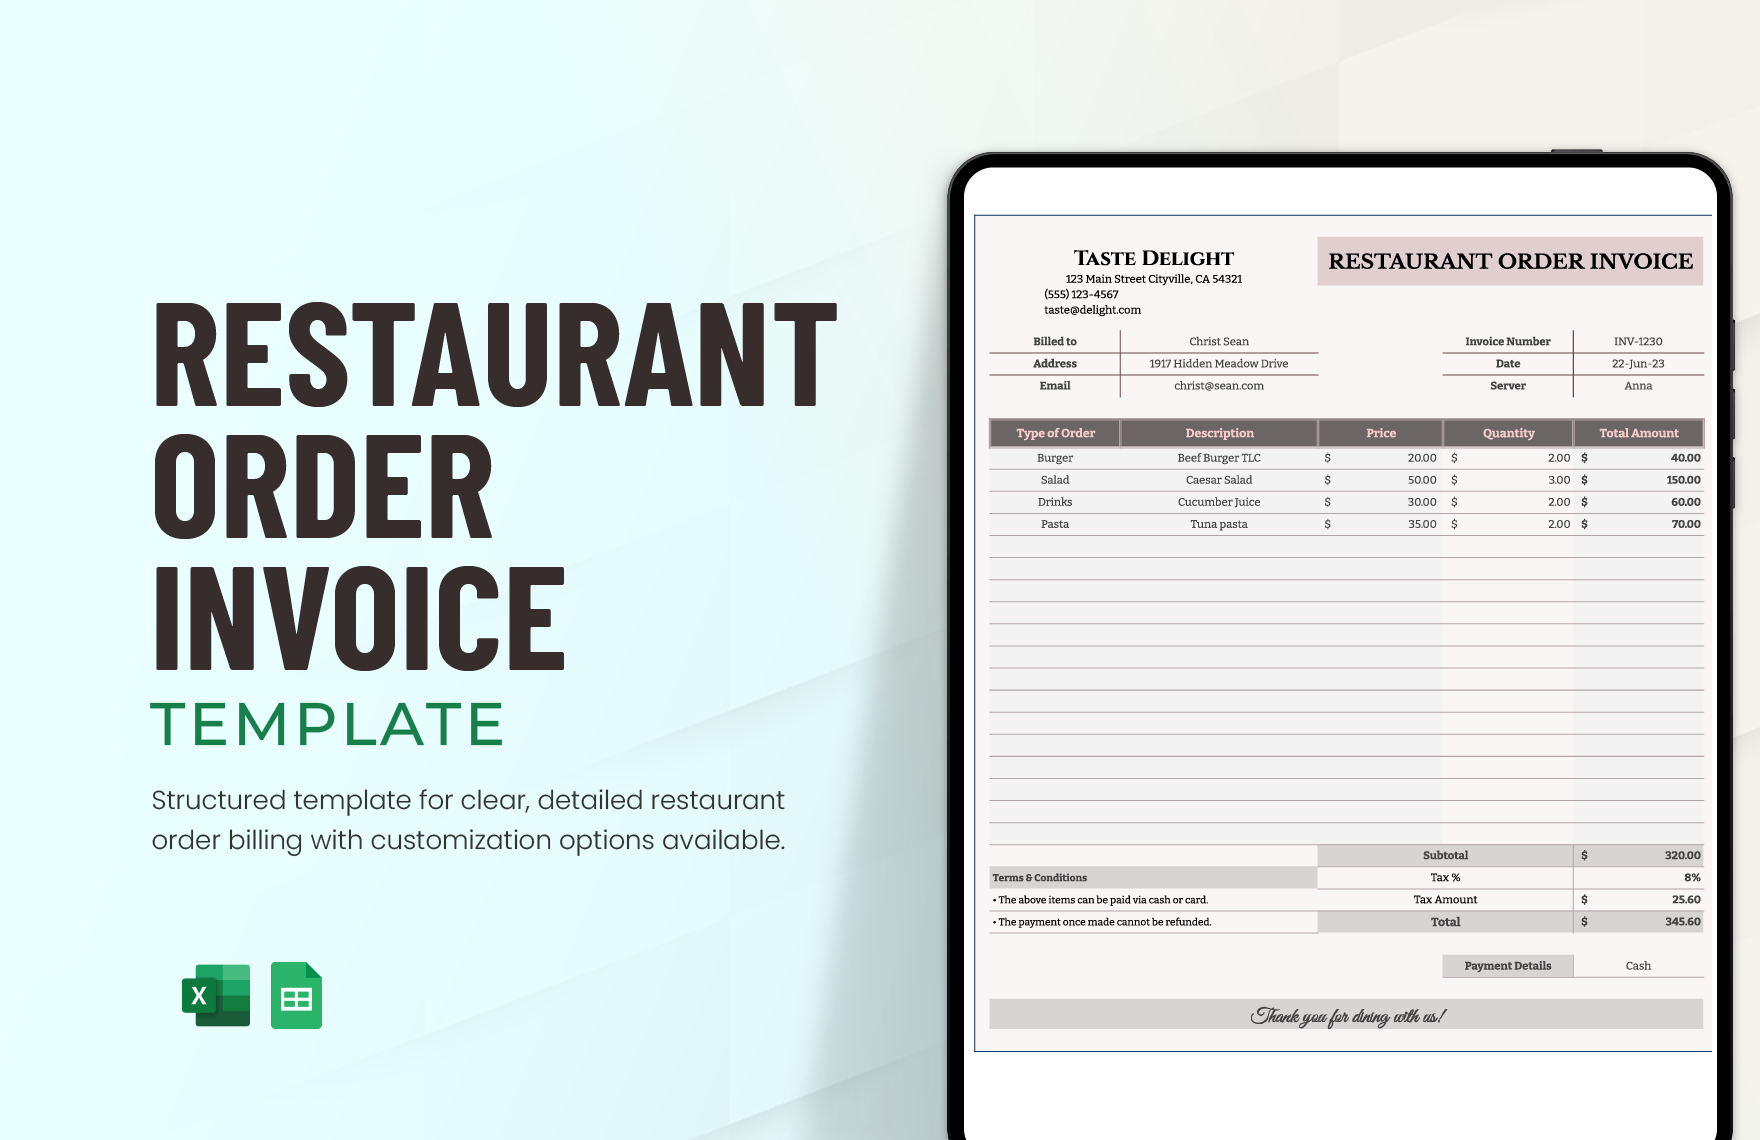
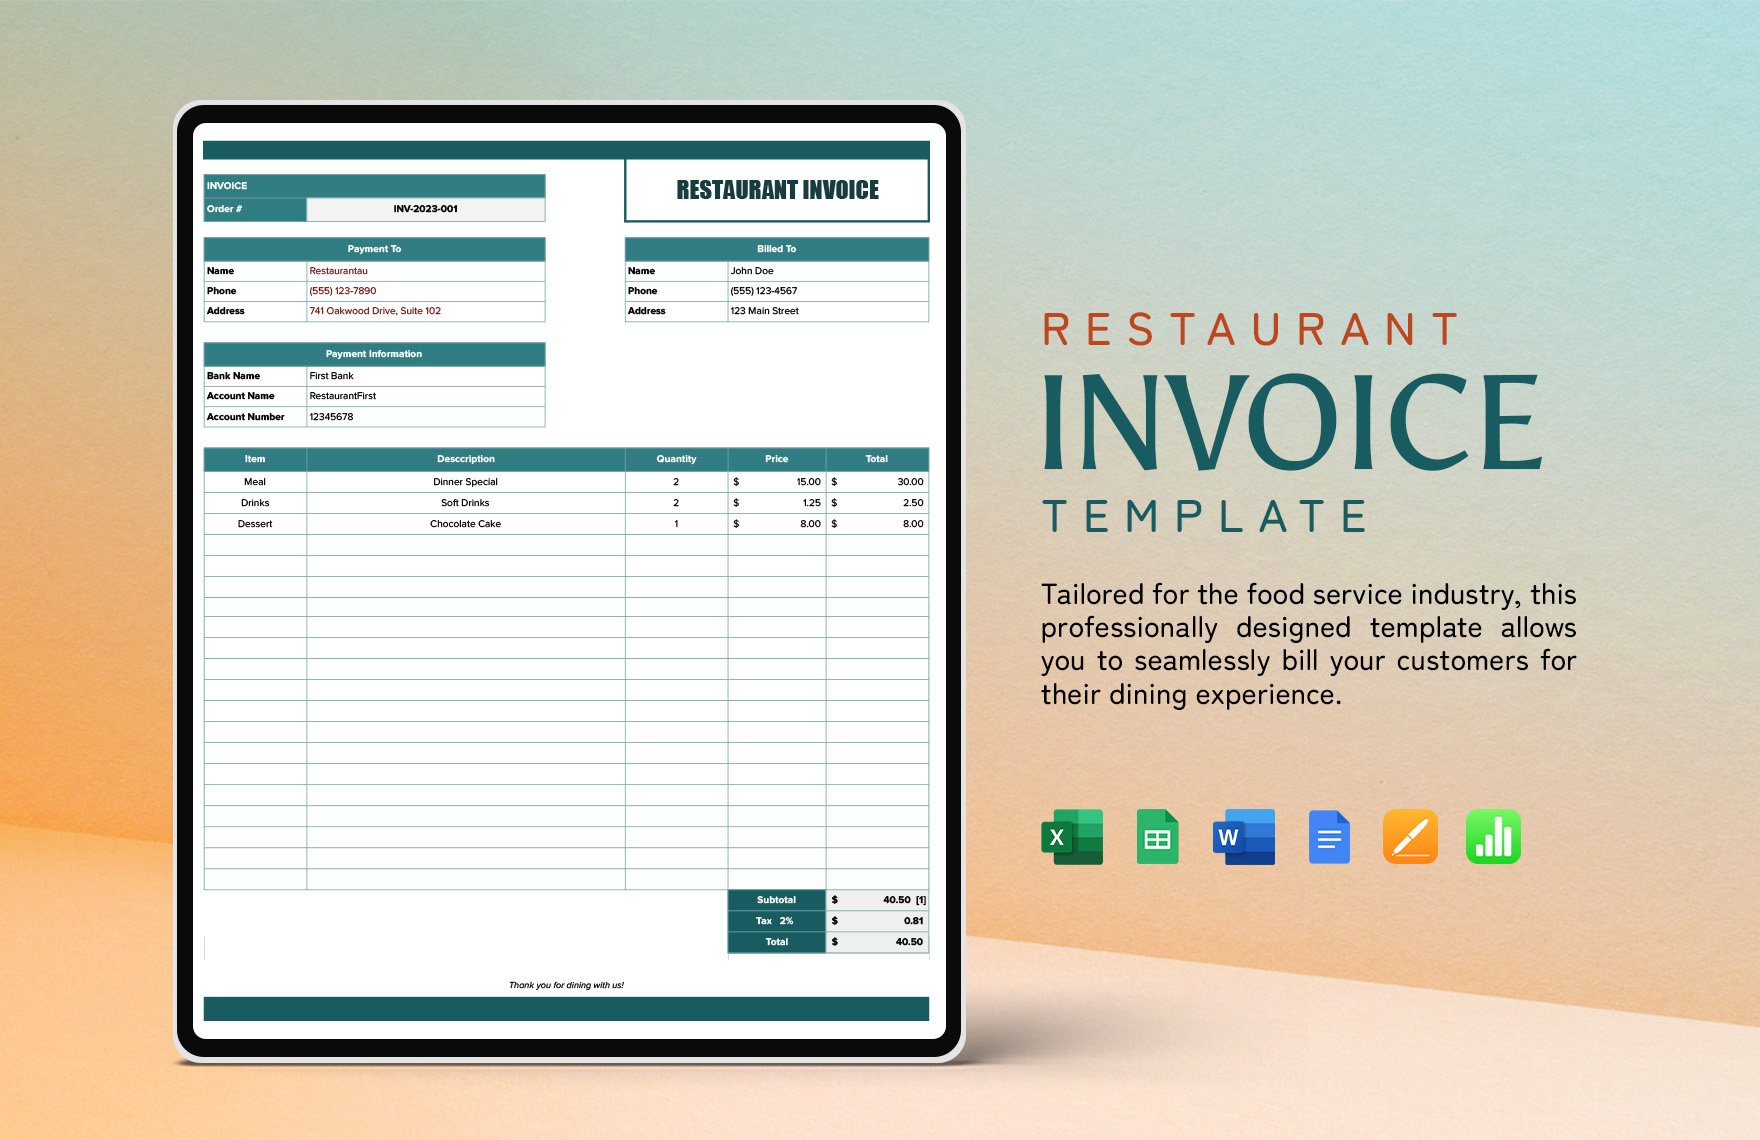
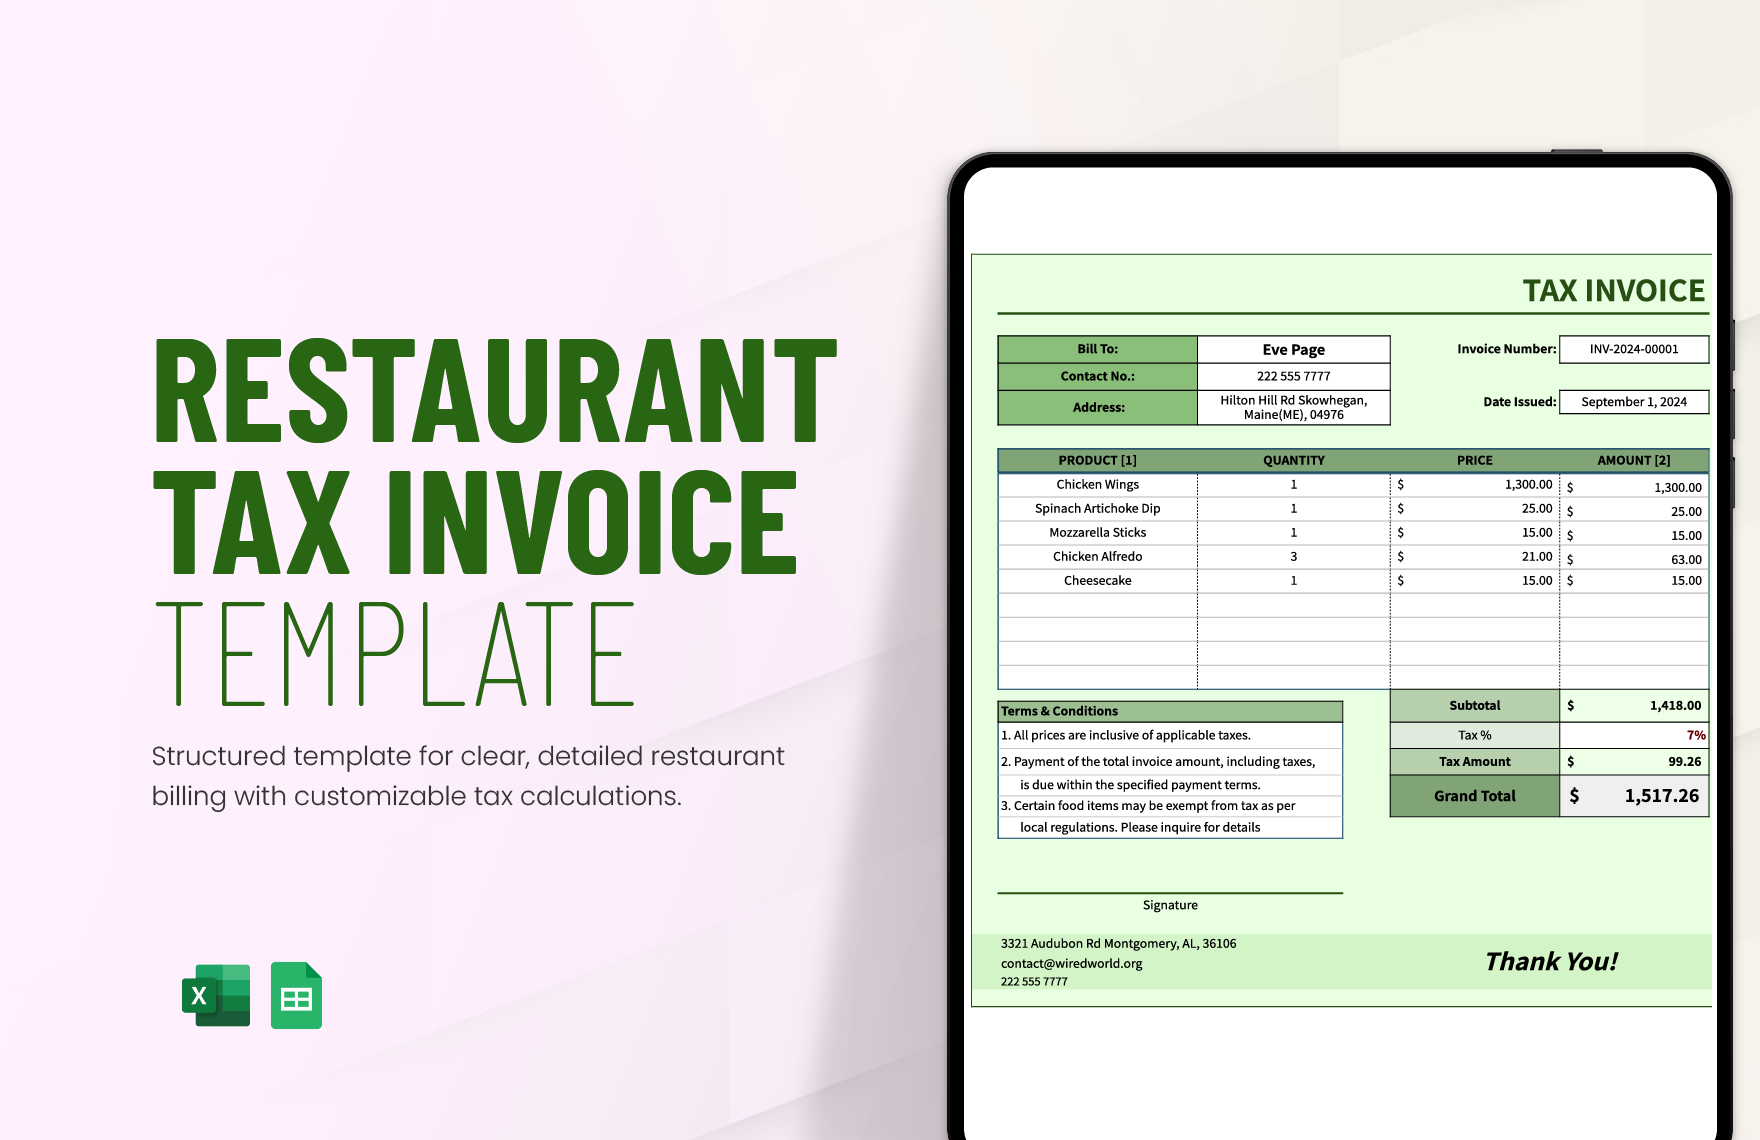
Just below the invoice title is where you enter various kinds of information. Start with the invoice's ID number, order number, and date.
Next, write down details about your dining establishment--name, address, and contact information. Follow it up with the customer or client’s information, writing down the same types of entries.
3. Your Restaurant Invoice’s Order and Payment Details
Now it’s time for the main content in your restaurant invoice.
For this part, prepare several columns that are each labeled with headers that say Description, Hourly Rate/Unit Price, Rendered Hours/Quantity, and Amount.
Just beneath the Amount column, reserve space for the Subtotal, Tax, Discount, and Grand Total. To make the contents more natural to read, apply highlight colors to the column headers and the Grand Total.
4. Move Your Restaurant Invoice to a Document Page
Did you complete the invoice's primary content? If so, open a compatible word processor (like Google Docs) to transfer your spreadsheet contents.
Transfer your work by highlighting all the relevant cells first. Next, duplicate the contents using the copy function, then go into the prepared document page and then insert the copy with the paste function. Don't worry about formatting it again, since all of that also carries over to the new page. Make any needed adjustments by right-clicking one of the cells in your copy. Finally, finish up by adding your restaurant's logo into one of the top corners.
Done reading? Just remember our tips, and making a printable or digital restaurant invoice will be a lot easier! Come back if you ever need a refresher or any of our Restaurant Invoice Templates!
