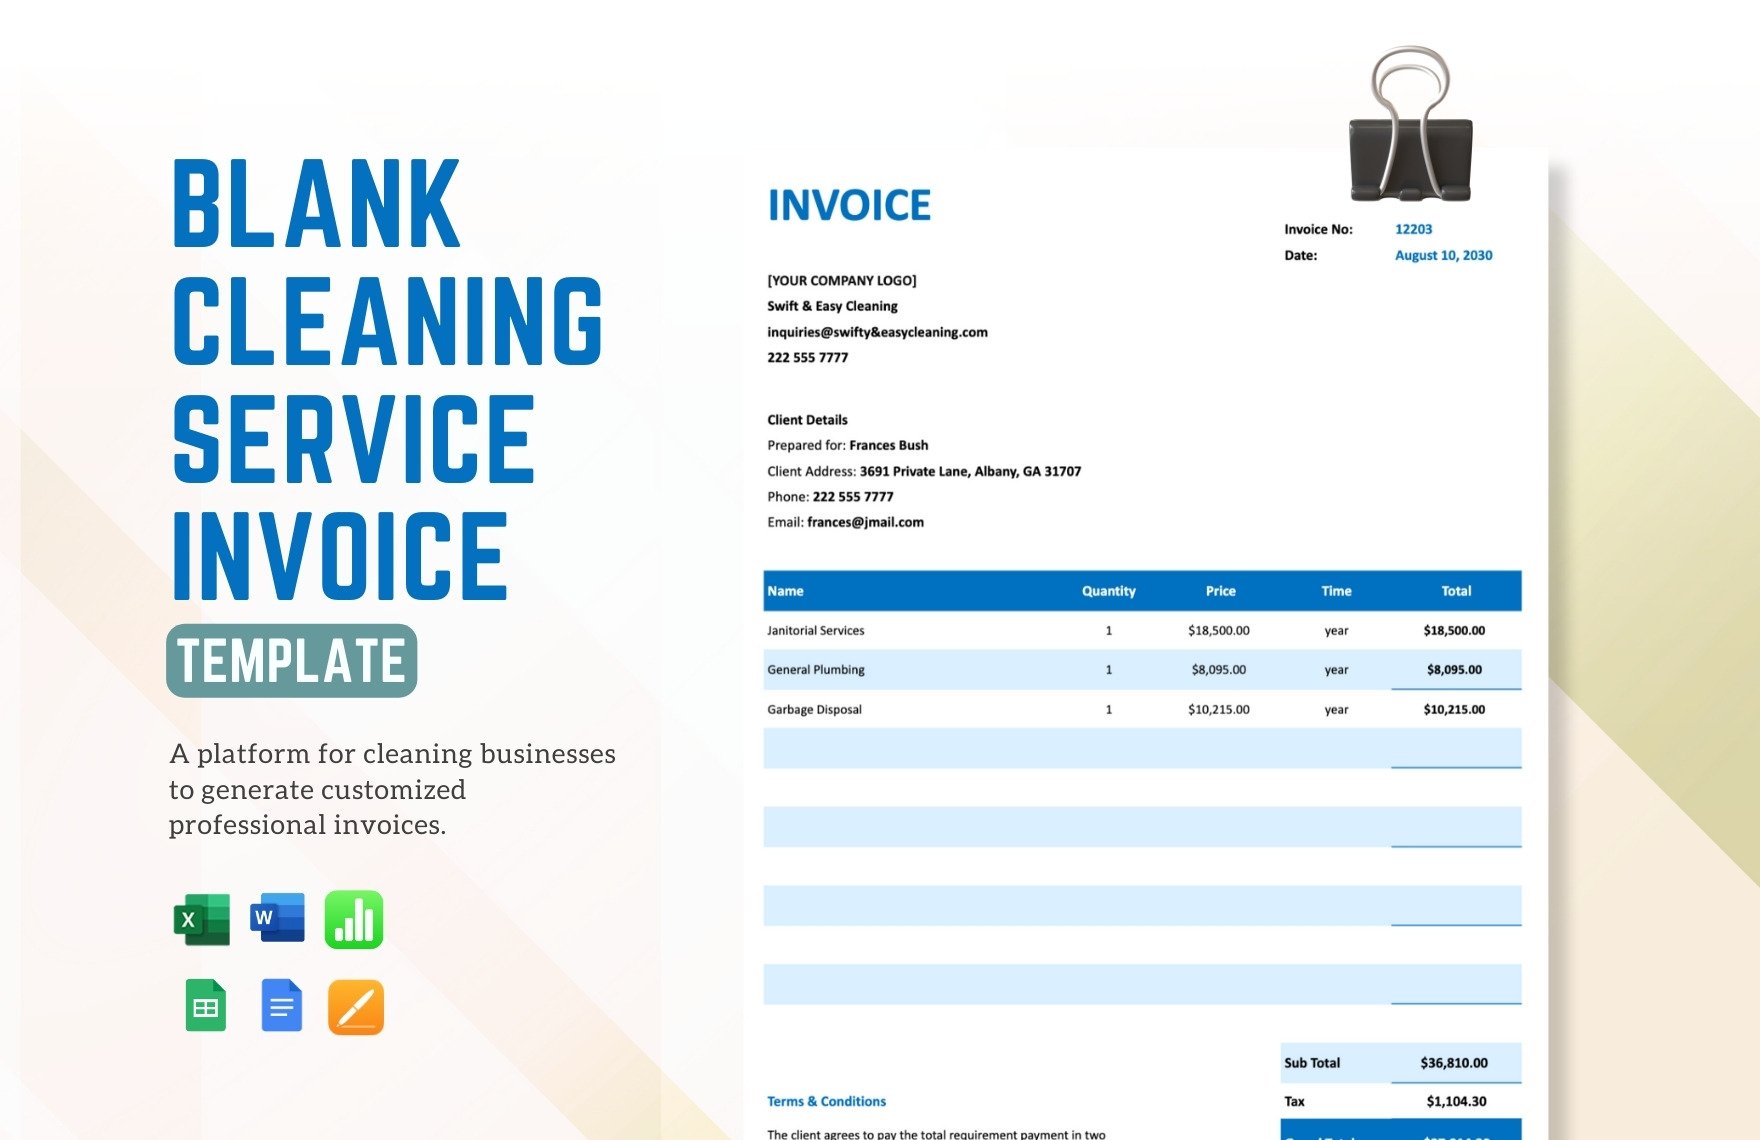
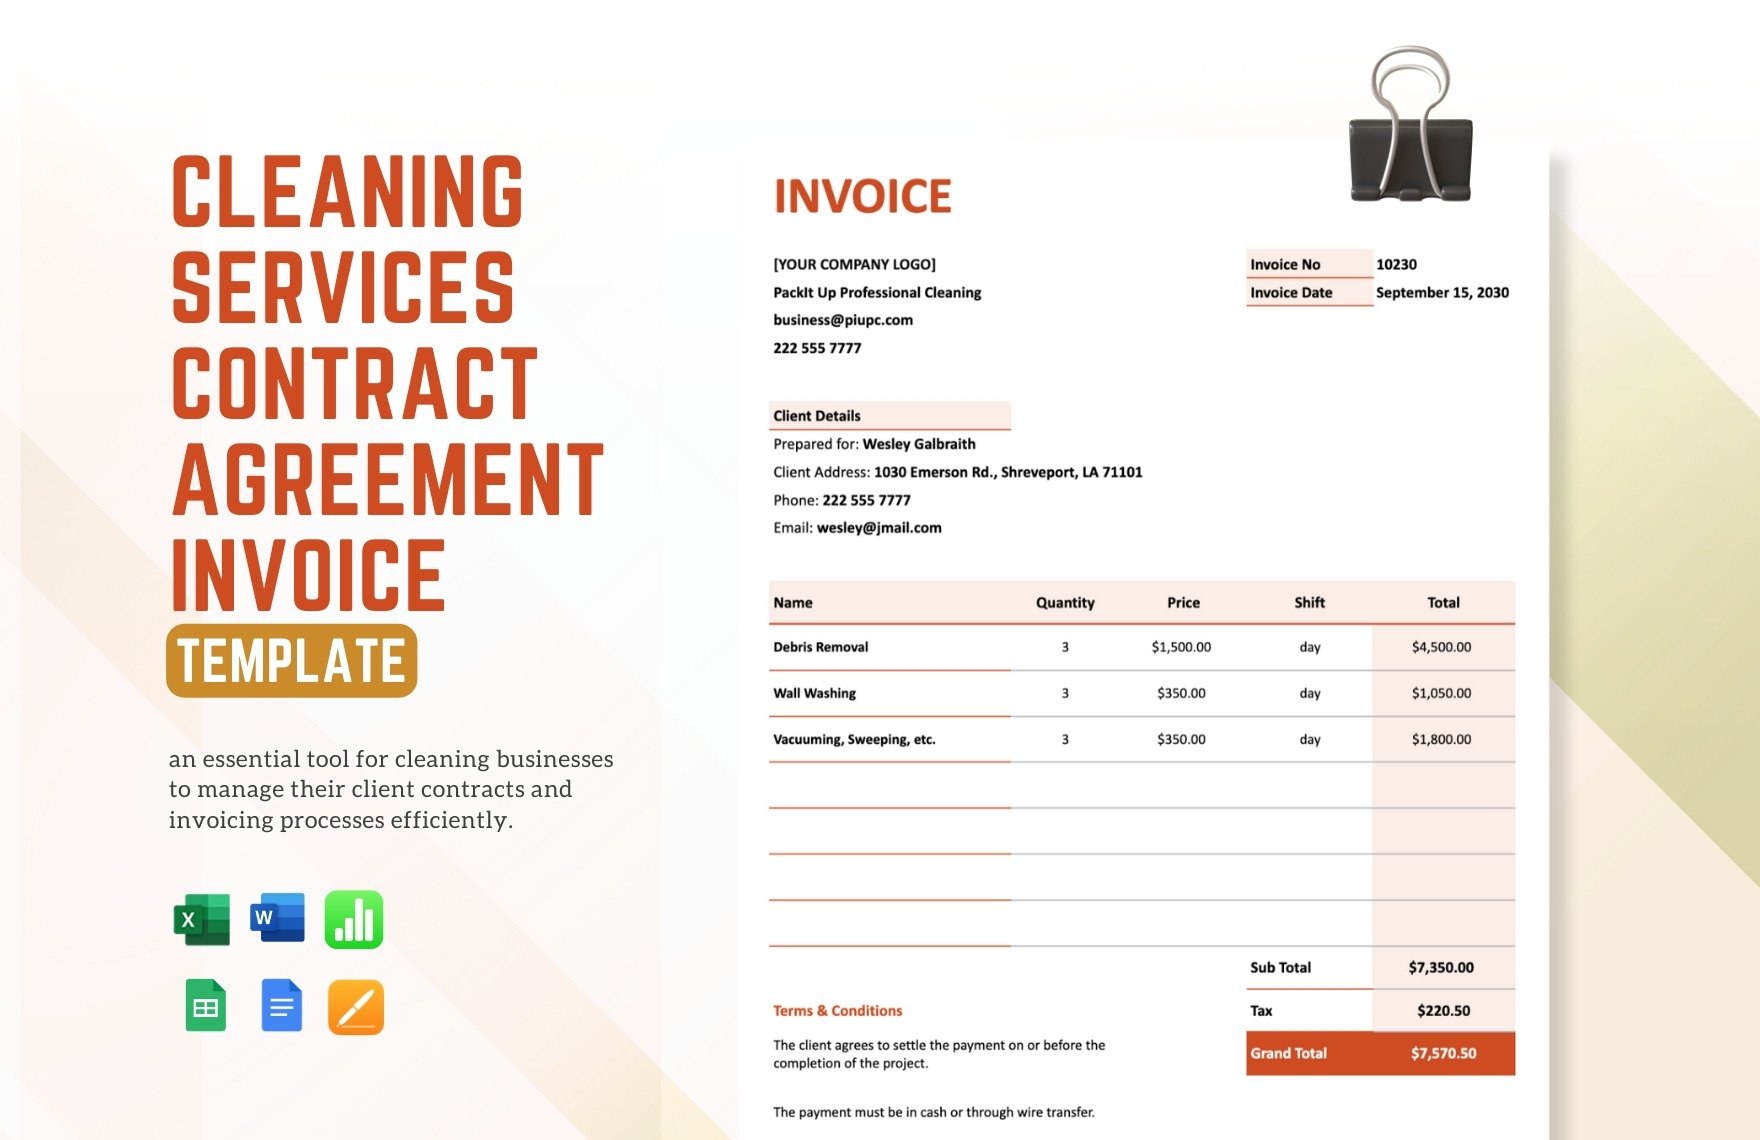
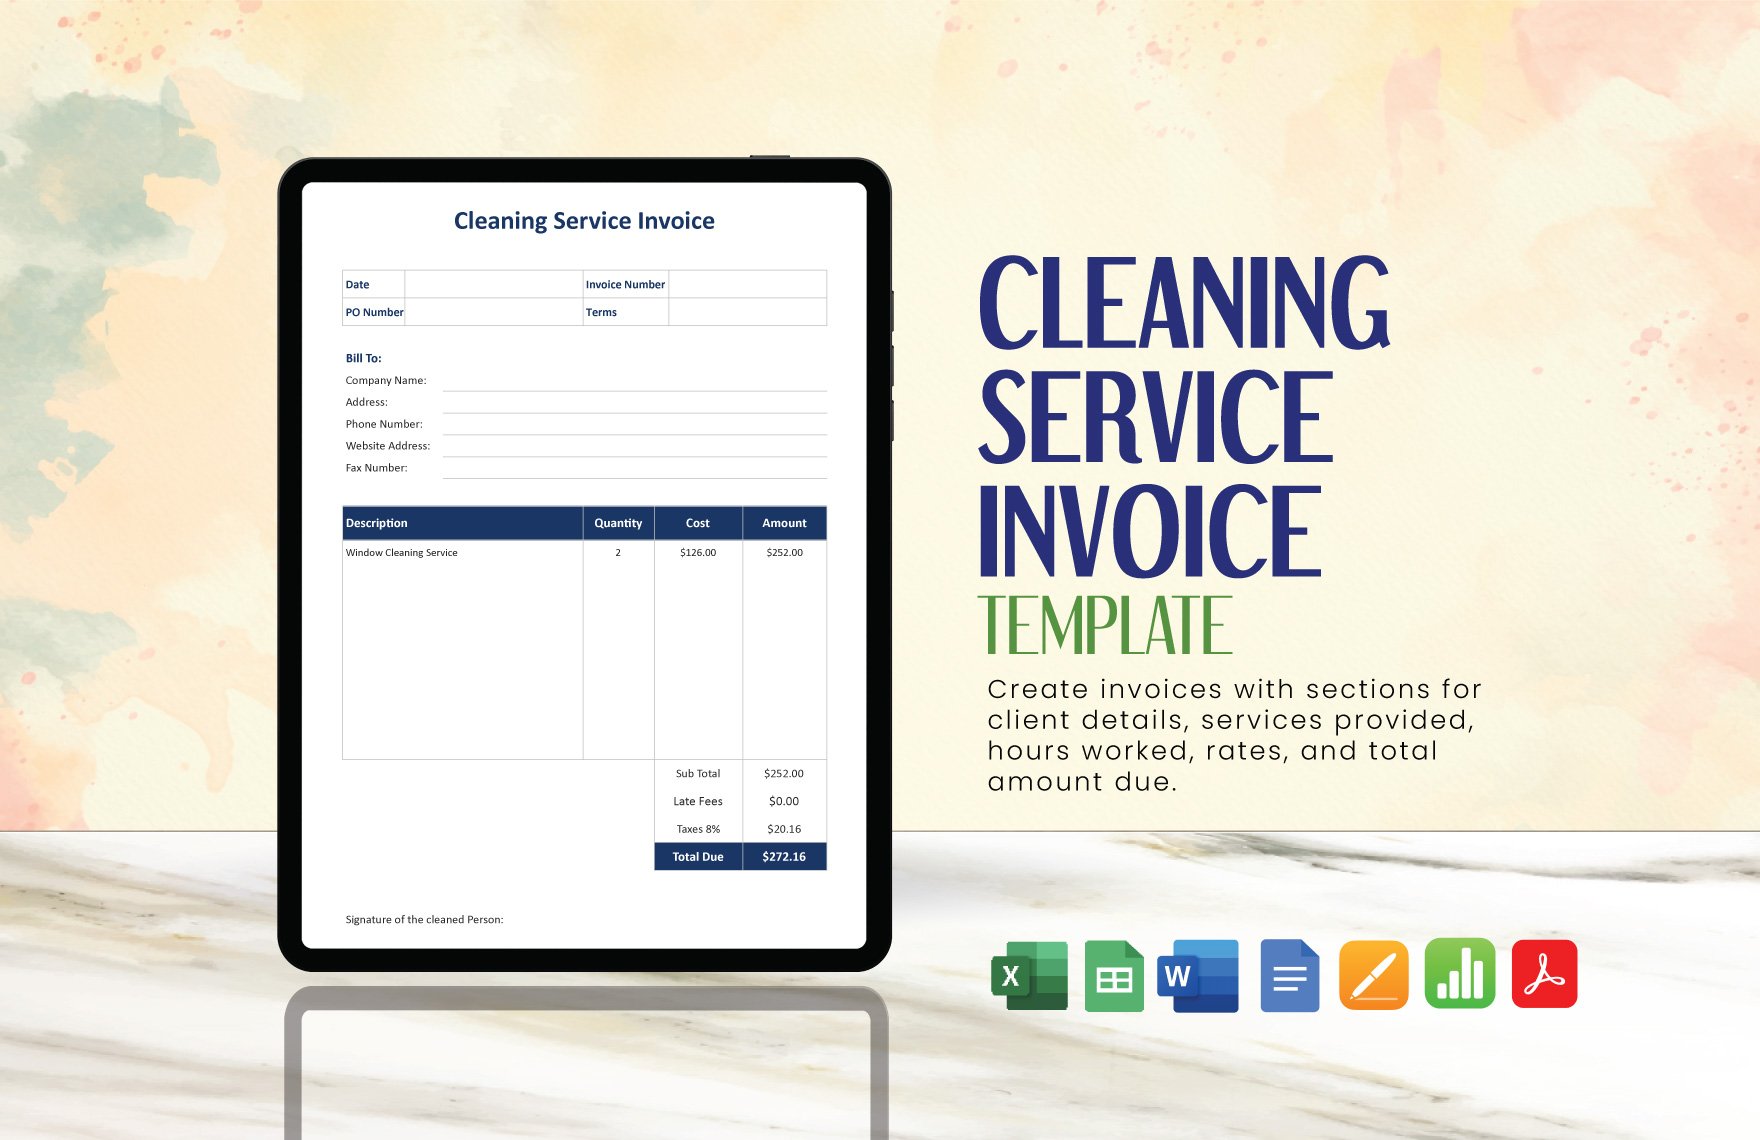
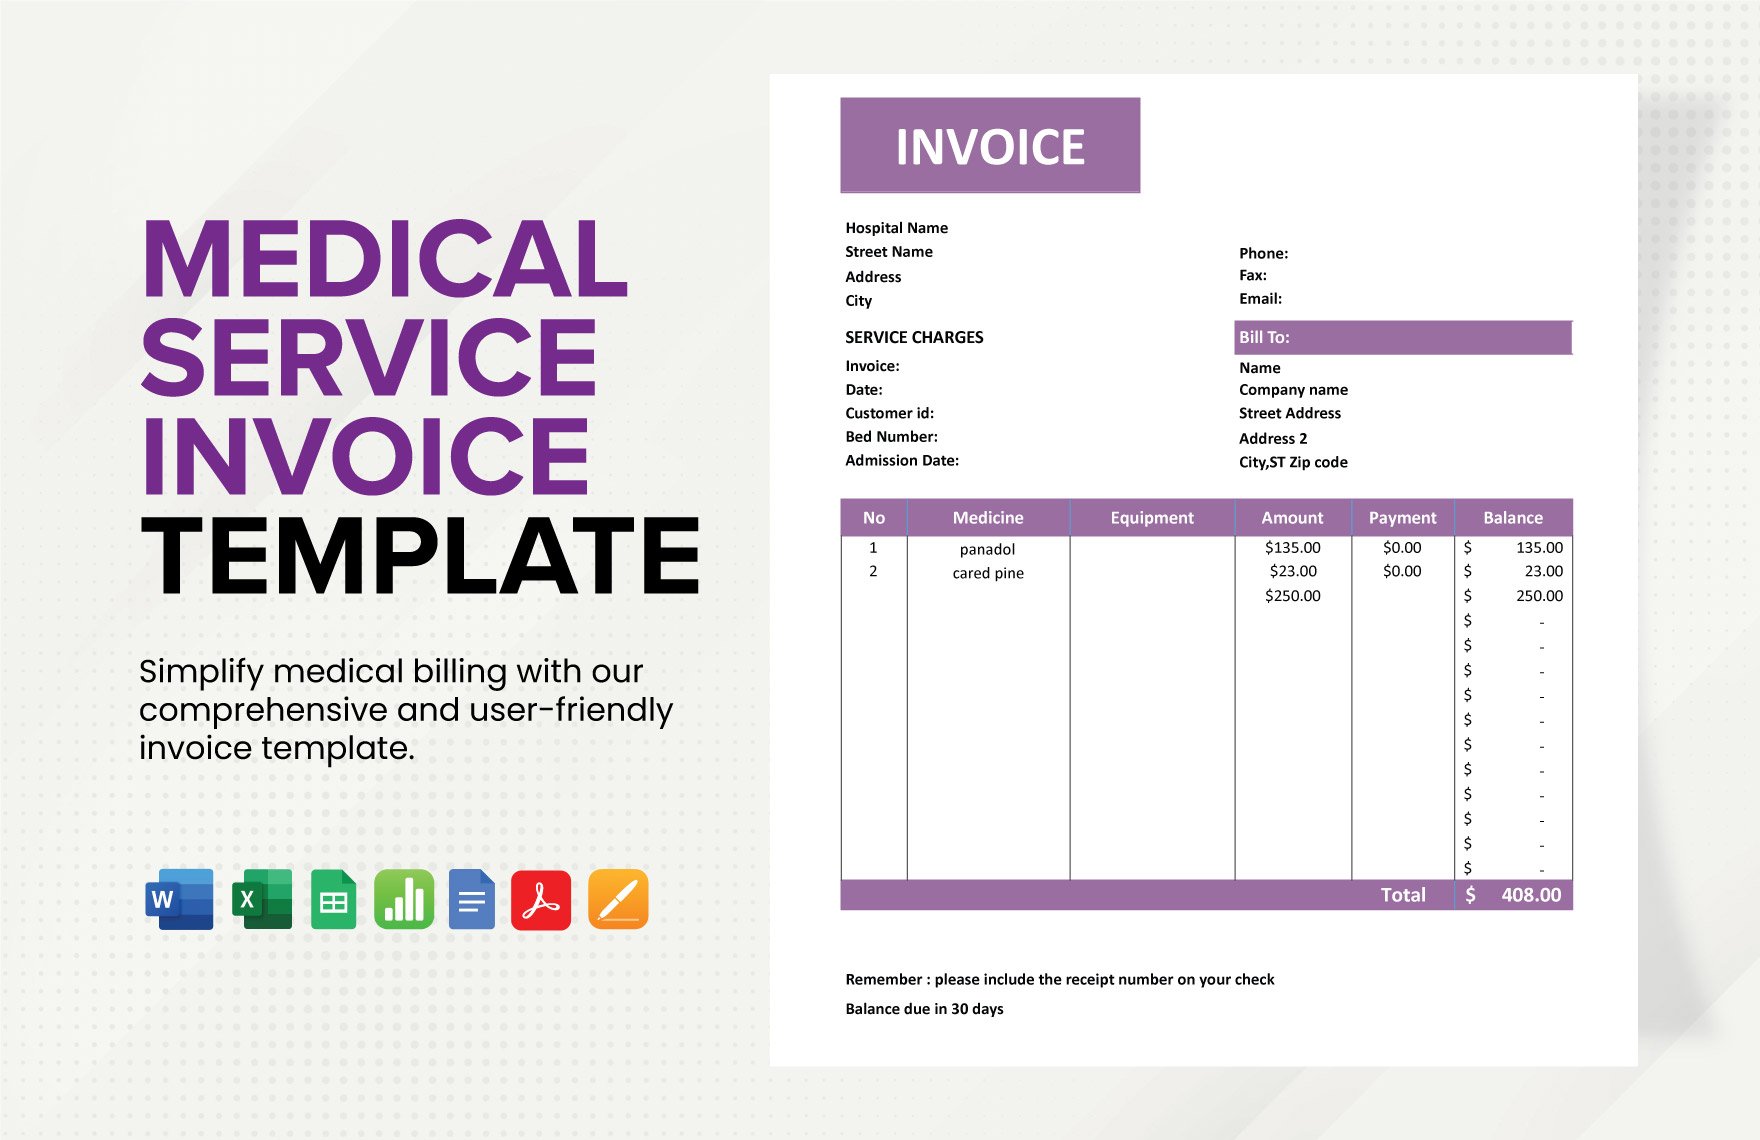
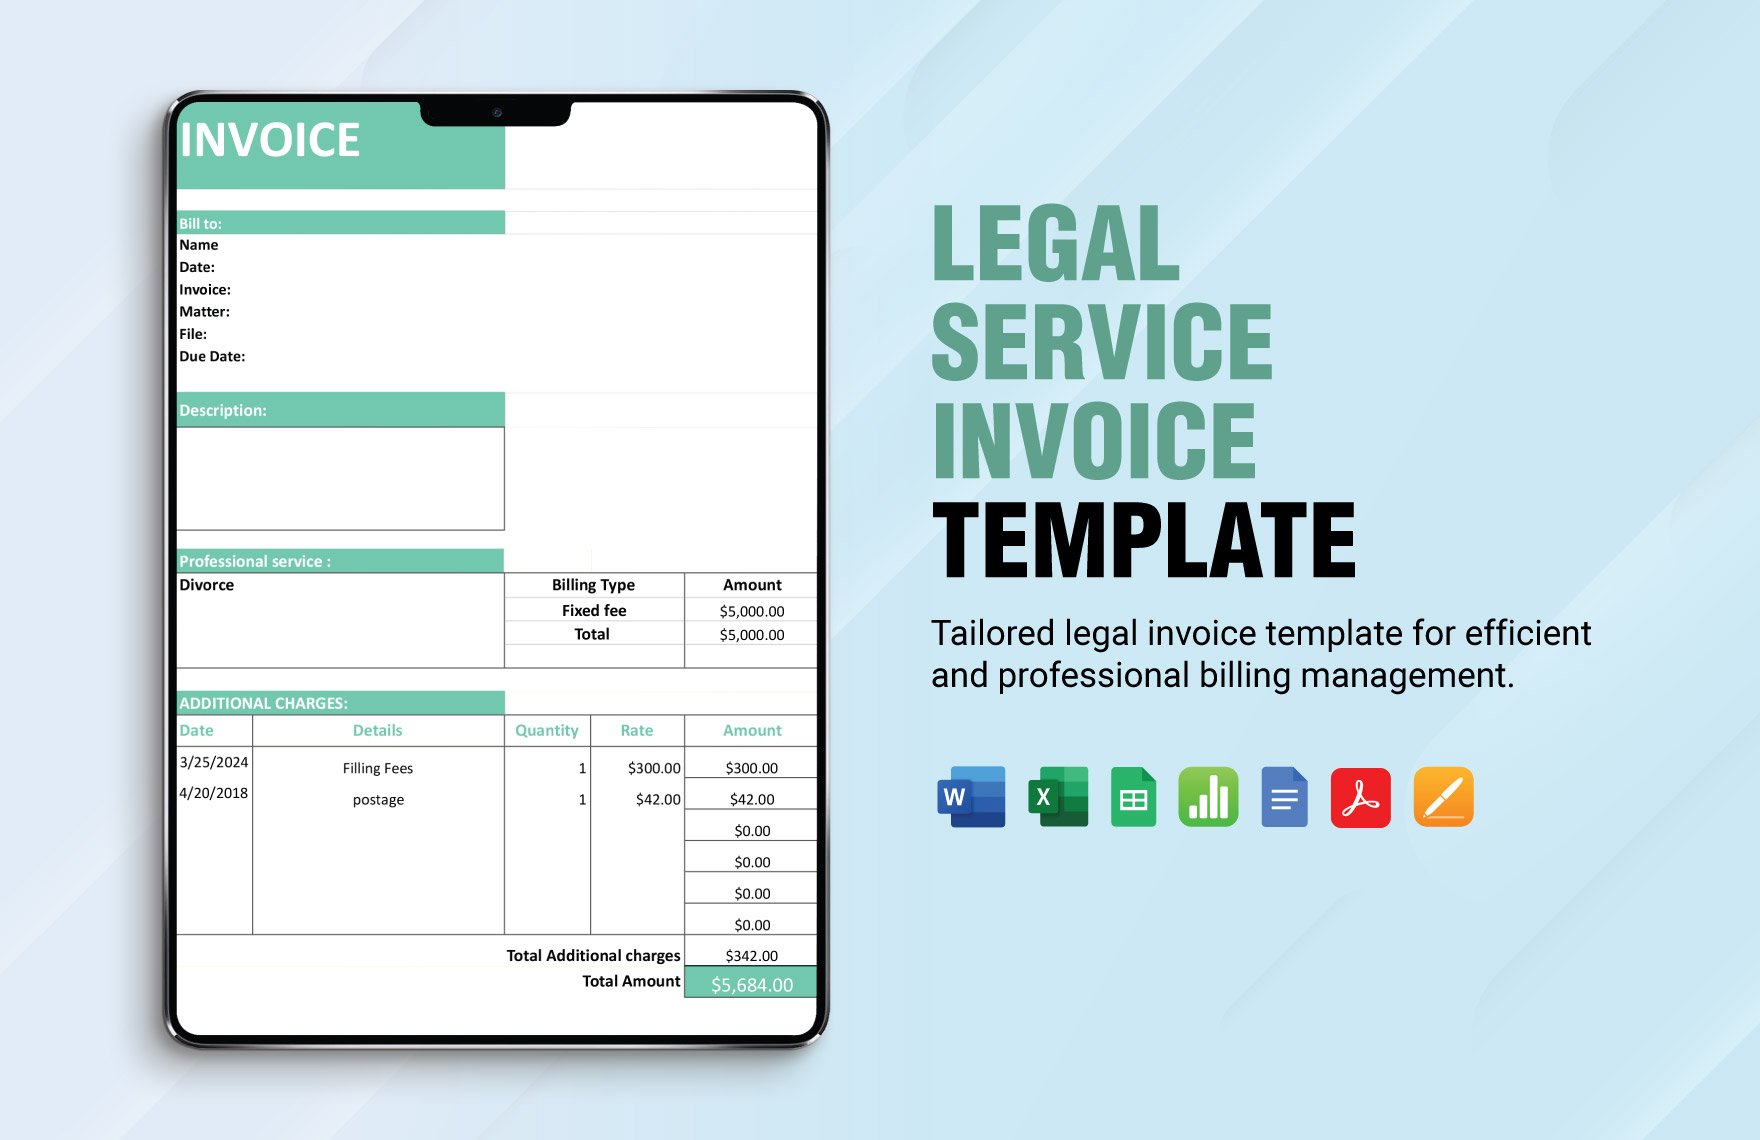
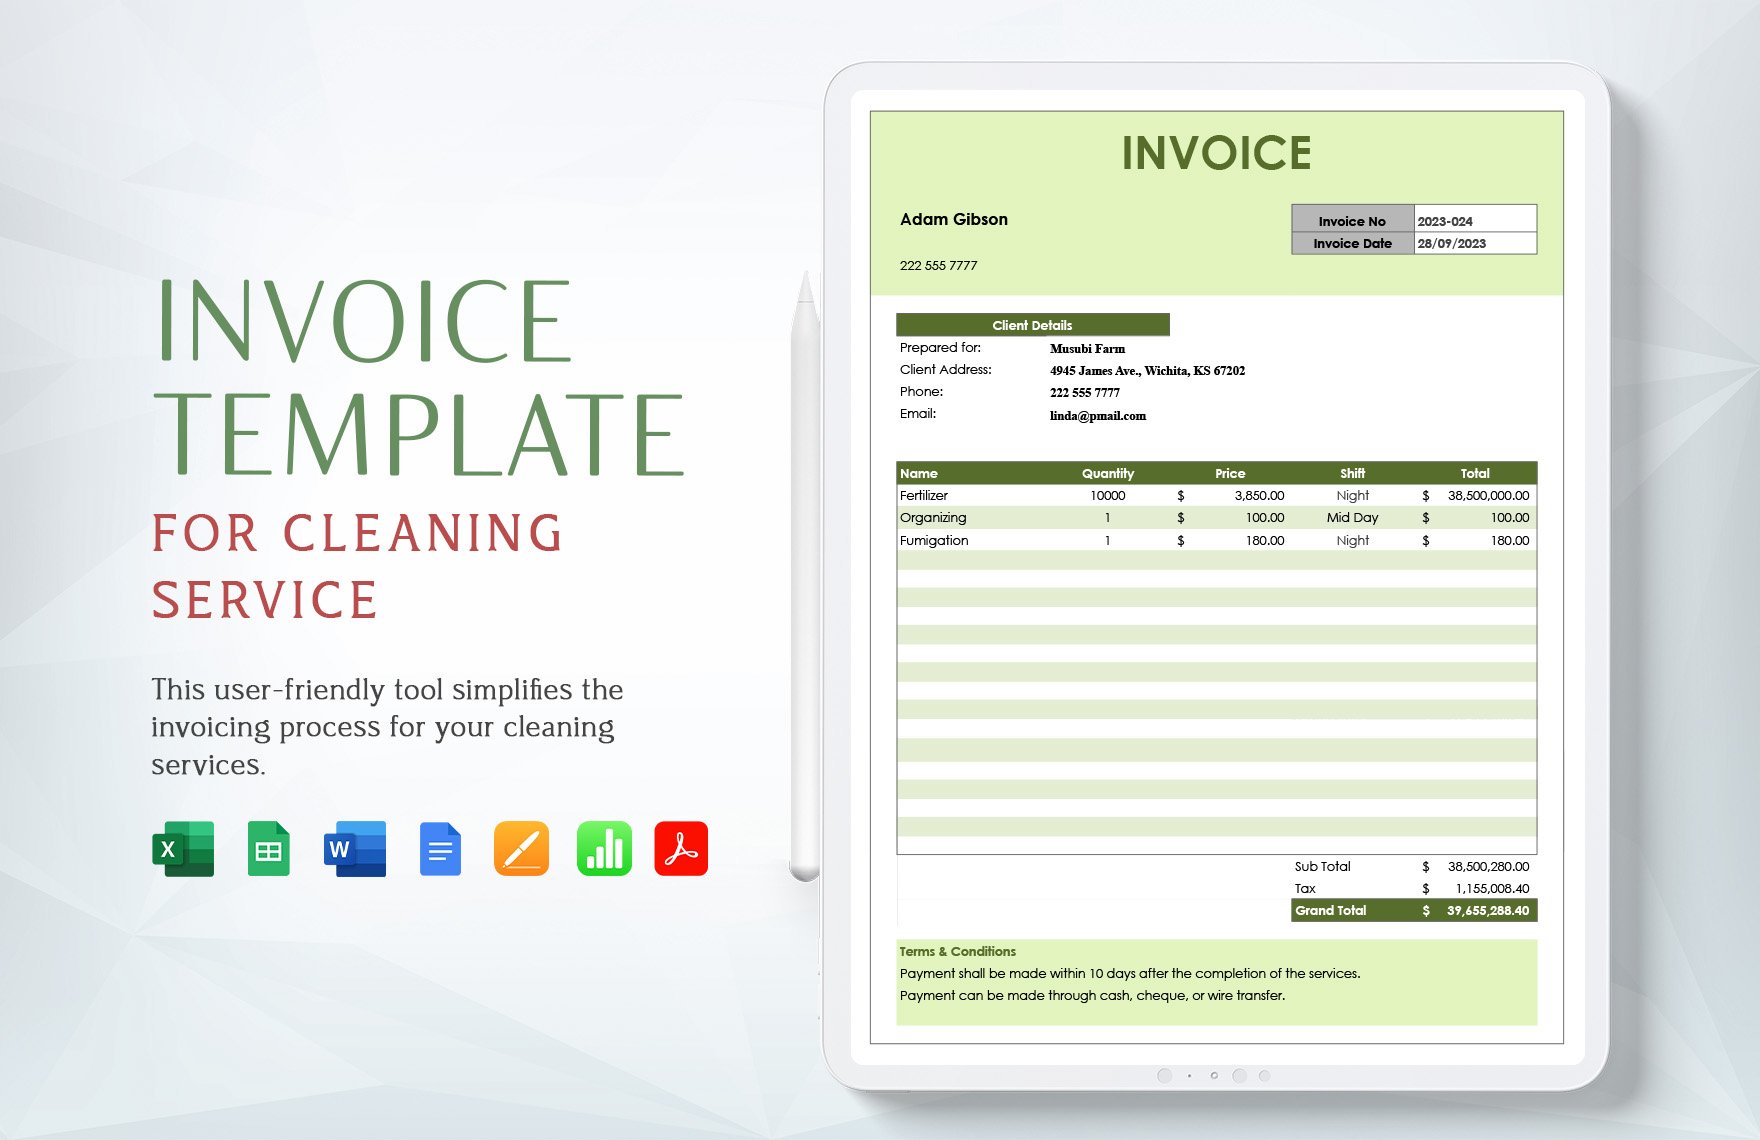
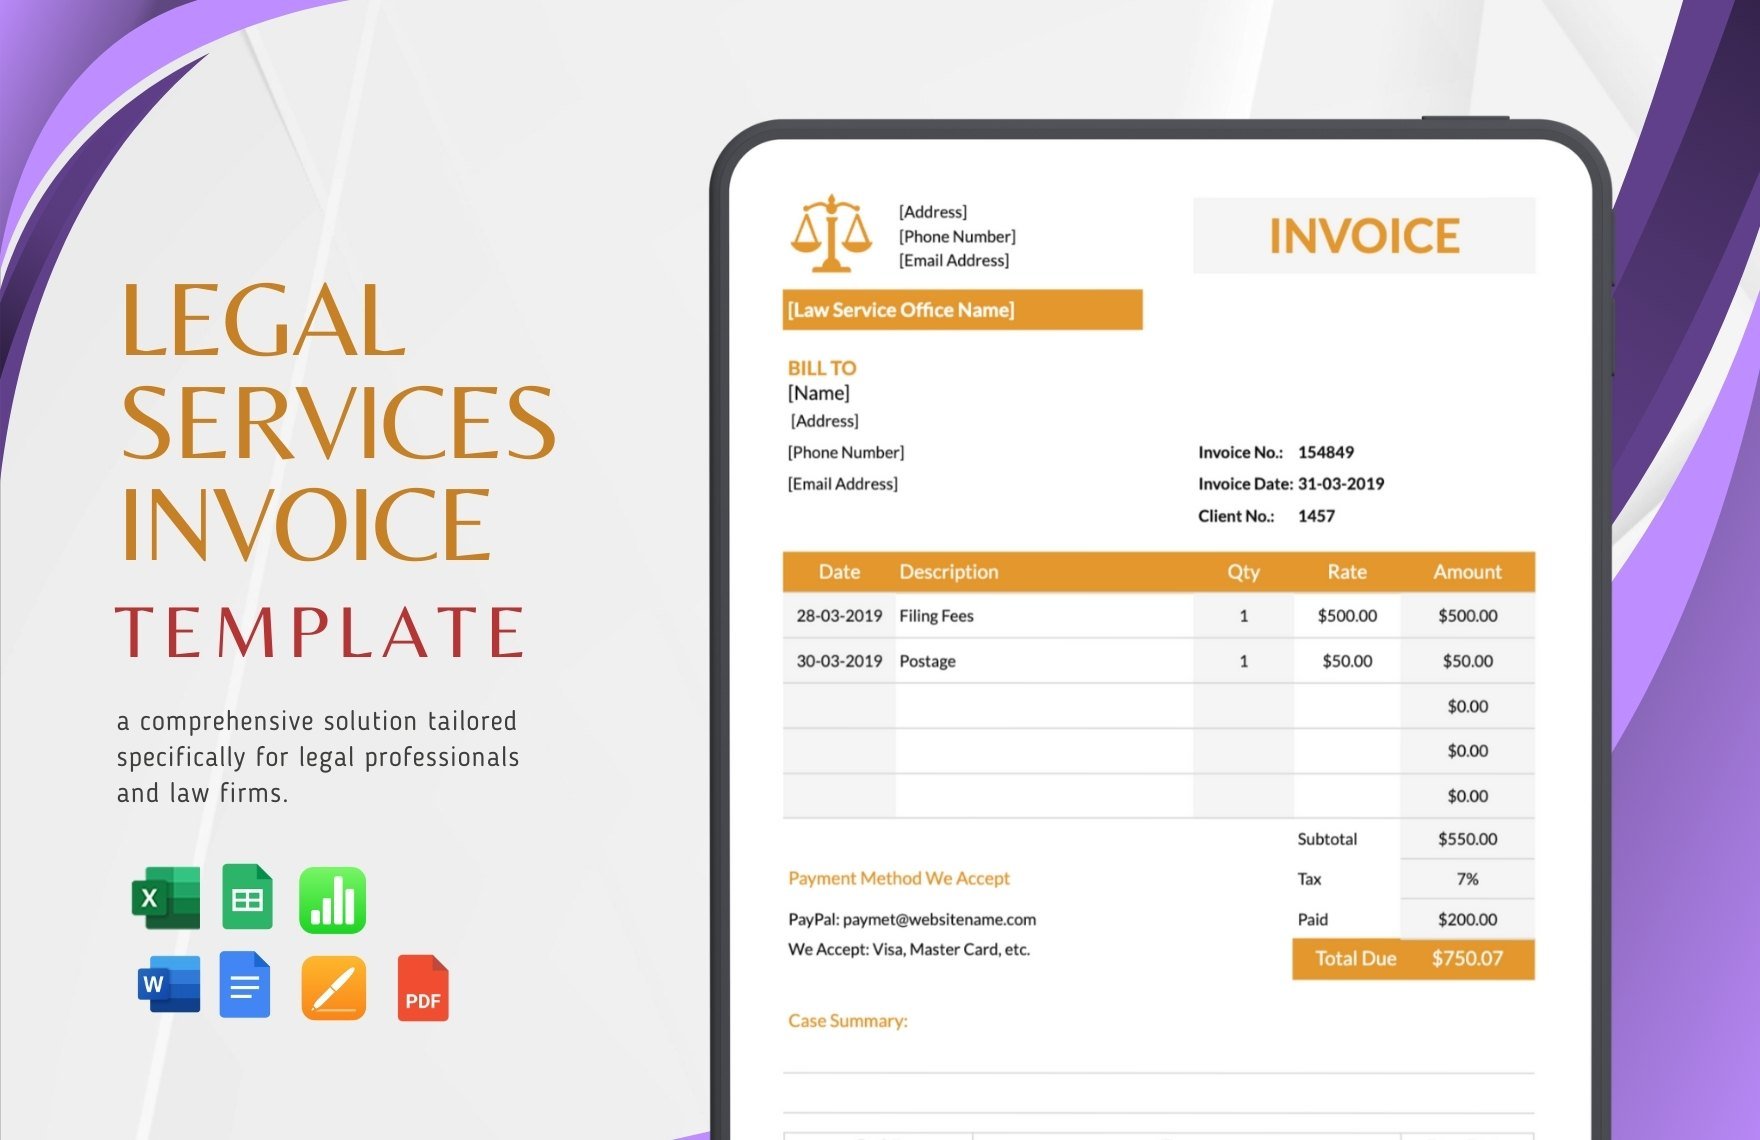
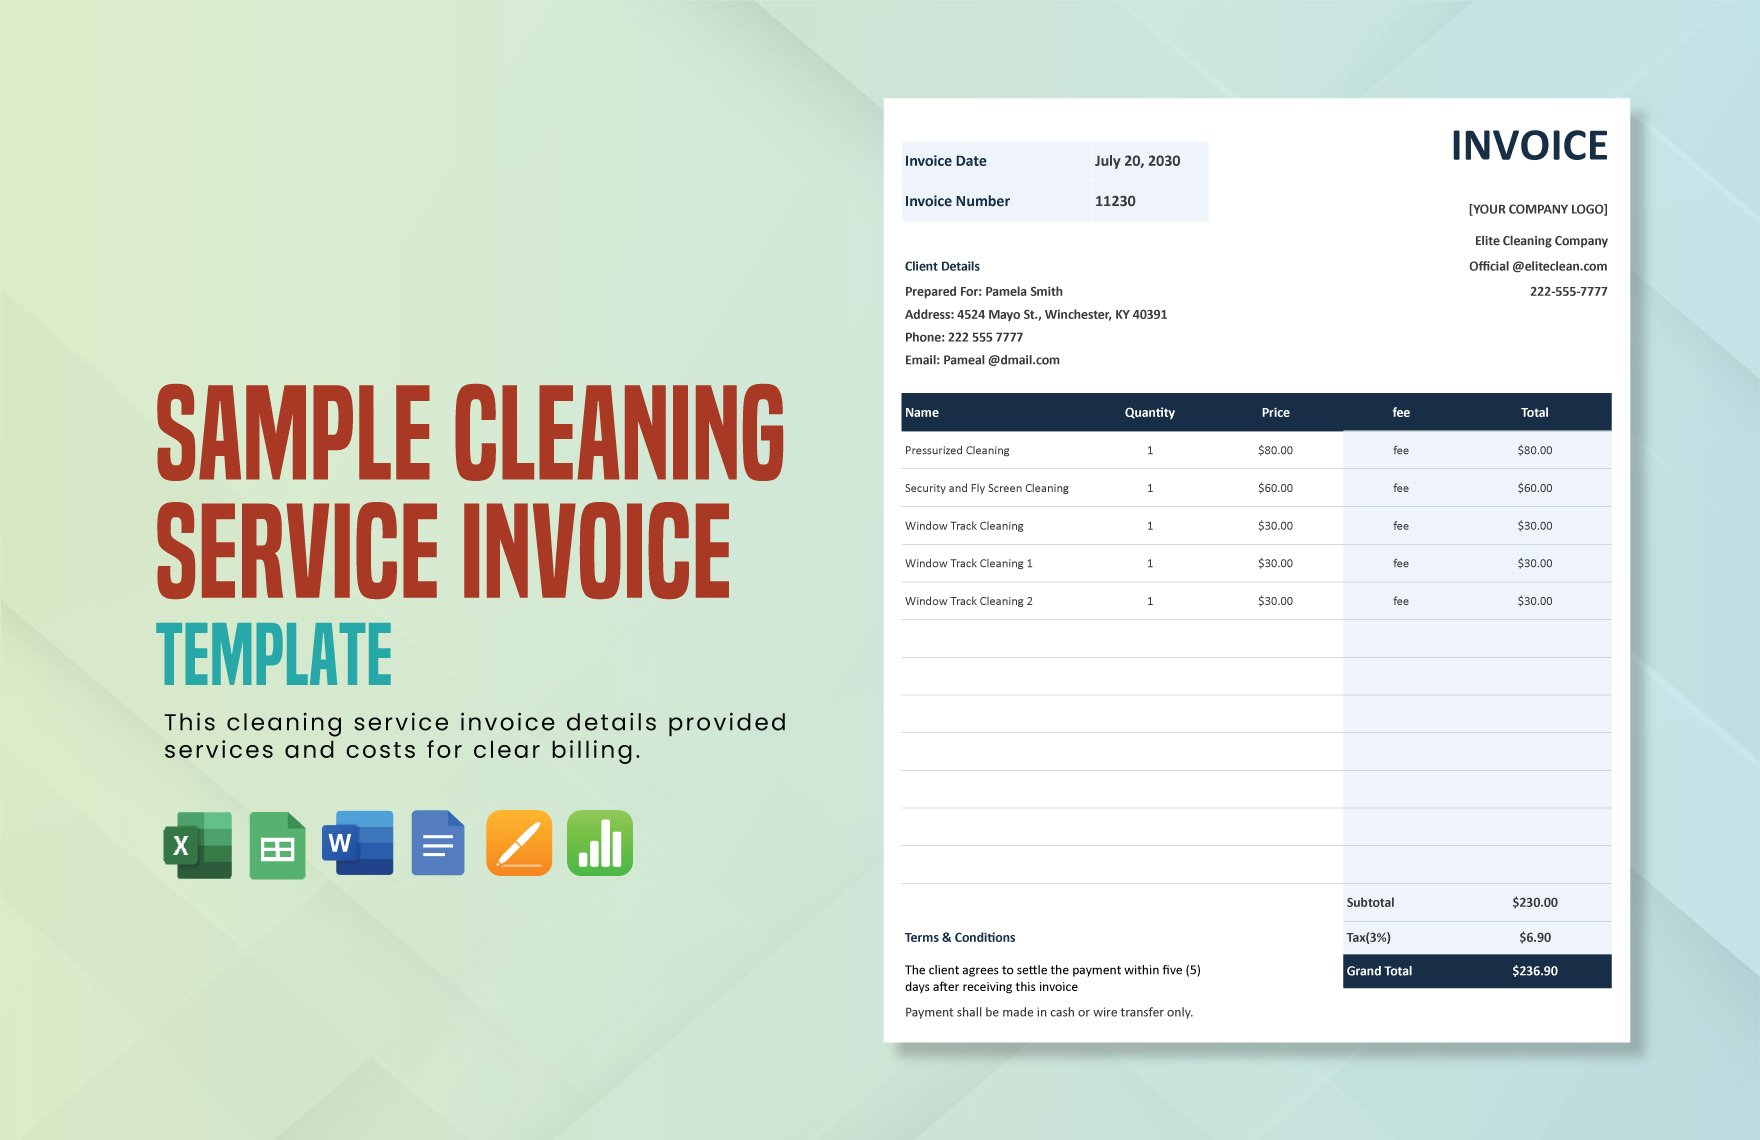
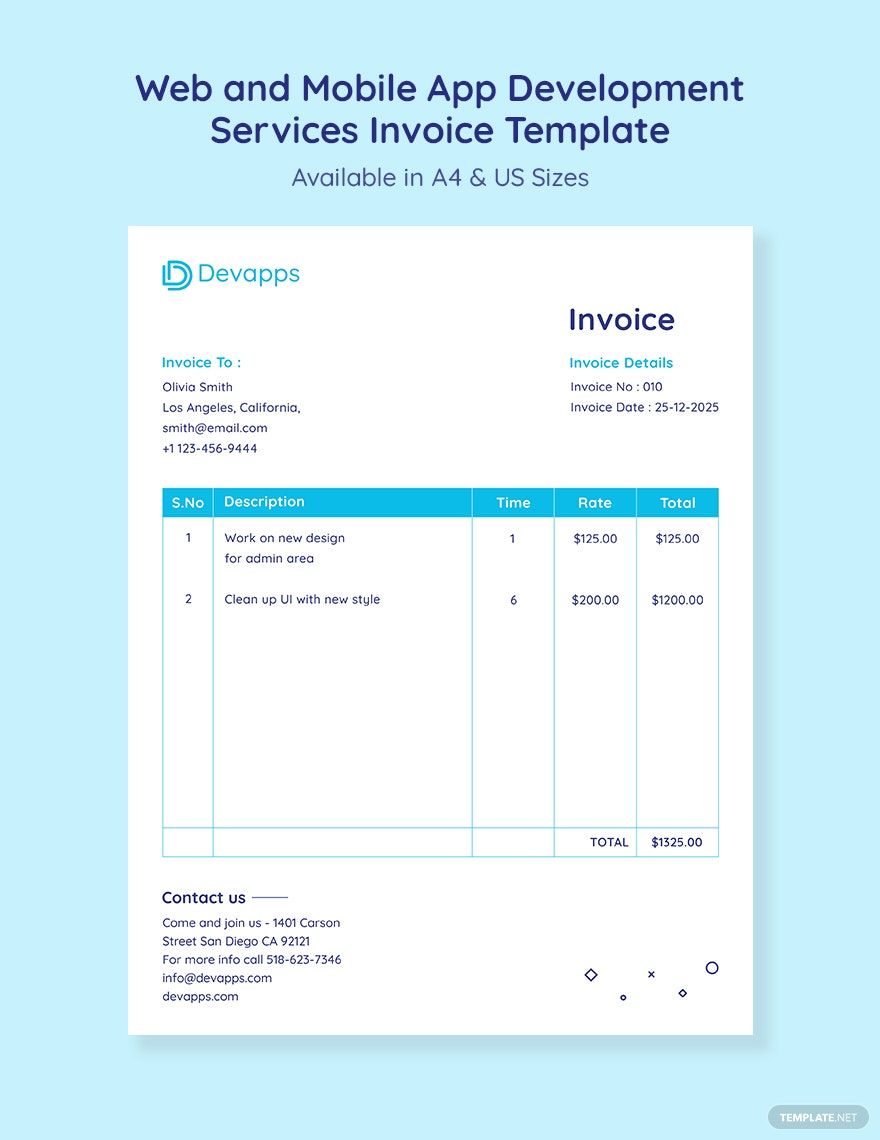
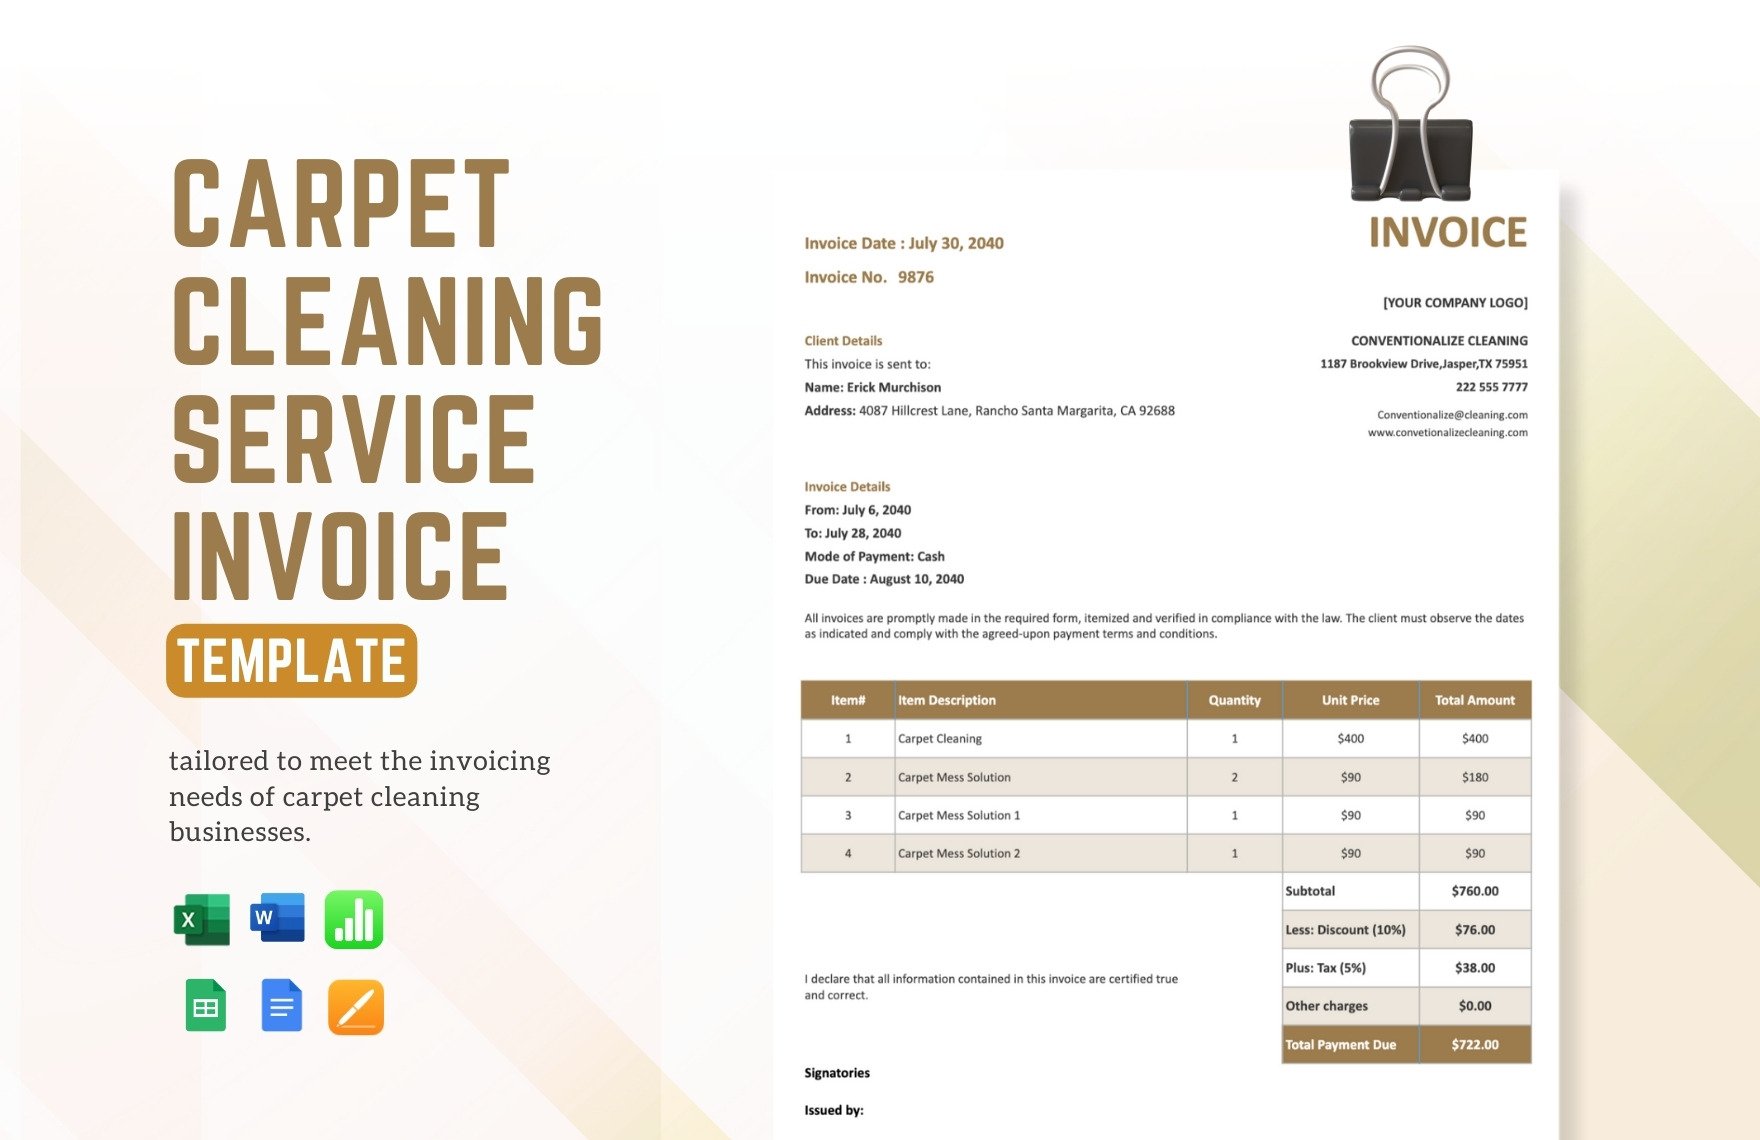
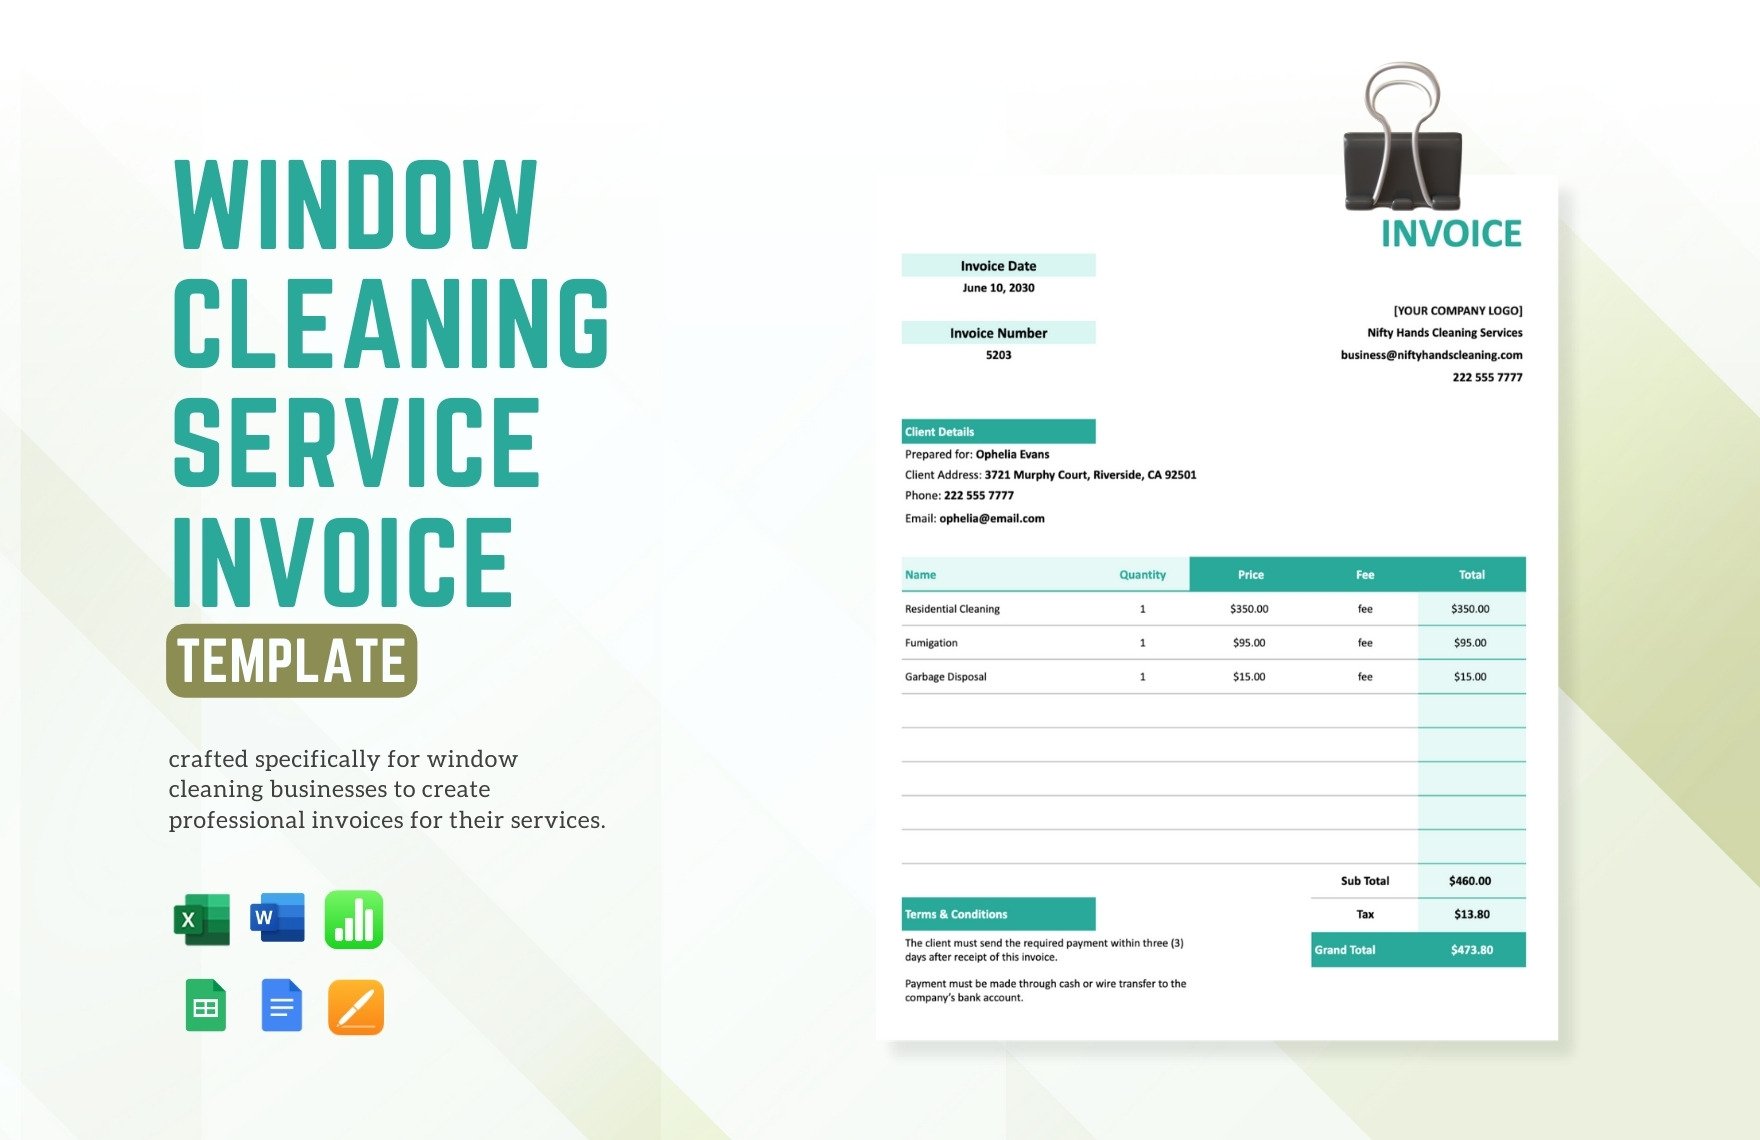
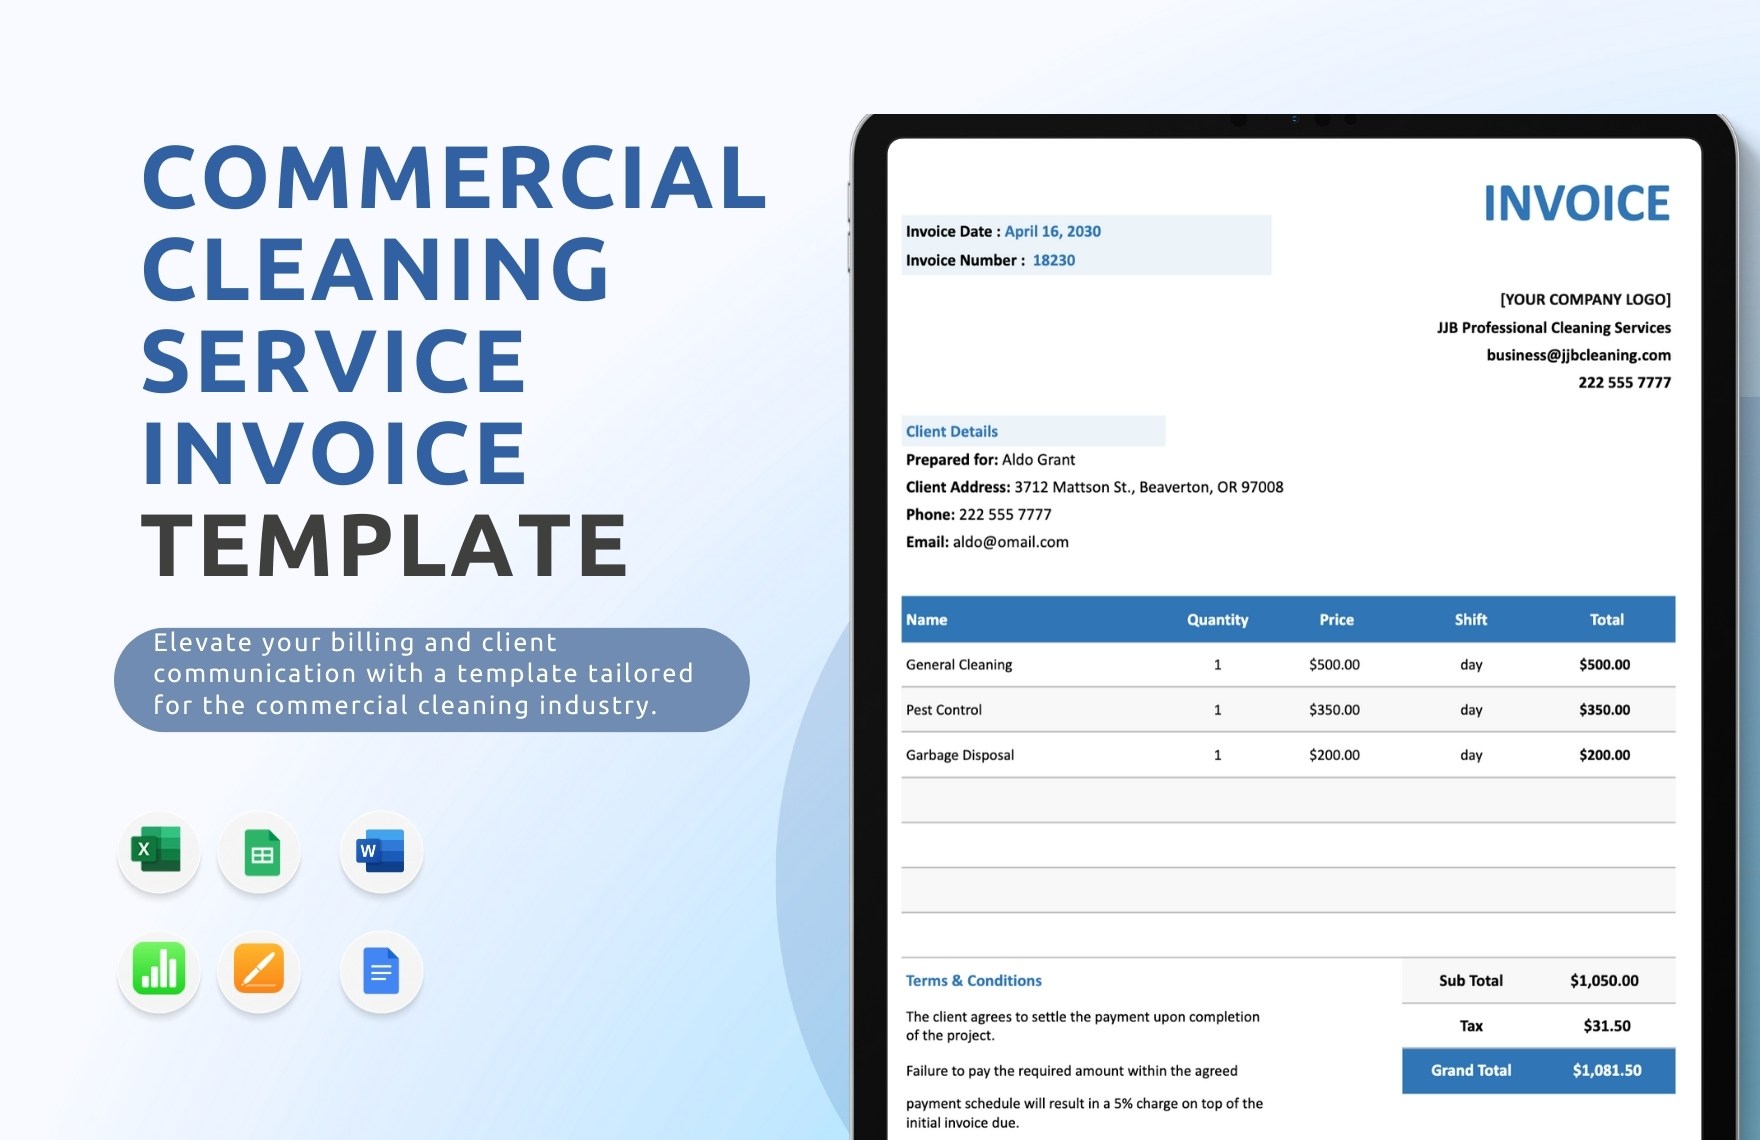
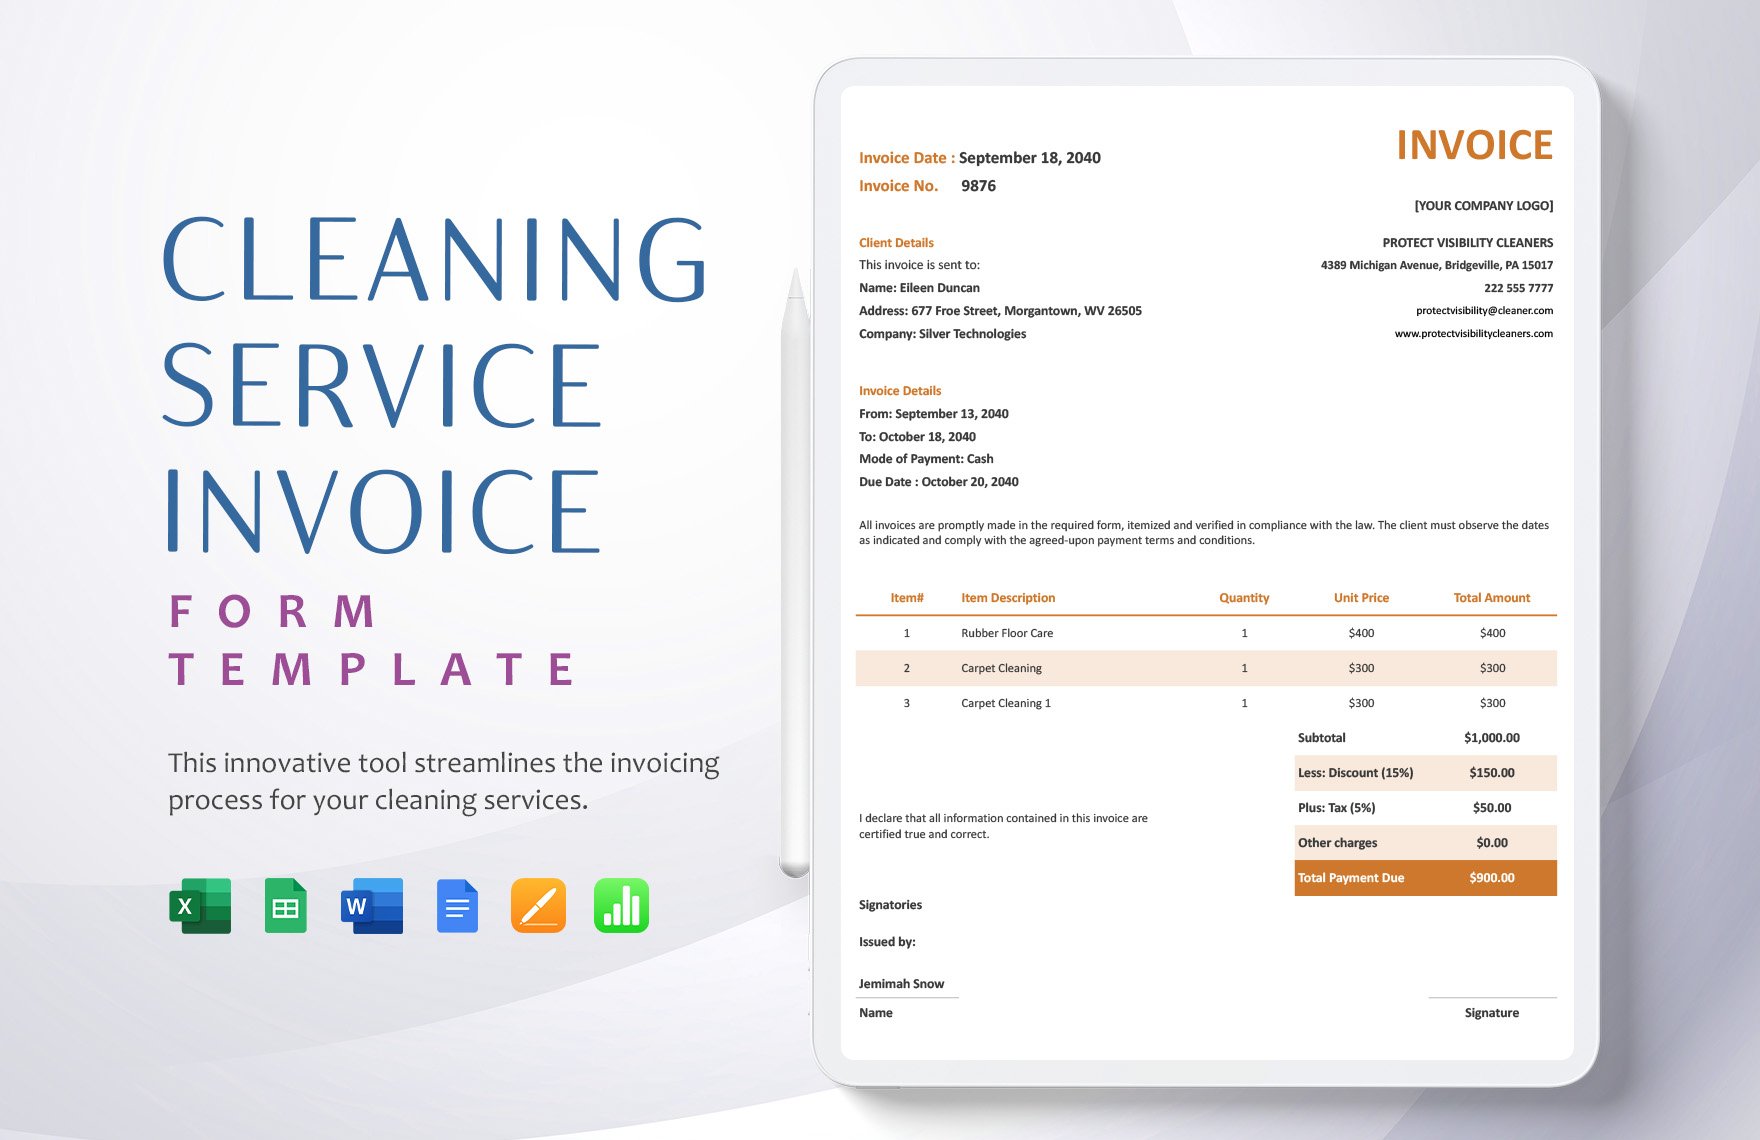
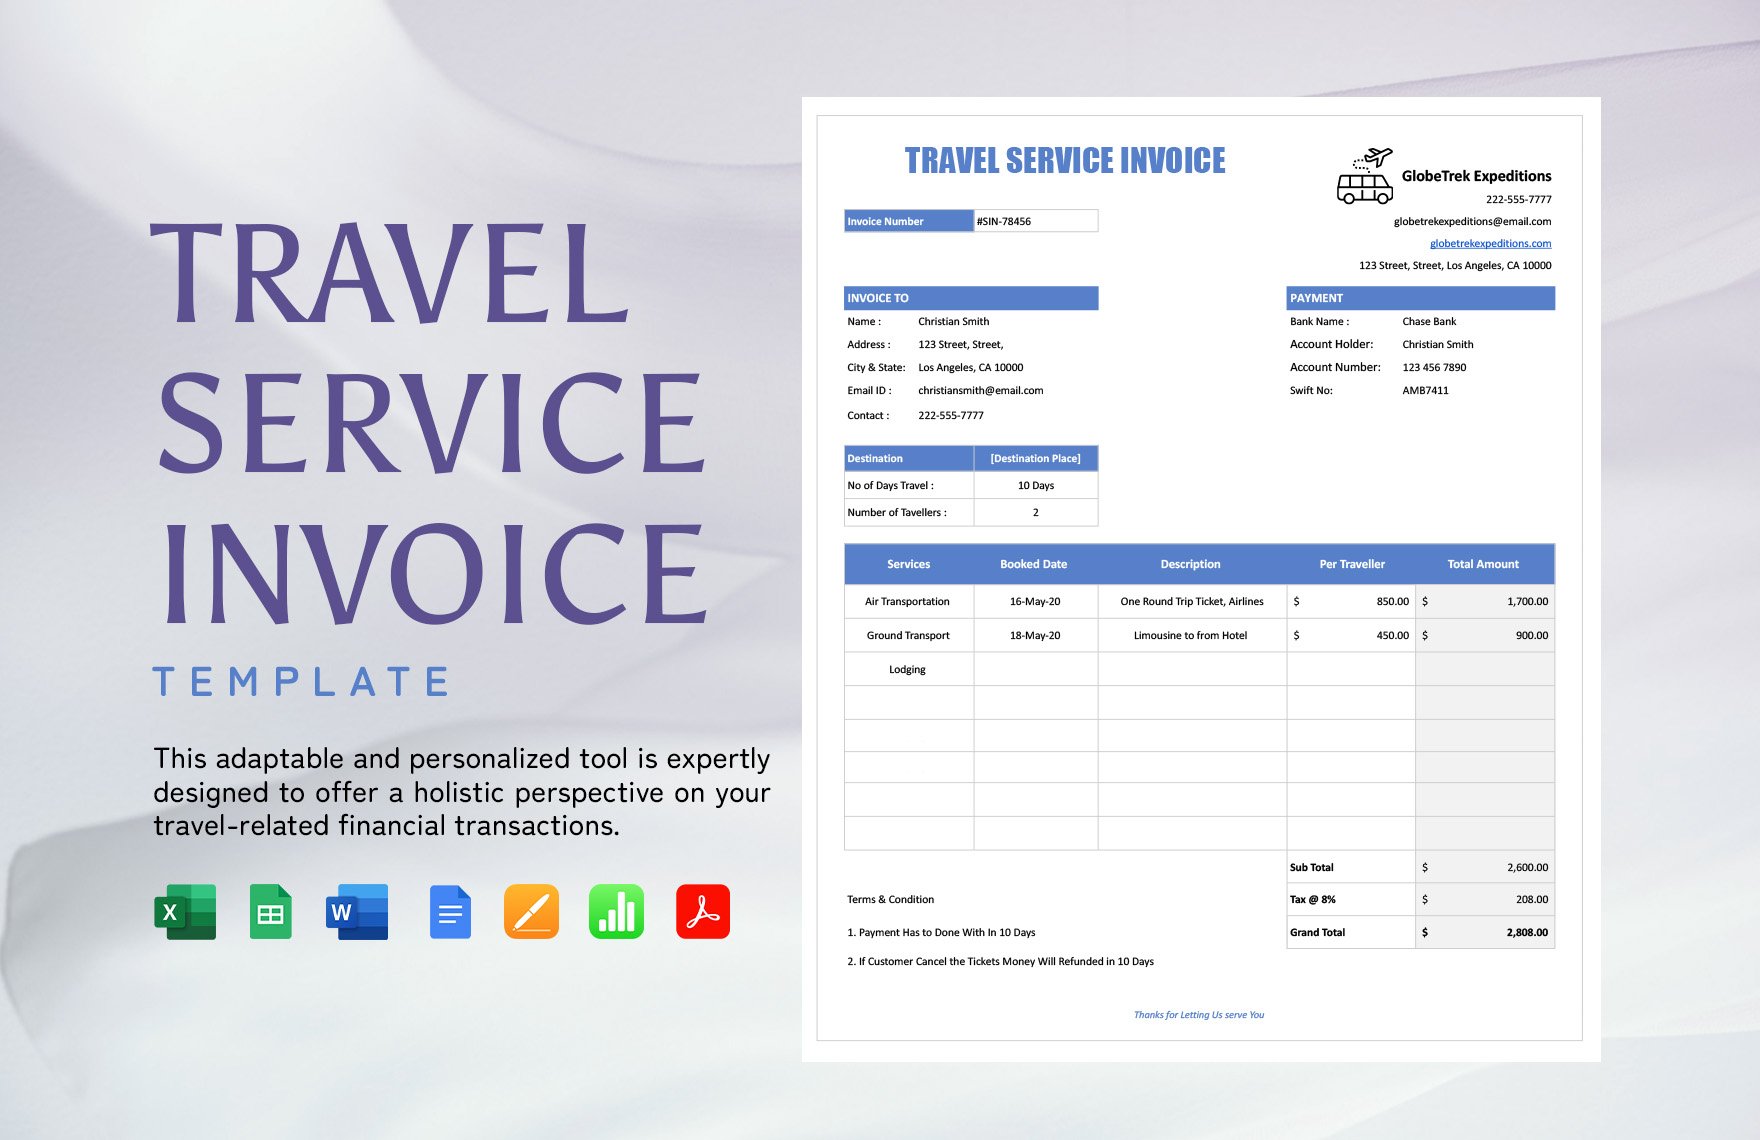
It’s not surprising how many companies face the loss of profit for not being paid with the services they offer. If you’re one of these companies, then you’re probably dealing with severe internal problems. To avoid this inconvenience, you need to ensure to issue a binding agreement through an invoice document. Settle all unpaid bills by getting our Service Invoice Templates in Apple Numbers. You can have these templates available in A4 and US Letter sizes. Now, the clock is ticking, so don’t wait until unpaid bills get invalidated. Grab a template and send them today to avoid errors and mishaps within your company!
How to Create Service Invoices in Apple Numbers
Running a business could be your greatest challenge. There are debts, taxes, sales, and deliveries you need to attend to. But more than that, you need to take responsibility for sending service invoices to get paid. A service invoice is a document that details a transaction or billing information, showing as proof that a customer has fully paid for a particular service. Mostly janitorial, catering, consultancy, housekeeping, and freelance occupations. It also functions as an important material for the companies to track payment records.
Slow paying clients? Keep in mind that a poorly designed service invoice affects your business. You need to make sure that you are sending notices that customers can clearly understand. Luckily, with the demand for convenience, Apple’s spreadsheet application, the Apple Number can help with creating a service invoice to protect both parties.
To help you create a service invoice using Numbers, below are steps that will help you through.
1. Get the Right Information
Make sure to start by acquiring all the necessary information. Take a look at your company’s requirements first. Know the list of variables that your service invoice document must include, such as the terms, labor, and charge information. Then, know the client’s details. Be accurate when acquiring the name, address, and contact number as these are essential components when sending off the notice.
2. Pick a Template
After gathering enough information, launch your Numbers application from your Mac or iPad. You’ll notice available ready to use templates. Tap it, and start writing out the details. But if you want more selections to choose from, this website has ready-made templates that are highly customizable. Download and set-up a template to start filling in the information. It’s less hassle and time-saving that way.
3. Create a Header
After choosing and setting it up, you can either start adding the details or a header. If you want the latter, add your business information. Place the company name, address, contact details, and logo at the topmost part of the document. But before you do this, make sure to prepare a screenshot of your letterhead, that includes the elements mentioned. Now, in your document, add a header. Next, insert the image into your document.
4. Input Invoice and Customer Details
Once you have prepared everything, it’s time to input the client’s information. A typical and simple invoice contains the client’s details: name, billing address, and contact number. Don’t forget to input the rate information, due date, and payment policy. But most of all, be sure to recheck the total amount, billing address, and tax rate, if there is, before printing it for delivery.
5. Share and Print
Once your document is ready, on the menubar, click share. You can choose to share it through iCloud or email. When an application supports AirPrint, you can easily connect your device to your printer and have it printed. But since not all Apple applications have AirPrint support, you can send the service invoice via email.
