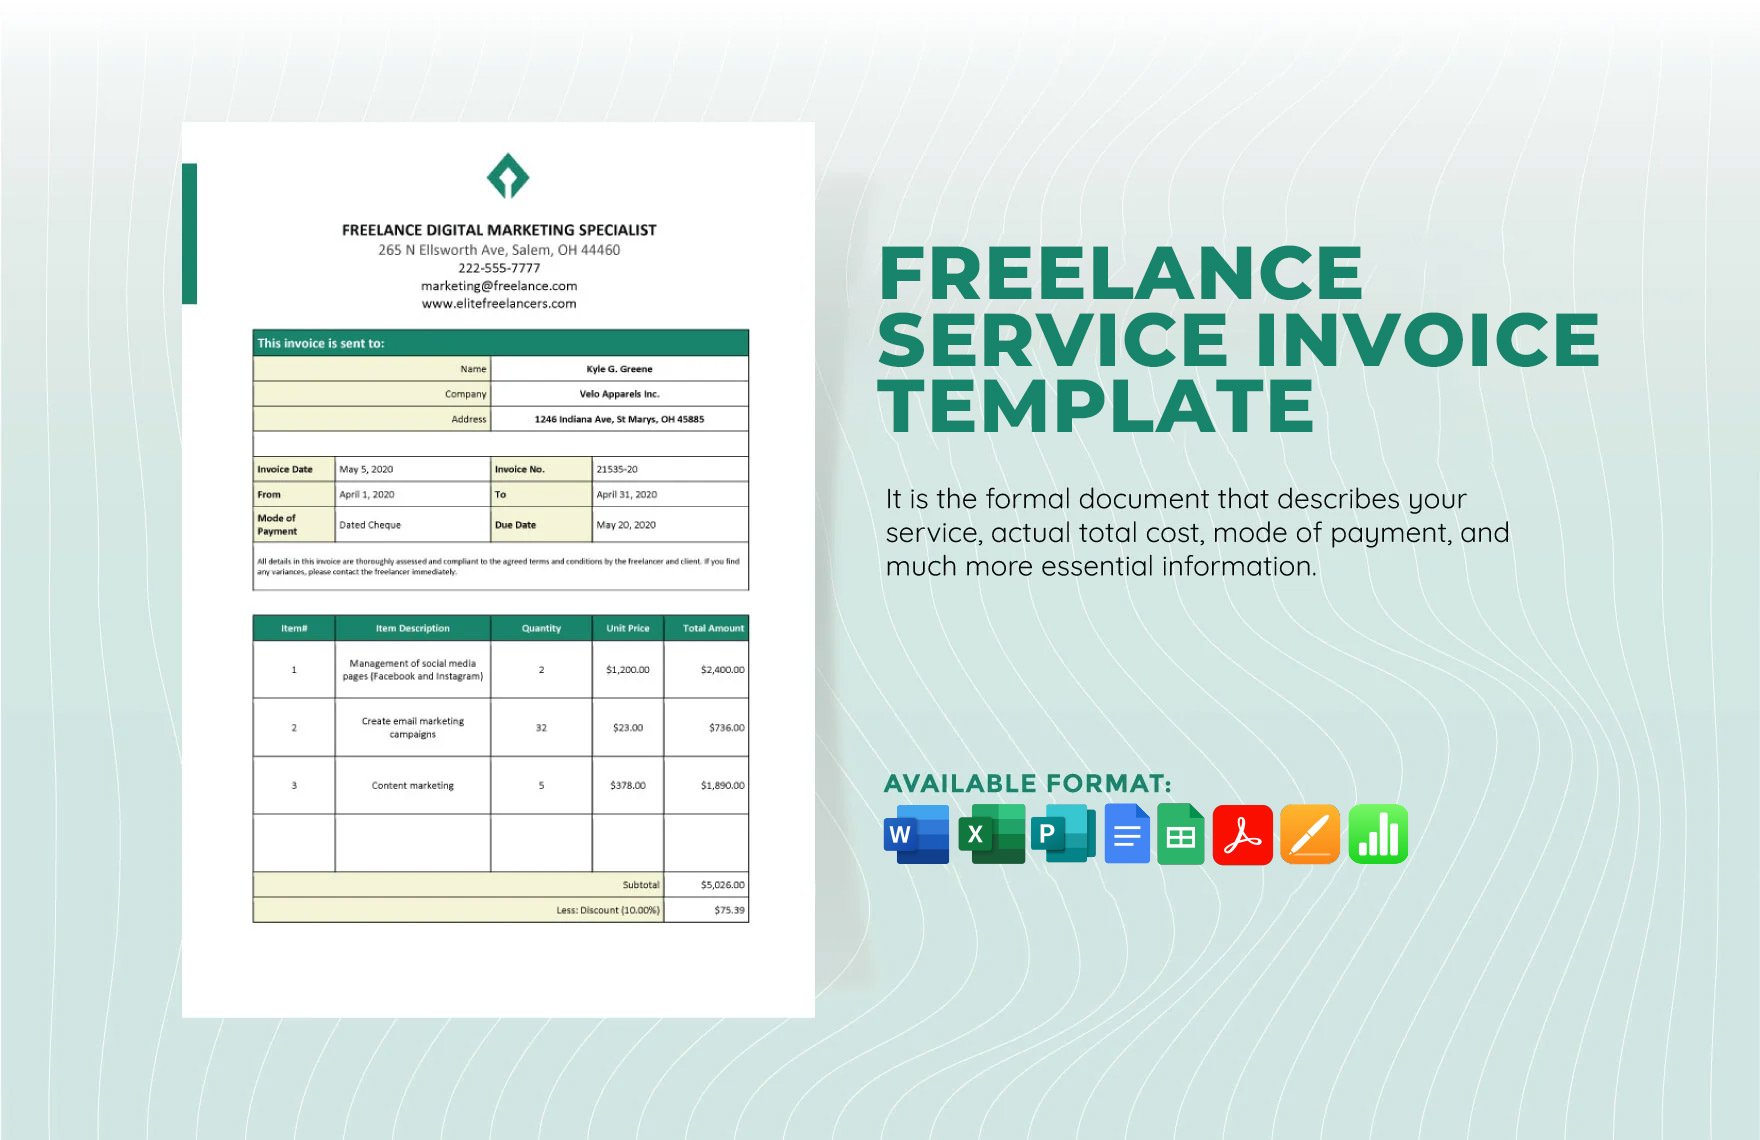
Provide customers with a thorough dissection of their expenses from the services you've rendered by preparing and issuing a service invoice. Here at Template.net, we have various downloadable templates to allow you to save time in creating a service invoice in Publisher. Indeed, you no longer need to start from scratch, simply download a template anytime and anywhere and you'll get the job done in no time. These invoice templates are also very simple and easily editable; they're even compatible in all versions of Publisher. Give yourself a break, download a ready-made template now.
What Is a Service Invoice?
When businesses render a service to their customers, it is often necessary to explain in detail the charges or fees. These details are written in a service invoice and this will clarify things for the customer as well as protect the business from any legal issues.
How to Create a Service Invoice in Microsoft Publisher
When you need to issue a service invoice to a customer, we've got instructions on how to do it in Microsoft Publisher. Simply refer to the instructions below; we'll help you get through it from gathering details to printing your service invoice.
1. Gather Details about the Recipient
The customer or client who received the services should always have their name, address, and contact number indicated on the service invoice. But before you can write these details, you will need to gather them first. The details mentioned above are applicable if you're invoicing a person, but if it is a business, you should get the company's name instead. However, if you are unable to get the recipient's address or phone number, their email address is a good alternative.
2. Start Microsoft Publisher
To begin working on your service invoice in Microsoft Publisher, you will first need to start the application and then create a new, blank project. If you've been creating flyers, posters, or cards for marketing purposes, then you know that Publisher is the most convenient application to use. Always keep in mind to observe a professional and consistent format when making your invoices.
3. Create the Header of the Invoice
Service invoices should always come with a header that provides the readers with information about the rendering business and this should be placed at the top area. An invoice's header should consist of at least the business' name and logo, street address, and contact number. If you don't have a business name, you can instead use your first and last name with the option of also including the middle name.
4. Write the Invoice Number and Payment Terms
Another important element that should be included in your business invoice is the invoice number which helps keep track of the number of invoices that you've already issued. Below the invoice number is the invoice date, which is the date the service invoice is issued. And lastly, below the invoice date is the due date which specifies when you can expect payment from the recipient, and this is typically within 30 to 45 days.
5. Make a Chart to Itemize the Services Rendered
Since you're using Microsoft Publisher to create your expense invoice, adding a basic table or chart will be very easy. When adding a chart, make separate columns for the Date Rendered, Description of Service Rendered, Rate of Service, Hours Rendered, and the Subtotal. Only if necessary, you might want to add columns such as deductions from taxes, just make sure that they're clear and comprehensible.
6. Finalize Your Service Invoice
Finalizing your service invoice means proofreading the details inside the columns especially the one containing the subtotals. Afterward, you will need to calculate the overall total and write the value at the bottom-most end of the subtotal column. You can provide additional information to your invoice if necessary; otherwise, you can save it in printable PDF and then proceed to print copies of it.
