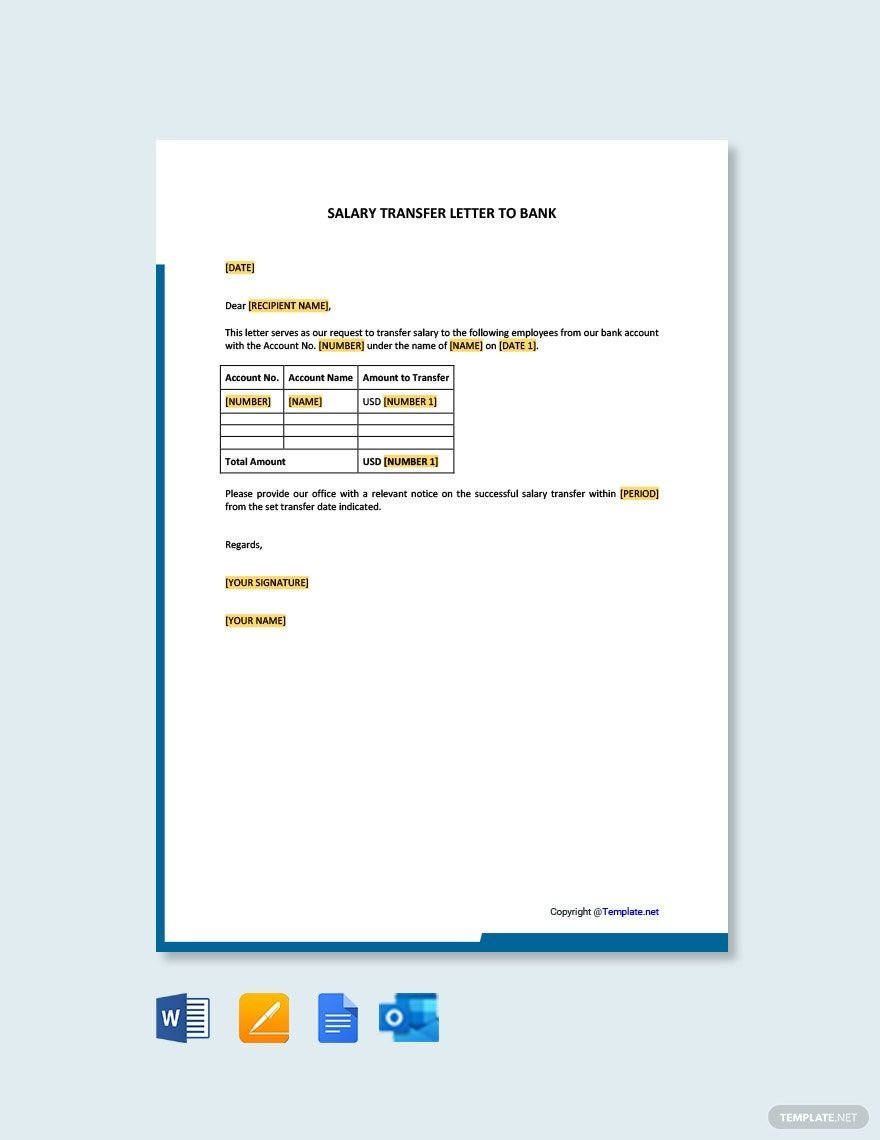
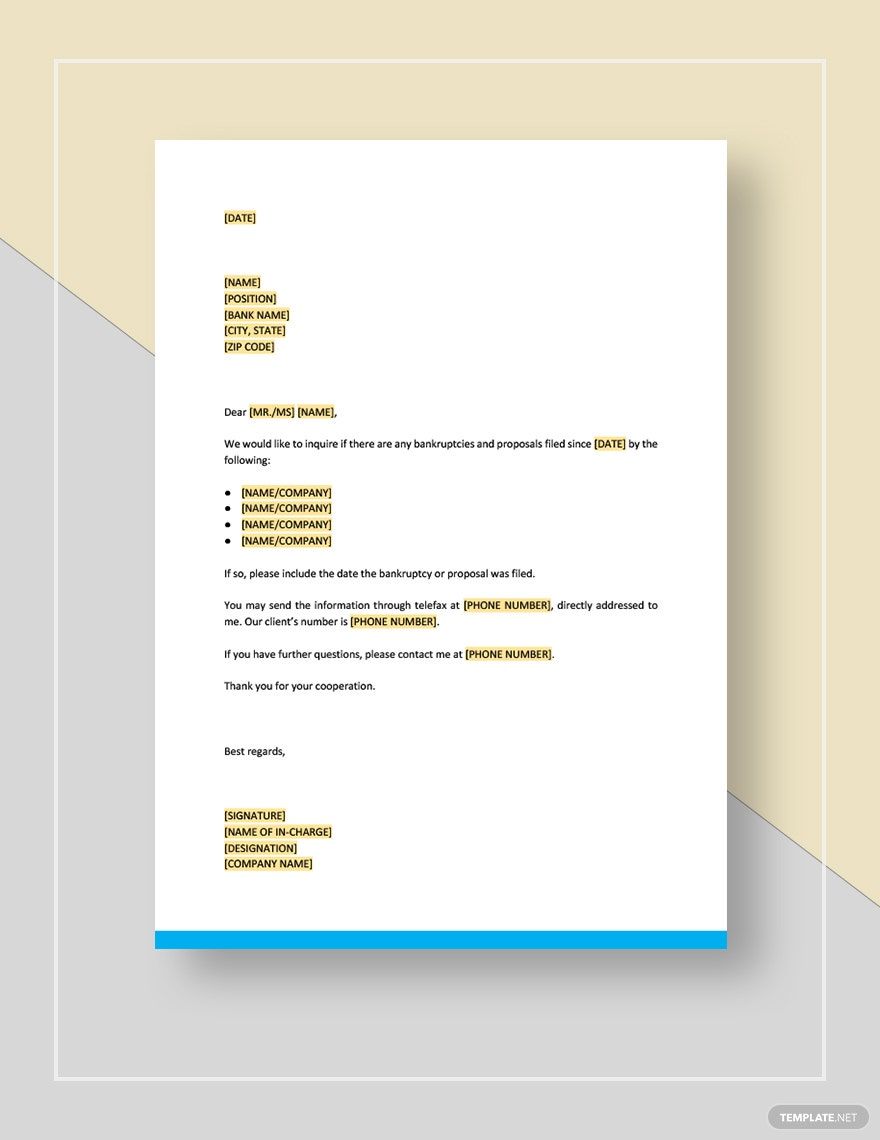
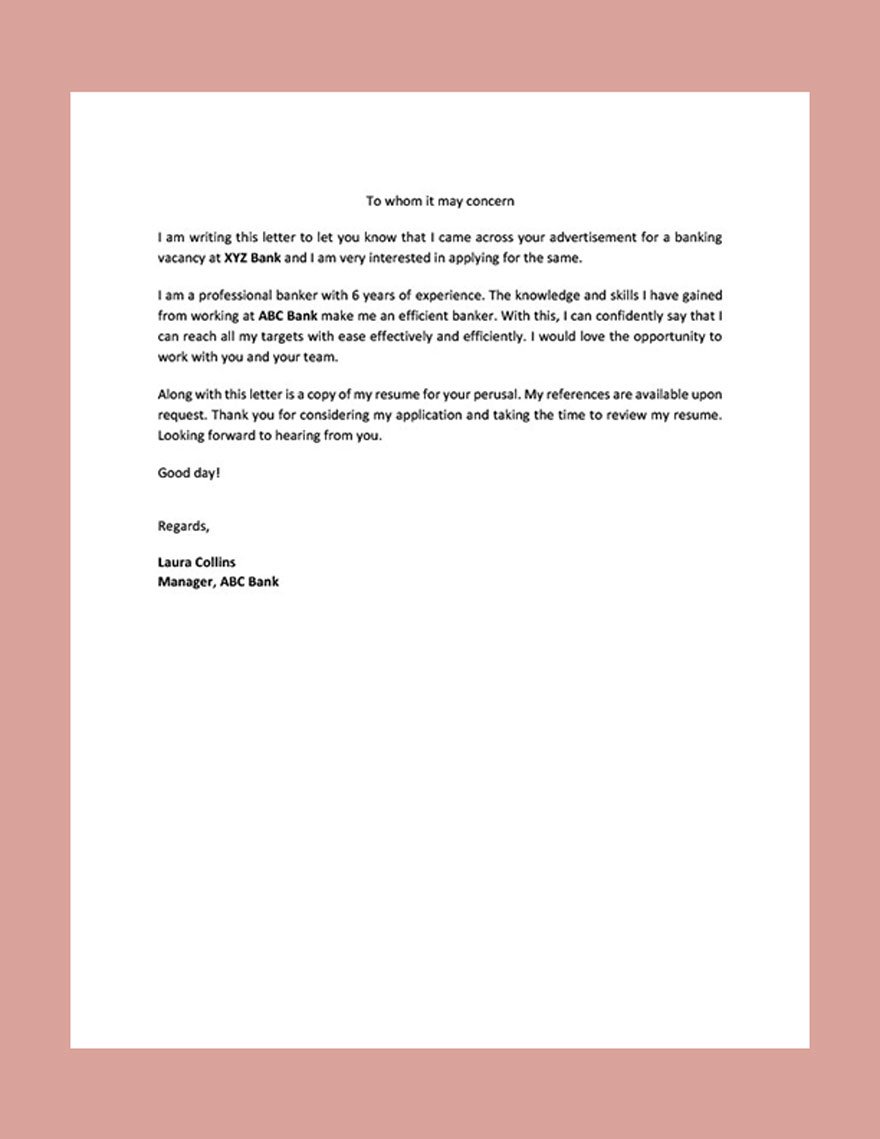
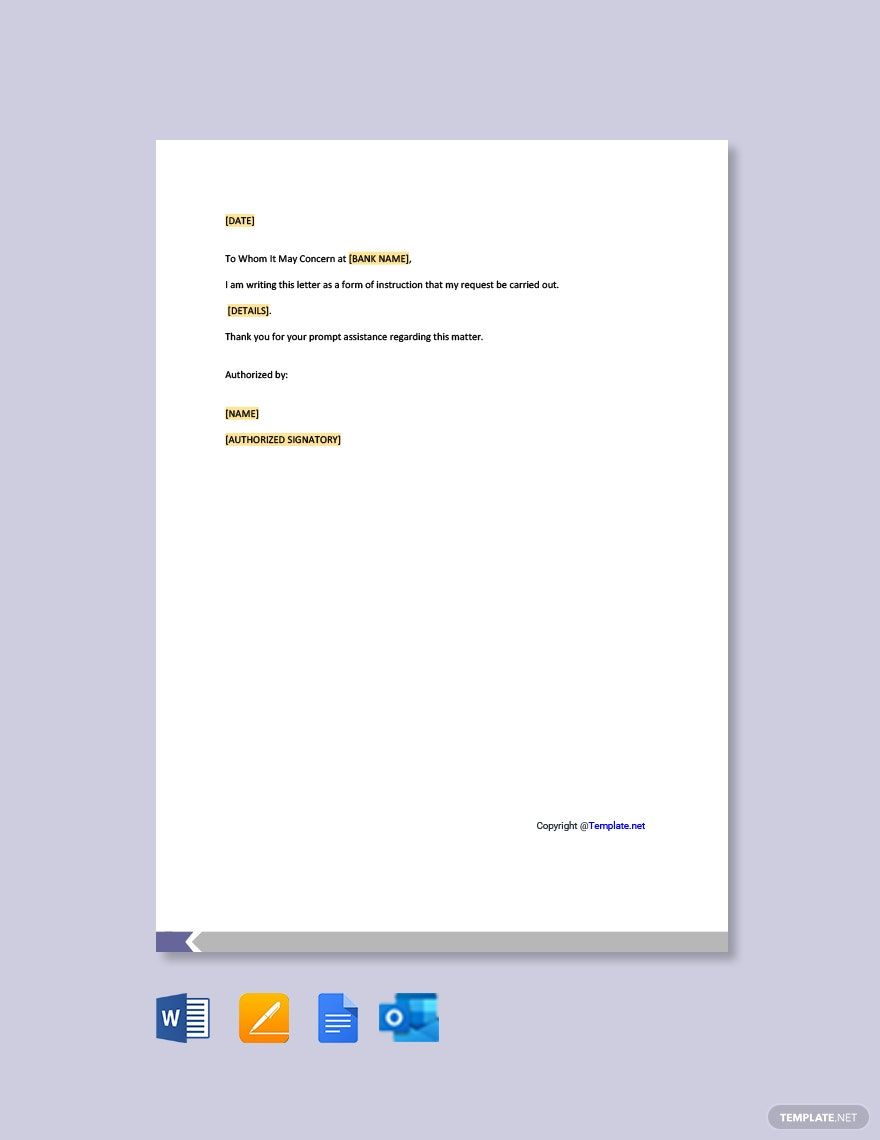
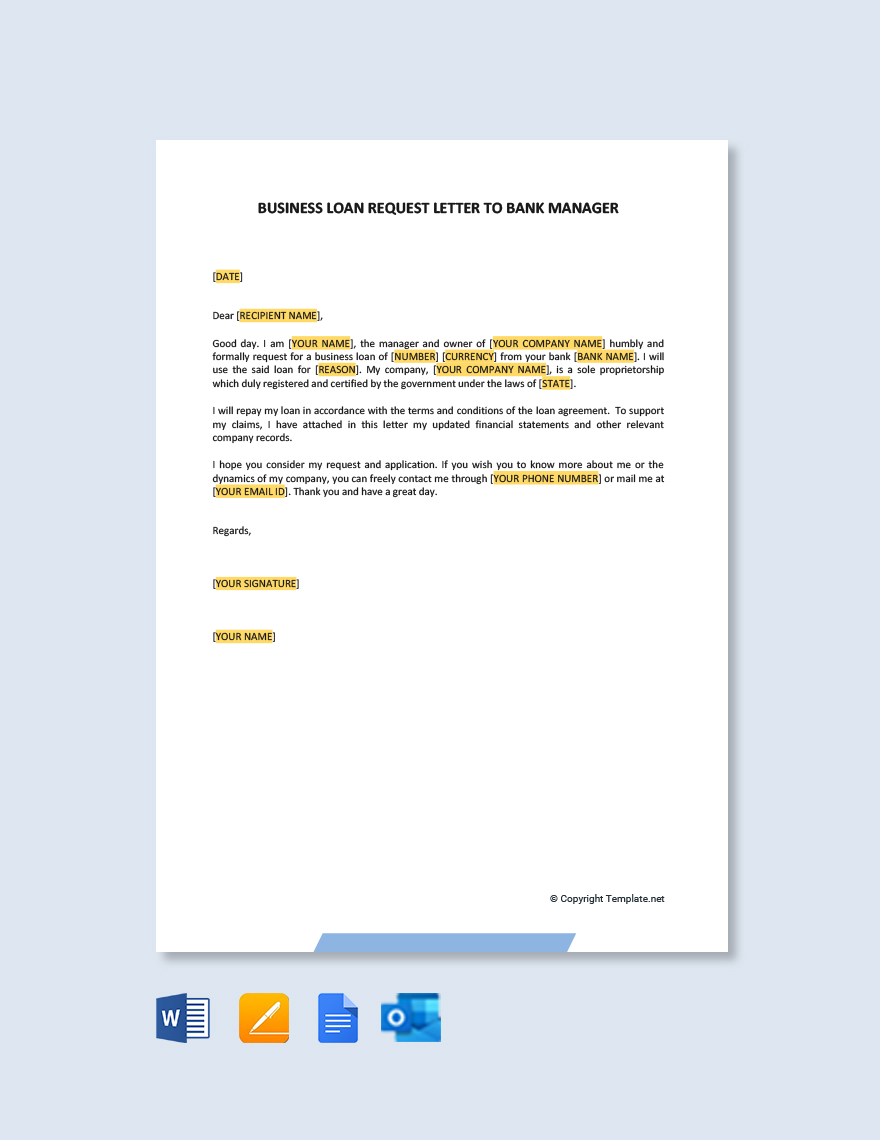
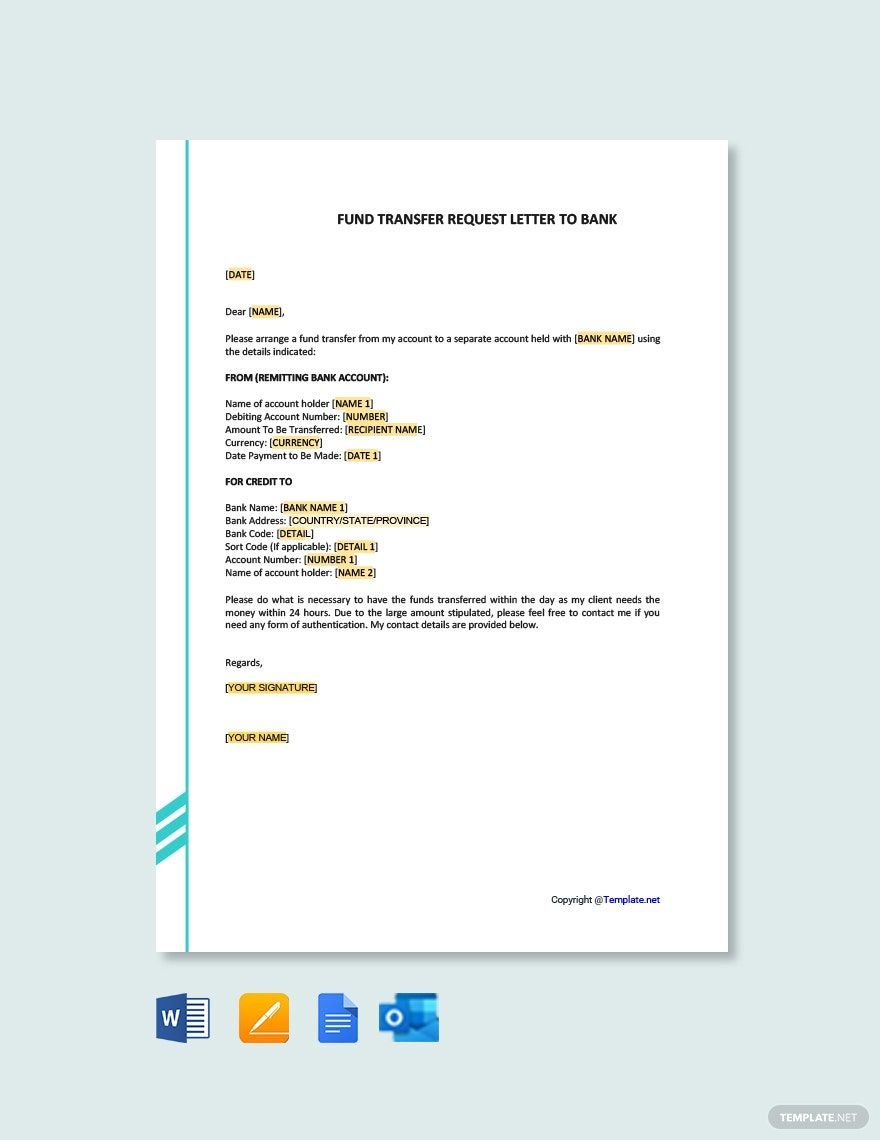
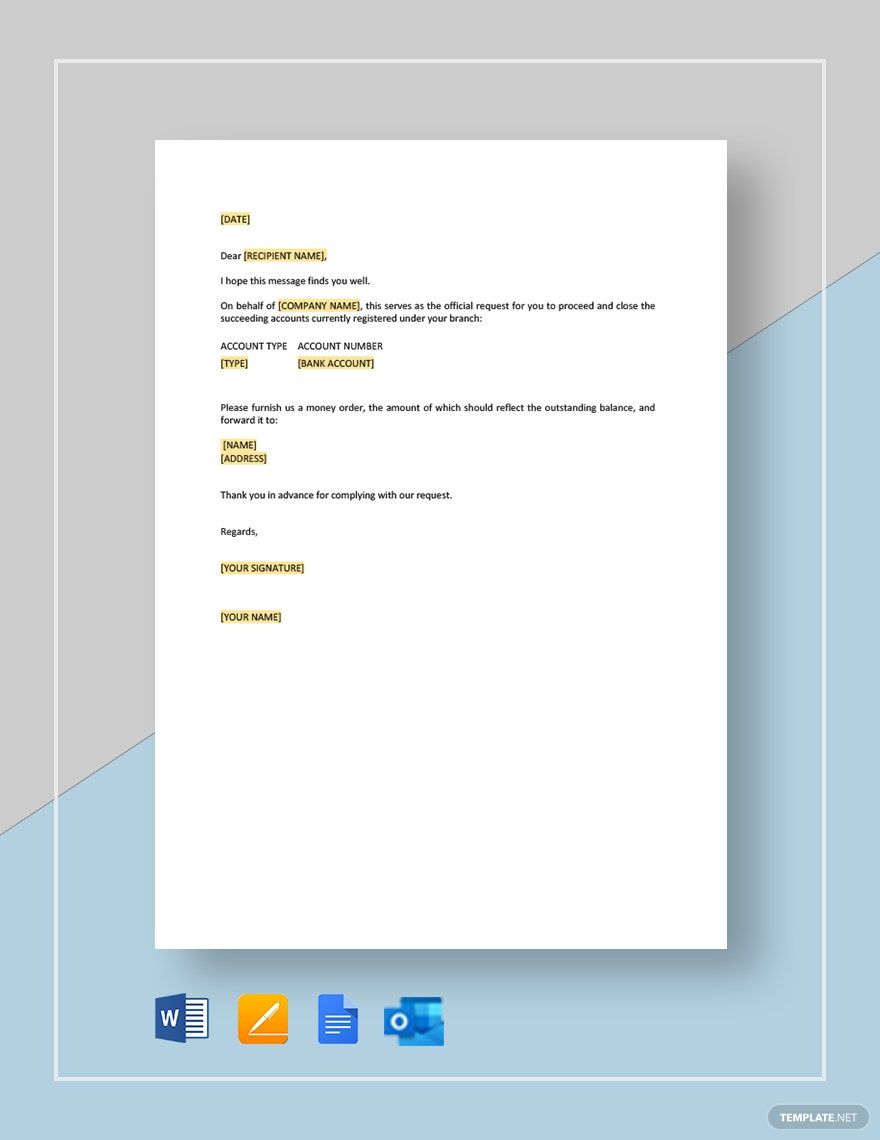
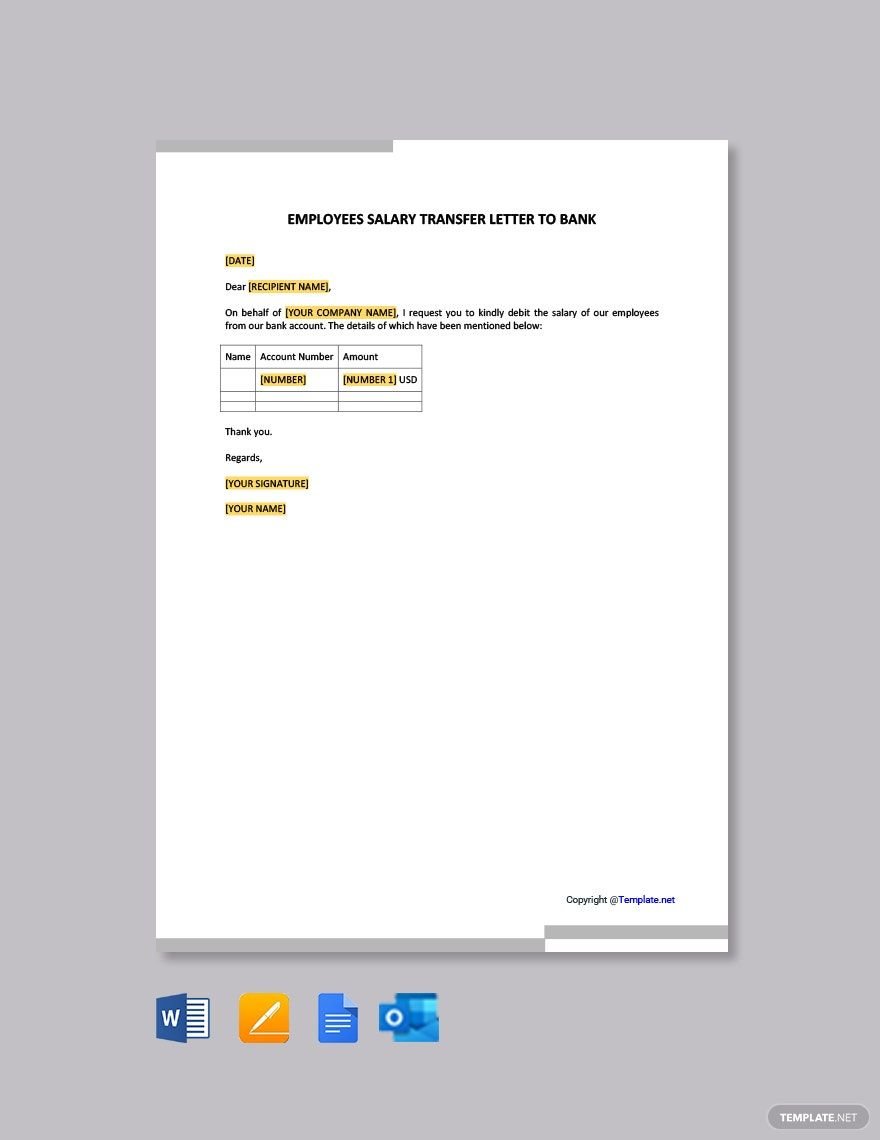
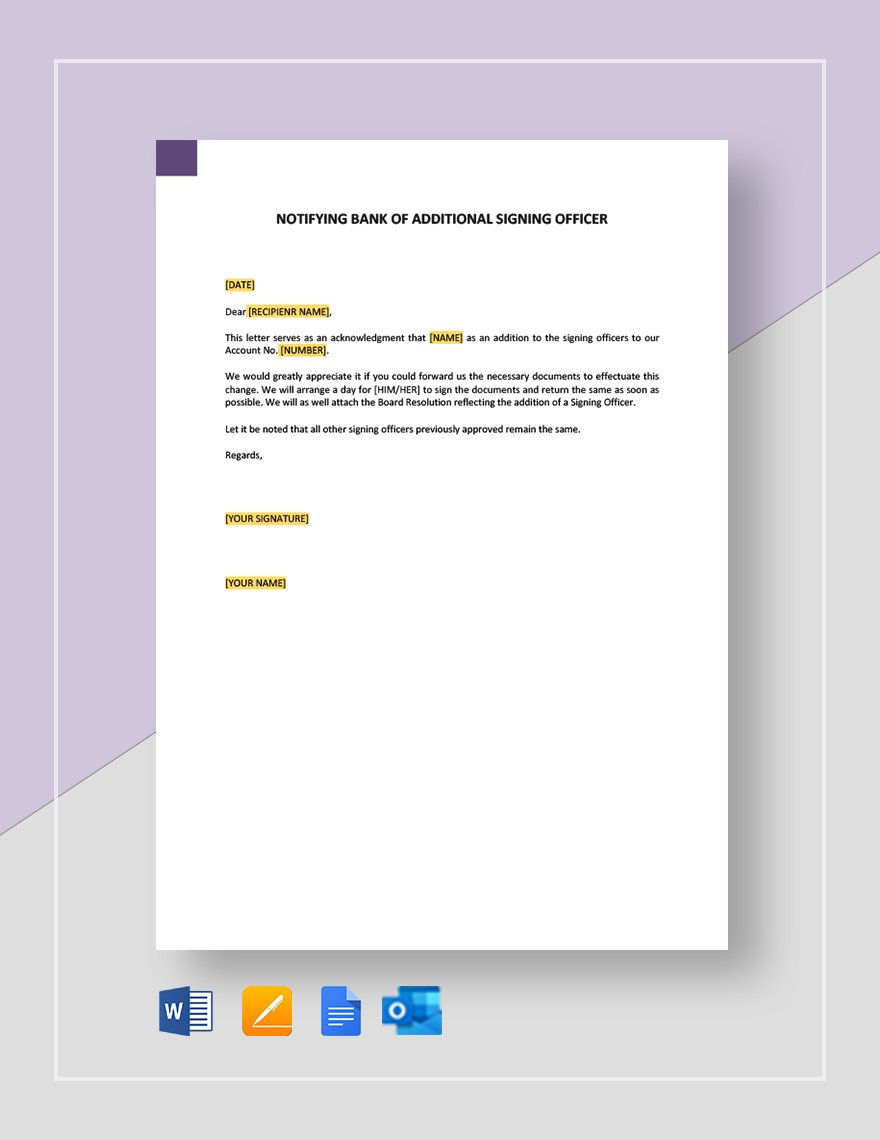
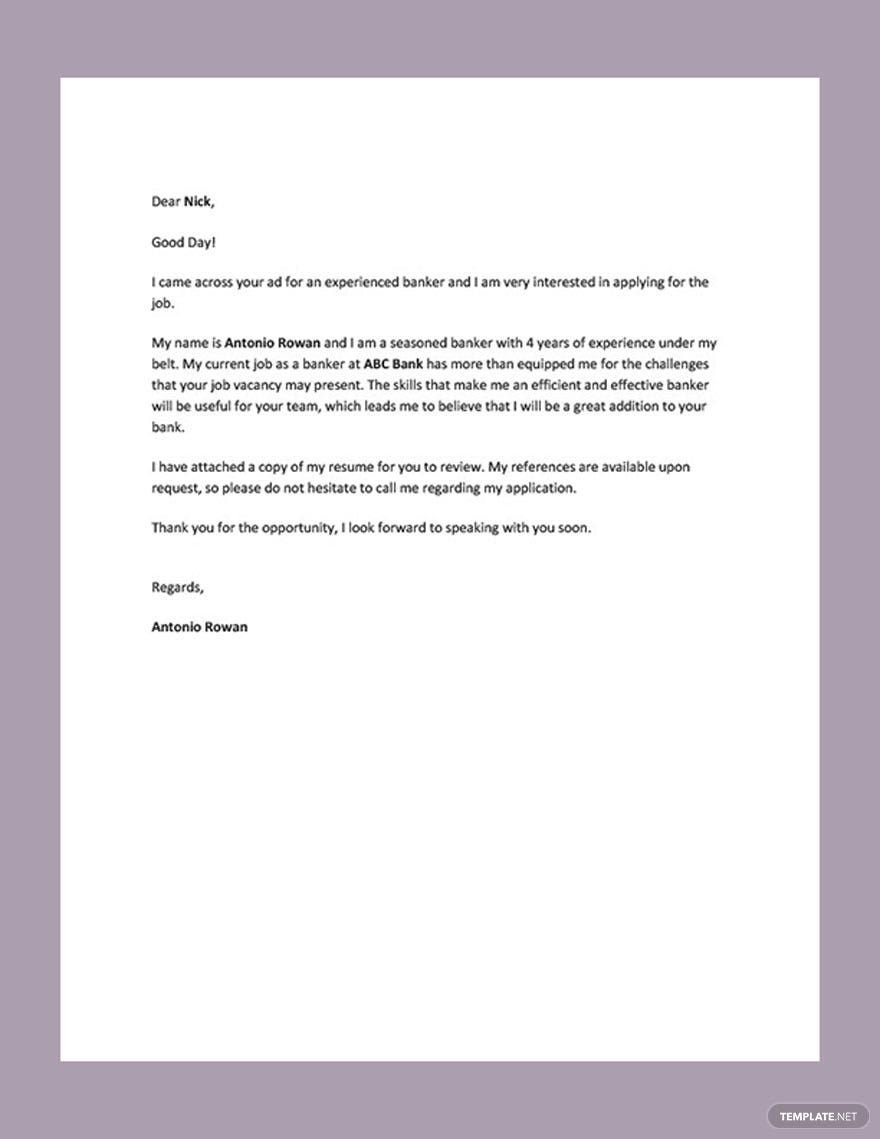
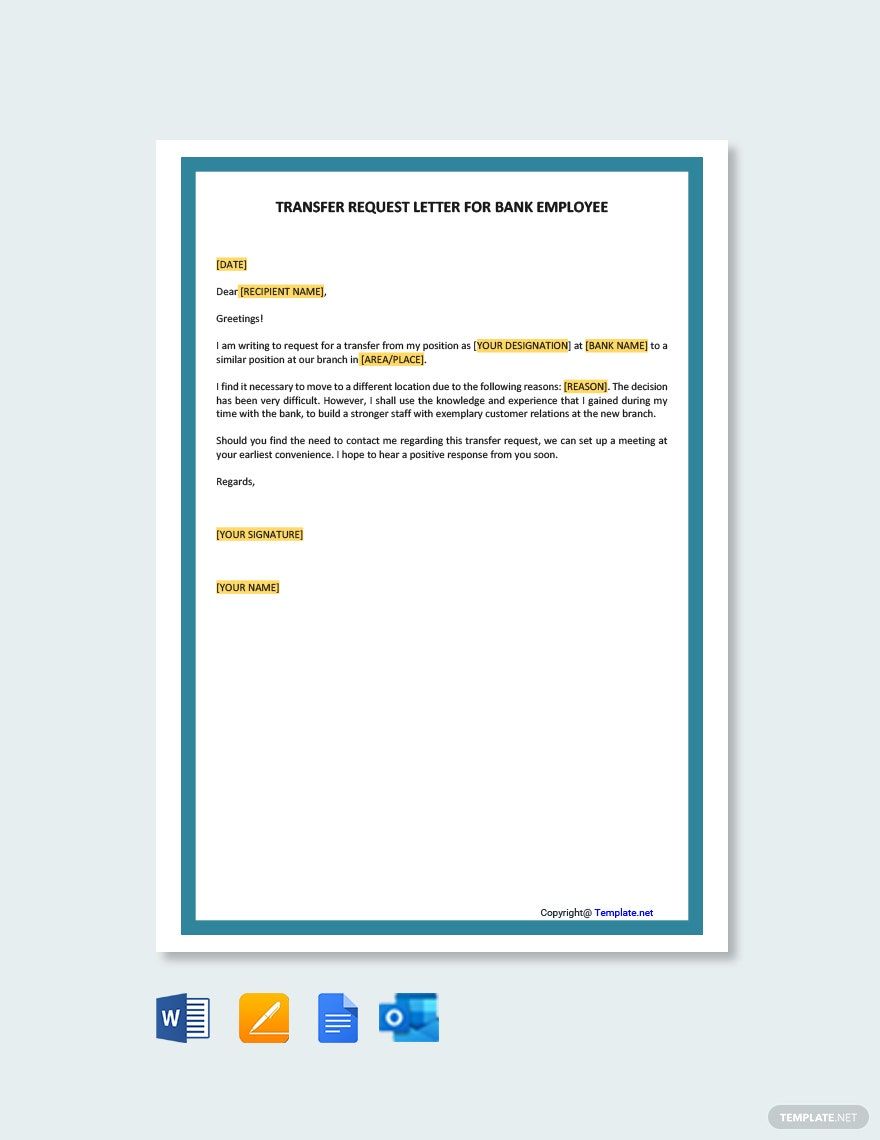
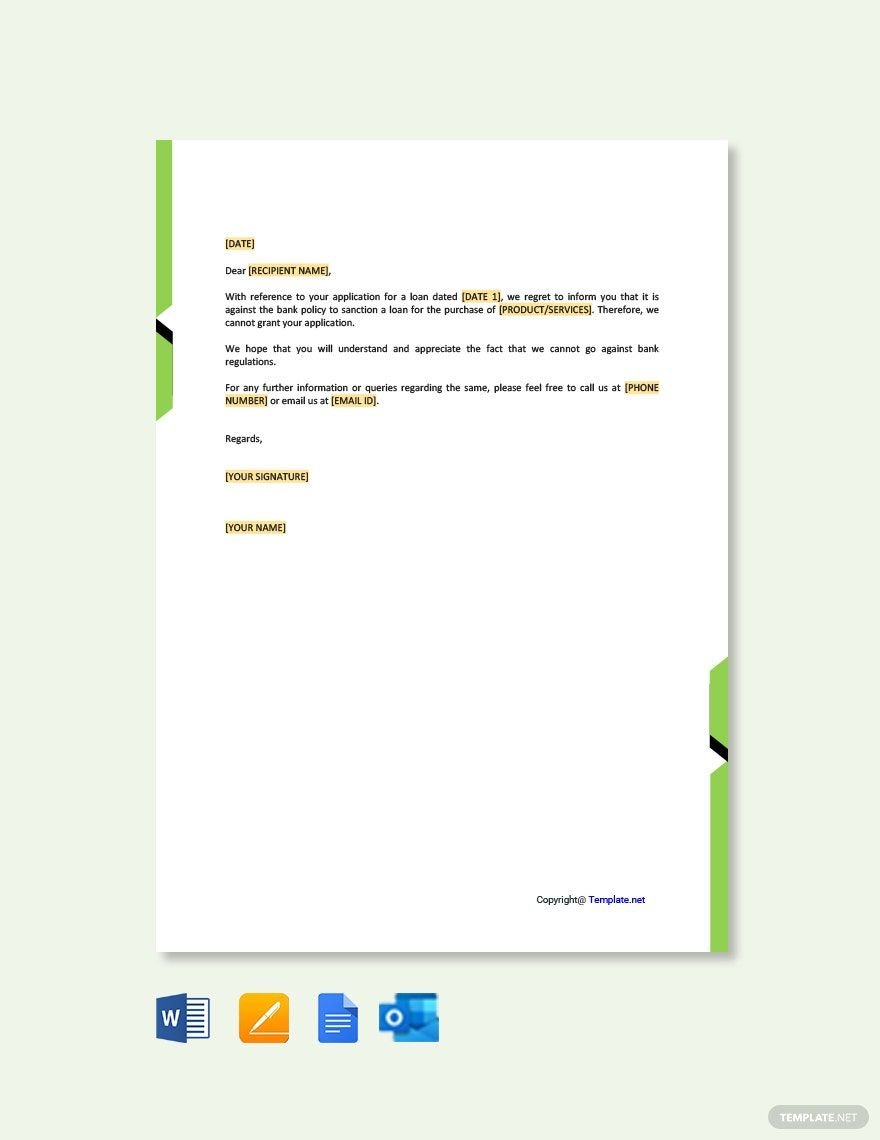
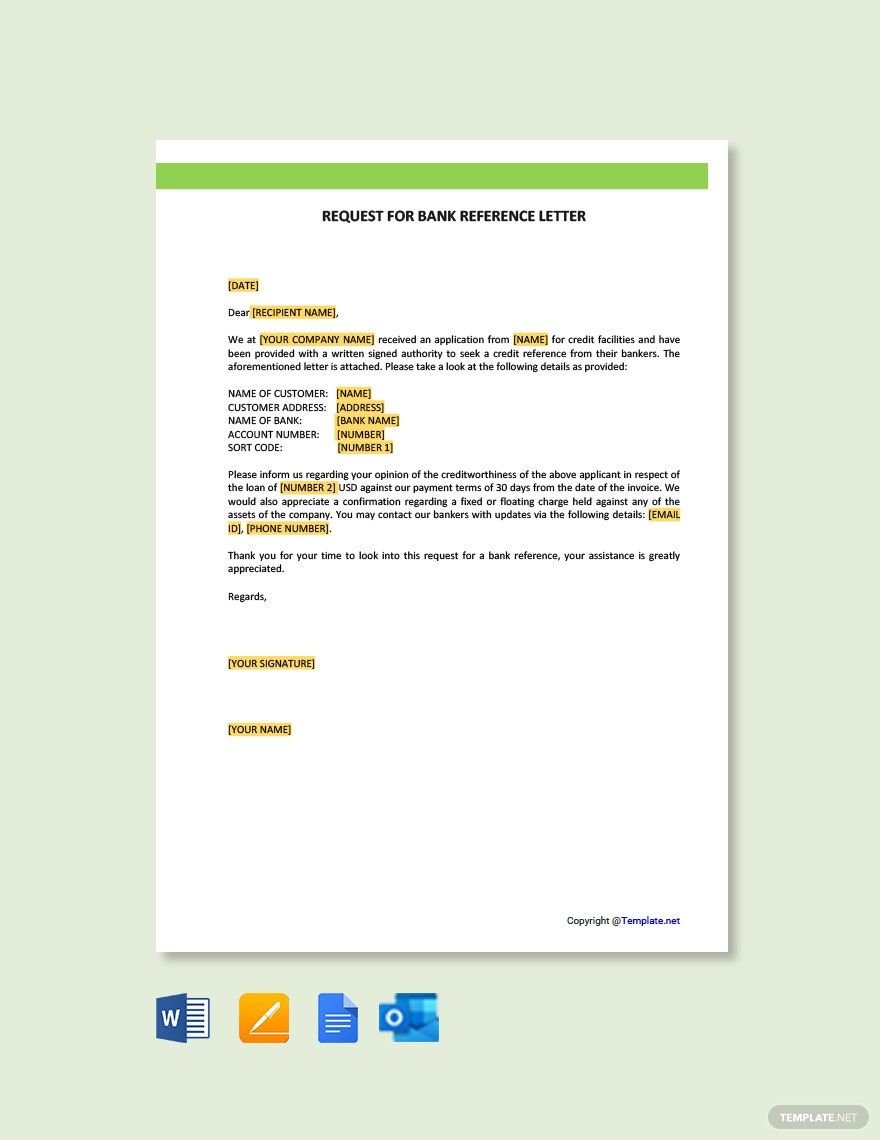
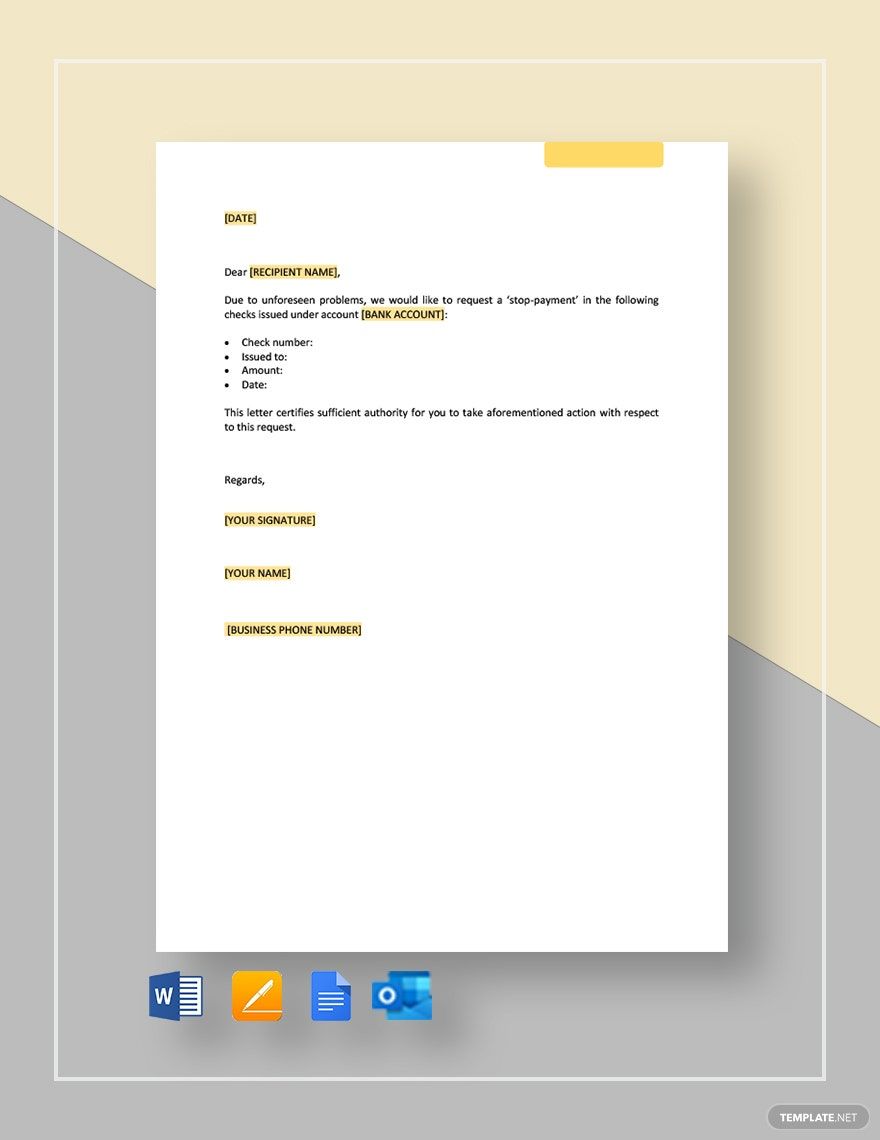
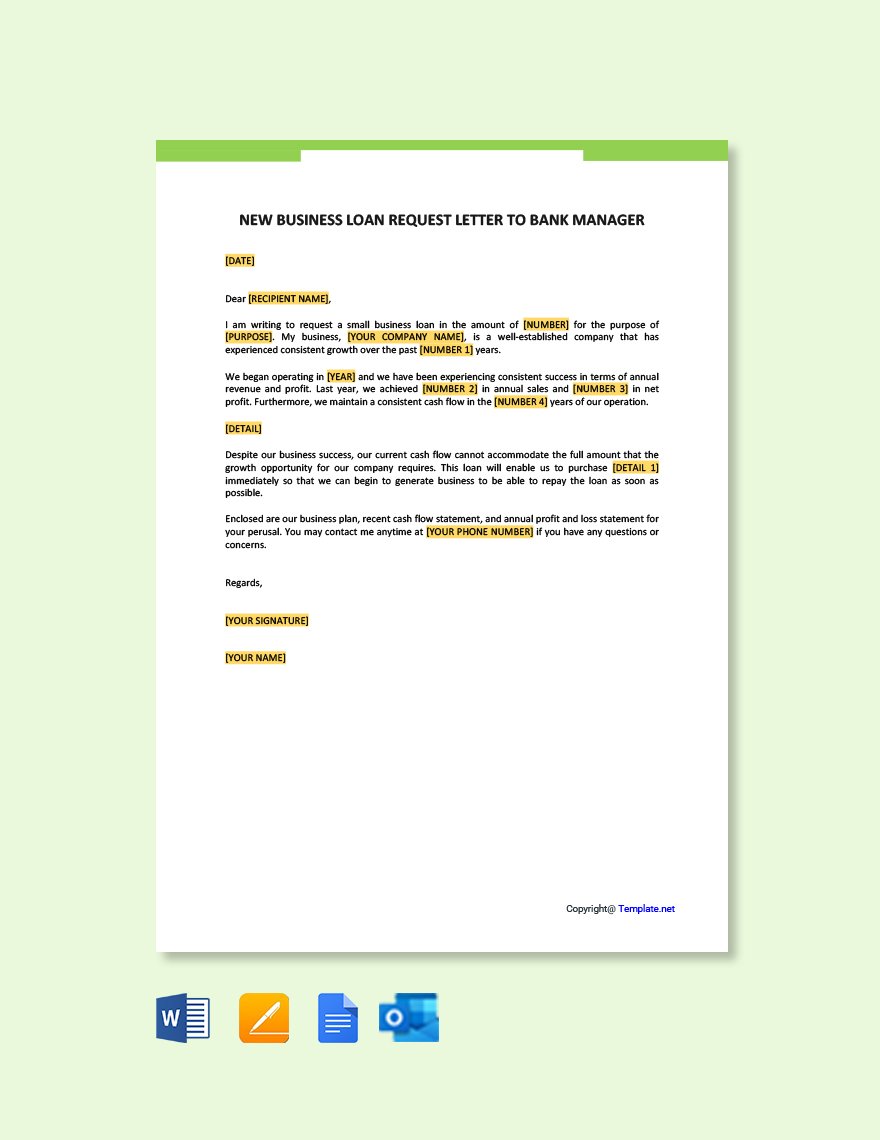
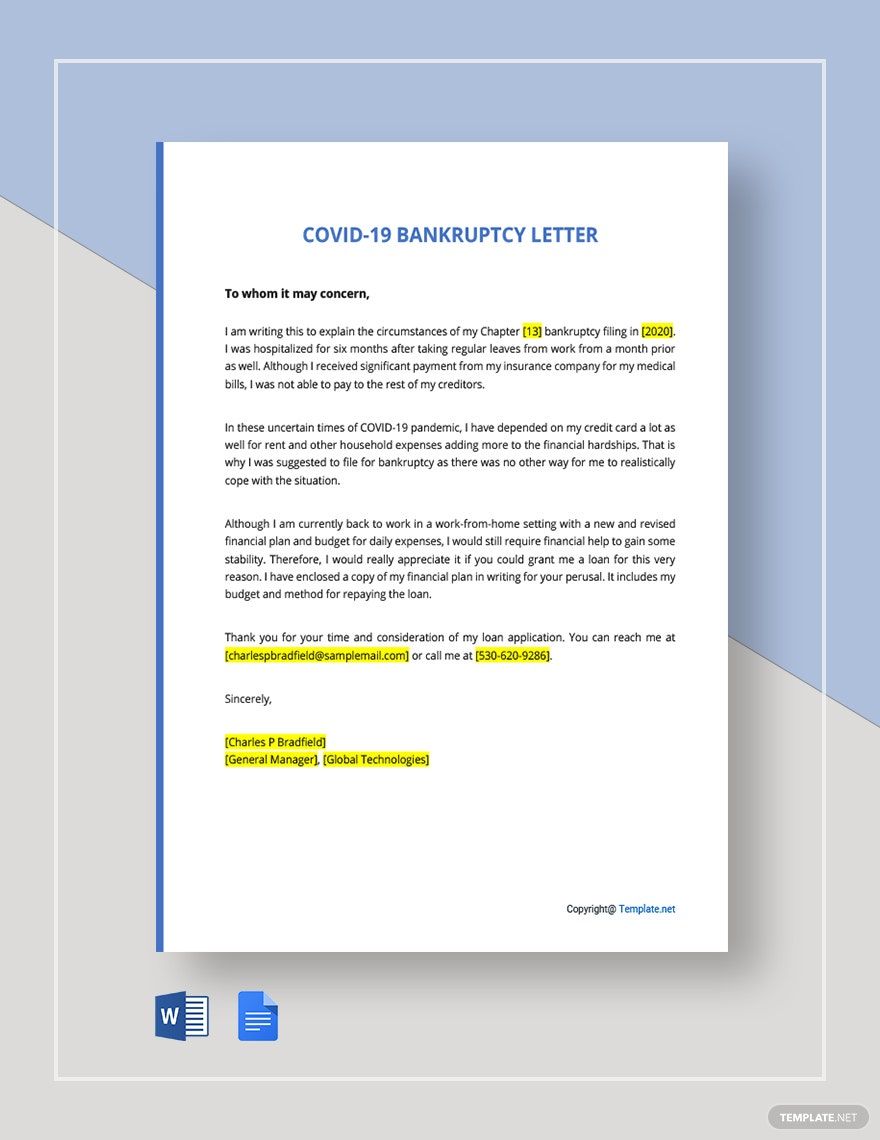
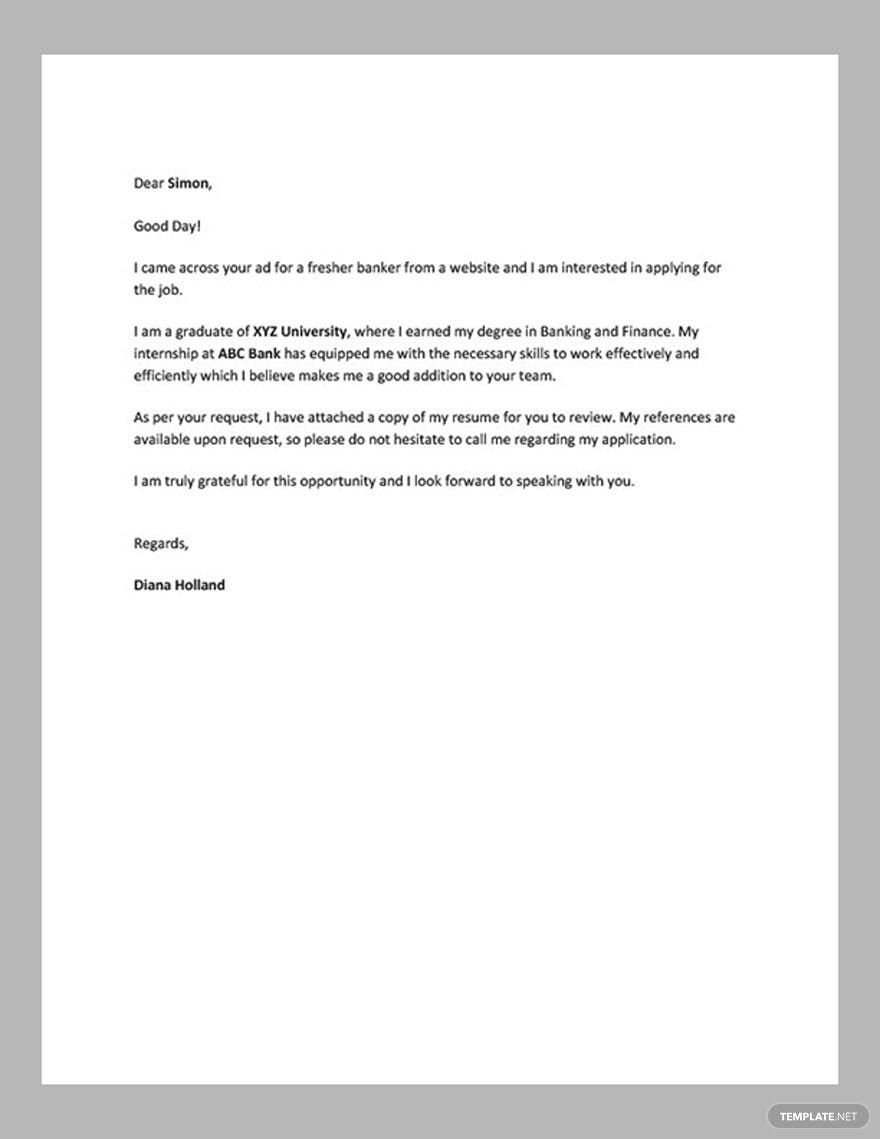
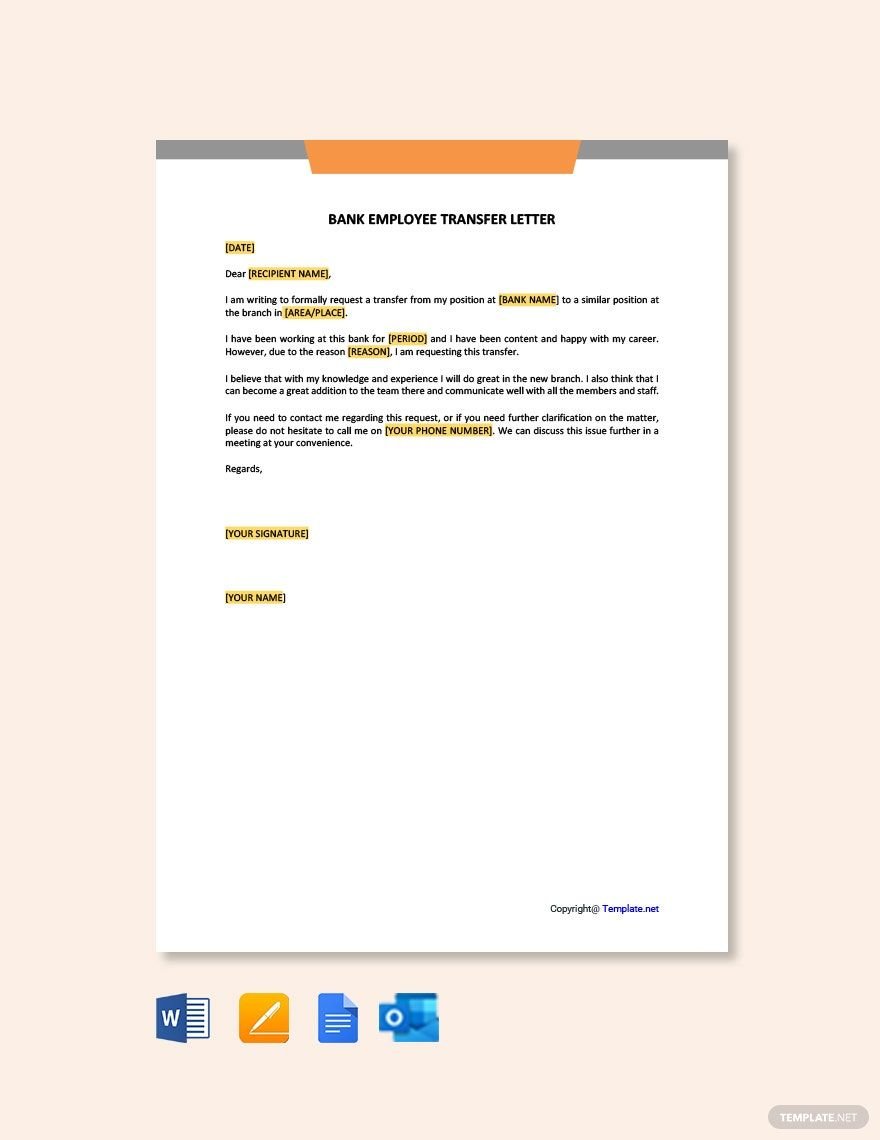
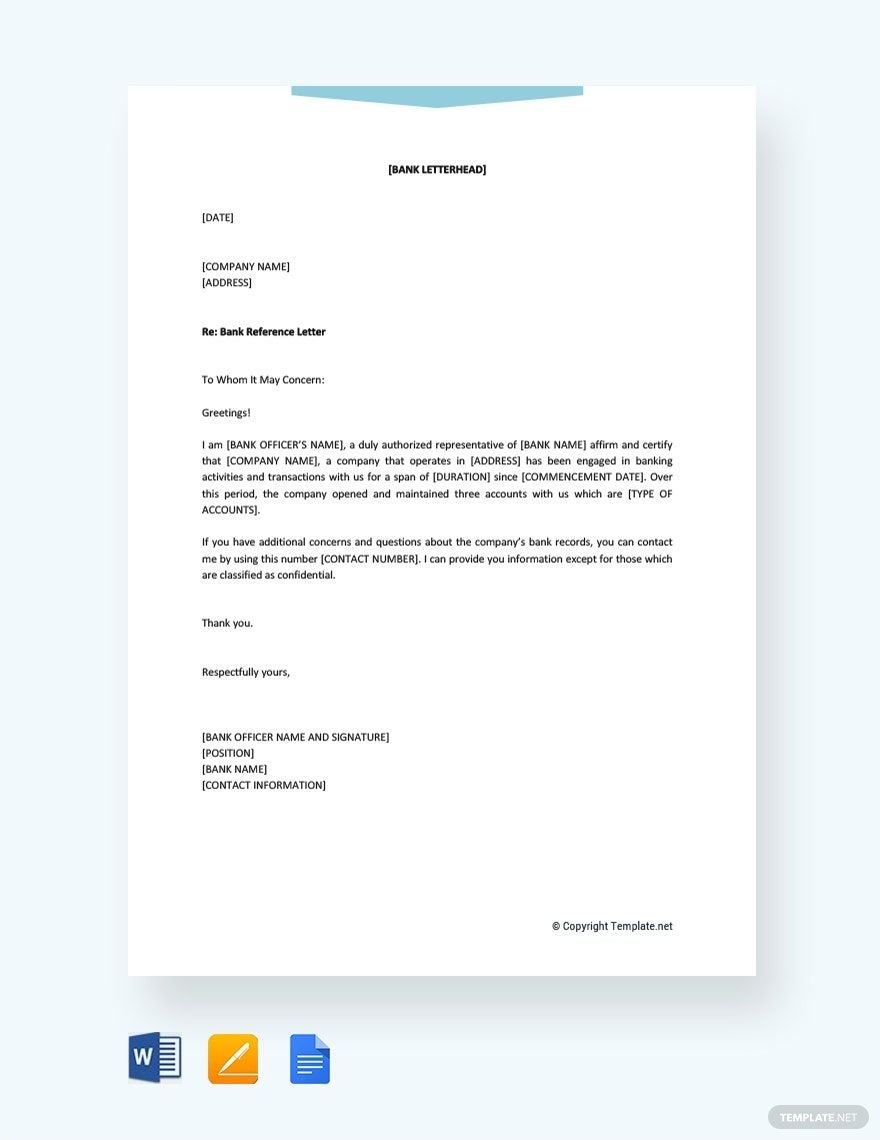
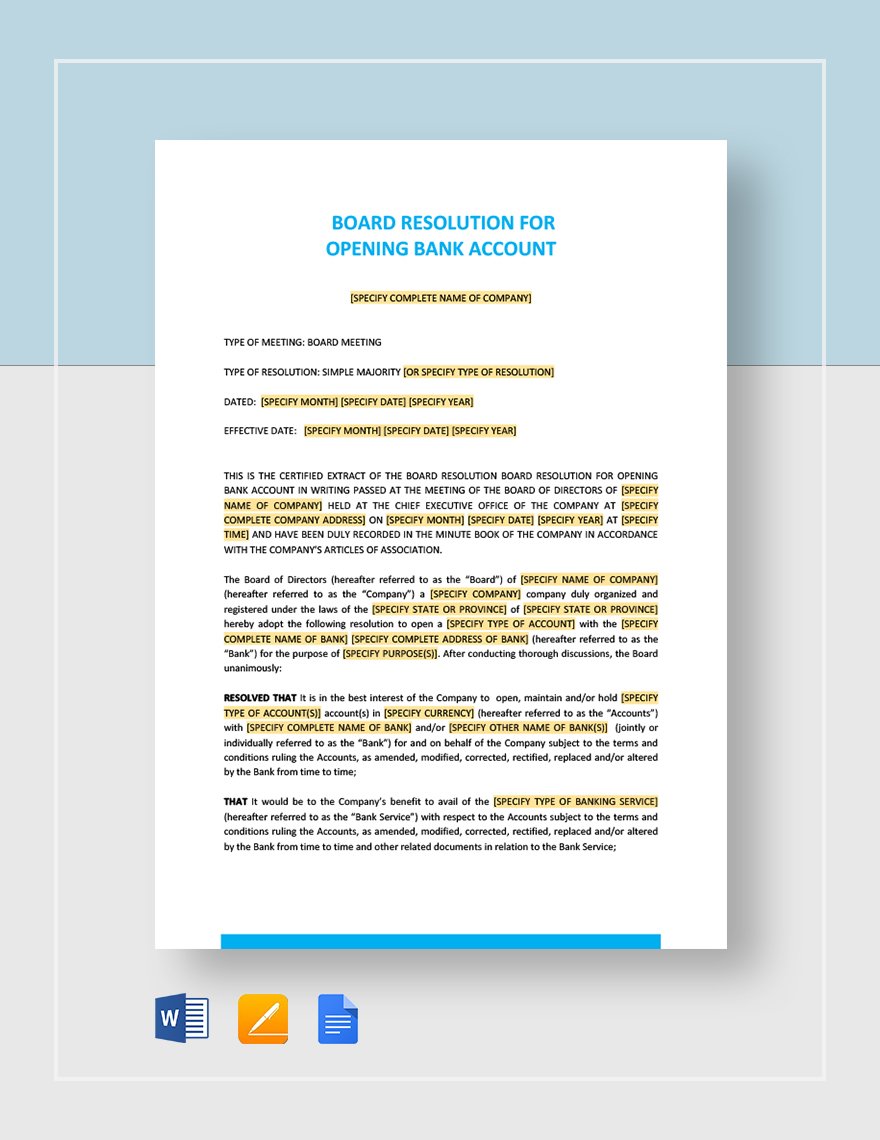
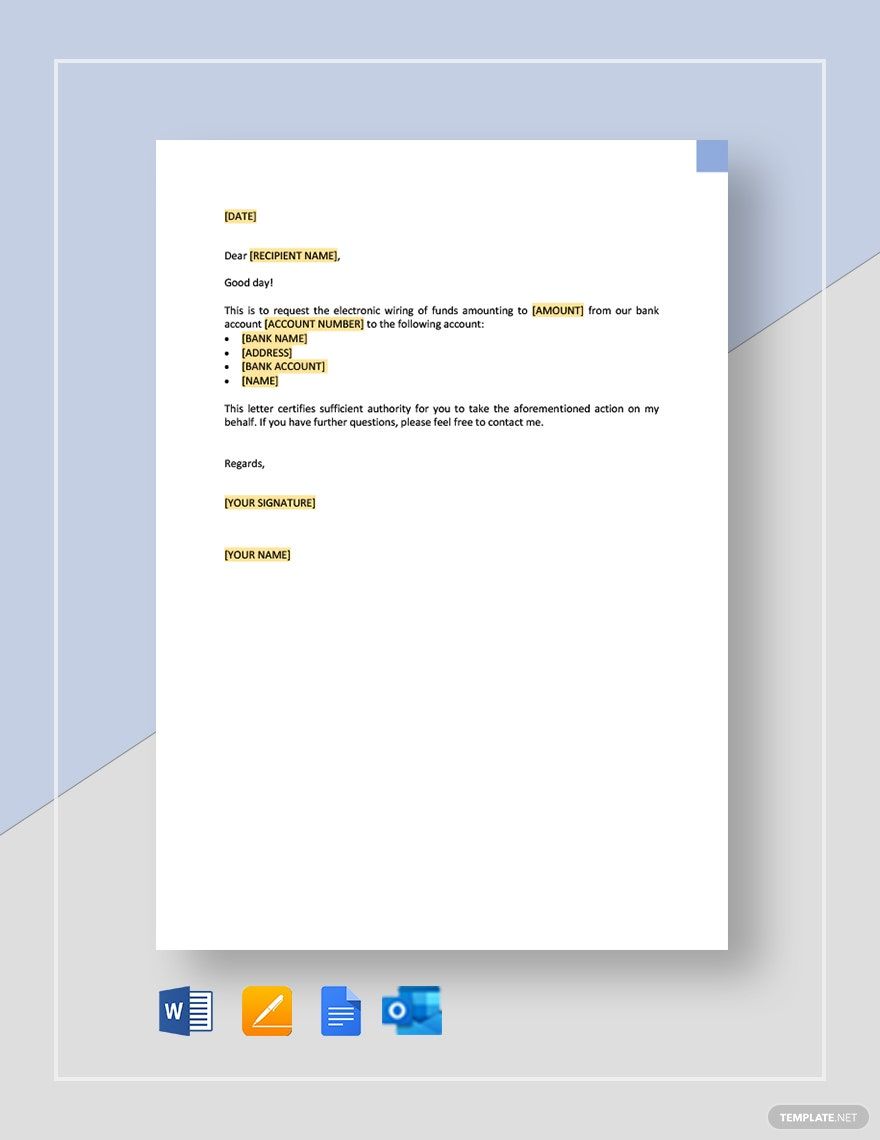
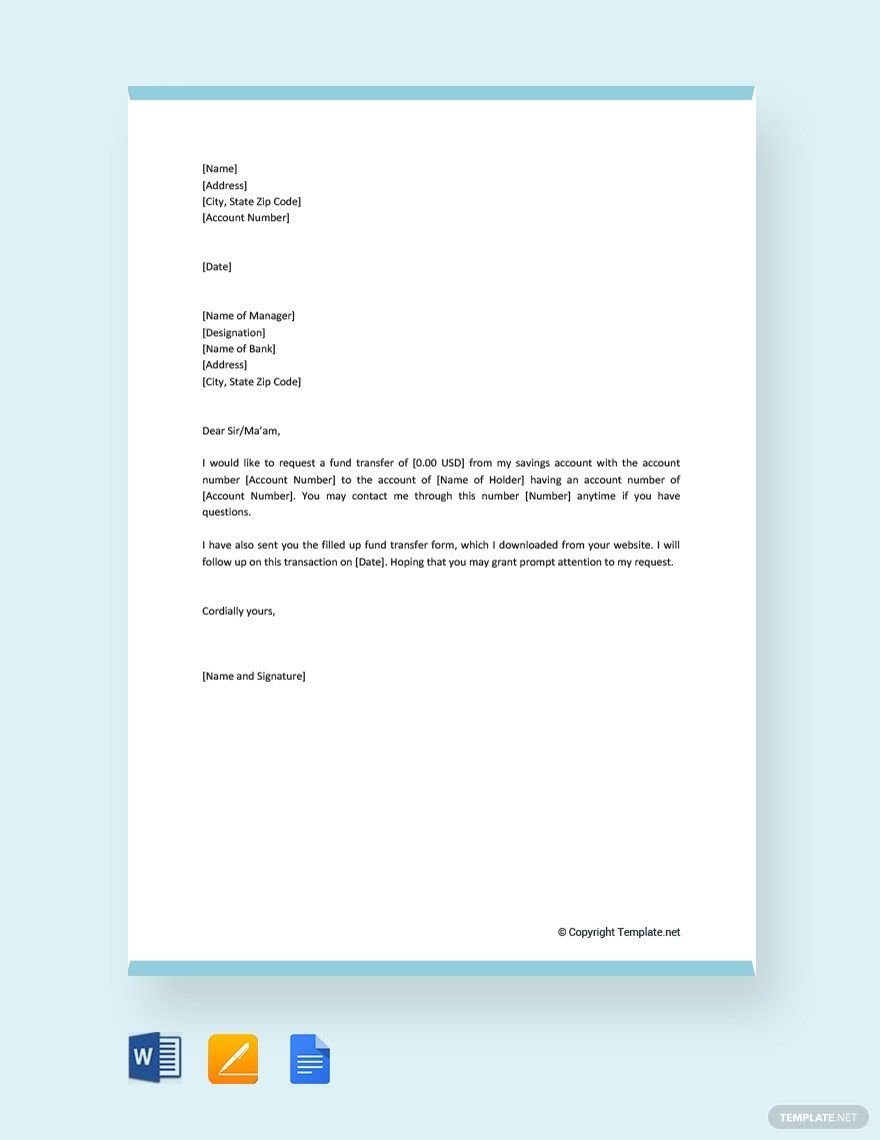
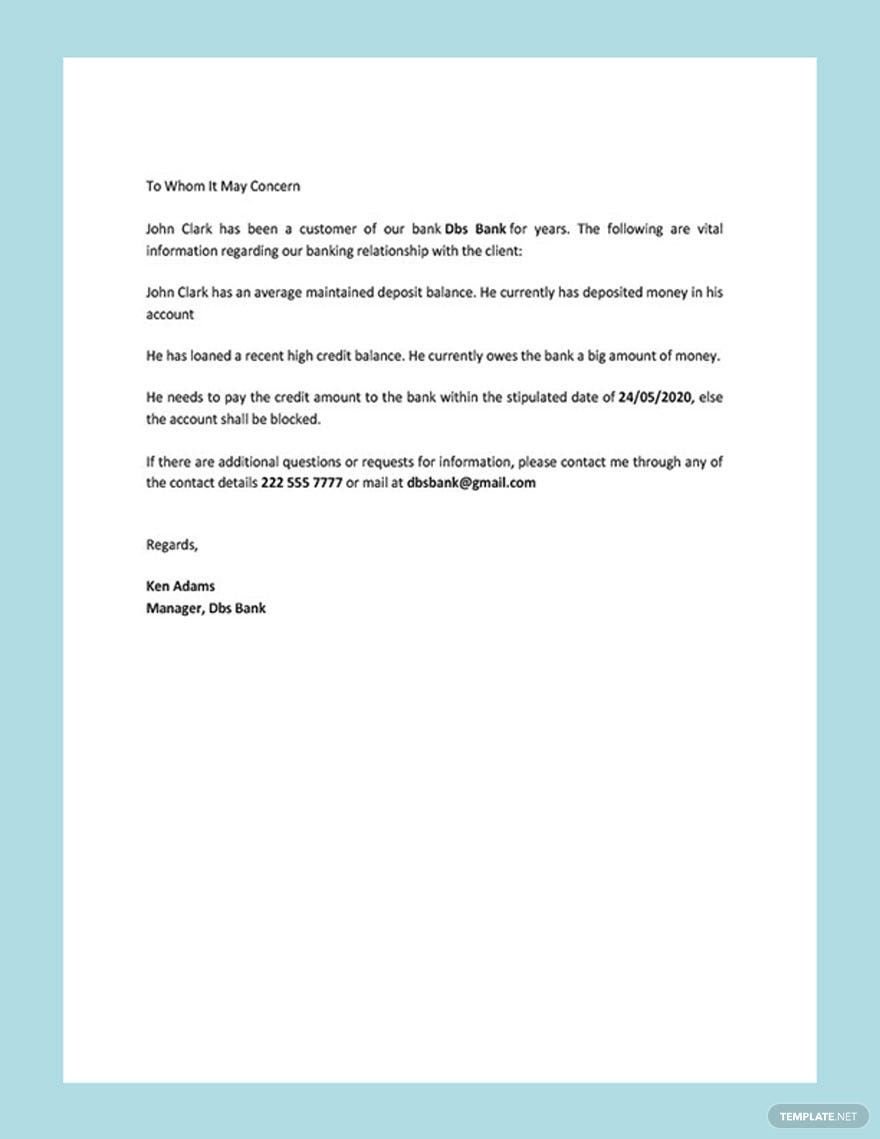
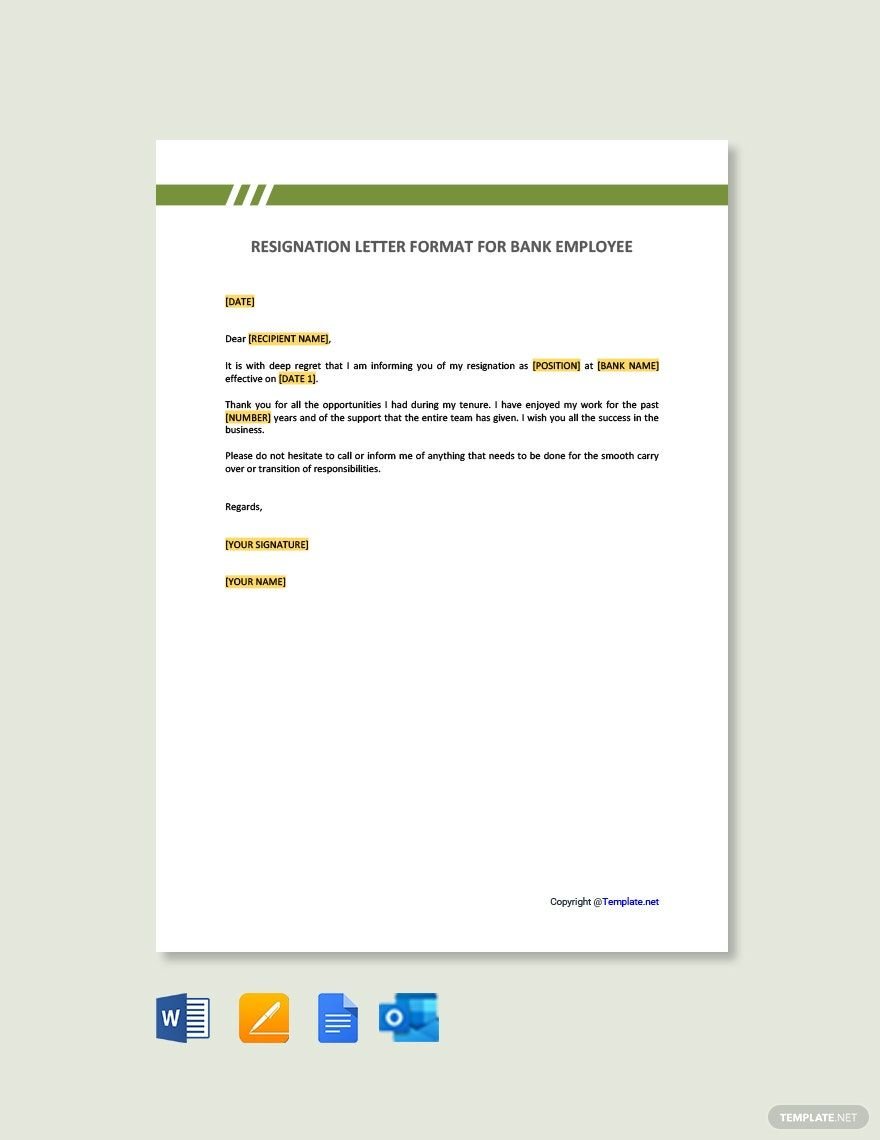
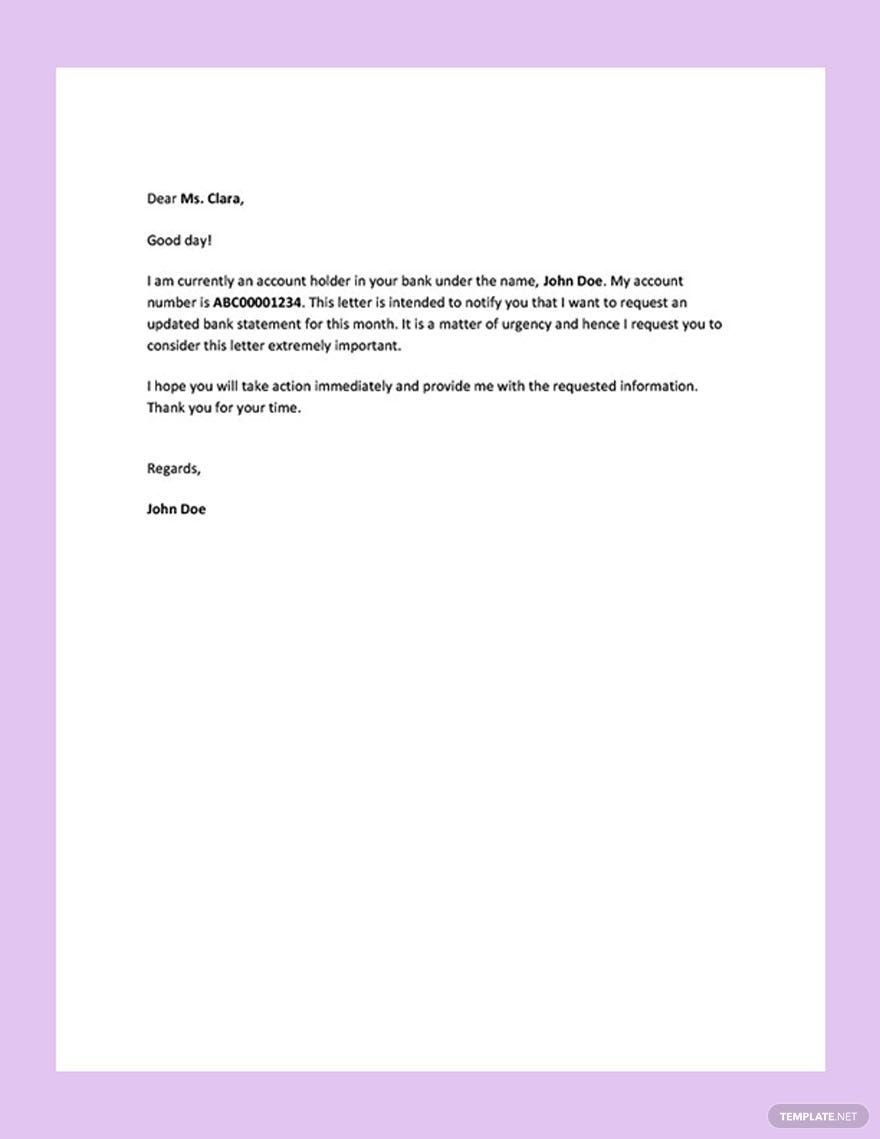
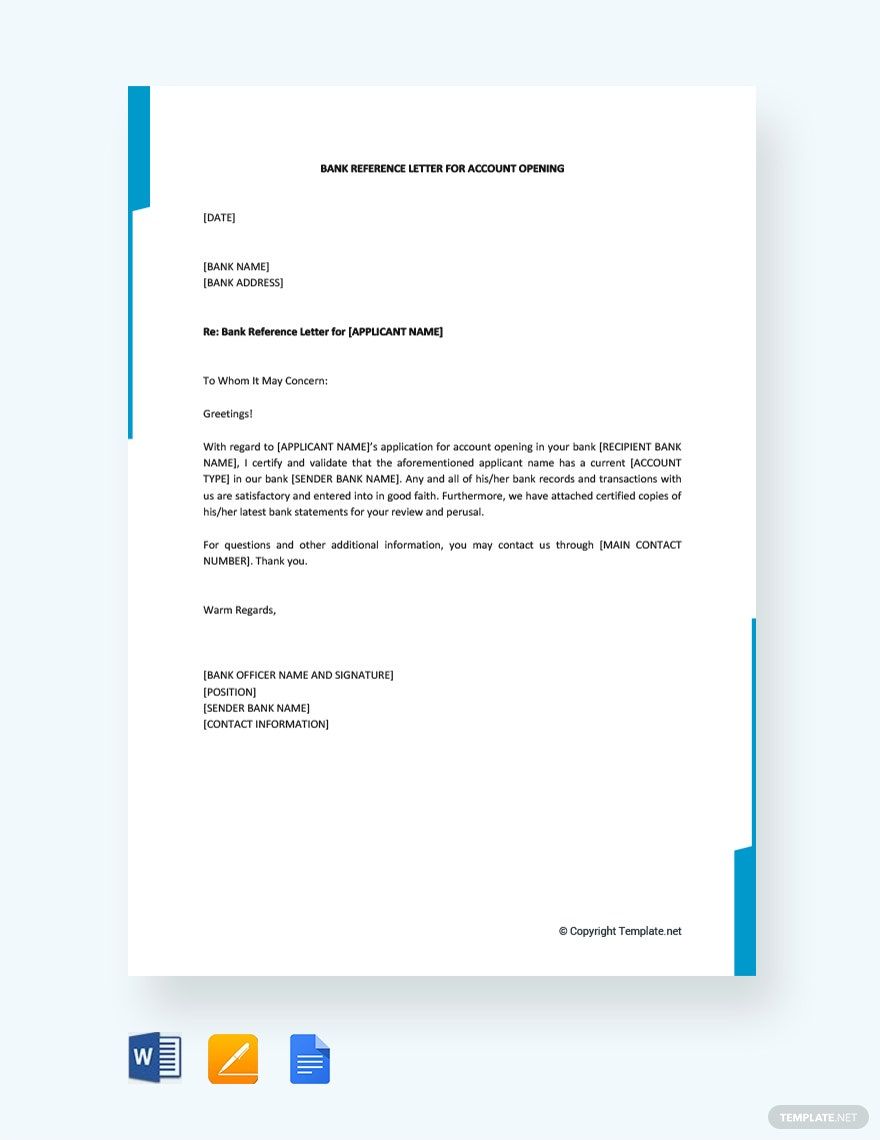
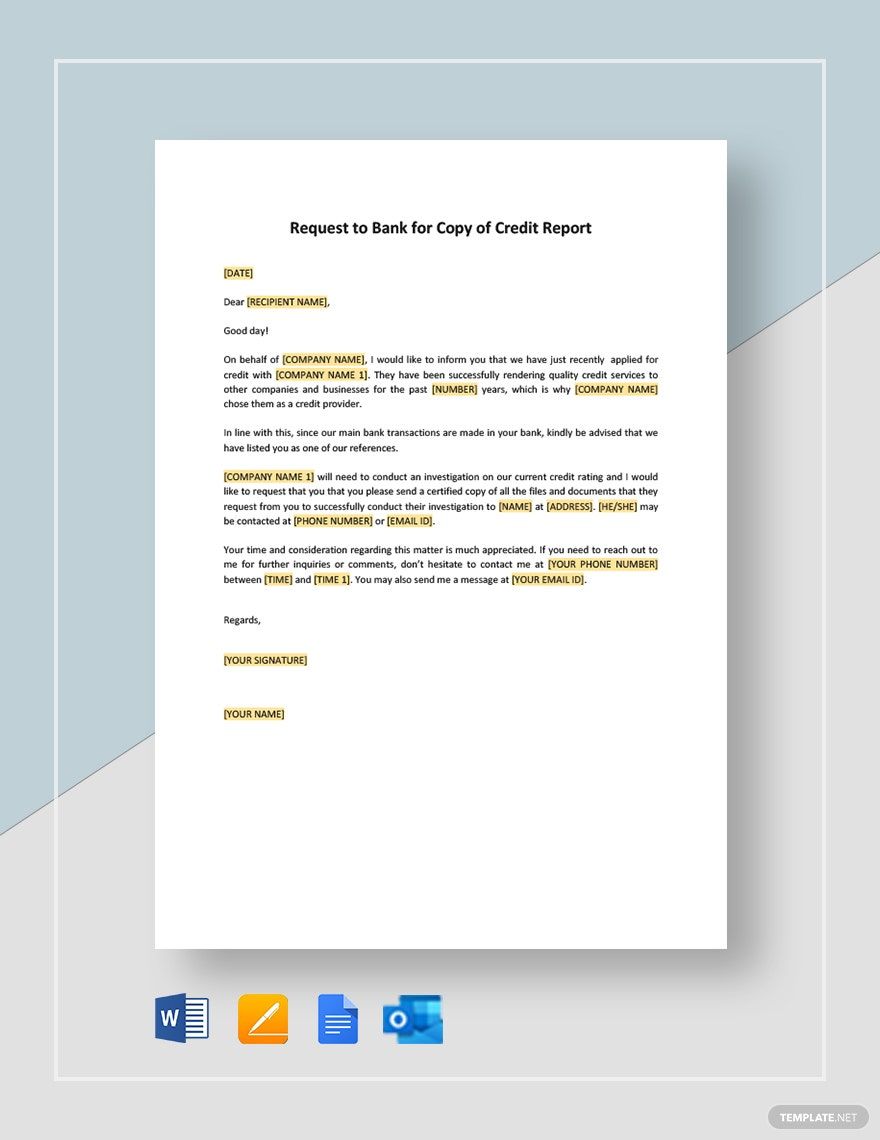
With how large and serious the world of banks is, there’s a great deal of attention that goes into the work that’s involved. And a lot of that work relies on communication, as well as the exchange of documents and information. Whether it’s about a credit card application, an account statement request, or other similar instances, the use of a letter can usually be found. The simple nature of a letter makes it a suitable medium when it comes to business matters. So, to help you compose a formal letter for banking needs, we’re offering our professional Bank Letter Templates for download! Quickly create a proper note in Google Docs with our easily editable samples, which can then be printed out in either A4 or US letter sizes. Stop waiting--download today to make an official letter for loans, transfers, and more!
How to Create a Bank Letter in Google Docs
According to an article from thoughtco.com, a letter can be used for all kinds of personal and business functions, composed in a variety of formats. Therefore, it’s fitting to use a letter when having an official correspondence about account verifications, payment authorizations, or other concerns in banking.
Need some advice on how to properly write a letter for bank-related matters? No problem--just read on below and check out our tips on composing such letters using Google Docs!
1. Set an Appropriate Margin and Include a Title
To start off, you need to prepare a proper margin for the page, since this is a formal business letter. So, to adjust the margin, use the ruler slider that’s found above the document field, near the top of the window; click-drag the blue arrows found on either side and set them to an inch.
Next, it’s time to start writing. Because we’re putting together a business letter for a specific purpose, add a title/main header at the top of the document page (within the margin) and align it to the center. Remember to keep its font the largest in the whole letter.
2. Write Down the Date and the Recipient’s Information
With the letter title put in place, the next thing to do is write down the current date; position it to the left side when writing a formal/business letter. After that, move down and input the receiver’s complete name, leaving two blank lines between that and the date; f you’re writing to a company or organization without addressing anyone specifically, then use the company name instead. Finally, add the recipient’s mailing address just below.
3. Salutation and Dialog
The next part to wok on in your letter is the primary content. To start, write down an appropriate salutation to the reader; use “Dear Mr/Ms [FULL NAME],” when addressing someone in particular, and go with “To whom it may concern,” otherwise.
Moving on, the first line/paragraph should state the reason for sending the letter. Then, start drafting the main part of your dialog--like mailing of reference, payment confirmation, etc.
4. Ending the Letter
Before closing off your letter, make sure to include a closing statement/paragraph; it can be a reply request or just a professional “thank you.” With that taken care of, write done “Regards,” or “Sincerely,” as a formal ending line with 4 empty lines below it before entering your full name. The empty space is for your written/email signature.
And so, your letter is now ready to send through email or envelope. Need timesaving customizable content when dealing with loans, payments, and other similar concerns? Then be sure to have a look at our Bank Letter Templates!


