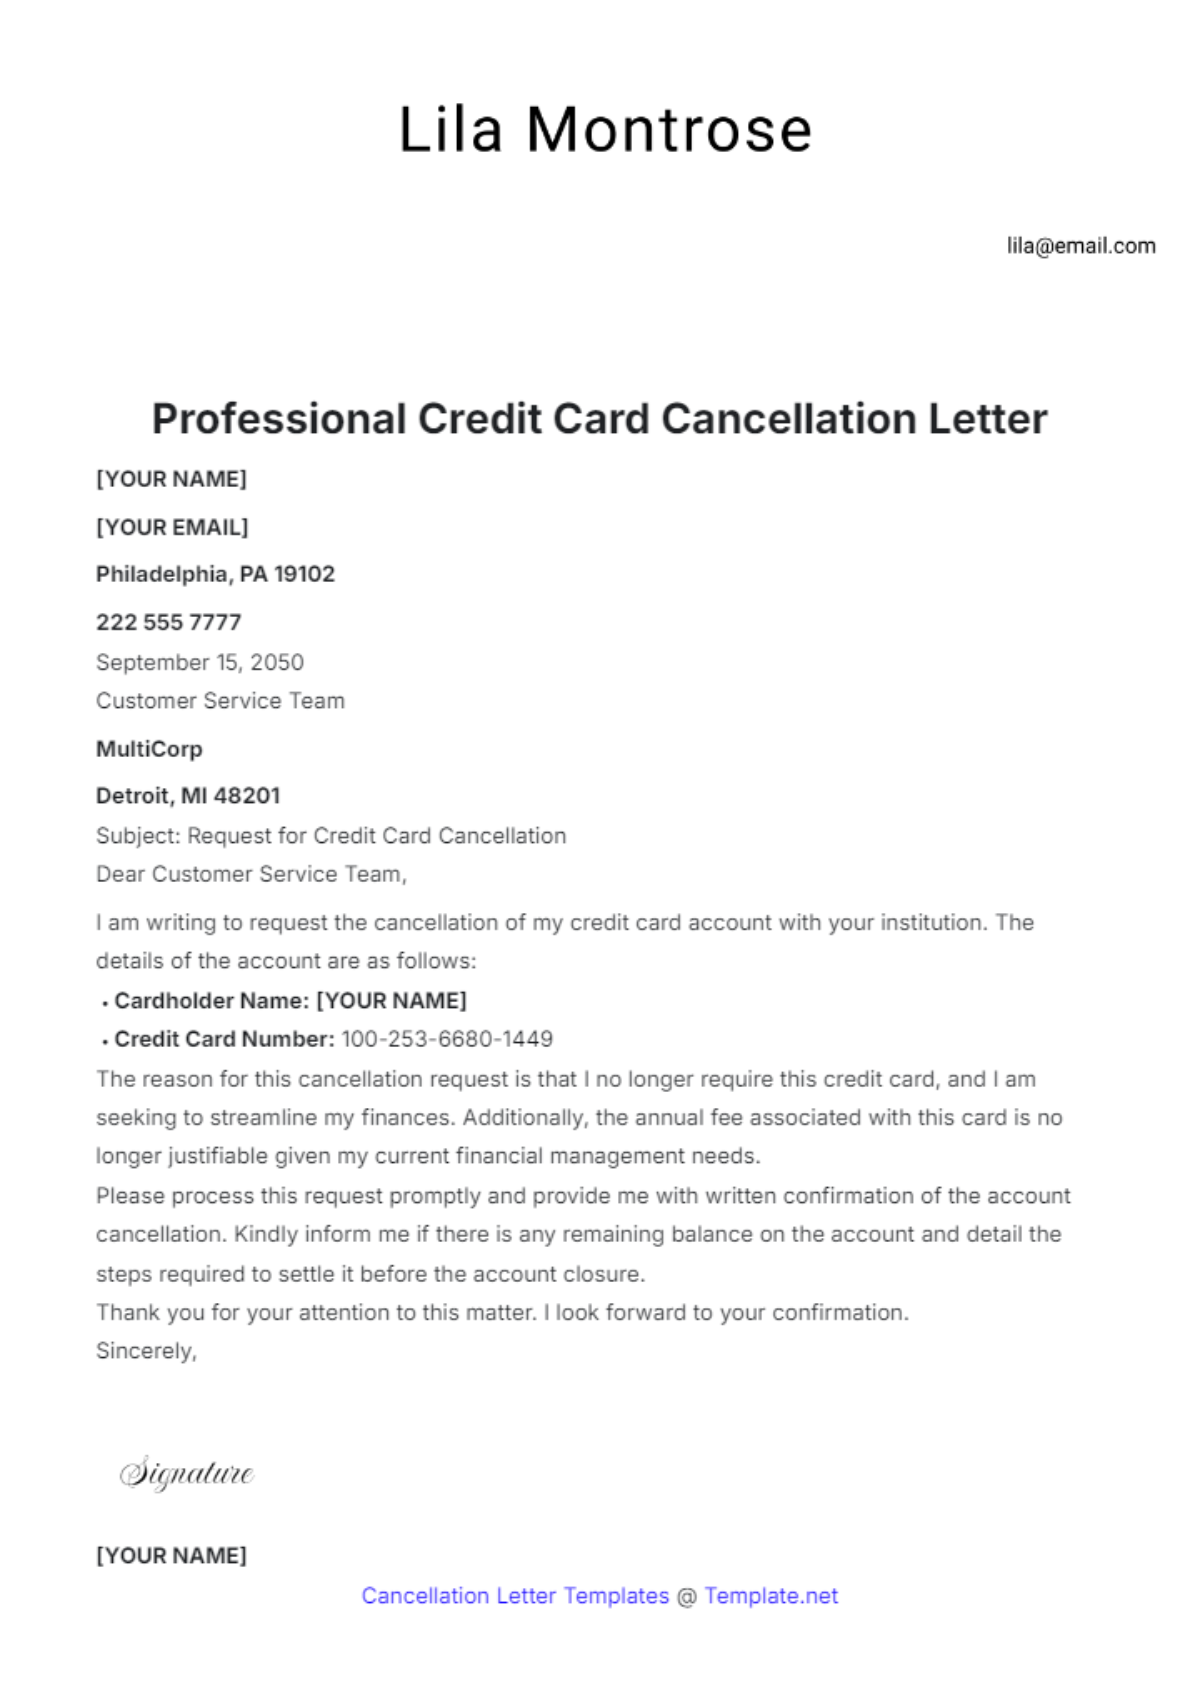
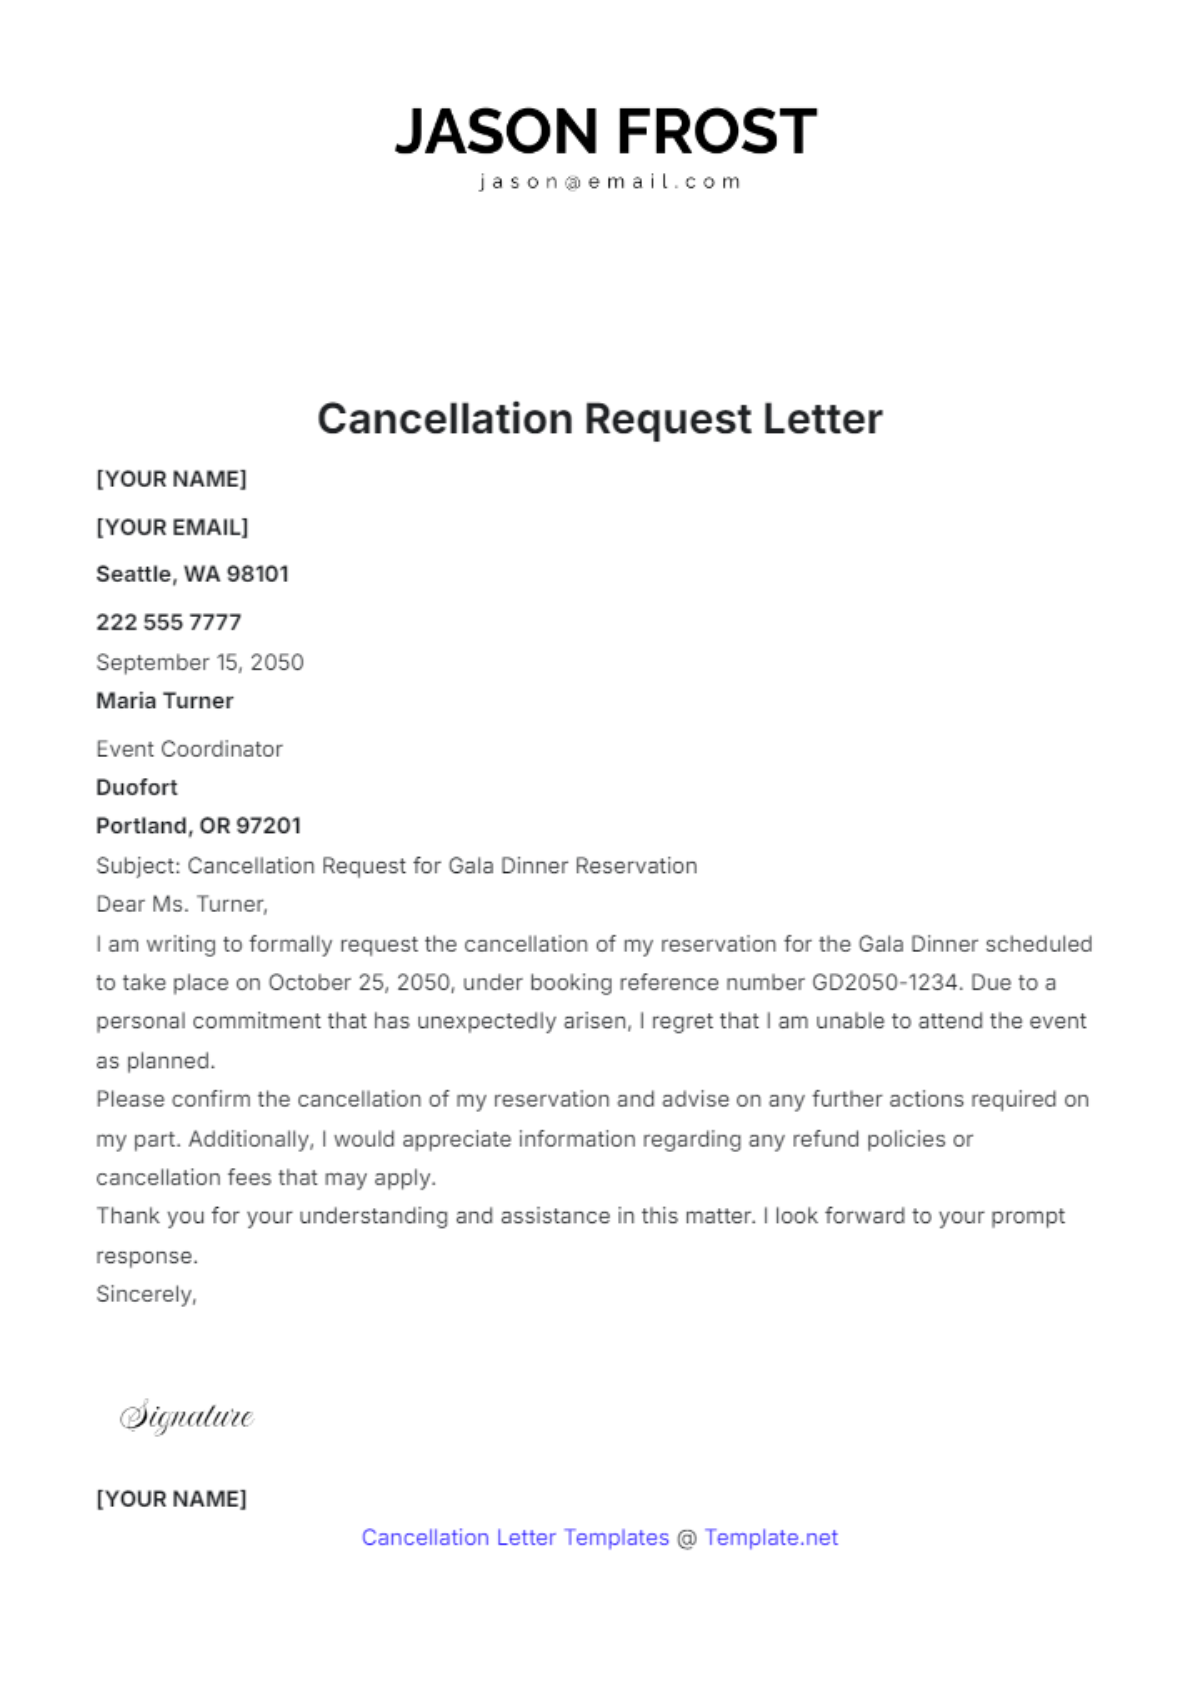
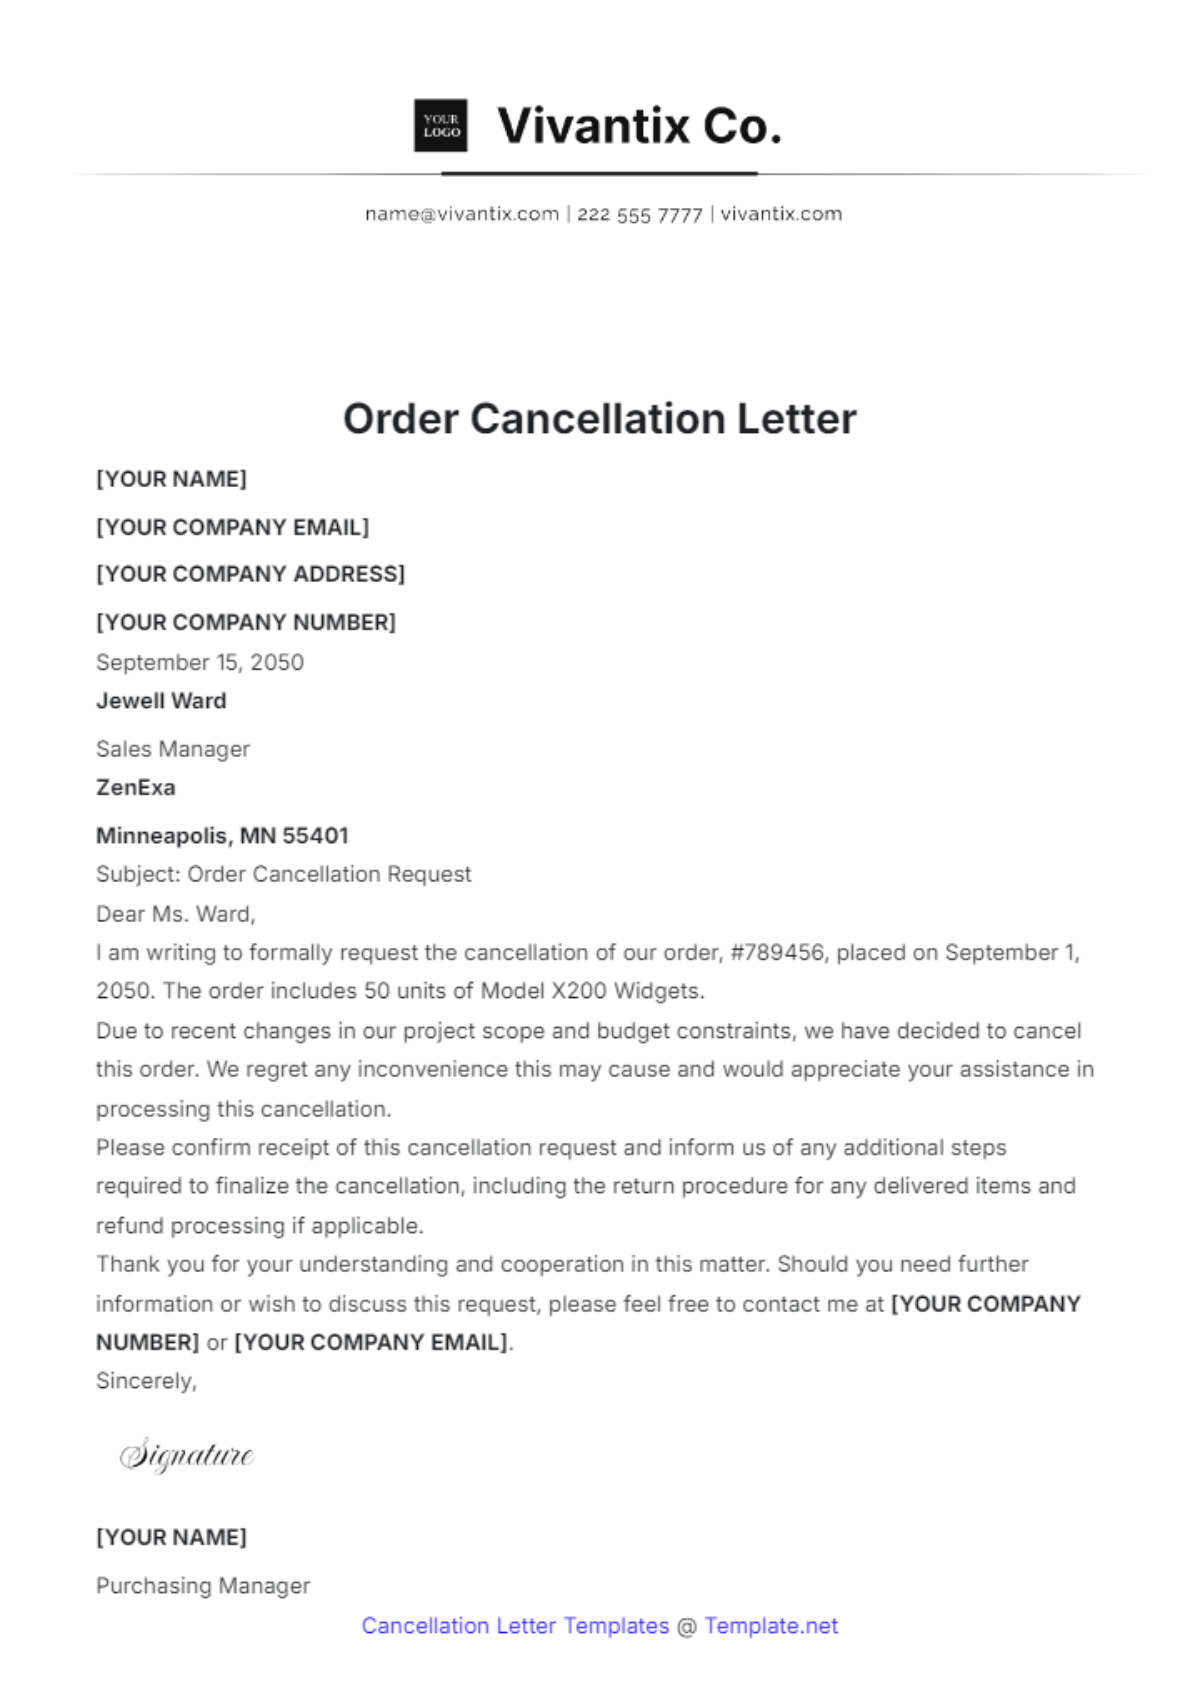
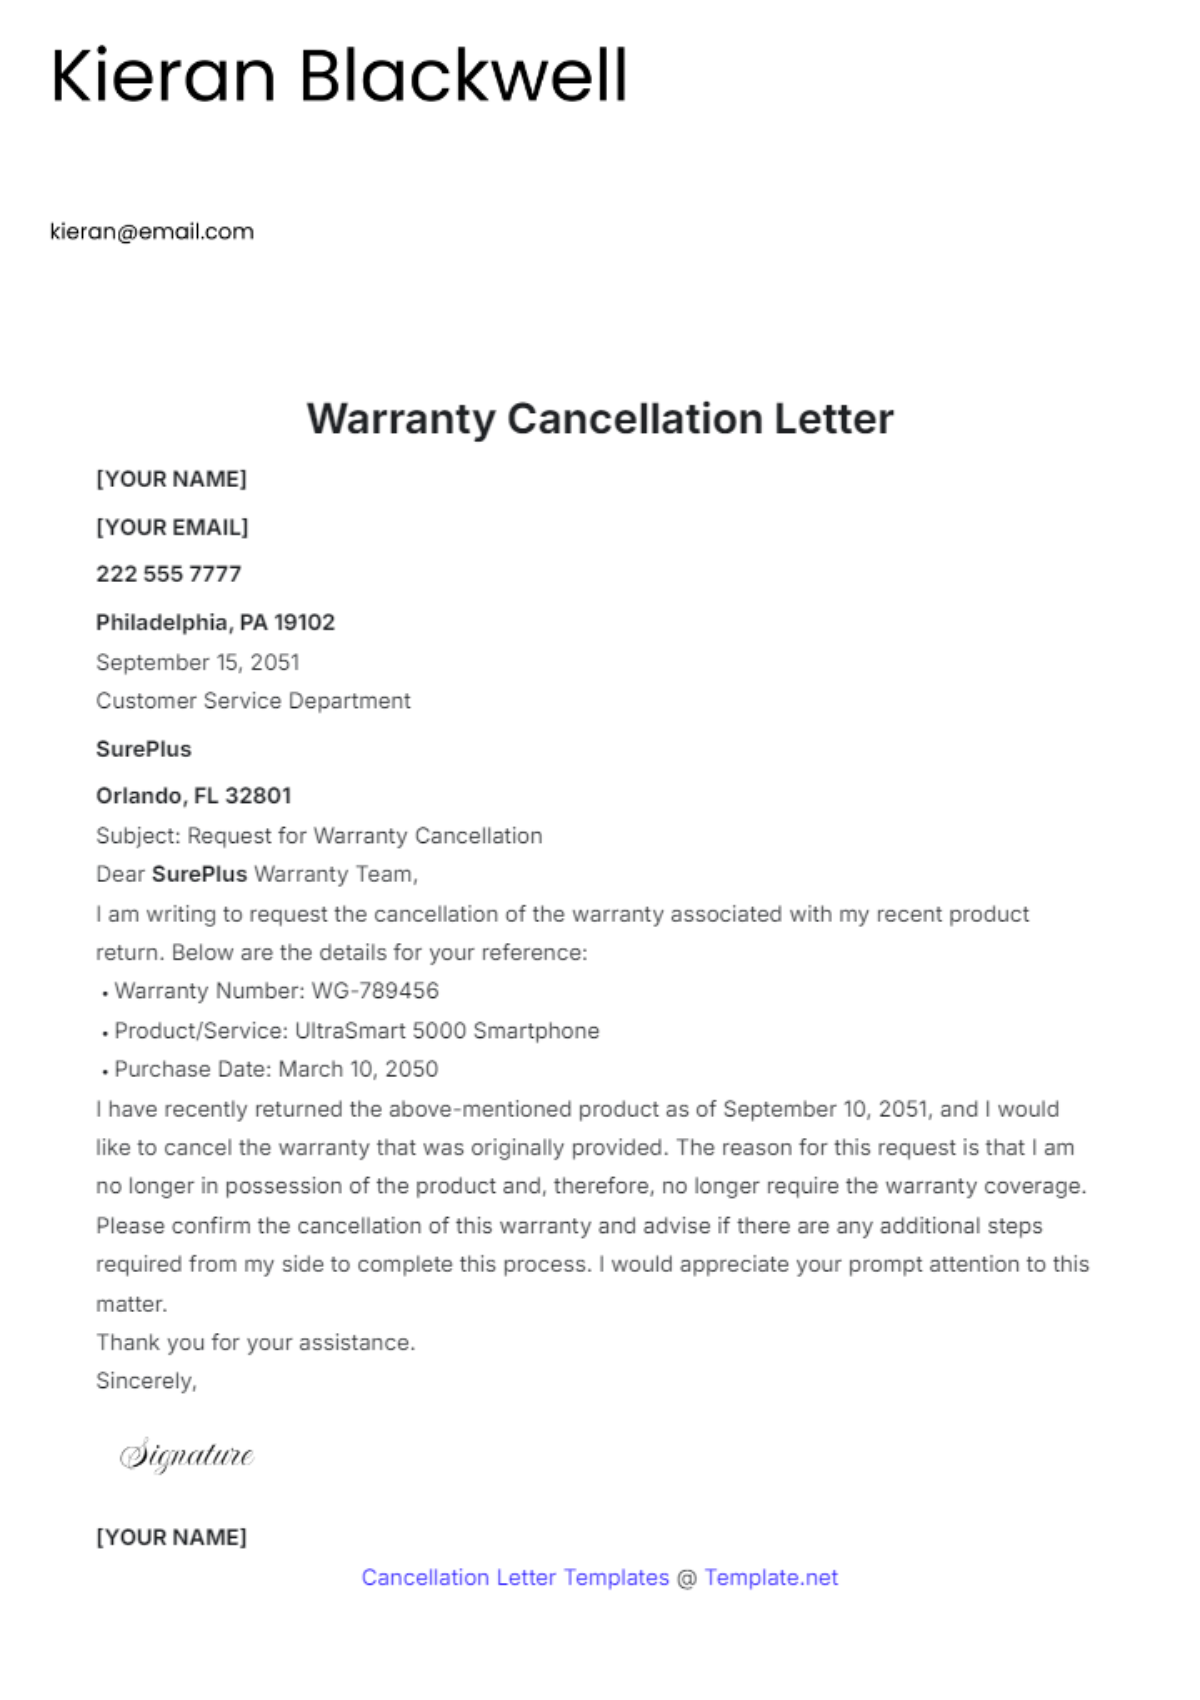
Make Your Professional Communication Seamless with Cancellation Letter Templates from Template.net
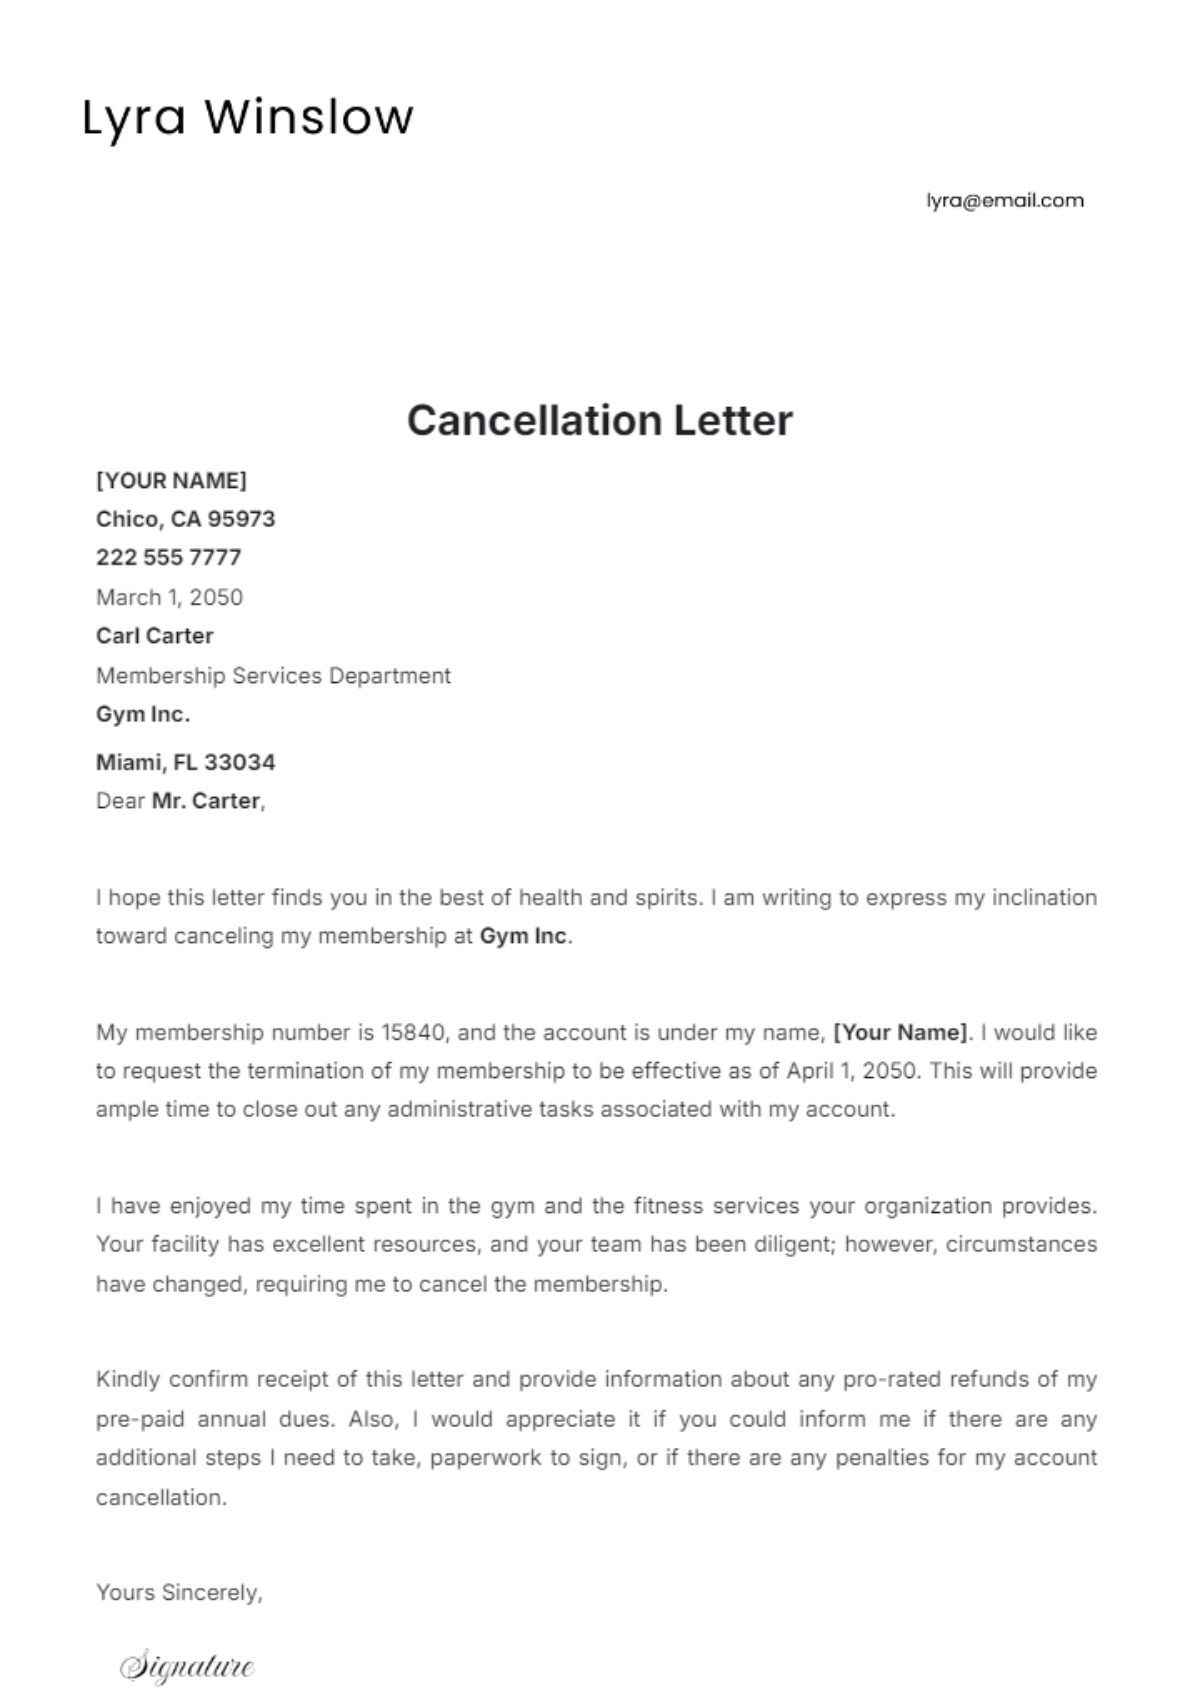
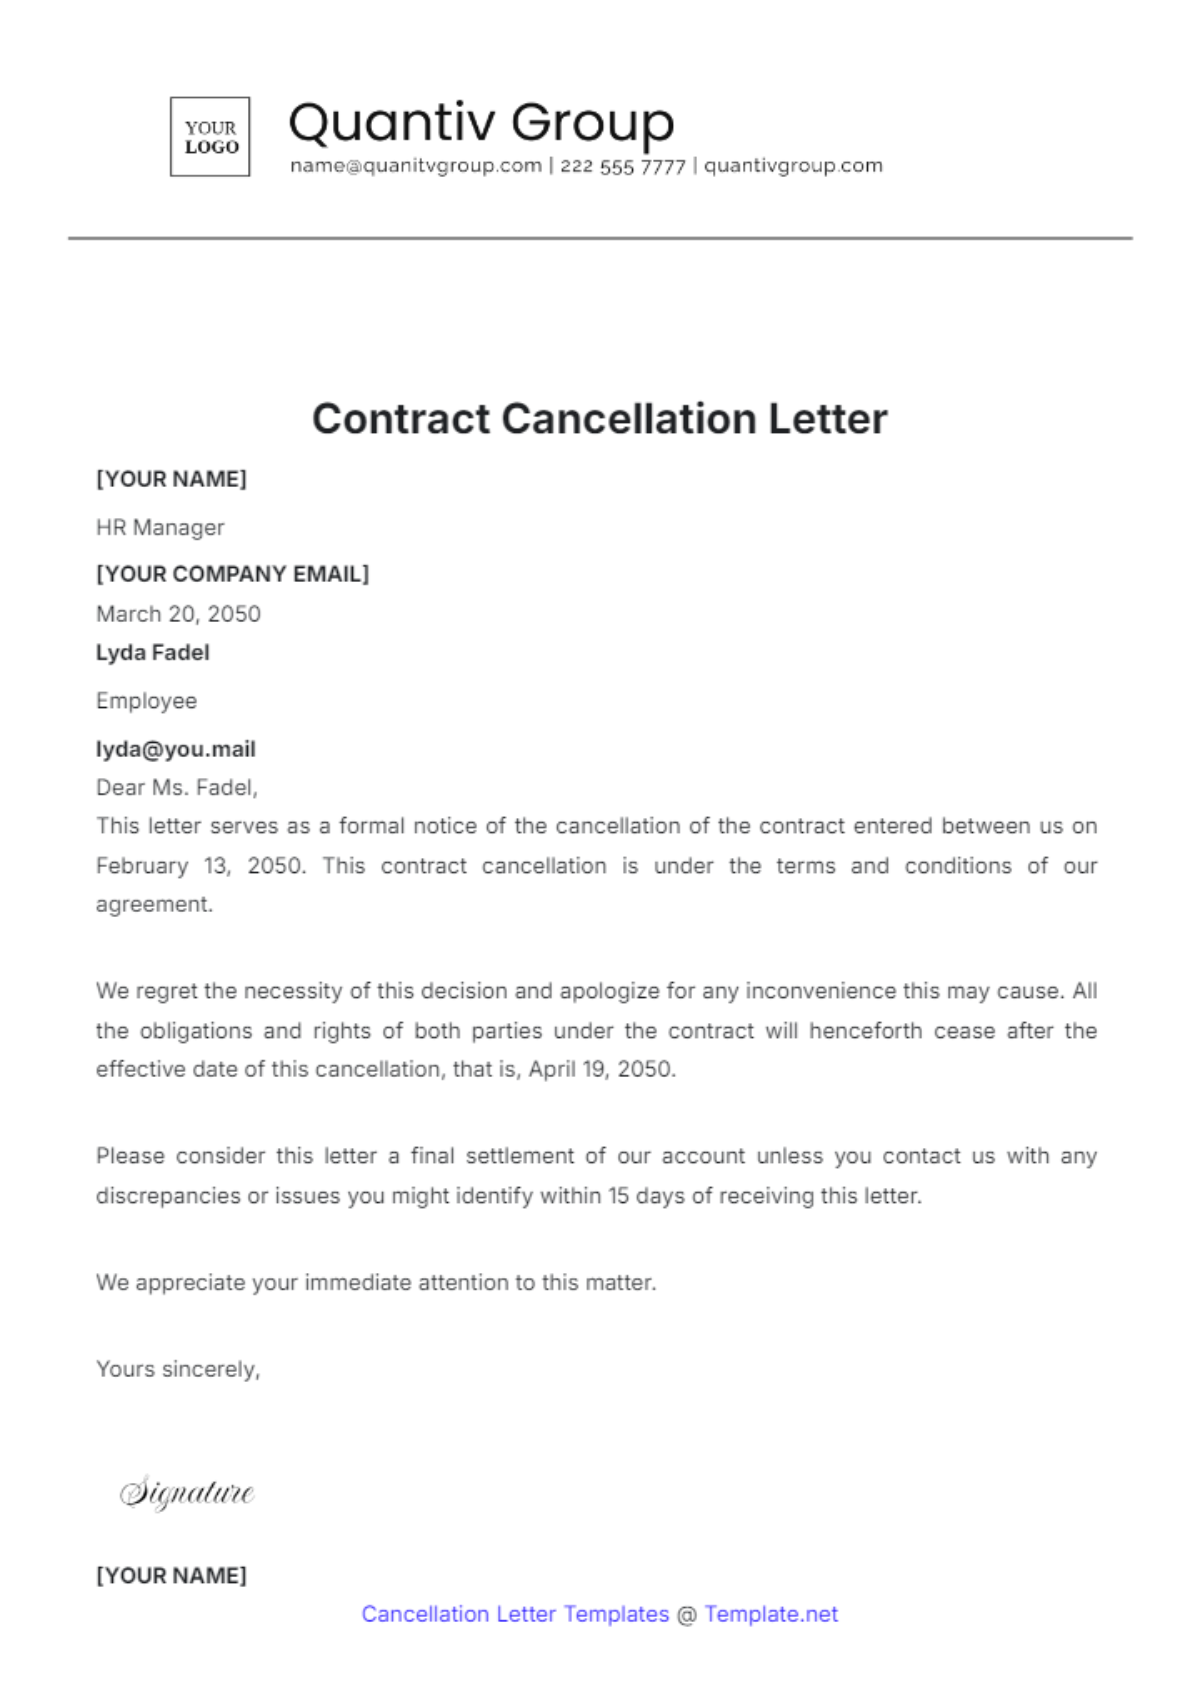
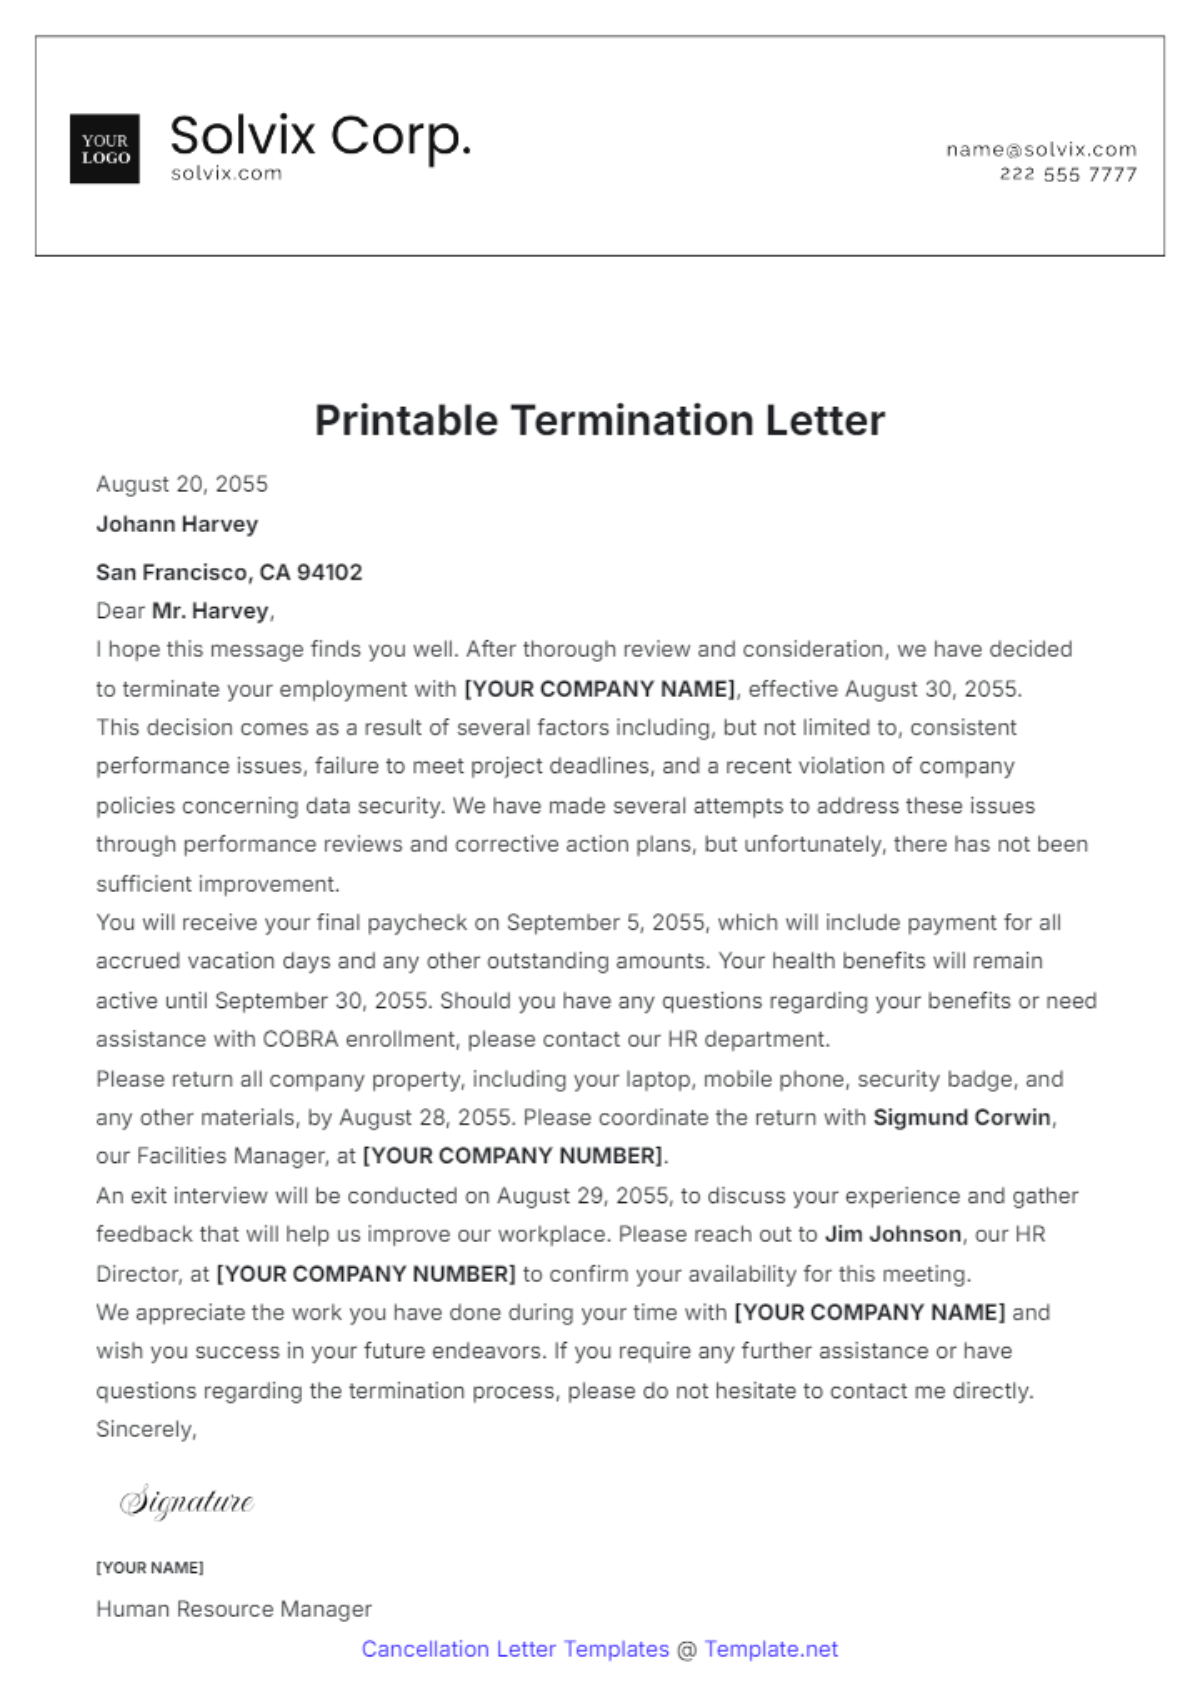
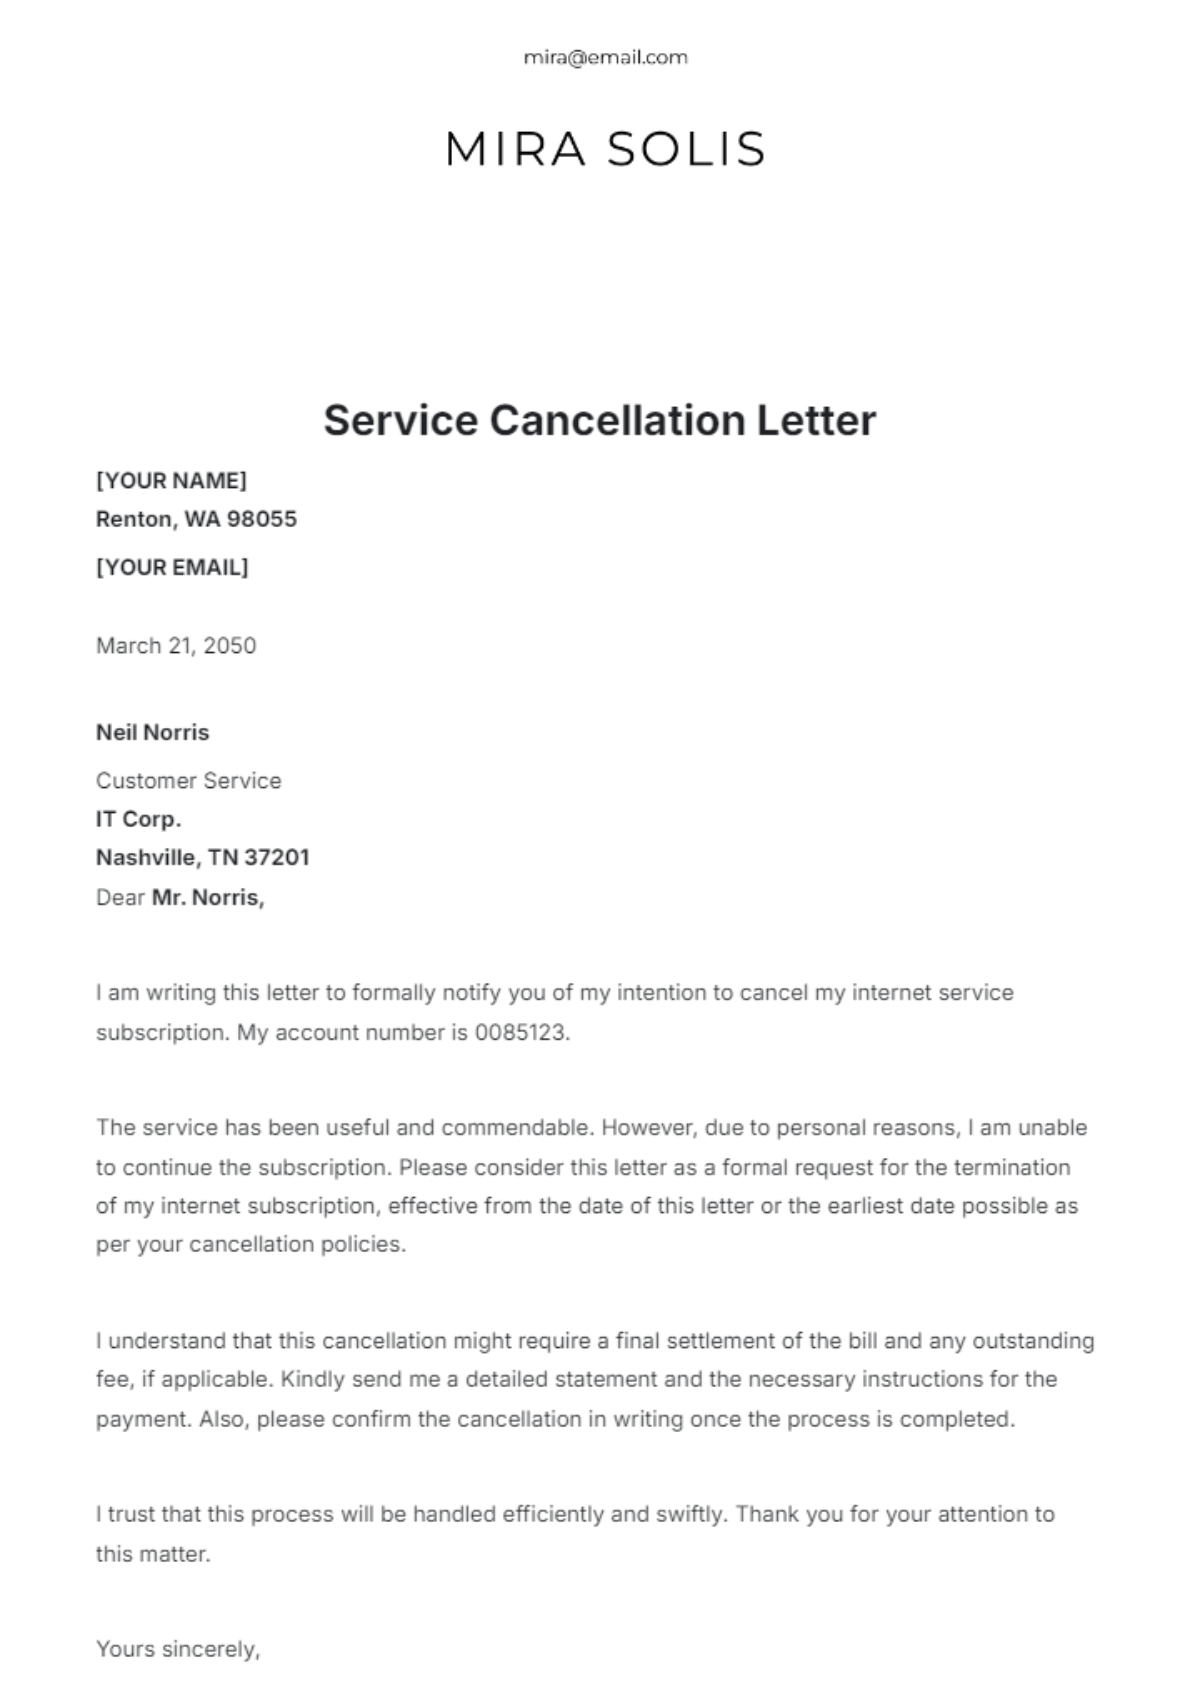
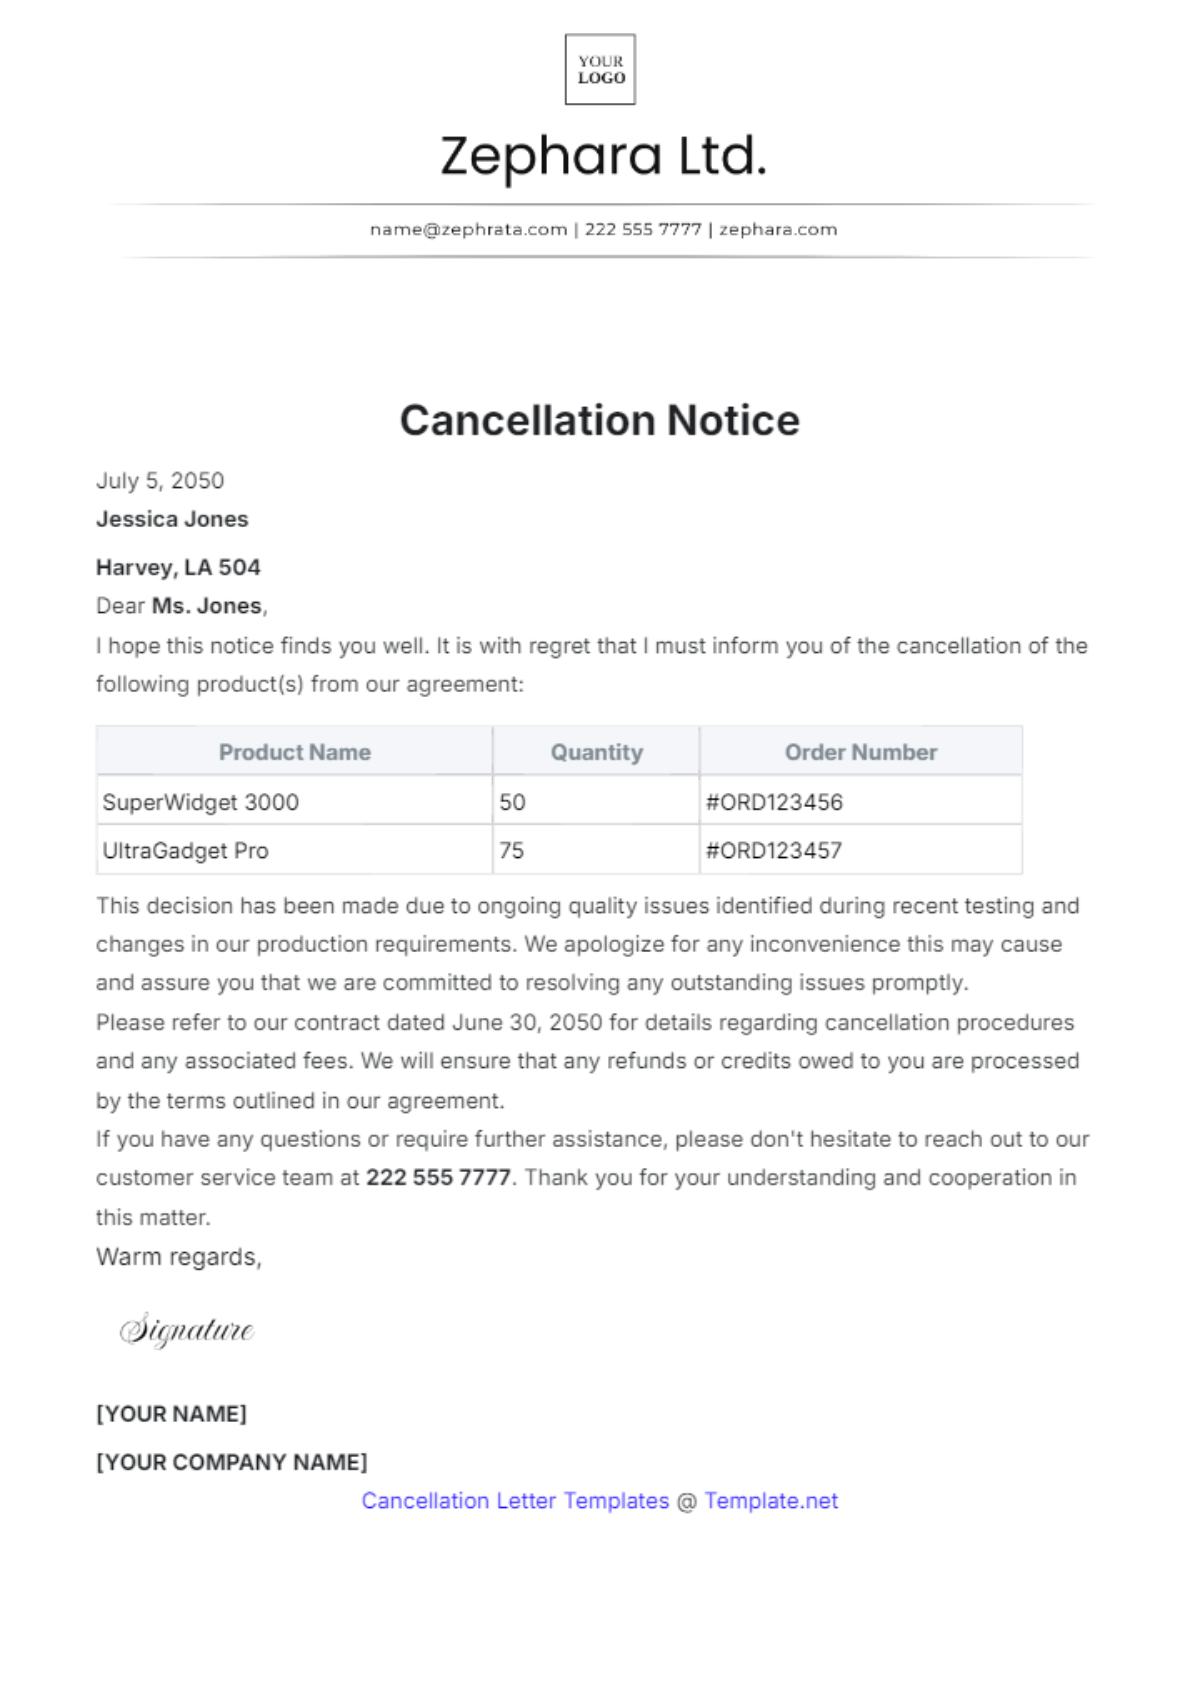
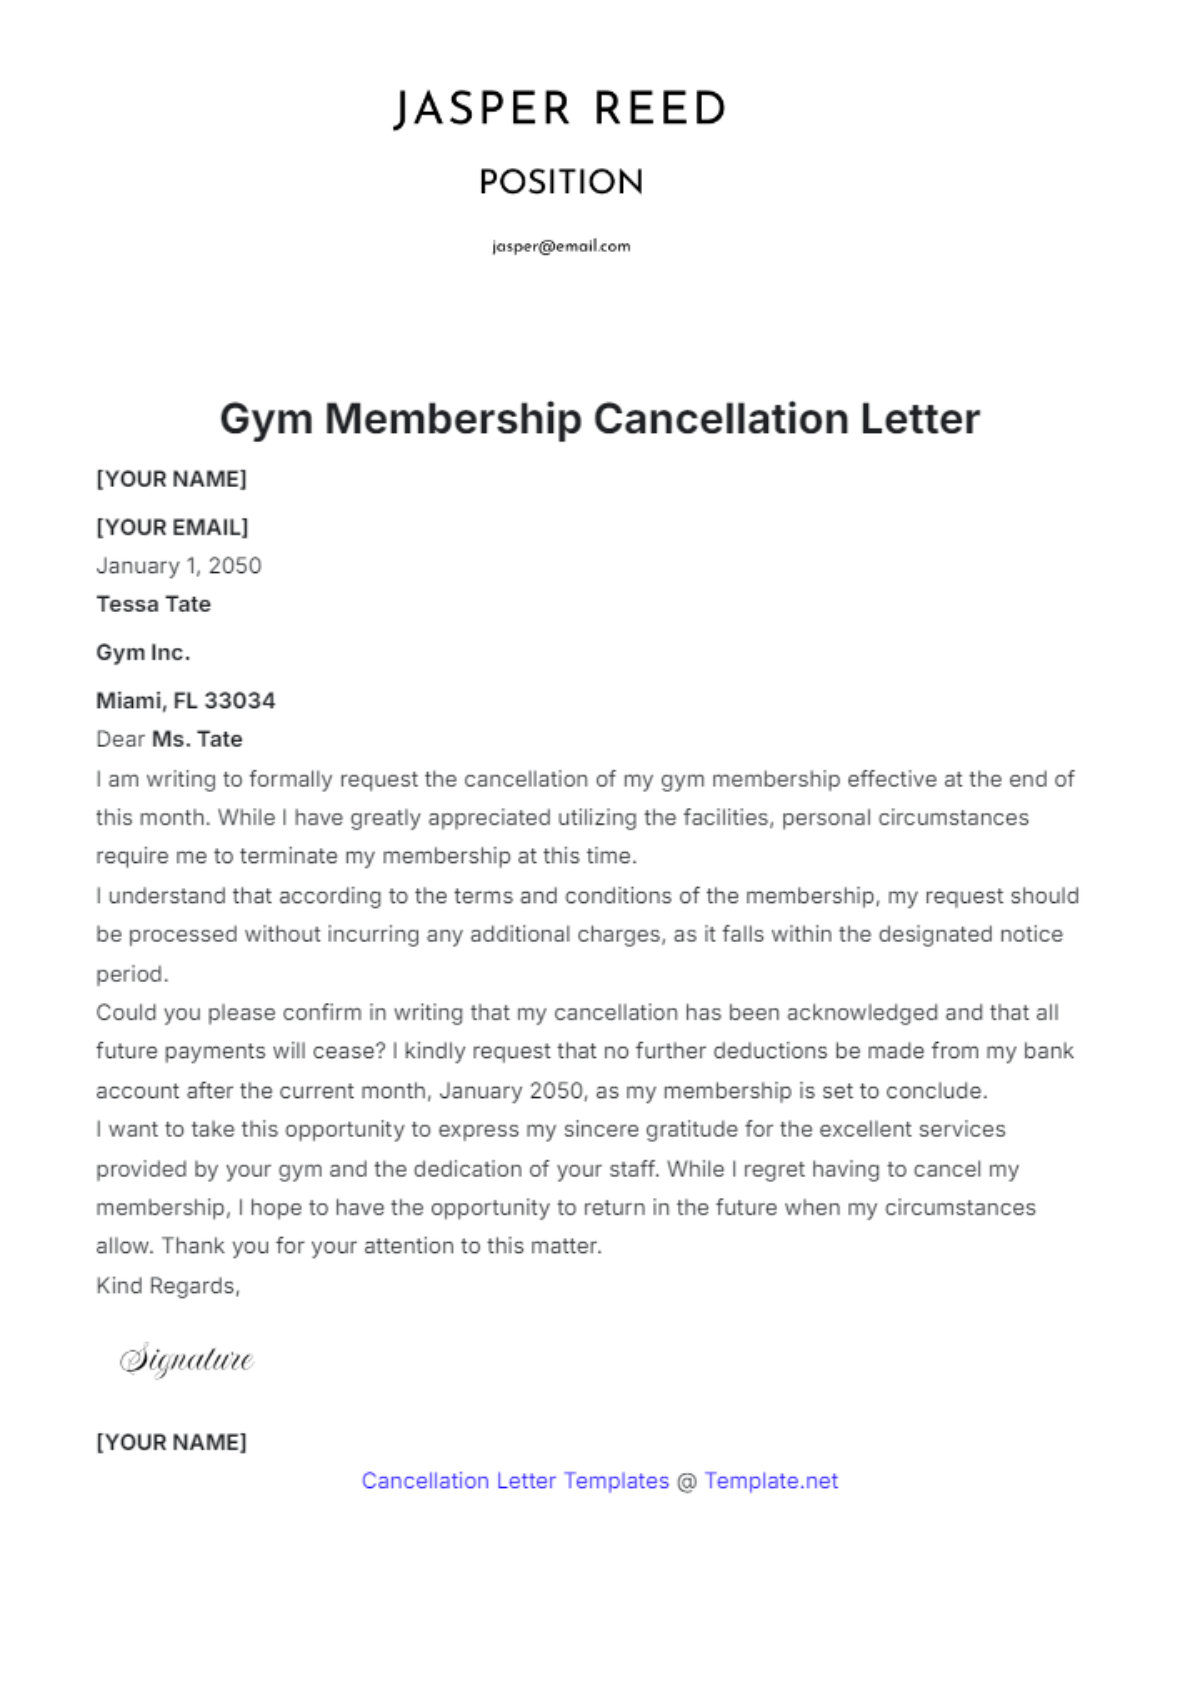
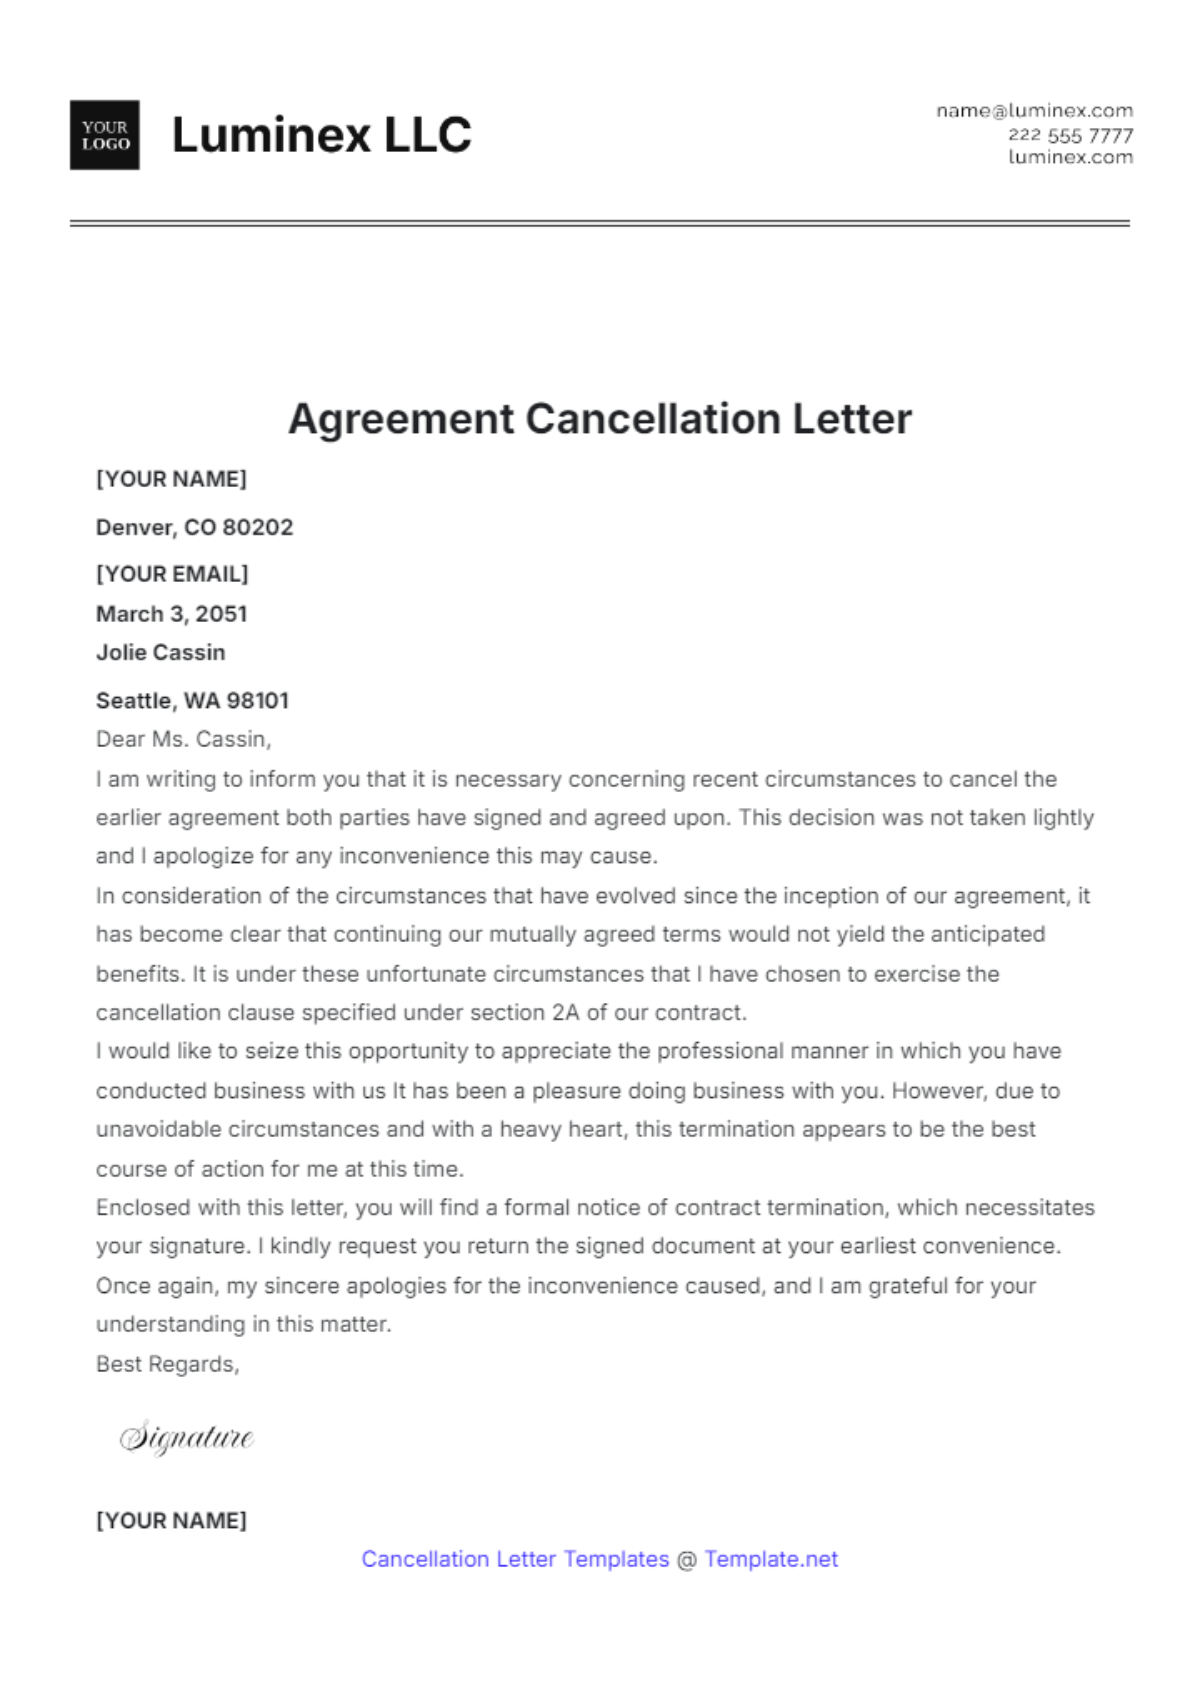
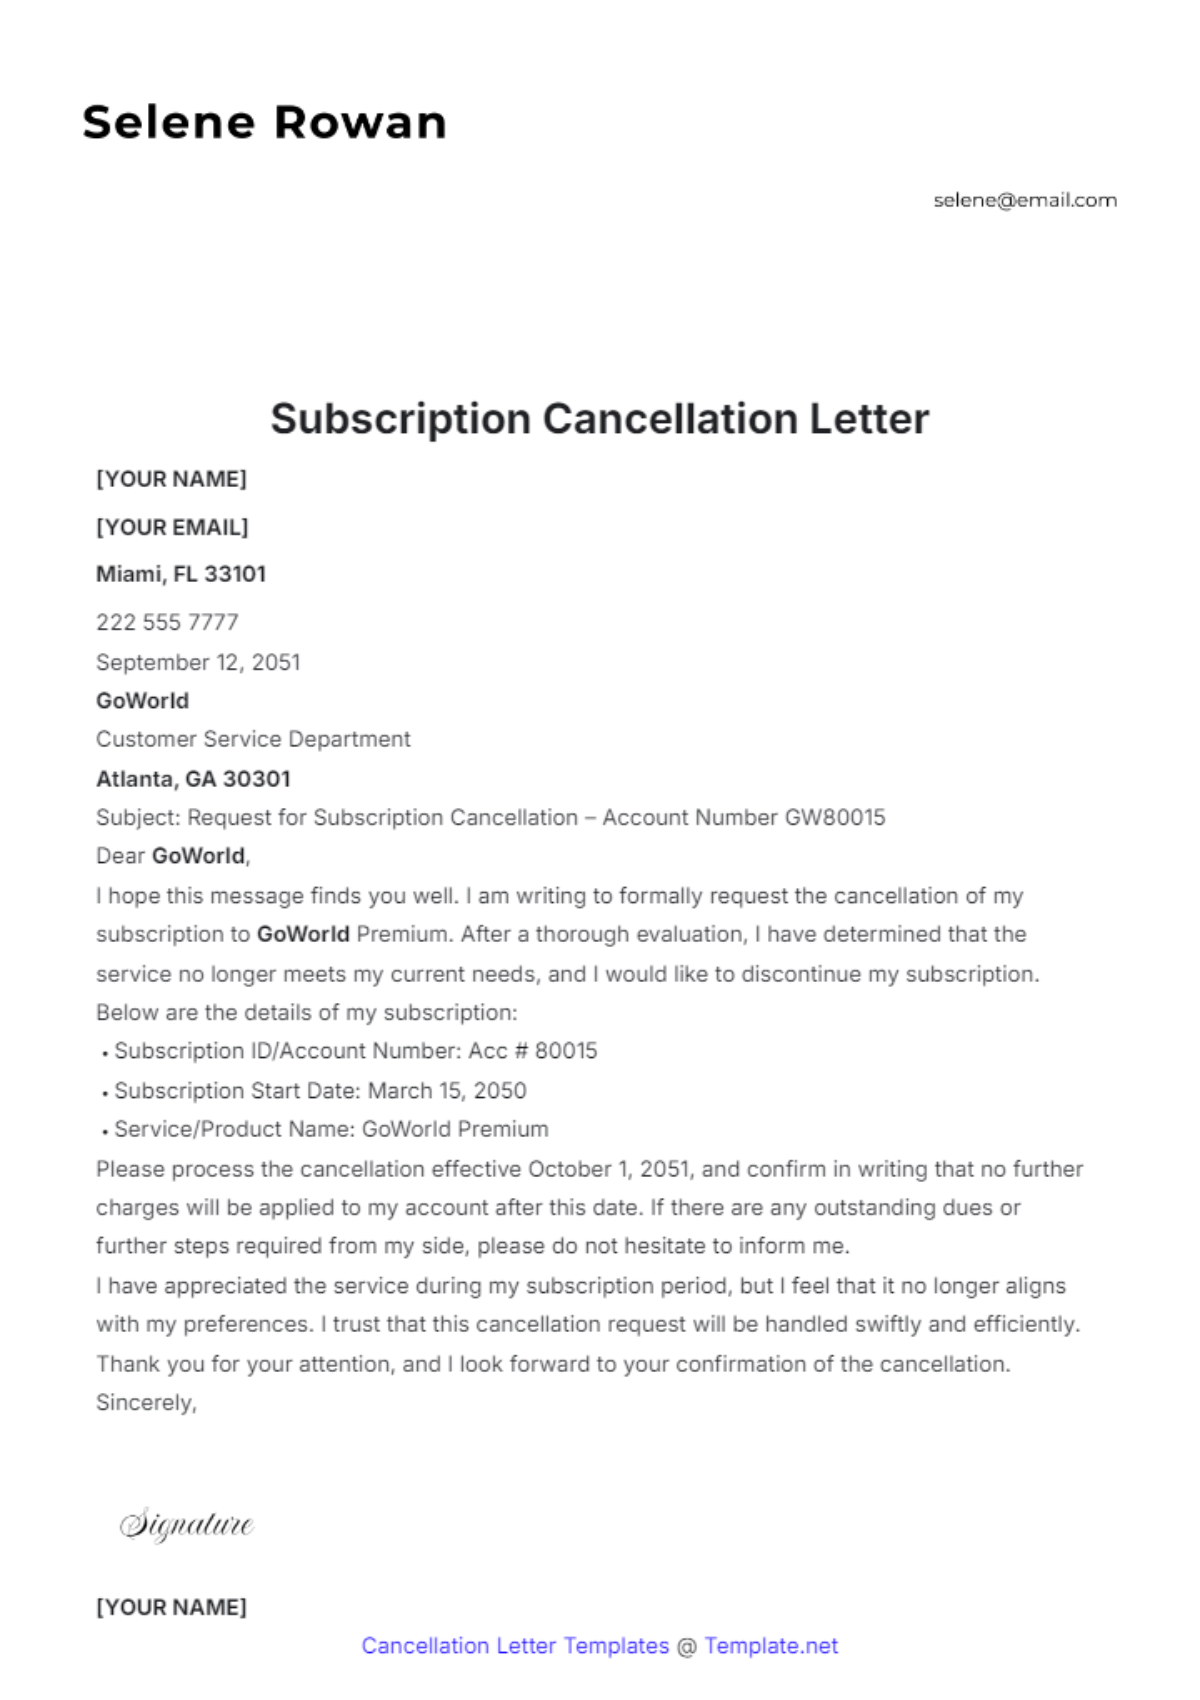
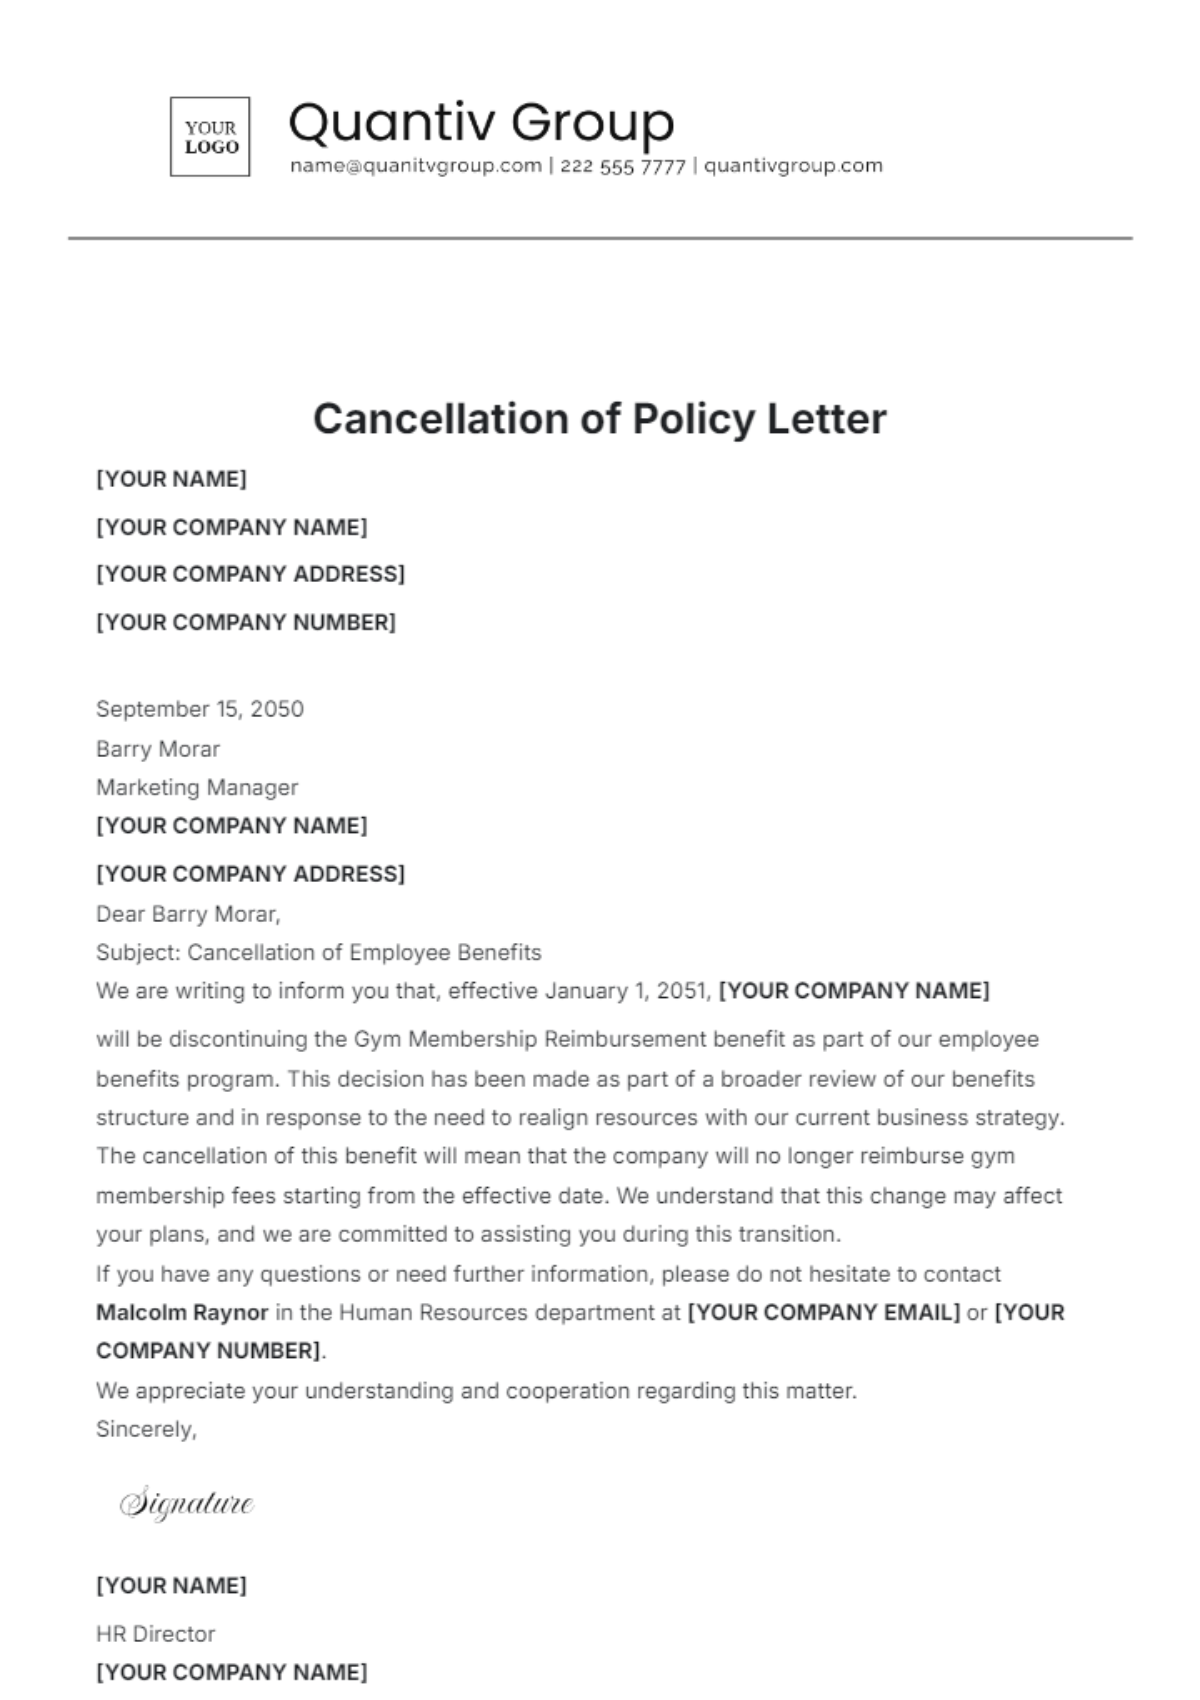
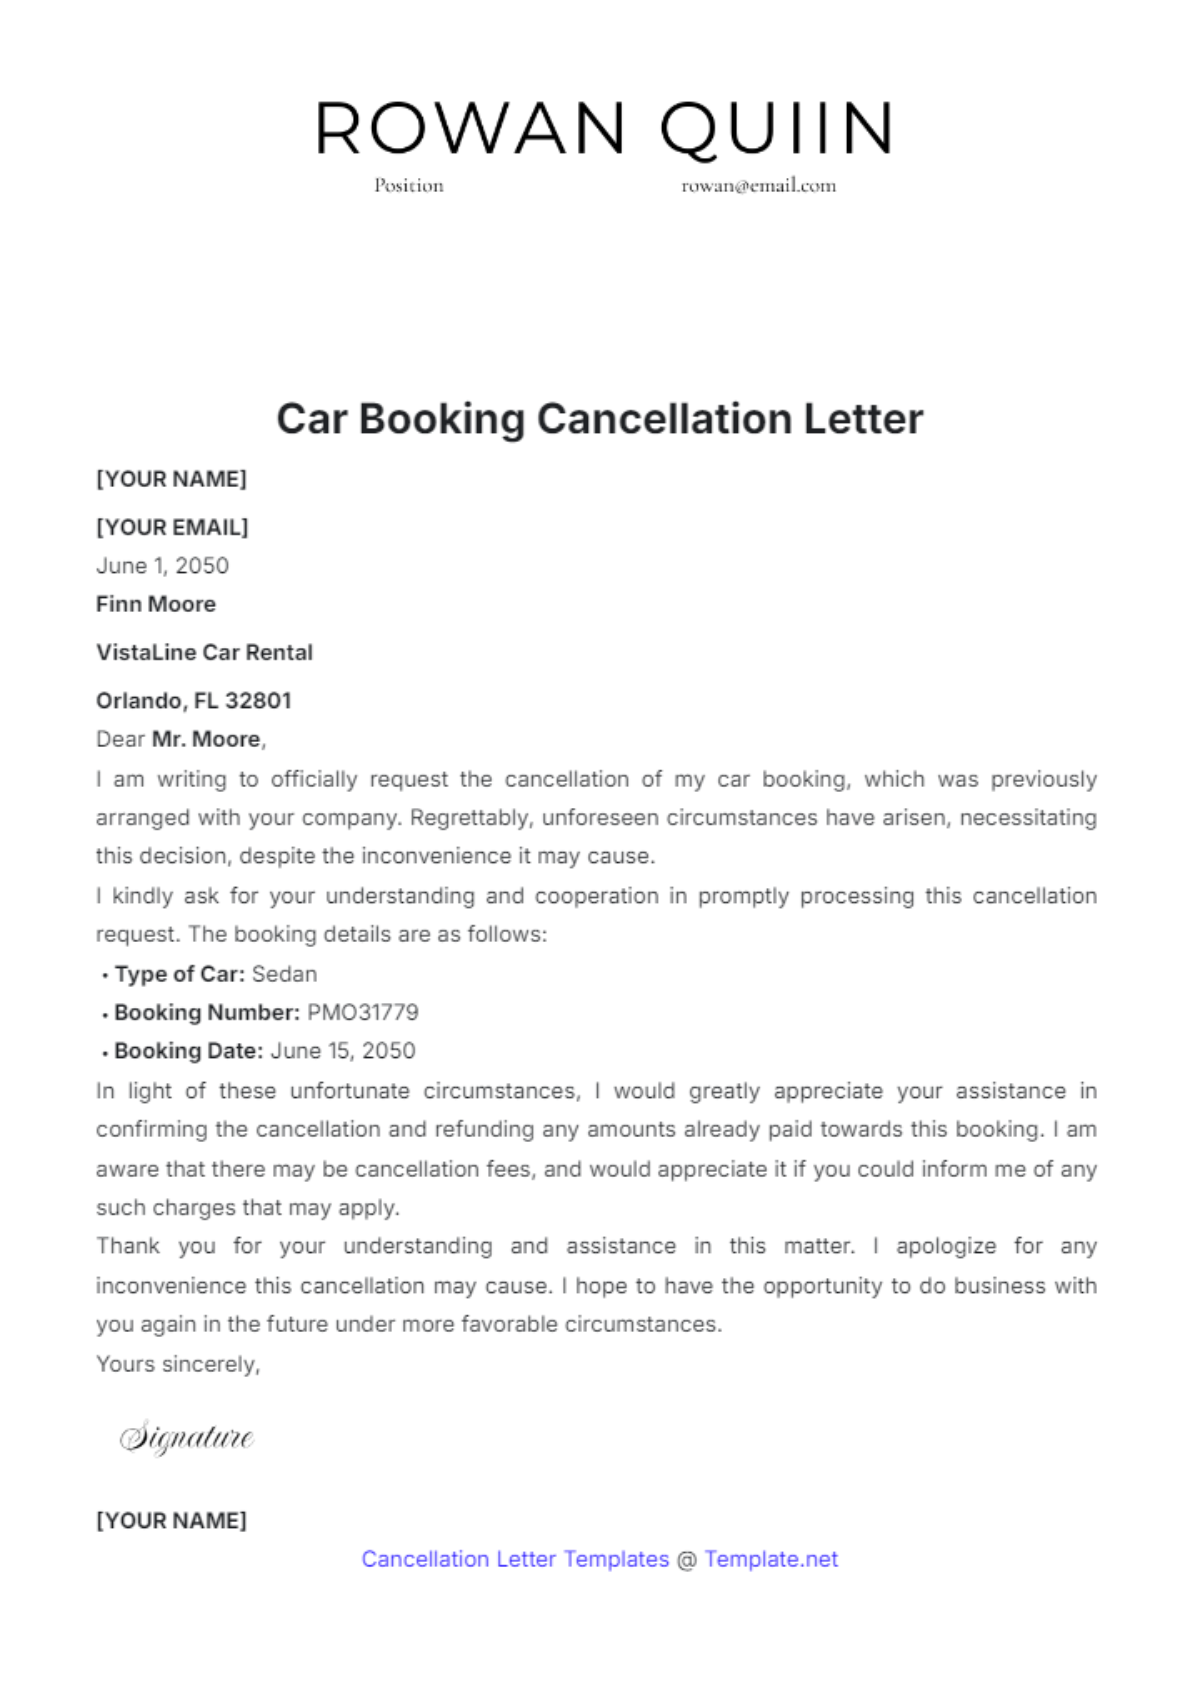
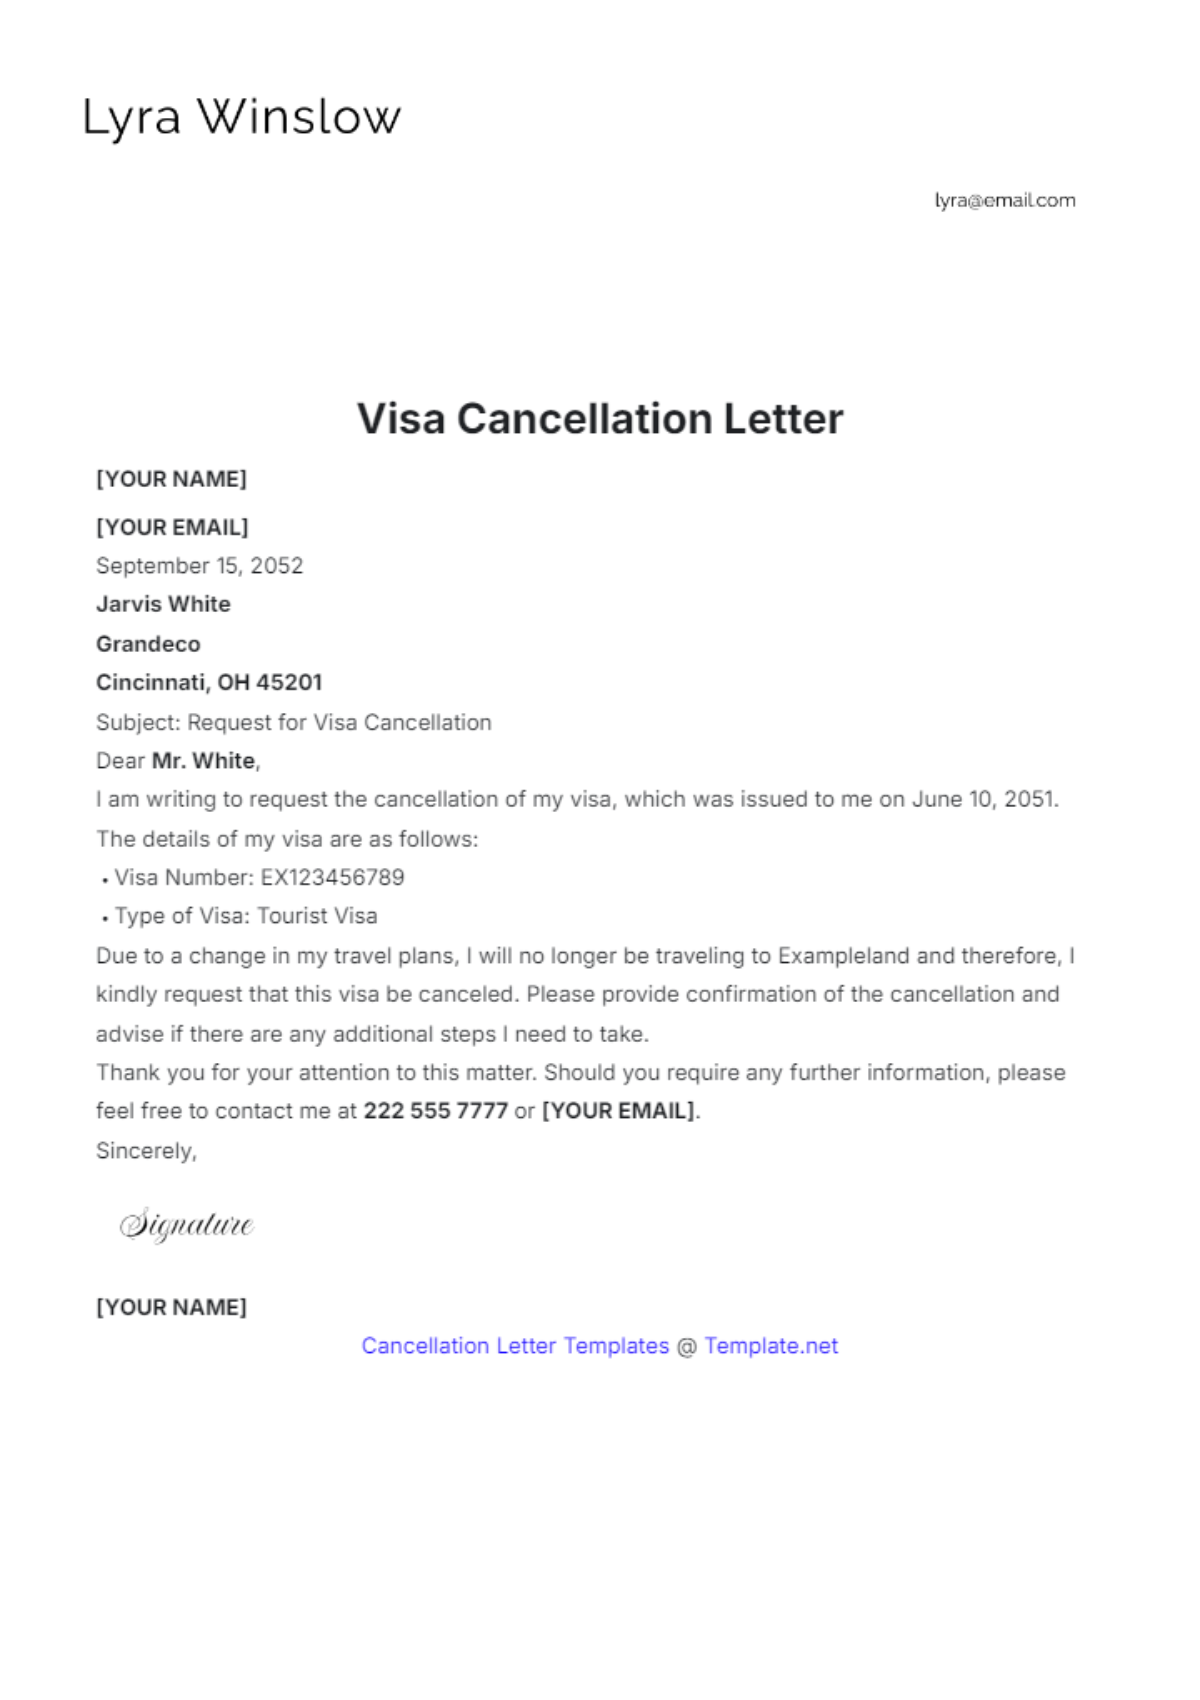
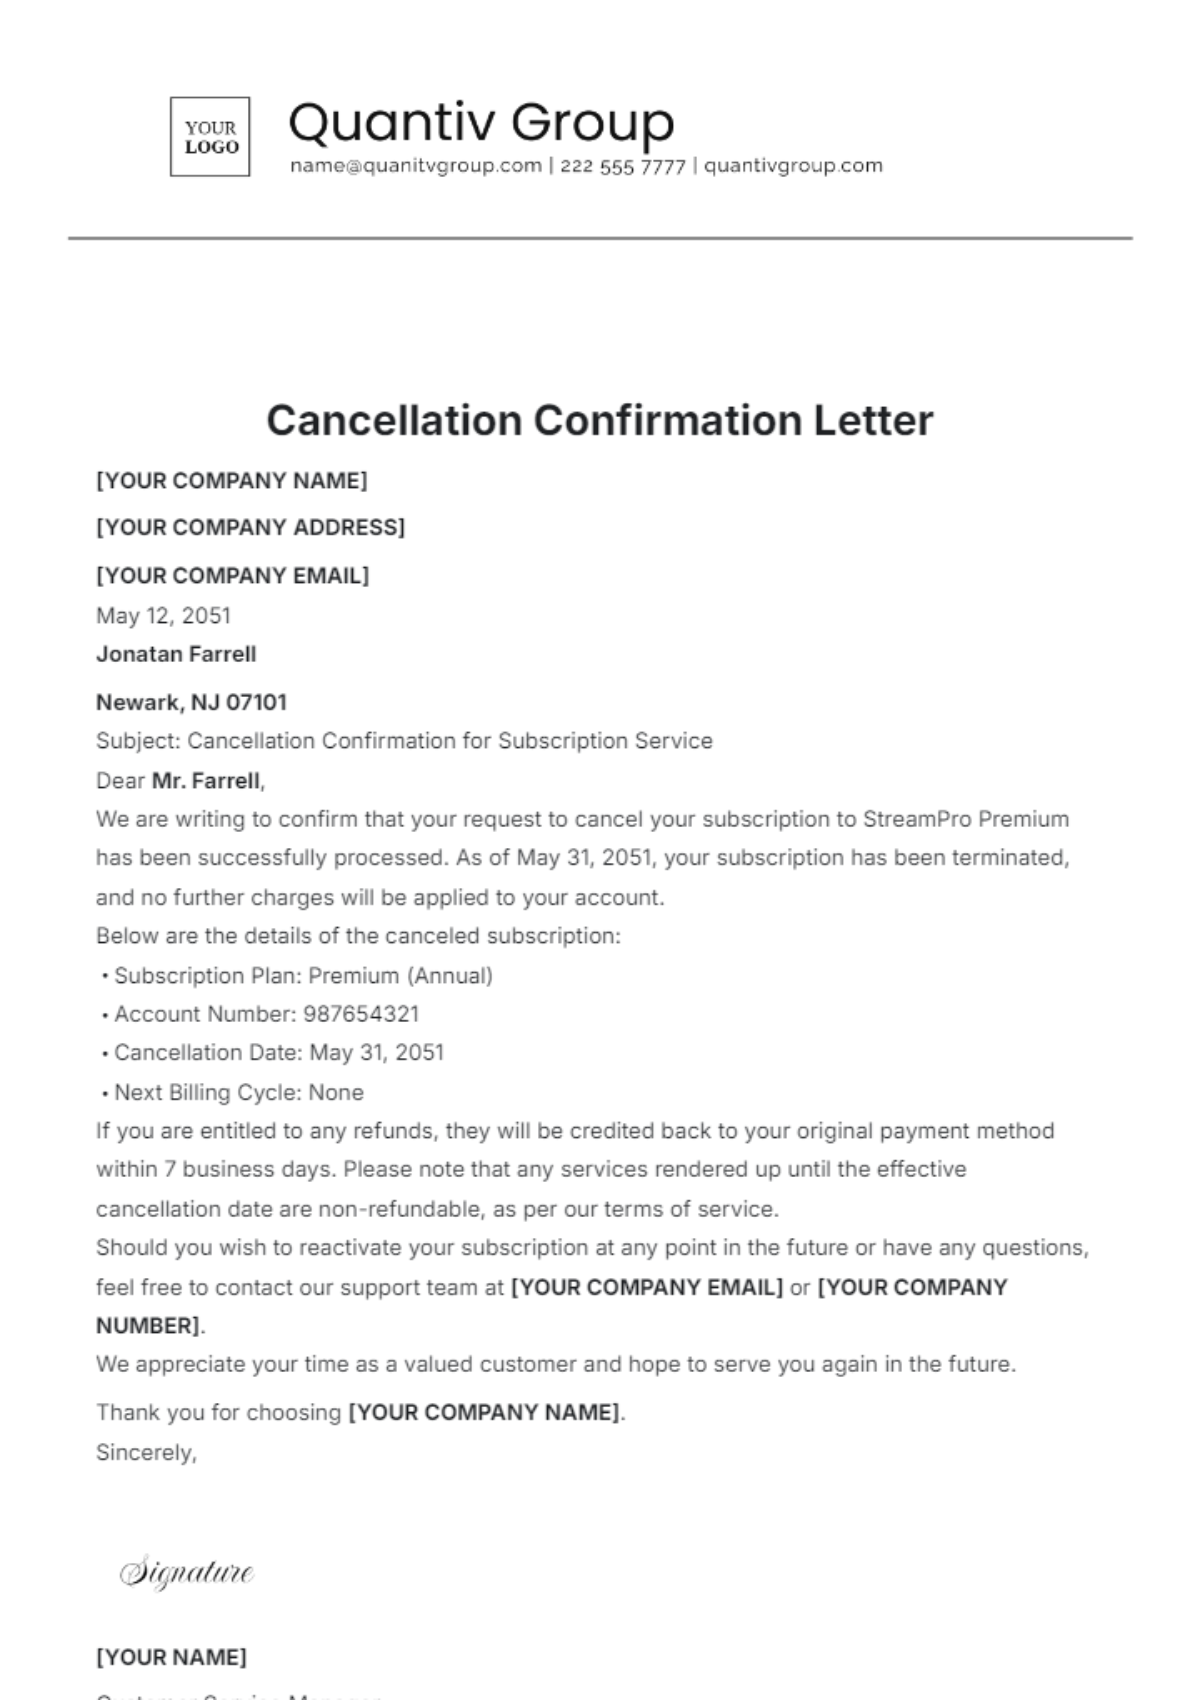
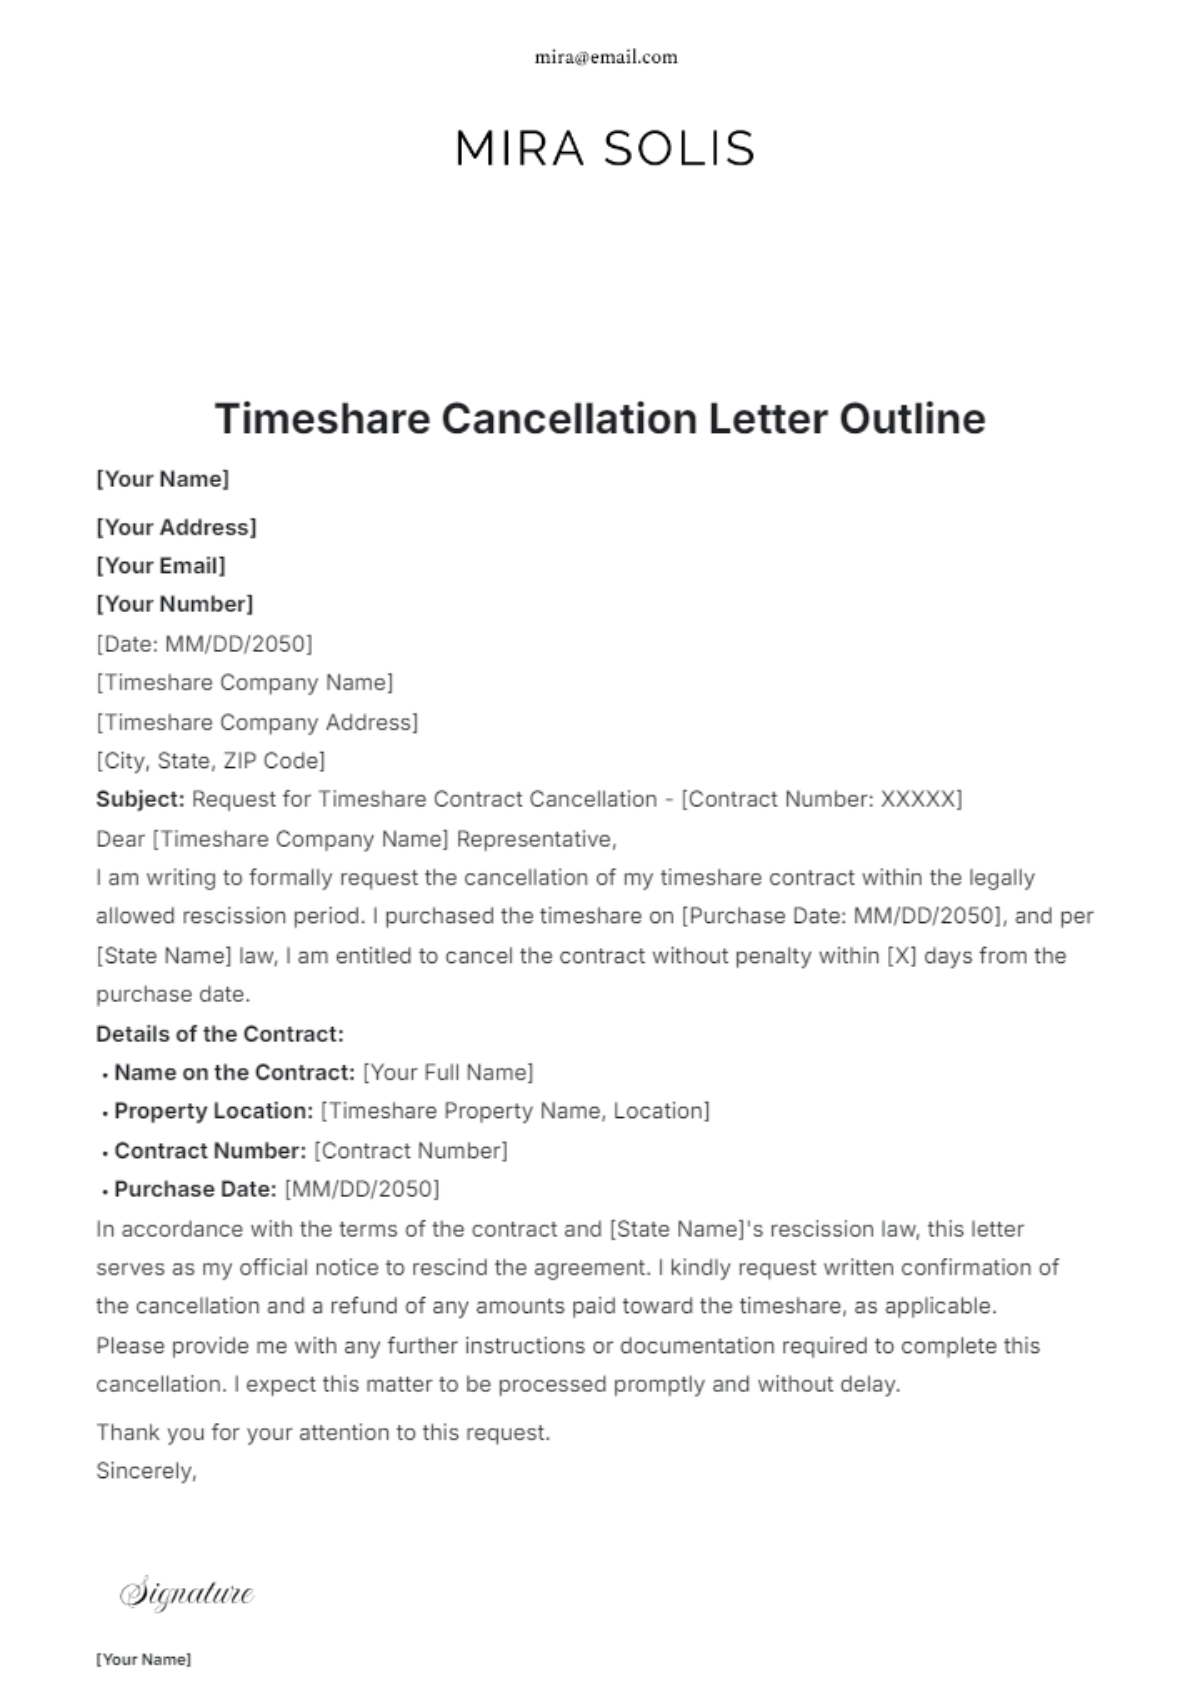
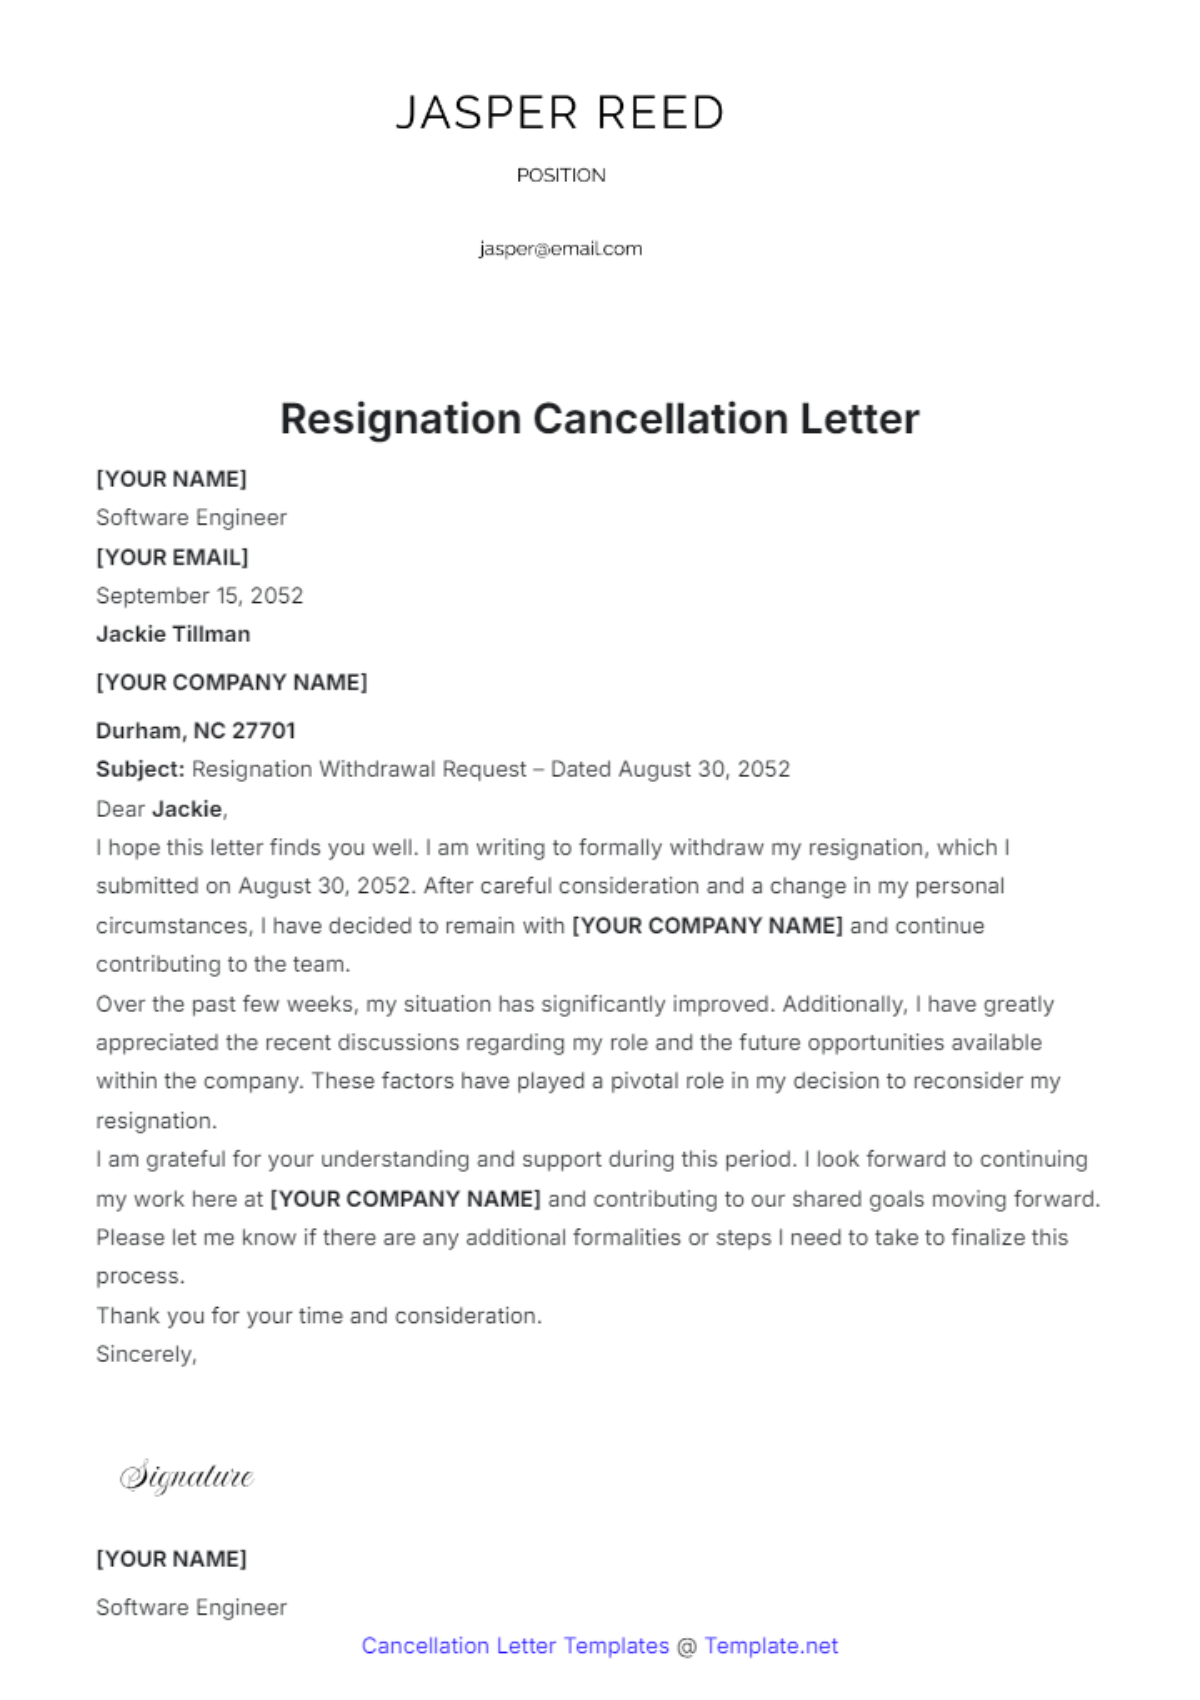
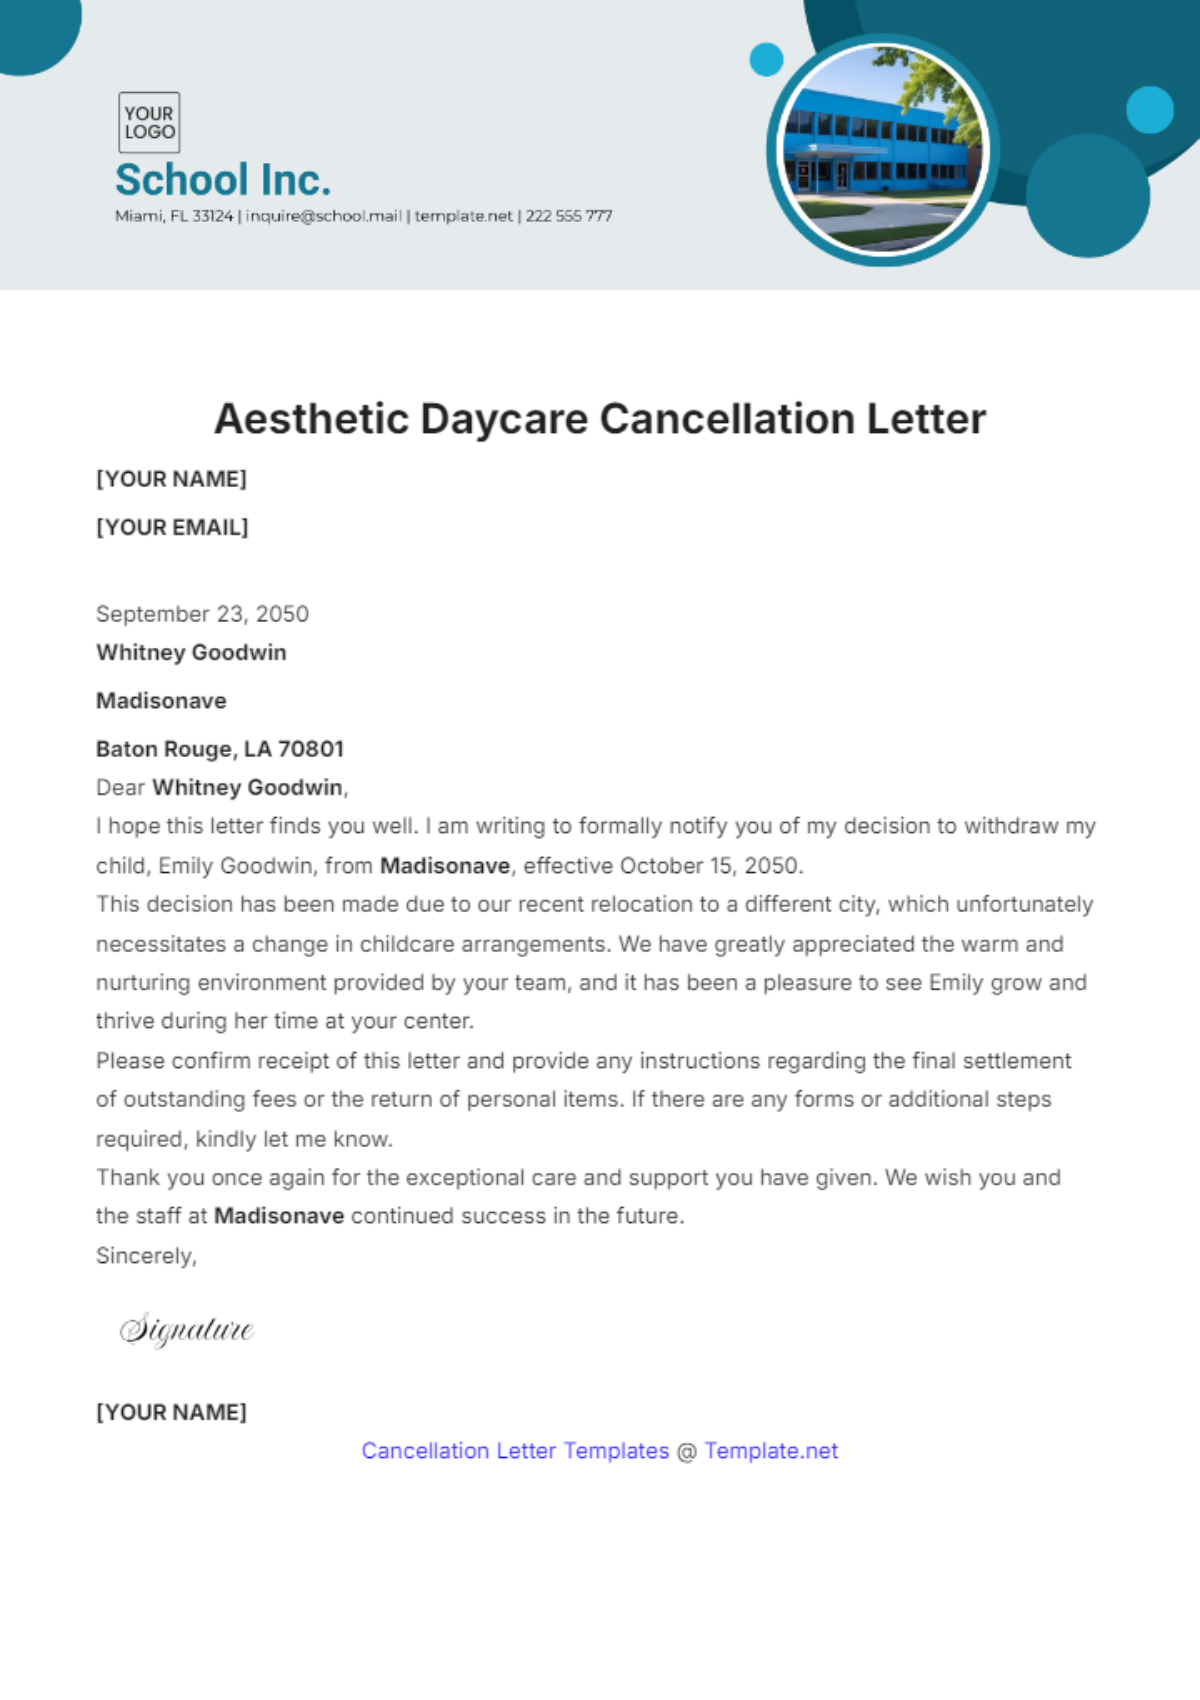
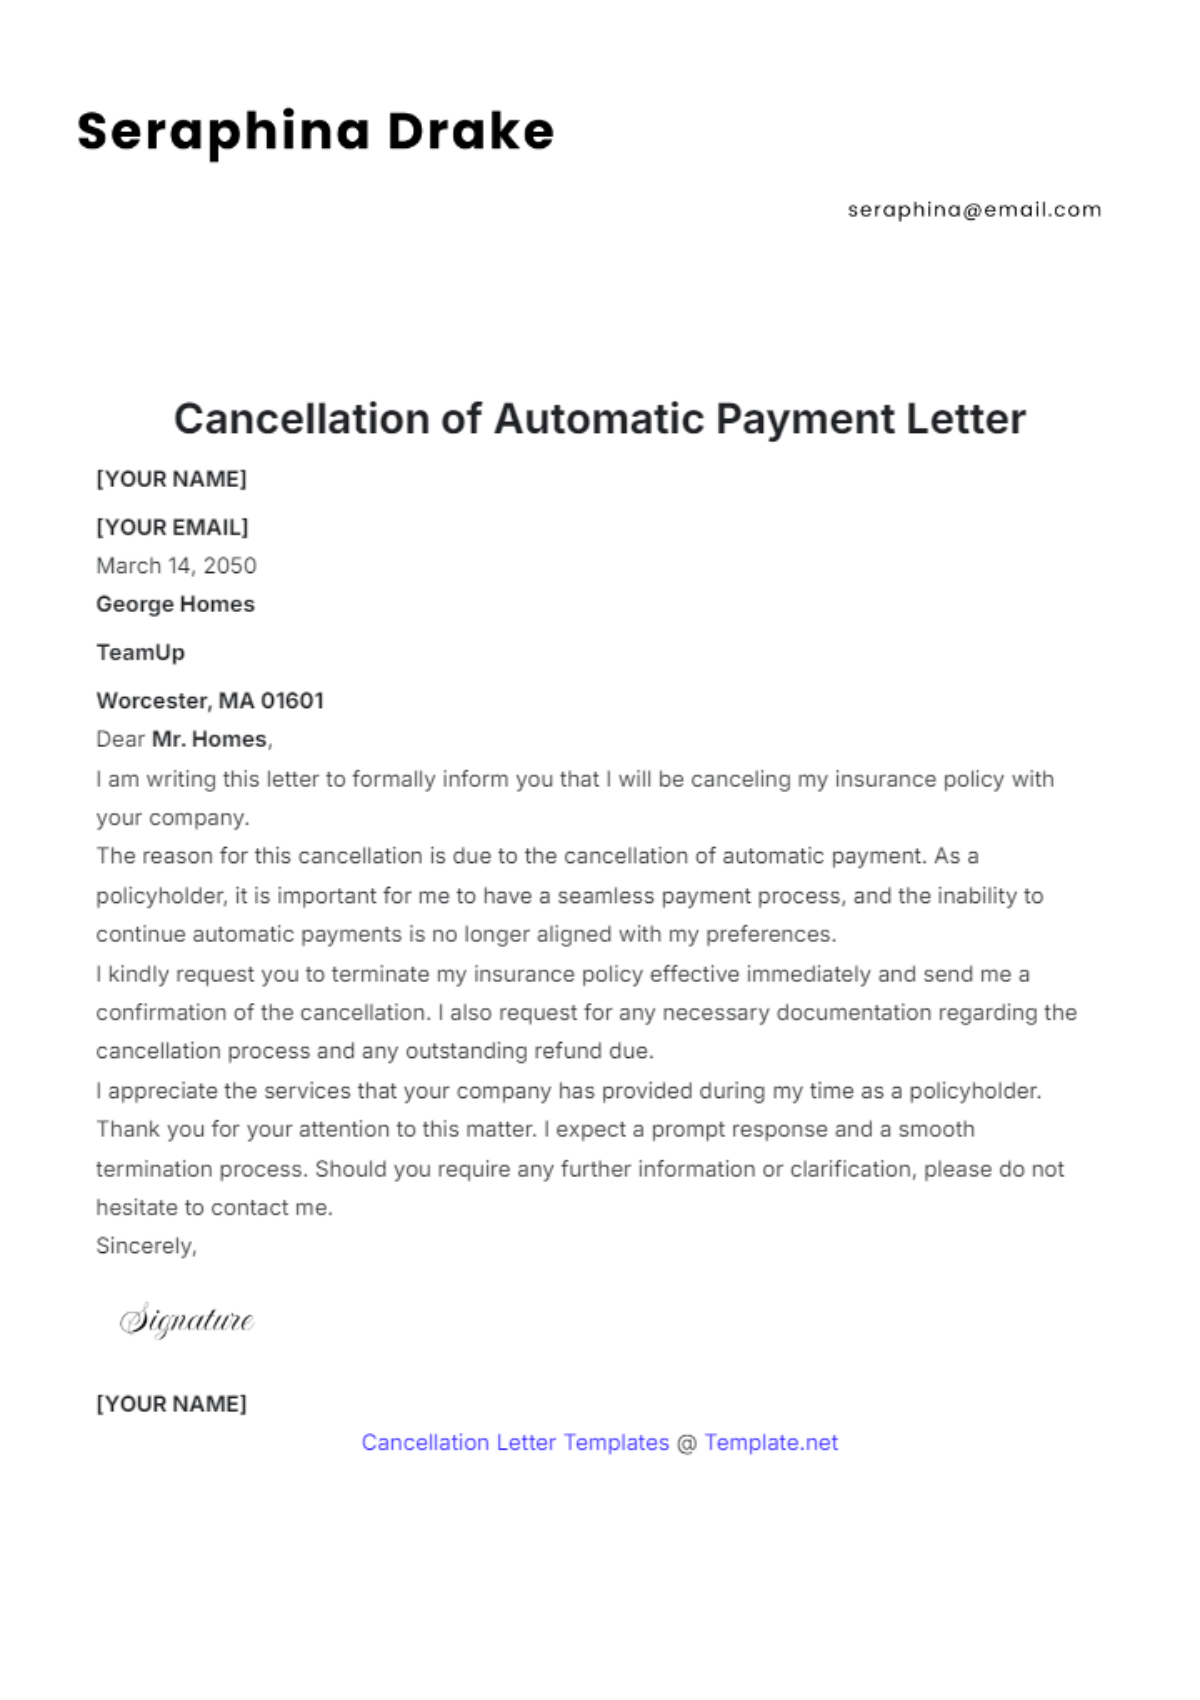
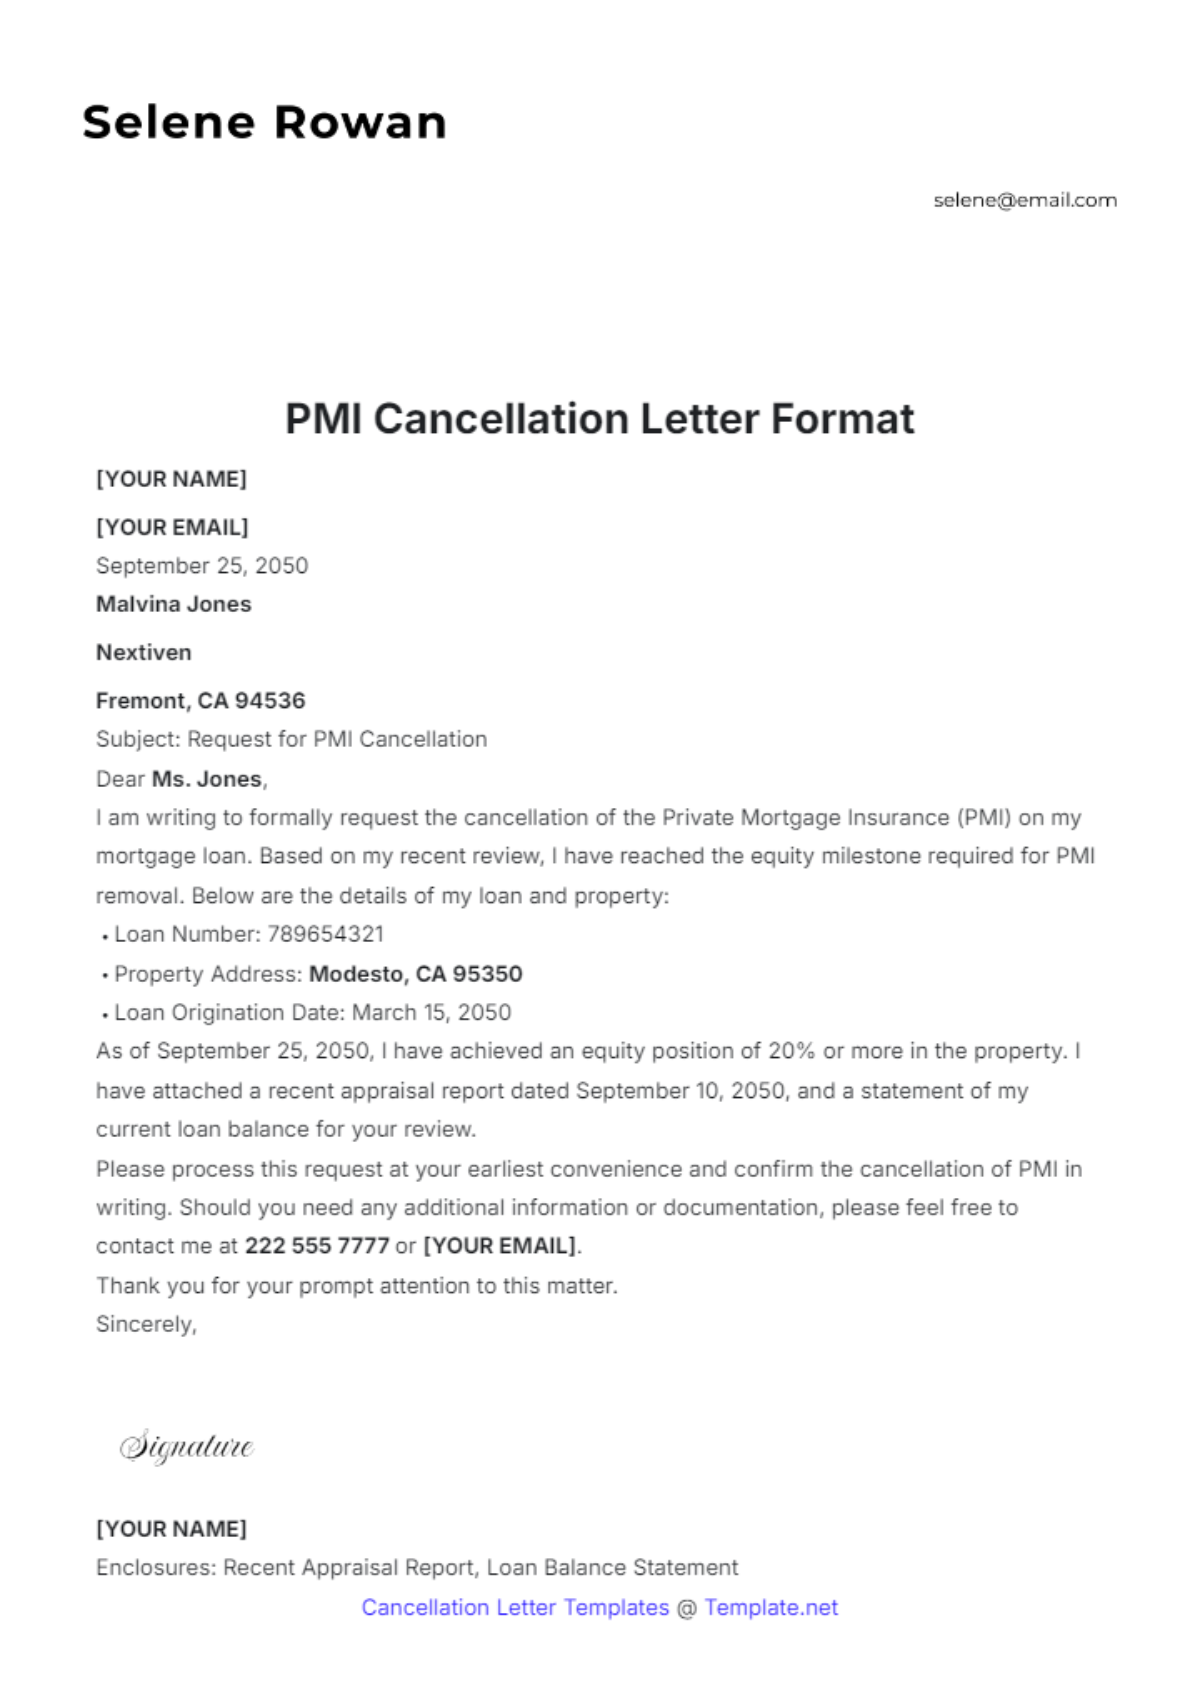
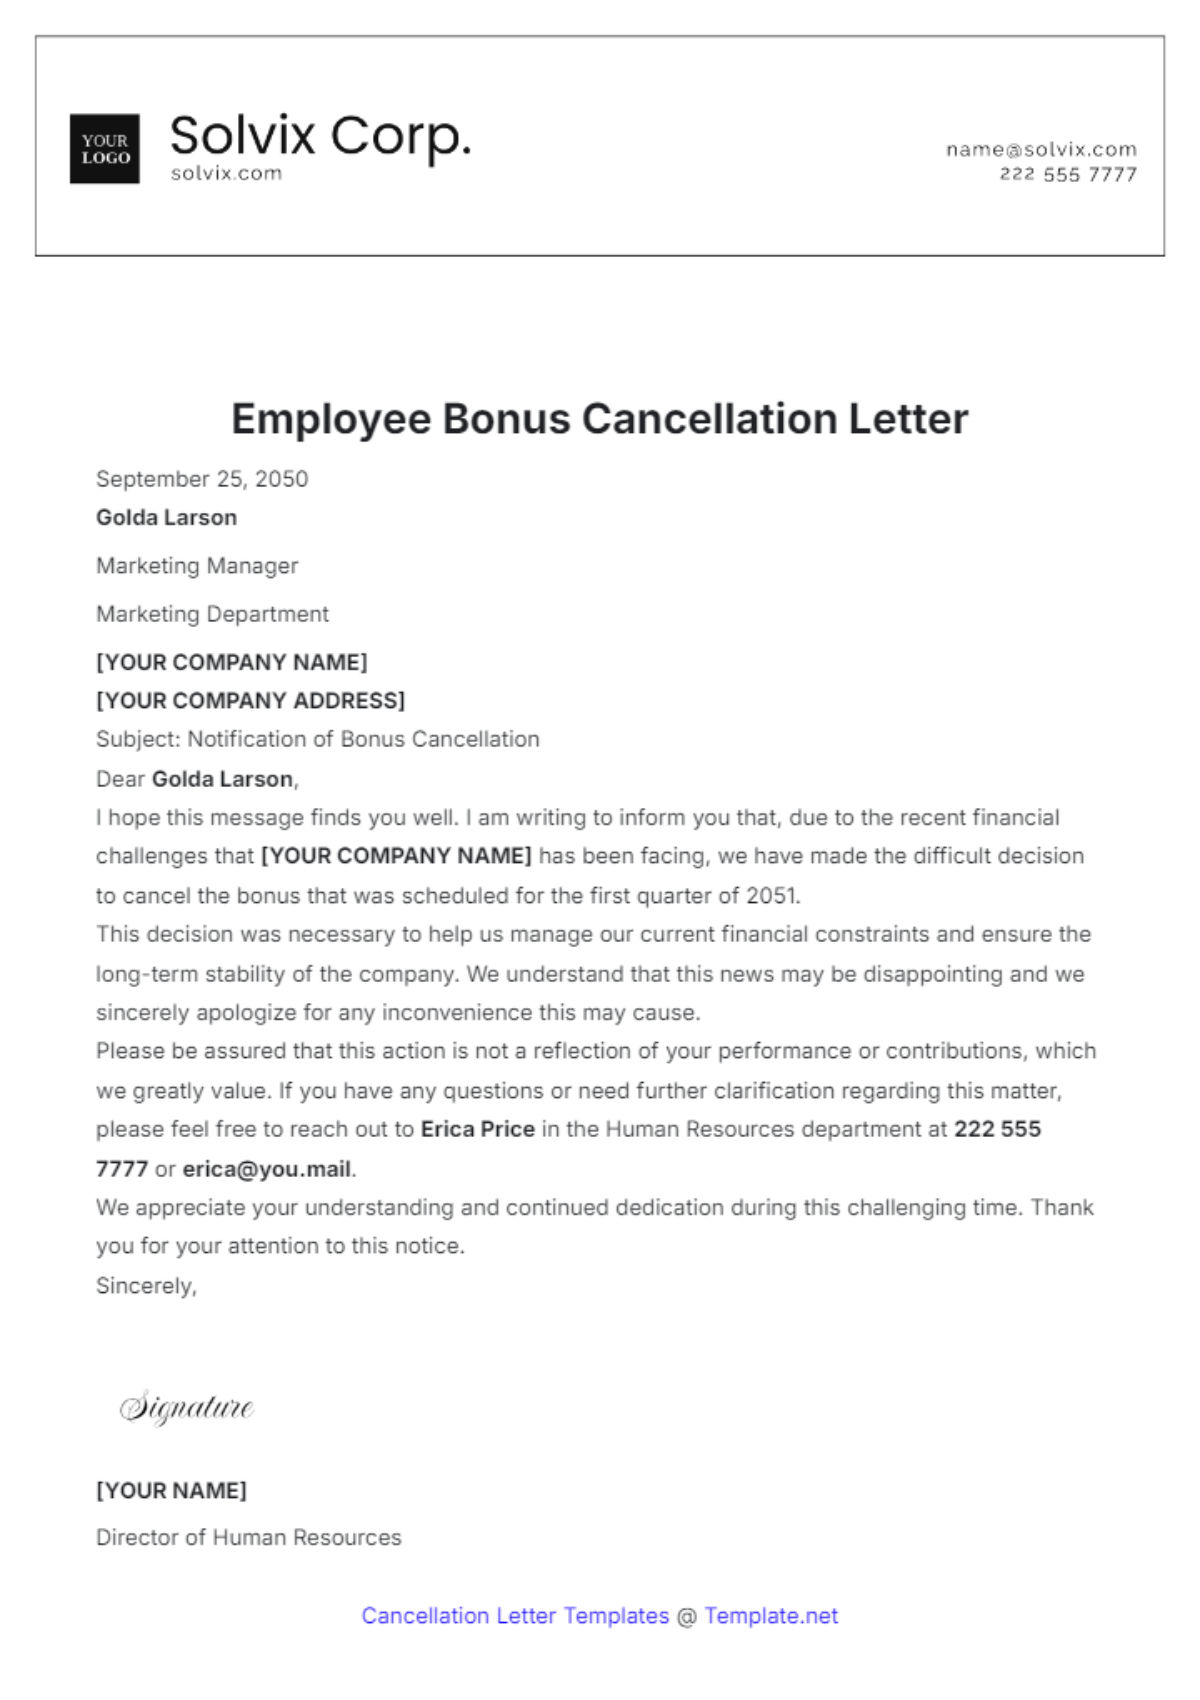
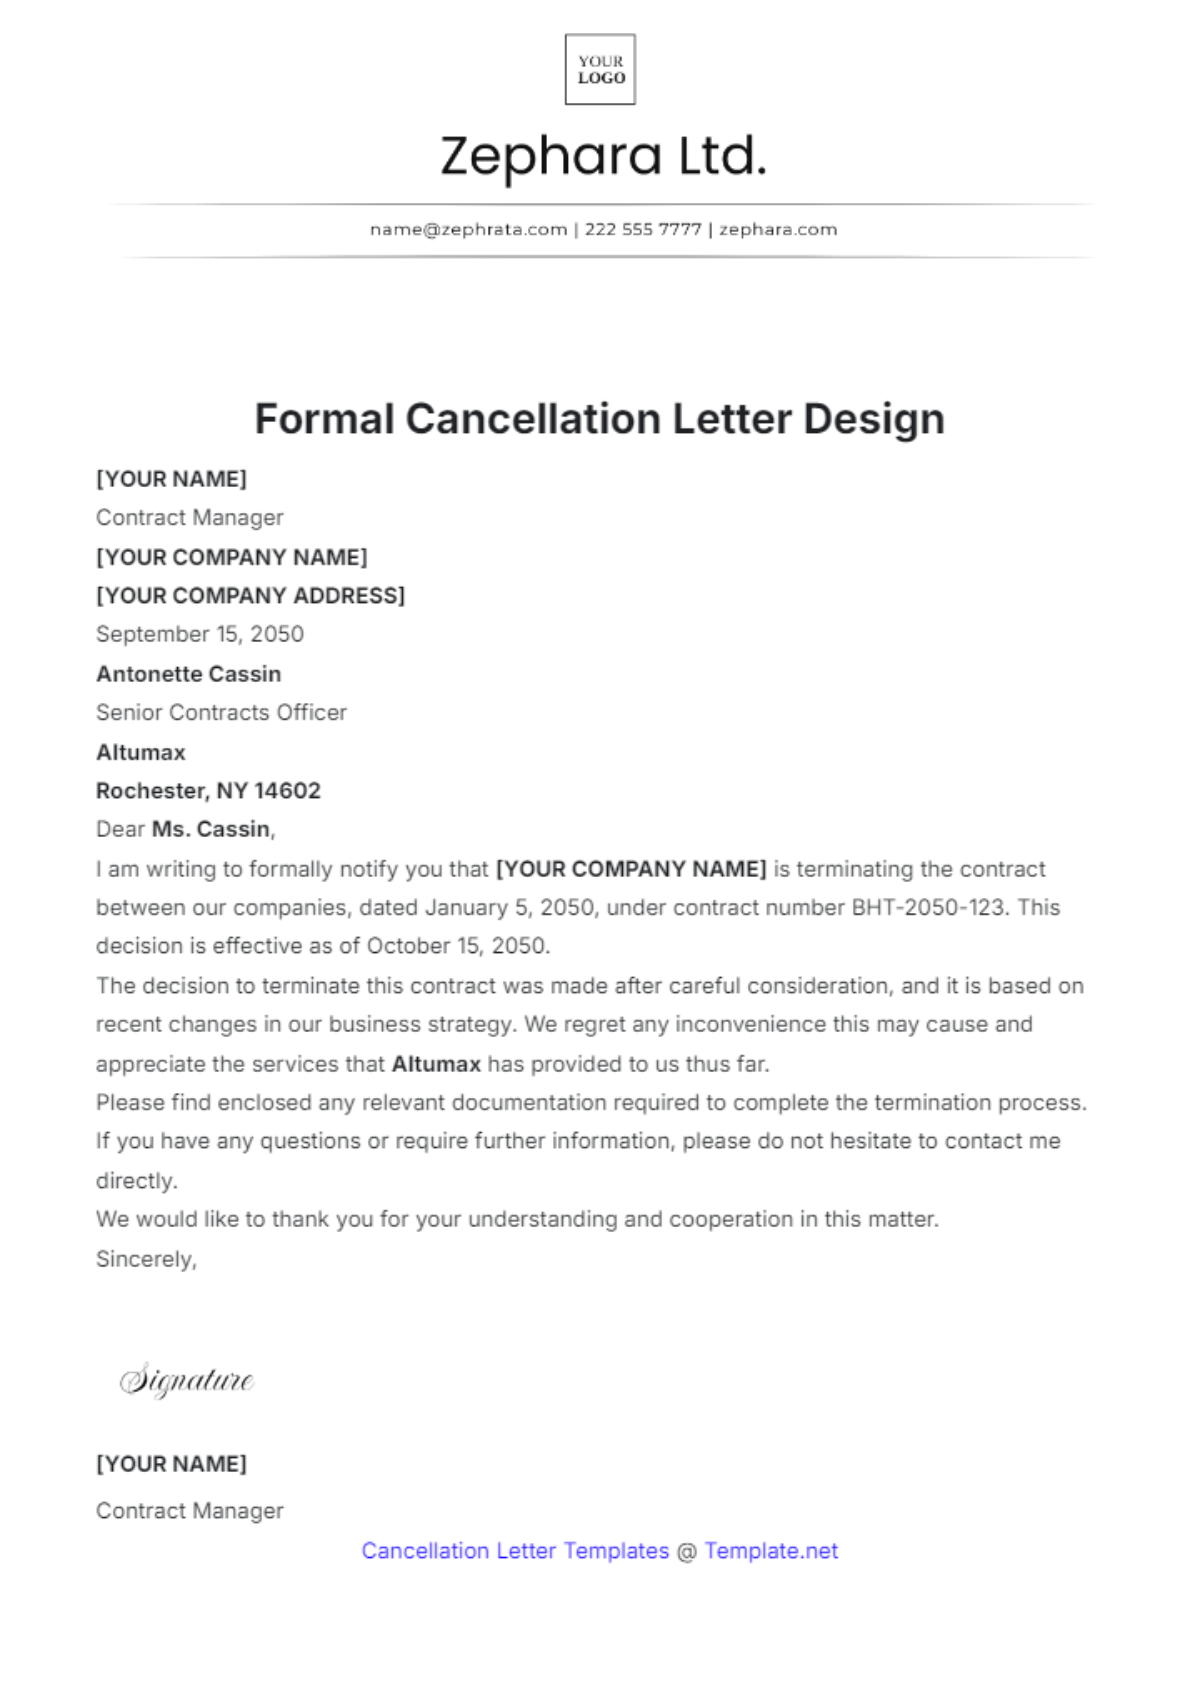
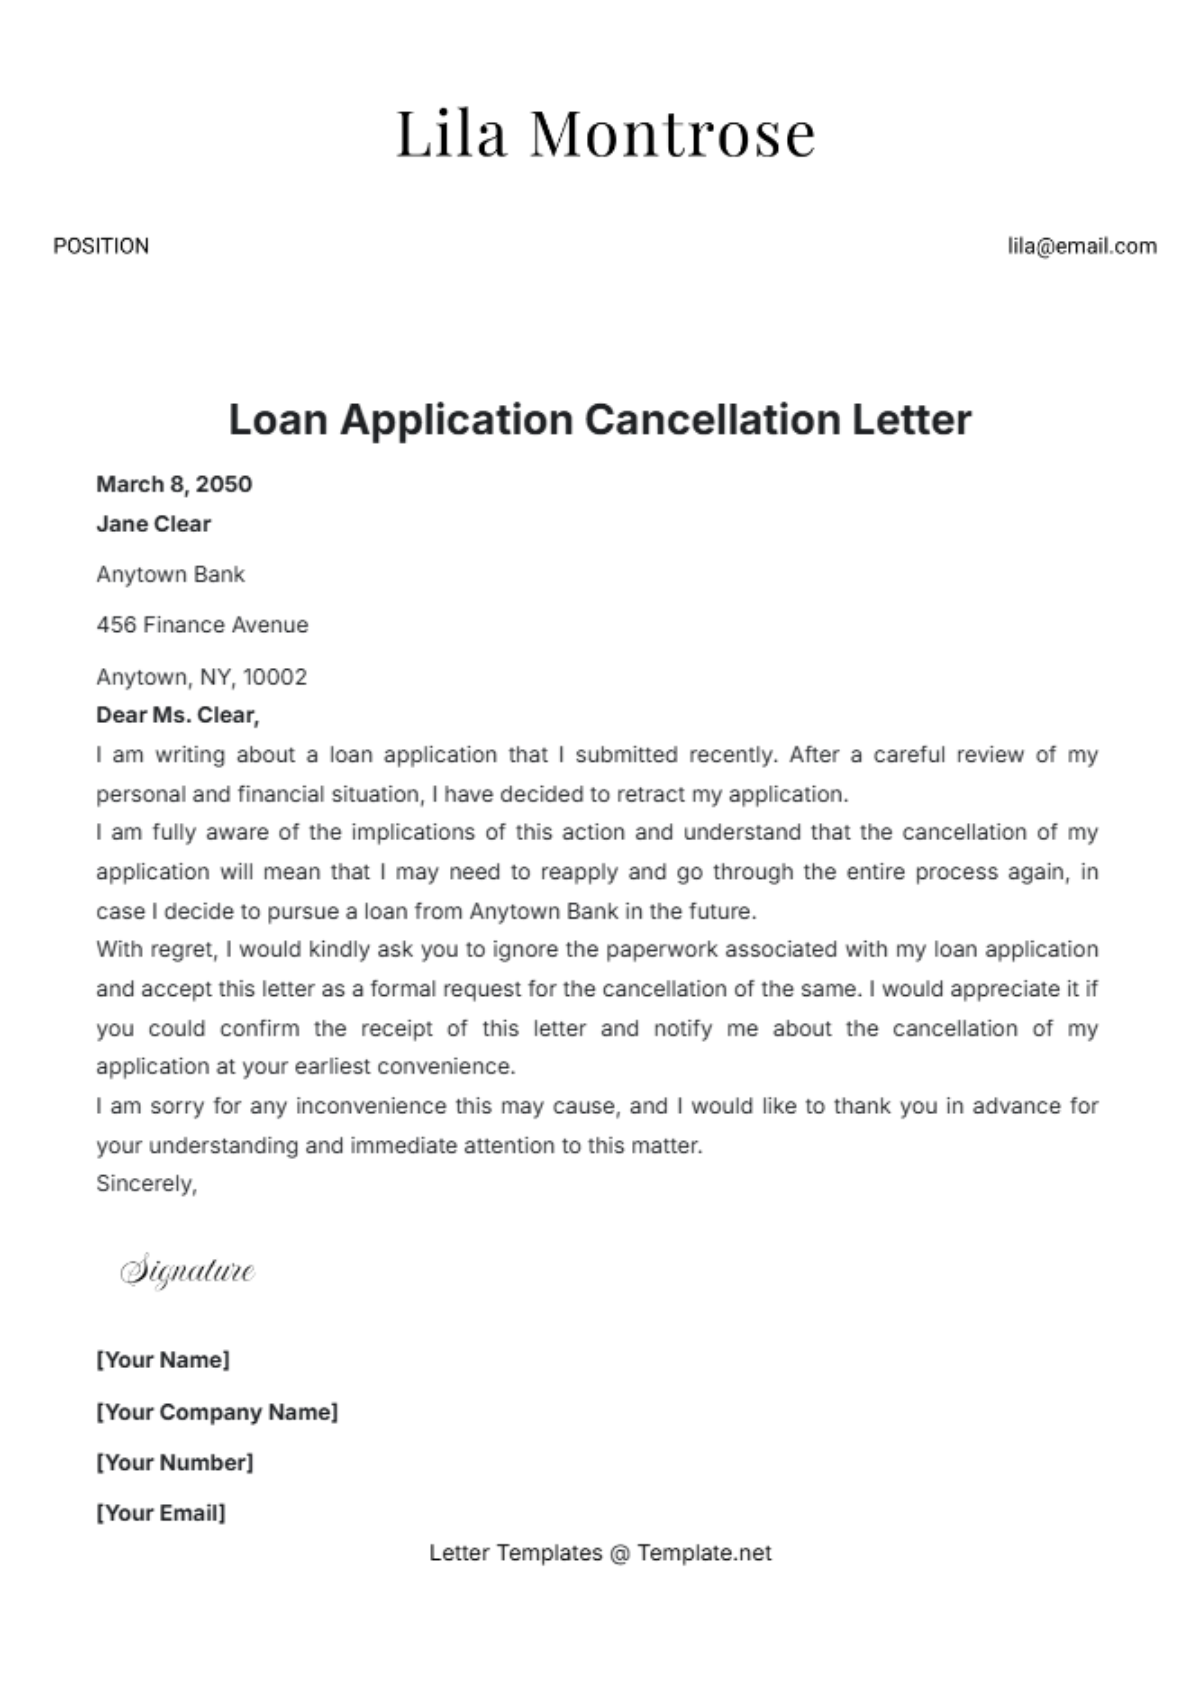
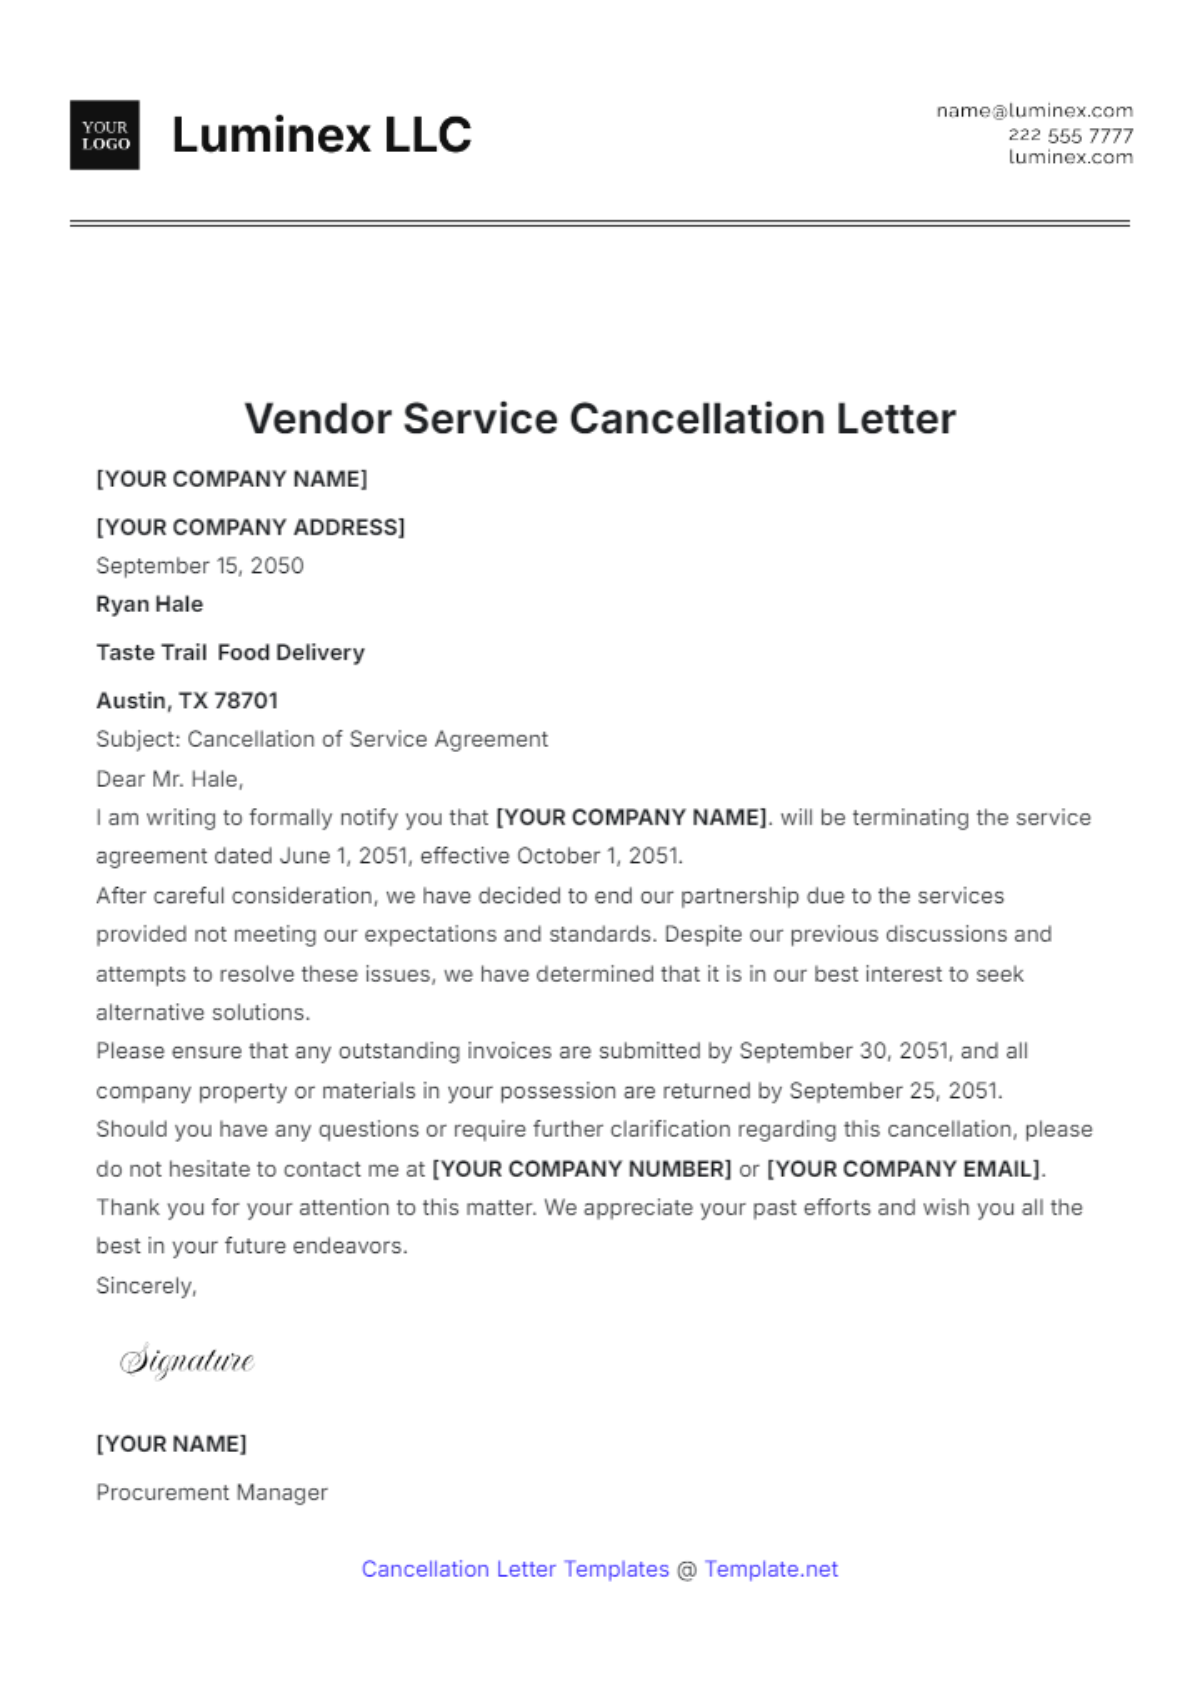
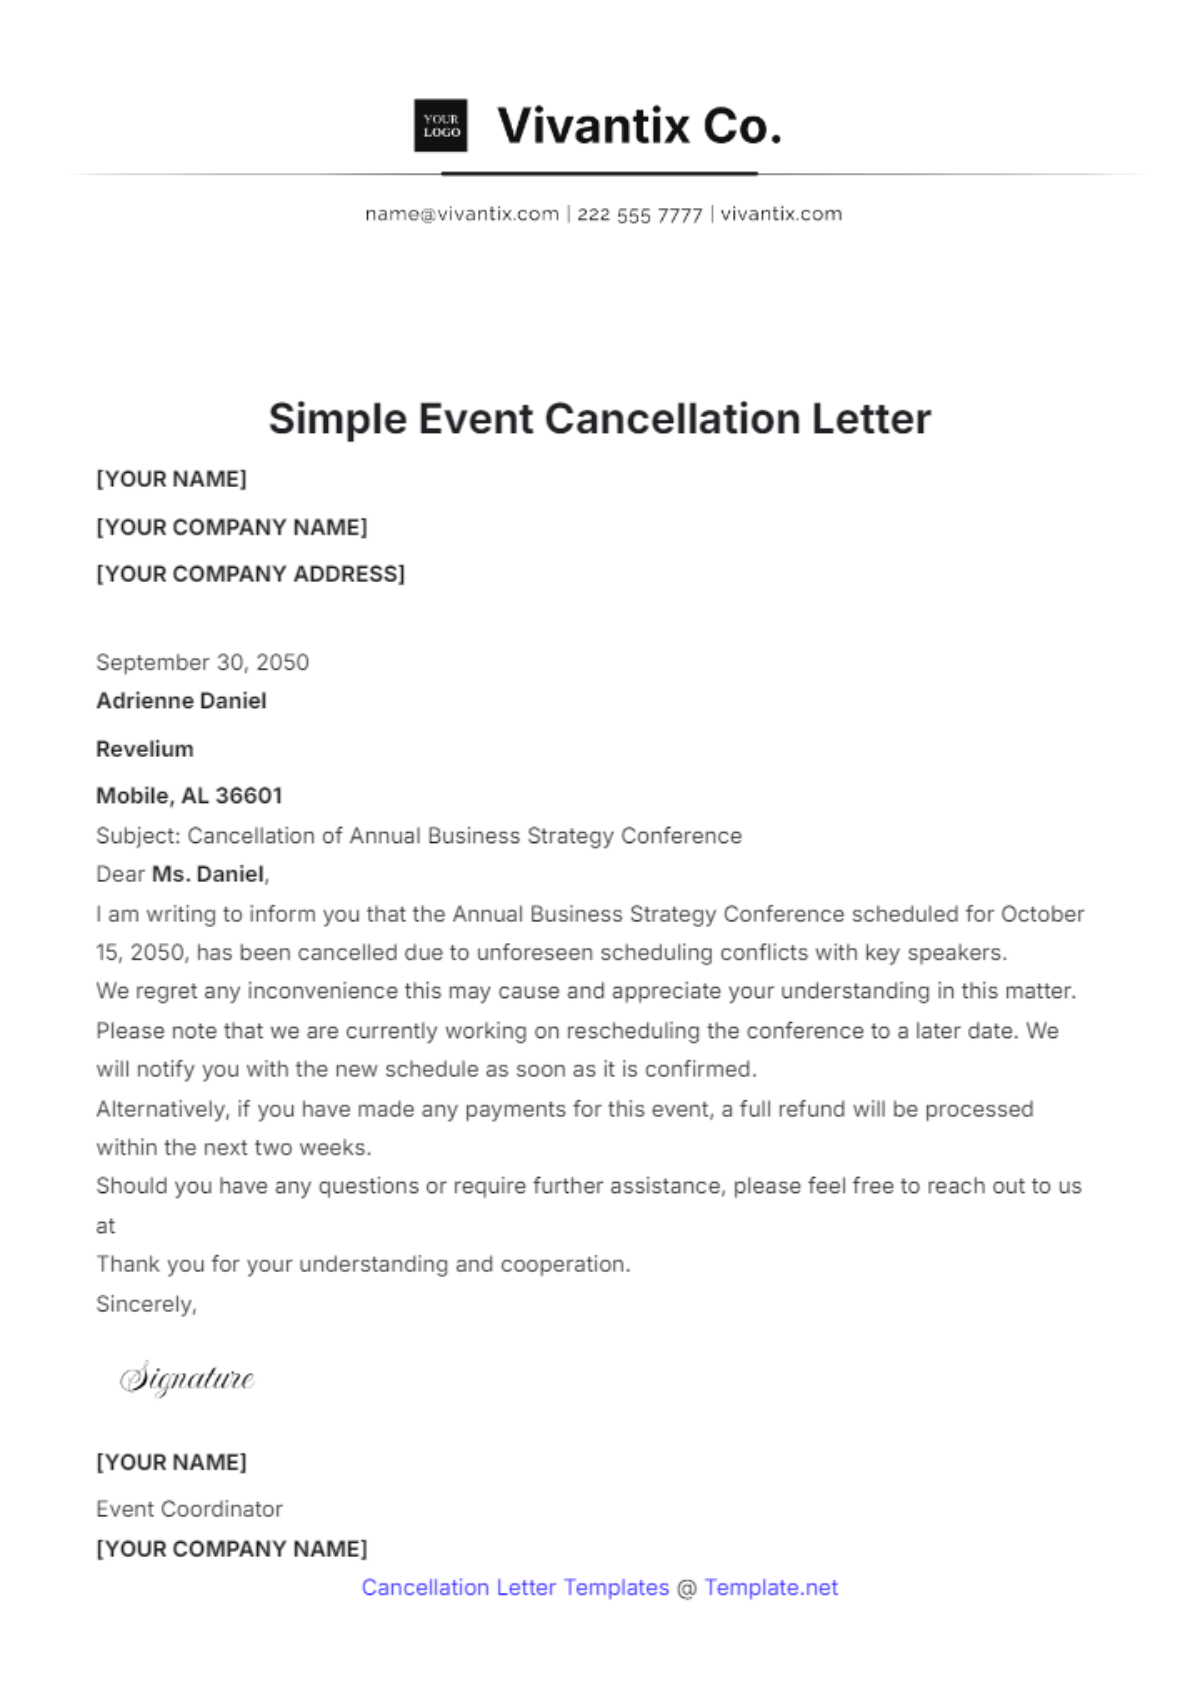
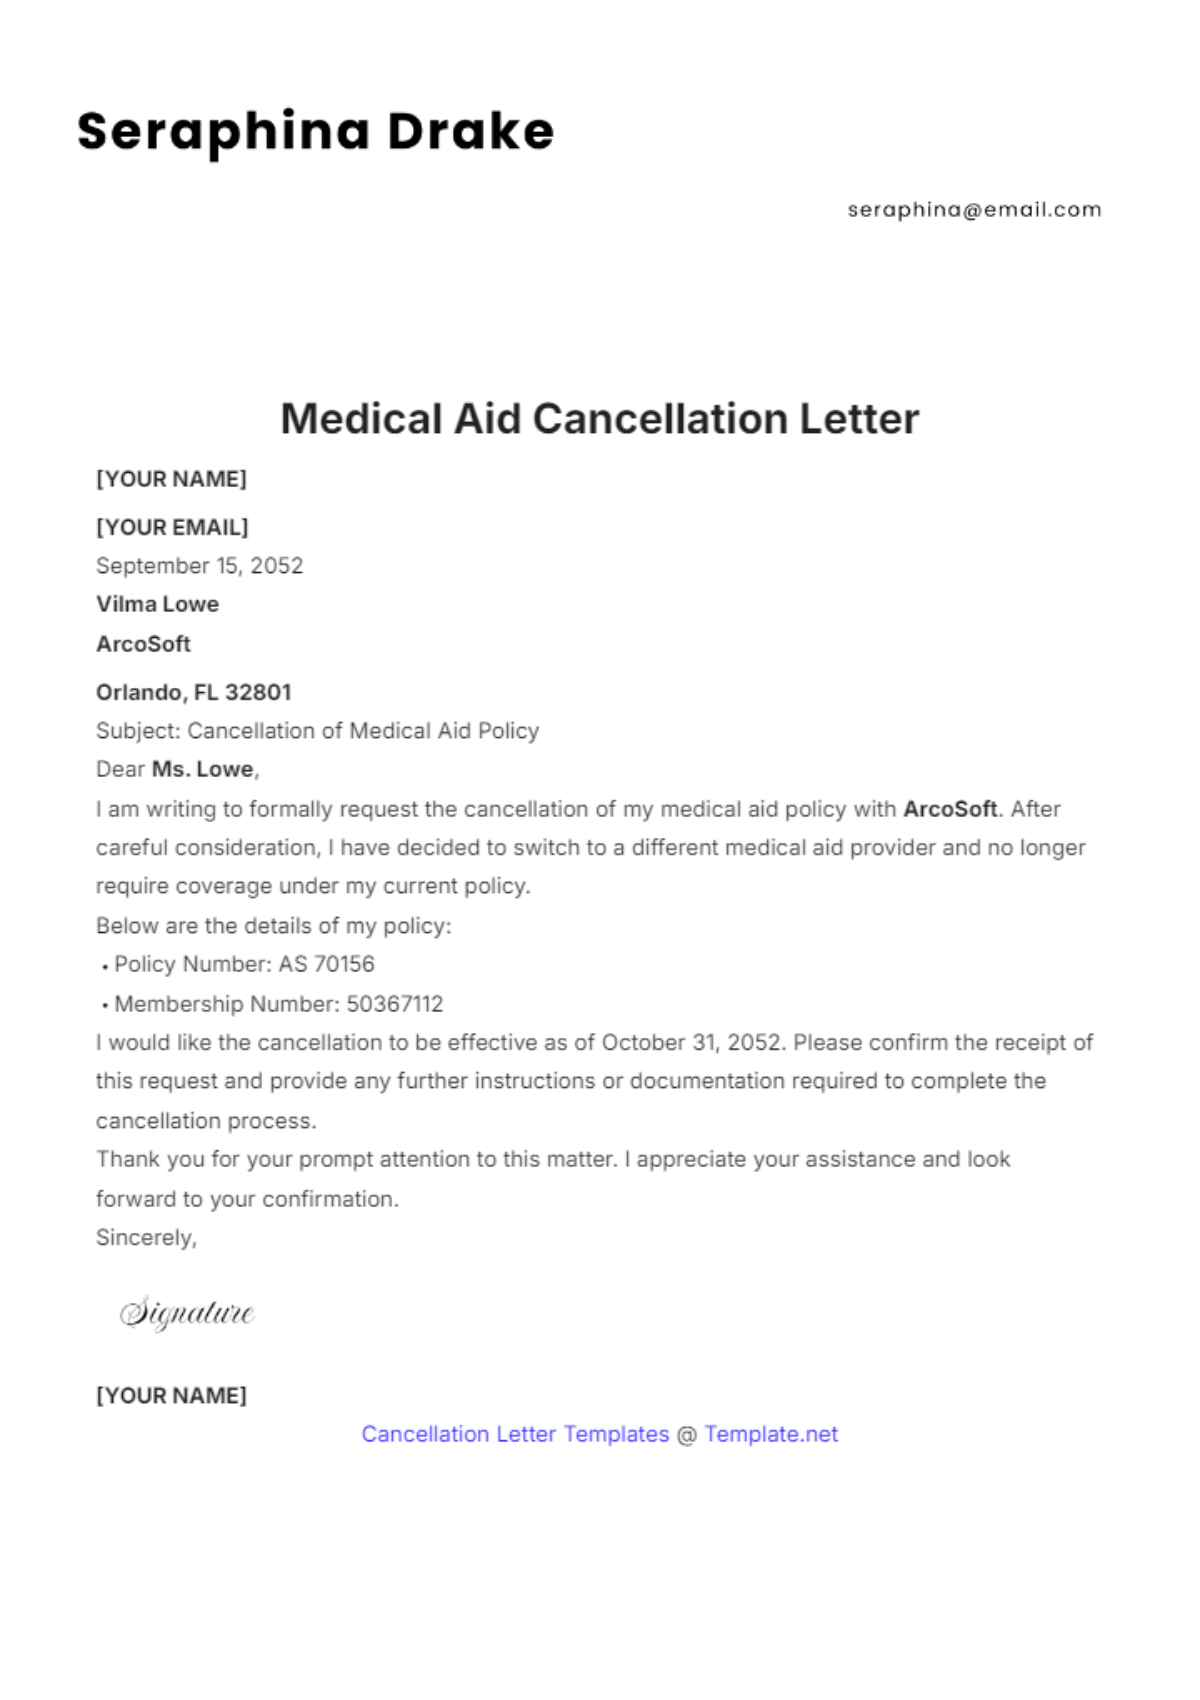
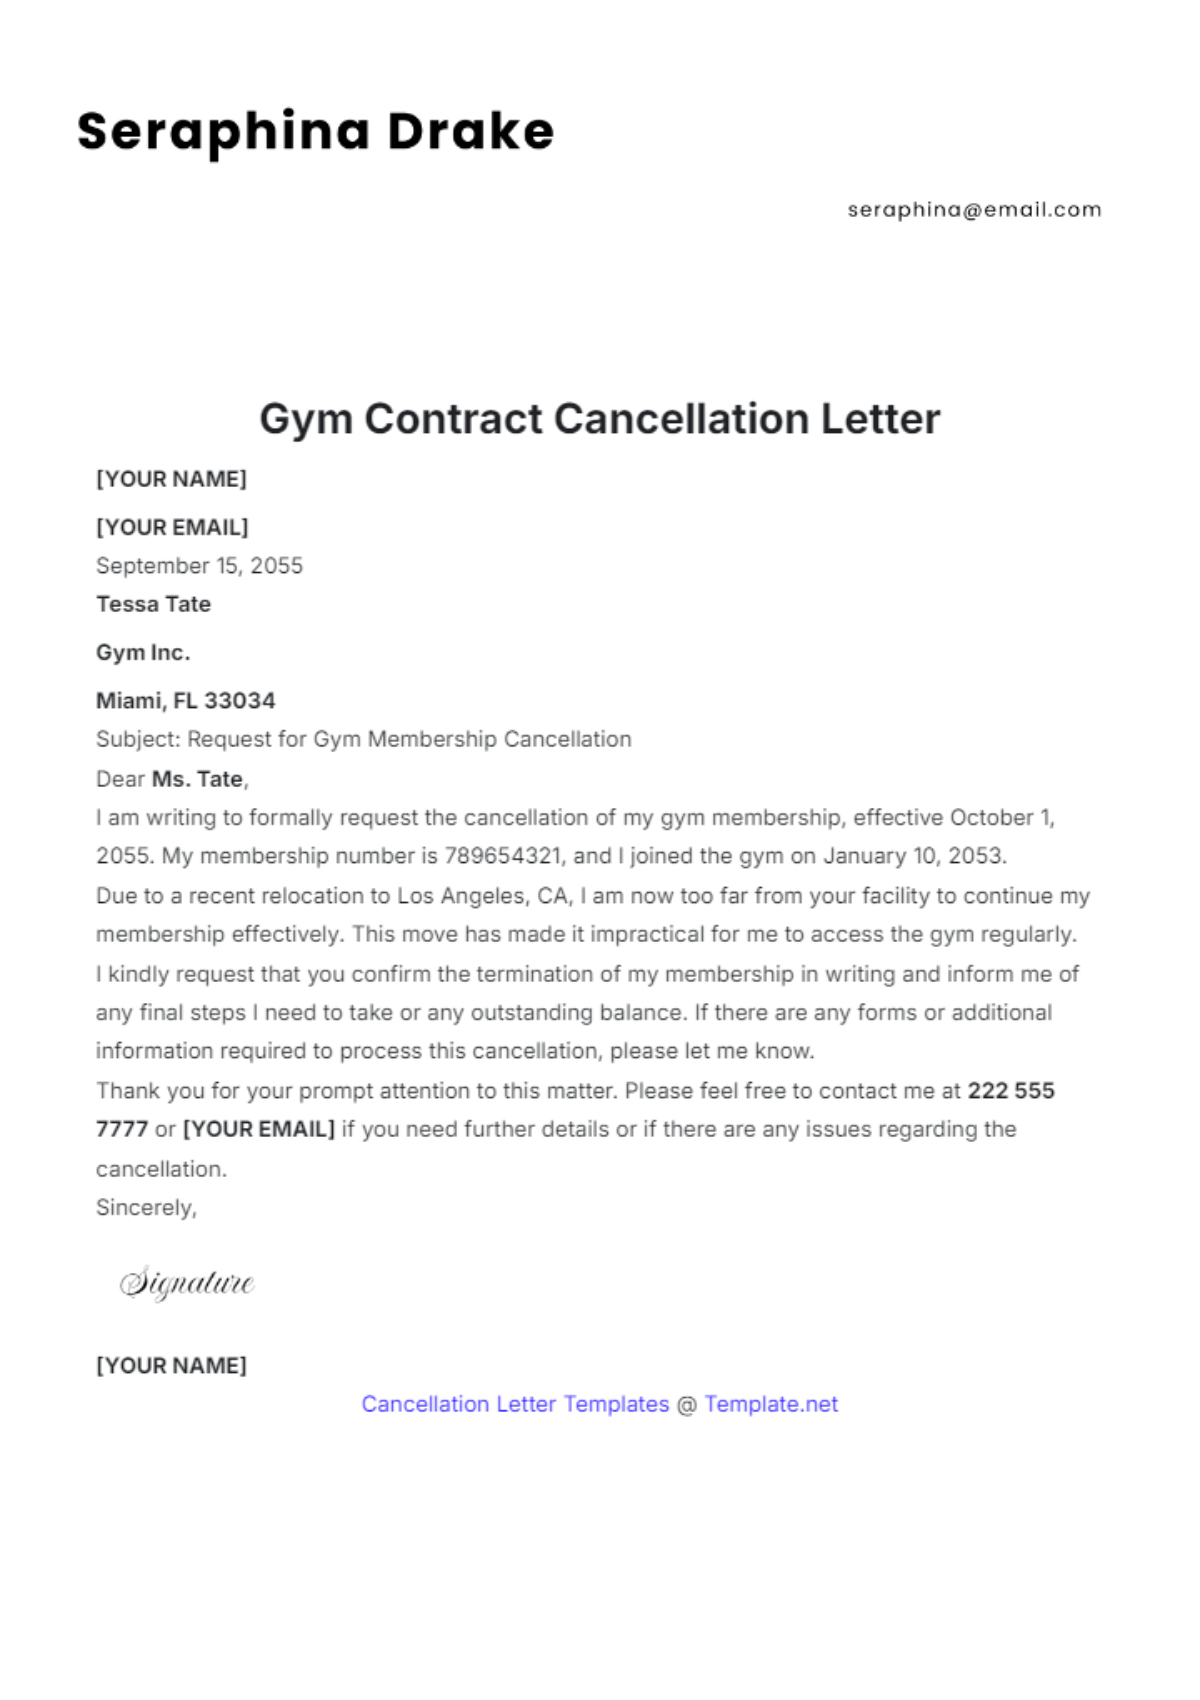
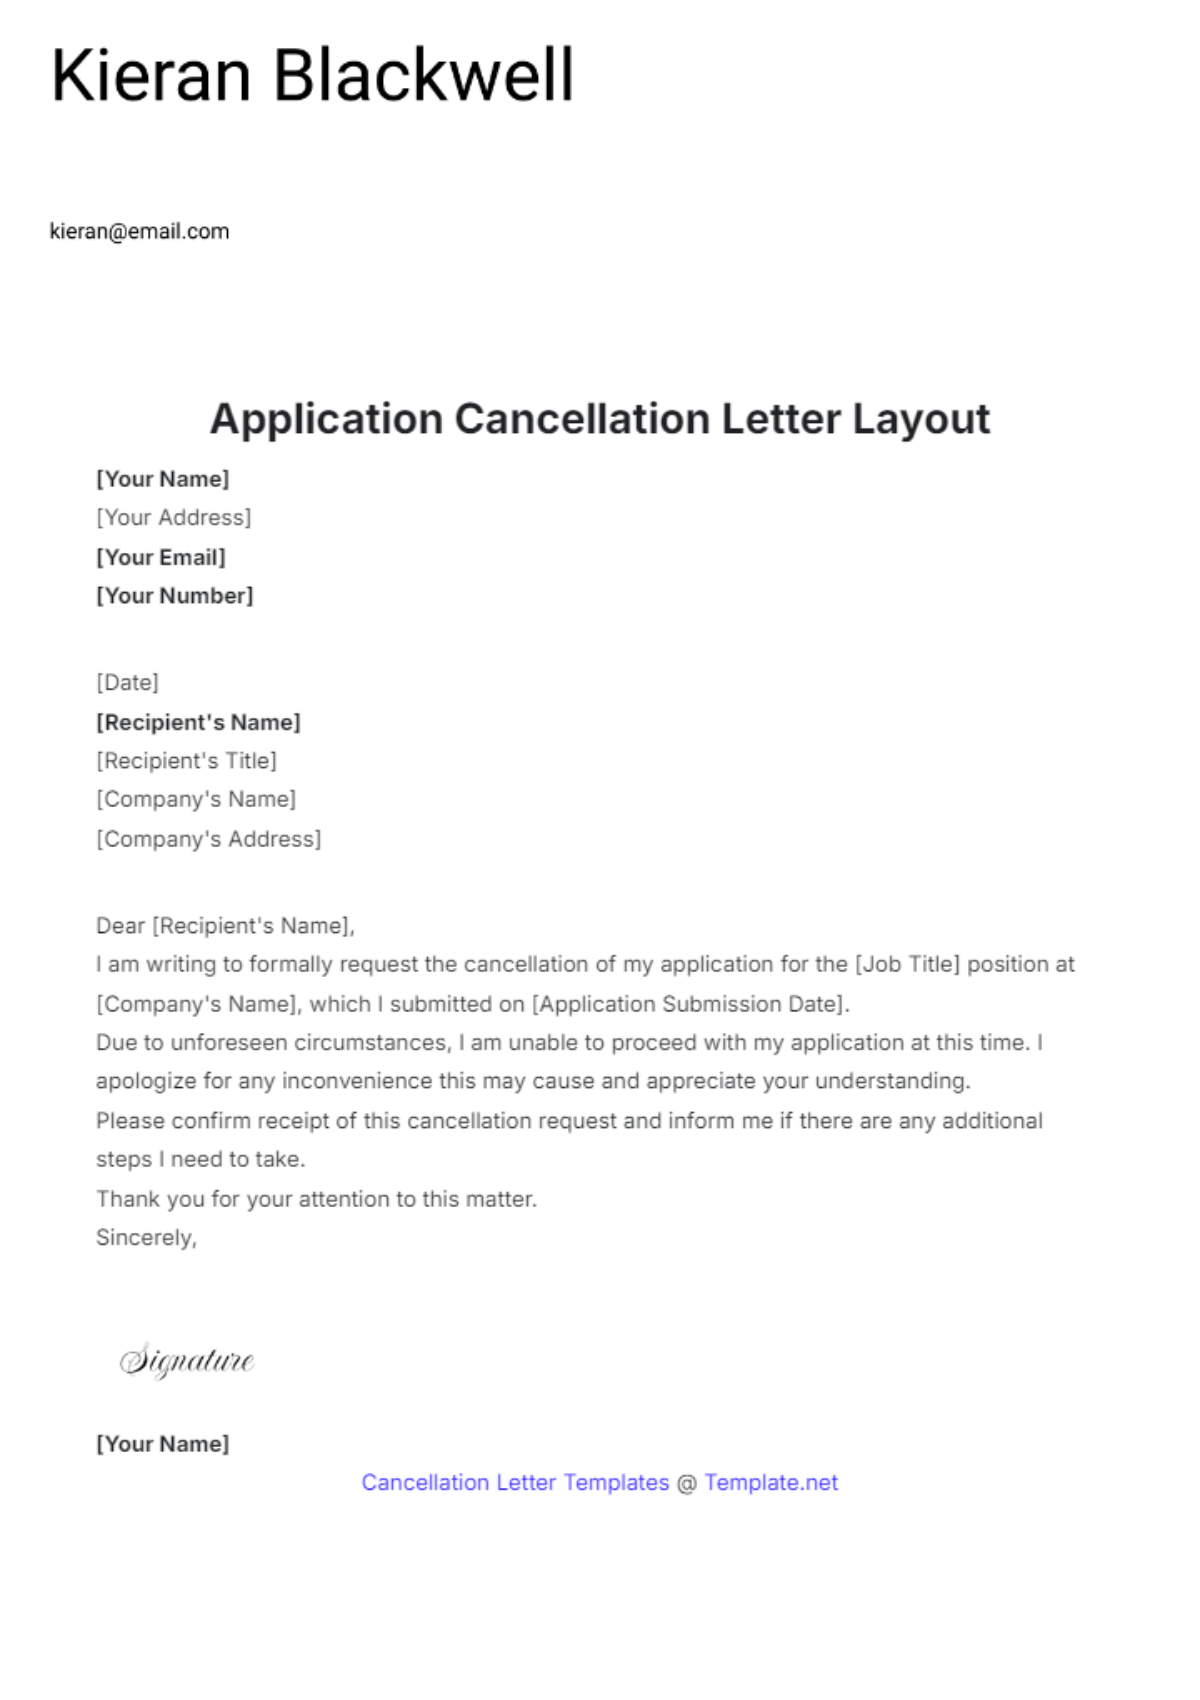
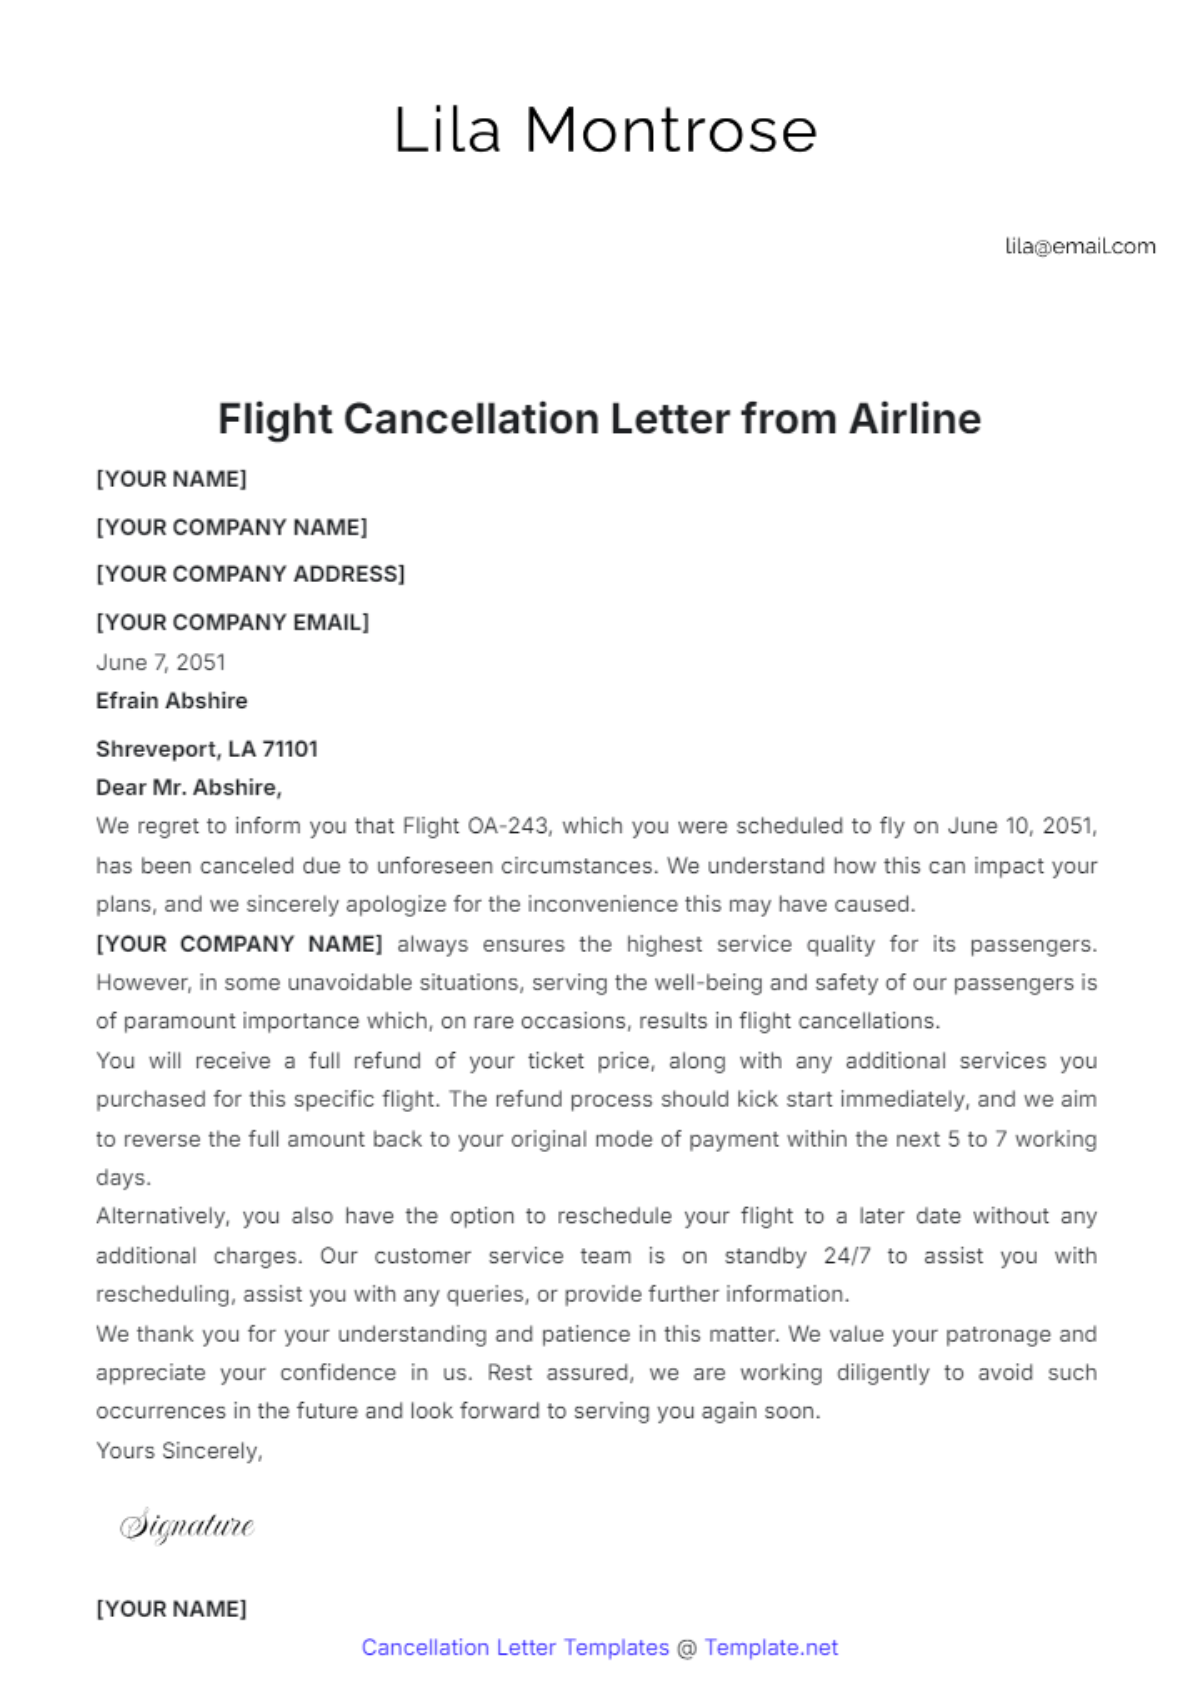
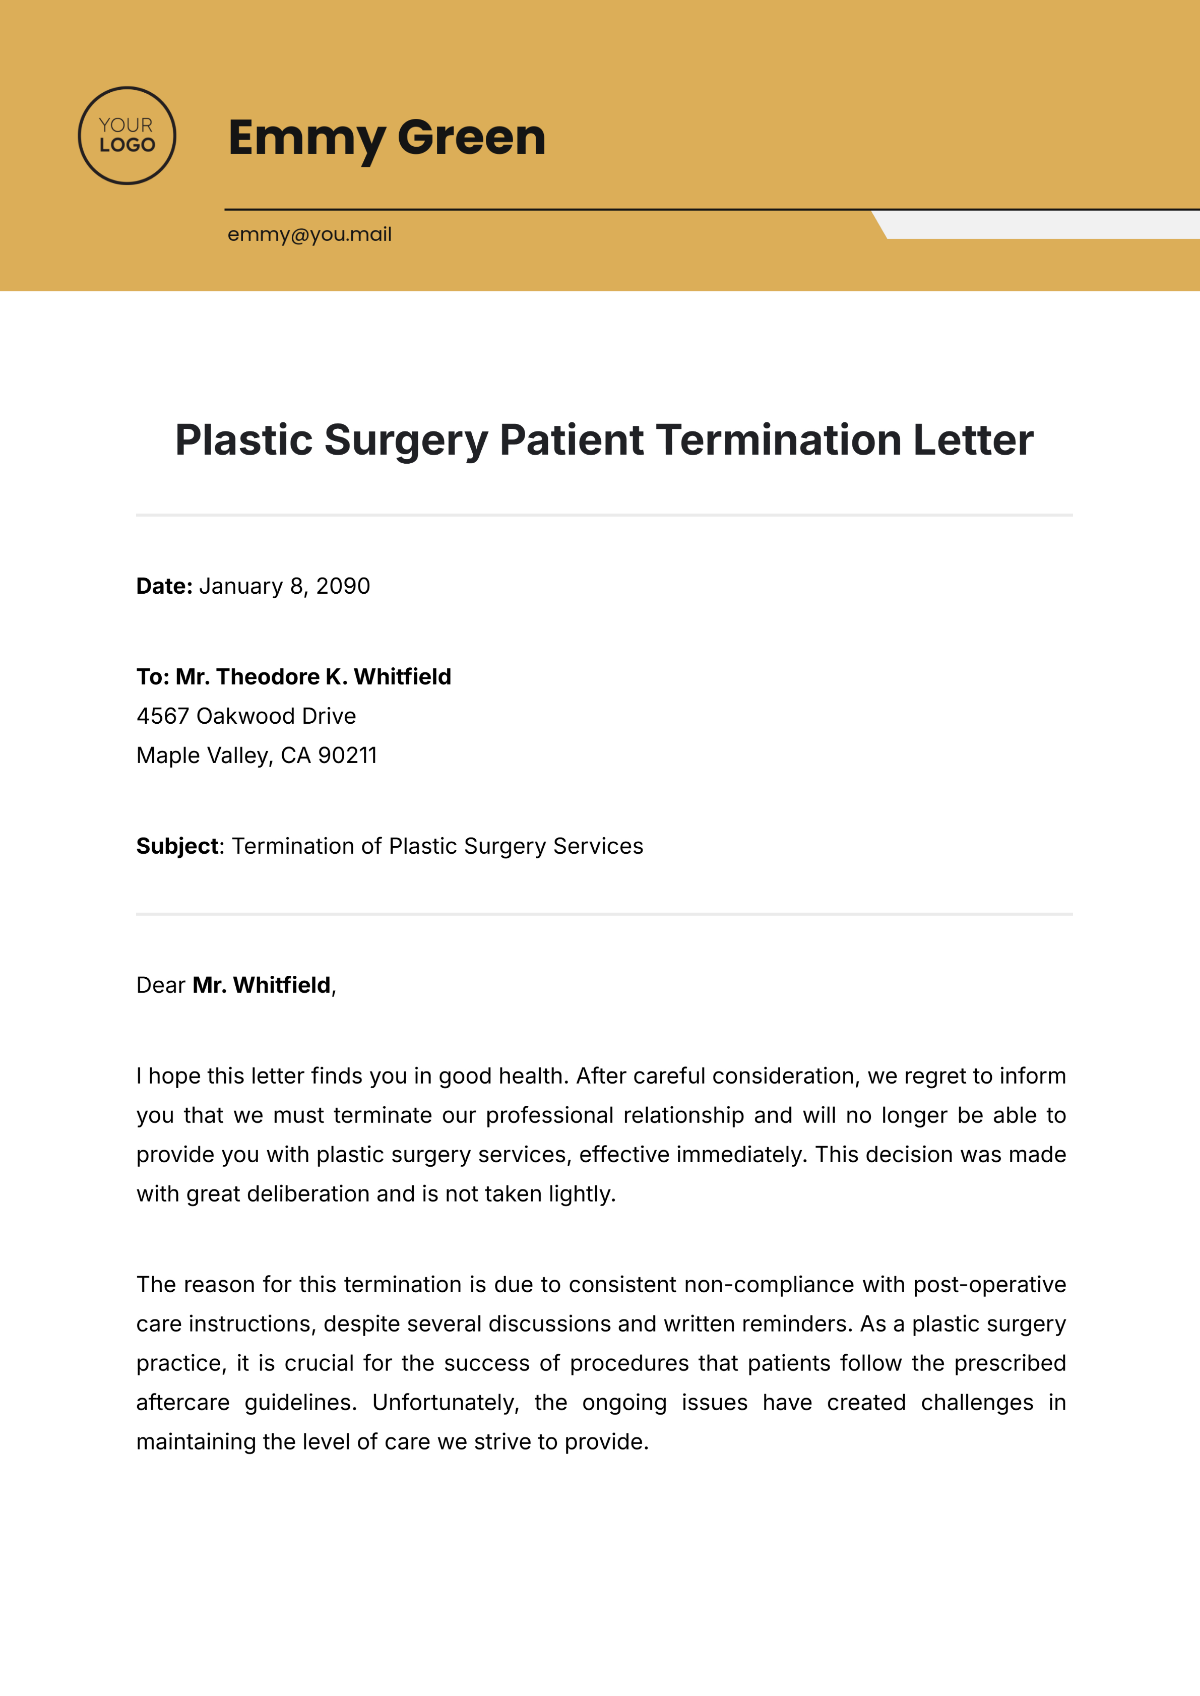
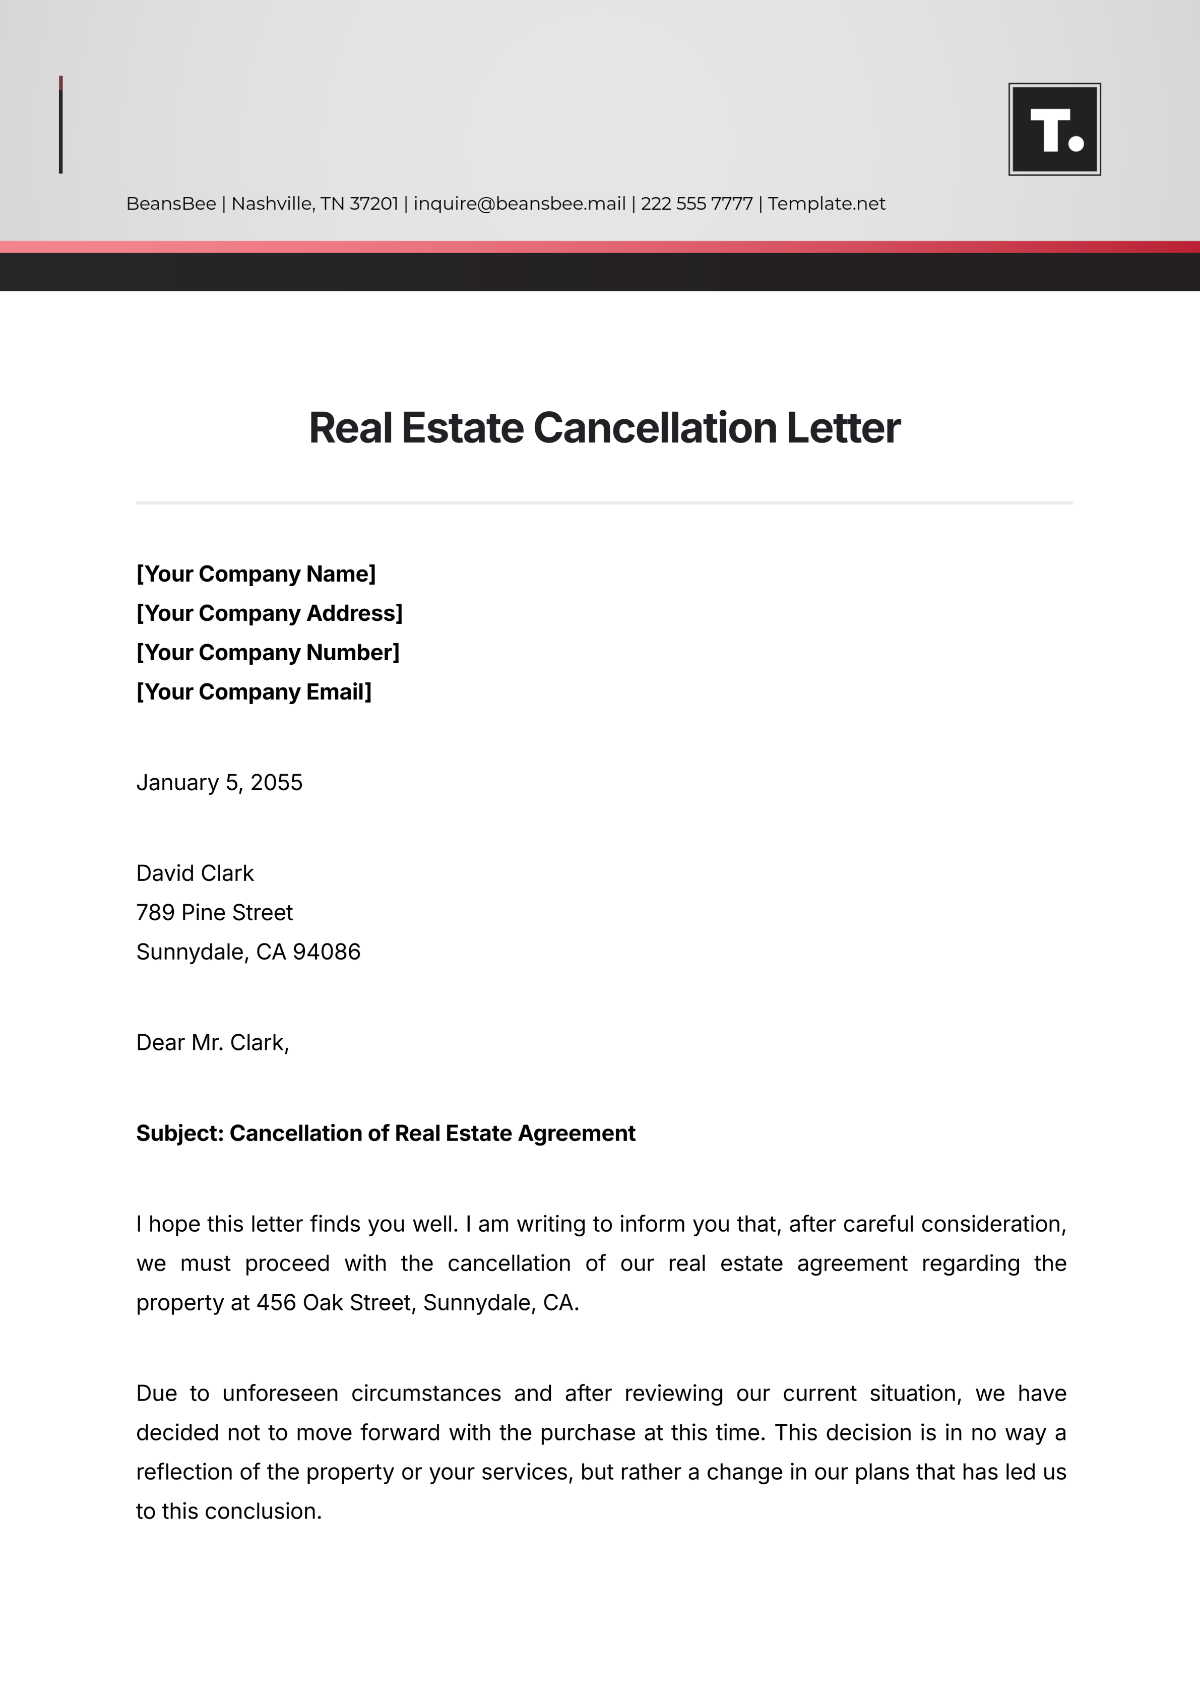
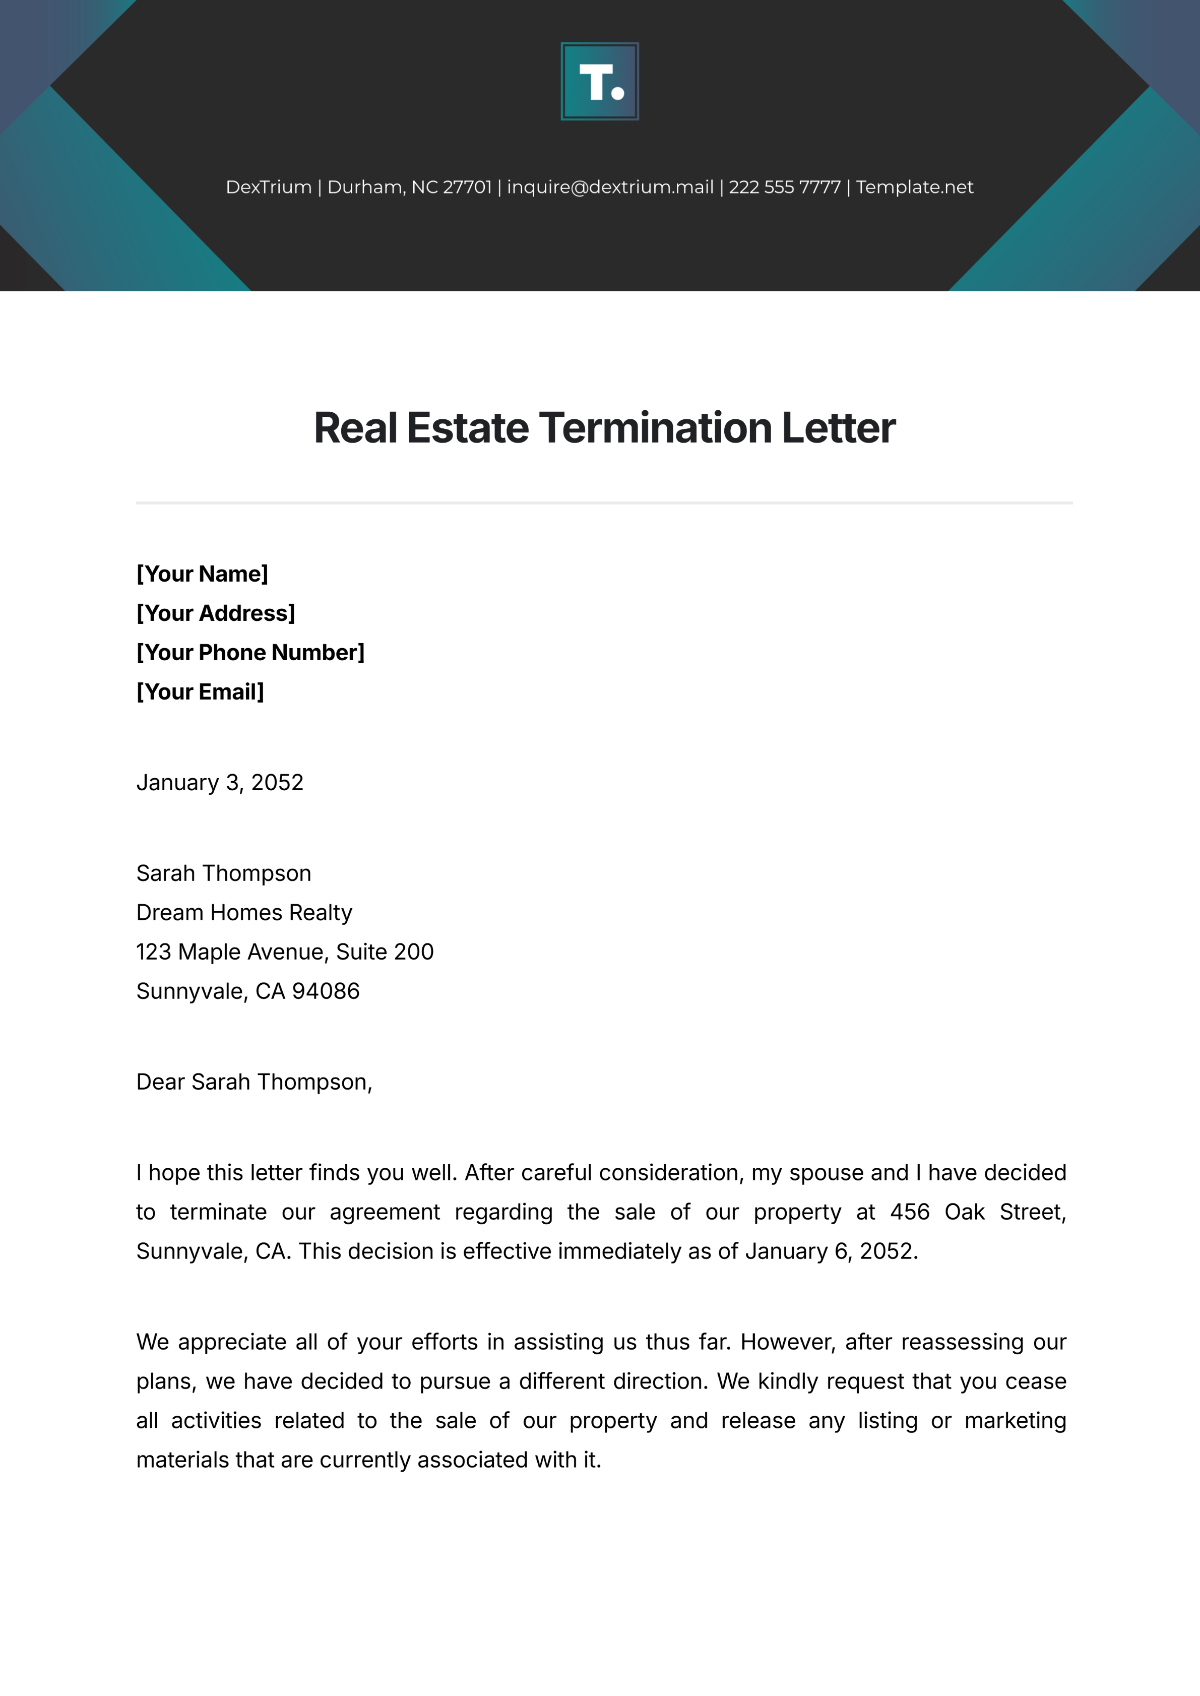
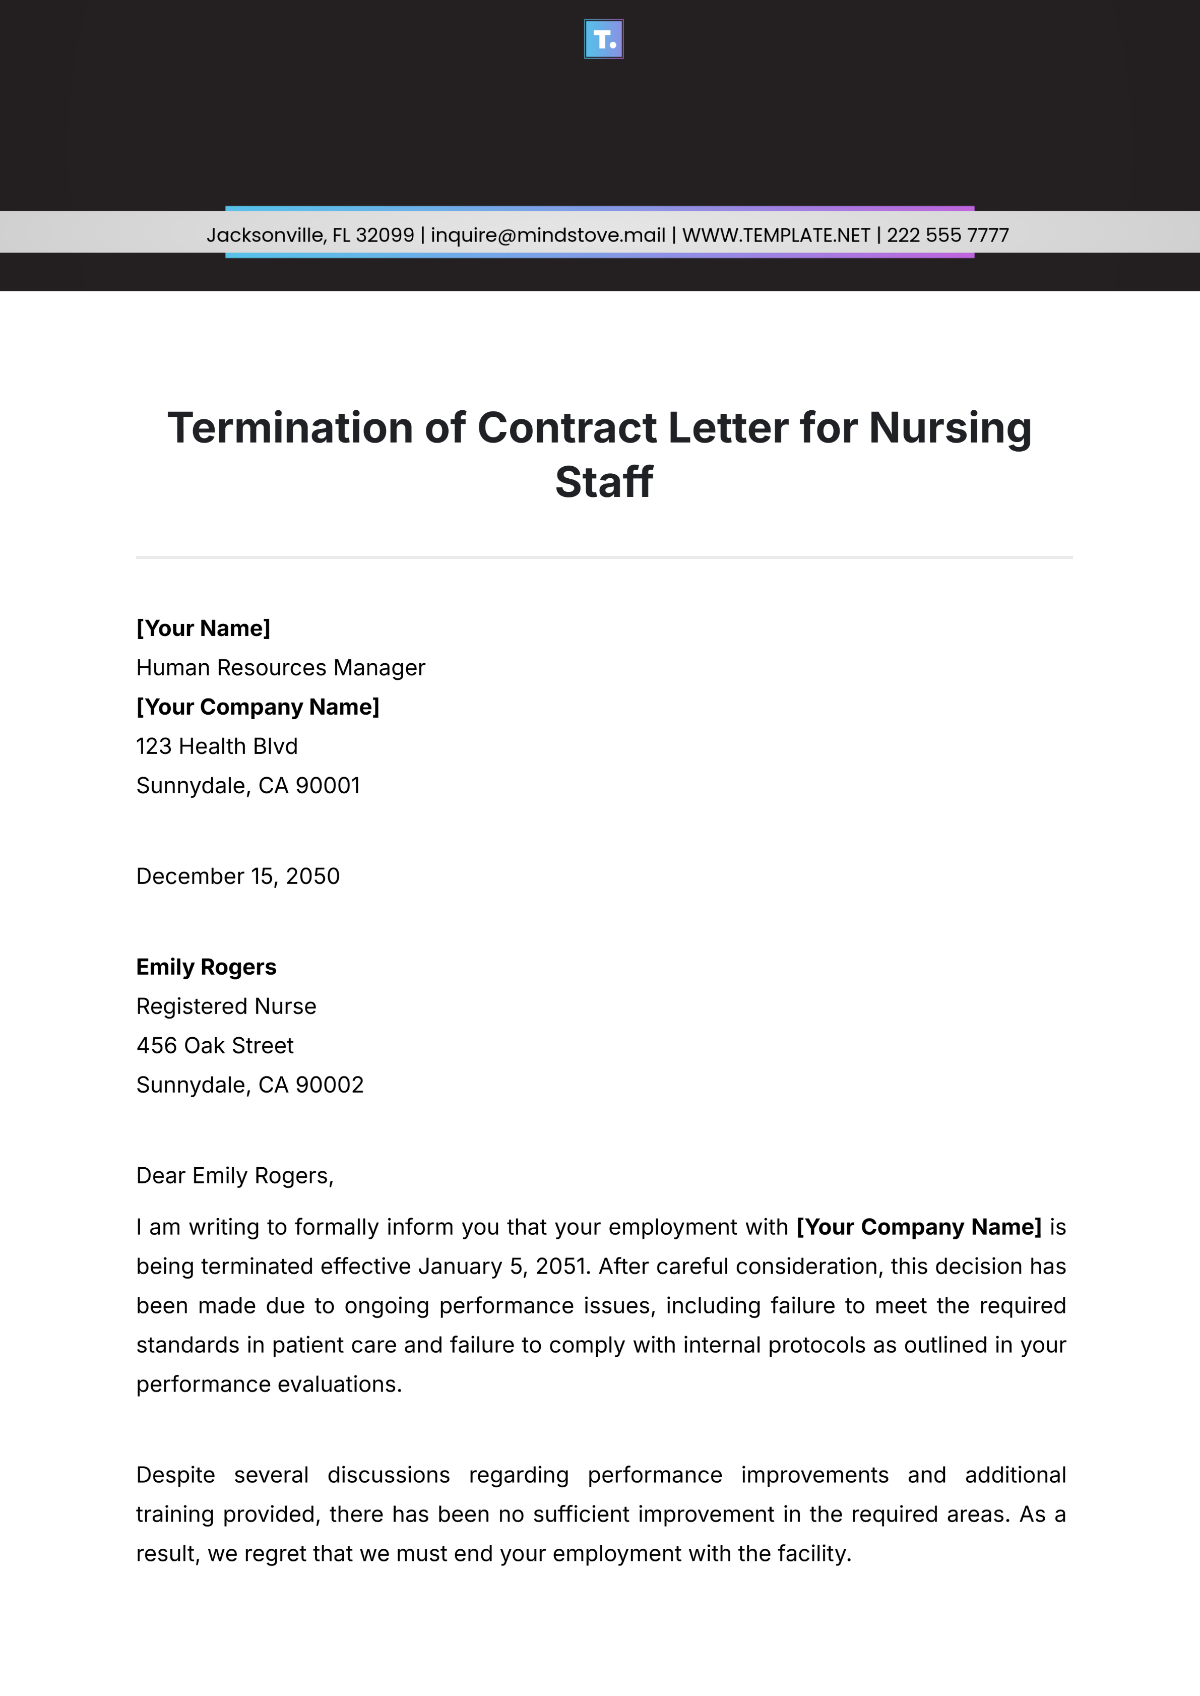
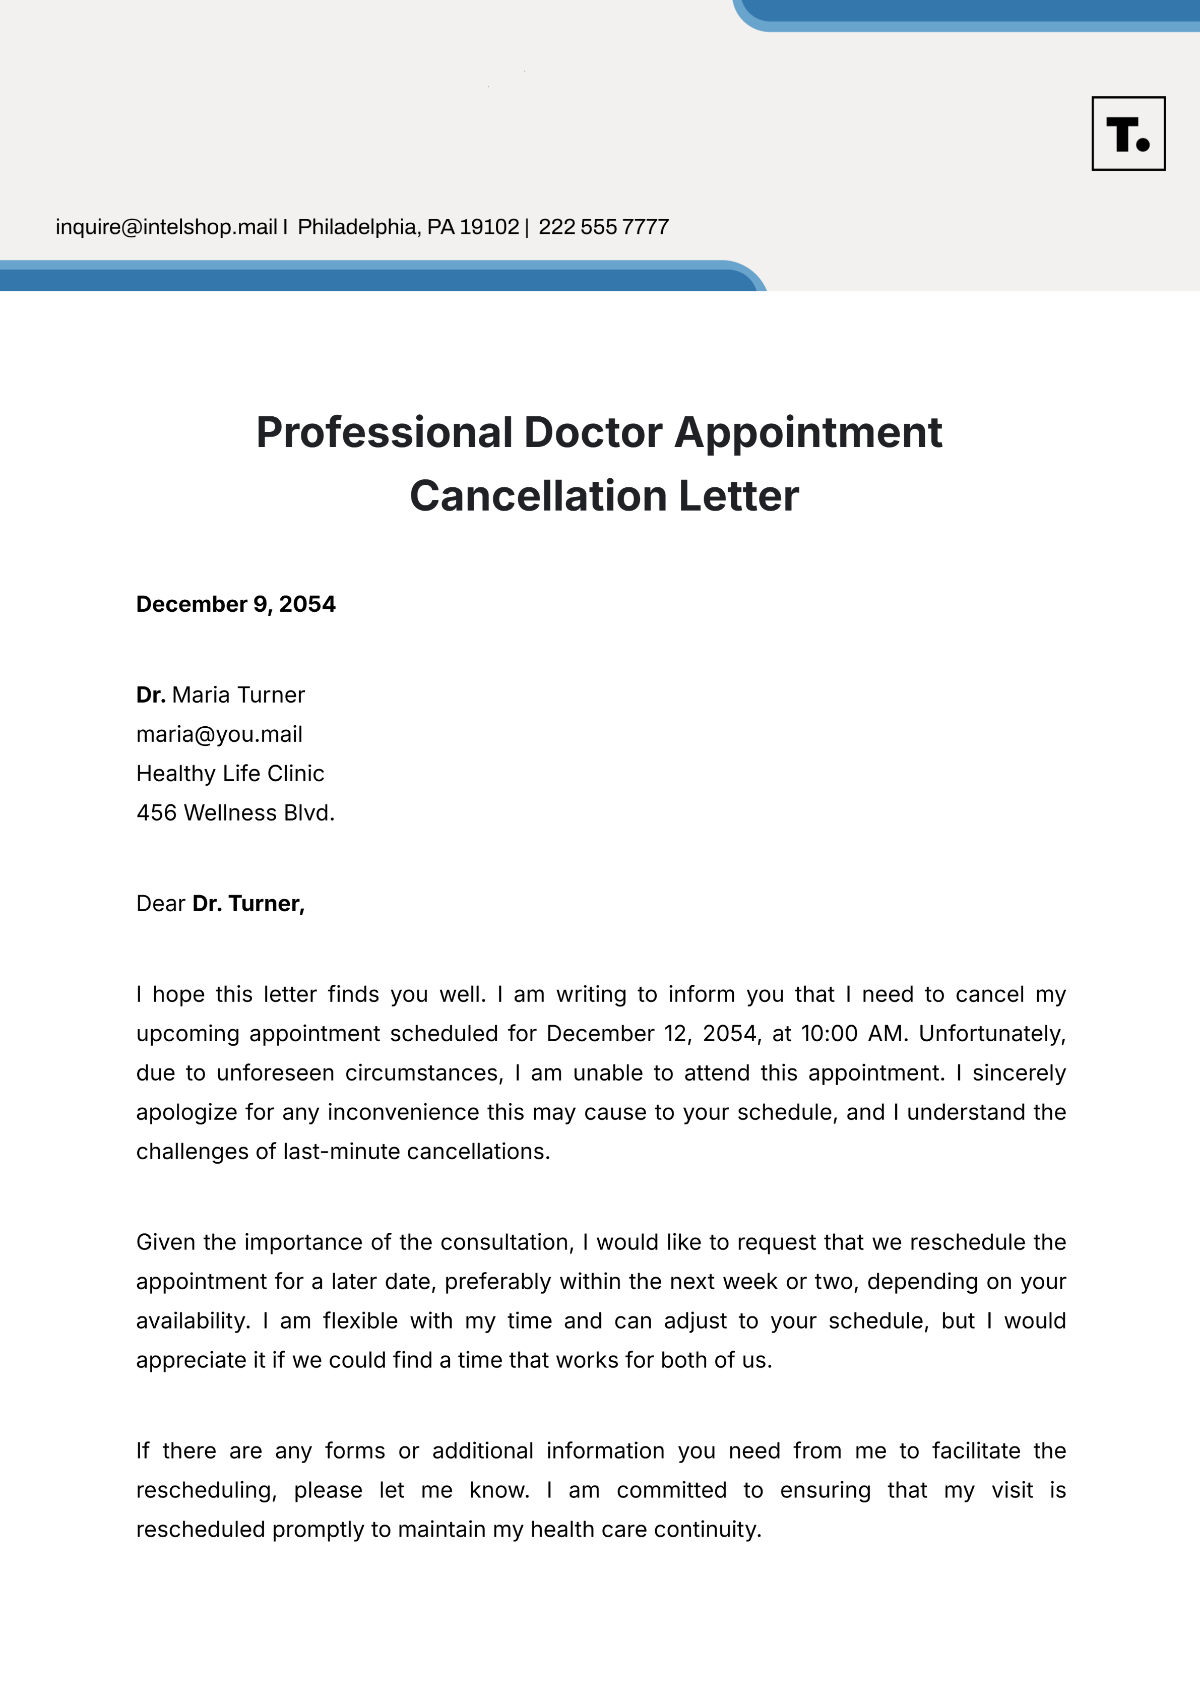
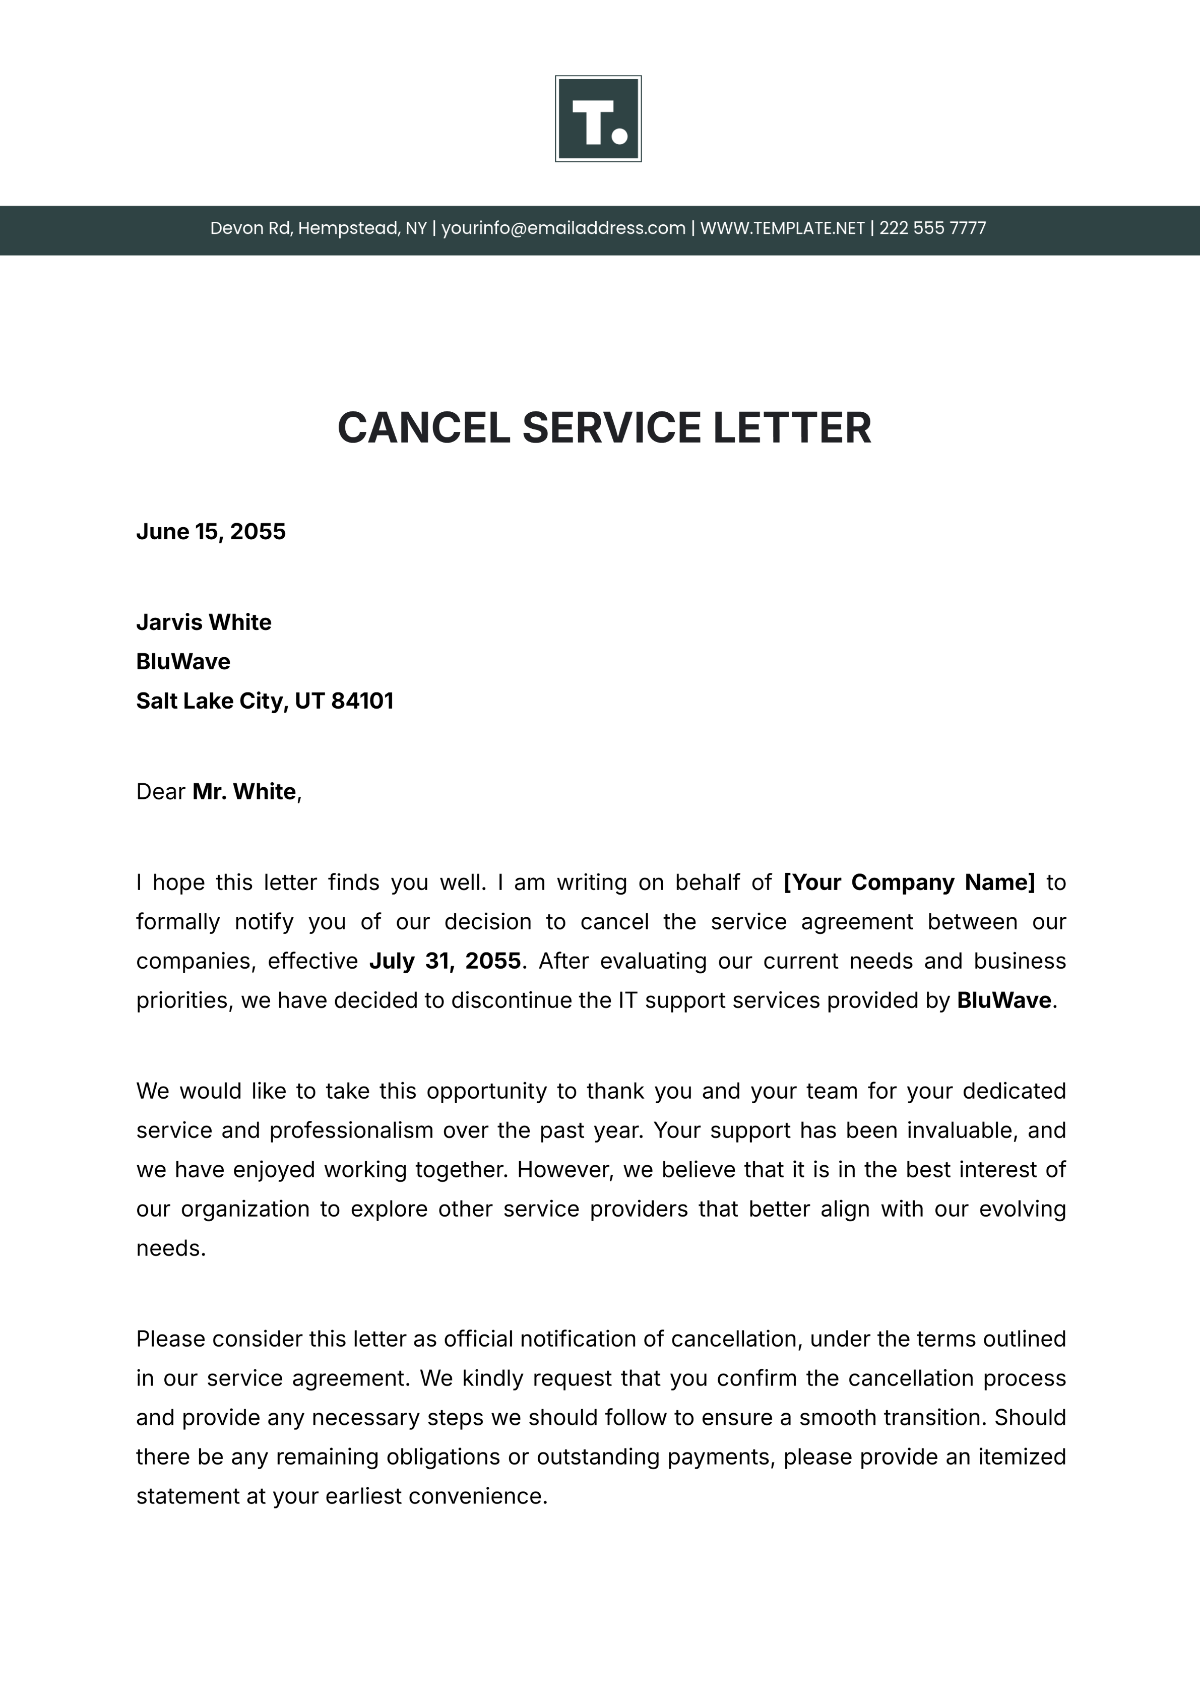
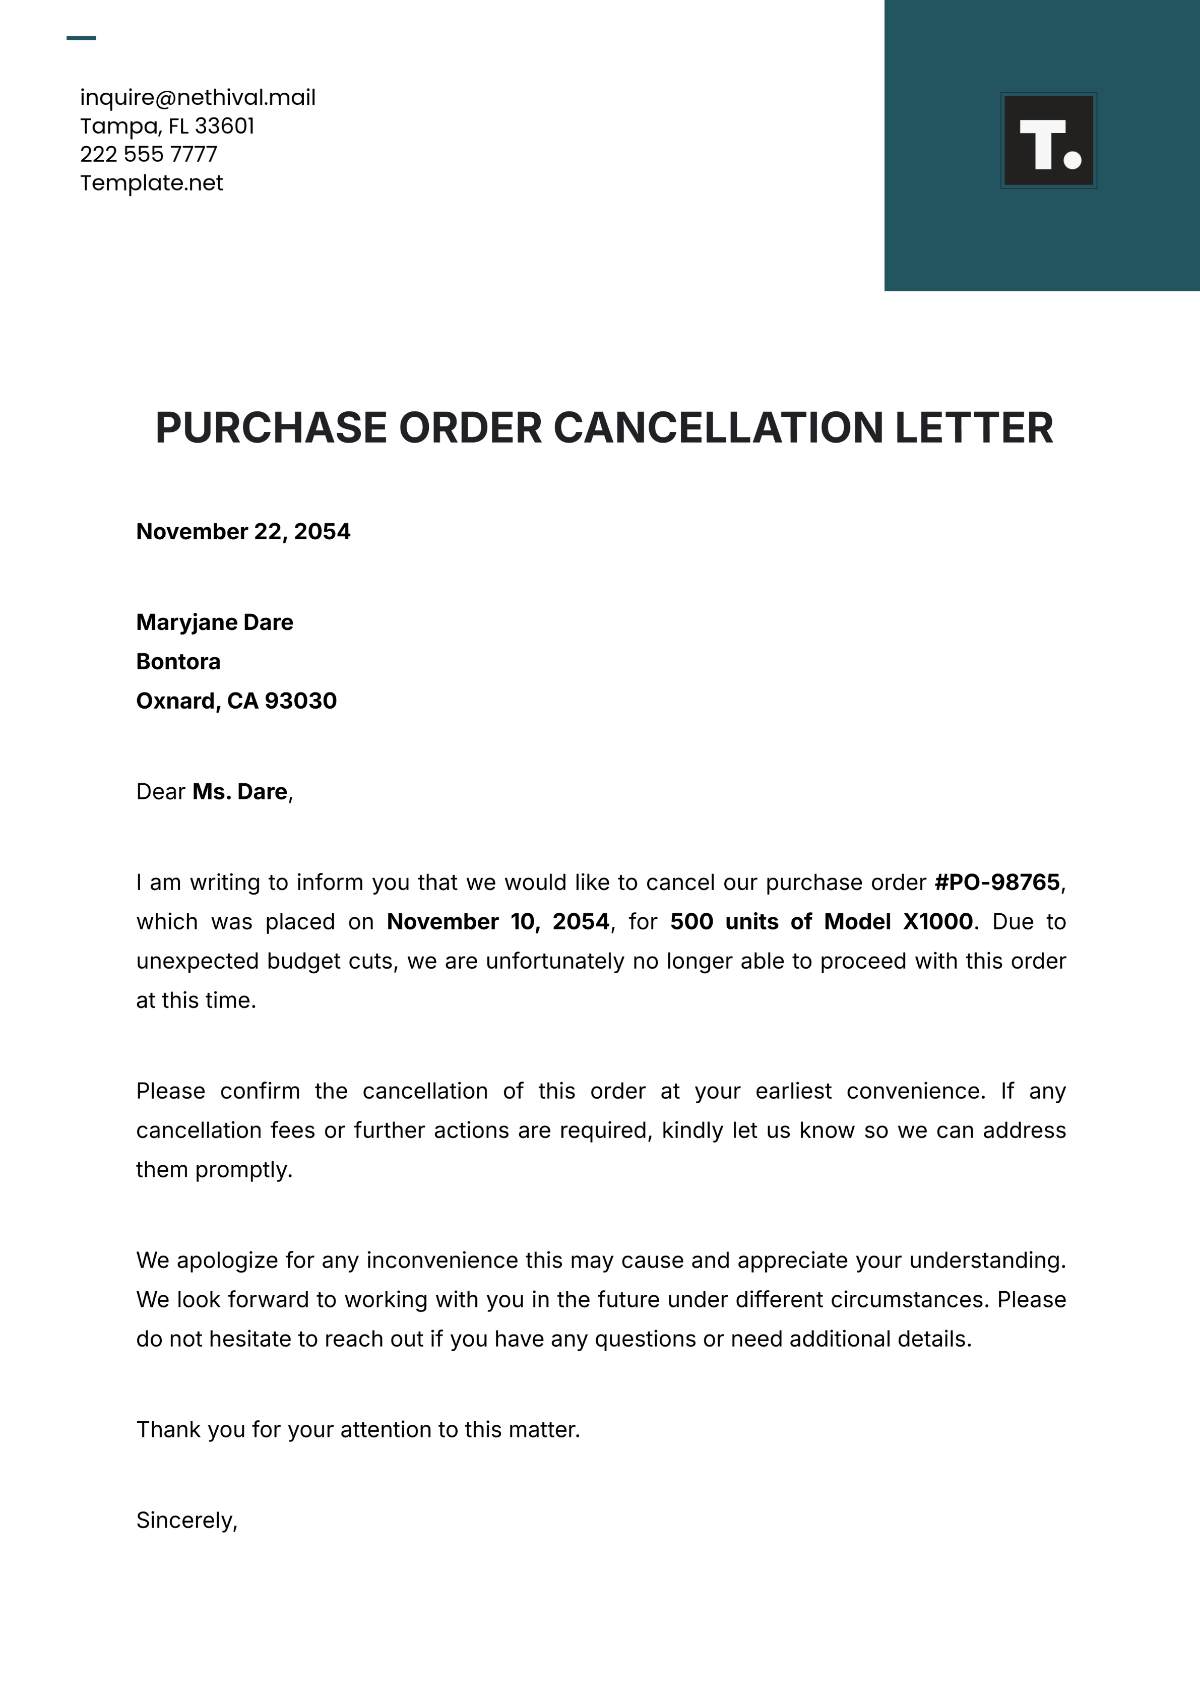
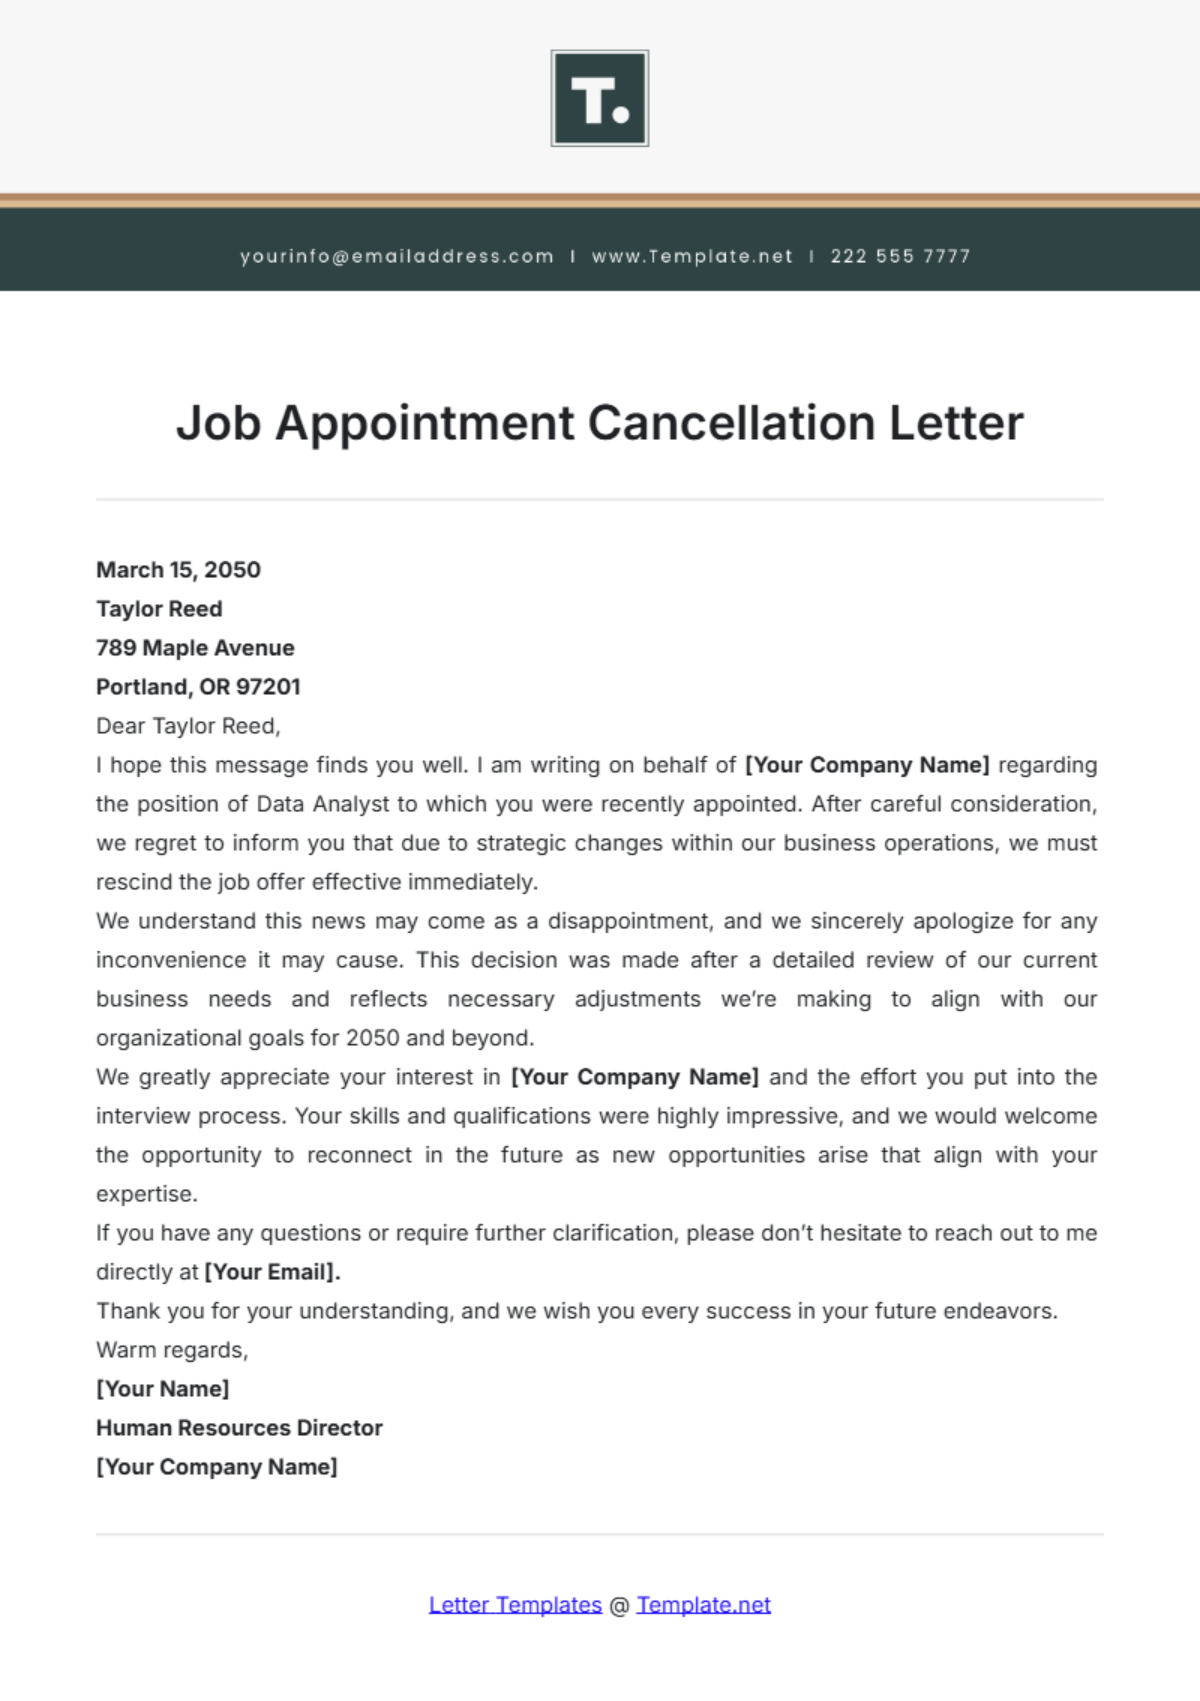
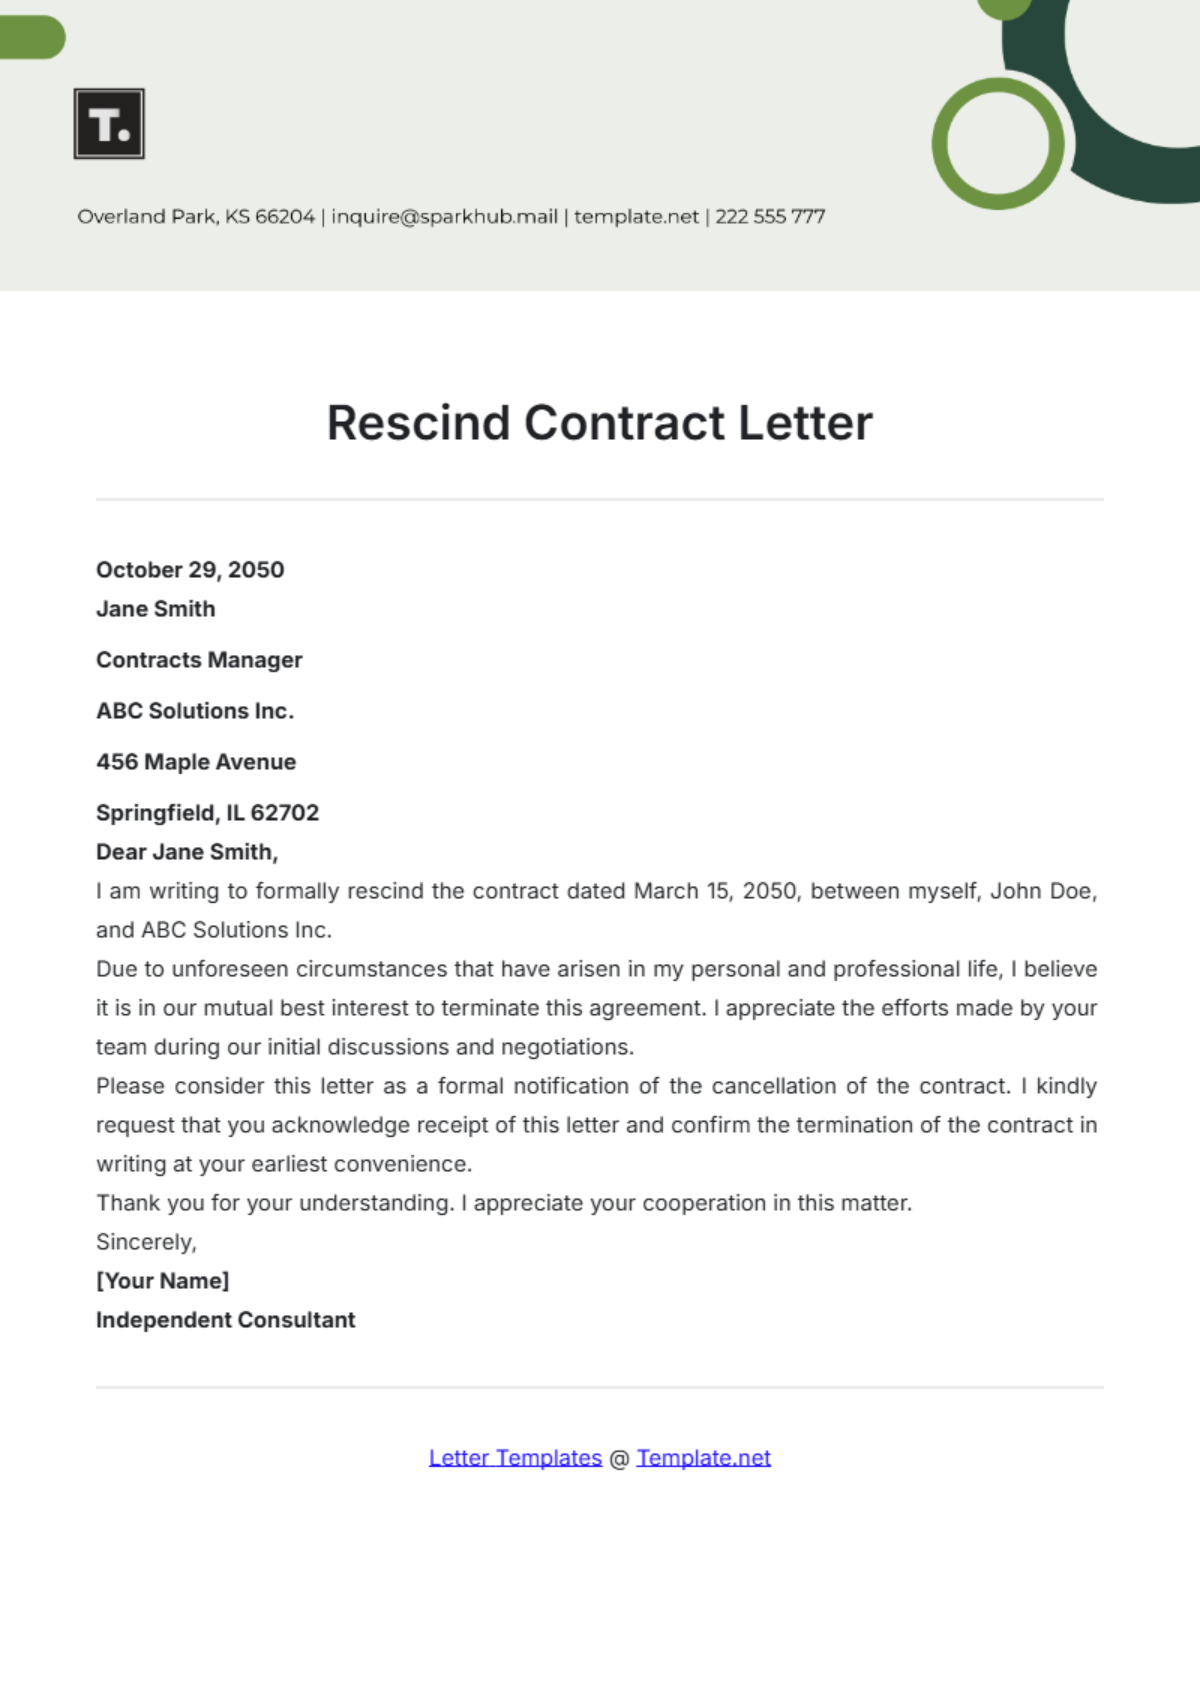
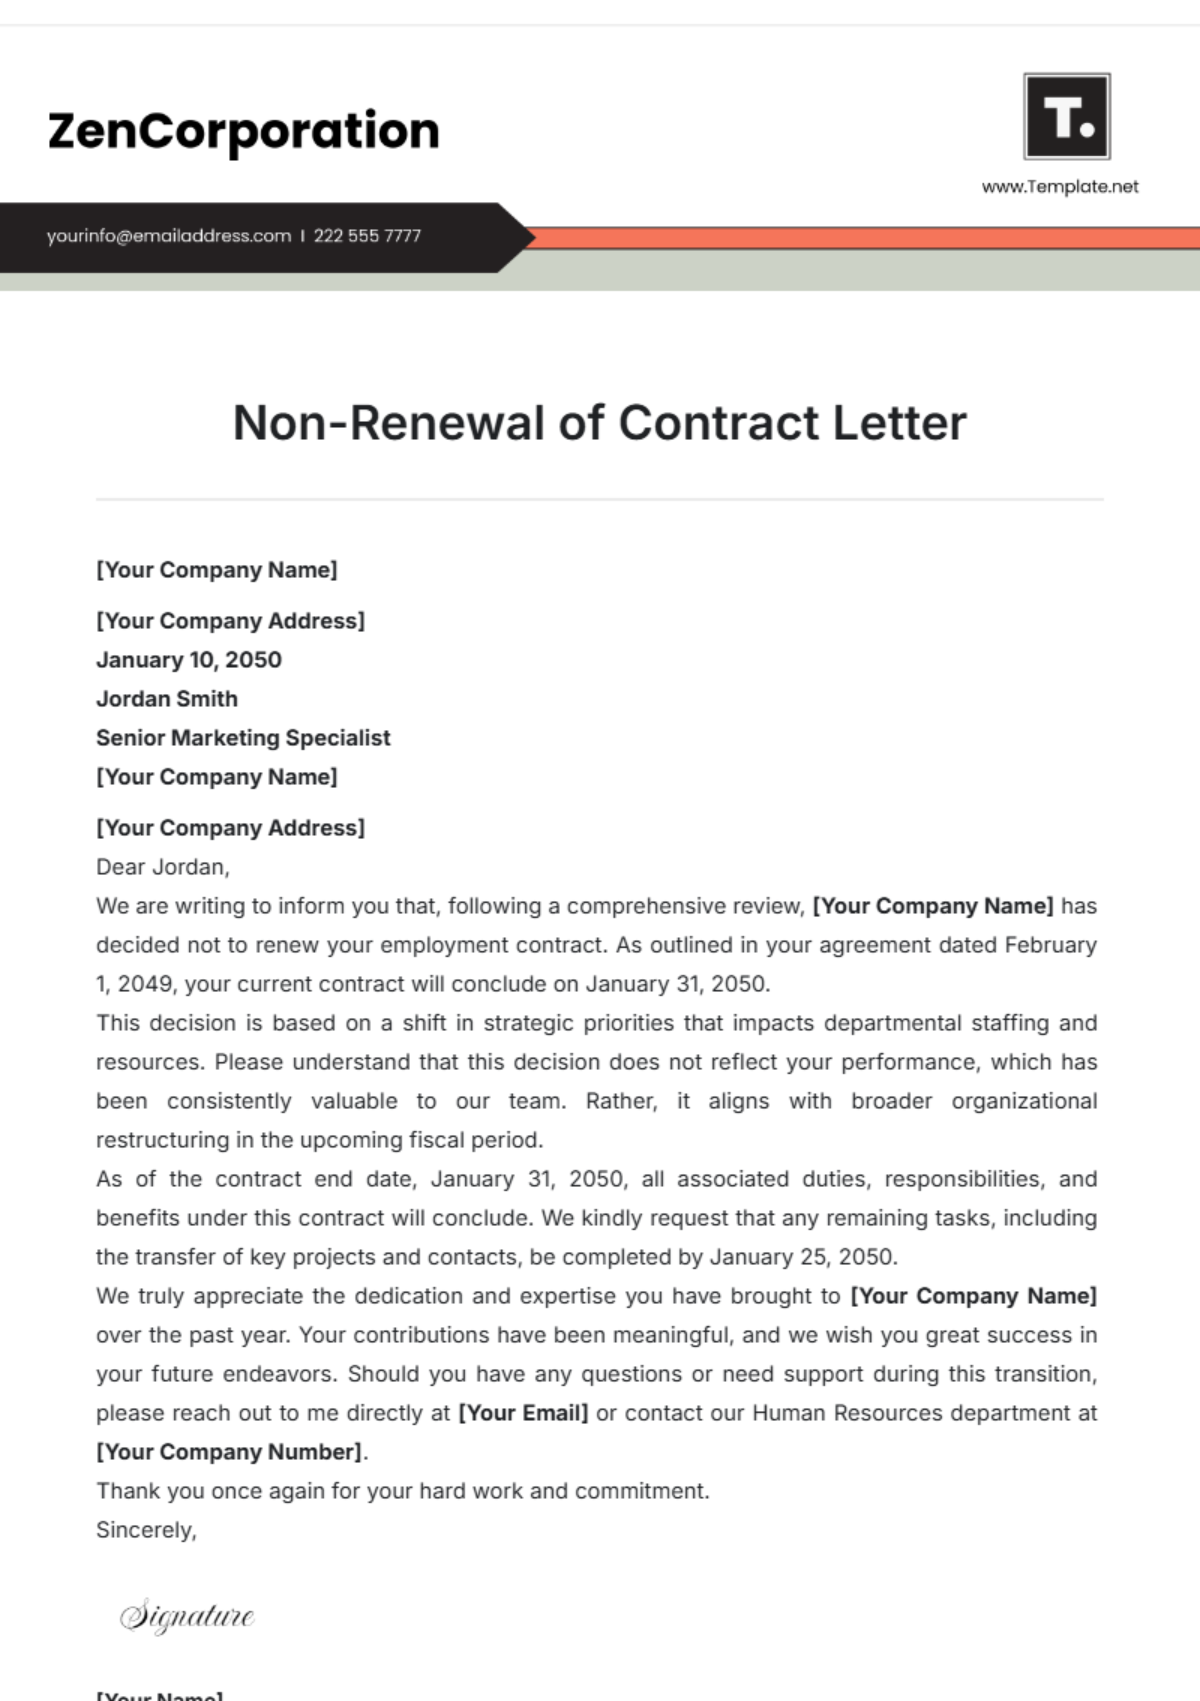
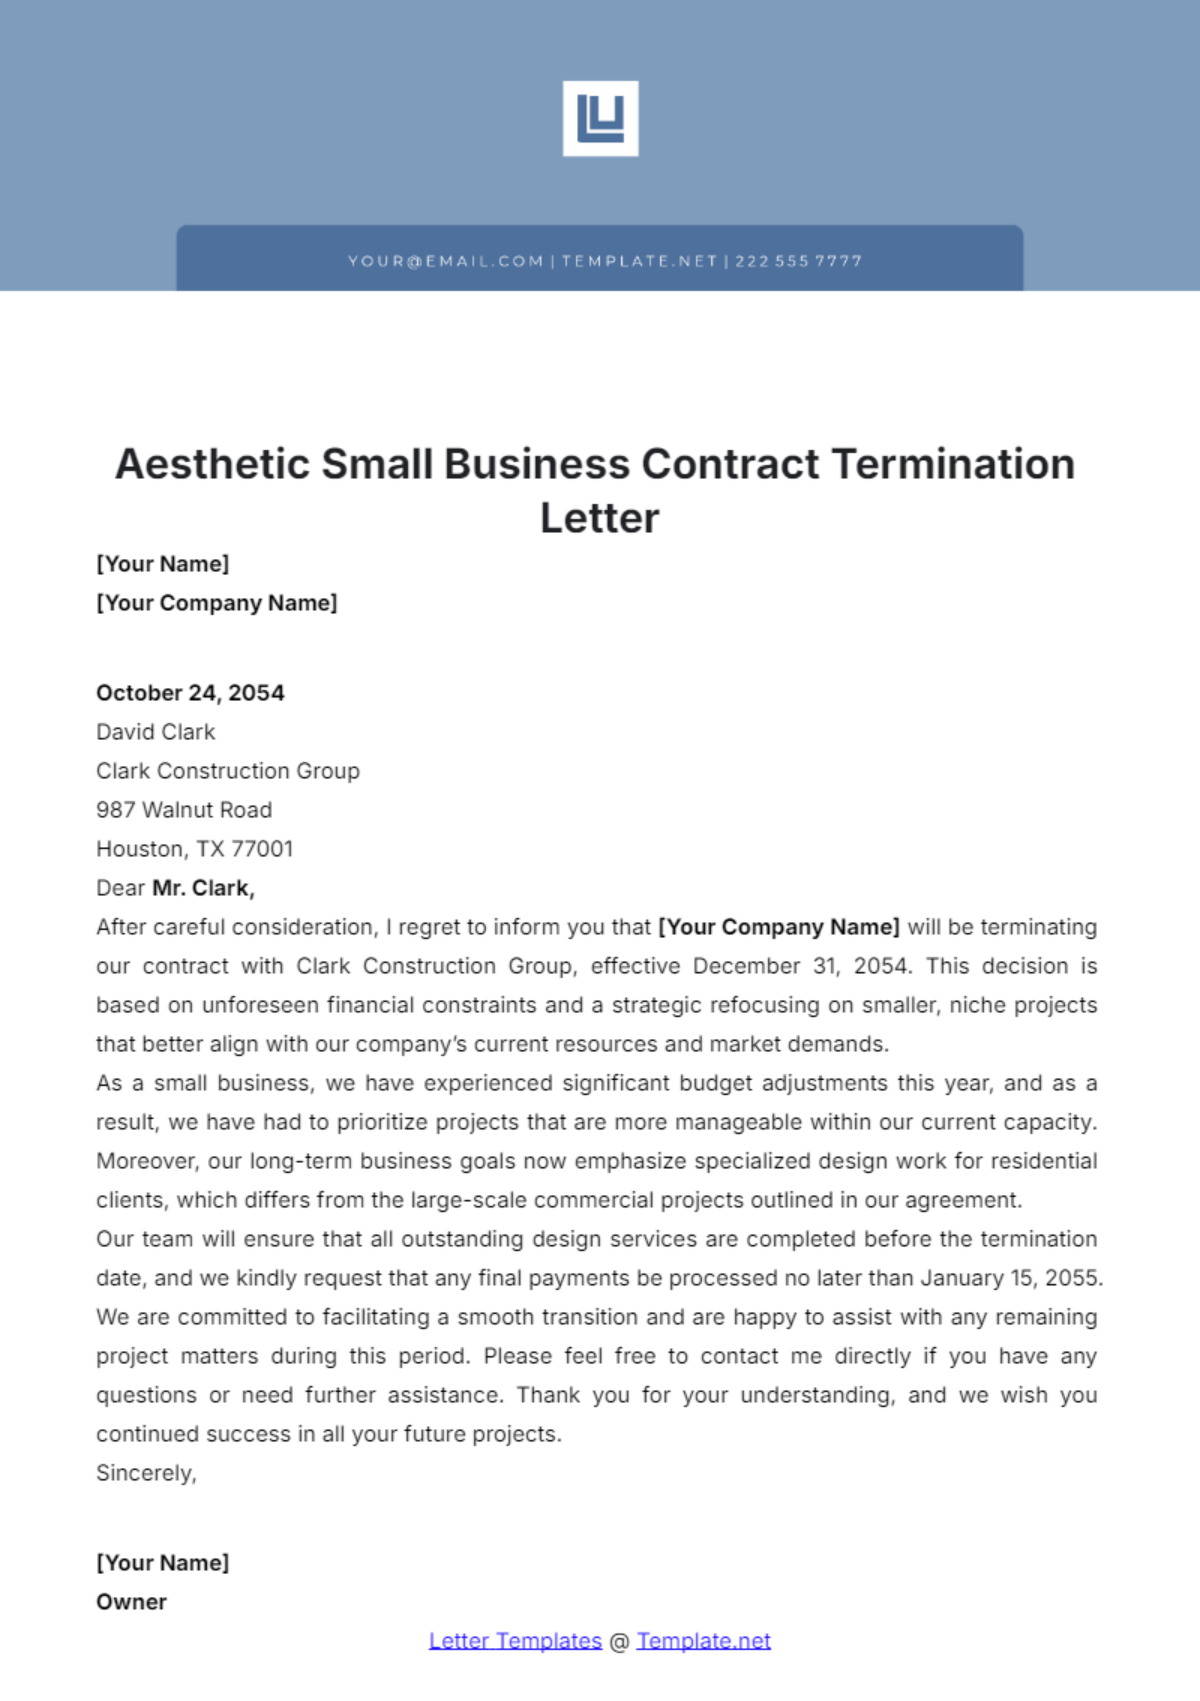
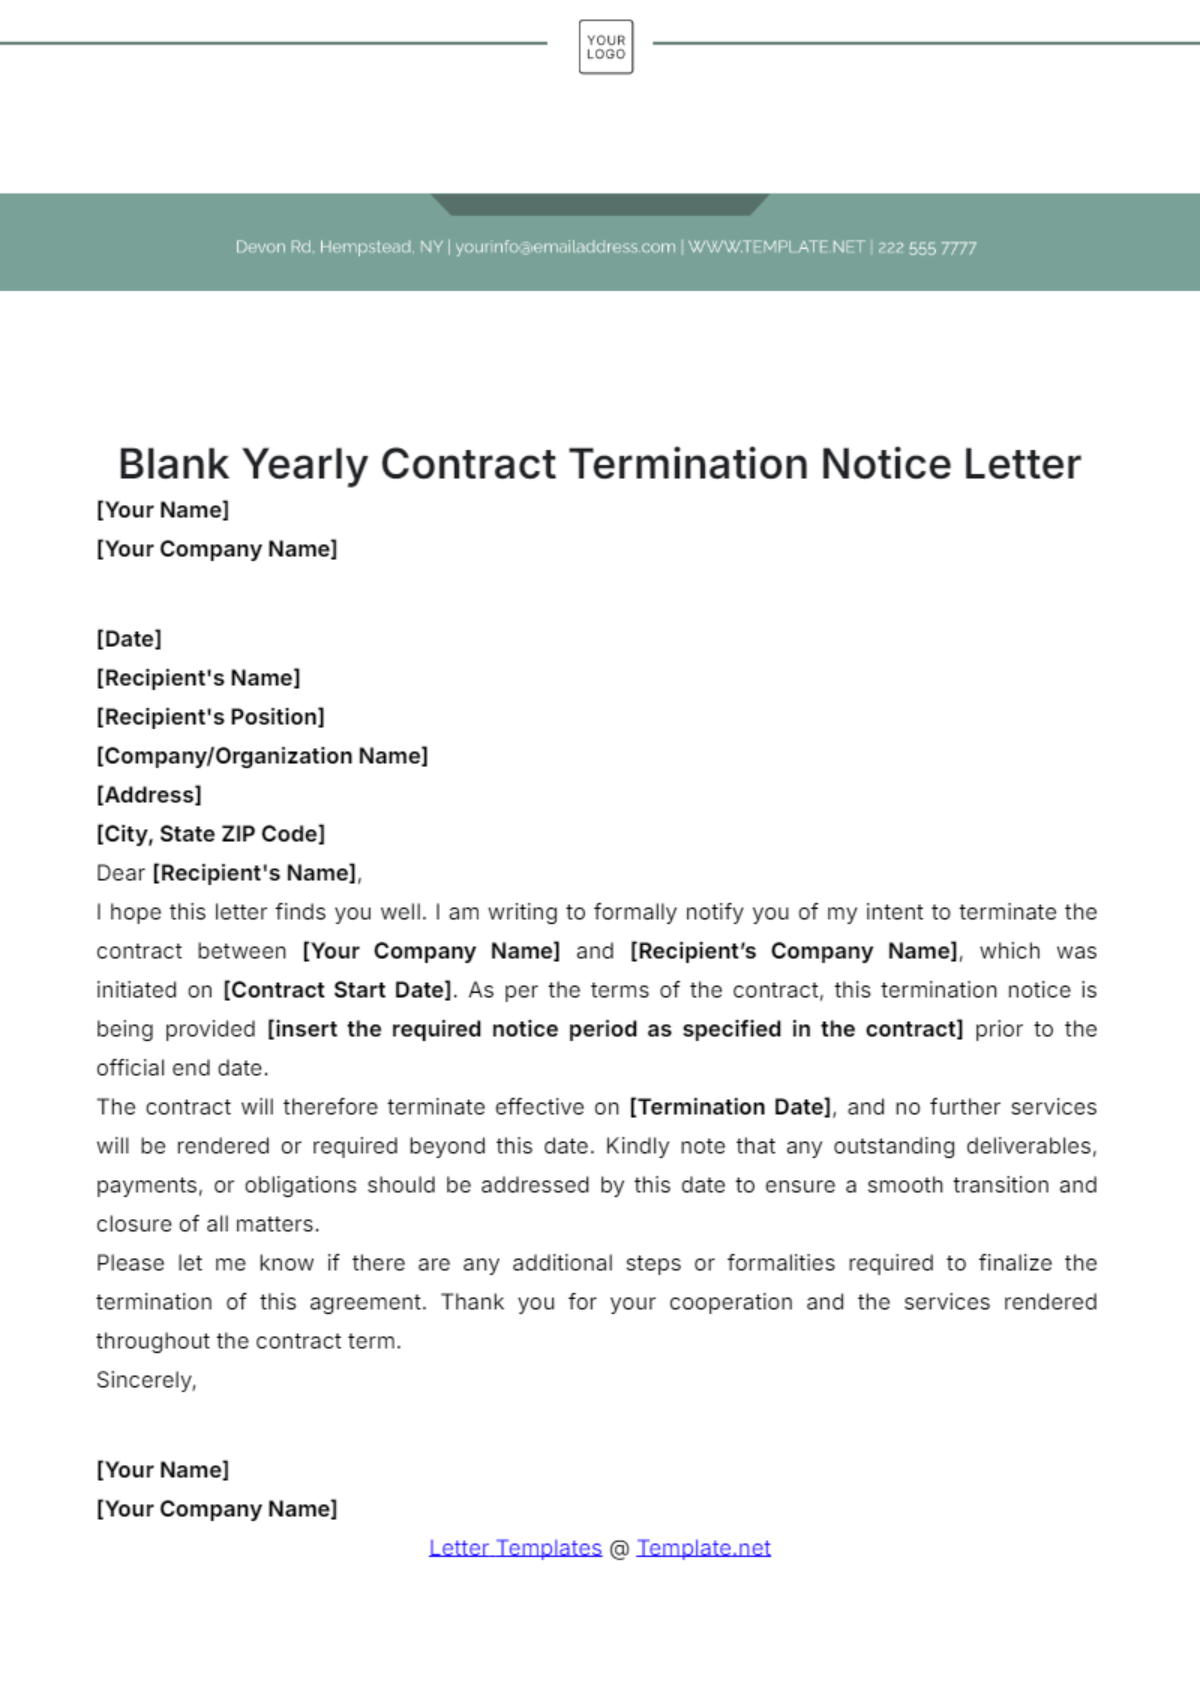
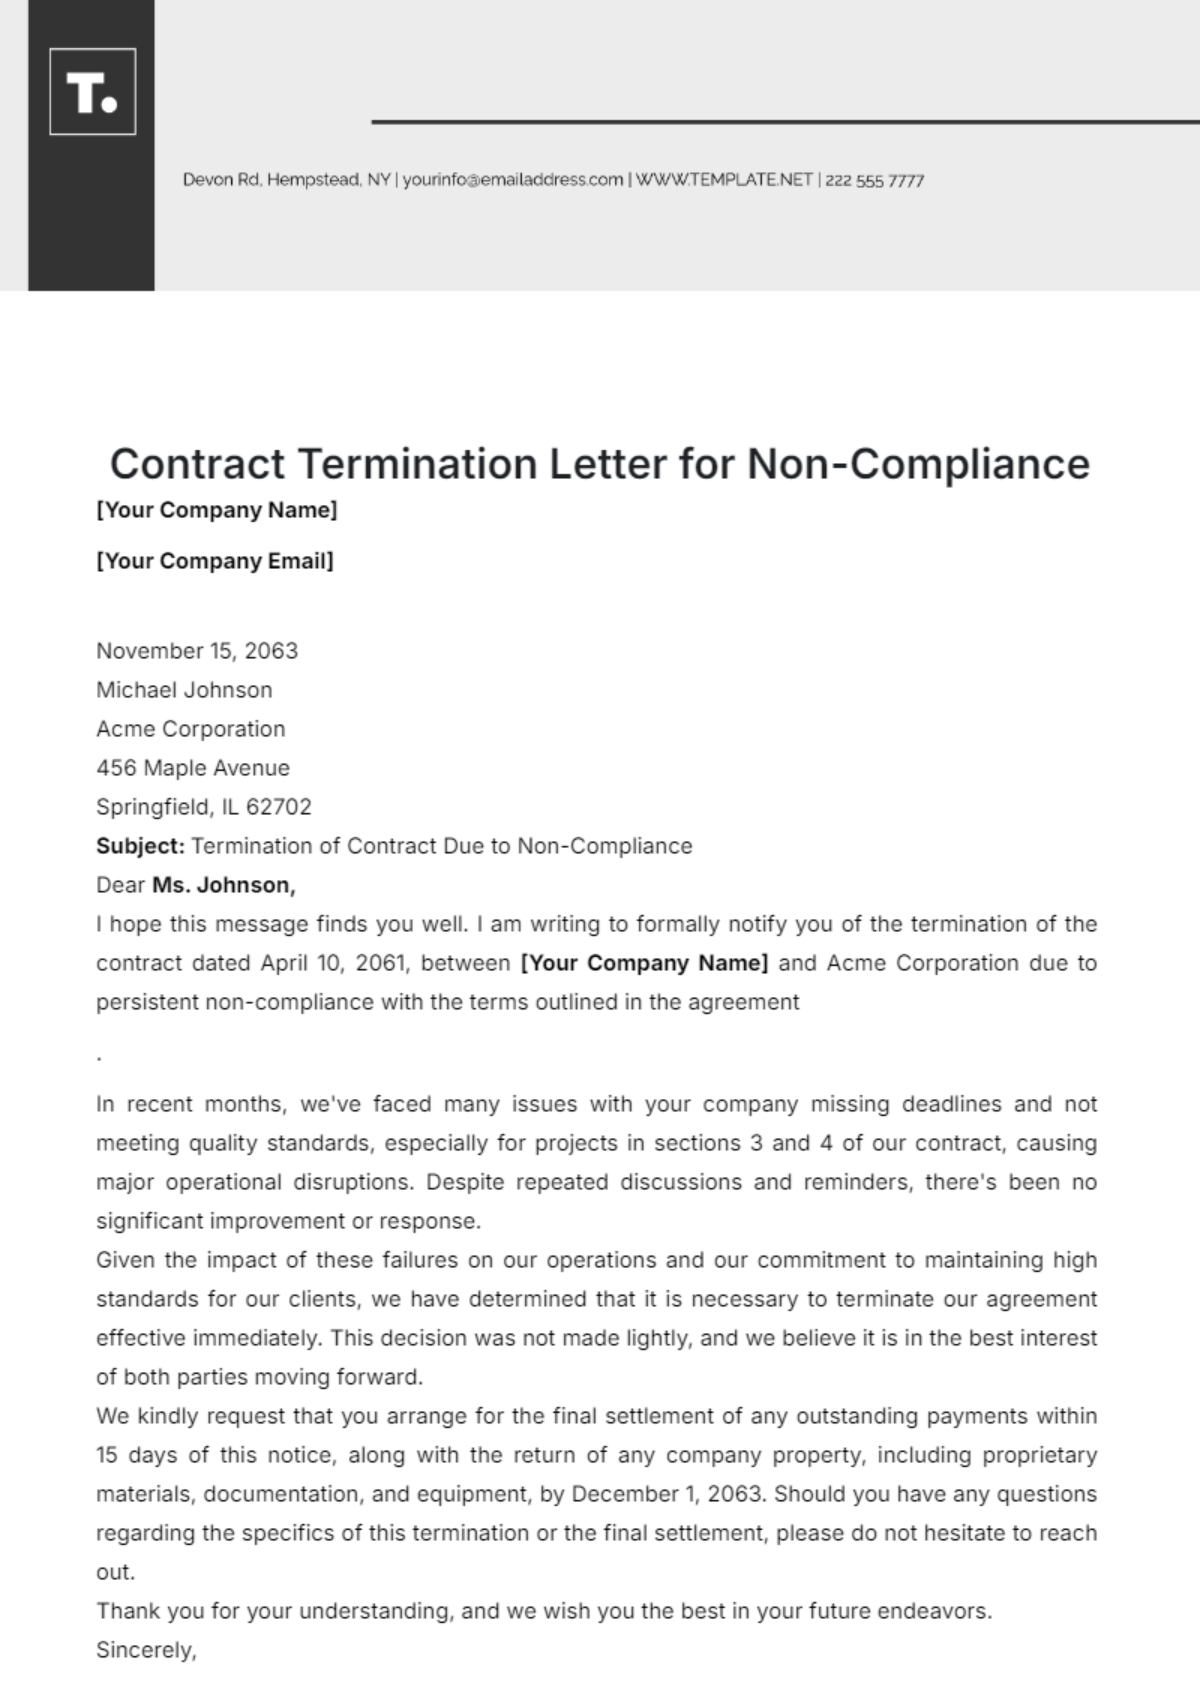
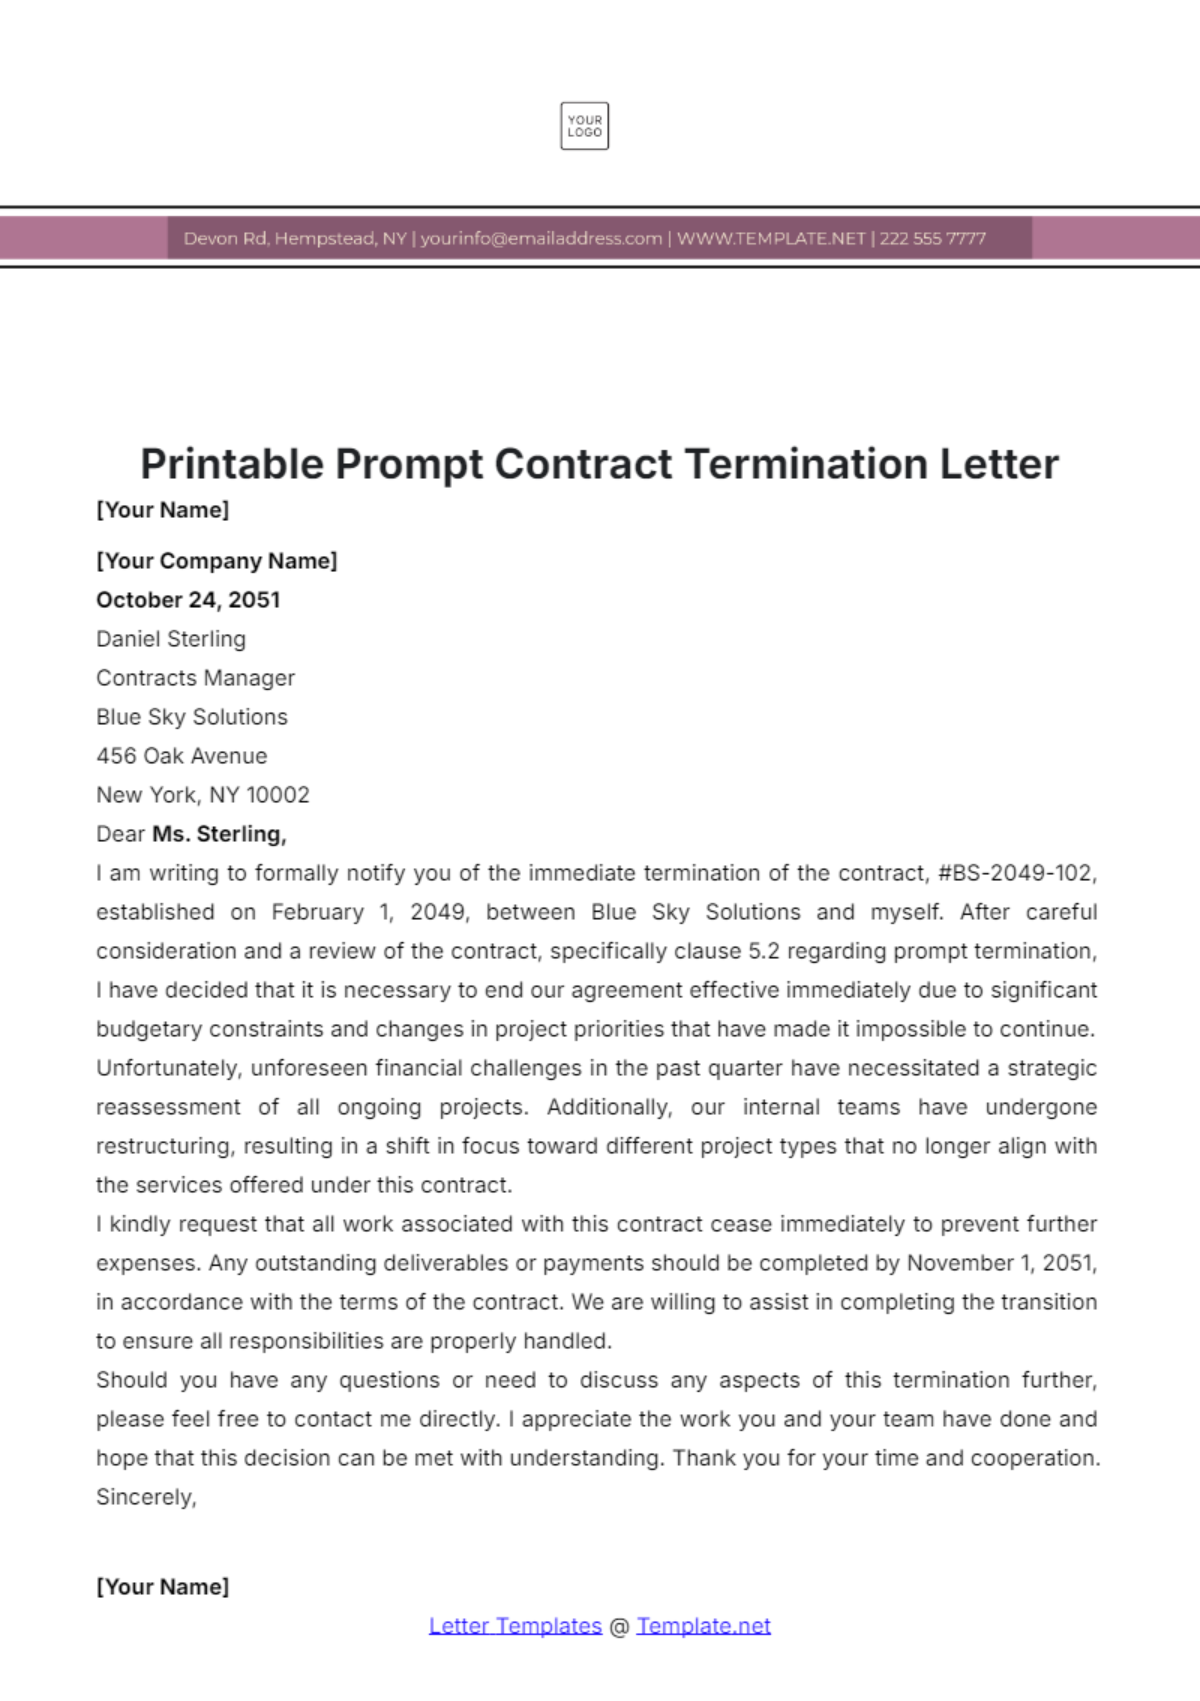
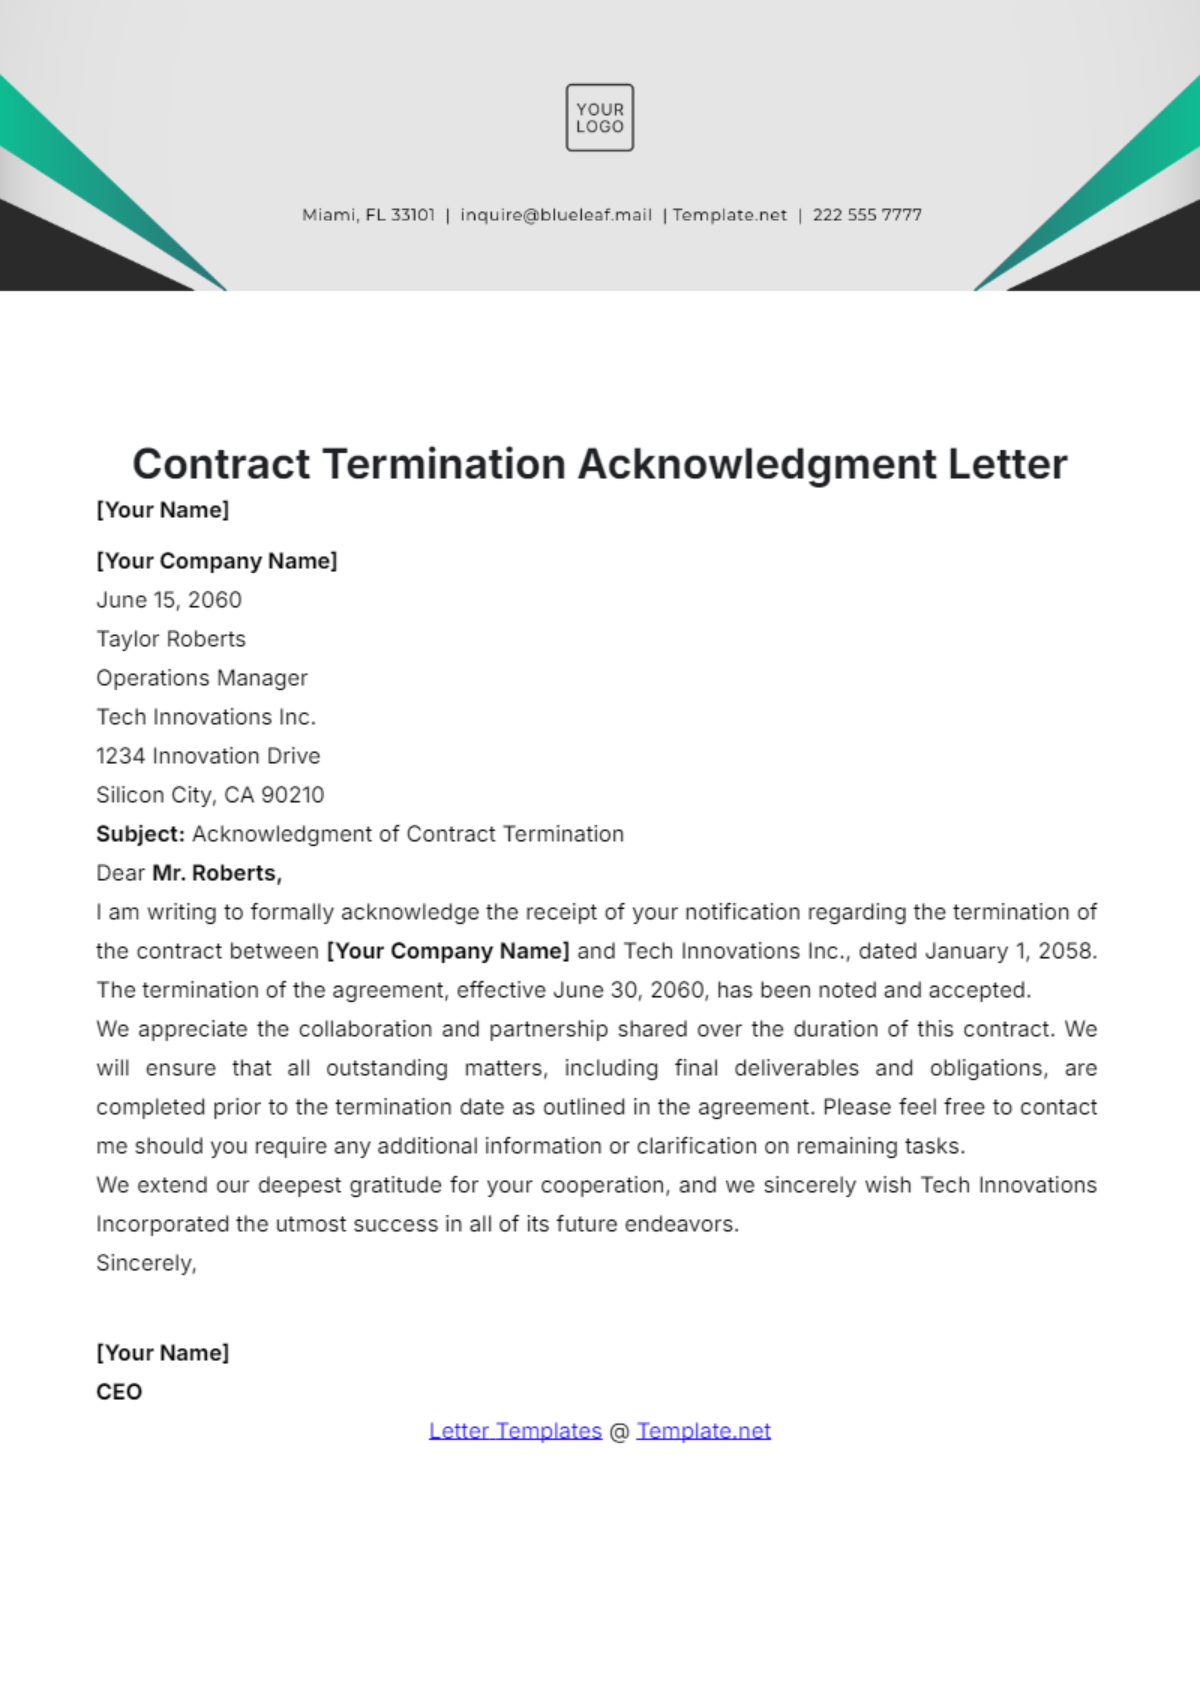
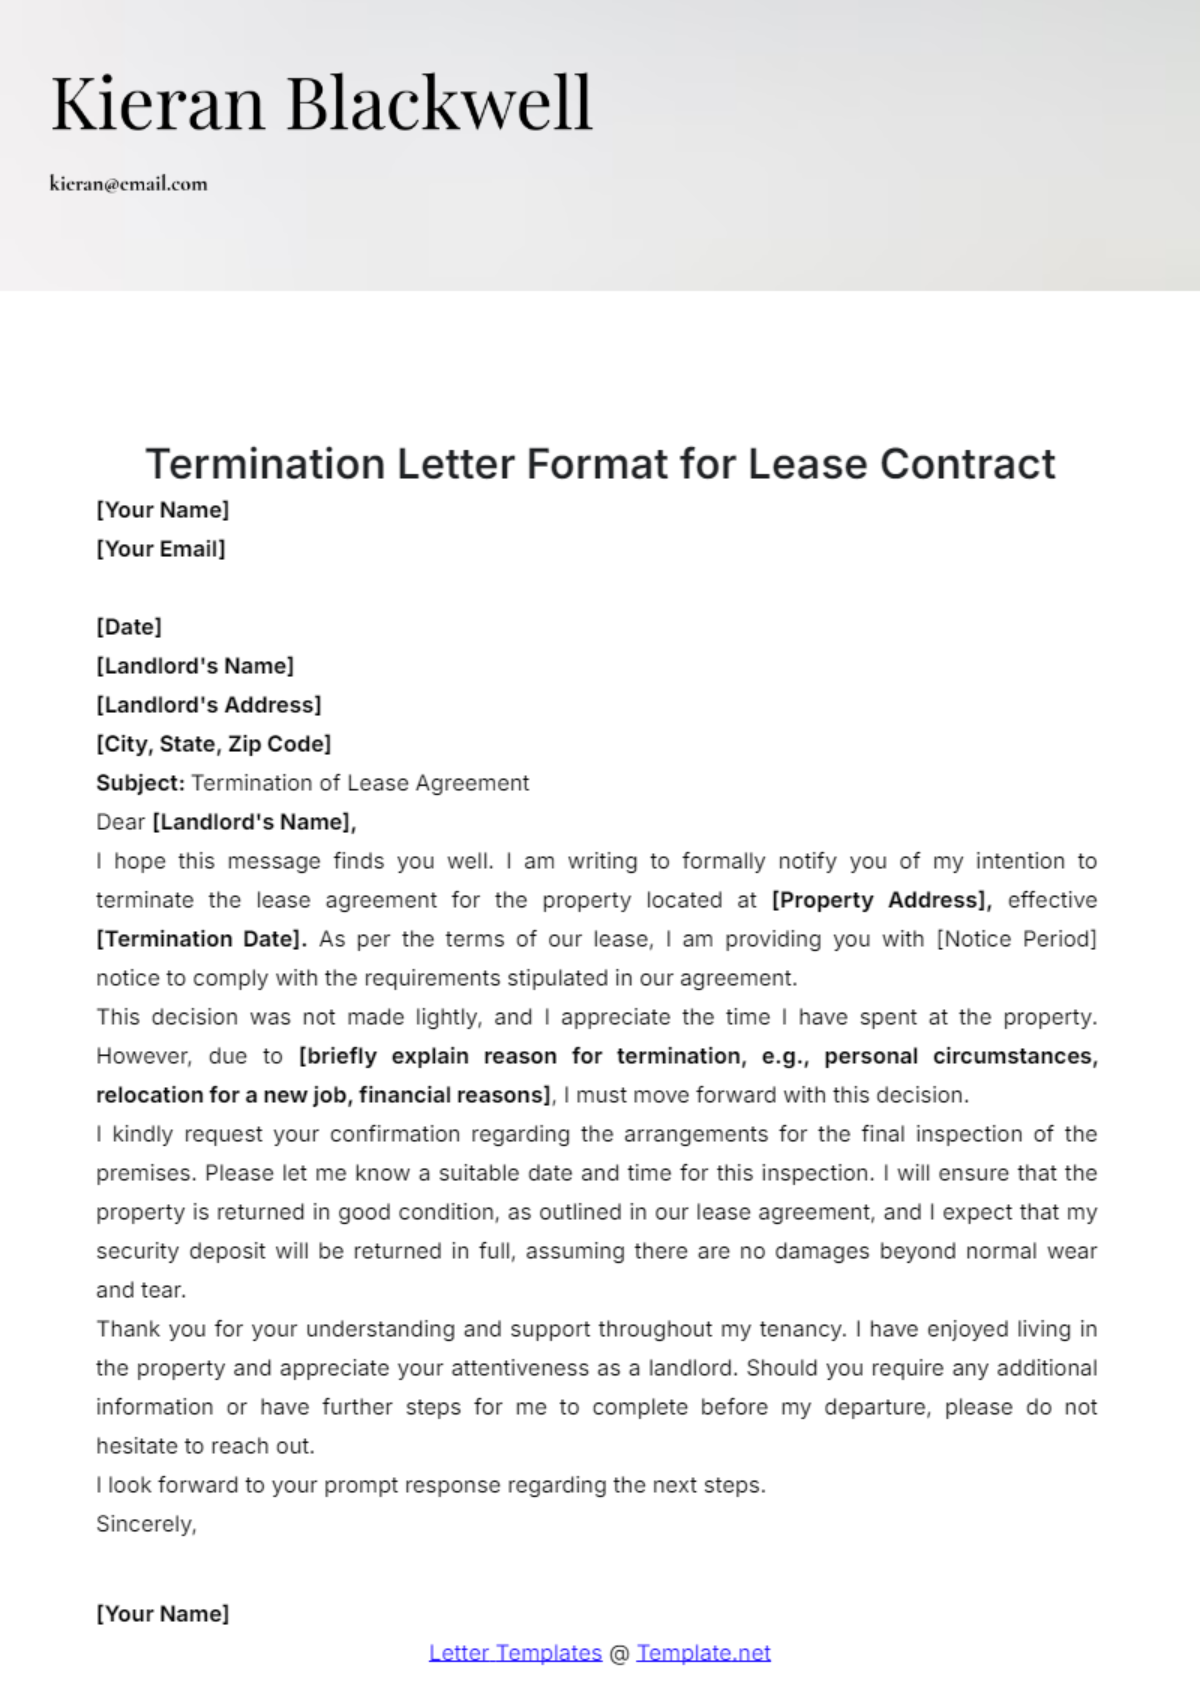
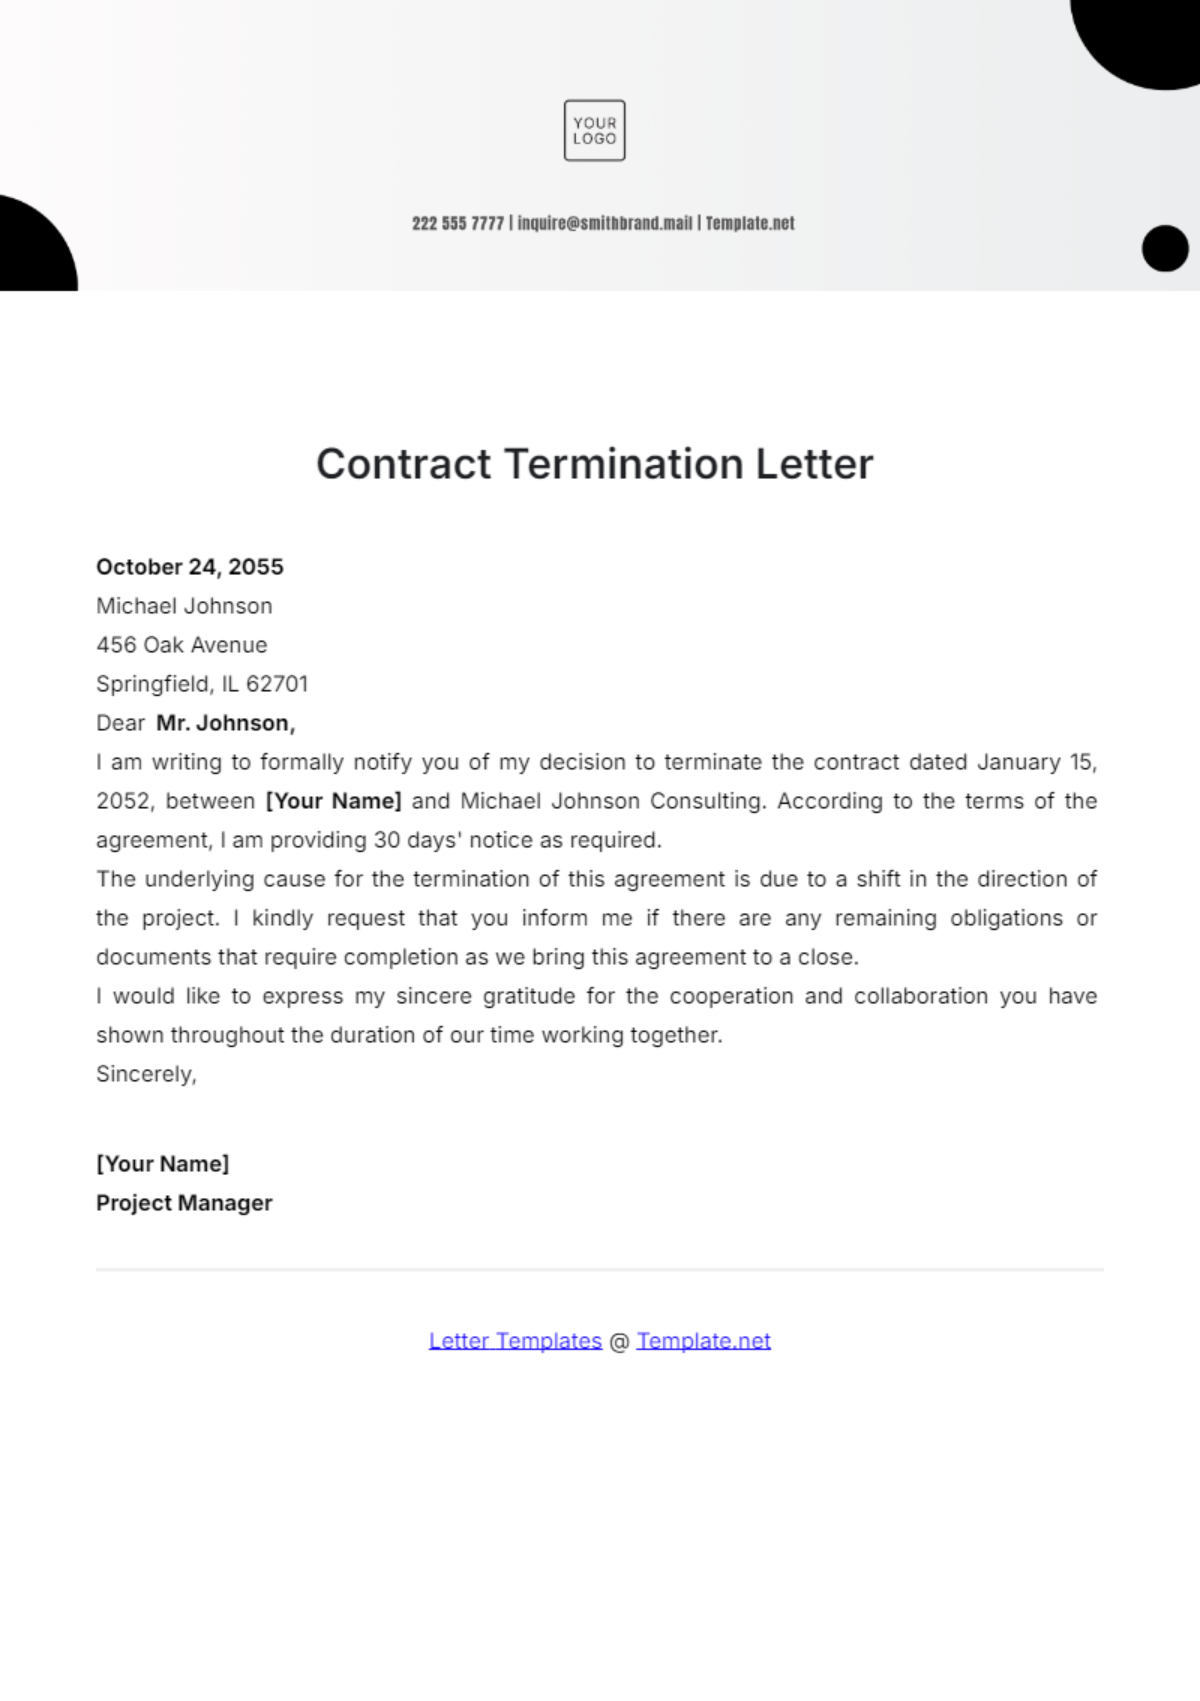
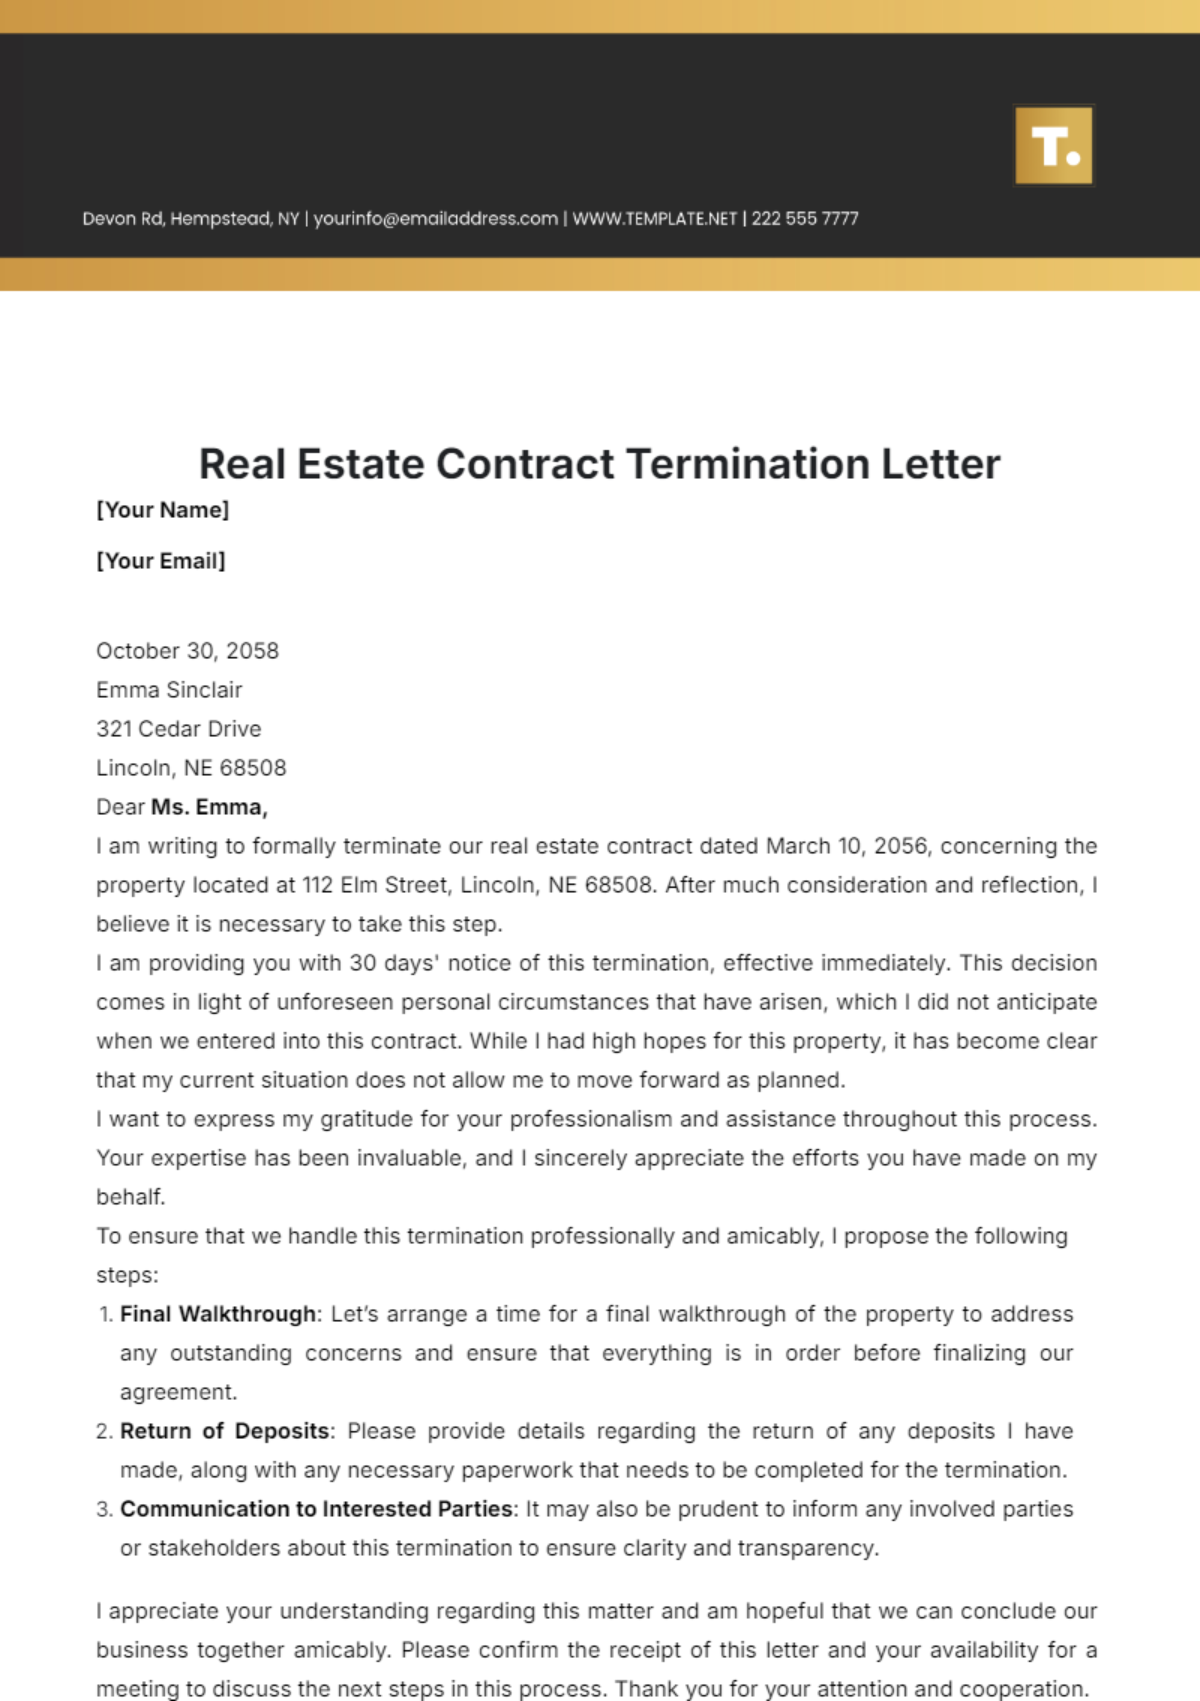
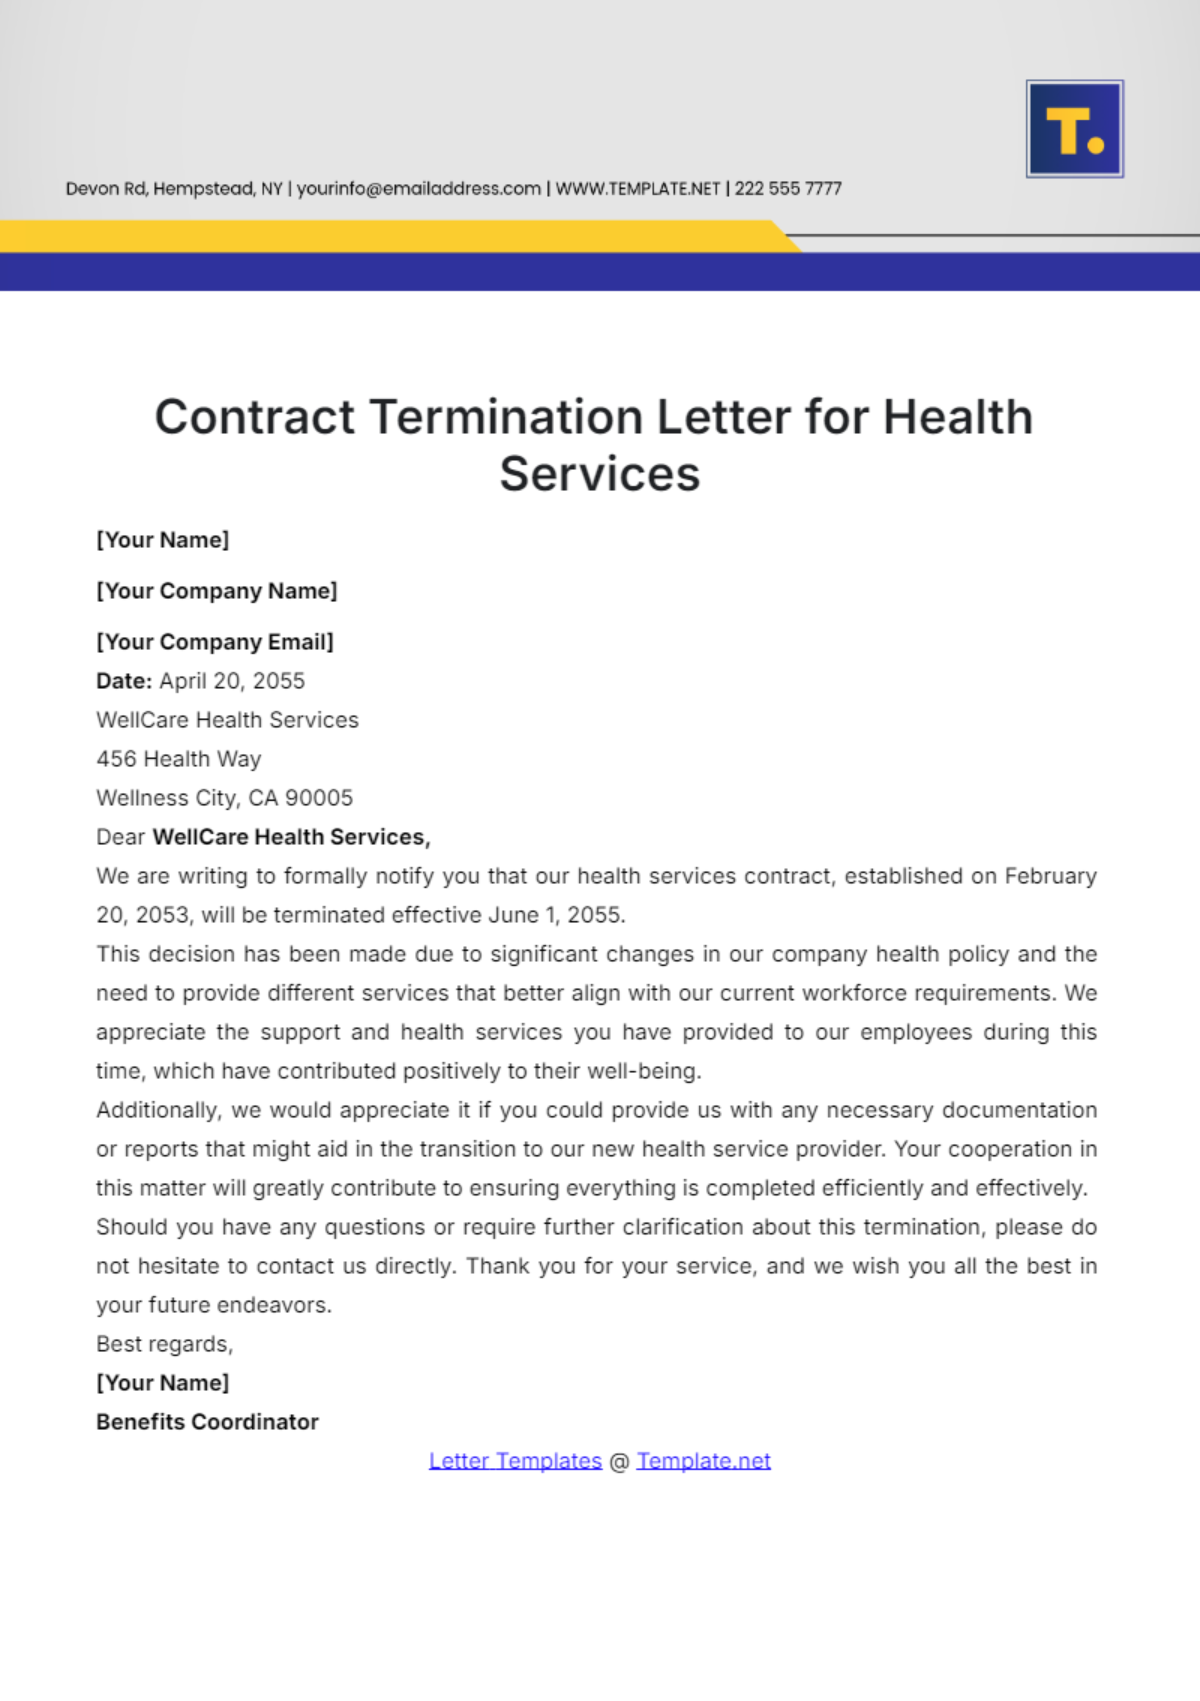
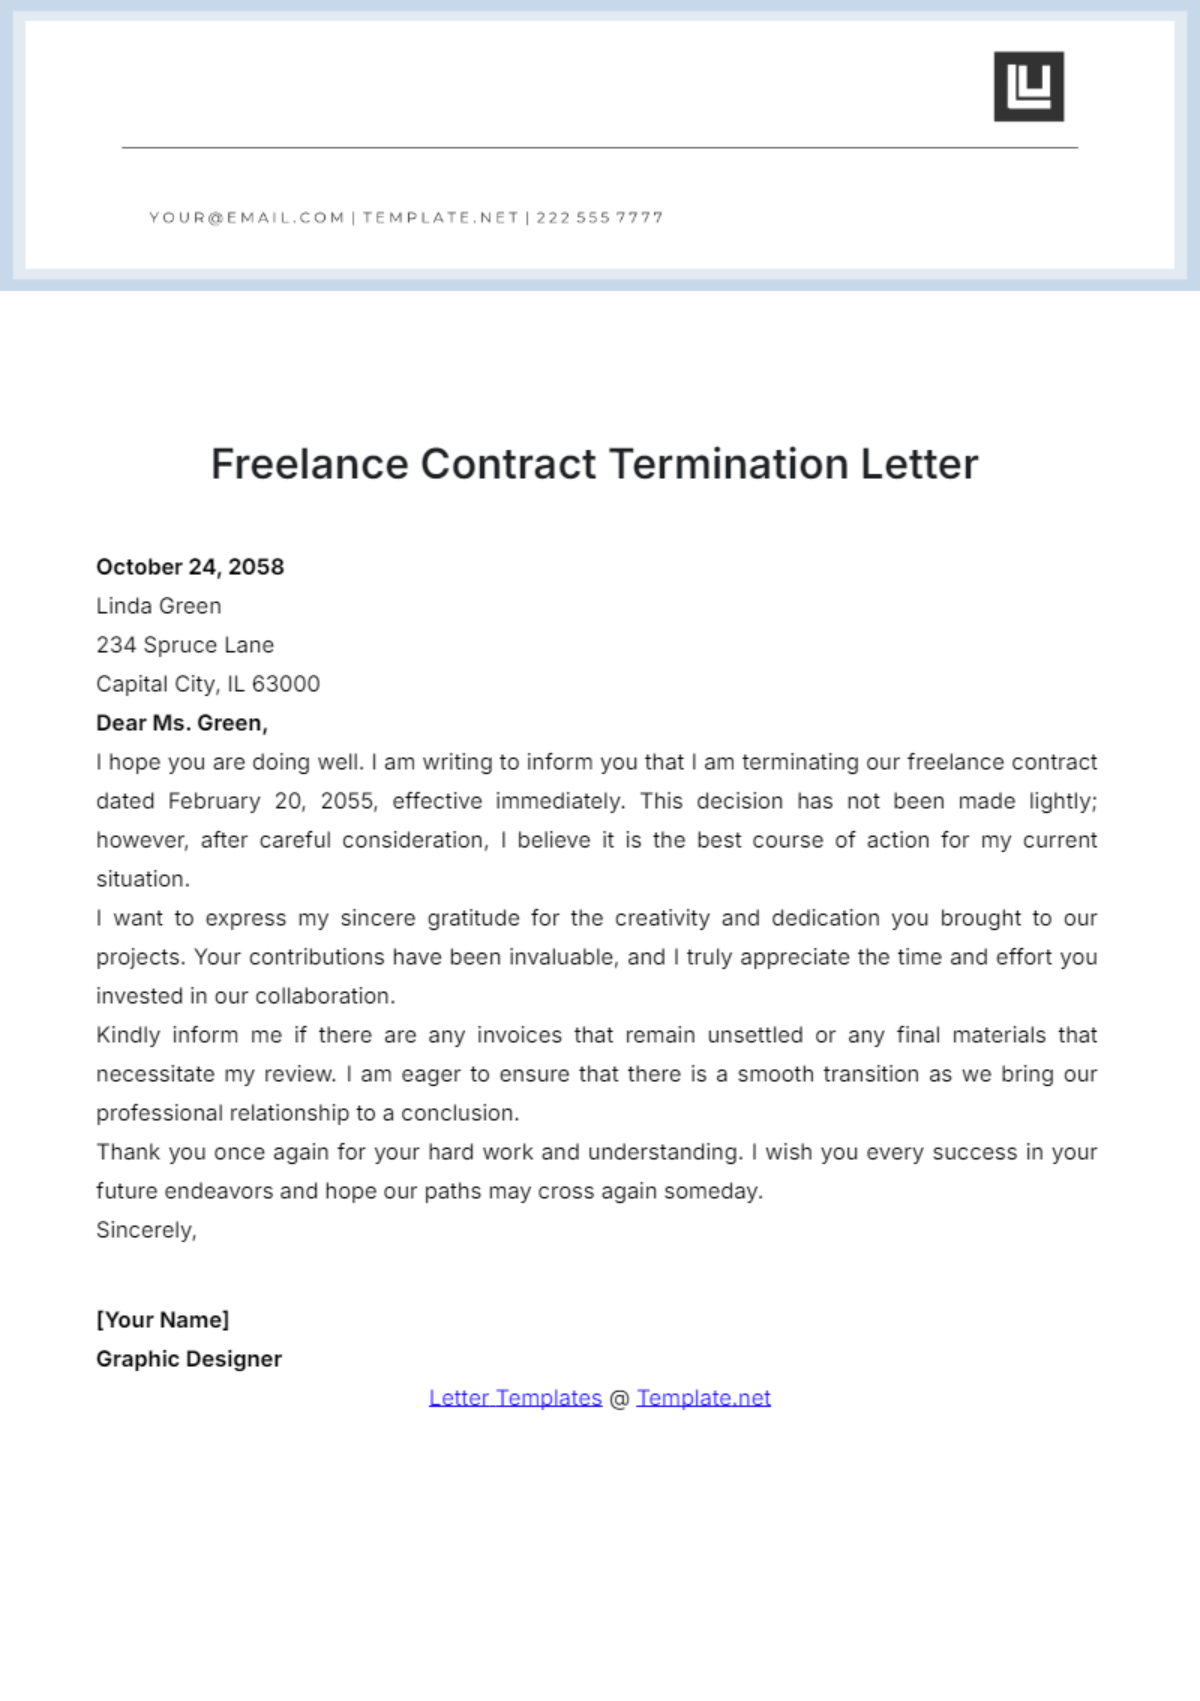
Keep your business dealings professional and efficient with Cancellation Letter Templates from Template.net. Ideal for business managers, HR professionals, and individuals alike, our templates ensure you can quickly address any business cancellation while maintaining clarity and professionalism. Whether you're looking to formally end a subscription or notify a vendor about a contract cancellation, our templates have you covered. Each template includes key details such as customizable logos, contact information, and specific dates, ensuring your communication is complete and concise. With no specialized writing skills required, our templates are designed to make your task easier and faster. Enjoy professional-grade designs and layouts that are customizable for various purposes, enabling you to use them for both print and digital distribution.
Discover the many cancellation letter templates we have on hand, ready to tailor to your specific needs. Simply select a template that fits your situation, swap in your company details, and tweak the colors and fonts to match your branding. Add your personal touch by dragging and dropping icons or graphics, or enhance your letters with animated signatures for digital versions. Thanks to our AI-powered text tools, crafting the perfect message has never been easier—you'll find that the possibilities are endless, all without needing advanced skills. Our library is regularly updated with new designs to ensure you always have fresh options. Once your letter is complete, download or share it effortlessly via link, print, or email, making it ideal for distribution across multiple channels. With Template.net, collaborating in real time has never been simpler.
