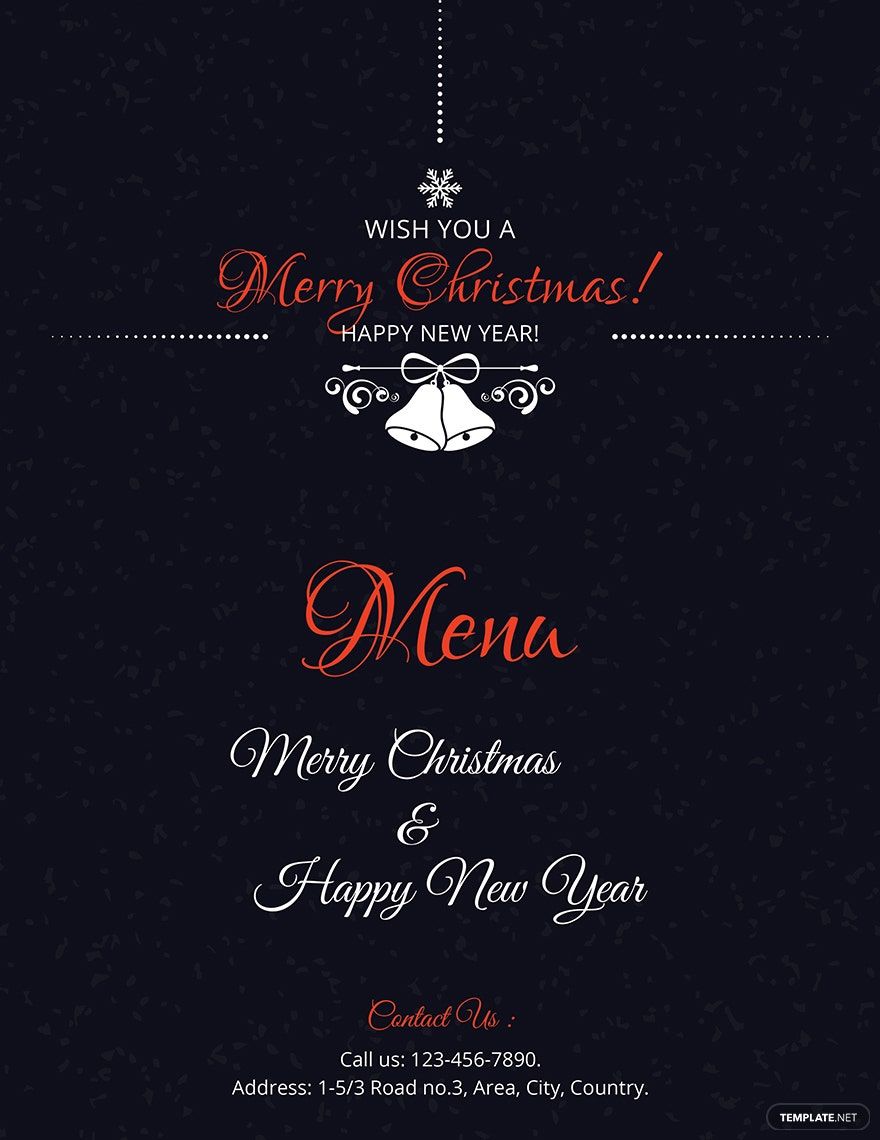
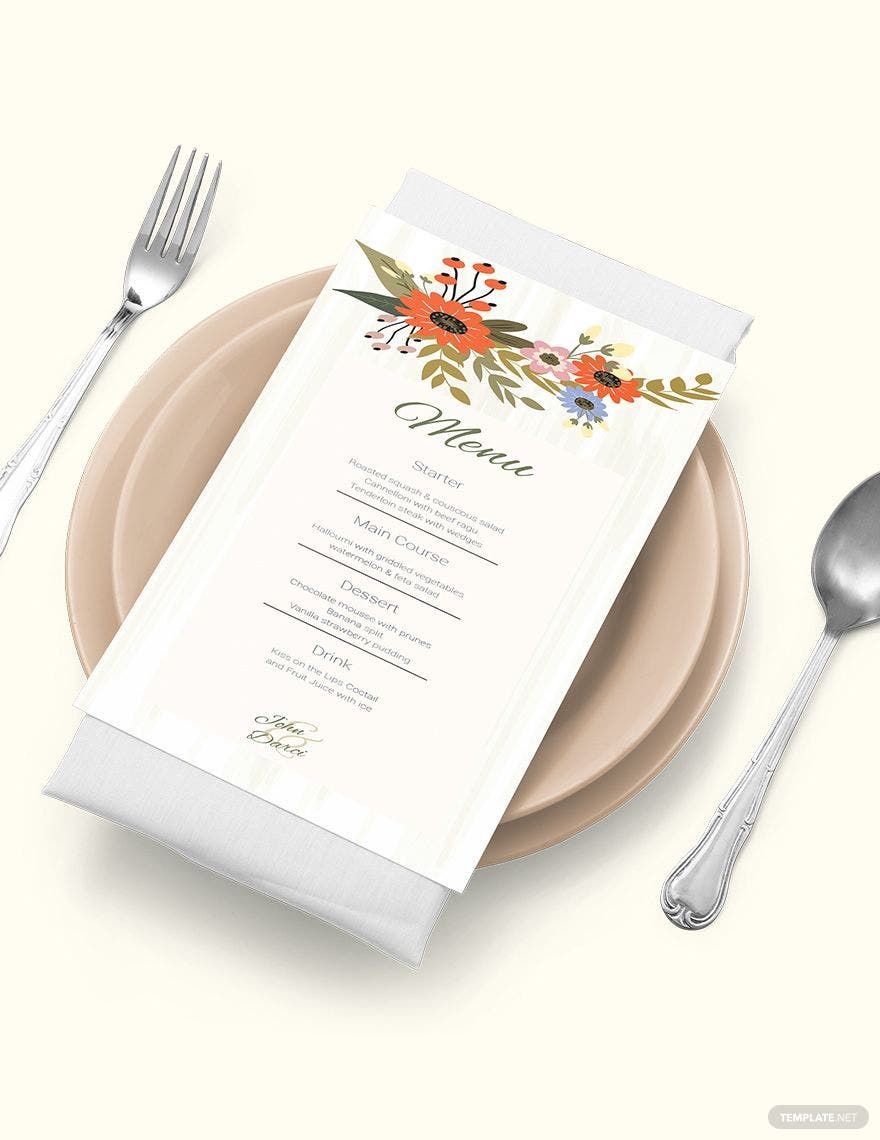
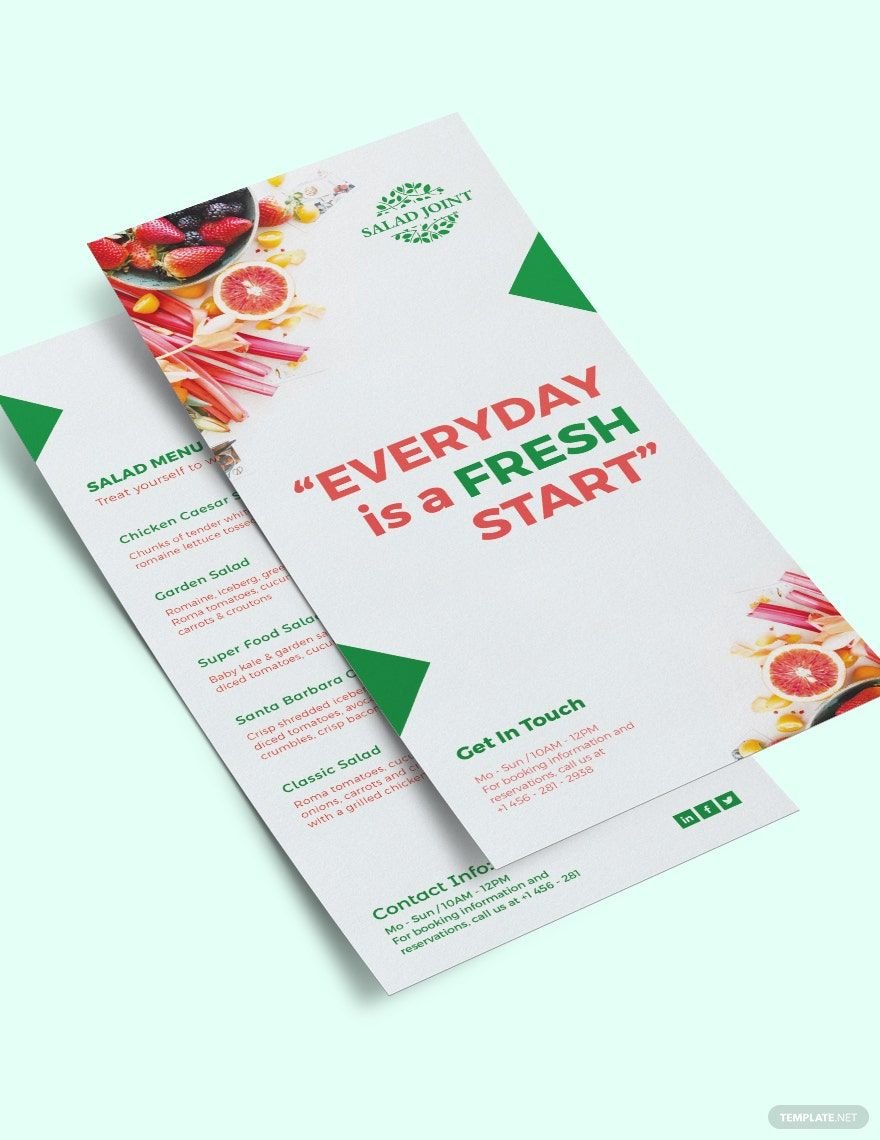
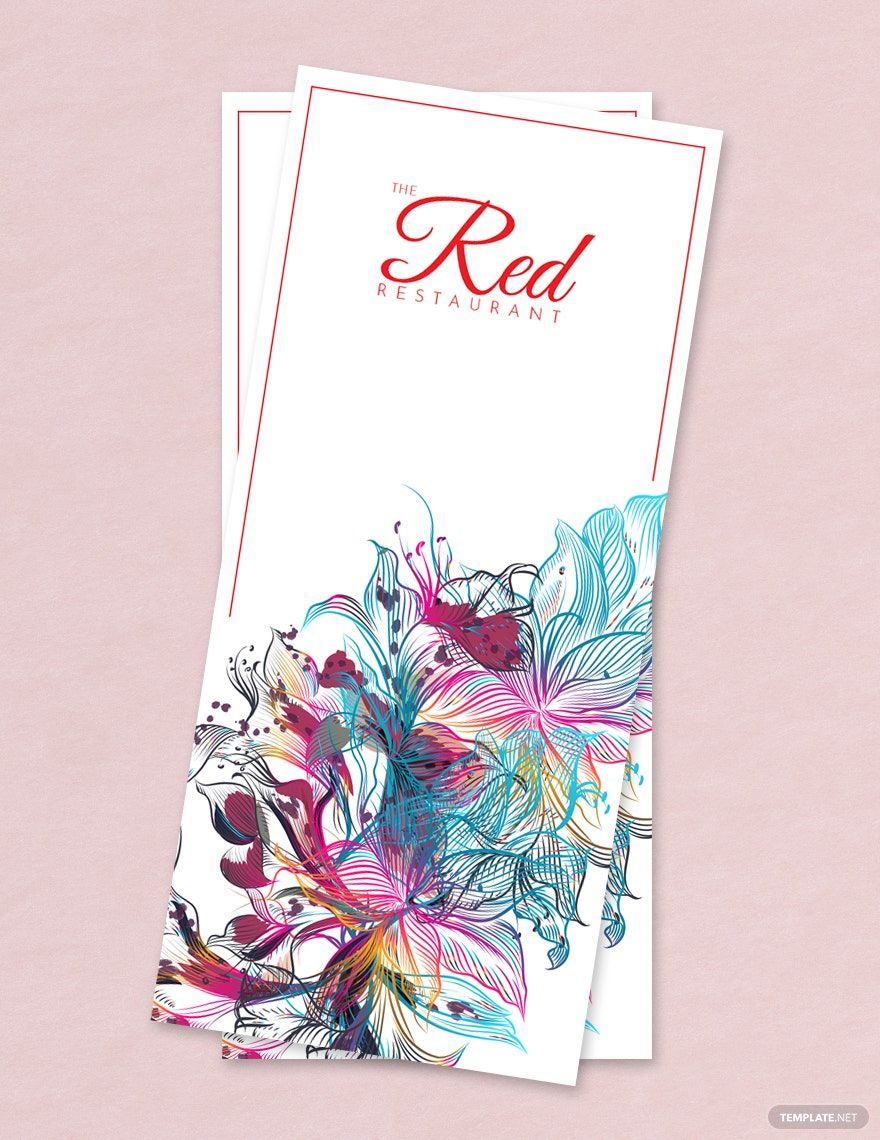
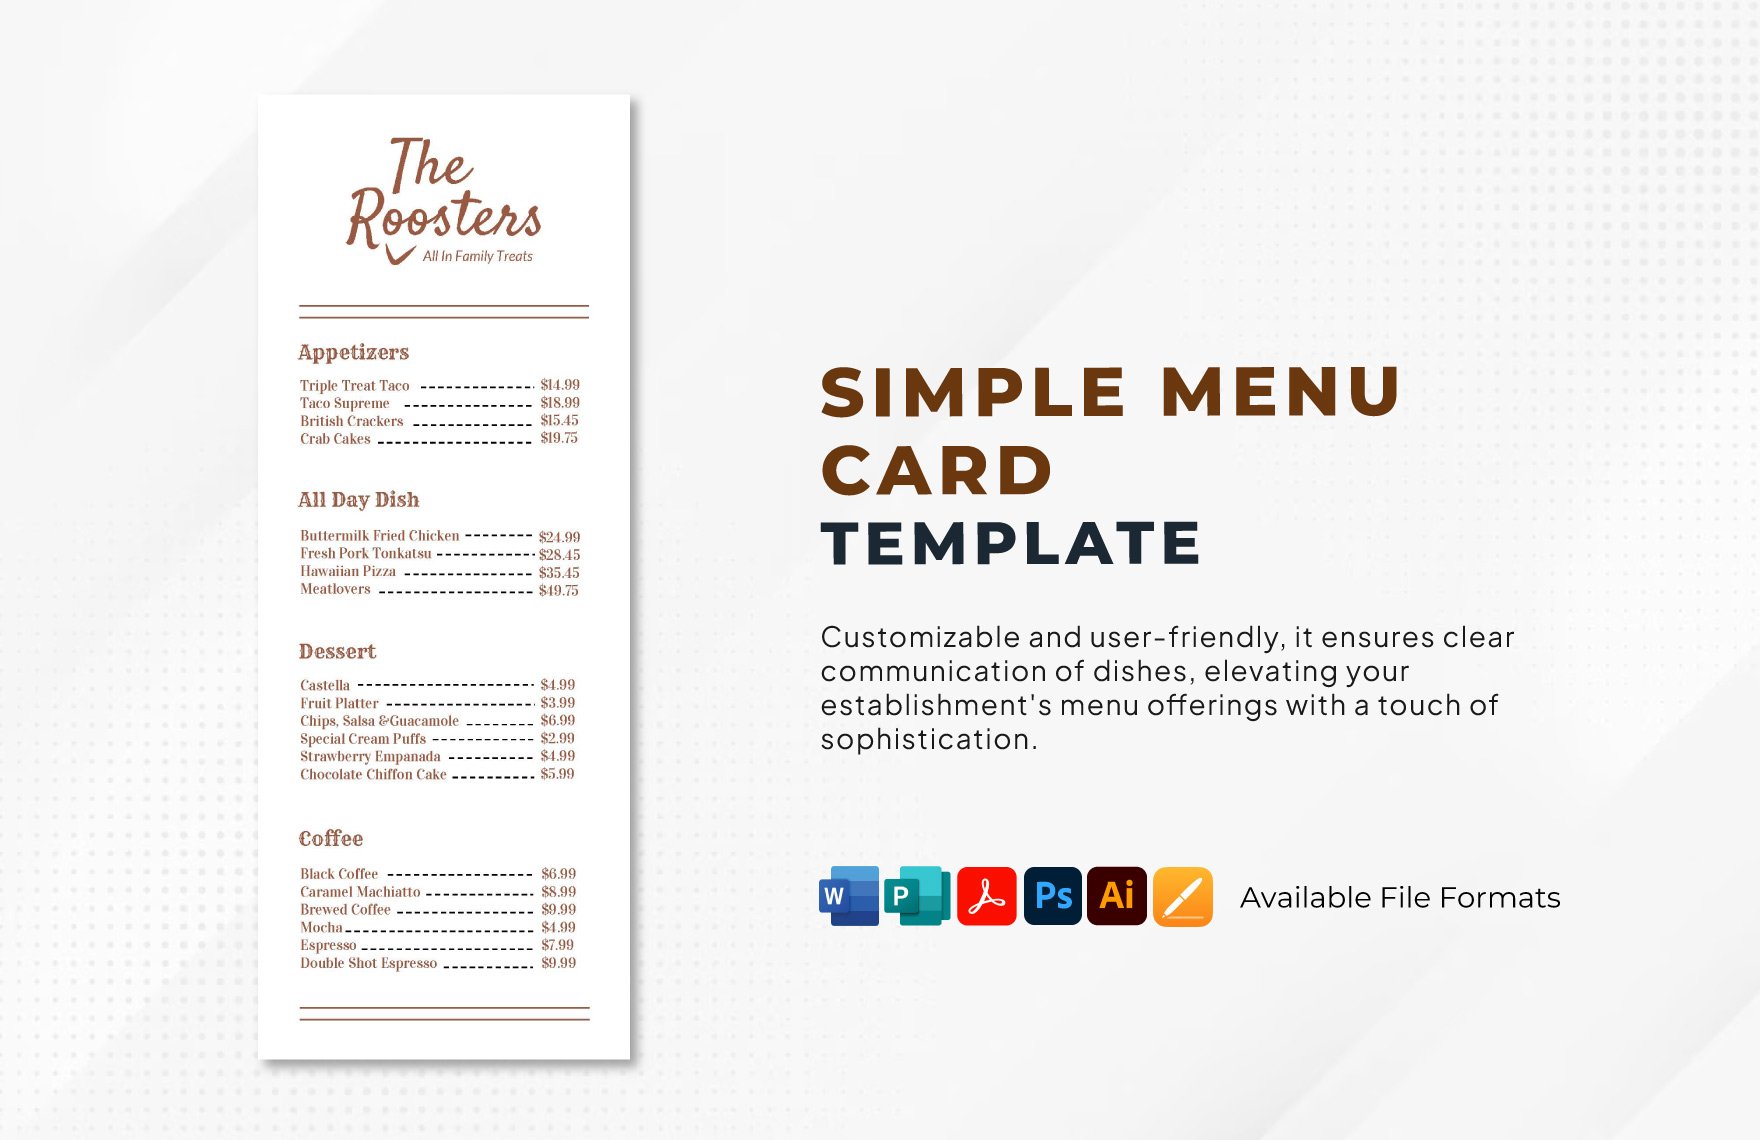
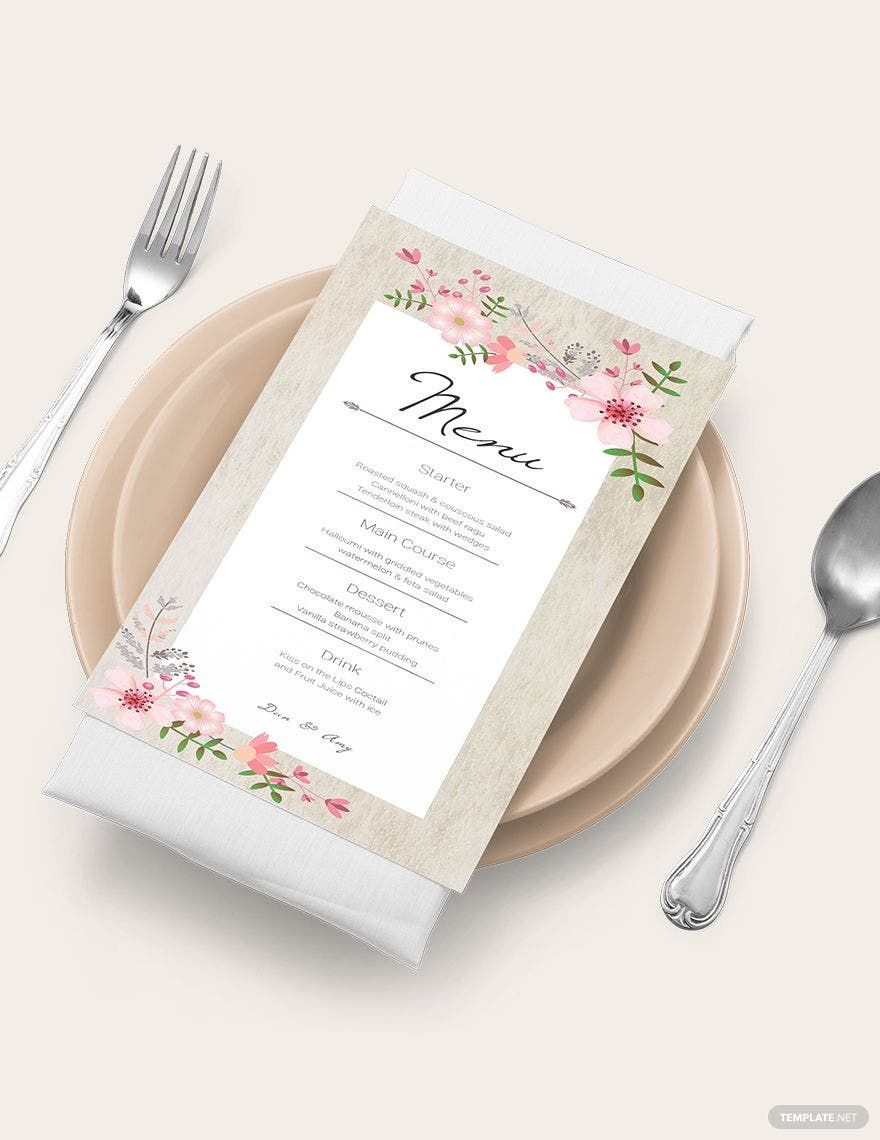
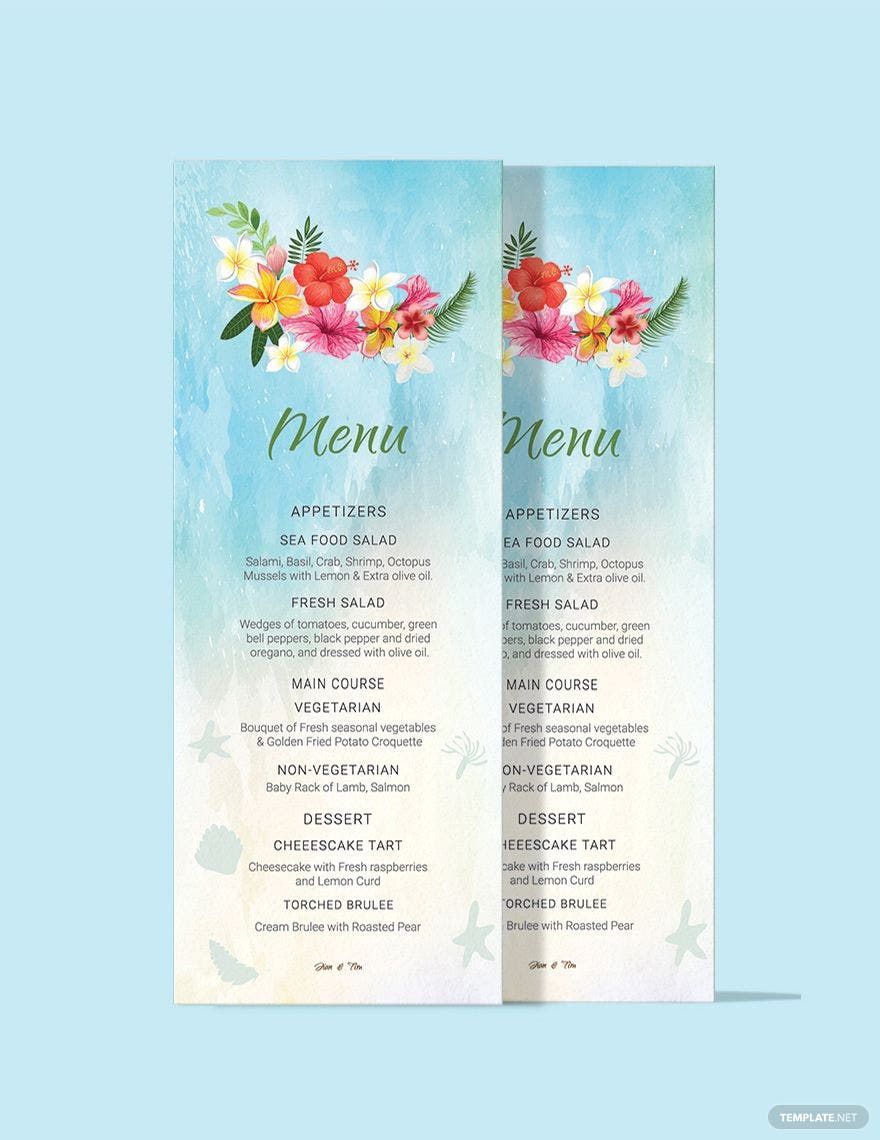
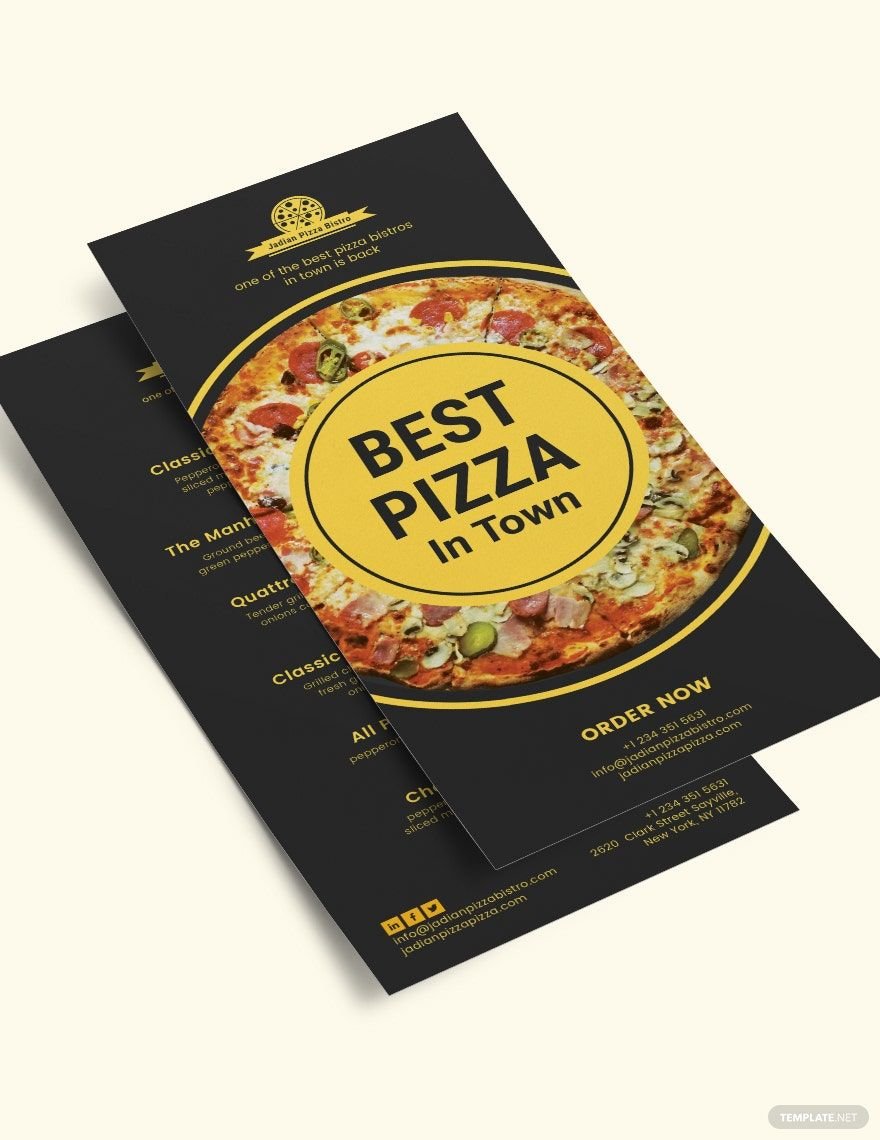
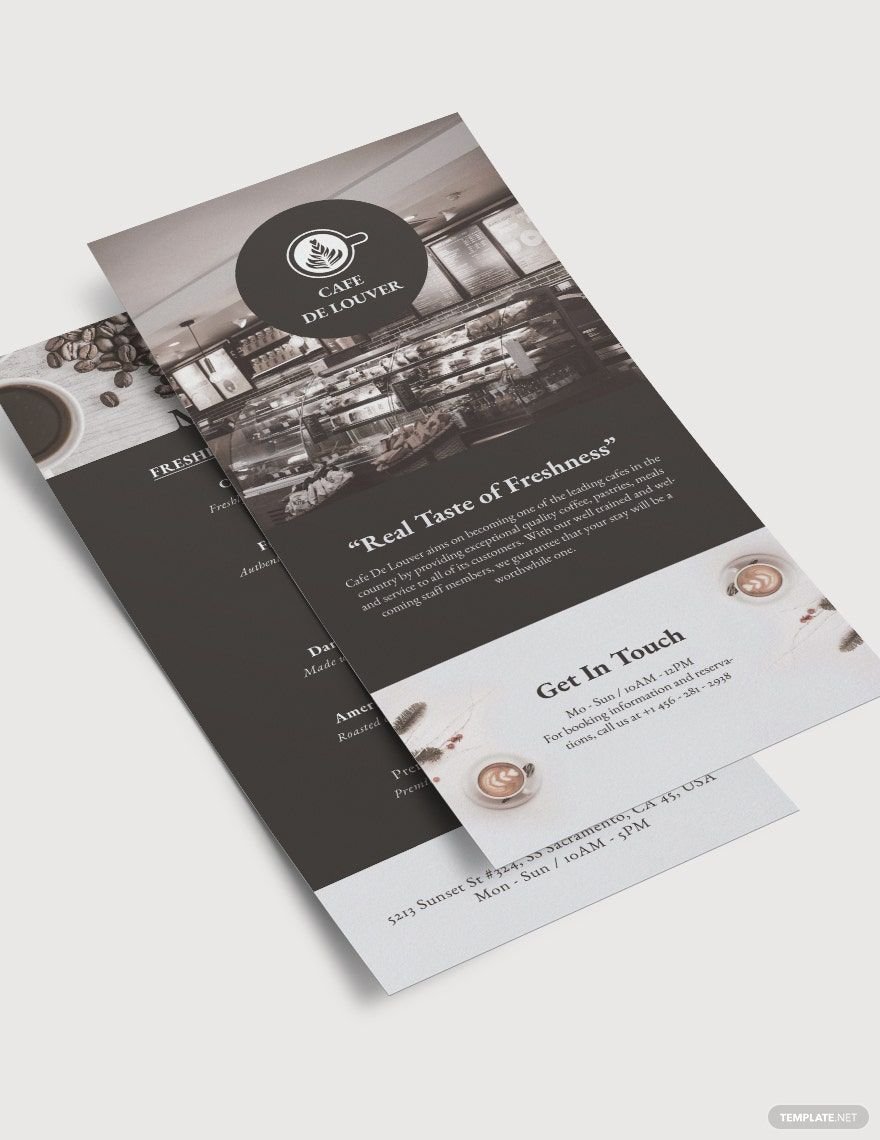
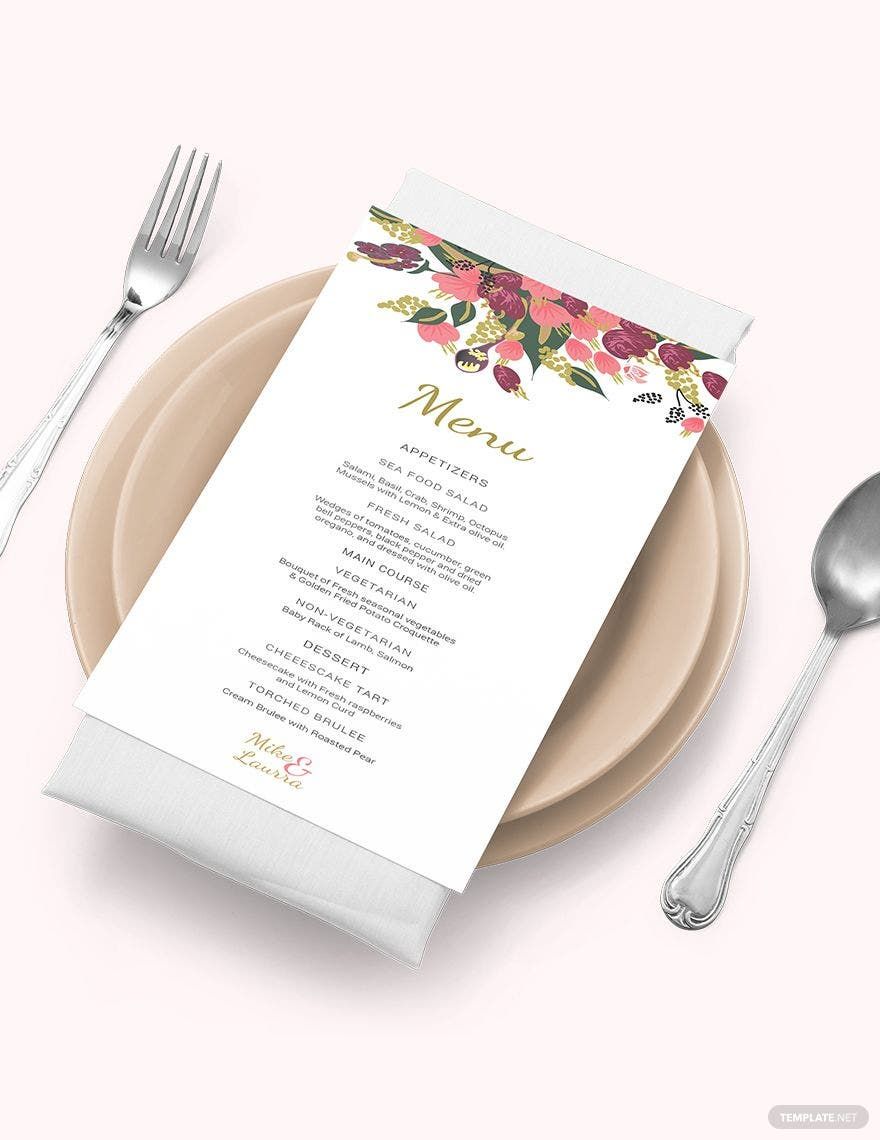
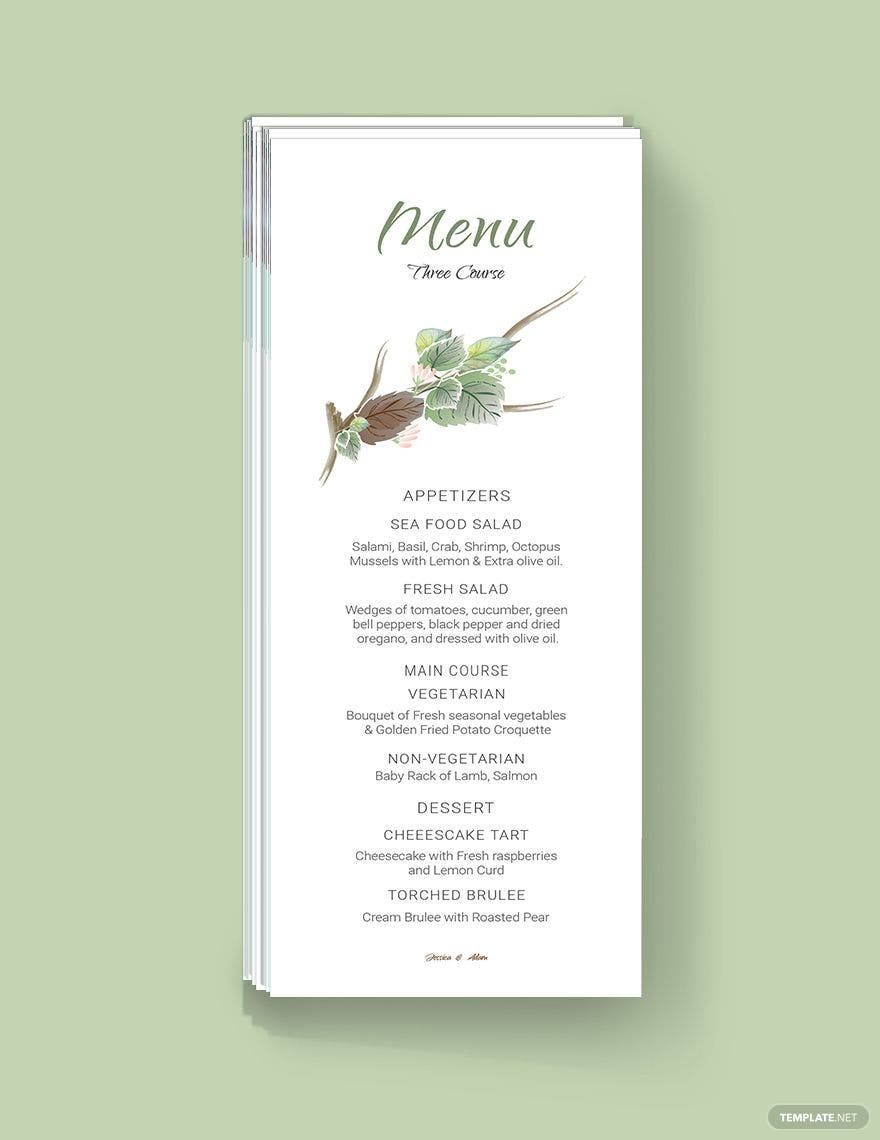
Food from our favorite stores and restaurants are part of our cravings. We want them not just because we know how they taste like, but because we also know their prices and even of the other products they sell. But what about those new food stores? Most people won't dare to try their food because they are unknown to them. That's why you need a menu card for that. Get them done now with our collection of Printable Menu Card Templates. These printable menu in publisher are downloadable for free in Adobe Publisher file format. Edit and print them in 4x9 inches, US letter size with Bleed and portrait orientation style. Make your food products known for people to add them to their craving list!
How To Create a Menu Card in Publisher
Historians would tell us that menus existed way back during the French Revolution. It made a significant impact on the improvement of customer service in restaurants. To achieve this and the other benefits of a menu card, make it now using the Microsoft software by following these guide steps below.
1. Collate the Menu
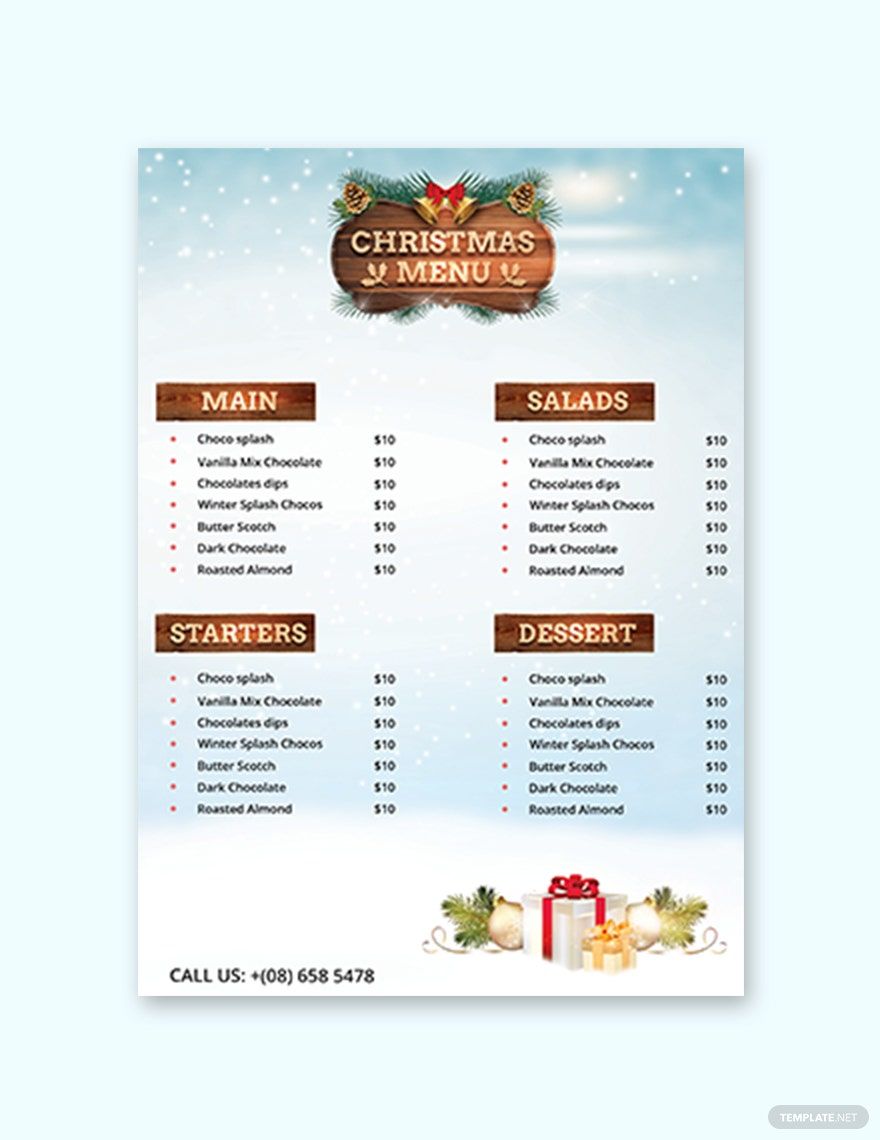
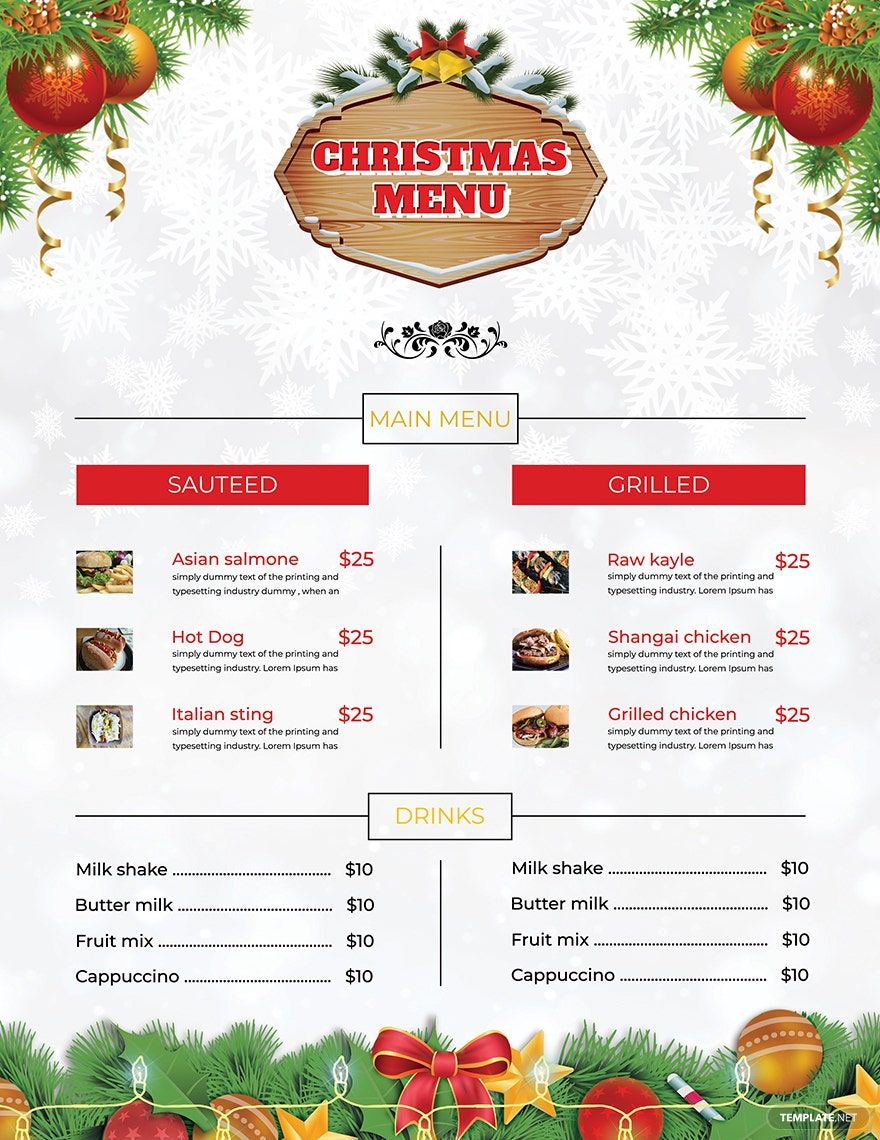
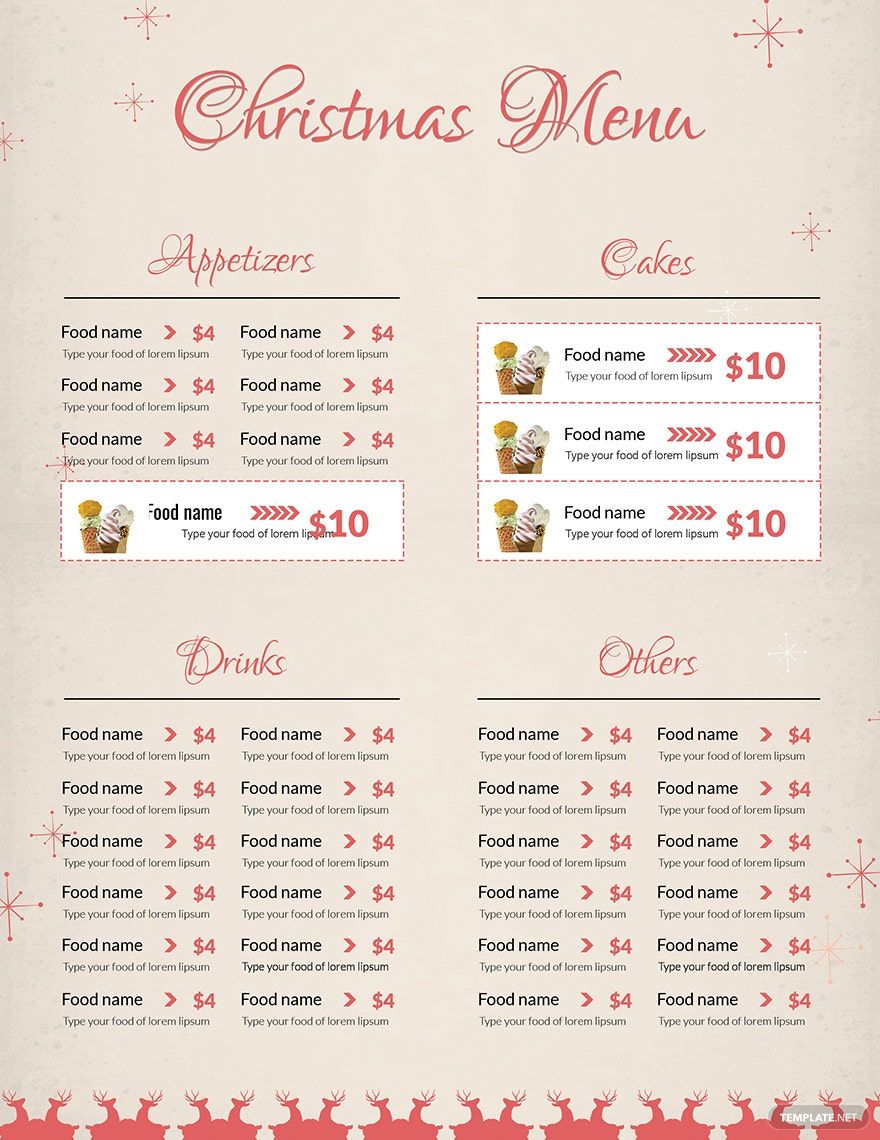
Prepare the food menu. Classify them according to their food categories. Designate separate corners for appetizers, desserts, drinks, breakfast, lunch, and dinner meals, etc. Enumerate the food list with their corresponding prices. Include a sample image of the dishes to give your customers a taste with your visual presentations of the food you serve in your restaurant. This is especially important for the unfamiliar ones so they could set their expectations of the food that is to come to their table.
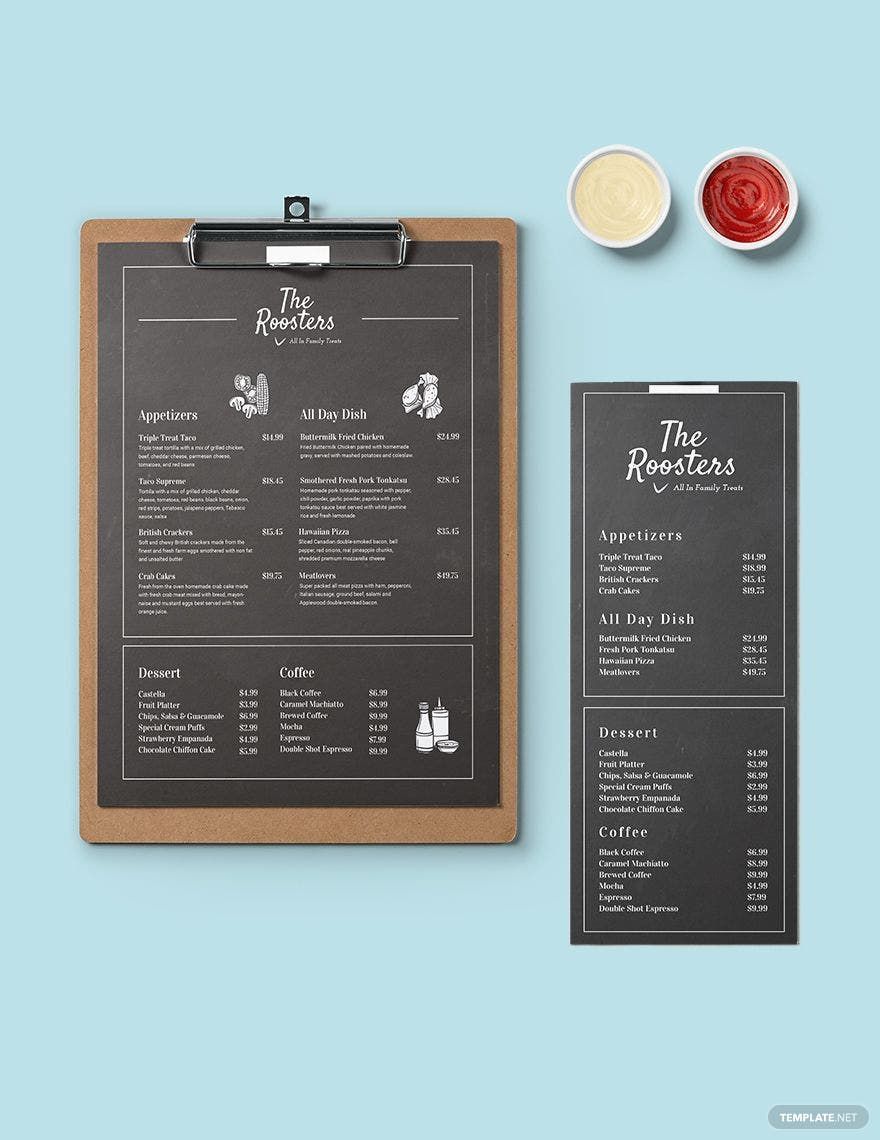
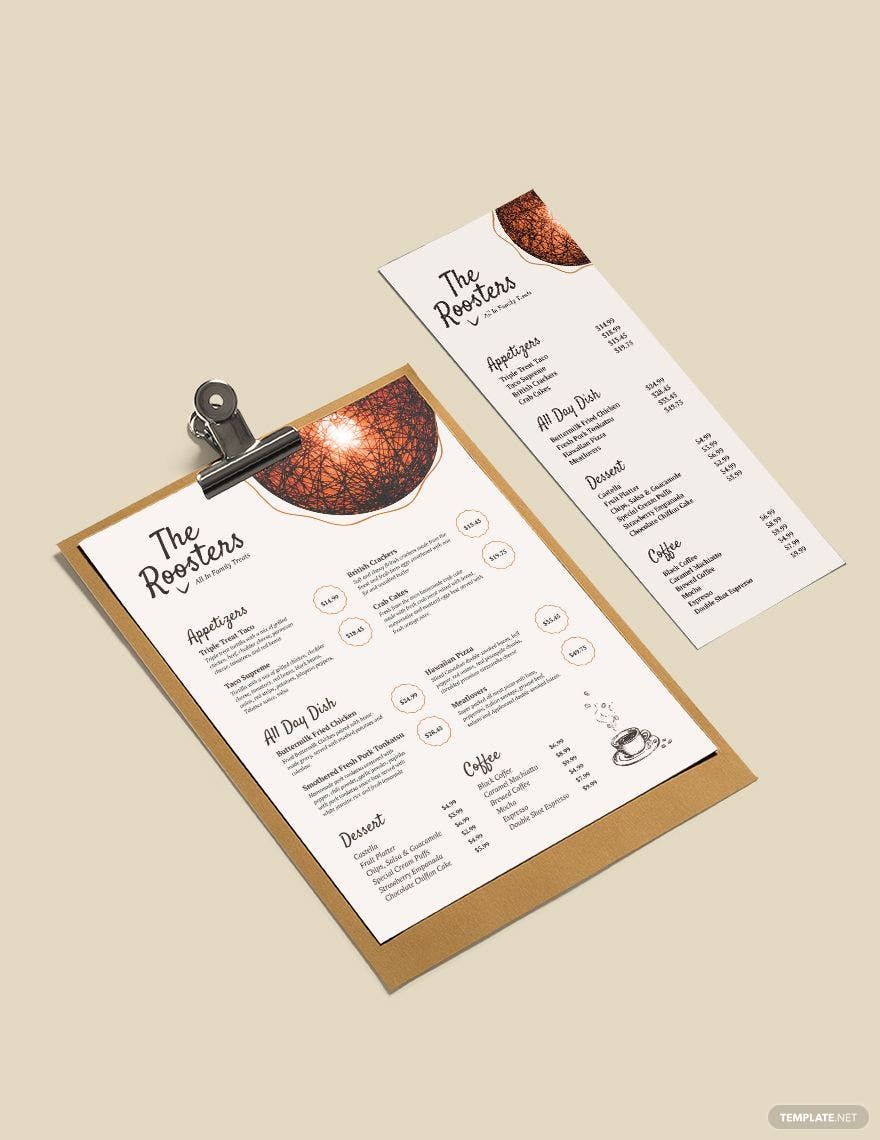
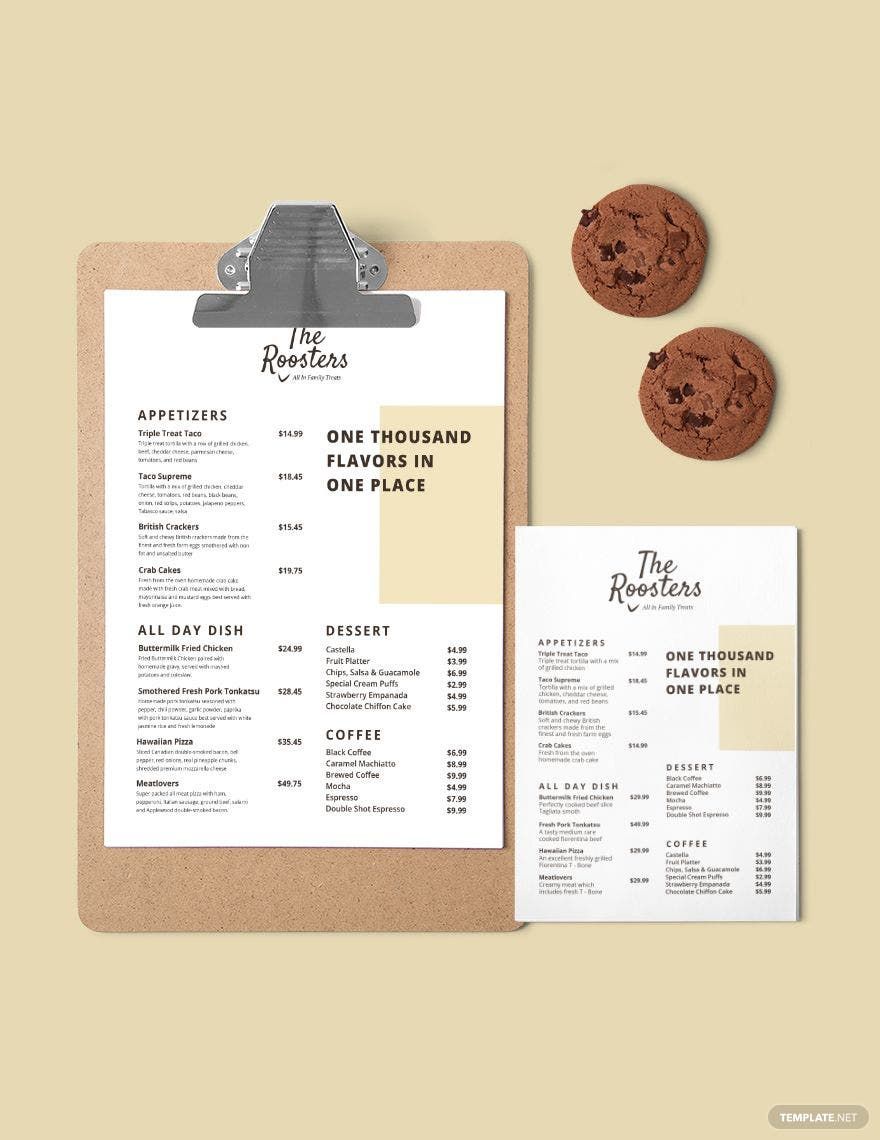
If you are operating a food store with just a specific food product like a pizza house, coffee shop, and the like, you can consider putting a food description in your menu so your customers will know the ingredients of the food, especially for people who have allergies.
2. Congregate the Menu on a Card
Exhibit your food menu on a card. Easily achieve this by utilizing a card template in Microsoft Publisher’s template library. Select a template that will organize your menu contents. Obtain all that you need in one template. Grab a menu card template from our wide variety of selections above. They are all customizable in Publisher, so you can still publish your graphic document using the software tools. Once done, edit the contents of the template you acquired to start seeing the actual layout of the menu card. Review the details from the food names to the prices to make sure that everything fell to its proper place.
3. Embellish the Menu Card
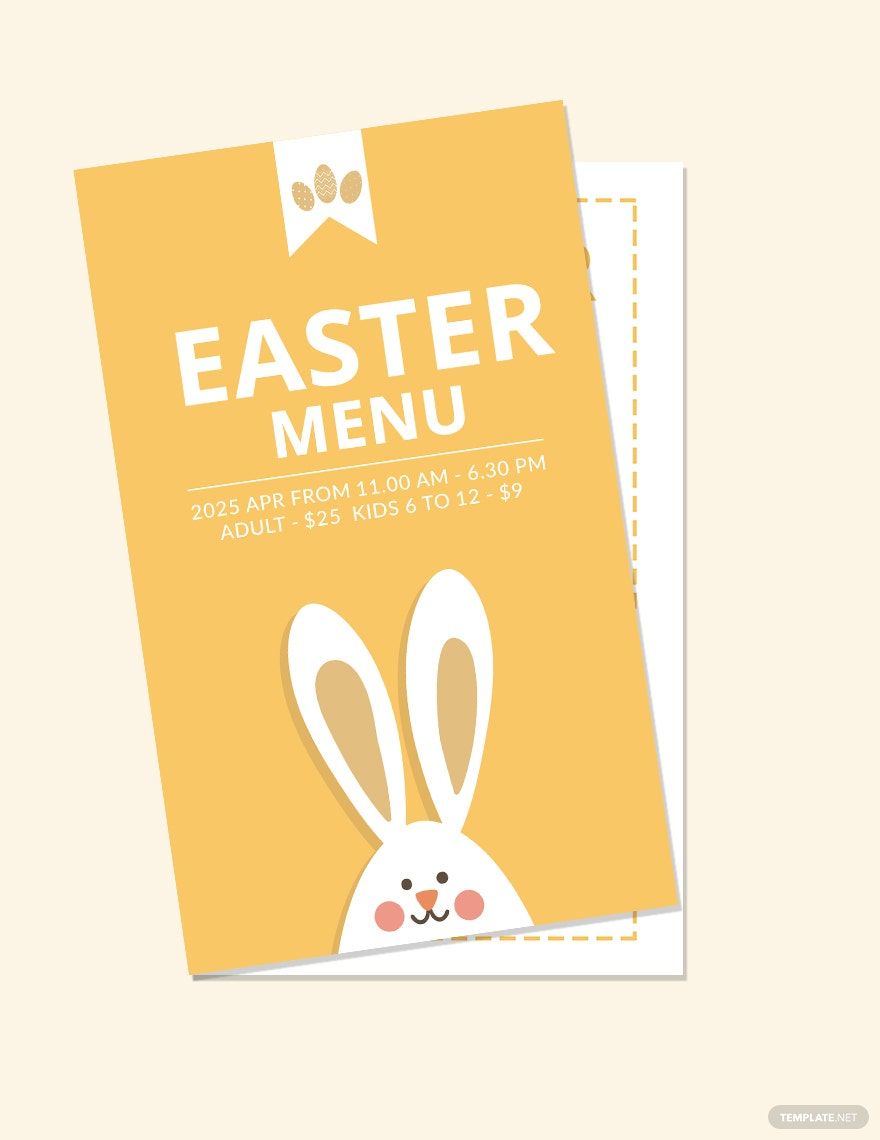
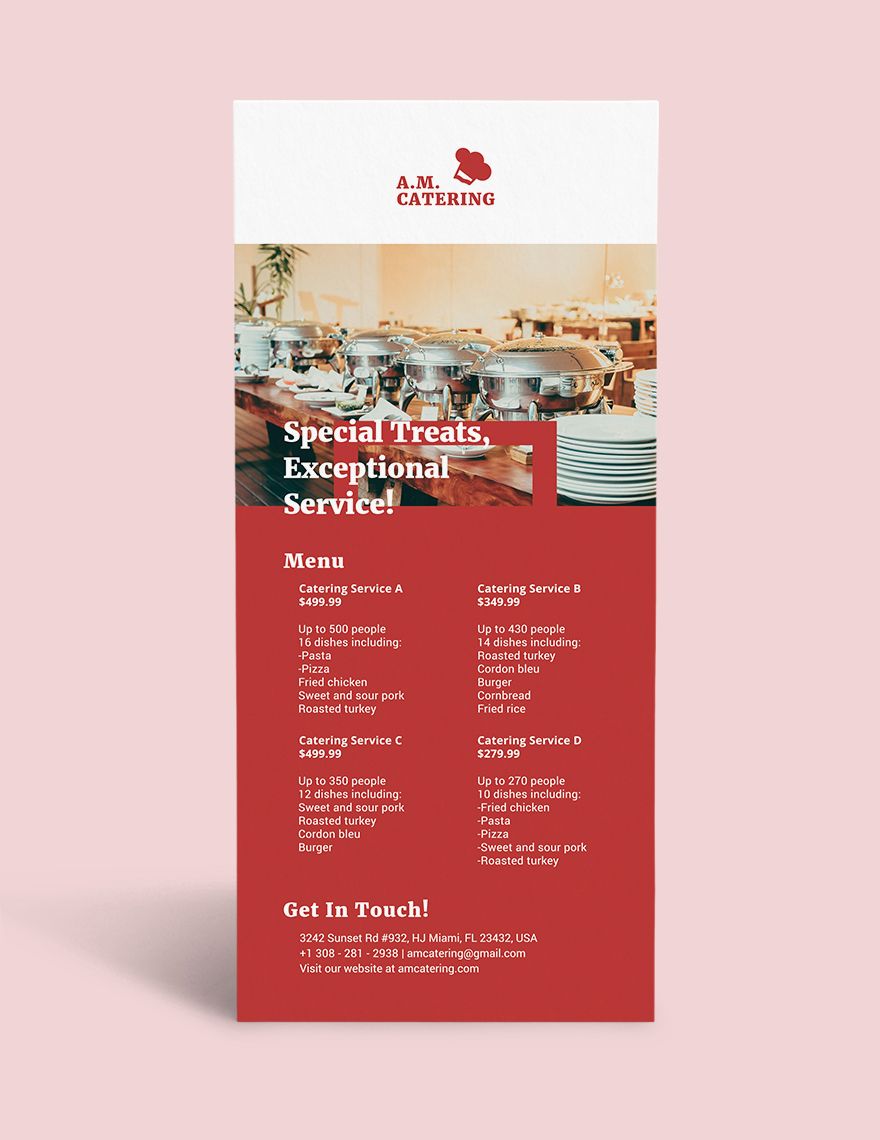
This graphic document of your food store can’t go away without putting up creative and attractive designs. This card will be handed out to not just the customers who will dine in your food store. It can also be used as a promotional flyer to attract people through your food prices or as a guide for people who are attending your event, so don’t leave the card background blank.
Embellish it with Microsoft’s modification tools that are accessible in the Publisher software. Color the texts or apply a theme to your card, following the current season of the year. Take a look at what you have made and evaluate it if it attracts you or if the texts are just readable enough.
4. Print the Menu Card on a Durable Material
Remember that you did not just make the menu card for the sake of your food store to have one. But more importantly, for your customers to have a guide and be persuaded to check out your cafe, bakery, food stall, etc. Part of the card’s design is the paper material that will be used in printing out copies of the menu card. Select a printing material that is also equivalent to the tastiness of your served food. Make it a standard to always give out the best for your customers, even on this material.
