How to Connect Access with Microsoft SharePoint
Microsoft SharePoint is one of the products within the Microsoft product suite where you can access more applications integrated into…
May 14, 2023
Borders are graphic design elements that make a document more pleasing and stylish to look at. This can be used to design business, academic and personal documents.
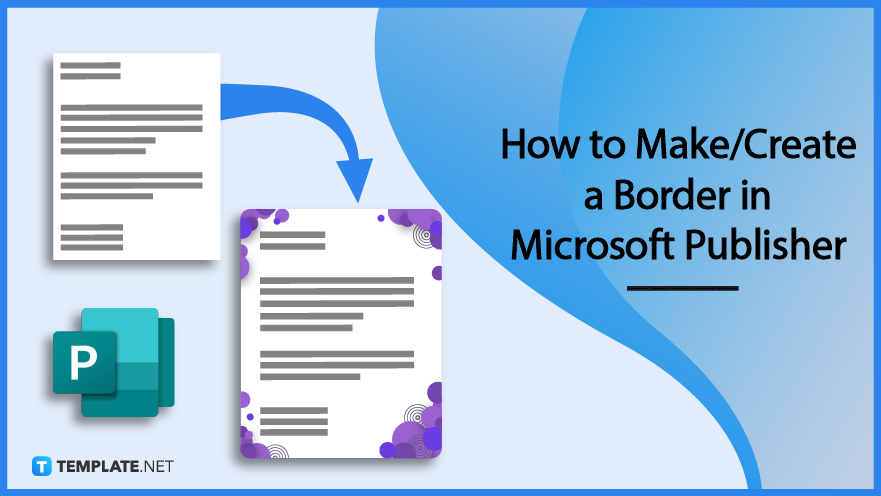
Microsoft Publisher is an application under Microsoft that allows its users to create high-quality publications. It is fairly different from Microsoft Word since its features are geared toward the page layout and graphic design which is perfect for creating page borders.
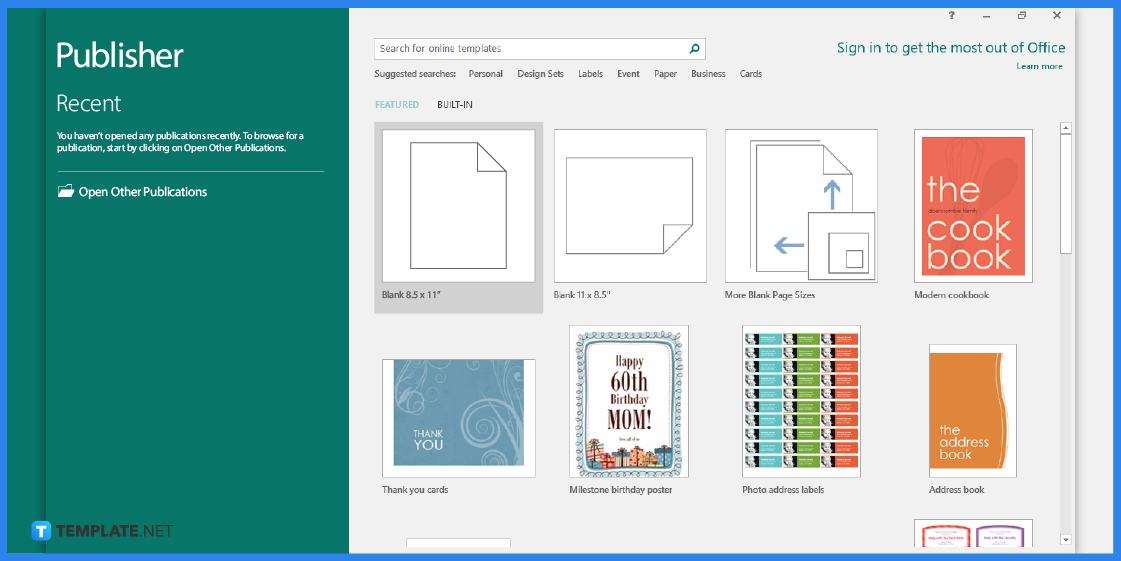
First, you need to make sure that you have Microsoft Publisher installed on your computer. Since you will be using this application as an editing tool.
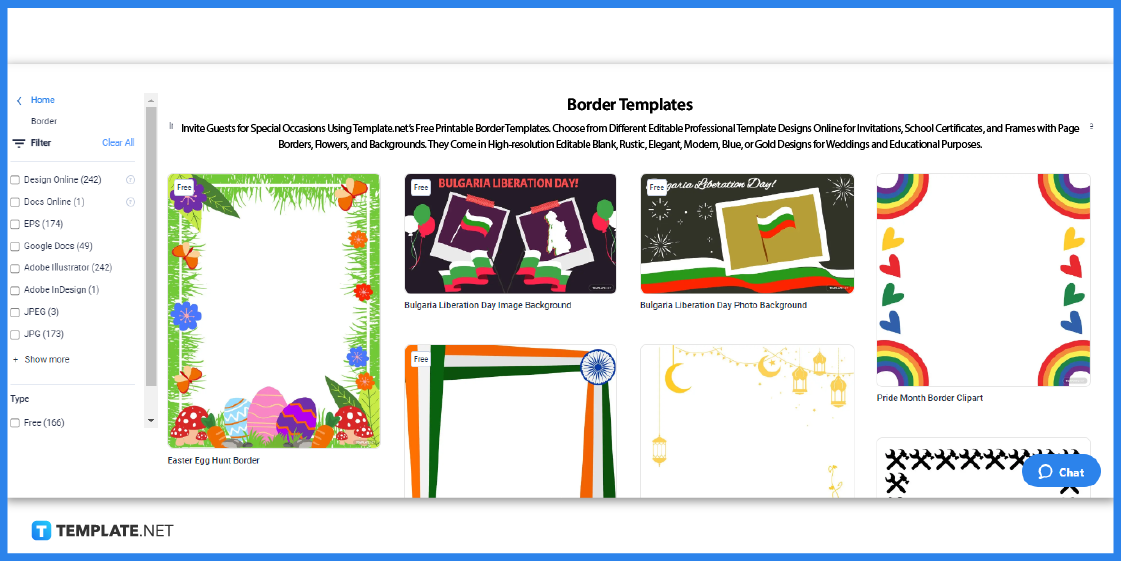
Visit Template.net and look for a border template that you can edit in Publisher.
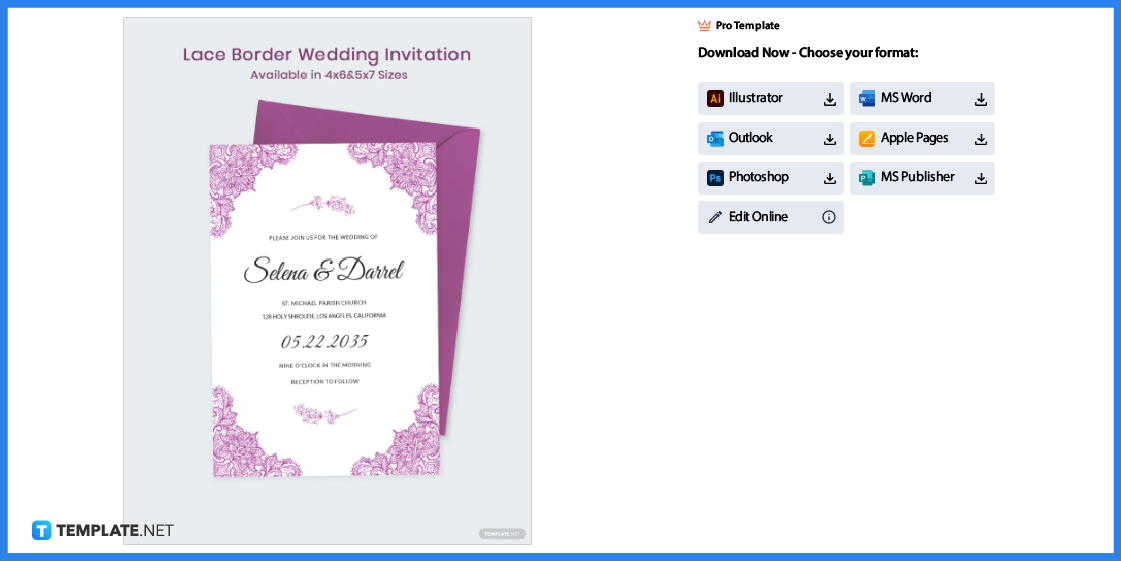
Pick out a template and then click on the image to gain better access. You will be redirected to a page similar to the one above.
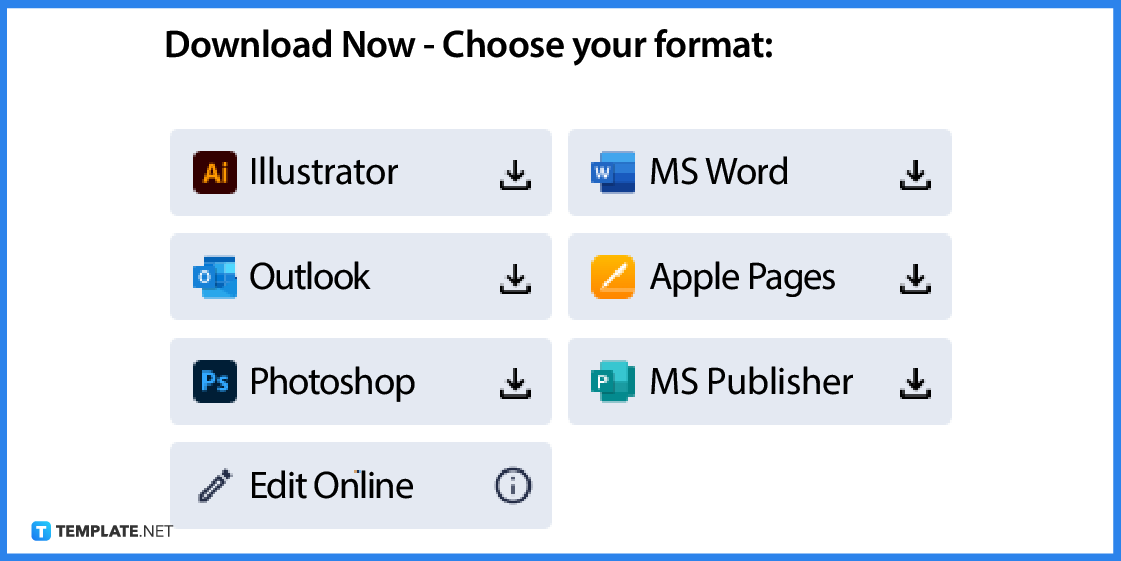
You need to select MS Publisher as the file format and then click on the icon to download the template.
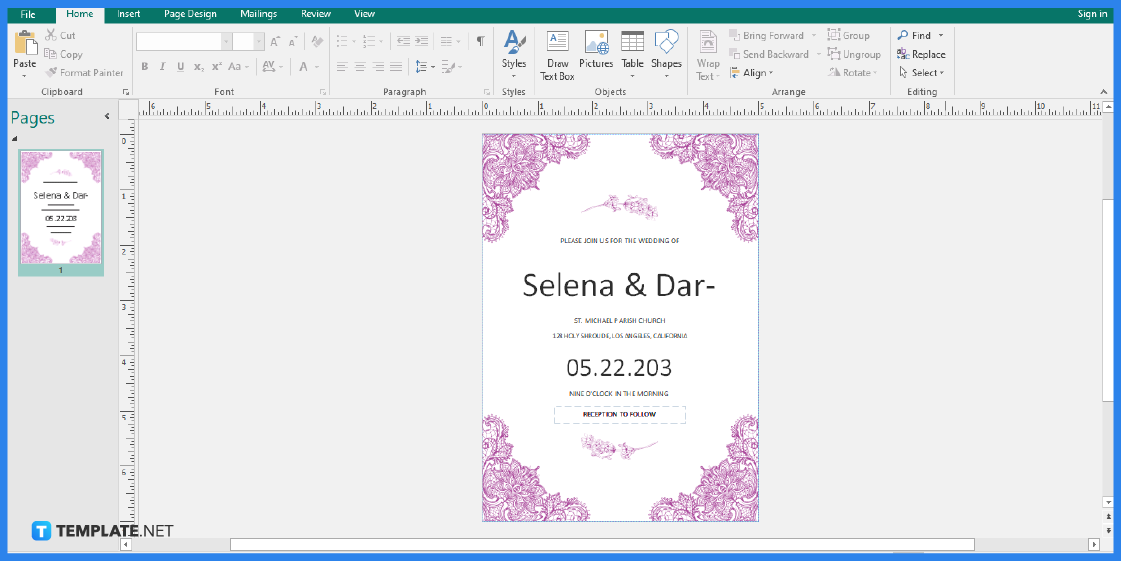
Open the file so you can start editing the document.
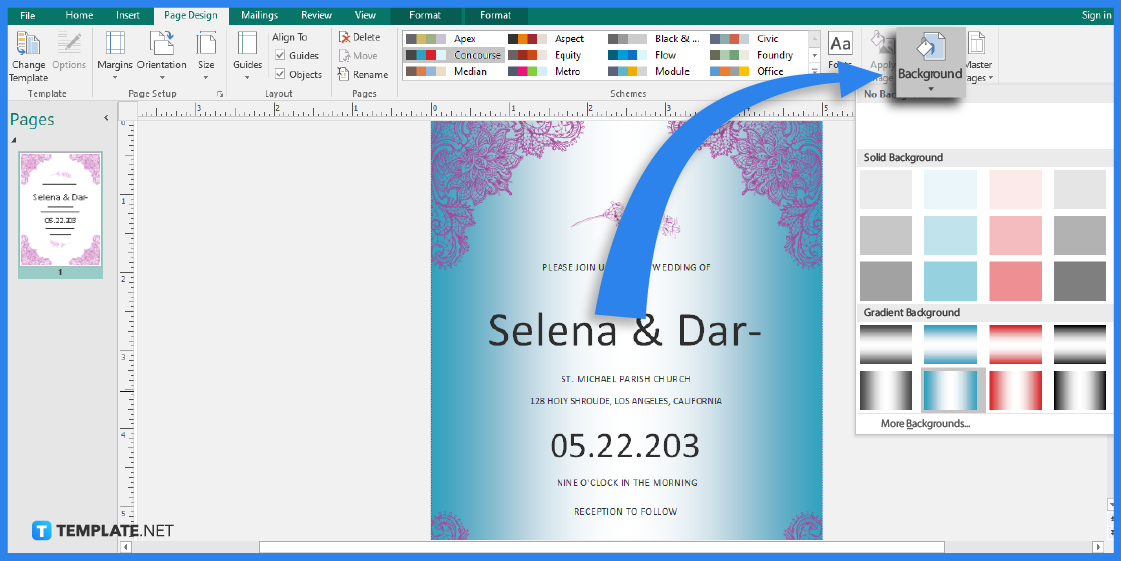
Since this is a pre-designed template, you will find that the file has borders that you can readily use. However, you can edit the background by adding a color that will suit your requirements, just like the sample above. Simply head over to the Page Design tab and click on the Background button to choose a background color design.
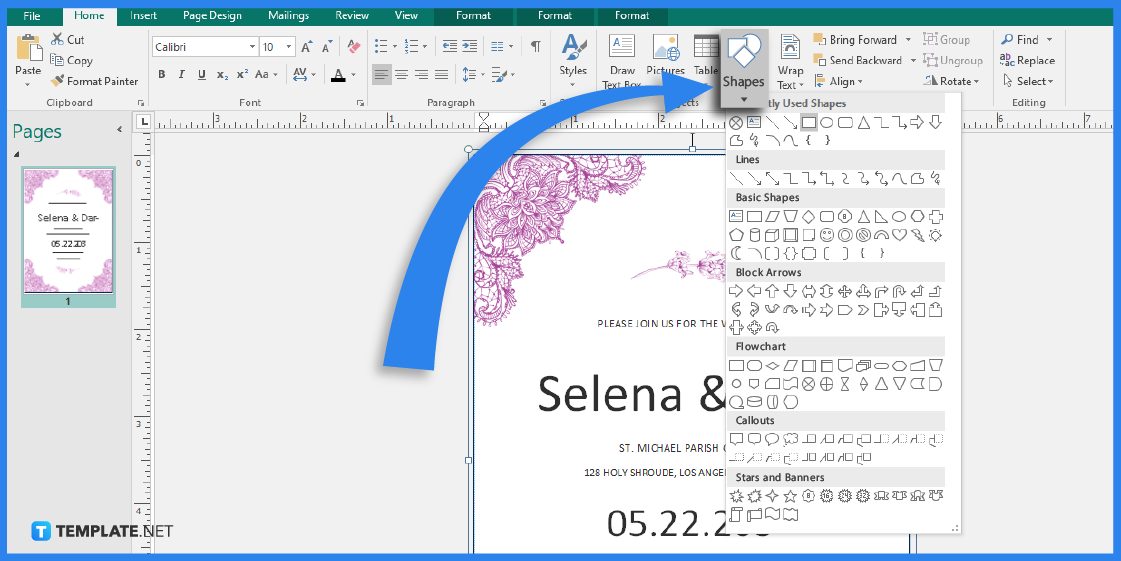
Go to the Home tab, click on Shapes, and select the Rectangle shape in the Basic Shapes section. Draw the page border by dragging the shape on the page. After that, right-click the border, and from the menu that appears, choose the Format Autoshape option.
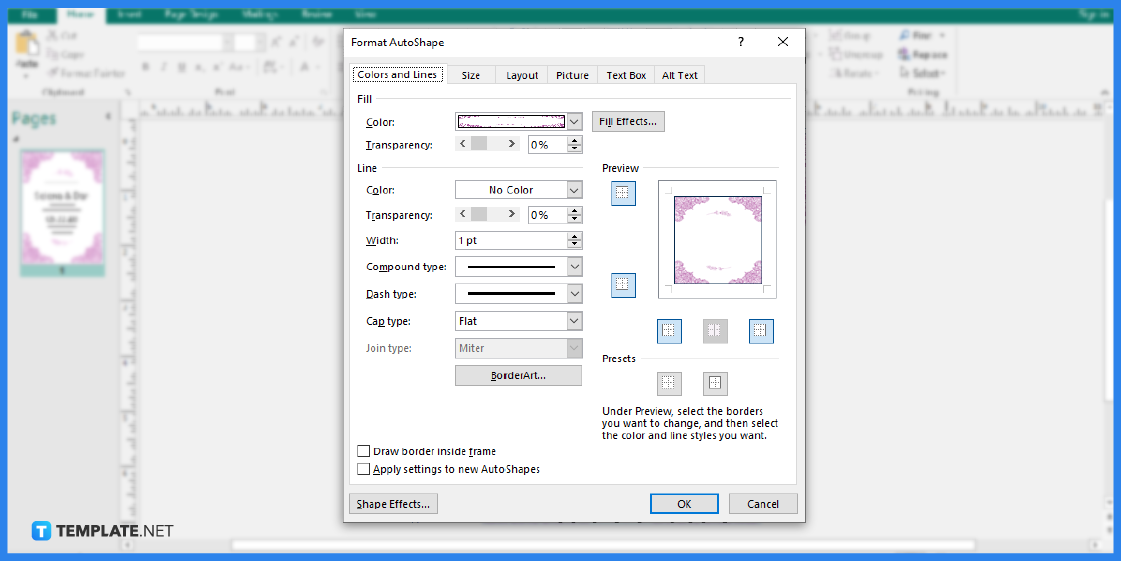
Select the Colors and Lines tab, then click OK after selecting the type of line and color that you want for your border. Make sure that the Shape Fill is set to No Fill to prevent the fill color from entirely filling your page.
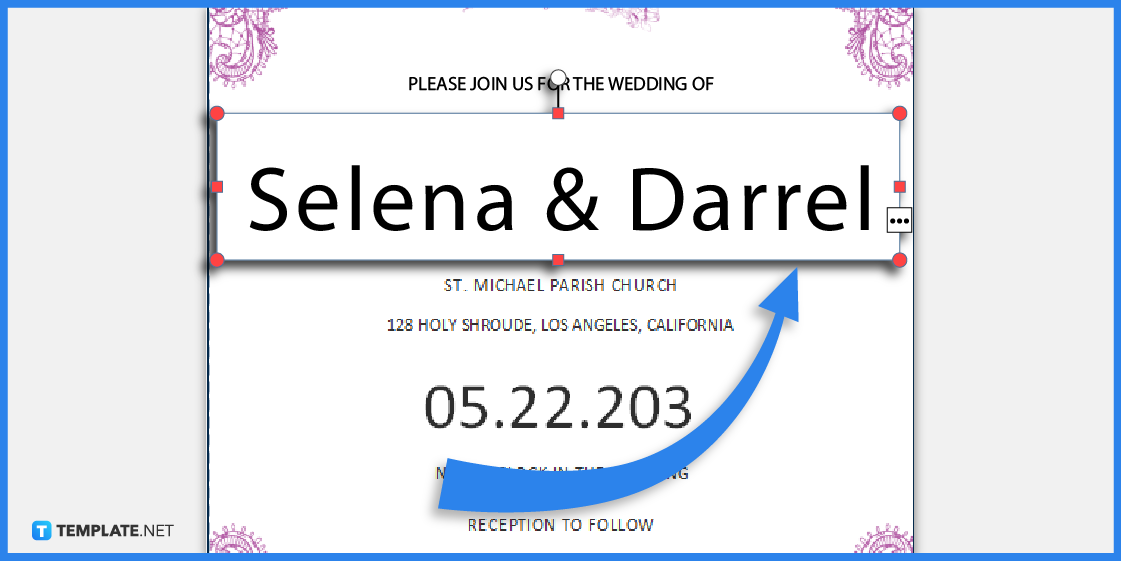
You can also edit the details written on the template. You can change its font style and size to suit your needs.
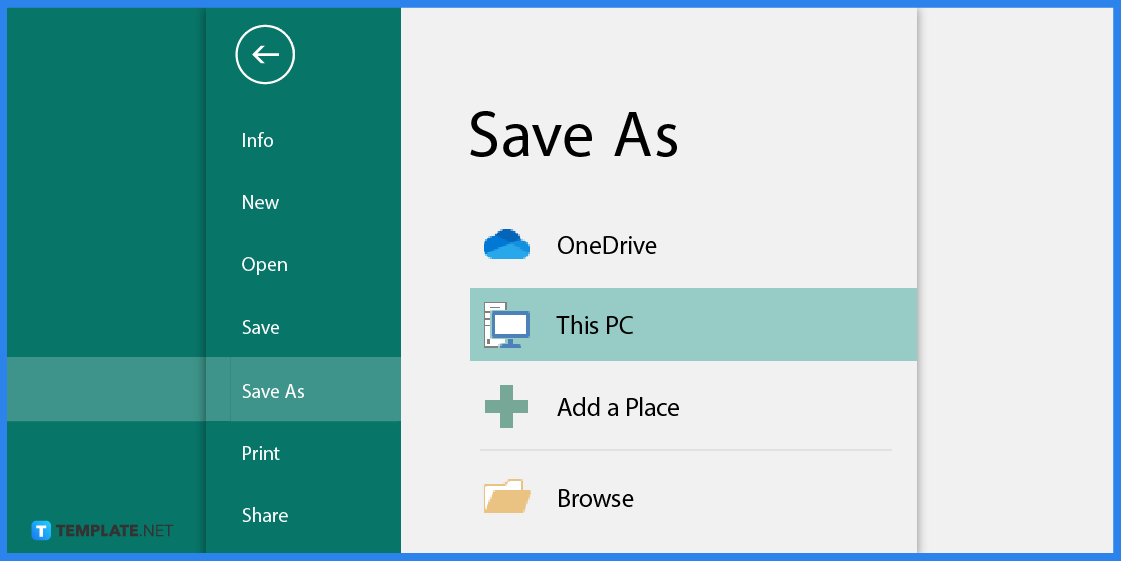
Lastly, don’t forget to save the template after you have finished editing. Or you can simply print the file for immediate use.
Borders are used not only as a design element but to emphasize the information written on the document. That said, here are several border templates that you can use to design and customize your documents and marketing paraphernalia.
Use this delightful bingo border flyer to design your marketing materials. You can it for flyers, invitations, leaflets, and many more!
Celebrate Labor Day by creating one-of-a-kind banners that will surely captivate readers. That said, use this well-crafted labor day border banner as a design pattern.
Design an invitation with this border 50th birthday invitation template. This will make your invitations look chic and stylish to look at.
To make it easier for you, download a border template from Template.net.
Definitely, you just have to select the border on the page and press the Delete button.
It makes the document more pleasing to look at and it gives emphasis on the information written on the document.

Microsoft SharePoint is one of the products within the Microsoft product suite where you can access more applications integrated into…
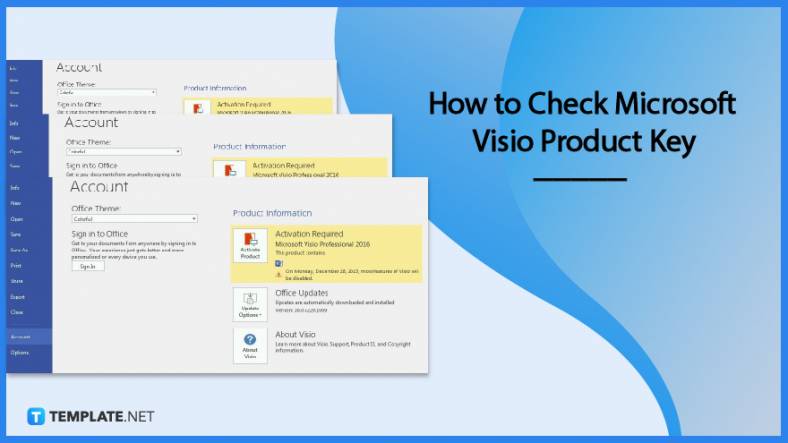
Finding a product key for the Microsoft Visio software only takes a few clicks and doesn’t require a diagrammed process.…

With Microsoft Visio, collaborating and editing drawings online is entirely possible. In addition to that, templates and various selections of…
Microsoft Publisher is an easy-to-use publishing software application that users in this DIY age can optimize to produce digital content…
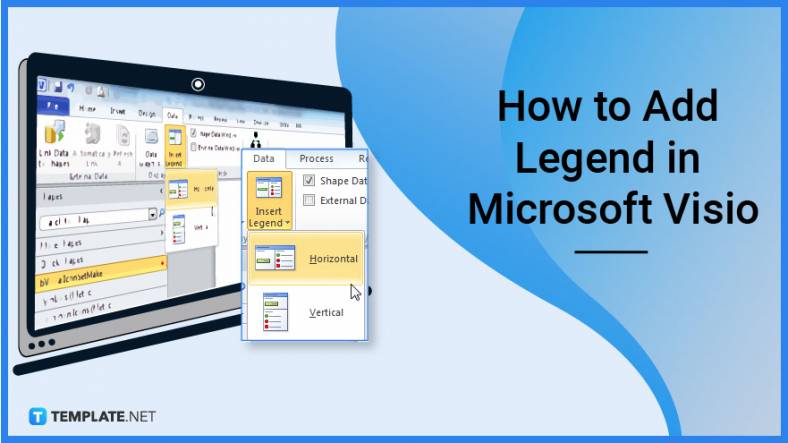
Access Microsoft Visio on your PC or mobile device to graphically arrange complicated concepts. Begin your Visio projects with hundreds…
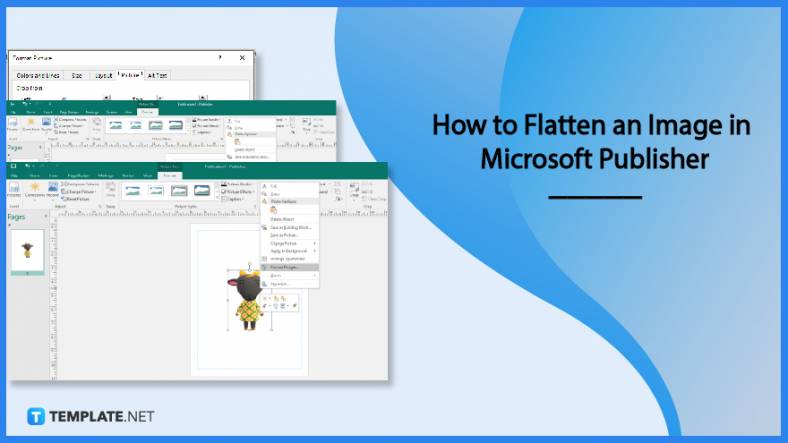
Flattening an image means reducing the file size of the image, which will make saving and printing much easier. So,…
Microsoft Visio lets you create professional diagrams and flowcharts for various purposes and occasions. It also enables you to collaborate…
Knowing the version of Microsoft Publisher installed on your computer is also helpful when downloading templates and add-ins because some…
Microsoft Visio is an excellent tool and application for creating visual representations of flows and processes using creative and beautiful…