


How to Connect Access with Microsoft SharePoint
Microsoft SharePoint is one of the products within the Microsoft product suite where you can access more applications integrated into…
Aug 16, 2022


Apr 12, 2023
Microsoft Whiteboard has many features that allow its users to efficiently use this Microsoft Office product. One of these features is called sticky notes, which allows the user to write down words on colored boxes.

Sticky notes allow the users to arrange and organize the notes they made in Microsoft Whiteboard during a Microsoft Teams meeting. Users of Microsoft Whiteboard can utilize these notes as they can hold a large number of texts.
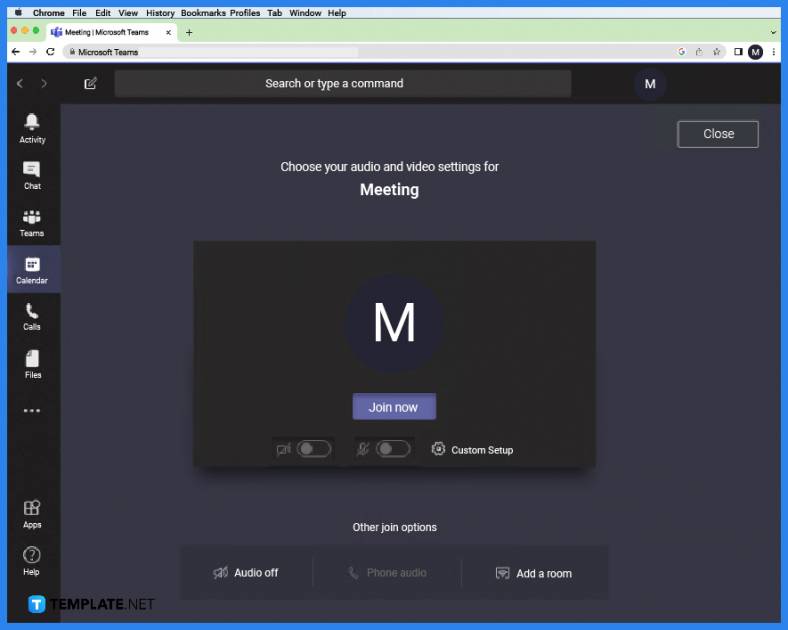
Start by joining or creating a Microsoft Teams meeting through the calendar function of Microsoft Teams. This can be done by selecting a team, opening the calendar on the team’s general channel, choosing a specific date, and finally starting or joining a meeting on that day.
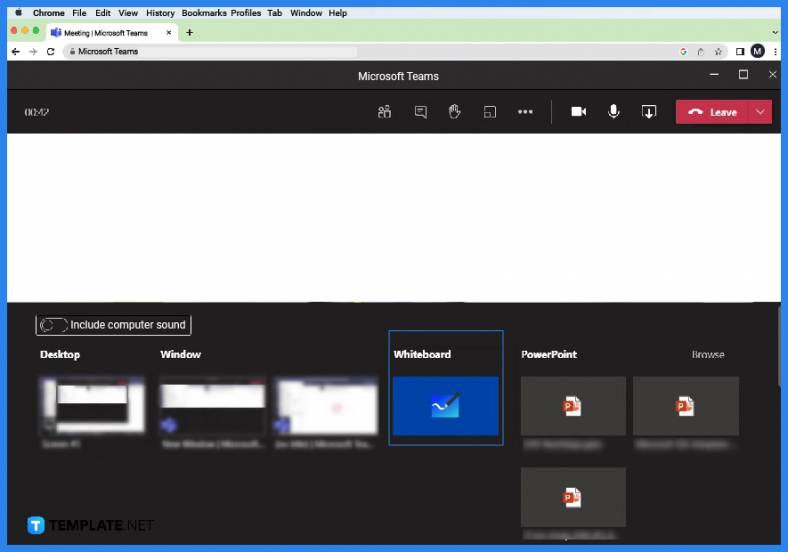
When the user is in a team meeting, they will need to open the whiteboard inside the meeting. This can be done by pressing the “Add Whiteboard” button on the ribbon of the meeting. After the user has clicked this button, the whiteboard will now appear on the team meeting.
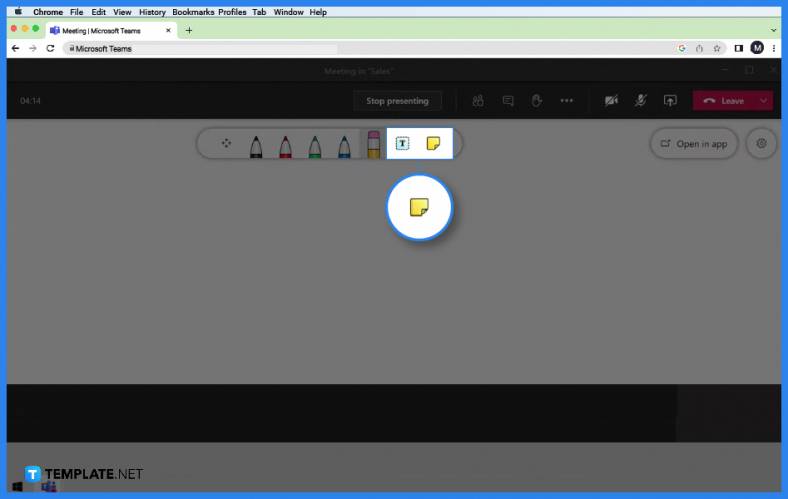
Users within the meeting can edit, draw, and create different objects and lines on the whiteboard. To create a sticky note, the user must click the Sticky Note button on the far right corner of the ribbon.

A dropdown will appear when the user clicks the Sticky Note button. On this dropdown, the user will be prompted to select the sticky note format as it comes in either as a single sticky note or a note grid of any color.
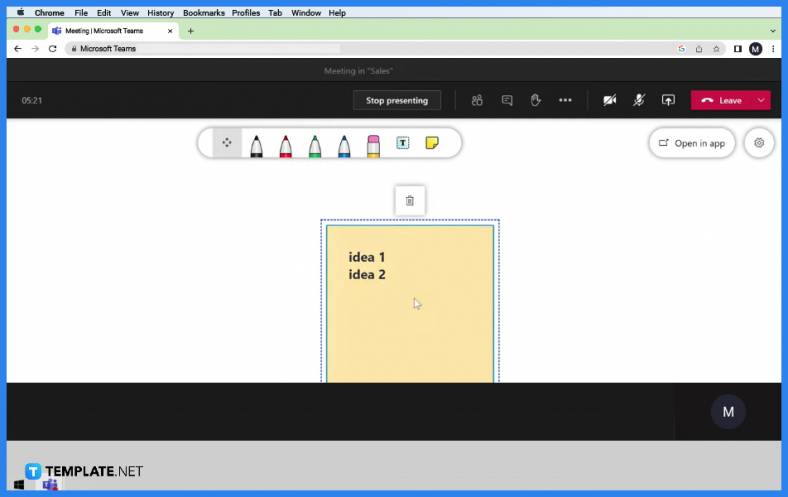
When the user has selected the format they wish to use, they can now create the sticky note on the body of the whiteboard. To create a sticky note, the user must left-click and drag on any space within the whiteboard. After the user has finished making the sticky note, they may now type anything within the note.

Sticky notes are a good way to keep track of specific points that come up during the meeting and help organize one’s notes on the whiteboard.
The user can change the angles and positions of the sticky notes by selecting the sticky note, hovering the pointer over one of the resizing circles, left-clicking the circle when it becomes a rotate symbol, and dragging your cursor to the preferred angle.
You can change the color by clicking the sticky note and selecting the “Background Color Picker” button on the toolbar.
Yes, you can delete sticky notes by left-clicking the sticky note you want to delete and selecting the “Delete” button on the toolbar.
You cannot directly change the font format inside the sticky note; instead, you will need to reduce or increase the size of the sticky note as that will proportionally change the font size.
Microsoft SharePoint is one of the products within the Microsoft product suite where you can access more applications integrated into…
Finding a product key for the Microsoft Visio software only takes a few clicks and doesn’t require a diagrammed process.…
With Microsoft Visio, collaborating and editing drawings online is entirely possible. In addition to that, templates and various selections of…
Microsoft Publisher is an easy-to-use publishing software application that users in this DIY age can optimize to produce digital content…
Access Microsoft Visio on your PC or mobile device to graphically arrange complicated concepts. Begin your Visio projects with hundreds…
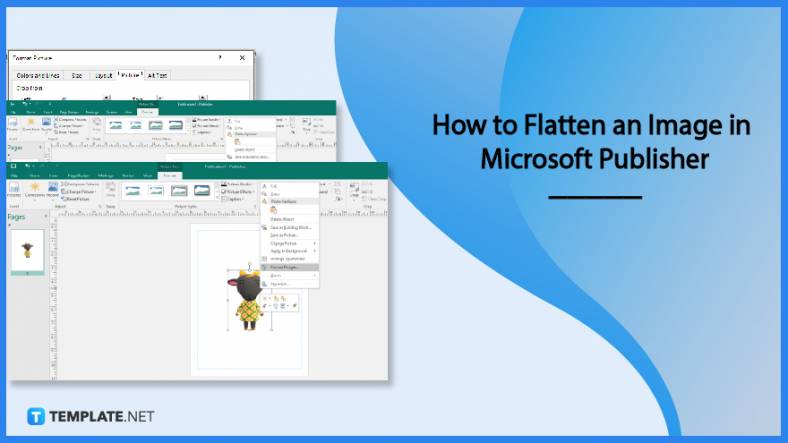
Flattening an image means reducing the file size of the image, which will make saving and printing much easier. So,…
Microsoft Visio lets you create professional diagrams and flowcharts for various purposes and occasions. It also enables you to collaborate…
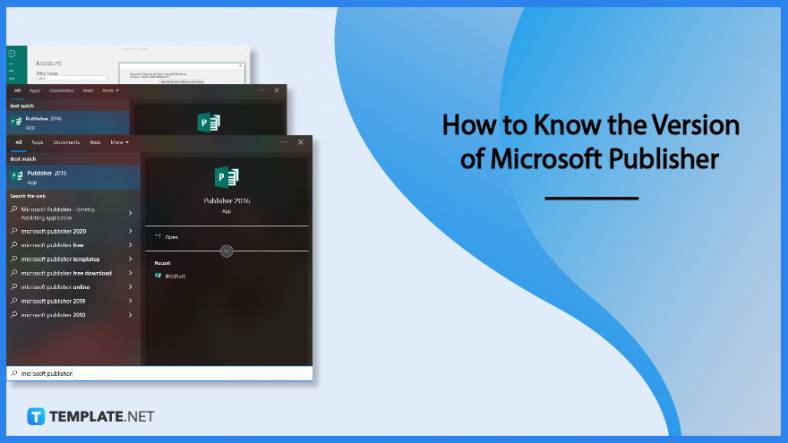
Knowing the version of Microsoft Publisher installed on your computer is also helpful when downloading templates and add-ins because some…
Microsoft Visio is an excellent tool and application for creating visual representations of flows and processes using creative and beautiful…