How to Connect Access with Microsoft SharePoint
Microsoft SharePoint is one of the products within the Microsoft product suite where you can access more applications integrated into…
Aug 05, 2024
Block out/off time in Outlook calendar using Microsoft Outlook’s life organizing features, offering a range of tools to keep you organized and on time. With the Microsoft Outlook calendar feature, you can set your time away from the office while not affecting the free time available on other users’ calendars; learn how to block out/off time in Outlook calendar shortly.
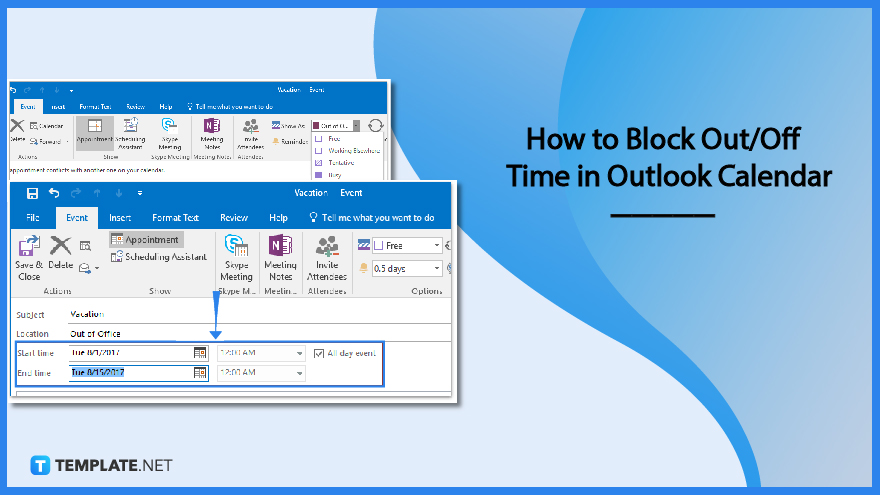
In case you get busy or go for a vacation while calendaring sharing isn’t enabled and other coworkers don’t use Microsoft Office 365, you can still mark a time away with the Outlook calendar. The key is to insert custom meeting requests to other users’ calendars but not in a way where you affect the free time of their calendars; achieve it with these steps:
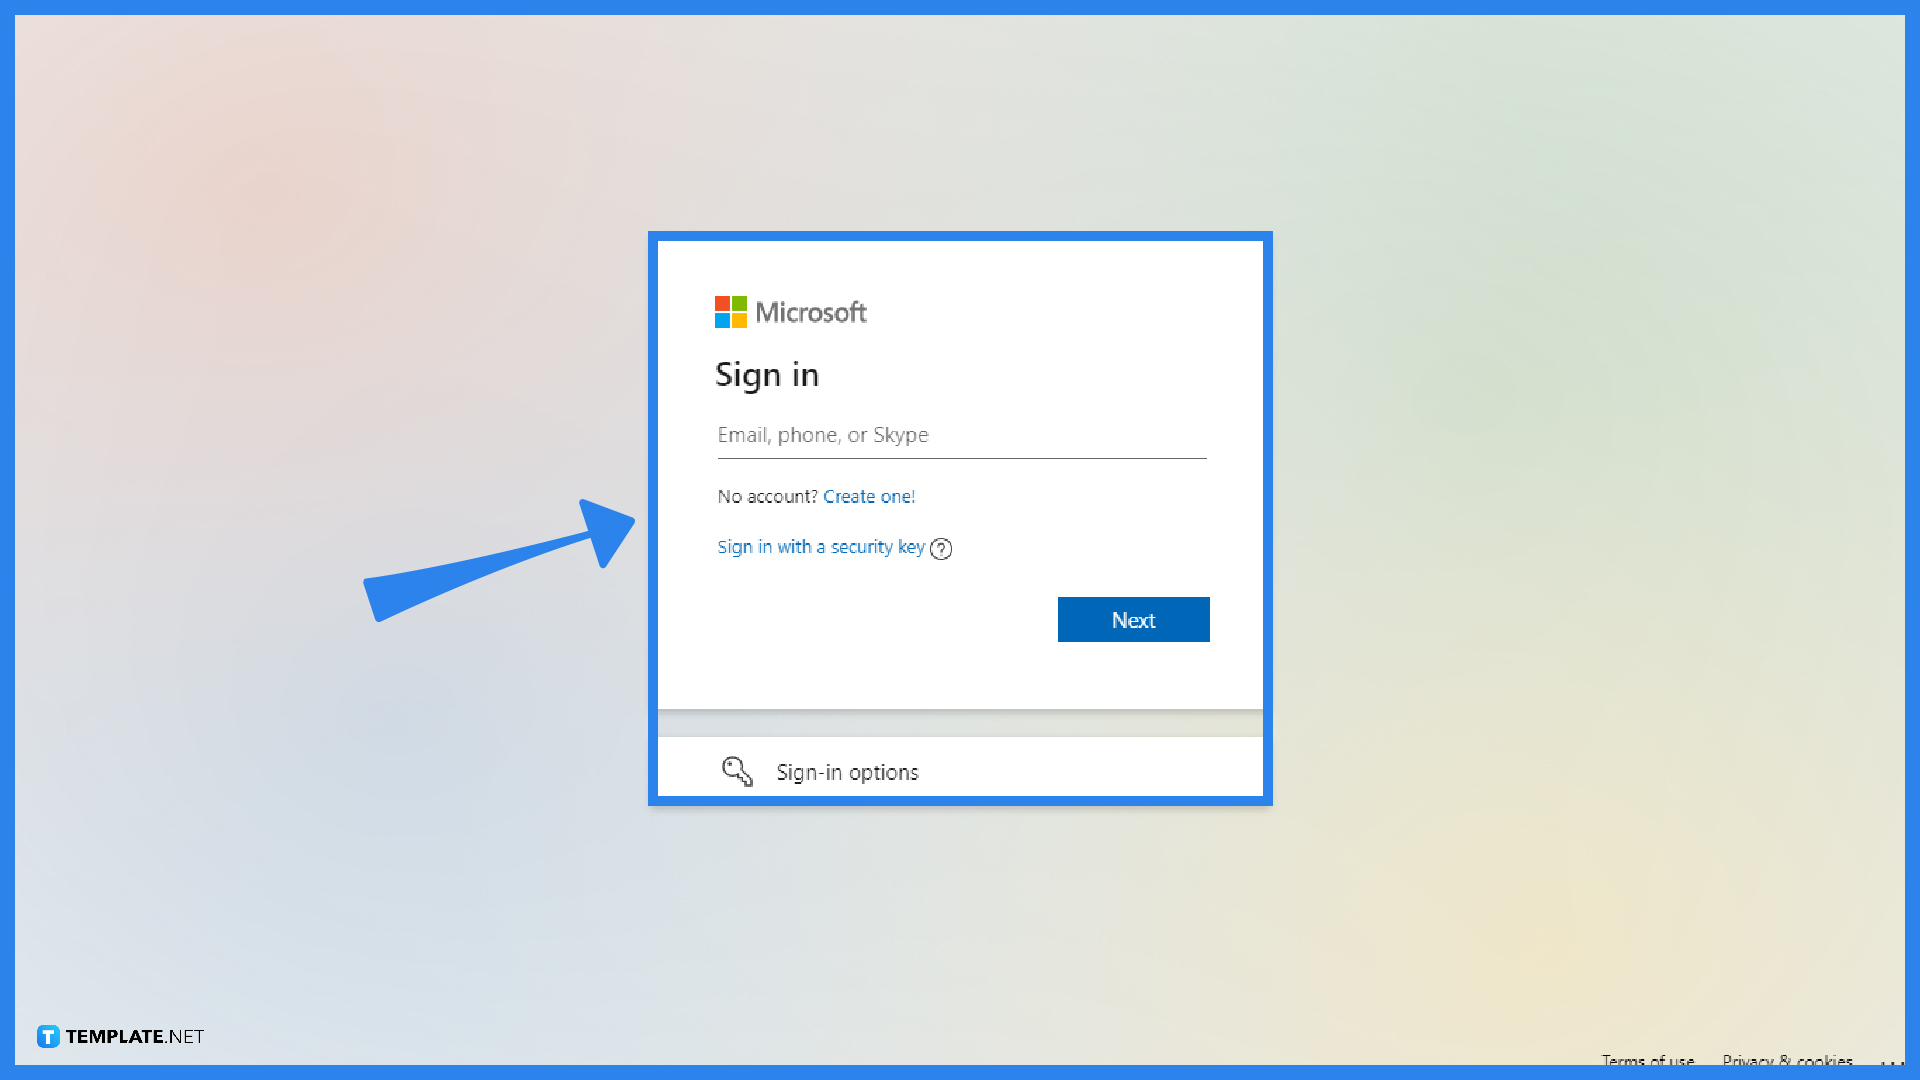
Visit Outlook.com or download the Outlook app from the Microsoft Office 365 subscription. Next, sign in to Microsoft Outlook by providing your user ID/ email address and password and clicking “Sign in.” Once inside, your next goal will either be to block out your vacation using your own calendar or ensure that your coworkers know you will be gone for the holidays or for whatever reason you will be absent and insert a vacation time to their Outlook calendars, which will be discussed in the next steps.

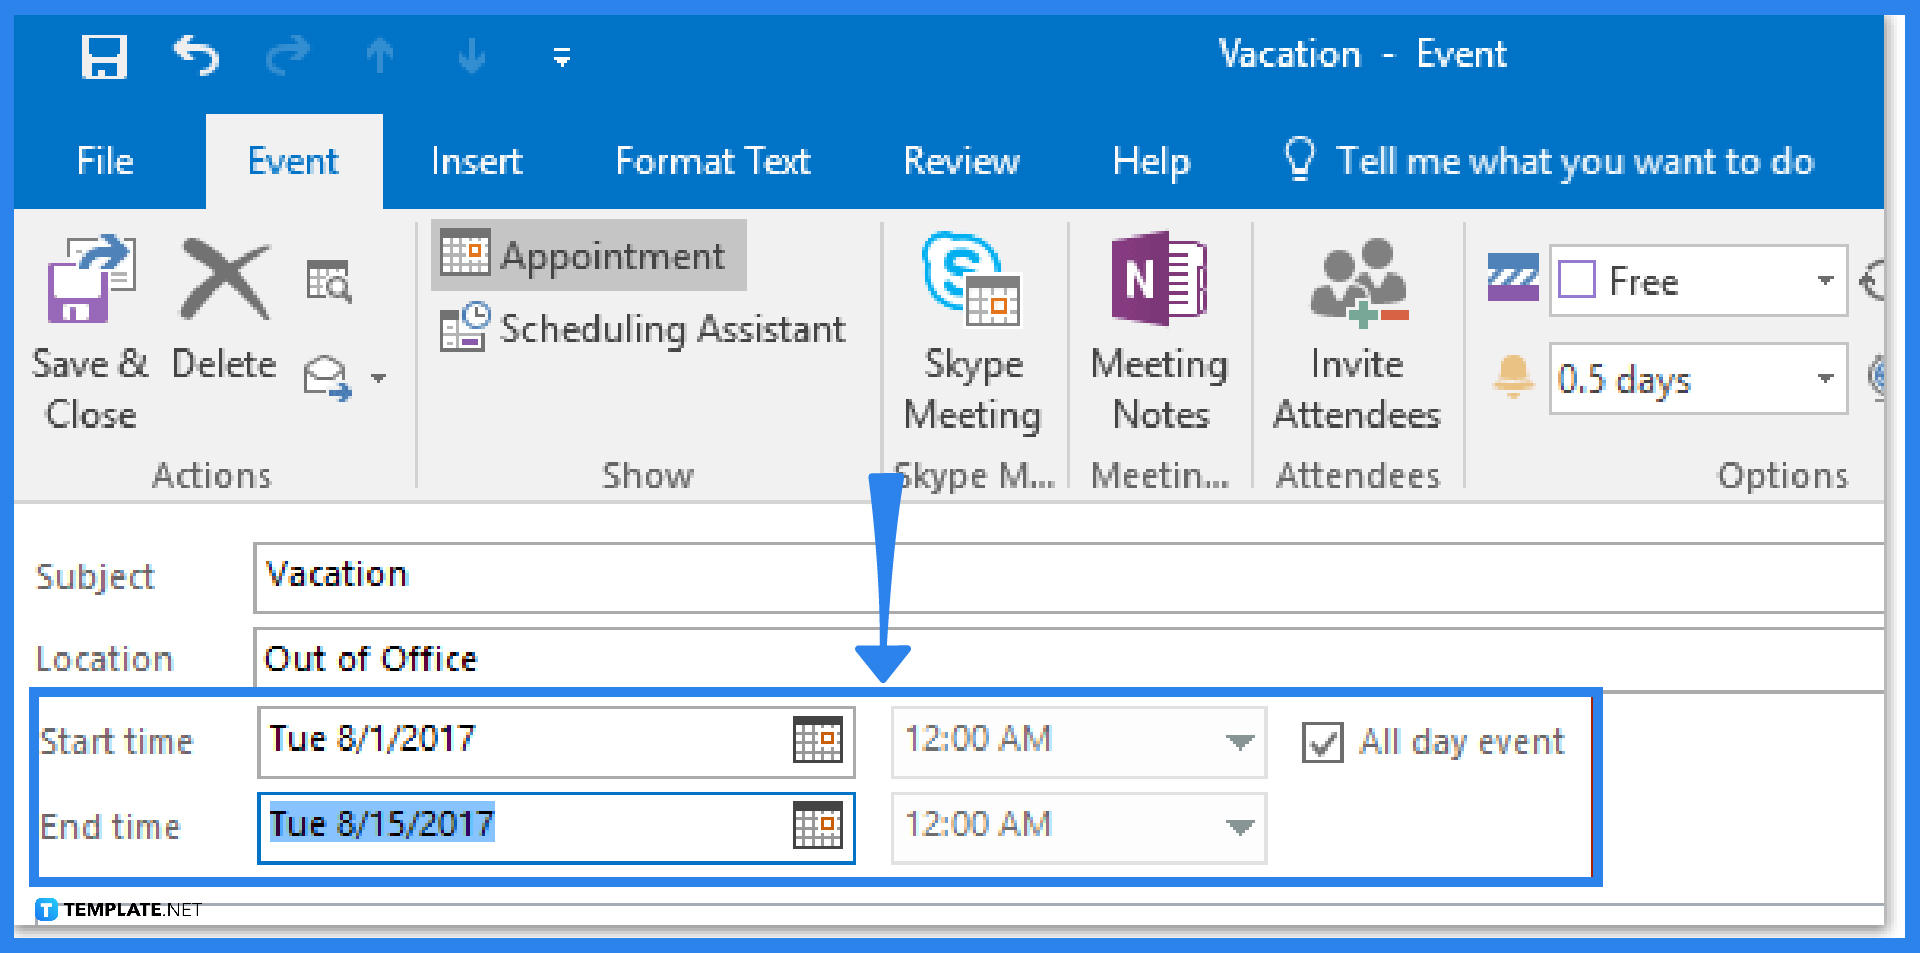
Head to the calendar in Outlook, select “Home,” and click “New Appointment.” Write the subject and location detailing the insights or explanation about your time off. Denote the block scheduling of your vacation from the Start time box down to the End time box. Check the box beside All day event as well.

Click “Show As” from the Event tab to access a drop-down menu. From there, choose “Out of Office.” Do the finishing touches for scheduling until you click “Event” followed by “Save & Close.”
The other alternative is to select “Home” and “New Meeting” in your calendar. Type in the focus subject and location on the text boxes provided. The same goes for writing the start time and end time and marking the All day event check box. The different step is that you will now click “Attendees,” “Response Options,” and clear “Request Responses.”
Under Options, click “Show As” and “Free.” Insert the focus details to share with other users and note who to send the information under the To line. Finally, hit “Send.” They would now be aware of your scheduled time-off.
The keyboard shortcut to make a new meeting request in Outlook is Ctrl + Shift + Q.
Click “Calendar” from the Outlook options and the Work Time Outlook calendar shading shades the nonworking hours according to the Calendar work time options; just uncheck the FRI checkbox if you don’t work on Fridays, perhaps, and set the rest of the schedule.
Select “Calendar Options” on the Preference group of Outlook calendar, pick your preferred color from the Default Color dropdown menu, and tap “OK.”

Microsoft SharePoint is one of the products within the Microsoft product suite where you can access more applications integrated into…
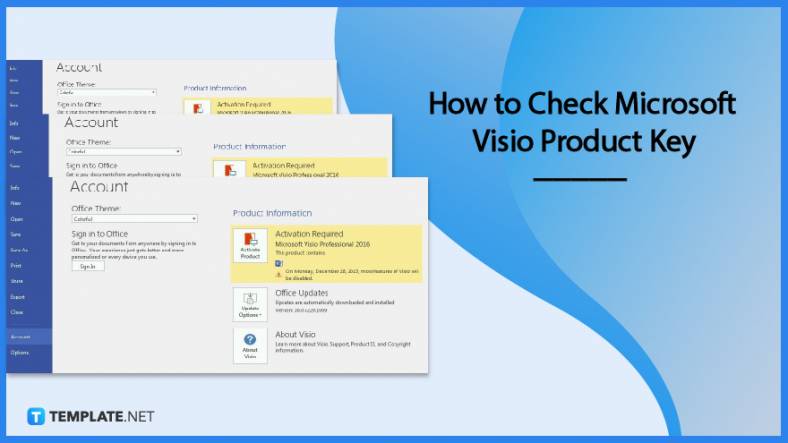
Finding a product key for the Microsoft Visio software only takes a few clicks and doesn’t require a diagrammed process.…

With Microsoft Visio, collaborating and editing drawings online is entirely possible. In addition to that, templates and various selections of…

Microsoft Publisher is an easy-to-use publishing software application that users in this DIY age can optimize to produce digital content…

Access Microsoft Visio on your PC or mobile device to graphically arrange complicated concepts. Begin your Visio projects with hundreds…

Flattening an image means reducing the file size of the image, which will make saving and printing much easier. So,…

Microsoft Visio lets you create professional diagrams and flowcharts for various purposes and occasions. It also enables you to collaborate…

Knowing the version of Microsoft Publisher installed on your computer is also helpful when downloading templates and add-ins because some…
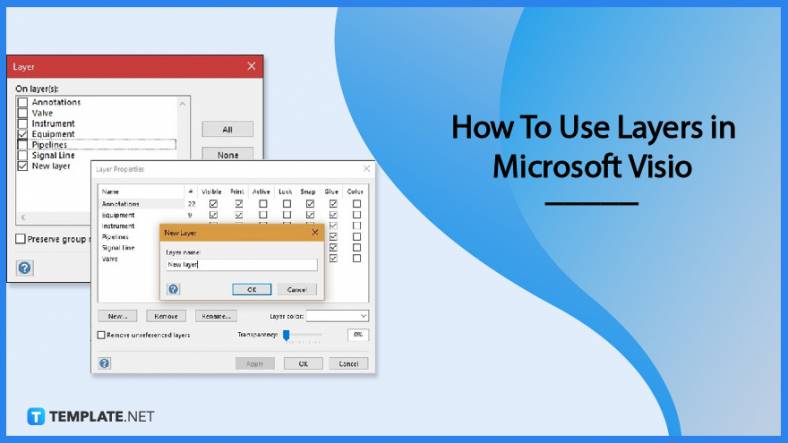
Microsoft Visio is an excellent tool and application for creating visual representations of flows and processes using creative and beautiful…