
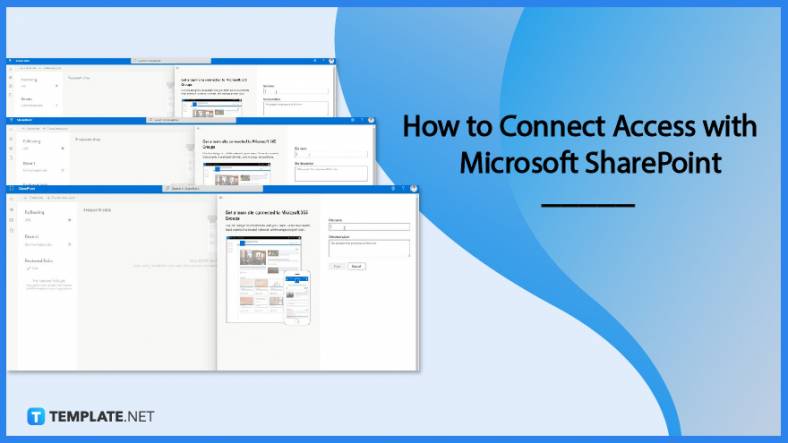
How to Connect Access with Microsoft SharePoint
Microsoft SharePoint is one of the products within the Microsoft product suite where you can access more applications integrated into…
Aug 16, 2022


Apr 26, 2023
Microsoft Publisher has a user-friendly design feature that allows you to create your own logo for academic or business purposes. Learn how to make a unique and compelling logo to market your business or brand with these few easy steps.
A logo makes it simpler for clients to recognize, identify, and prefer your business over rivals. Microsoft Publisher allows you to make your own logos since it is a customer-friendly application and can accommodate your design requirements.
![]()
![]()
Start your Microsoft Publisher application and open a new blank publication to work on. Go to the Home tab and select a shape for your logo. You can choose from a variety of basic shapes, like a circle or a square, for example.
![]()
To improve the final product’s resolution quality, you can adjust the size of the shape to make it larger. To change the shape’s size, click and drag on the publication’s corner or edge. The shape must extend all the way to the application window’s borders.
![]()
Click on the shape and, on its Format tab, click Shape Fill. Choose the desired color that suits your taste for your logo. You can choose from more color options by clicking More Fill Colors. Pick a color that will stand out against the logo’s font color. The sliders in the color palette and the RGB values can be adjusted to produce any shade or hue imaginable under the Custom Colors option. Additionally, the fill transparency can also be adjusted.
![]()
To add text to your logo, you can either right-click on the shape, select the Add Text option, and type in the text, or you can select Draw Text Box, and type in the text for your logo. Remember that when using a textbox, you have to “Group” all the objects in the logo, including the shape. You can change the font size, style, and color the way you want.
![]()
To save the output, right-click on the logo and choose the Save as Picture option from the menu that appears. Then, in the Save as Type, click the arrow-down and select the Device Independent Bitmap option from the dropdown menu. After that, go to the Resolution, click the Change button, choose the 300dpi option from the Change Resolution menu, and click OK. Then, click Save. Your computer now has a copy of the Publisher’s logo in digital form.
If you want your logo to be of high quality, then you must save it at a resolution of 300 dpi.
It is possible to use a lot of colors, but an effective logo should be simple and readable, so it is recommended to avoid using more than 1 or 2 colors for your logo.
To group the objects in your logo, hold the Ctrl key, click on all the present objects in your logo, and select the Group option under the Arrange group of the Home tab.
Microsoft SharePoint is one of the products within the Microsoft product suite where you can access more applications integrated into…
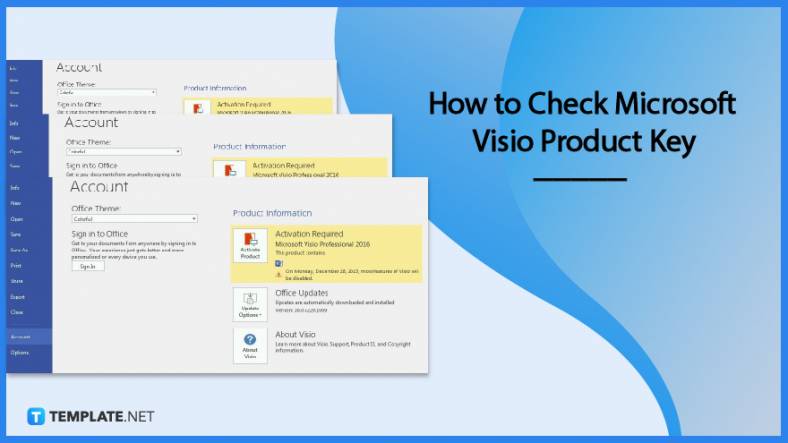
Finding a product key for the Microsoft Visio software only takes a few clicks and doesn’t require a diagrammed process.…
With Microsoft Visio, collaborating and editing drawings online is entirely possible. In addition to that, templates and various selections of…
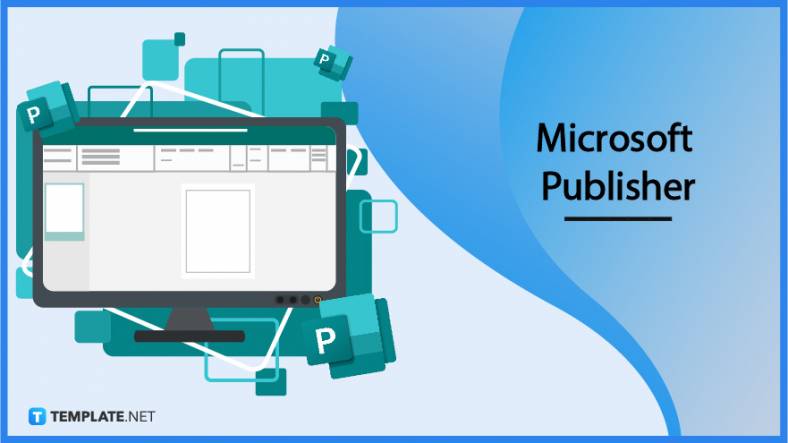
Microsoft Publisher is an easy-to-use publishing software application that users in this DIY age can optimize to produce digital content…
Access Microsoft Visio on your PC or mobile device to graphically arrange complicated concepts. Begin your Visio projects with hundreds…
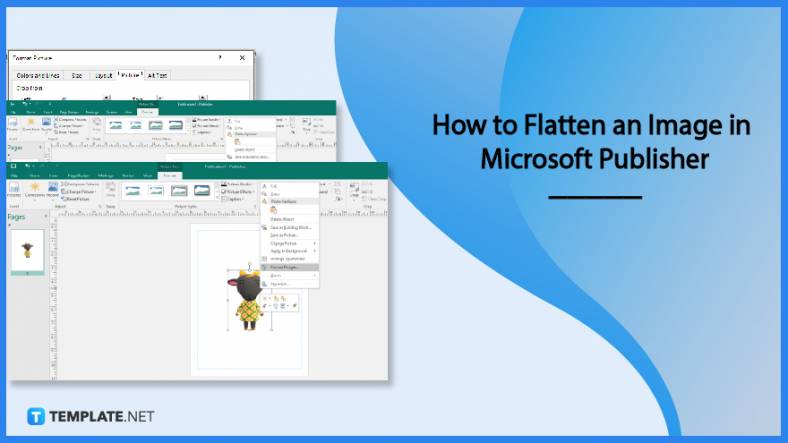
Flattening an image means reducing the file size of the image, which will make saving and printing much easier. So,…
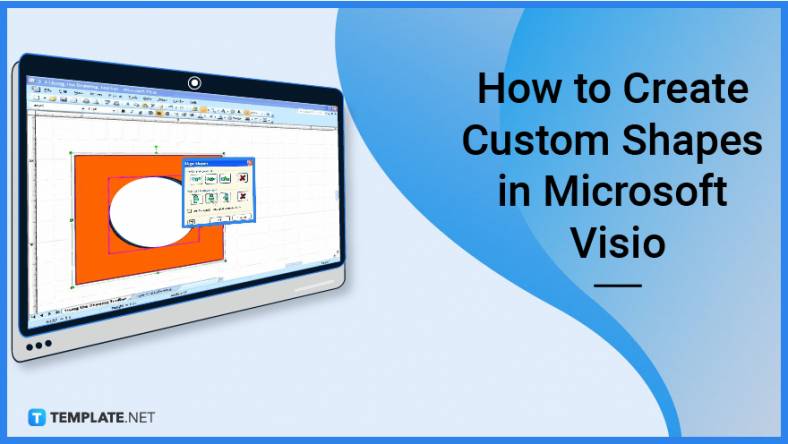
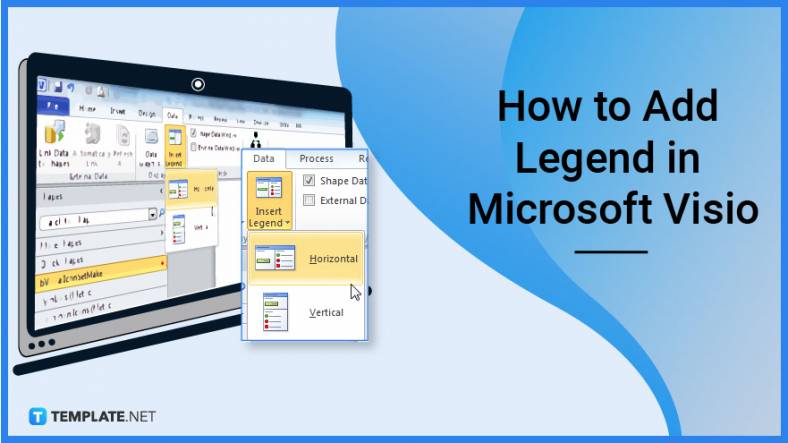
Microsoft Visio lets you create professional diagrams and flowcharts for various purposes and occasions. It also enables you to collaborate…
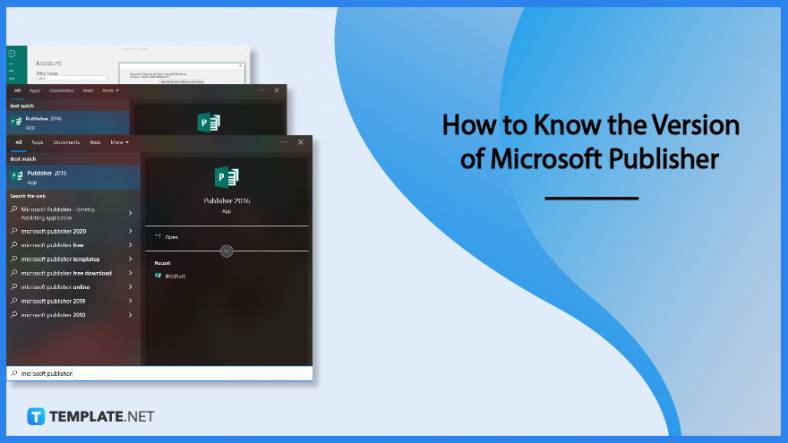
Knowing the version of Microsoft Publisher installed on your computer is also helpful when downloading templates and add-ins because some…
Microsoft Visio is an excellent tool and application for creating visual representations of flows and processes using creative and beautiful…