


How to Connect Access with Microsoft SharePoint
Microsoft SharePoint is one of the products within the Microsoft product suite where you can access more applications integrated into…
Aug 16, 2022


Mar 20, 2023
With Microsoft Visio, collaborating and editing drawings online is entirely possible. In addition to that, templates and various selections of shapes or stencils are available for creating diagrams and flowcharts in Visio.

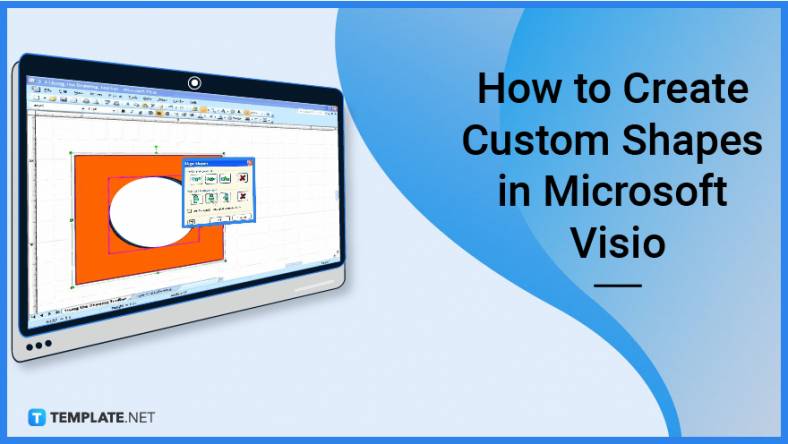
Although there are many available shapes and stencils in Microsoft Visio, you can still create your own. These steps will explain how you can create a custom shape in Visio:
To customize a shape in Microsoft Visio, you need to open Favorites stencil first. To do this, click More Shapes which is in the Shapes window, point to My Shapes, and then click Favorites. Right-click the title of the stencil and click Edit Stencil.

Next, you need to input the details of the new master you are making. Right-click the stencil window and click New Master. A prompt will appear where you can type the name of the stencil and select other options for the shape then you can click OK.
After you click OK, a blank shape icon will appear on the stencil. Right-click that icon and point to Edit Master which will let you click on the Edit Master Shape option. Once selected, you can now create a new shape by using the drawing tools in Visio, by using other shapes and stencils, or by pasting objects from other applications.
When you are done creating your desired shape, you can then save it. To save, close the drawing window and click Yes to update the master shape you made. Then, click Save to save the changes after right-clicking the stencil title bar.
You will know if a stencil is editable when you can see an asterisk in the stencil title bar, if there is no asterisk that means the stencil can’t be edited.
The stencils provided with Visio can’t be edited, only the stencil and shapes you created or customized can be.
When creating a new shape in Microsoft Visio, the following tools can be utilized: Freeform tool, Arc tool, and Line tool.
To find the Drawing Tools List, click the Home tab and in the Tools group, click the arrow beside the Rectangle—the list will then appear and you can click the kind of shape you want to use in creating your own shape.
you will know that the shape you created is closed when it turns opaque.
To reshape a shape in Microsoft Visio, open the Drawing Tools List and select the Pencil tool; then, select the shape you want, click the vertex you want to move, and drag it to a new position.
Microsoft SharePoint is one of the products within the Microsoft product suite where you can access more applications integrated into…

Finding a product key for the Microsoft Visio software only takes a few clicks and doesn’t require a diagrammed process.…
With Microsoft Visio, collaborating and editing drawings online is entirely possible. In addition to that, templates and various selections of…

Microsoft Publisher is an easy-to-use publishing software application that users in this DIY age can optimize to produce digital content…
Access Microsoft Visio on your PC or mobile device to graphically arrange complicated concepts. Begin your Visio projects with hundreds…
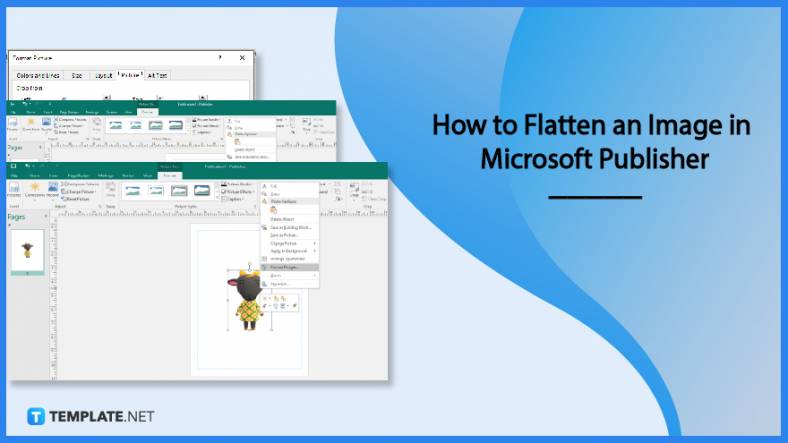
Flattening an image means reducing the file size of the image, which will make saving and printing much easier. So,…
Microsoft Visio lets you create professional diagrams and flowcharts for various purposes and occasions. It also enables you to collaborate…

Knowing the version of Microsoft Publisher installed on your computer is also helpful when downloading templates and add-ins because some…
Microsoft Visio is an excellent tool and application for creating visual representations of flows and processes using creative and beautiful…