How to Connect Access with Microsoft SharePoint
Microsoft SharePoint is one of the products within the Microsoft product suite where you can access more applications integrated into…
Apr 19, 2023
Microsoft OneNote allows users to use its notes as if they were paper, making them widely customized to their taste of design. One of the best ways someone can make use of this feature is by using Microsoft OneNote’s customizable nature to create a calendar in their notes.
A calendar is a good way to journal as it can help the user keep notes on important dates and events. Microsoft OneNote can be used by witty and creative planners to create an accessible online journal that can be accessed on the user’s OneDrive.
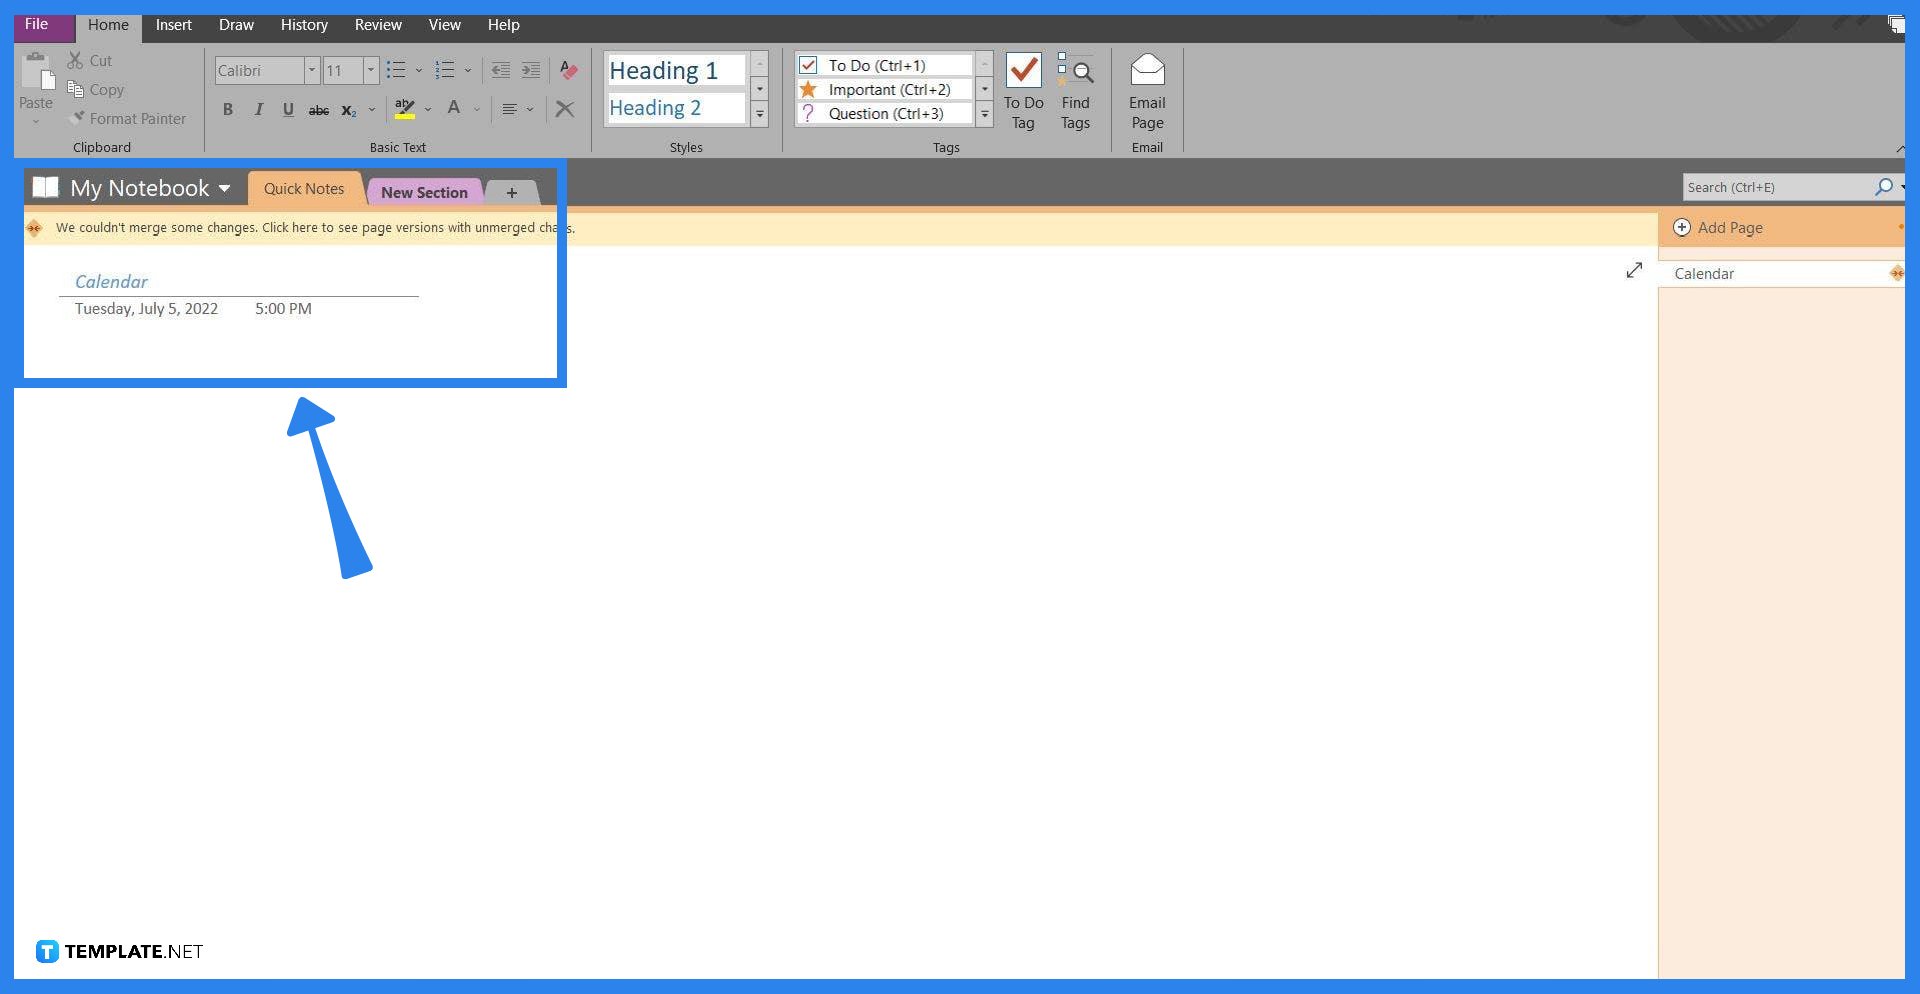
To create a calendar on Microsoft OneNote the user may use either the web or the desktop version of Microsoft OneNote. After opening the software or program the user will then have to either pick an empty note or a note where they want to create their calendar.
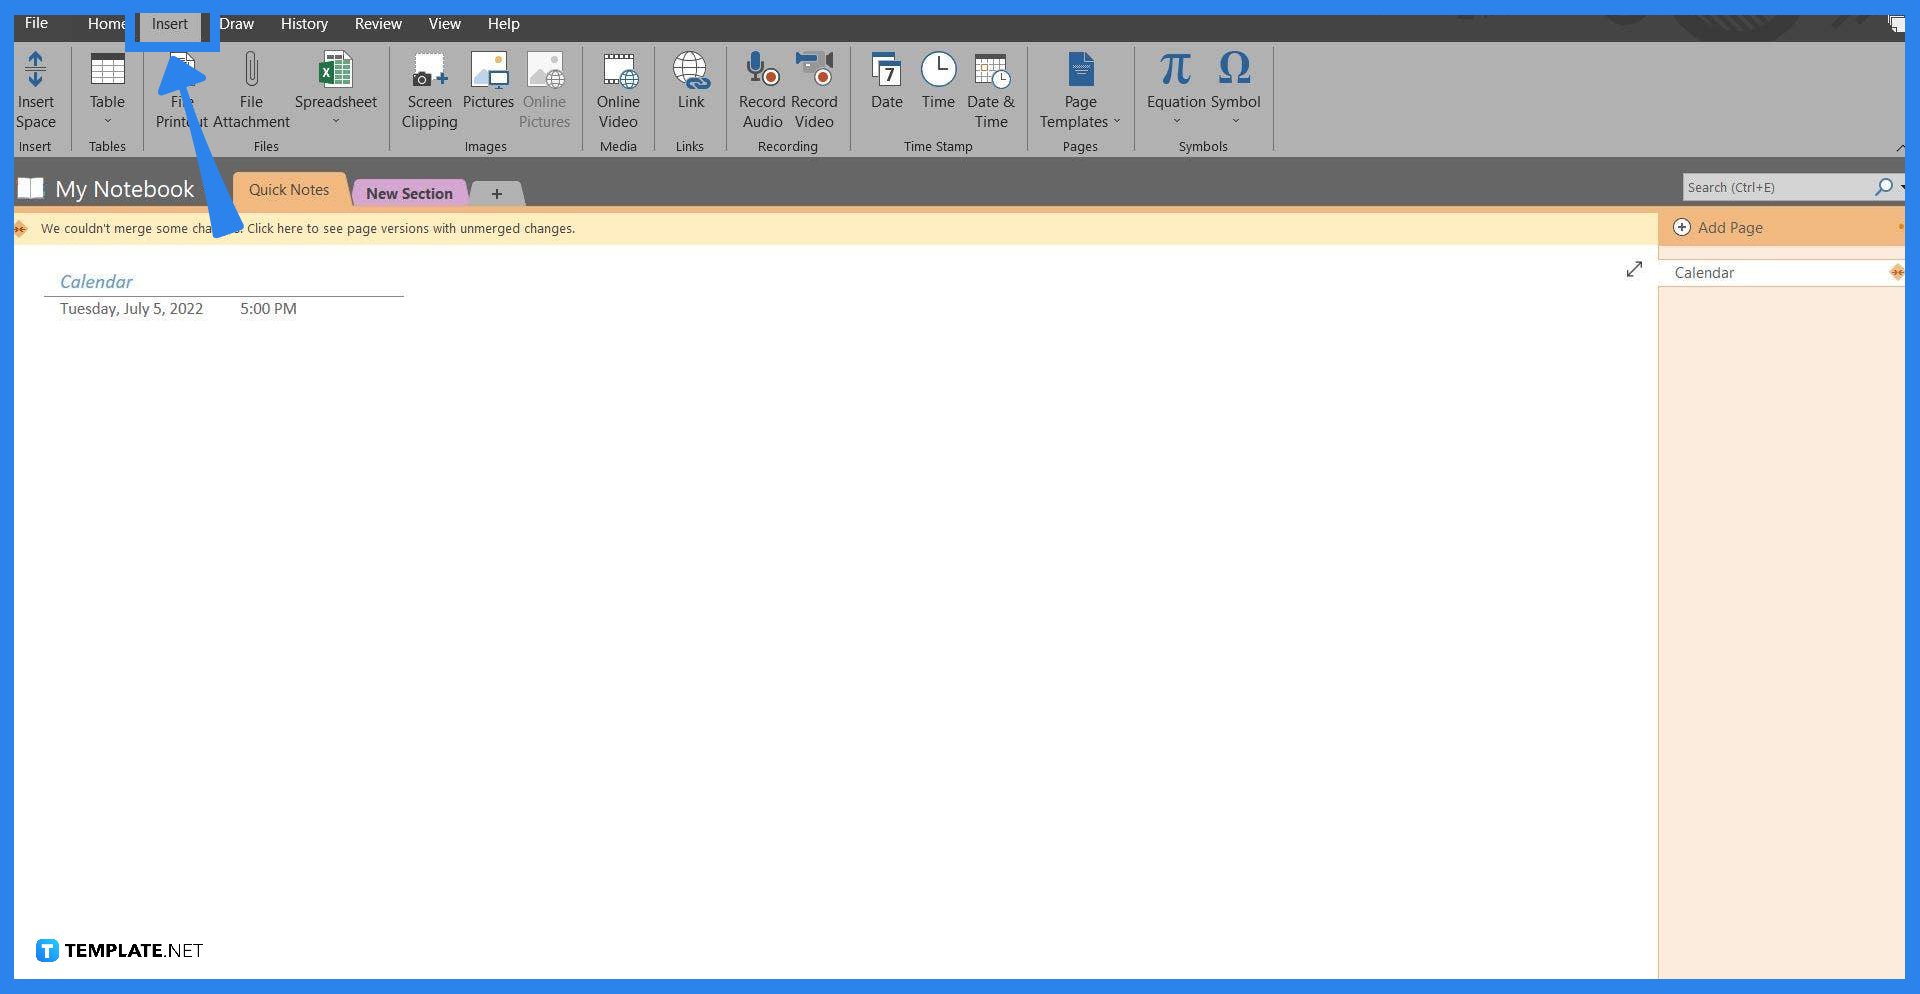
The tool required for creating a calendar in Microsoft OneNote is located in the Insert toolbar. To access this toolbar view, the user will have to select the “Insert” button located in the upper corner of the header.
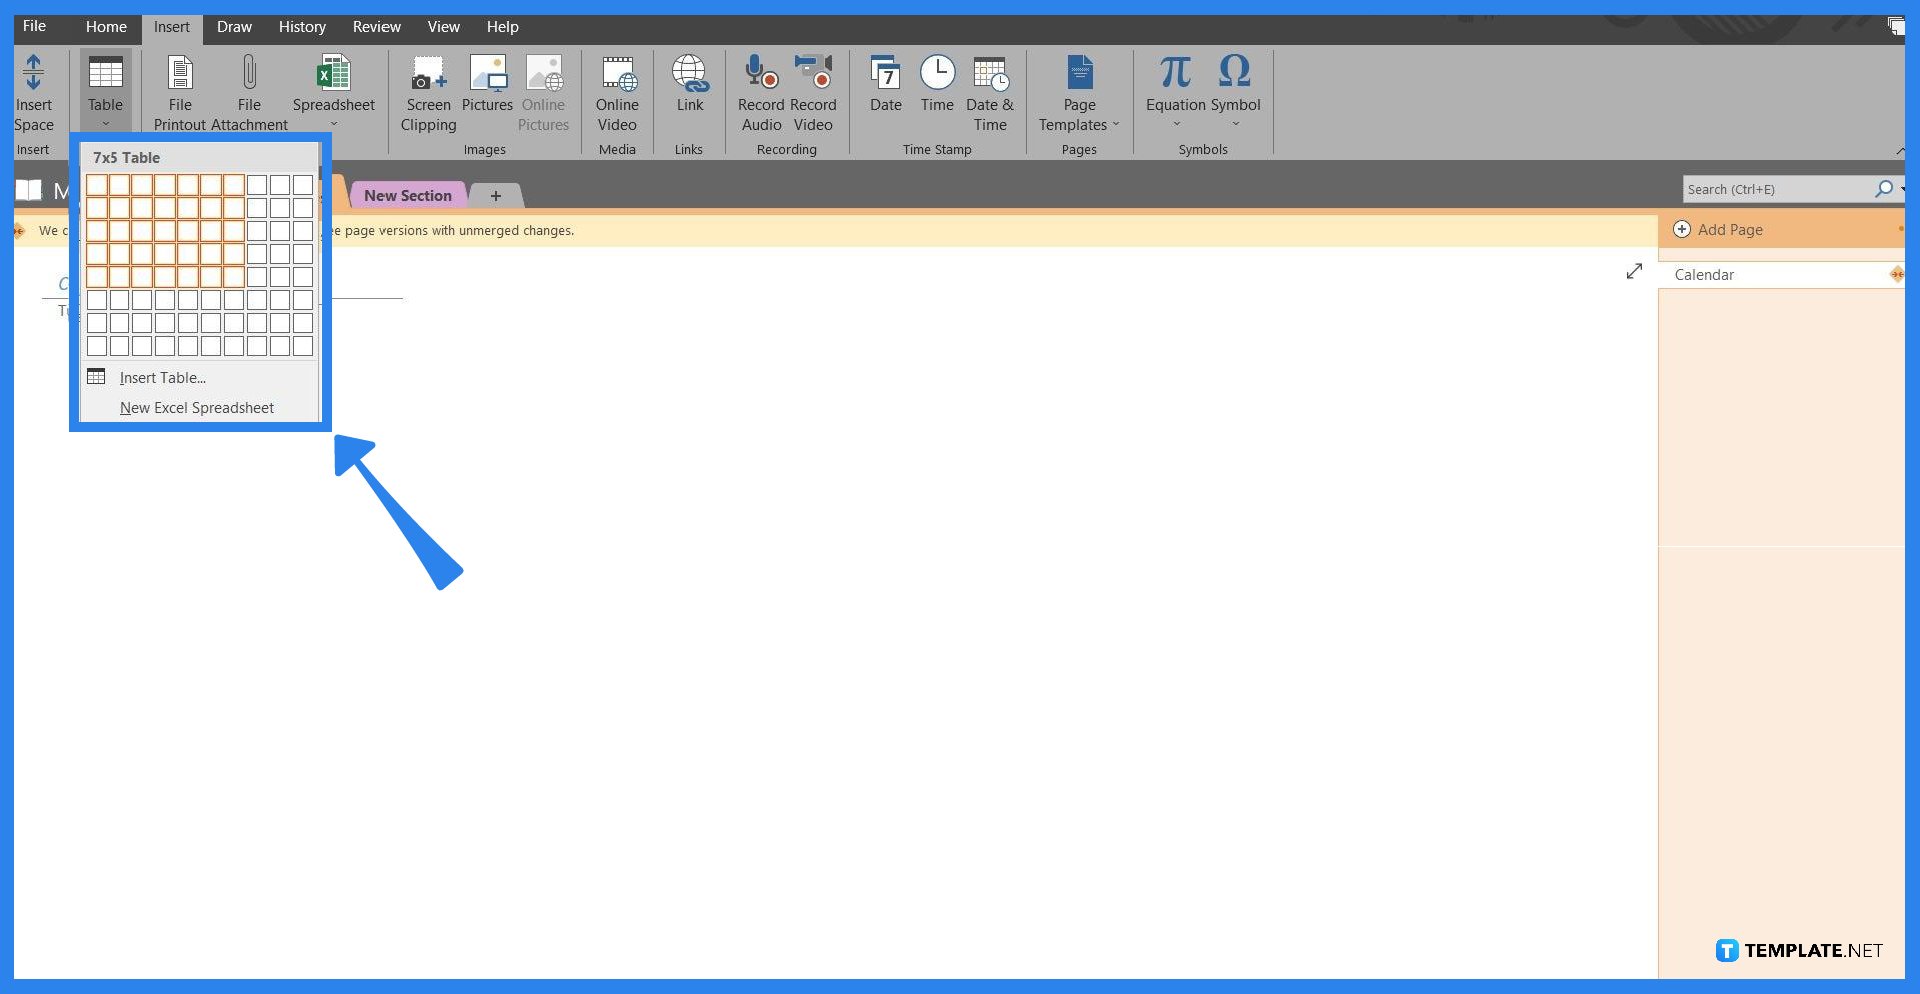
A calendar is best made by using a 7 × 5 or 7 × 6 table, don’t worry if the user made a mistake on the size of the table as this can be easily edited later on in the process. To create or insert a table in the note, the user will first have to access the table dropdown by pressing the “Table” button which the user can find in the left corner of the window. Then the user inserts a table based on the size they chose by selecting the appropriate number of squares and clicking it.
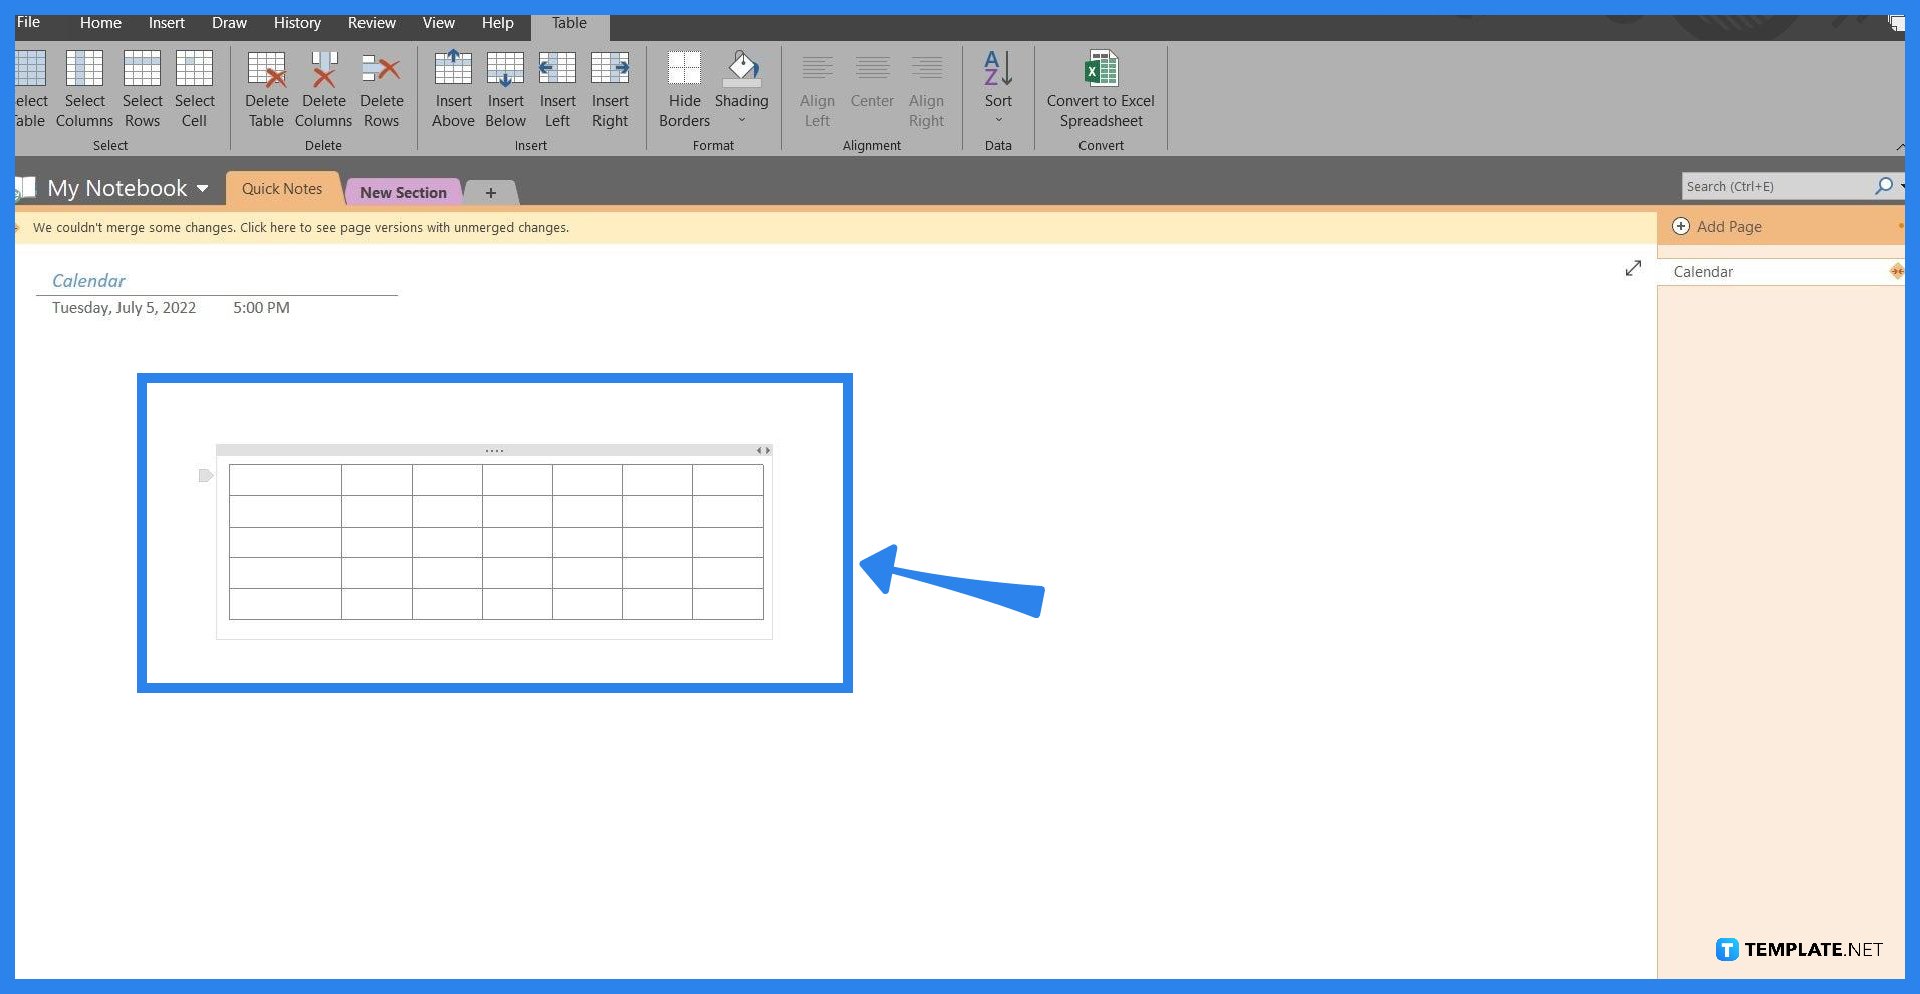
The user will then be given access to the Table ribbon located on the header. In this ribbon, the user can increase the number of rows and columns, sort the fields or cells, and even shade the individual cells. This is automatically accessed by clicking or selecting the table. The user can also adjust the size of the rows and columns by hovering their pointer over the cell wall and dragging it to the left or right to change the size of the cell respectively.
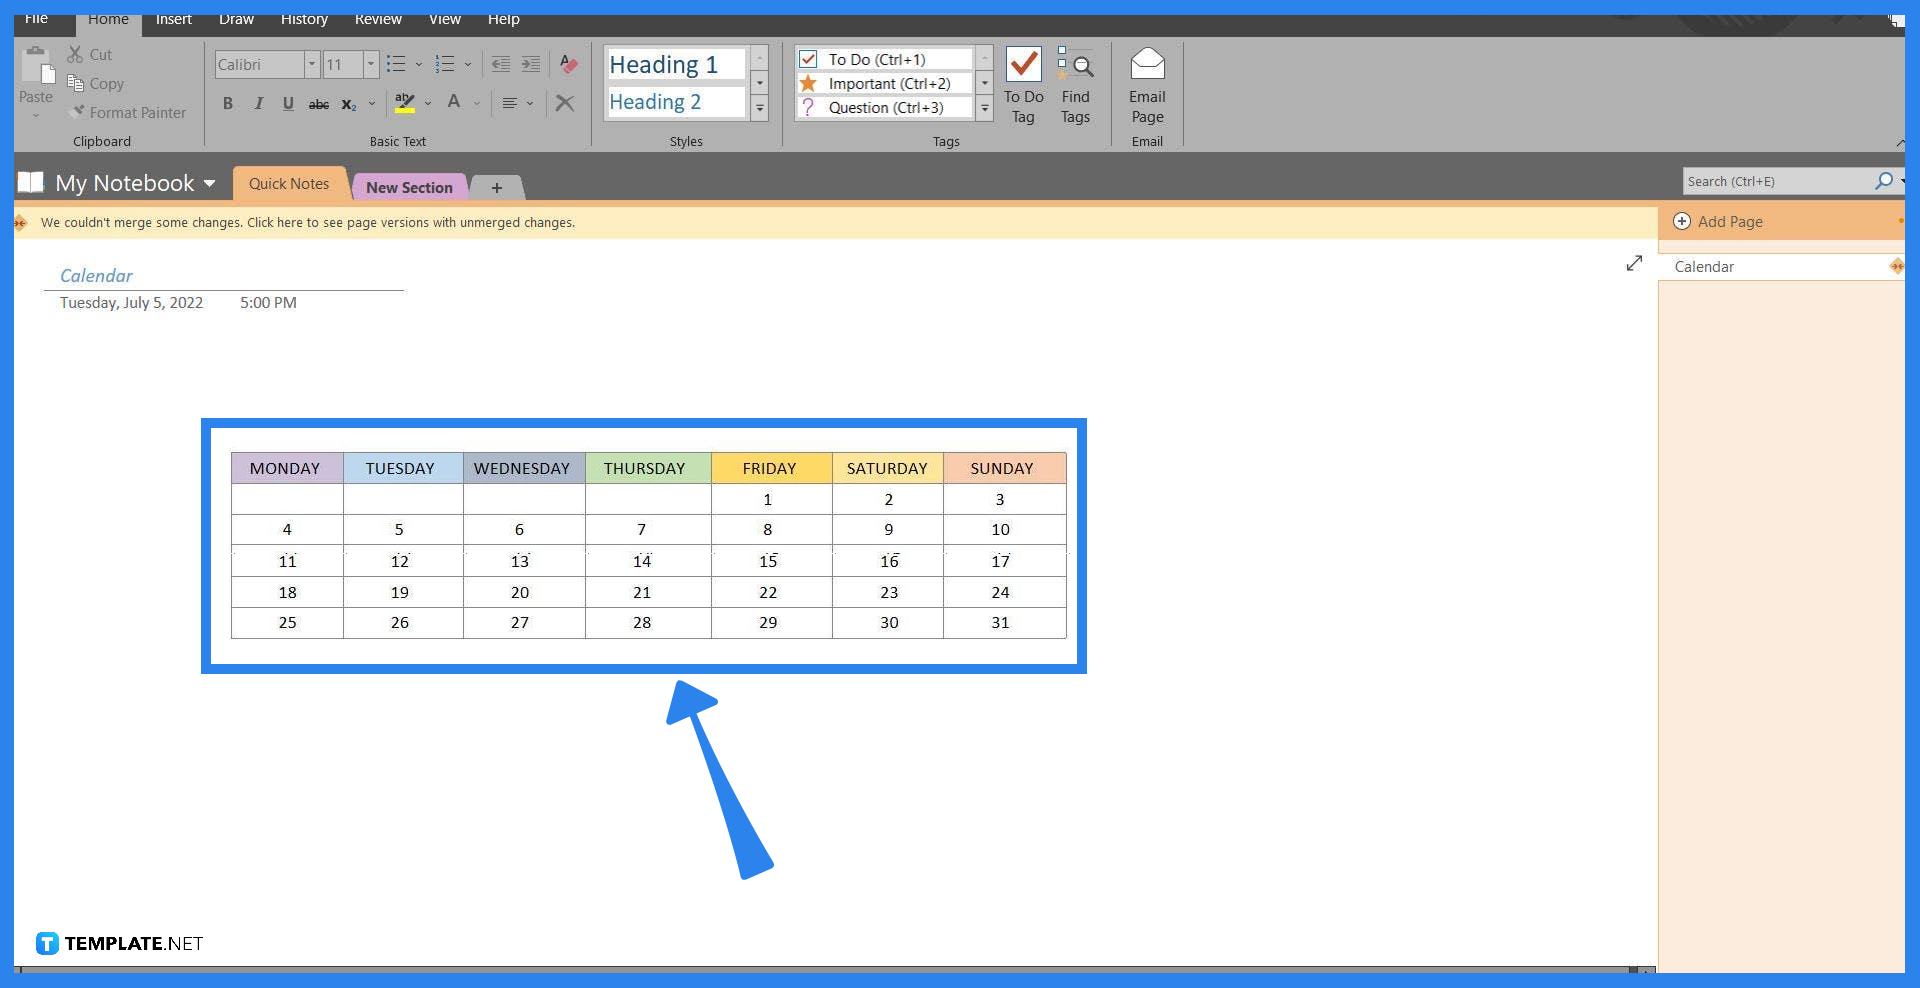
After the user has edited the table, they may now input the dates of the month into the cells. To add the dates the user will have to click the empty cell they wish to type into and type out the number; moving to another cell can be easily done by pressing the tab on the cell to move to the next adjacent one. After creating the calendar, the user can move it anywhere in the note.

Yes, OneNote can be used as a digital planner, as it can host plenty of customizable and usable features like to-do lists, calendars, and more.
Access the Insert toolbar and insert a Form into the notebook to create a fillable form in OneNote (this feature is only available on accounts that are linked to a business or a school).
You must first select a page, table, image, note container, or a combination of these things, then head to the Insert Toolbar, select the “Page Templates” button, and click the “Save current page as a template” button on the lower right side of the window.
Yes, one can achieve this by inserting the PDF into the note through the “Insert file as a printout” button in the Insert toolbar.
You must first select the text or the note container and click the “To Do tag” button on the Home toolbar.

Microsoft SharePoint is one of the products within the Microsoft product suite where you can access more applications integrated into…
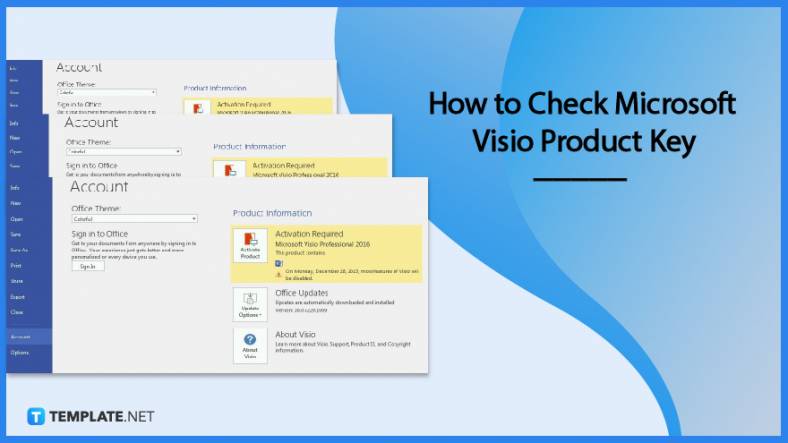
Finding a product key for the Microsoft Visio software only takes a few clicks and doesn’t require a diagrammed process.…

With Microsoft Visio, collaborating and editing drawings online is entirely possible. In addition to that, templates and various selections of…

Microsoft Publisher is an easy-to-use publishing software application that users in this DIY age can optimize to produce digital content…
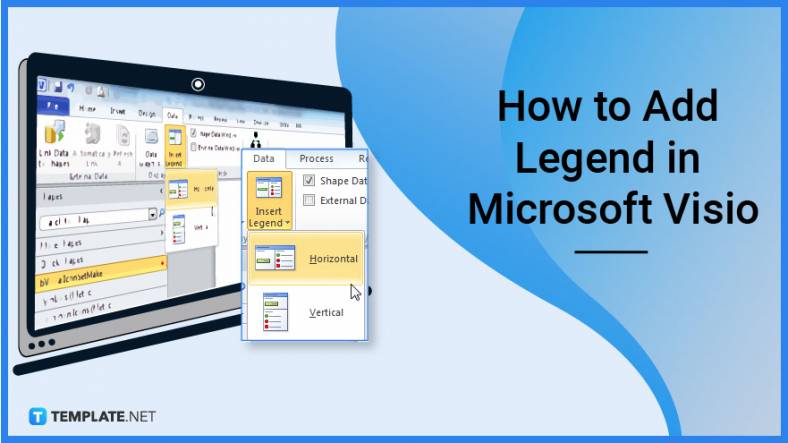
Access Microsoft Visio on your PC or mobile device to graphically arrange complicated concepts. Begin your Visio projects with hundreds…
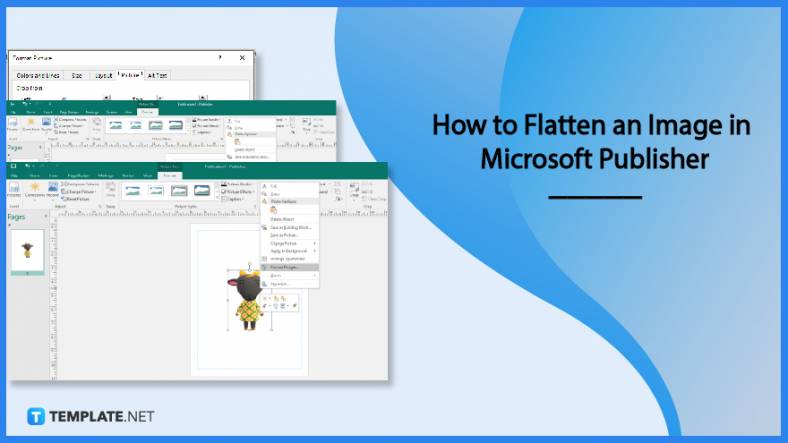
Flattening an image means reducing the file size of the image, which will make saving and printing much easier. So,…
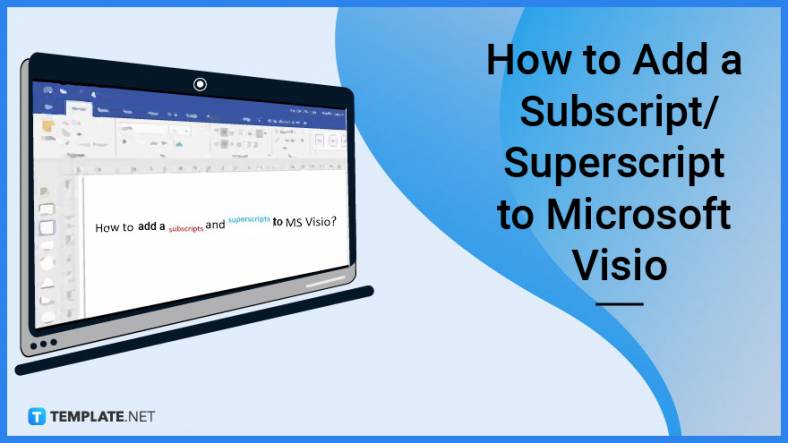
Microsoft Visio lets you create professional diagrams and flowcharts for various purposes and occasions. It also enables you to collaborate…
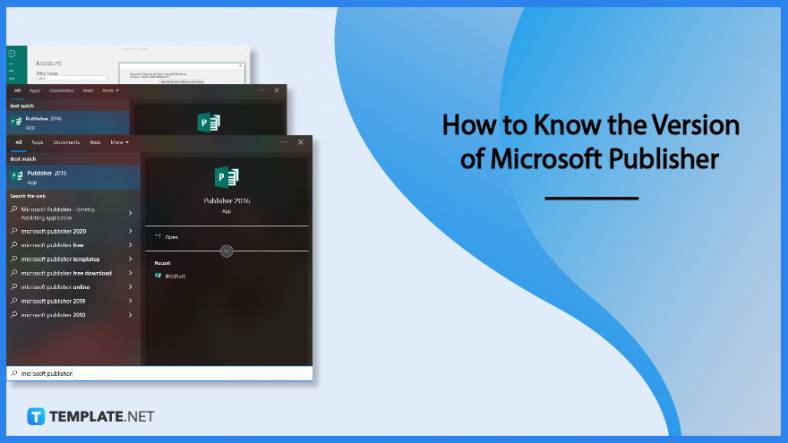
Knowing the version of Microsoft Publisher installed on your computer is also helpful when downloading templates and add-ins because some…
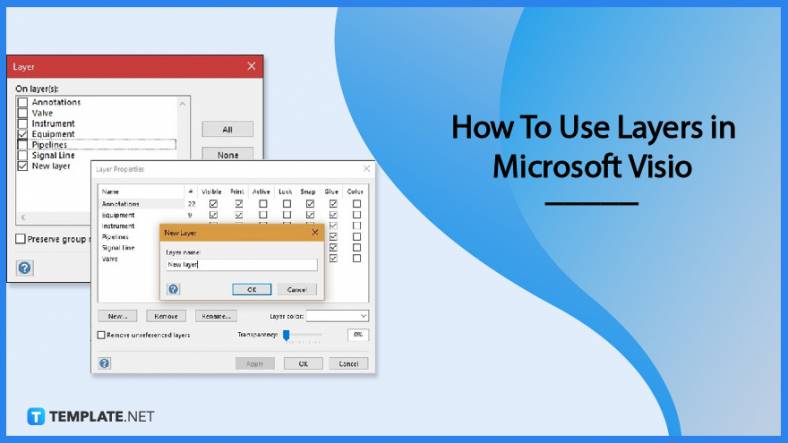
Microsoft Visio is an excellent tool and application for creating visual representations of flows and processes using creative and beautiful…