


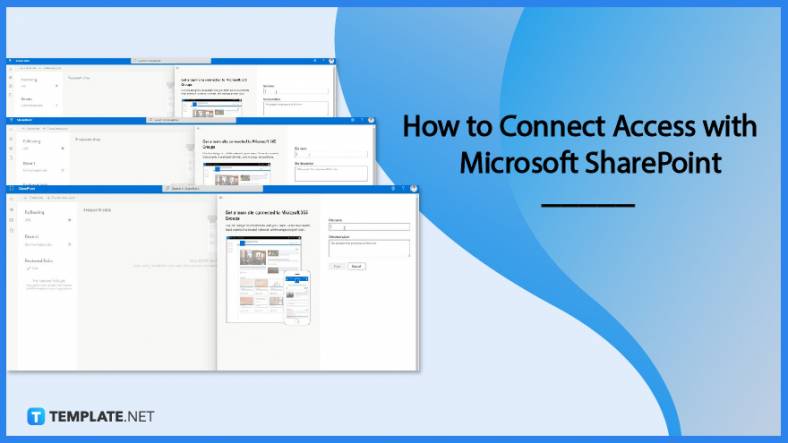
How to Connect Access with Microsoft SharePoint
Microsoft SharePoint is one of the products within the Microsoft product suite where you can access more applications integrated into…
Aug 16, 2022


Jan 16, 2025
Emailing Microsoft Word documents is a common practice in both personal and professional settings, enabling users to share information efficiently and collaborate on projects. When sending a Word document via email, it’s important to consider the format and size of the file to ensure that the recipient can easily access and view the content without issues. Microsoft Word offers flexible options for saving documents in various formats, including the standard .docx, older .doc, or PDF, which is universally readable on any device without formatting issues.

Before sending a Word document by email, it’s advisable to review the document for accuracy, ensure that it is free from sensitive or confidential information unless intended for the recipient, and check that the document layout appears as expected. Additionally, including a brief message in the email body to introduce the context of the document or provide instructions can enhance communication and efficiency. This approach ensures that documents are not only sent securely but are also presented professionally, making email an effective tool for document distribution and collaborative work.
Microsoft Word makes it easy for its users to share documents through emaill. So if you need to share your document files with peers, classmates, or colleagues, just follow the steps below.
First, browse through your file folders and look for your MS Word document. Select and open it in the Microsoft Word app installed on your Windows or Mac computer.
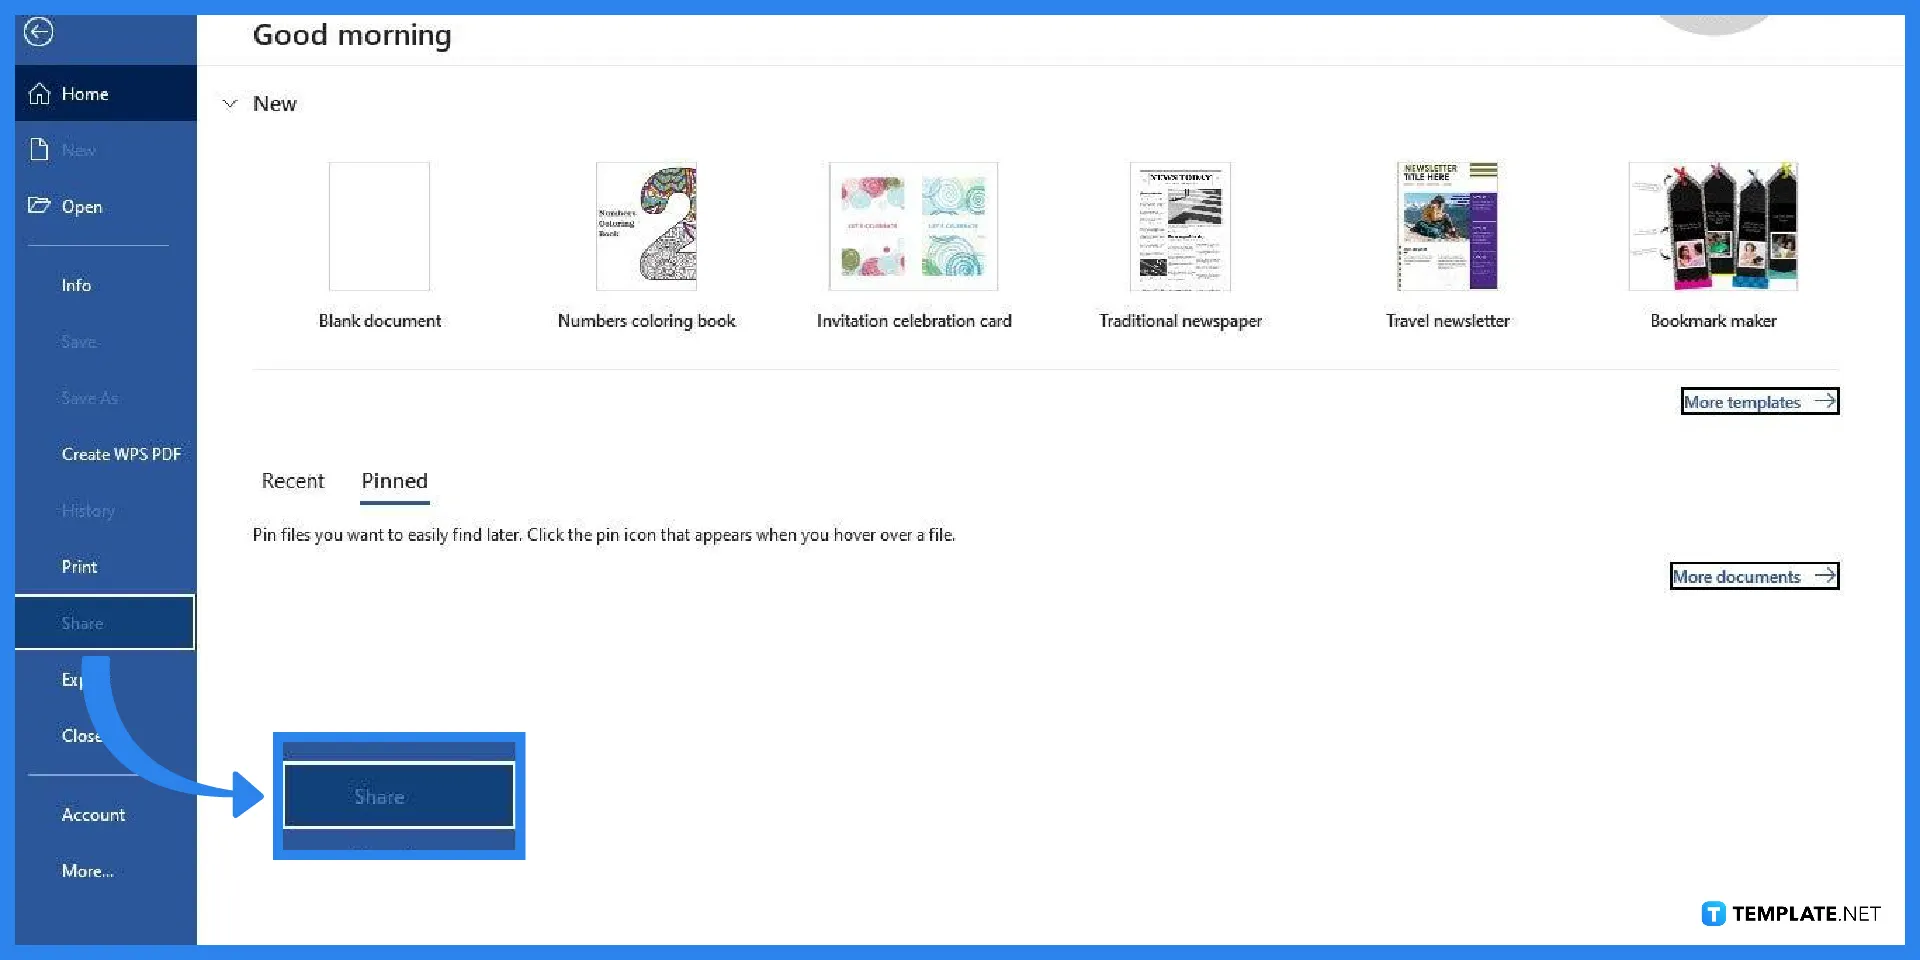
Once your document is open, you can start the process of sharing it through email. To begin, open the File tab by clicking ‘File’ on the menu bar and selecting the Share option. You can find it next to the Print option, which is used to print in Microsoft Word. In addition, if the Share option is unavailable, it could mean you aren’t signed in. So make sure to sign in to Microsoft Word.
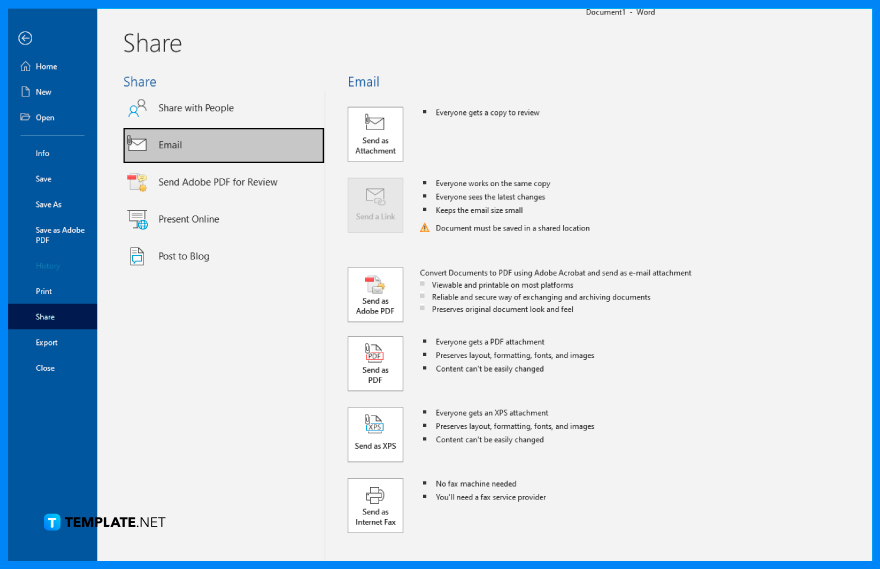
After clicking the Share option in the File tab, the options for sharing the document via email will appear. Those options comprise of the “Upload to OneDrive” and the “Attach a Copy Instead.” If you select the first option, your document will be saved in OneDrive, which you may share directly through an email message or by providing a direct link. If you select the second option, the document will be shared as a file attachment to an email.

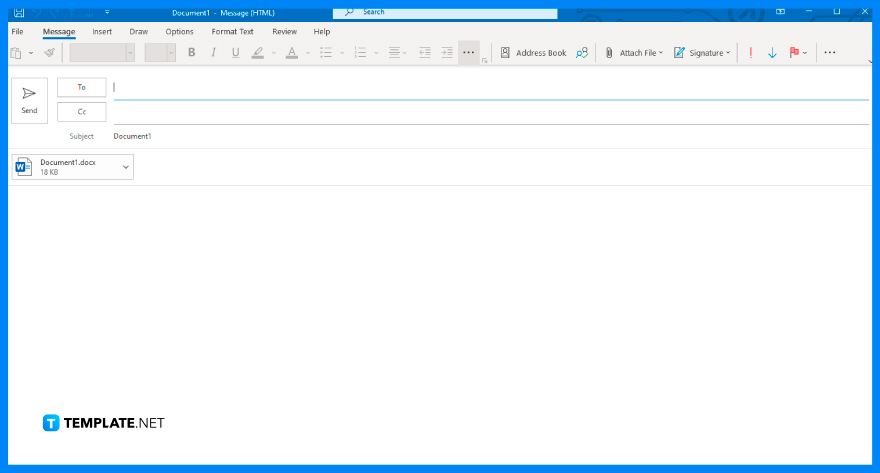
Enter the username or email address of the person with whom you want to share the document with. You can even add multiple recipients if you want to share the document with more than one individual.

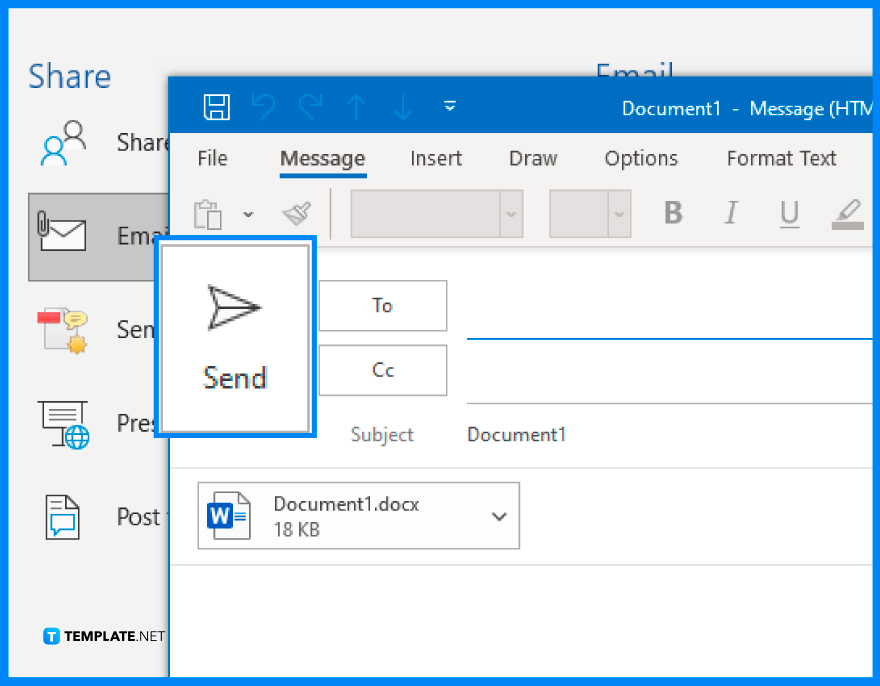
Once the usernames/emails of your recipients are set, click Send to forward your messages and attachments. Each of your recipients will shortly get an email notification indicating that you shared access to your MS Word document.

Emailing Microsoft Word documents can be straightforward, but ensuring your documents are sent effectively, securely, and professionally requires some attention to detail. Here are some essential tips to help you email Word documents more effectively:
.docx is standard for Word, consider saving the document as a .doc for recipients using older versions of Word, or a PDF for universal compatibility and to preserve formatting.To email a Microsoft Word document as an attachment, open your email client, compose a new email, click the “Attach” or “Paperclip” icon, select your Word file, and attach it to the email. Then, fill in the recipient’s email address, subject line, and message before sending.
Yes, you can email a Word document directly from Microsoft Word. Go to File > Share > Email and choose Send as Attachment to open your email client with the document automatically attached.
To convert a Word document to PDF, open the file in Microsoft Word, click File > Save As, choose PDF as the file format, and save it. Attach the PDF file to your email to ensure compatibility and prevent editing.
Before emailing a Word document, ensure the file is saved in a commonly used format (.docx or .pdf), has been reviewed for errors, and is named appropriately. Verify that the file size does not exceed email attachment limits.
If the Word document exceeds the email attachment size limit, compress the file into a ZIP folder, or upload it to a cloud storage service like Google Drive or OneDrive. Share the document link in the email instead of attaching the file directly.
Microsoft SharePoint is one of the products within the Microsoft product suite where you can access more applications integrated into…
Finding a product key for the Microsoft Visio software only takes a few clicks and doesn’t require a diagrammed process.…

With Microsoft Visio, collaborating and editing drawings online is entirely possible. In addition to that, templates and various selections of…
Microsoft Publisher is an easy-to-use publishing software application that users in this DIY age can optimize to produce digital content…

Access Microsoft Visio on your PC or mobile device to graphically arrange complicated concepts. Begin your Visio projects with hundreds…
Flattening an image means reducing the file size of the image, which will make saving and printing much easier. So,…
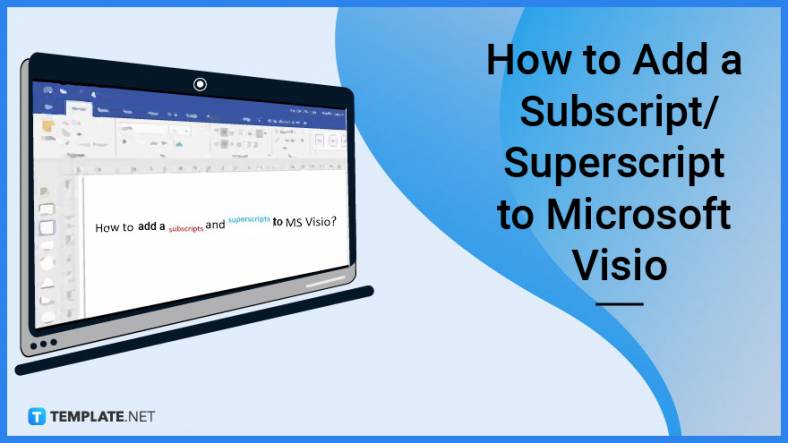
Microsoft Visio lets you create professional diagrams and flowcharts for various purposes and occasions. It also enables you to collaborate…
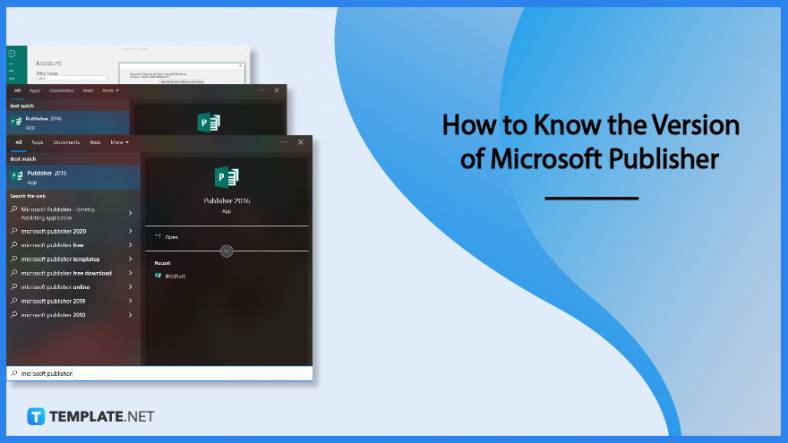
Knowing the version of Microsoft Publisher installed on your computer is also helpful when downloading templates and add-ins because some…
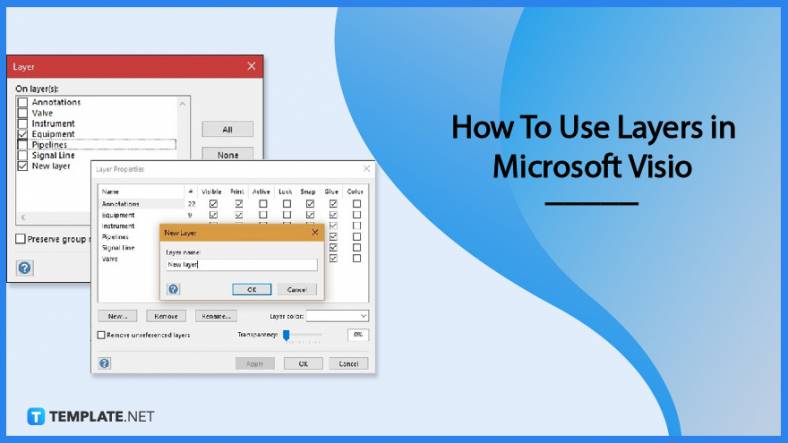
Microsoft Visio is an excellent tool and application for creating visual representations of flows and processes using creative and beautiful…