How to Connect Access with Microsoft SharePoint
Microsoft SharePoint is one of the products within the Microsoft product suite where you can access more applications integrated into…
Aug 16, 2022


Apr 19, 2023
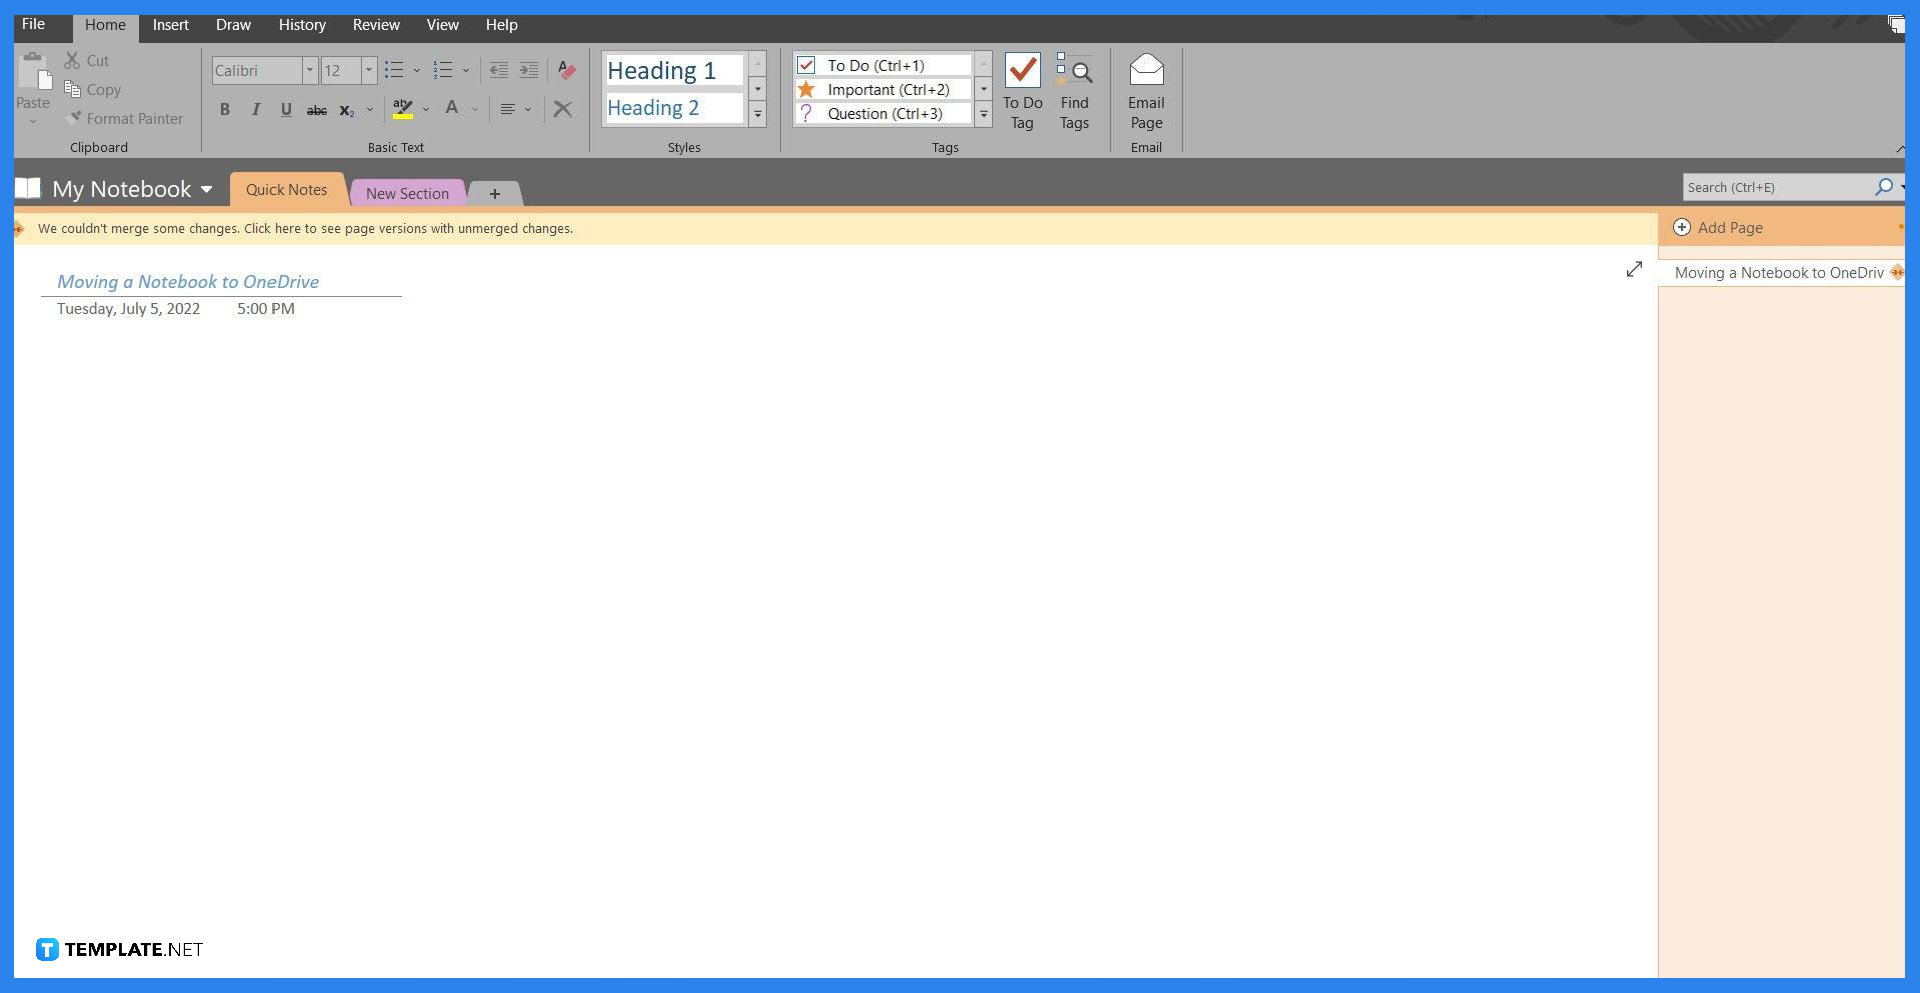
Microsoft OneNote is heavily interwoven with Microsoft OneDrive as the software mainly relies on OneDrive’s cloud storage feature. This means Microsoft OneNote by default will have its interactions with Microsoft OneDrive enabled, as a neat quality-of-life feature designed by the Microsoft Office team.

When the user first opens Microsoft OneNote, the default sync setting will be set automatically when a change is made to a notebook, section, or page. This will update the notebook with the latest version and will upload online the user’s tethered Microsoft One Drive and the local native hard drive where OneNote was installed at.
Note that the web version of Microsoft OneNote does not have this feature; if the user wants to use this feature they must first download Microsoft OneNote on their PC and tether their account to the program to sync all the data. To enable or disable the auto-sync feature of Microsoft OneNote the user will have to launch the desktop version of Microsoft OneNote.
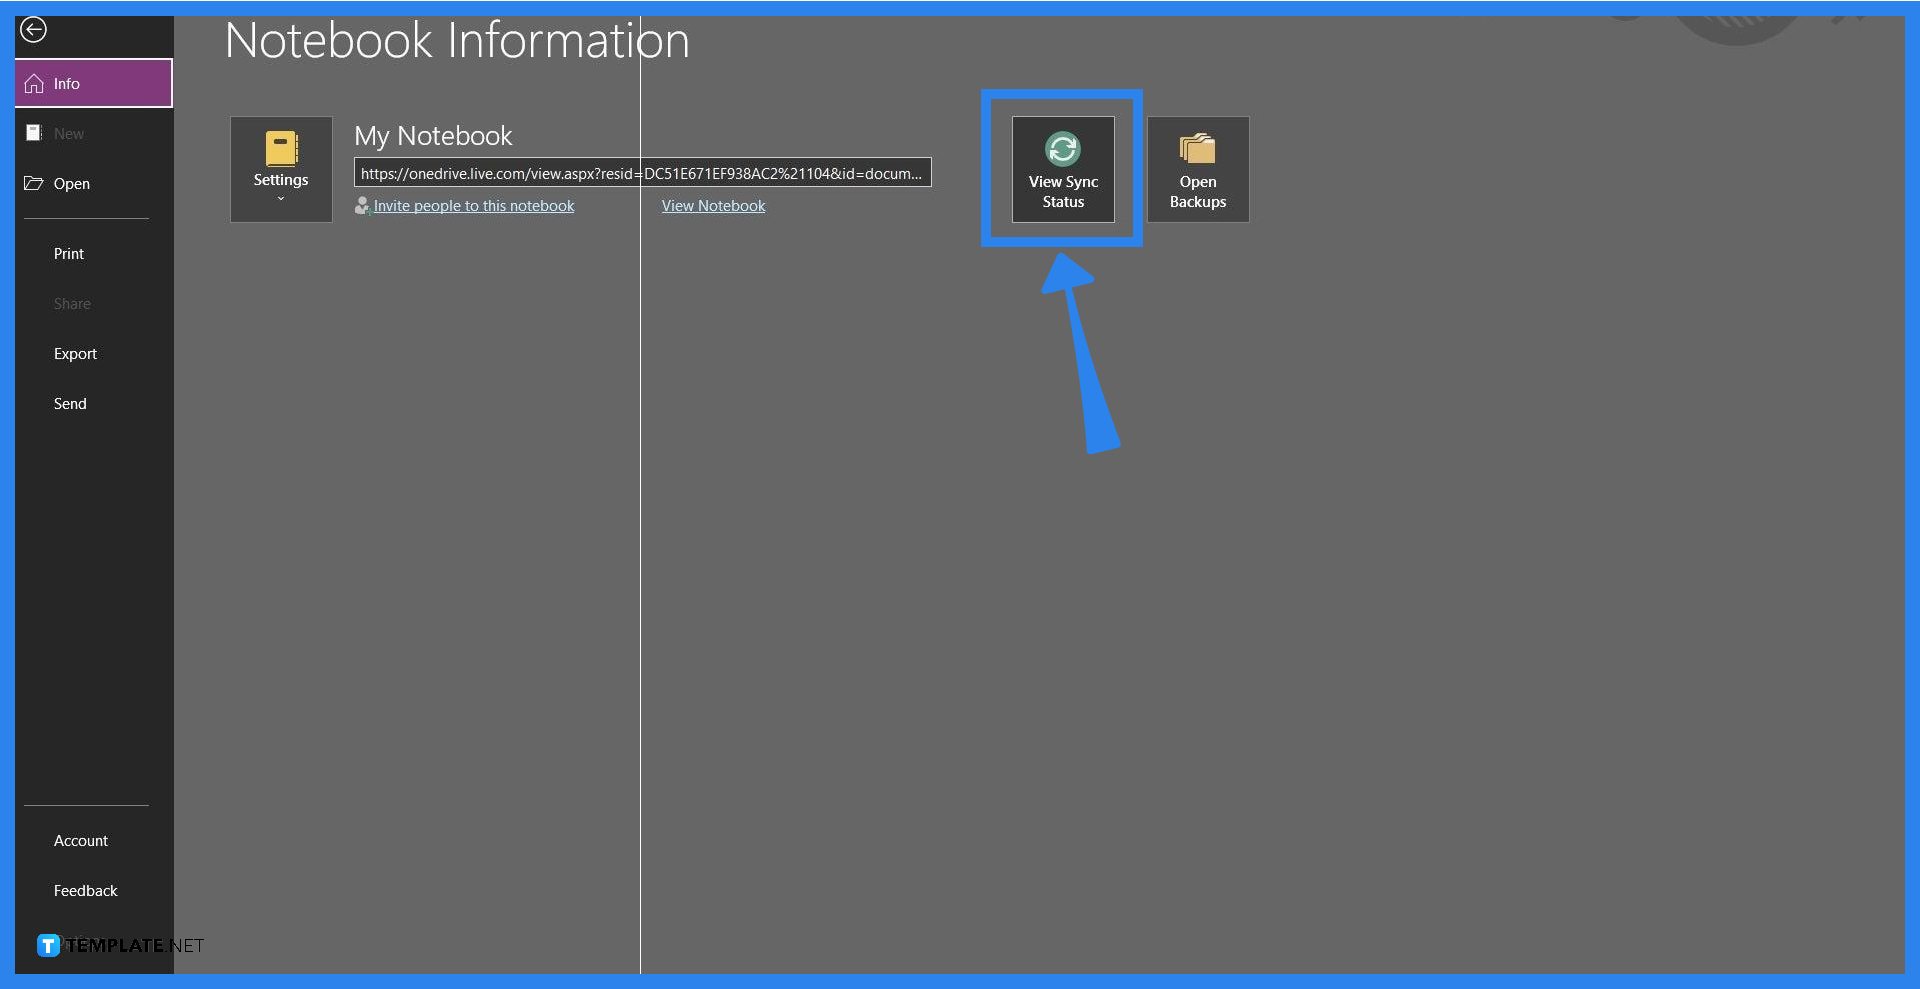
The user should press the View Sync Status button located in the File back view of Microsoft OneNote. To access the File back view, the user will left-click the file button on the upper-left corner of the program or window.
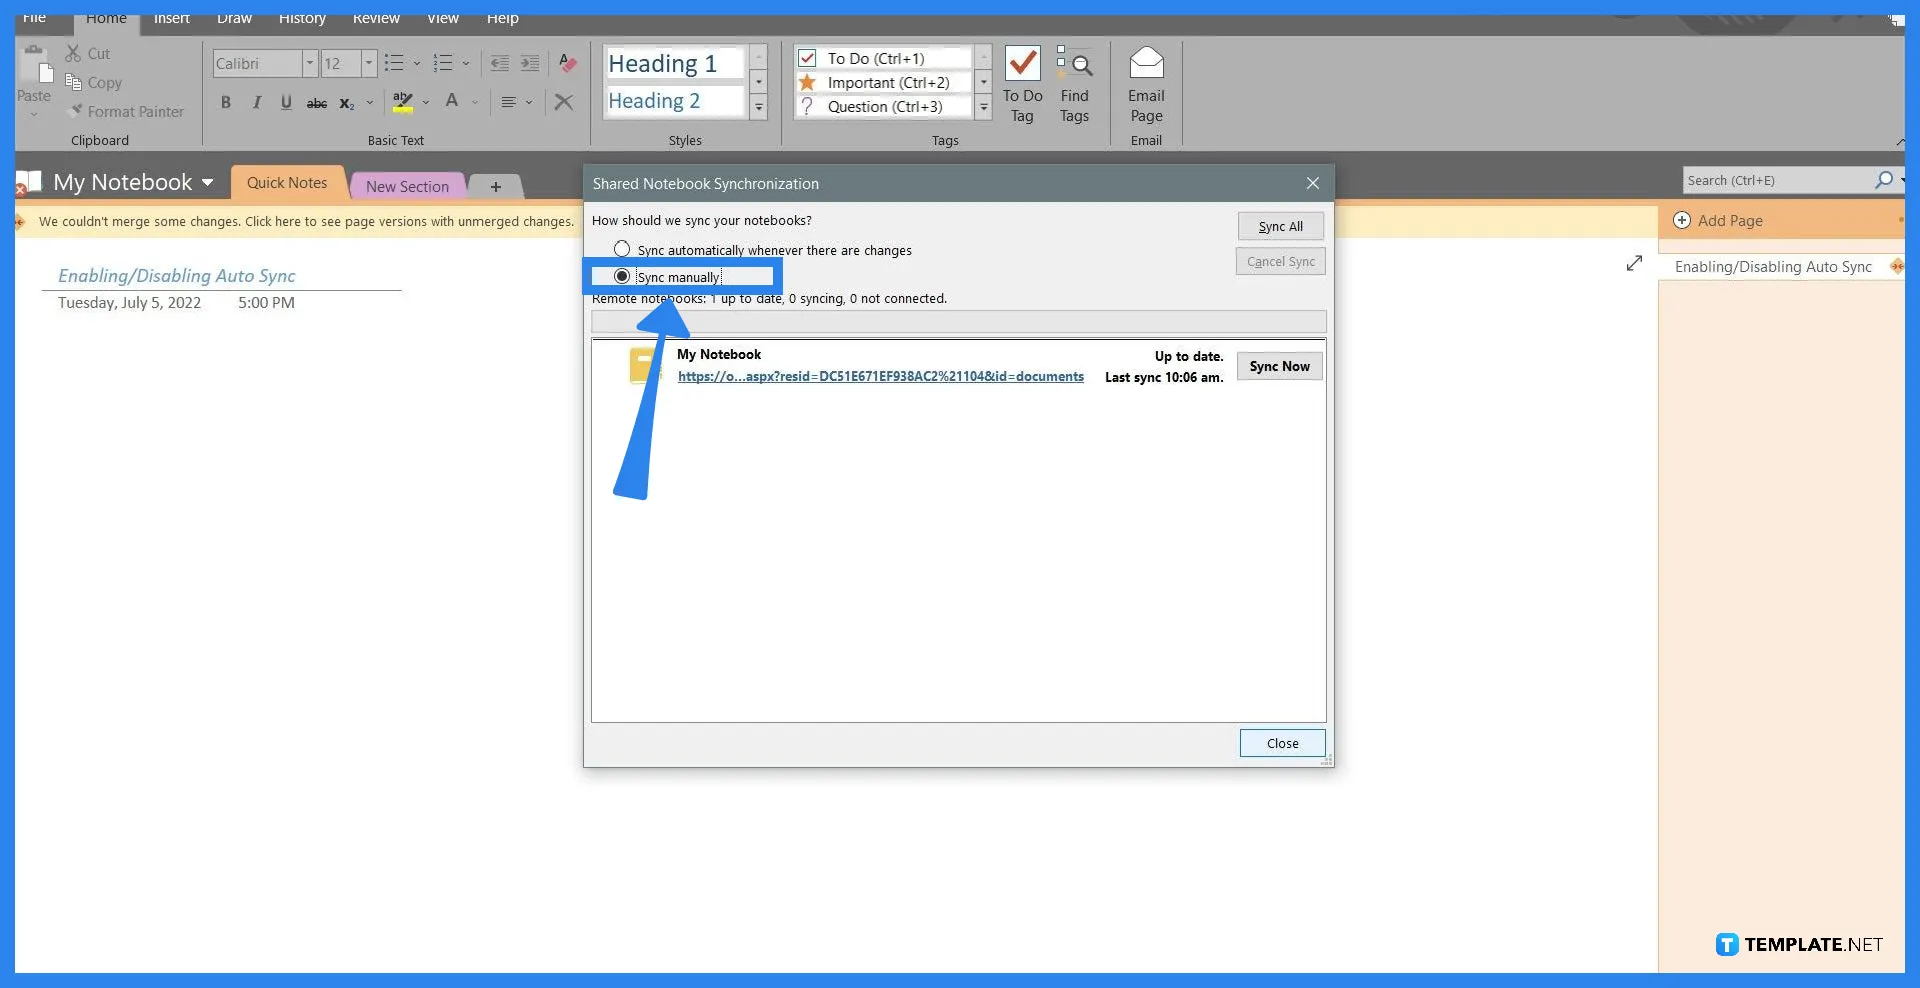
A separate window will appear when the user will click the “View Sync Status” button. This button will allow the user to manually sync any of their notebooks, both online and offline. To enable the auto sync feature the user will have to tick the “Sync automatically whenever there are changes” option in the window and press “Close”.
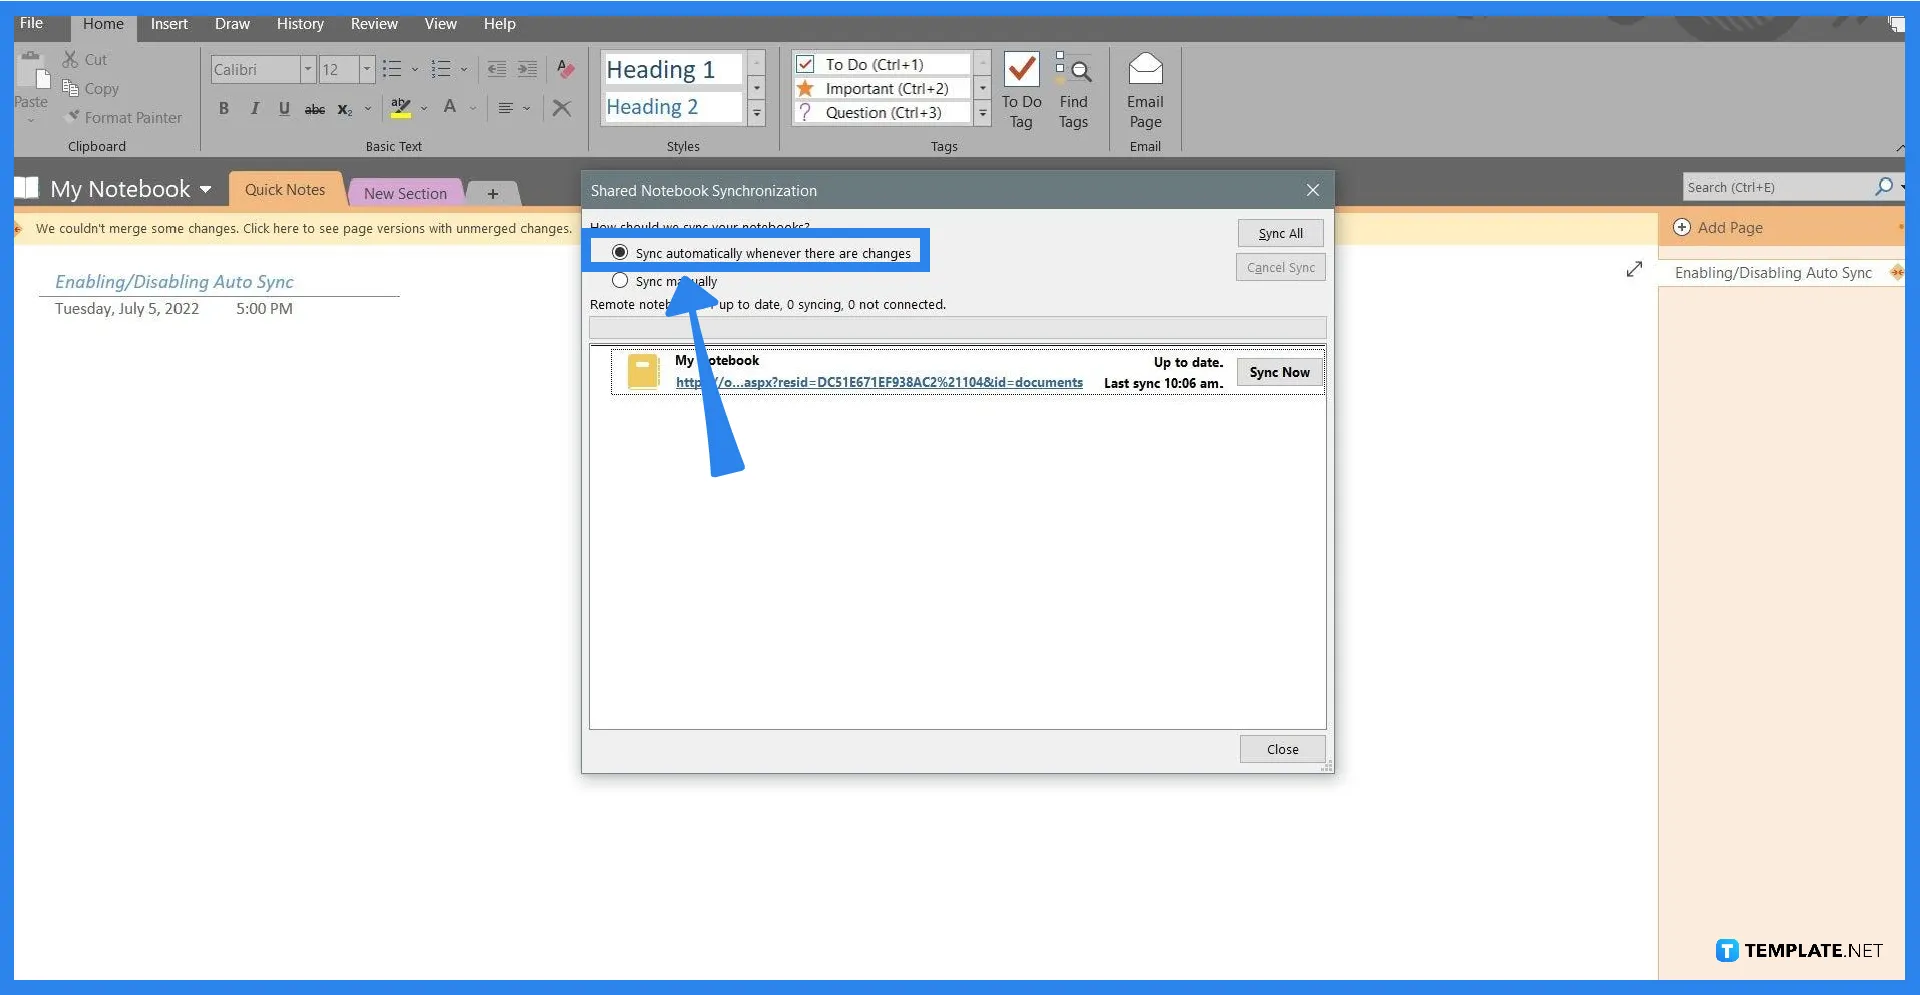
The user can disable the auto sync feature through this window which can be accomplished by ticking the “Sync manually” option and pressing close. Do note that whenever there is a change on the notebook, the user will have to sync through this window manually.
Manually sync your OneNote notes by first opening the desktop version of OneNote, opening the File back view, accessing the Share Notebook Synchronization window by clicking the view sync status option, ticking the notebook you want to sync, and finally clicking the “Sync now Manually” option.
OneNote automatically stores all your notes in Microsoft OneDrive when you are online; if you are offline, then the files are stored locally in the documents folder of your PC.
When you clear OneNote’s cache, any pending notes, and changes will be deleted from the database.
By default, Microsoft OneNote will automatically sync the notebook locally and online; but if you need to manually sync, you can open the Notebook Synchronization window, select the notebook to sync, and press the “Sync now Manually” button.
You can make the notebook available online by uploading and opening the notebook on the desktop version of Microsoft OneNote, once you have done this, the notebook will be available offline.

Microsoft SharePoint is one of the products within the Microsoft product suite where you can access more applications integrated into…
Finding a product key for the Microsoft Visio software only takes a few clicks and doesn’t require a diagrammed process.…

With Microsoft Visio, collaborating and editing drawings online is entirely possible. In addition to that, templates and various selections of…
Microsoft Publisher is an easy-to-use publishing software application that users in this DIY age can optimize to produce digital content…

Access Microsoft Visio on your PC or mobile device to graphically arrange complicated concepts. Begin your Visio projects with hundreds…
Flattening an image means reducing the file size of the image, which will make saving and printing much easier. So,…
Microsoft Visio lets you create professional diagrams and flowcharts for various purposes and occasions. It also enables you to collaborate…
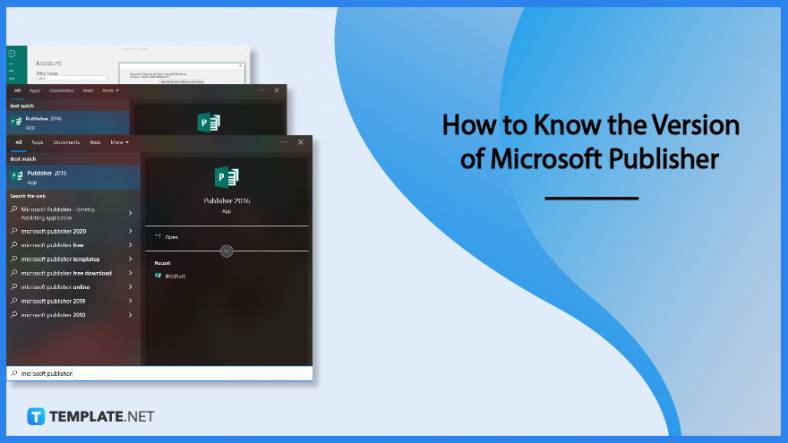
Knowing the version of Microsoft Publisher installed on your computer is also helpful when downloading templates and add-ins because some…
Microsoft Visio is an excellent tool and application for creating visual representations of flows and processes using creative and beautiful…