


How to Connect Access with Microsoft SharePoint
Microsoft SharePoint is one of the products within the Microsoft product suite where you can access more applications integrated into…
Aug 16, 2022


Apr 25, 2023
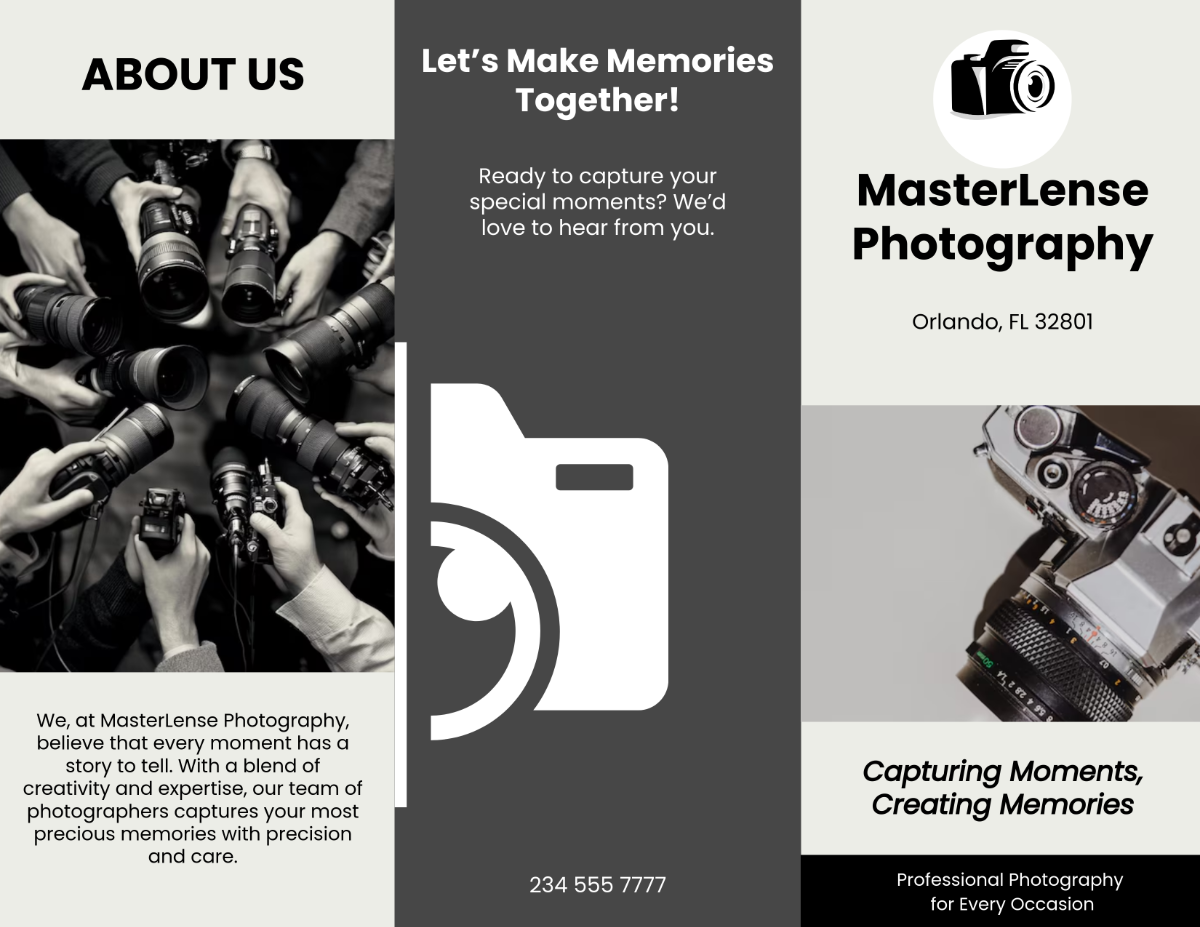
Microsoft Publisher can be a powerful tool in creating and designing brochures to highlight and promote your company, brand, product, or services to your potential customers. So, quickly and effectively make them using MS Publisher’s built-in templates with the help of this simple tutorial.

In Microsoft Publisher, you may create your own 3- or 4-panel brochures by choosing from a variety of pre-installed design templates or, with practice, by starting from scratch. You can even include elements like reply forms and an address section to make the brochures more unique.


Choosing a built-in design template is the simplest way to start with the creation of your brochure. Launch your Microsoft Publisher application. To create a brochure, go to the File tab of the Publisher ribbon and click on New. Then, select “Built-In”. From the displayed categories, choose Brochures. After that, select the brochure template that you want to use as a reference for making your brochure.
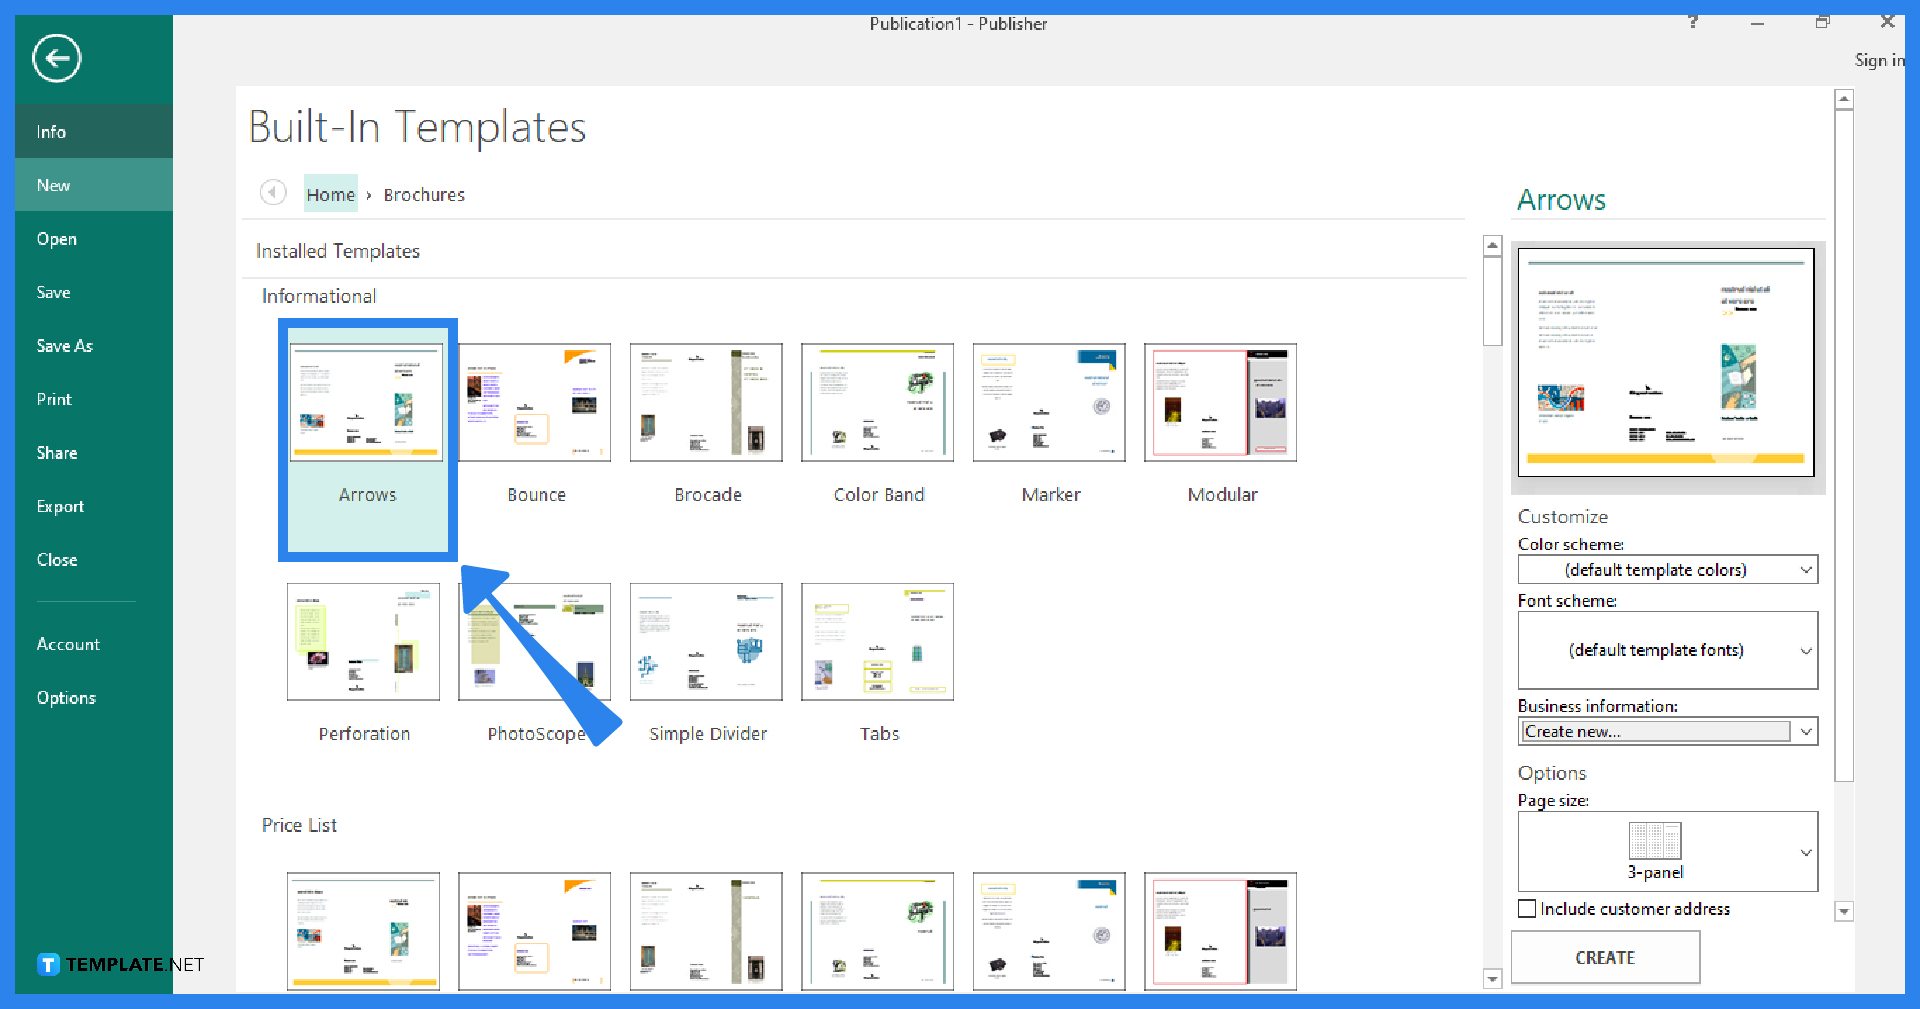
Once you’ve selected a brochure template (such as the “Arrows” brochure template), move to the right side of the screen and make the necessary adjustments there under the Customize & Options menu. After that, click on the “Create” button to open the brochure template.
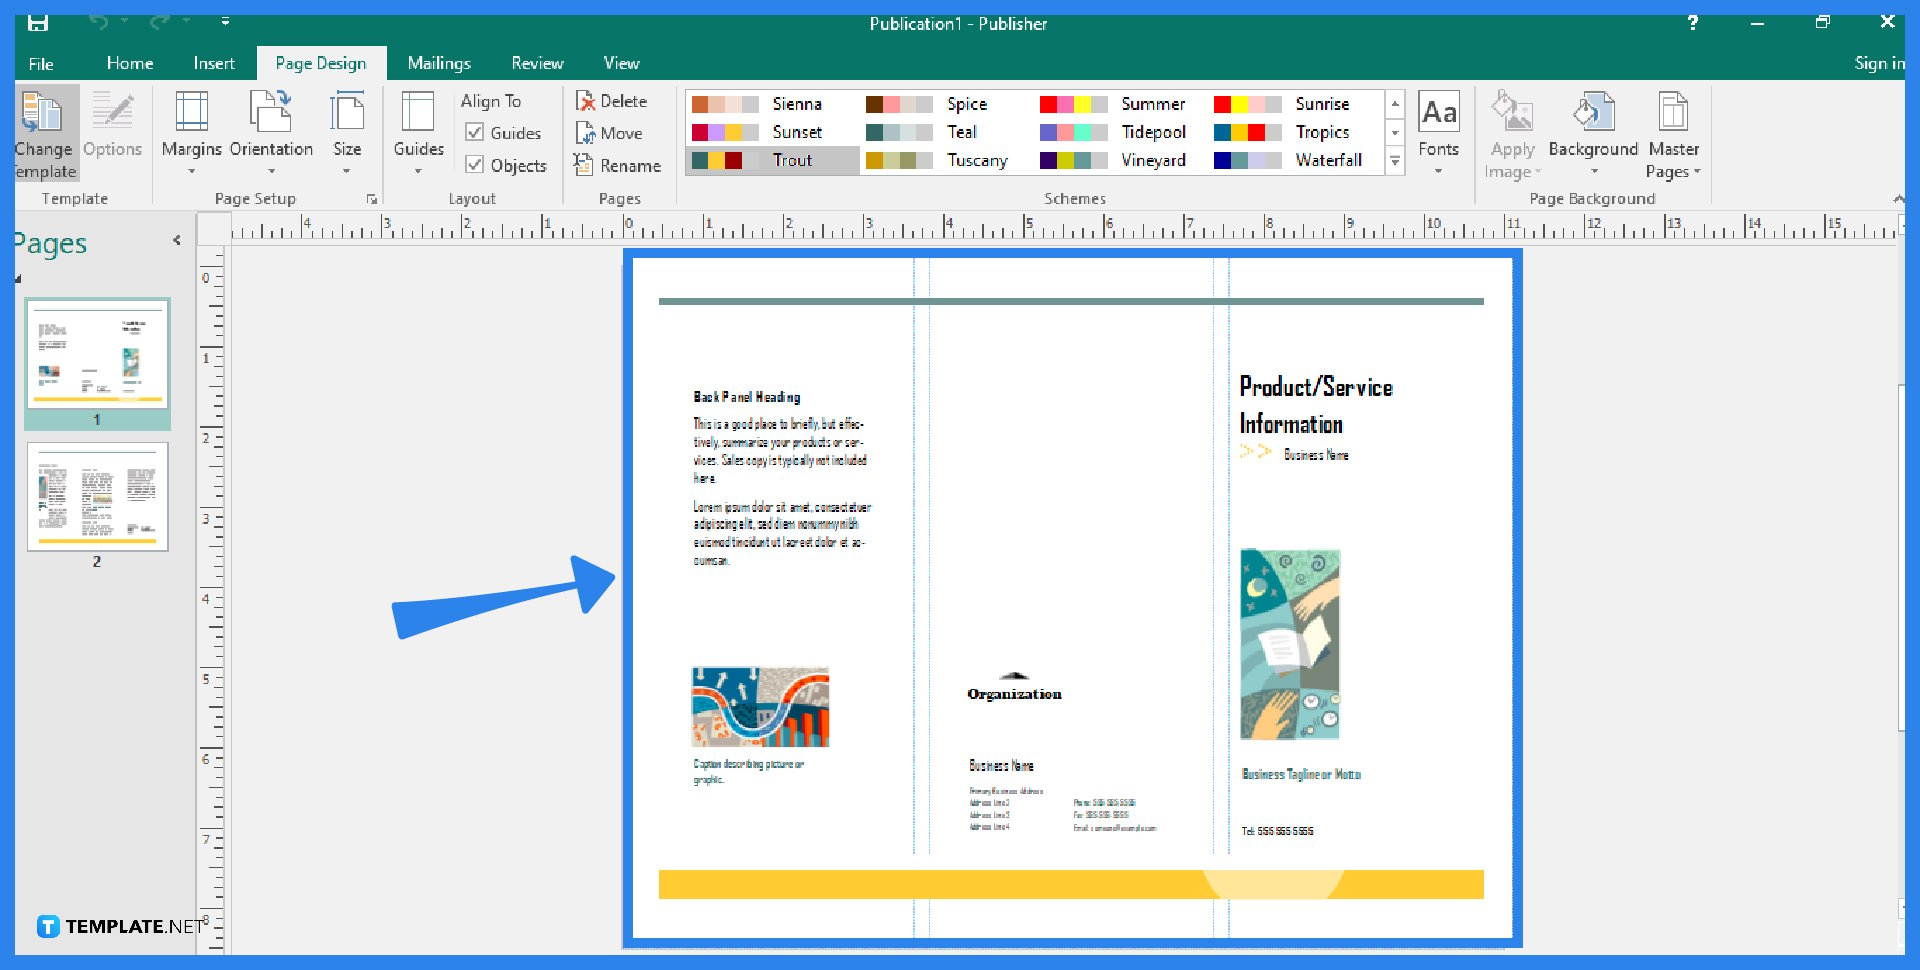
You can now customize the template that you have chosen. Go to the Page Design tab of the Microsoft Publisher ribbon and experiment with color themes, fonts, and backgrounds that will meet your needs. You can also add pictures or objects of your choice to the brochure to make it more attractive. Simply select the “Pictures” option from the Home tab. Additionally, replace the placeholder text in your brochure with the necessary and required information you want.
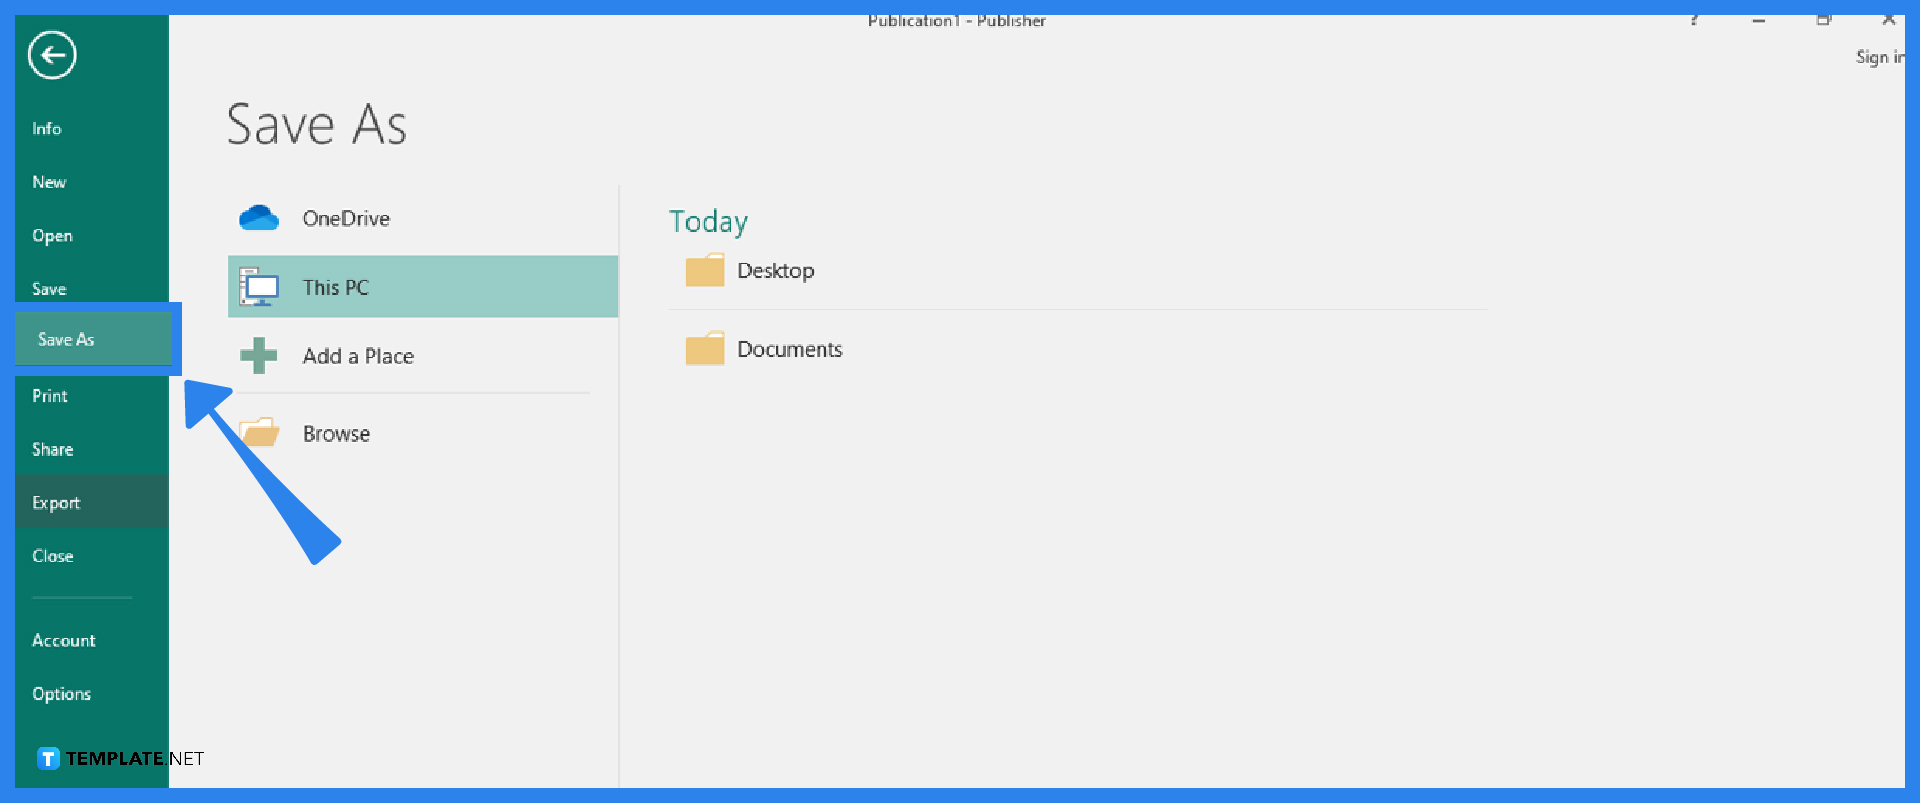
Once you are satisfied with the results of your brochure, you can save or print it. To save, go to the File tab, click the Save As button, select the location for your file, enter the name of the file, select the type of the file, and click Save. On the other hand, to print your brochure, select the File tab, click Print, and choose an option to either click Export to find “Create PDF/XPS” or other “Pack and Go” options for photo or commercial printing, or click Print to make copies on your personal printer.
Definitely, just go to the Page Design tab, click on Change Template, select another brochure template that you like, set up the brochure in the Customize & Options settings, and click OK.
You can either print your brochure on your own home printer or you can send it for commercial printing.
The ideal size for a brochure is 8.5×11 inches if you don’t need any more space or if small is good for your brochure.
Microsoft SharePoint is one of the products within the Microsoft product suite where you can access more applications integrated into…
Finding a product key for the Microsoft Visio software only takes a few clicks and doesn’t require a diagrammed process.…
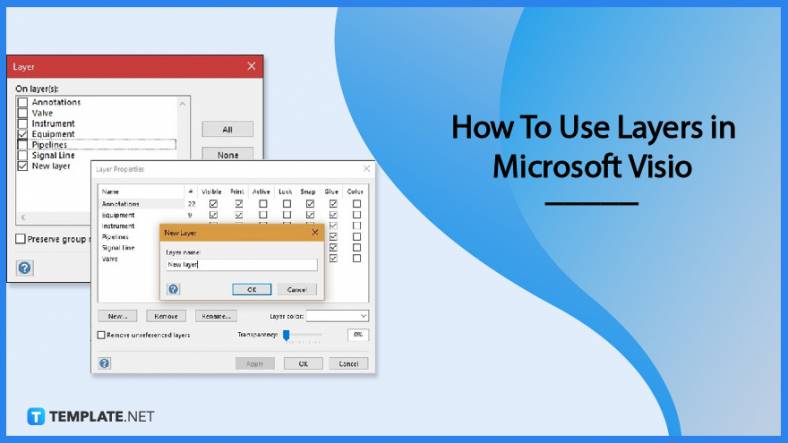
With Microsoft Visio, collaborating and editing drawings online is entirely possible. In addition to that, templates and various selections of…
Microsoft Publisher is an easy-to-use publishing software application that users in this DIY age can optimize to produce digital content…
Access Microsoft Visio on your PC or mobile device to graphically arrange complicated concepts. Begin your Visio projects with hundreds…
Flattening an image means reducing the file size of the image, which will make saving and printing much easier. So,…
Microsoft Visio lets you create professional diagrams and flowcharts for various purposes and occasions. It also enables you to collaborate…
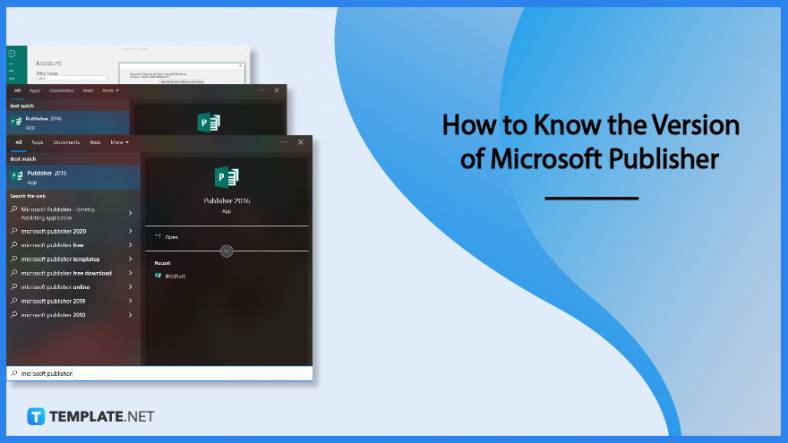
Knowing the version of Microsoft Publisher installed on your computer is also helpful when downloading templates and add-ins because some…
Microsoft Visio is an excellent tool and application for creating visual representations of flows and processes using creative and beautiful…