
How to Connect Access with Microsoft SharePoint
Microsoft SharePoint is one of the products within the Microsoft product suite where you can access more applications integrated into…
May 31, 2023
Microsoft Whiteboard has tools that can be used in conjunction with one another to easily create objects or drawings. Dash lines can be used by people to indicate fields and places where a certain action can be undertaken.
Dash lines are notoriously hard to draw as they require perfect spacing and orientation. This issue can be easily rectified in Microsoft Whiteboard by using both the Ruler and Pen tools offered by the program.
 The user can use this method on any variation or version of Microsoft Whiteboard. Start by launching Microsoft Whiteboard on the user’s desktop.
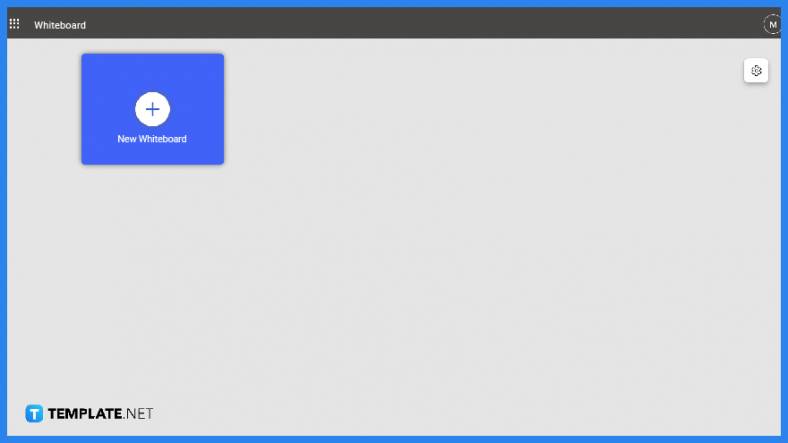 After the user has opened Microsoft Whiteboard on their desktop, they will need to sign in to the Microsoft Office account they want to work in. The user will then be greeted by the landing page of Microsoft Whiteboard where they will have to either select an existing whiteboard via left-click or create a new keyboard by clicking the “Add whiteboard” button on the list.
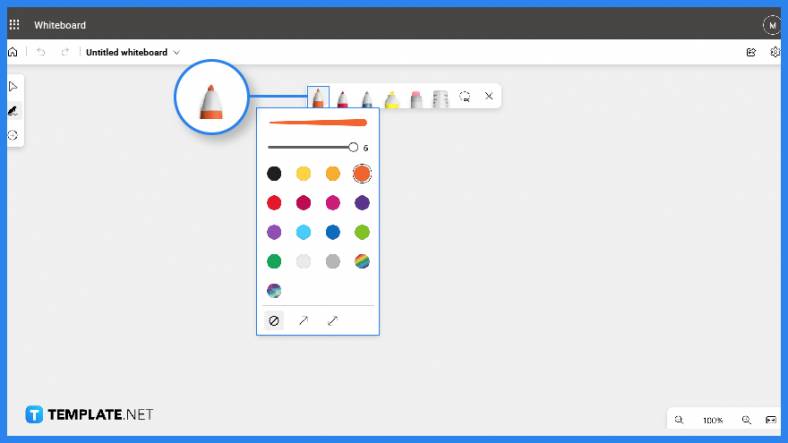 Before the user can make a dashed line on the body of the whiteboard, they must first select and format the pen tool that will be used in making the line. To choose a pen tool, the user will just need to left-click the preferred pen tool in the toolbar. But if the user doesn’t like or prefer any of the available pen tools, they may reformat any pen by double-clicking the “Pen” button on the toolbar and choosing any color or line thickness the user wants their pen to be.
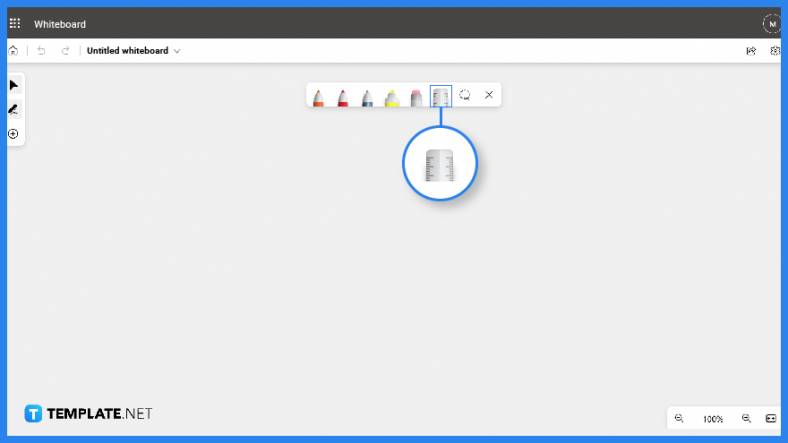 The user will then need to ensure their lines are both properly spaced and straight. The user can achieve this by using the Ruler tool available on the toolbar, which can be toggled on by left-clicking the “Ruler” button on the toolbar.
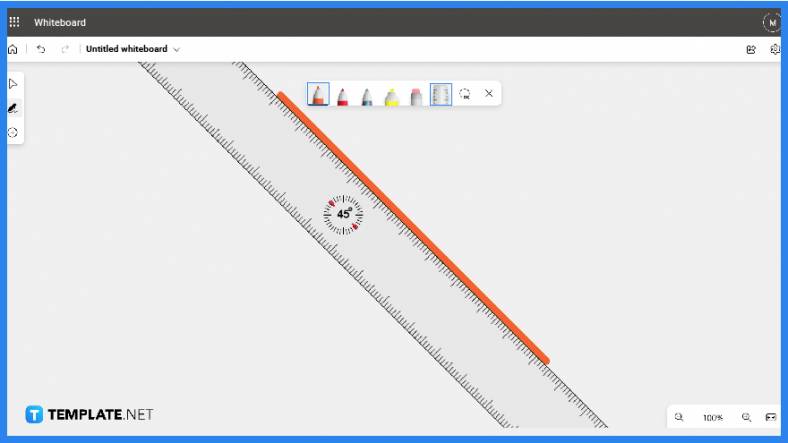 The user can now use both the pen and the ruler tool in conjunction to make perfectly straight and spaced dash lines on the body of the whiteboard.
The dash lines are objects drawn with the pen tool, which means the format of this drawing can’t be formatted or manipulated by the user.
You can create diagonal or angled dash lines on the whiteboard by changing the angle of the ruler and drawing the dash lines that way.
Similar to the process of making dash lines, you can make dotted lines by toggling the ruler and pen tool, placing the ruler at a specific location, and finally drawing the dotted lines in conjunction with the ruler tool.
Yes, this can be done by selecting the Lasso tool and drawing a shape around the dash lines to select all of them in one go.
To copy and paste the dash lines, you must first select either a specific group of dash lines or a single dash line, then copy the line/s by choosing the “Copy” button, open the dropdown by right-clicking any part of the whiteboard, and finally clicking the “Paste” option located on the dropdown.

Microsoft SharePoint is one of the products within the Microsoft product suite where you can access more applications integrated into…
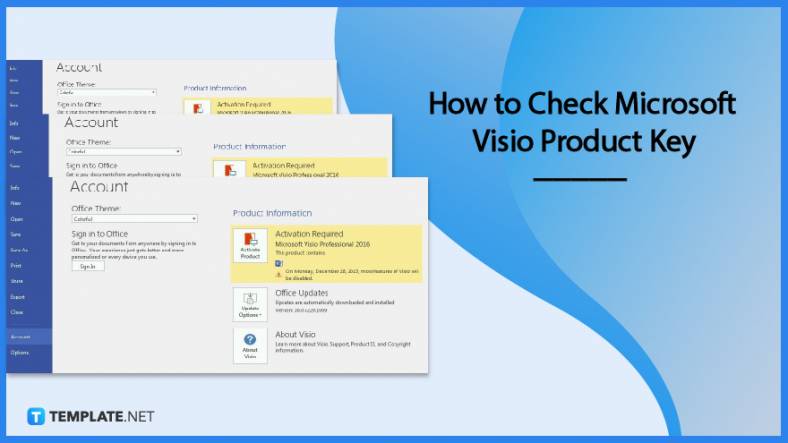
Finding a product key for the Microsoft Visio software only takes a few clicks and doesn’t require a diagrammed process.…

With Microsoft Visio, collaborating and editing drawings online is entirely possible. In addition to that, templates and various selections of…
Microsoft Publisher is an easy-to-use publishing software application that users in this DIY age can optimize to produce digital content…

Access Microsoft Visio on your PC or mobile device to graphically arrange complicated concepts. Begin your Visio projects with hundreds…
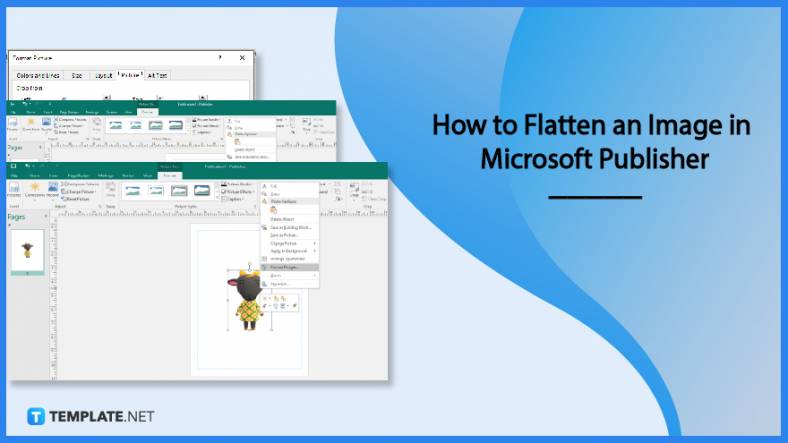
Flattening an image means reducing the file size of the image, which will make saving and printing much easier. So,…
Microsoft Visio lets you create professional diagrams and flowcharts for various purposes and occasions. It also enables you to collaborate…
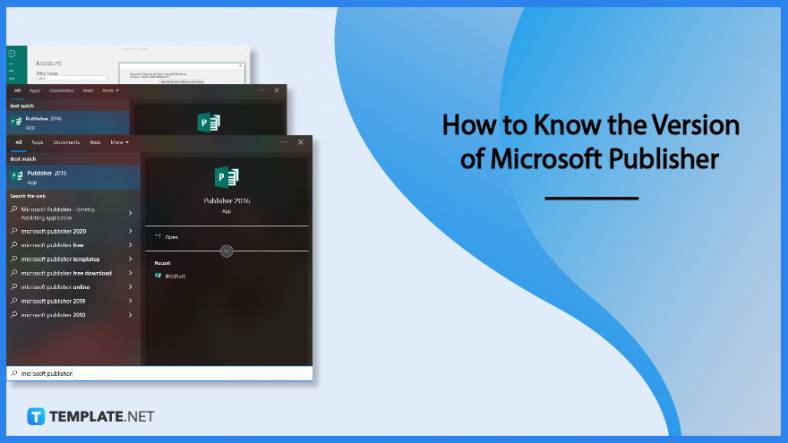
Knowing the version of Microsoft Publisher installed on your computer is also helpful when downloading templates and add-ins because some…
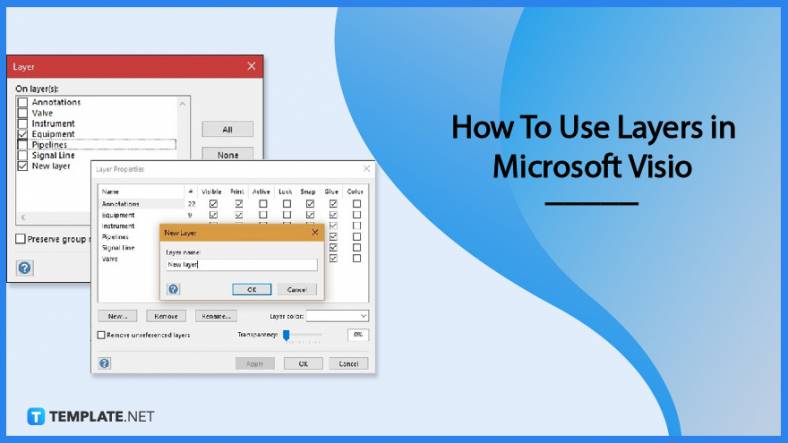
Microsoft Visio is an excellent tool and application for creating visual representations of flows and processes using creative and beautiful…