How to Connect Access with Microsoft SharePoint
Microsoft SharePoint is one of the products within the Microsoft product suite where you can access more applications integrated into…
Aug 16, 2022


Apr 19, 2023
Microsoft OneNote has the capabilities to rotate and crop those images as soon as the image is inserted in the note. So, when digitally inserting images to OneNote, one must keep in mind their original orientation and size, as those images will use the format they are inserted in.

Microsoft OneNote has integrated resizing, rotating, and cropping tools into its software, allowing its users to easily manipulate their uploaded images to their liking. This allows them to fully customize the images they upload on their digital notes.
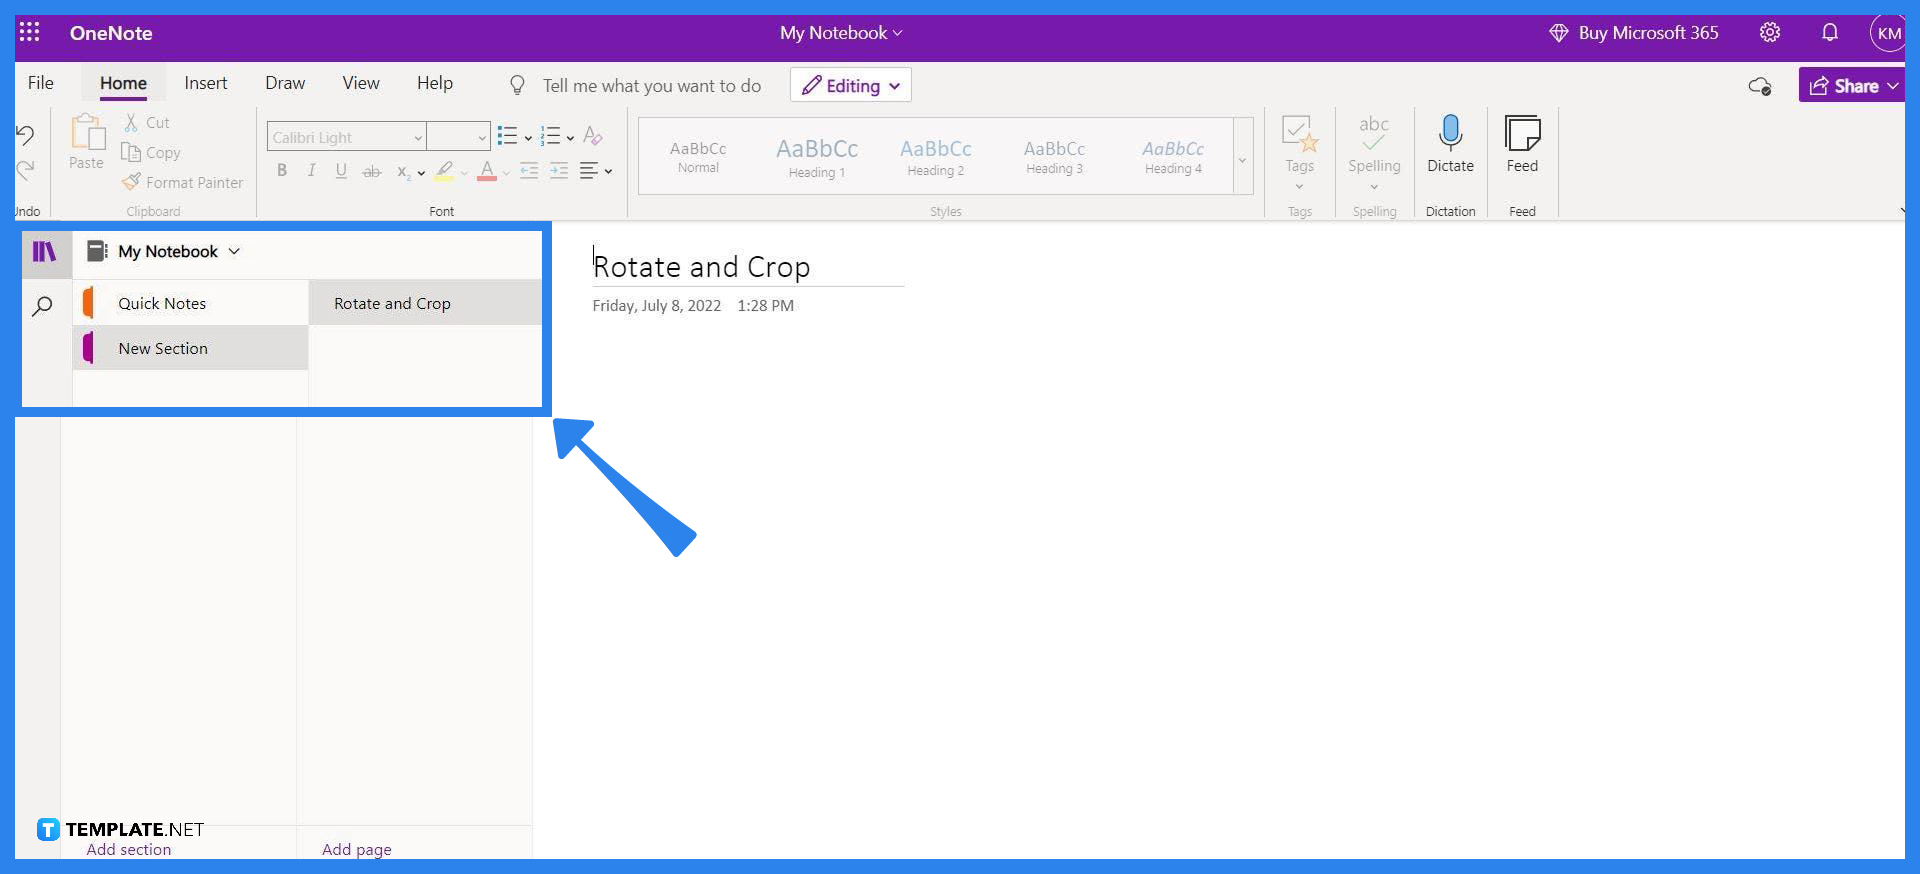
To begin, the user will have to launch or start either the desktop or the web version of Microsoft OneNote. After Microsoft OneNote opens, the user then chooses the note where they want to insert their image.
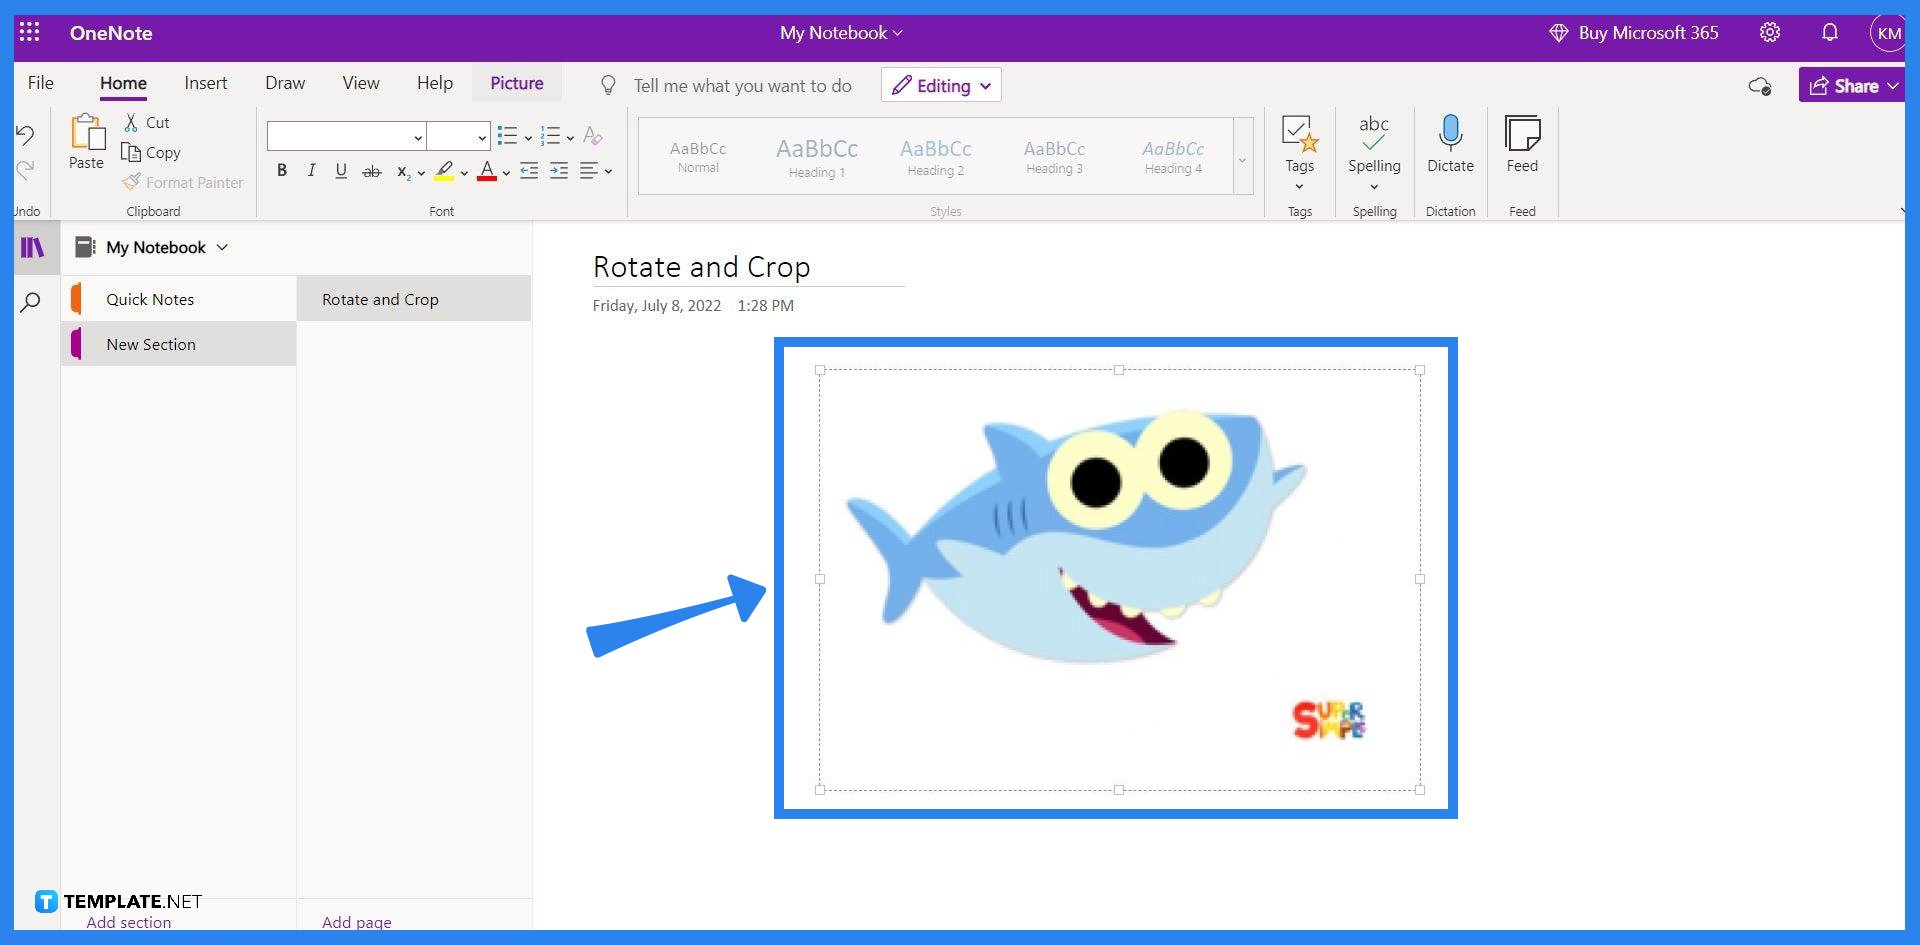
Microsoft OneNote allows users to easily insert images in intuitive and easy ways. The user may opt to drag a downloaded image to any space within the note. Alternatively, they can right-click the image, click the “Copy” button then paste it into the note by selecting the “Paste from clipboard” option which is presented to the user upon right-clicking anywhere in the note.
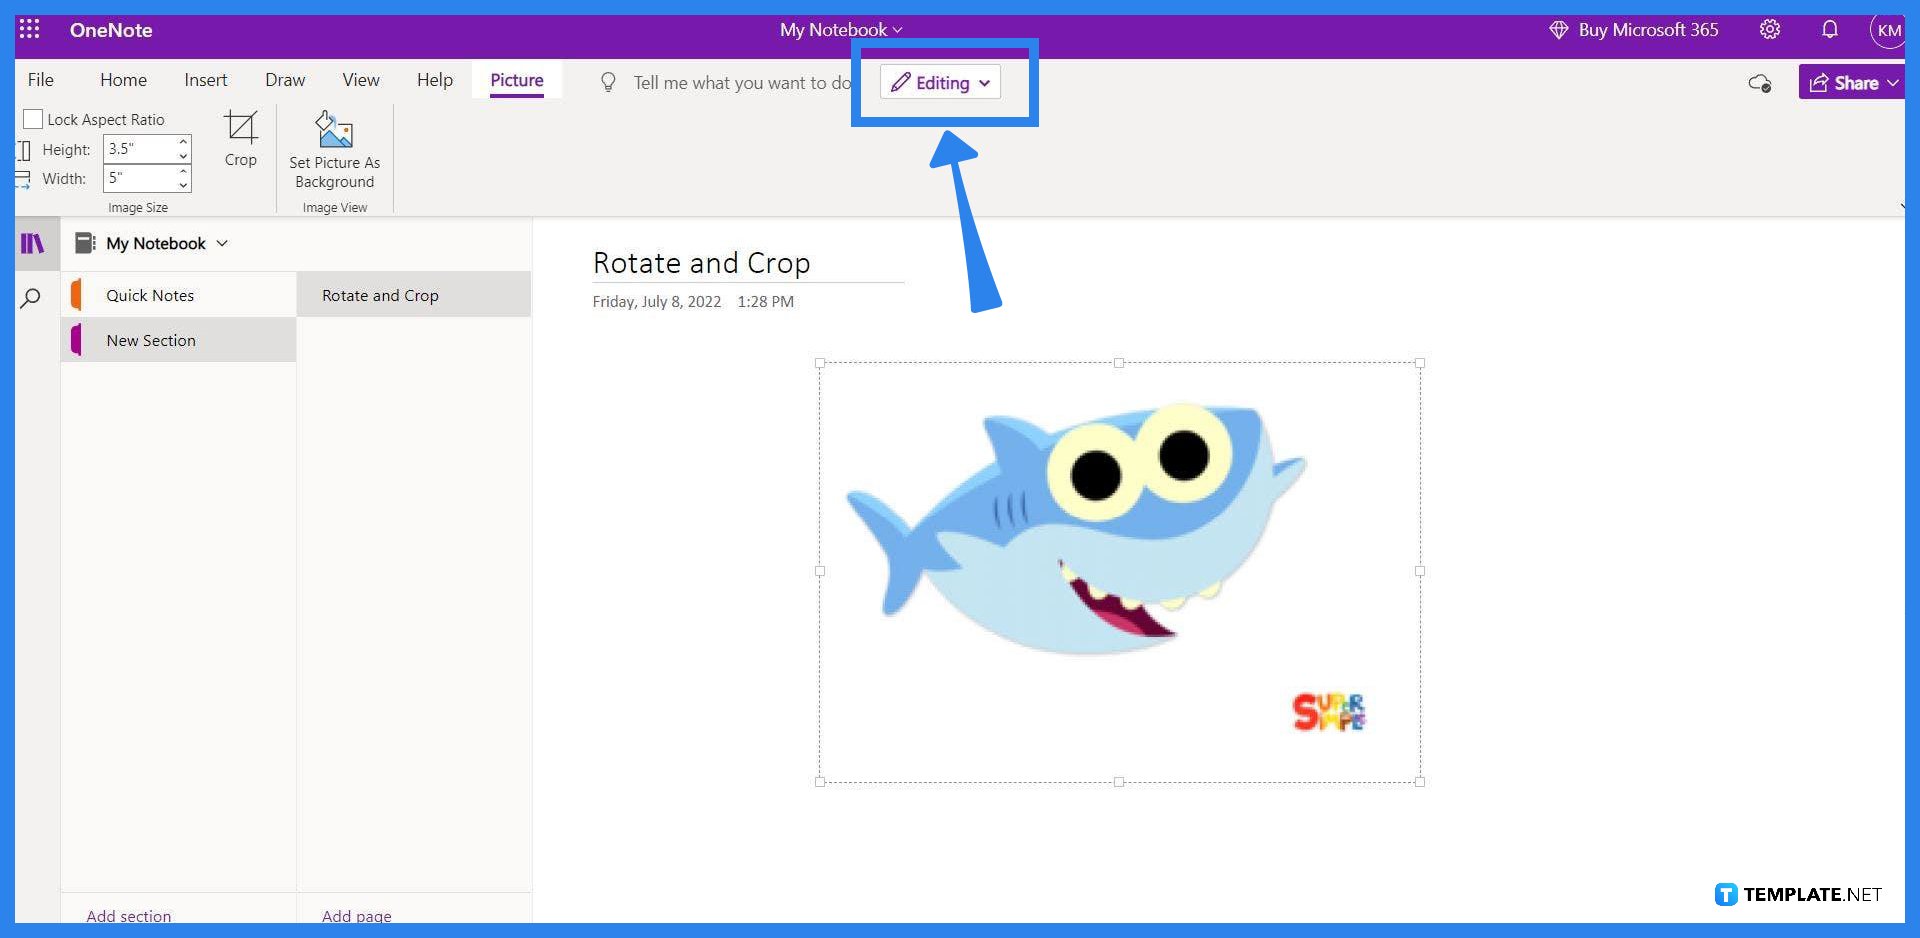
After the picture has been uploaded to the note, it can now be selected by left-clicking any part of the said picture. When the image is selected, the Picture Ribbon will appear, allowing access to different editing tools available in OneNote. This ribbon can be accessed by selecting the “Picture” button located in the top left corner of the window.

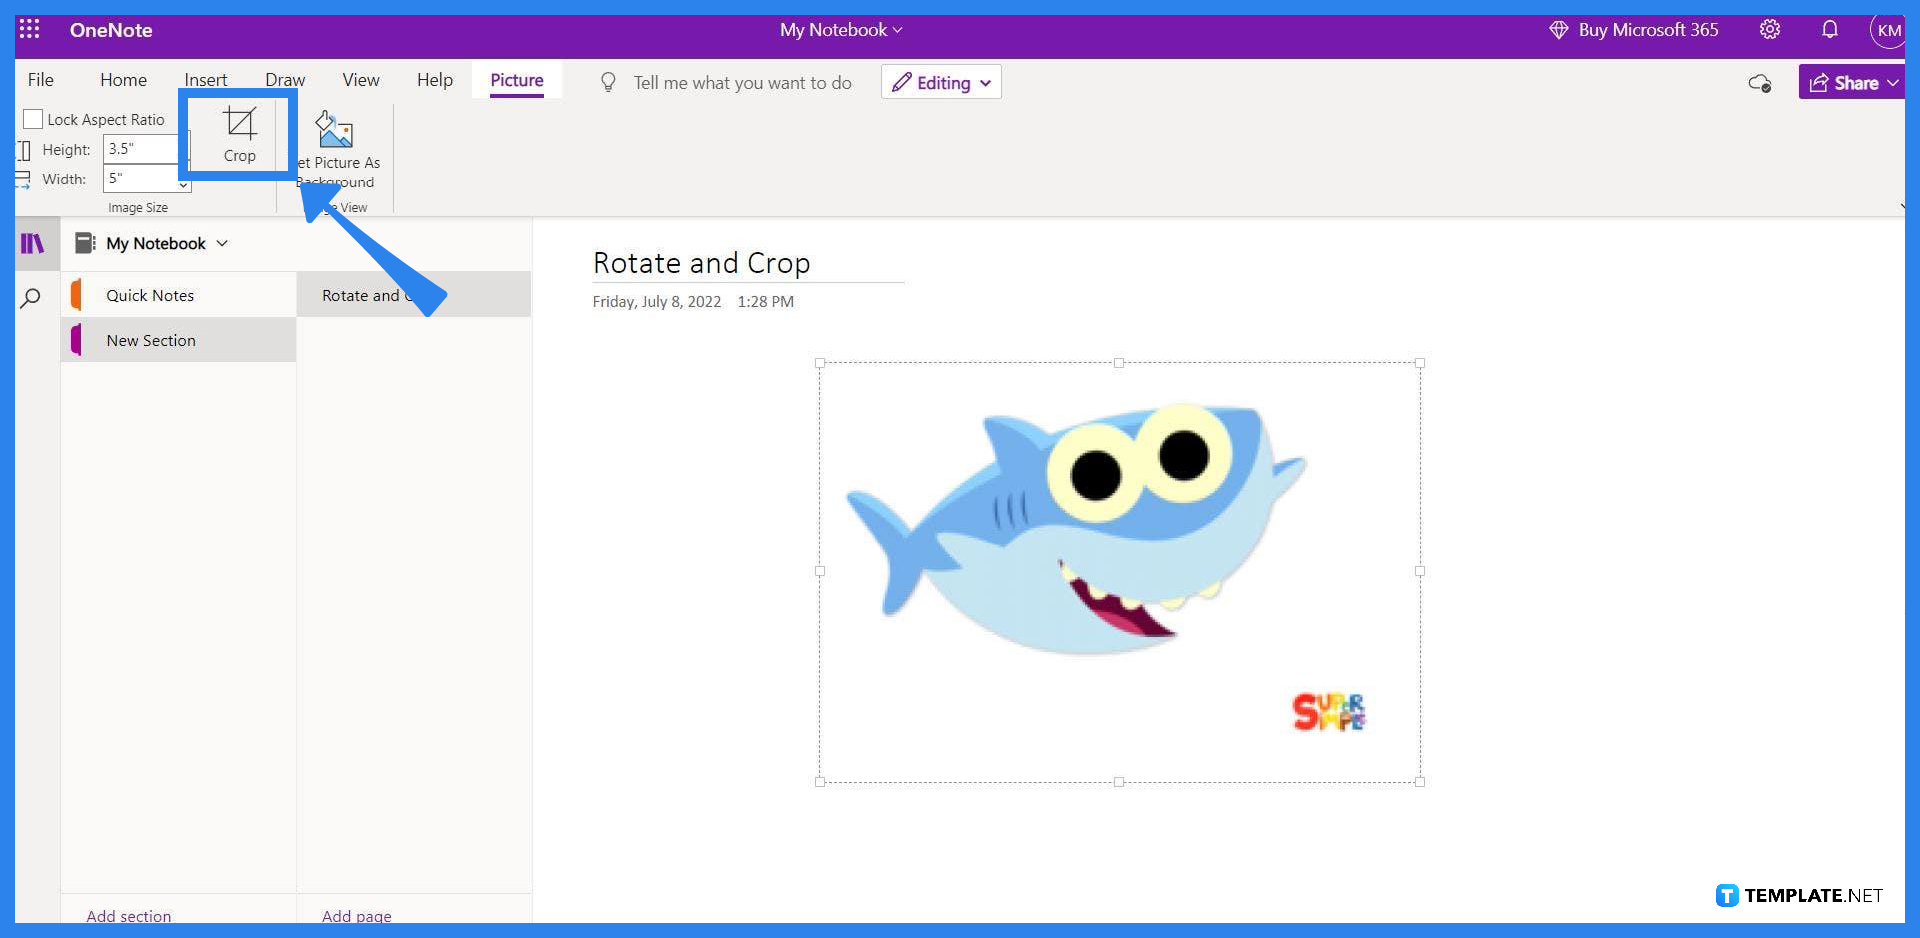
When the Picture ribbon is toggled, the toolbar below it will allow the user to pick and select the tool they would want to use. The crop tool will allow the user to crop or cut out specific parts of the image, while the rotate tool will adjust and change the overall orientation of the image. The image can also be resized in this toolbar and even be set as the background of the note it is in.

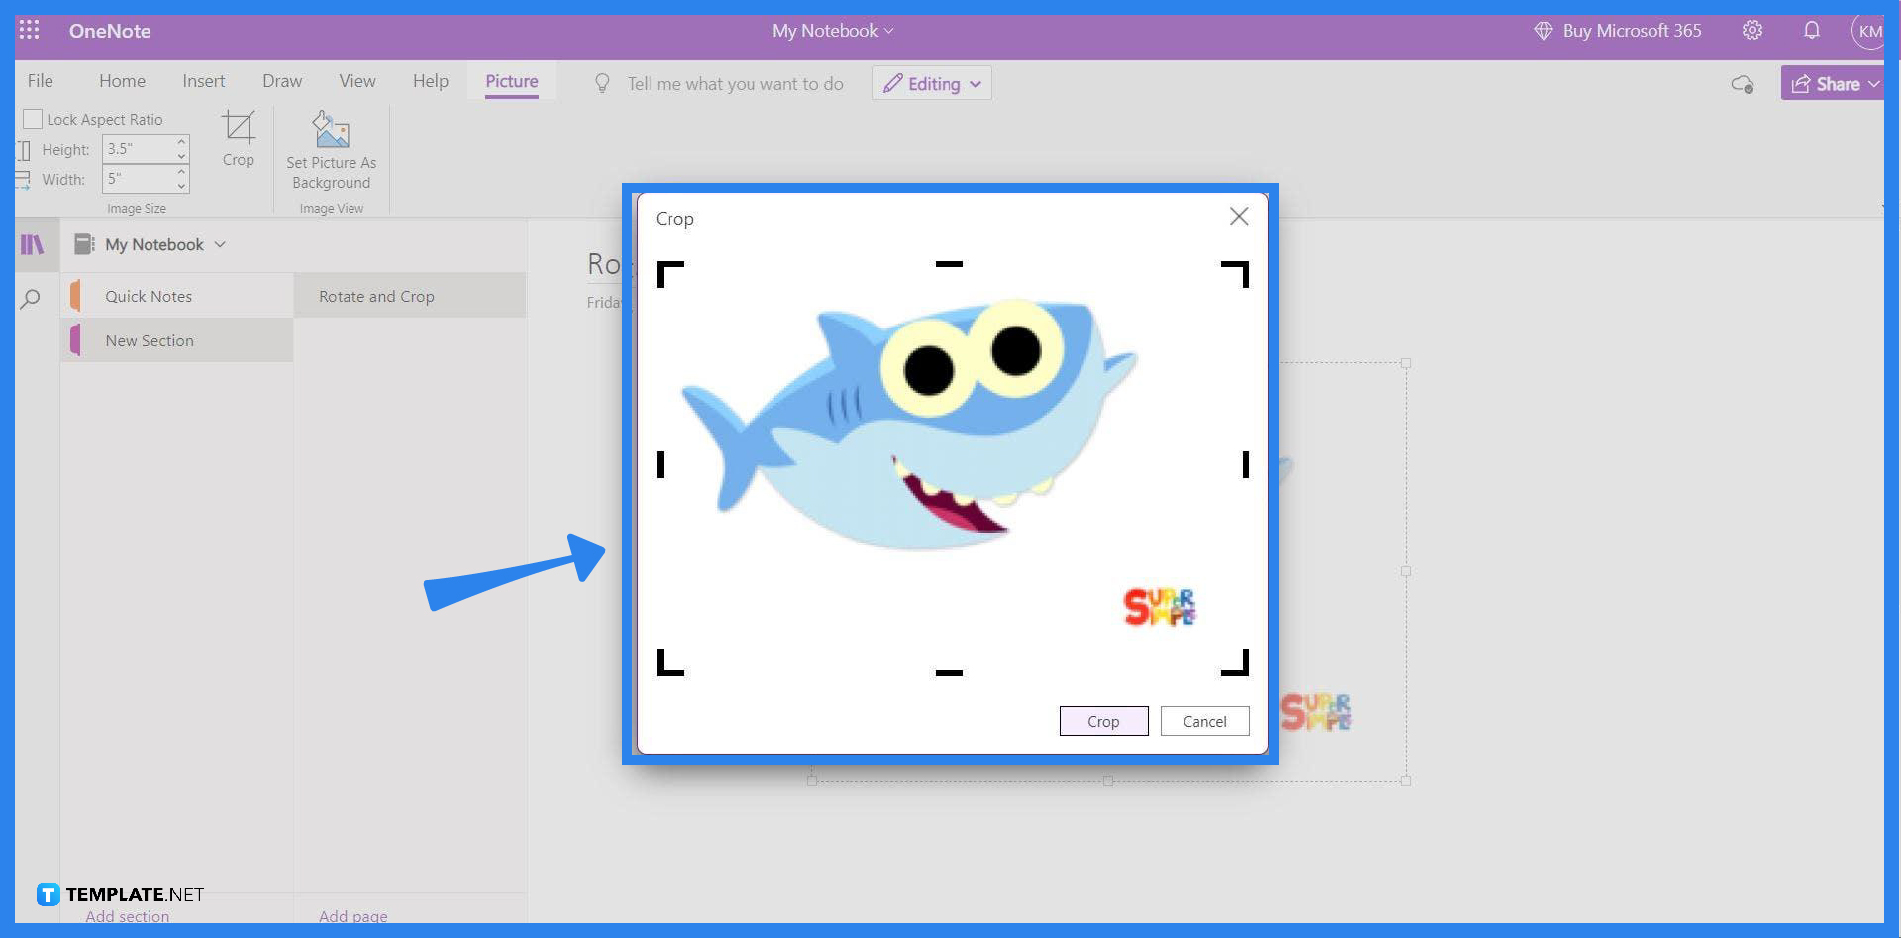
When the user clicks the “Crop” tool on the toolbar, a separate window pops out with the image in it. The black lines framing the image are used to adjust which parts of the image will be kept when the image is cut. The user can adjust the position of these lines by left-clicking the line and dragging it to any point of the image. After the frame has been adjusted to the satisfaction of the user, they must click the “Crop” button to save their image.
If the user wants to rotate the orientation of the image, they are presented with a couple of choices. These tools are: “rotate to the right” as this rotates the selected image to face right, “rotate to the left” which rotates the selected image to face the left; another is “flip horizontal” which rotates the image at a 90-degree angle, and finally, “flip vertical” which changes the orientation of the image to be upright. To use these tools the user has to first select the picture by left-clicking it and then selecting the tool they wish to use.
You can resize the image, by selecting the said image, clicking the Picture ribbon, and entering the desired width and height on the appropriate fields.
Crop a picture on the Mac version of OneNote by clicking the image, then heading to the Picture toolbar, and pressing the “Crop” button which allows the user to crop the picture.
First, you must launch the OneNote app on your iPad, upload an image to a note, press the image with your finger to select it, and then finally, press the “Crop” button located in the upper-right corner of your screen.
The note must allow the editor to have editing permission, which can be done by clicking the share button located in the upper right corner of the window and tickling the allow edit option.
The notes can be resized by clicking the View tab and choosing the “Paper Size” option, there you will be able to adjust the paper size and margins in the note.

Microsoft SharePoint is one of the products within the Microsoft product suite where you can access more applications integrated into…
Finding a product key for the Microsoft Visio software only takes a few clicks and doesn’t require a diagrammed process.…
With Microsoft Visio, collaborating and editing drawings online is entirely possible. In addition to that, templates and various selections of…
Microsoft Publisher is an easy-to-use publishing software application that users in this DIY age can optimize to produce digital content…
Access Microsoft Visio on your PC or mobile device to graphically arrange complicated concepts. Begin your Visio projects with hundreds…
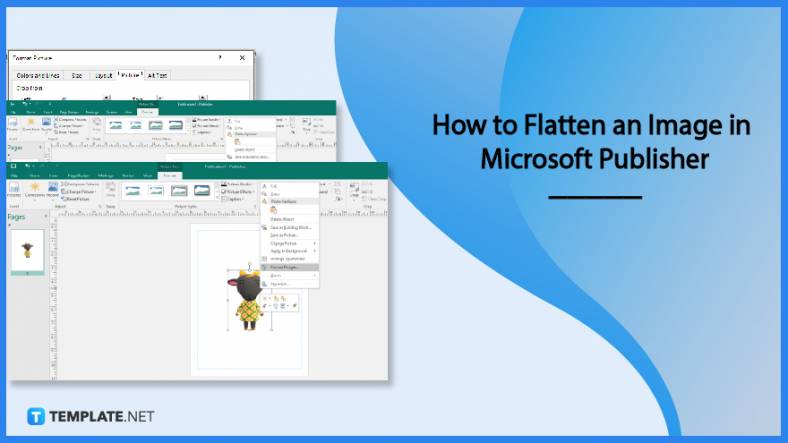
Flattening an image means reducing the file size of the image, which will make saving and printing much easier. So,…
Microsoft Visio lets you create professional diagrams and flowcharts for various purposes and occasions. It also enables you to collaborate…
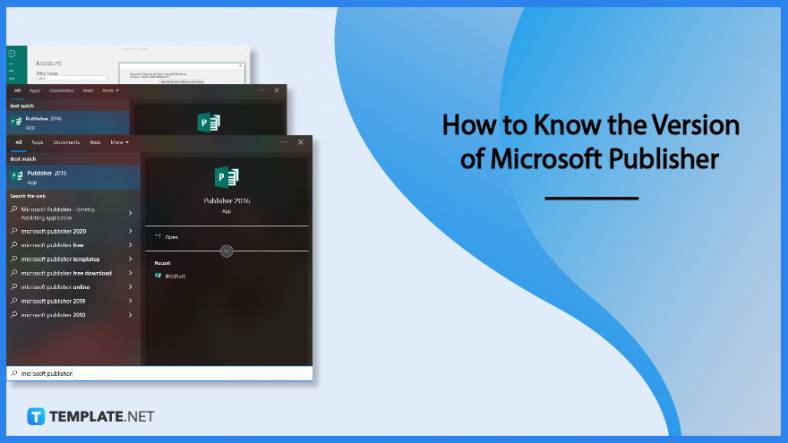
Knowing the version of Microsoft Publisher installed on your computer is also helpful when downloading templates and add-ins because some…
Microsoft Visio is an excellent tool and application for creating visual representations of flows and processes using creative and beautiful…