How to Connect Access with Microsoft SharePoint
Microsoft SharePoint is one of the products within the Microsoft product suite where you can access more applications integrated into…
Aug 16, 2022


Apr 25, 2023
Microsoft Visio is an excellent tool and application for creating visual representations of flows and processes using creative and beautiful diagrams that are easy to understand, including flowcharts, floor plans, organization charts, flow diagrams, swimlane diagrams, and many more. Users must be wary of the various elements in developing visual diagrams, including how to use layers in Microsoft Visio properly and effectively.

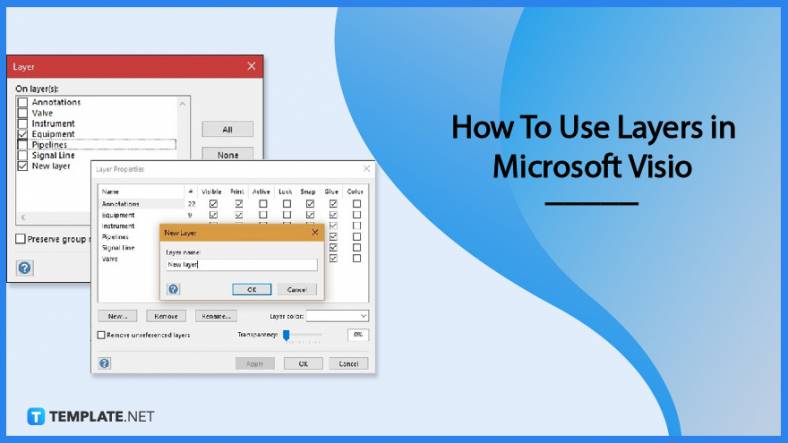
Microsoft Visio makes use of layers that automatically link to the shapes inserted into the file and assigns layers to shapes as necessary. The section below helps users understand how to create and use these layers according to the graph, chart, or diagram they want to establish for their project.
Open the Microsoft Visio application on the computer and click on the New tab to open a new document. Users have the option to start their diagrams from scratch or select a template from the Microsoft library by typing the name of the diagram they need on the search bar.
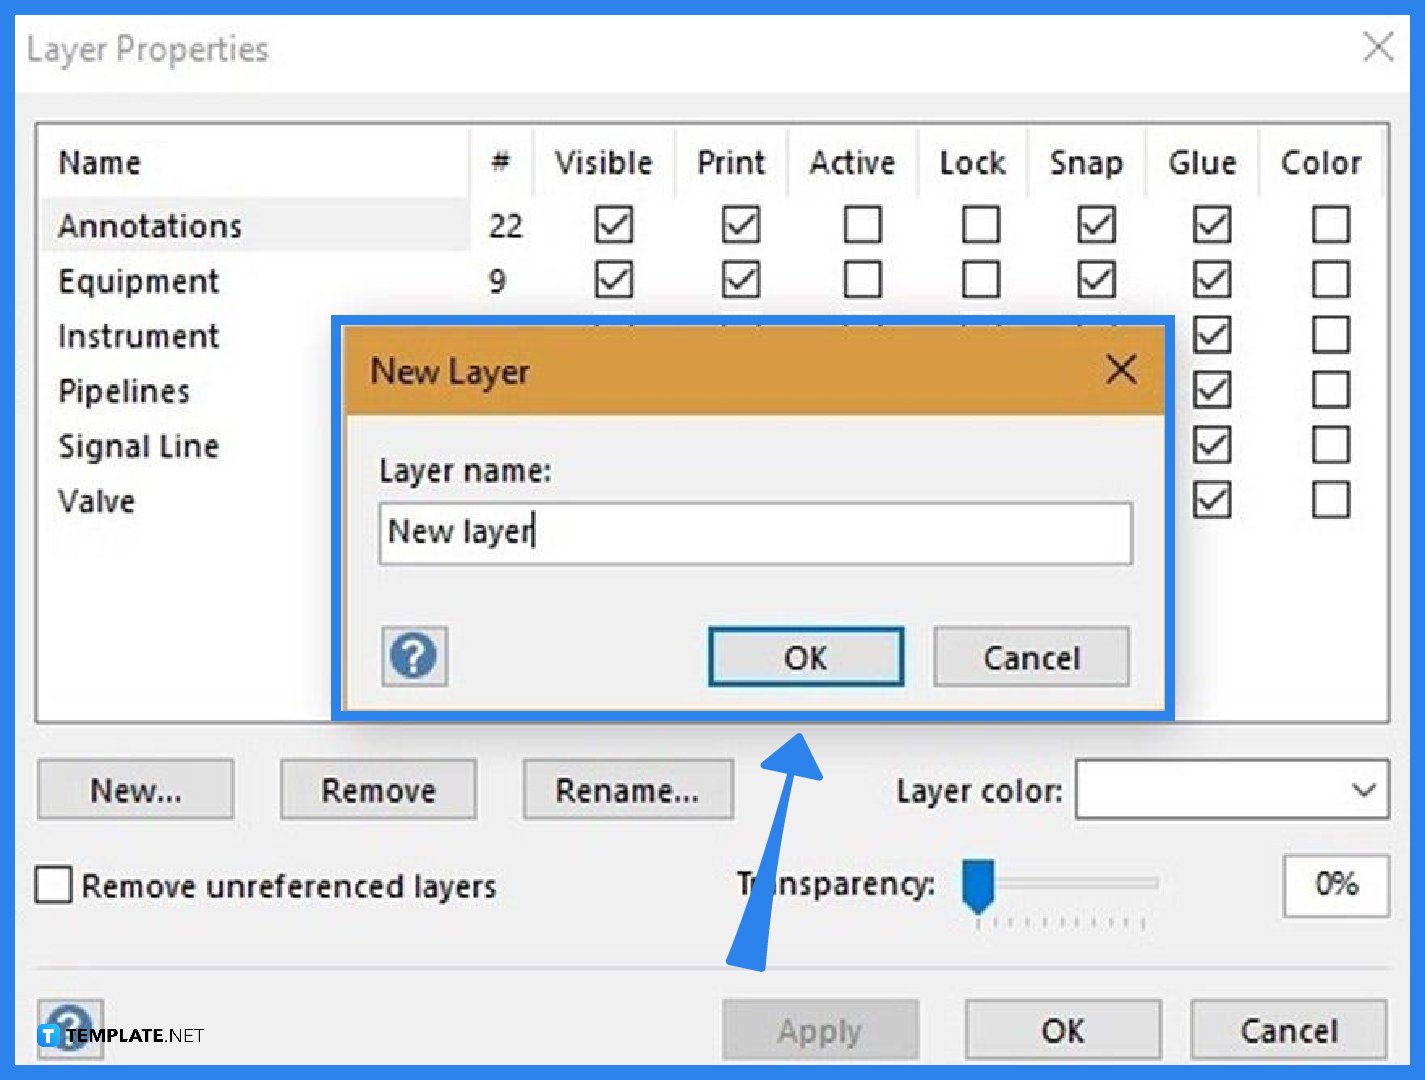
After opening a template or creating a blank document, insert layers into the file by going to the Layer properties, look for the dialog box in the Layers drop-down menu in the Editing section of the Home tab, then select New. A pop-up window will appear that allows the user to edit the name of the new layer.
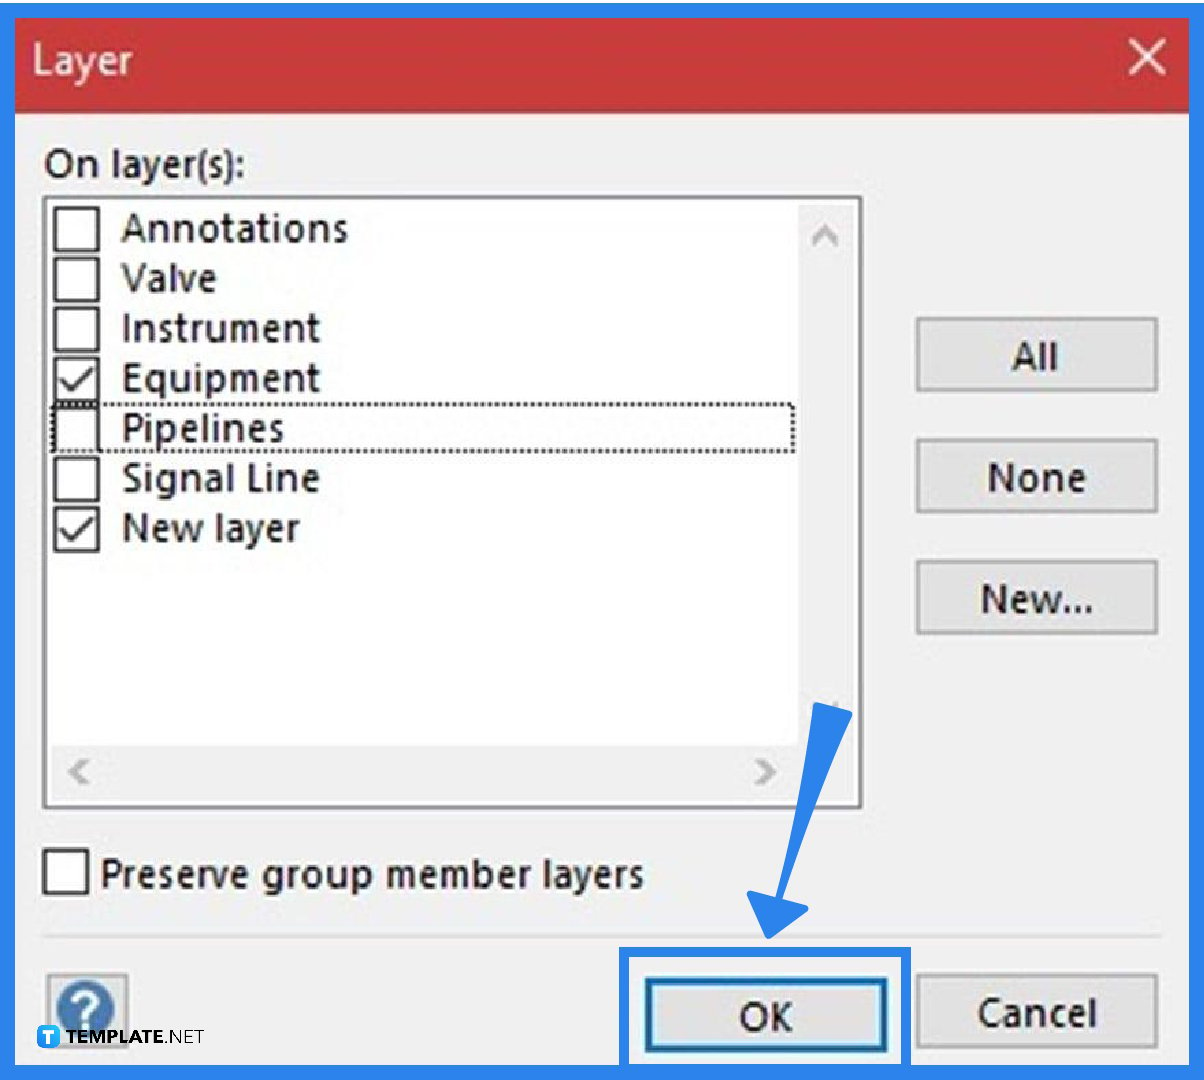
Select the shape or the connector in the document, and on the diagram, click on the Assign to Layer button from the Layers drop-down menu in the Editing section of the Home tab, to assign a shape to a specific layer. A pop-up window appears through a Layer dialog box that allows the user to designate a shape to a new or existing layer in the diagram. Note that users can use the shape for more than one layer of the diagram, and once everything is in order, click the OK button to save.
Layer properties is a dialog box that allows users to change the properties for individual layers in a document, comprising several checkboxes supporting different features, including name, color, print, active, lock, glue, snap, etc.
On a document, click on the Home tab, hover over the Editing group, select Layers, and click on Layer properties to open the dialog box, clearing or selecting the Visible column checkbox to hide or show layers.
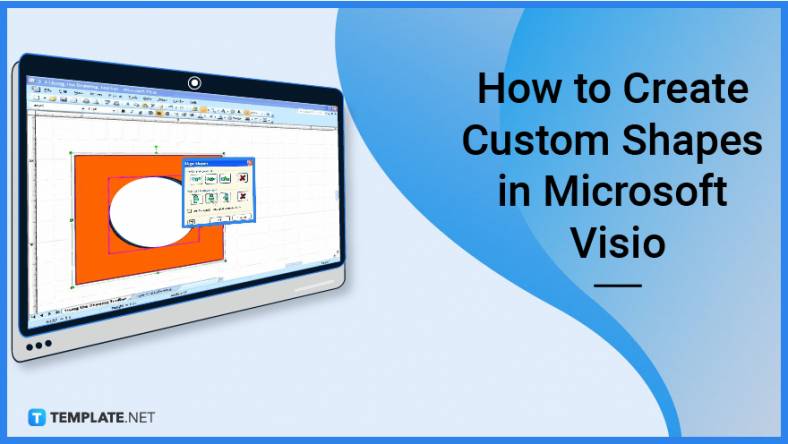
For individuals using Visio 2013, open it using Developer Mode, select Options, Customize Ribbon, then select Developer; select two shapes in the document, click on the Developer tab, press the Operations button, and choose the Union or Combine options, allowing the shapes to overlap one another.

Microsoft SharePoint is one of the products within the Microsoft product suite where you can access more applications integrated into…
Finding a product key for the Microsoft Visio software only takes a few clicks and doesn’t require a diagrammed process.…
With Microsoft Visio, collaborating and editing drawings online is entirely possible. In addition to that, templates and various selections of…

Microsoft Publisher is an easy-to-use publishing software application that users in this DIY age can optimize to produce digital content…
Access Microsoft Visio on your PC or mobile device to graphically arrange complicated concepts. Begin your Visio projects with hundreds…
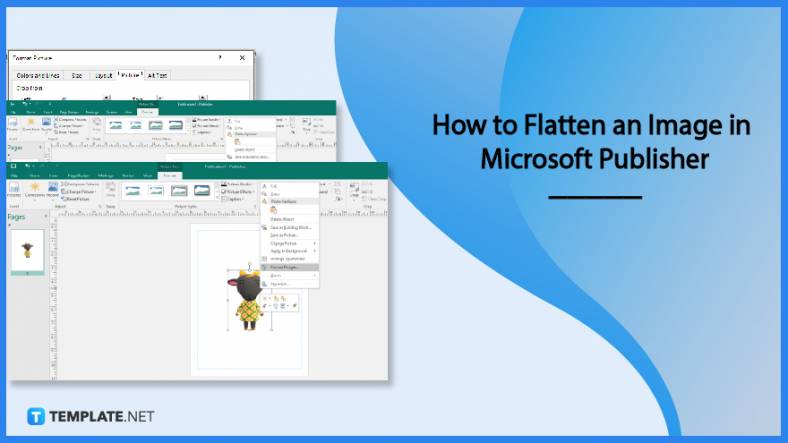
Flattening an image means reducing the file size of the image, which will make saving and printing much easier. So,…

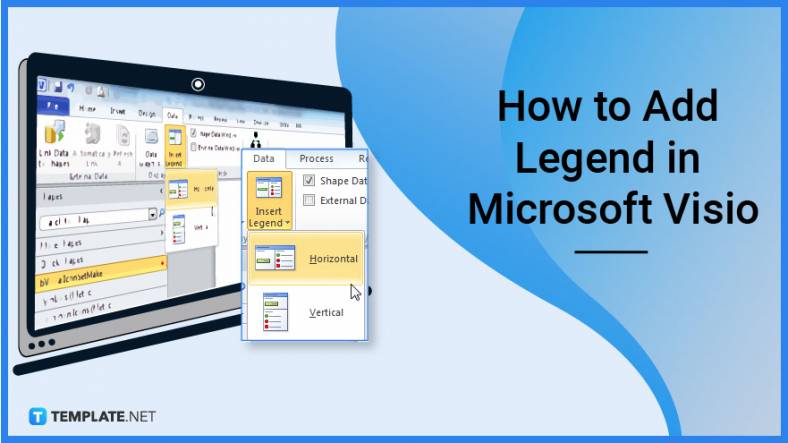
Microsoft Visio lets you create professional diagrams and flowcharts for various purposes and occasions. It also enables you to collaborate…

Knowing the version of Microsoft Publisher installed on your computer is also helpful when downloading templates and add-ins because some…
Microsoft Visio is an excellent tool and application for creating visual representations of flows and processes using creative and beautiful…