
How to Connect Access with Microsoft SharePoint
Microsoft SharePoint is one of the products within the Microsoft product suite where you can access more applications integrated into…
Apr 25, 2023
Microsoft Whiteboard has many tools that can be utilized by their users to ensure that they will have a good experience when using the program. The ruler is one of the drawing tools offered by developers of Microsoft Whiteboard on their base program.
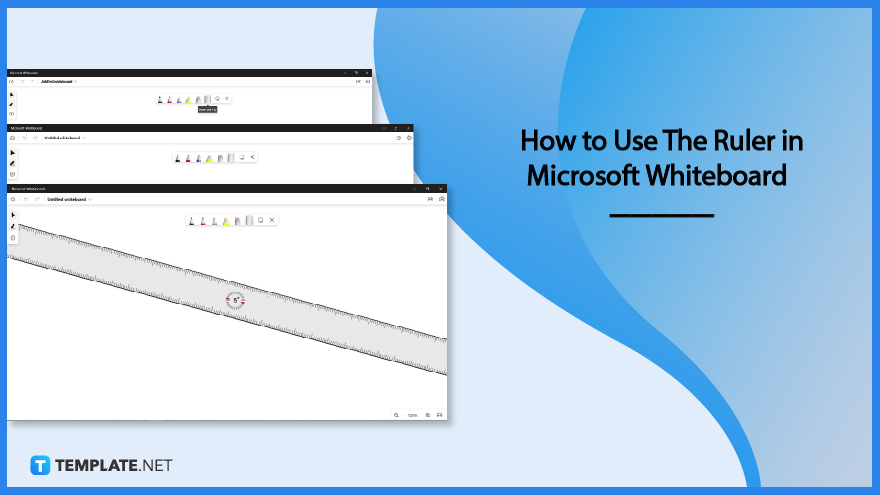
The ruler tool of Microsoft Whiteboard allows the user to draw straight and angled lines anywhere on the whiteboard without causing any frustrations. This tool allows the user to have a neat and clean finish on their whiteboard as this tool prevents any distracting and weird lines from being made.
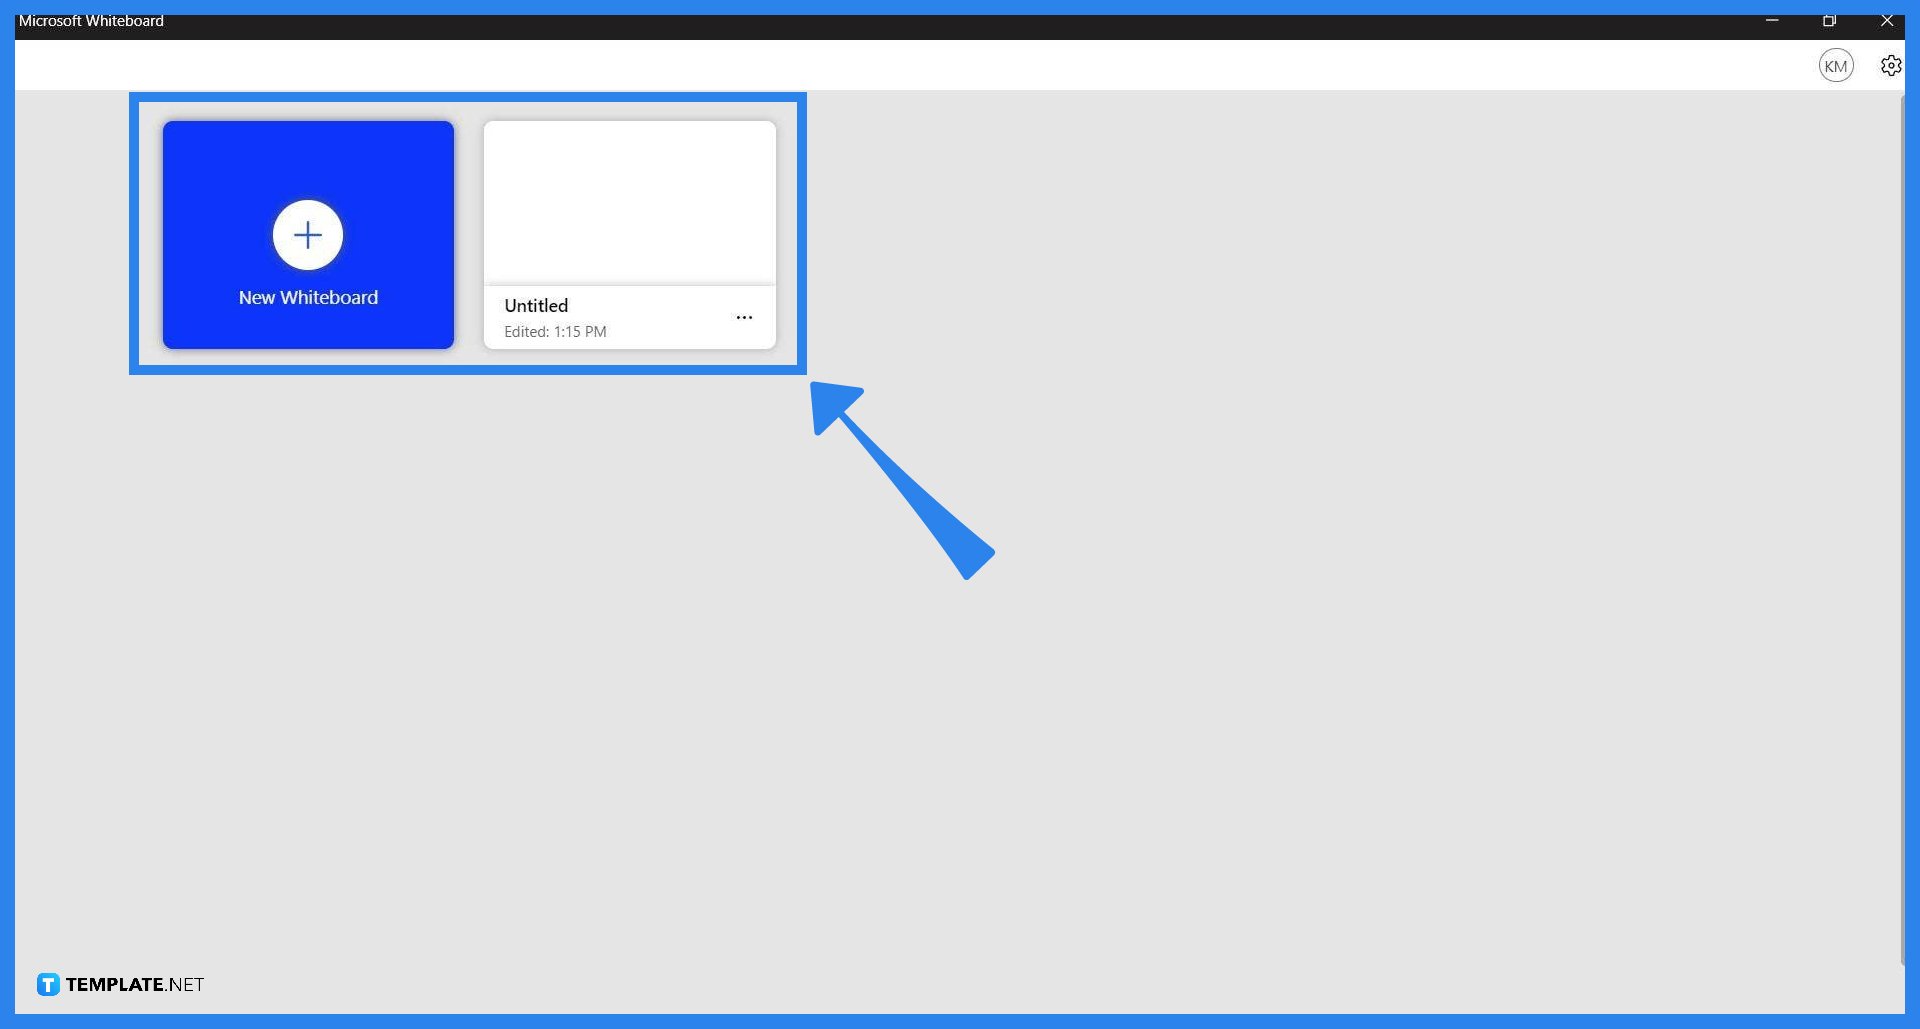
Start by opening Microsoft Whiteboard on your PC or laptop’s desktop. This feature is available on both the web and app versions of Microsoft Whiteboard. If the user is using the whiteboard app integrated into Microsoft Teams, the ruler tool is not available on that version of Microsoft Whiteboard.
The user must then open or create a whiteboard on which the user would want to use the ruler tool. This can be done by left-clicking an existing whiteboard or by pressing the “New Whiteboard” button on the landing page.
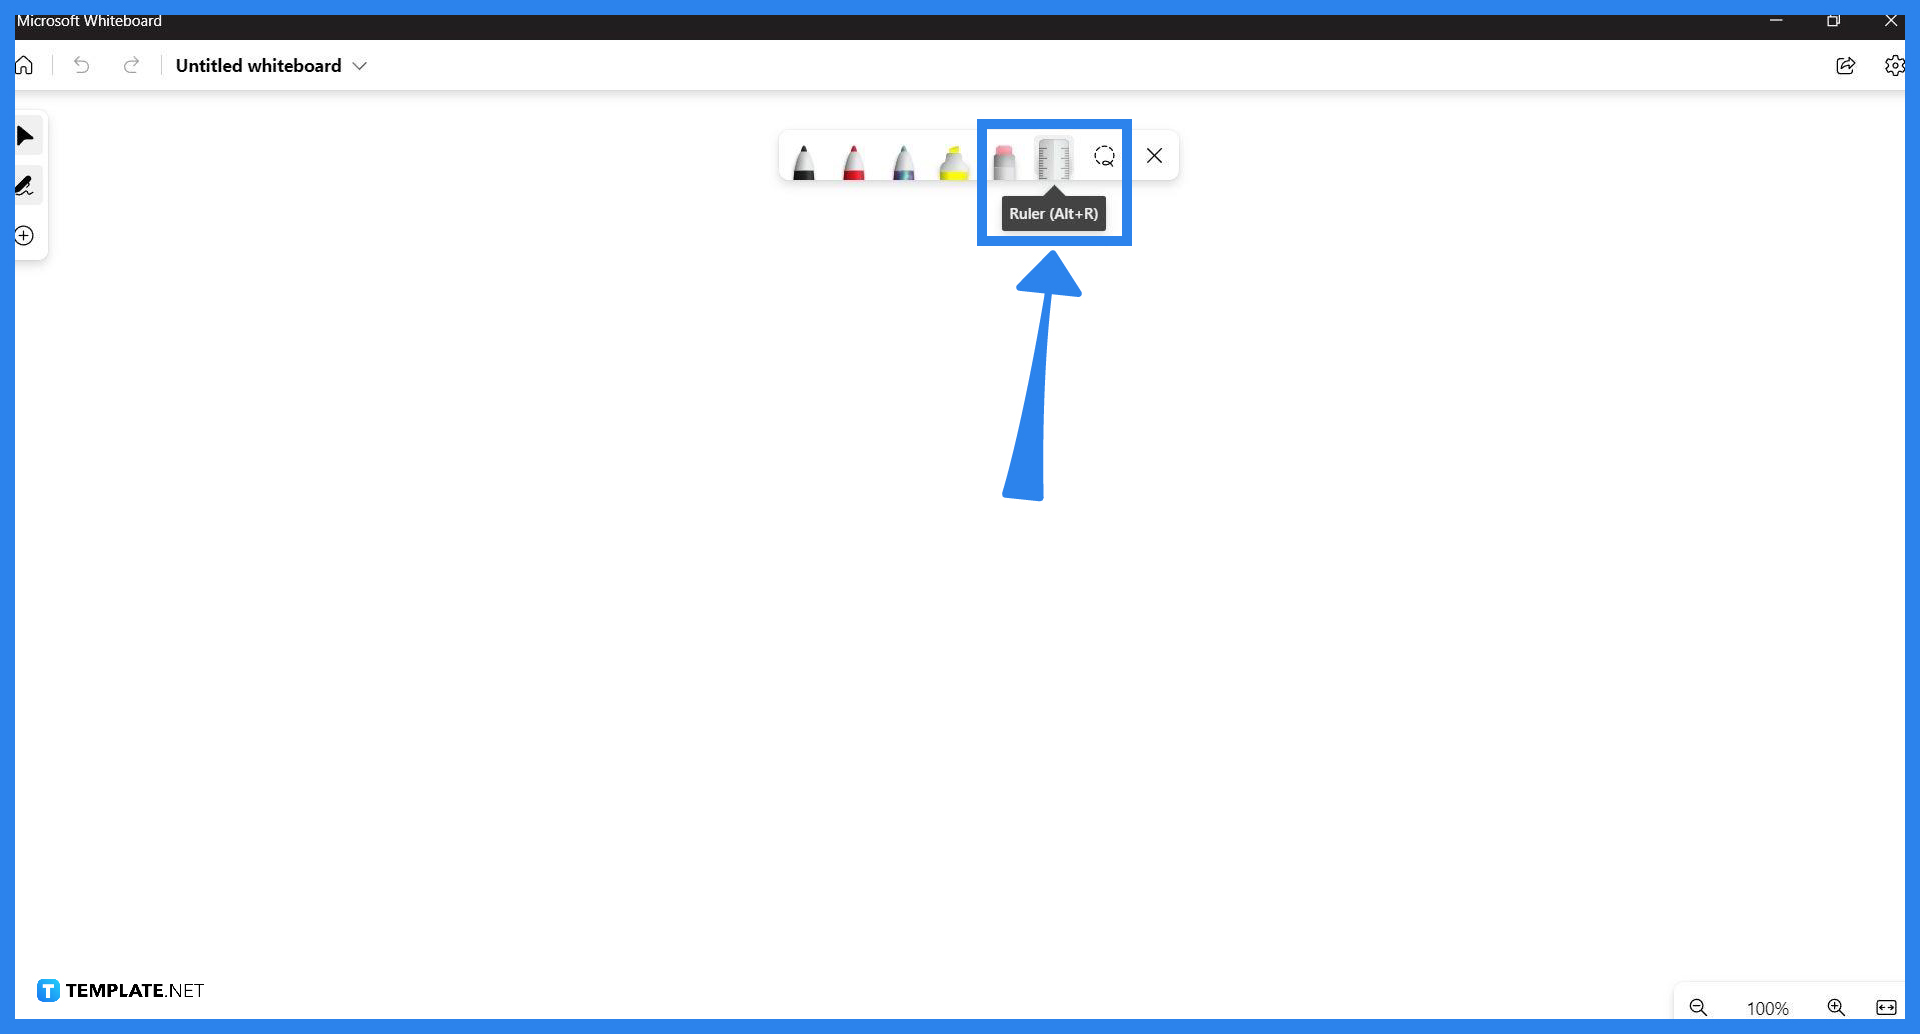
After the user has opened or created the whiteboard, they must toggle the ruler tool on. To toggle the ruler tool on, the user must press the “Ruler” button on the toolbar or turn it on by pressing Alt + R.
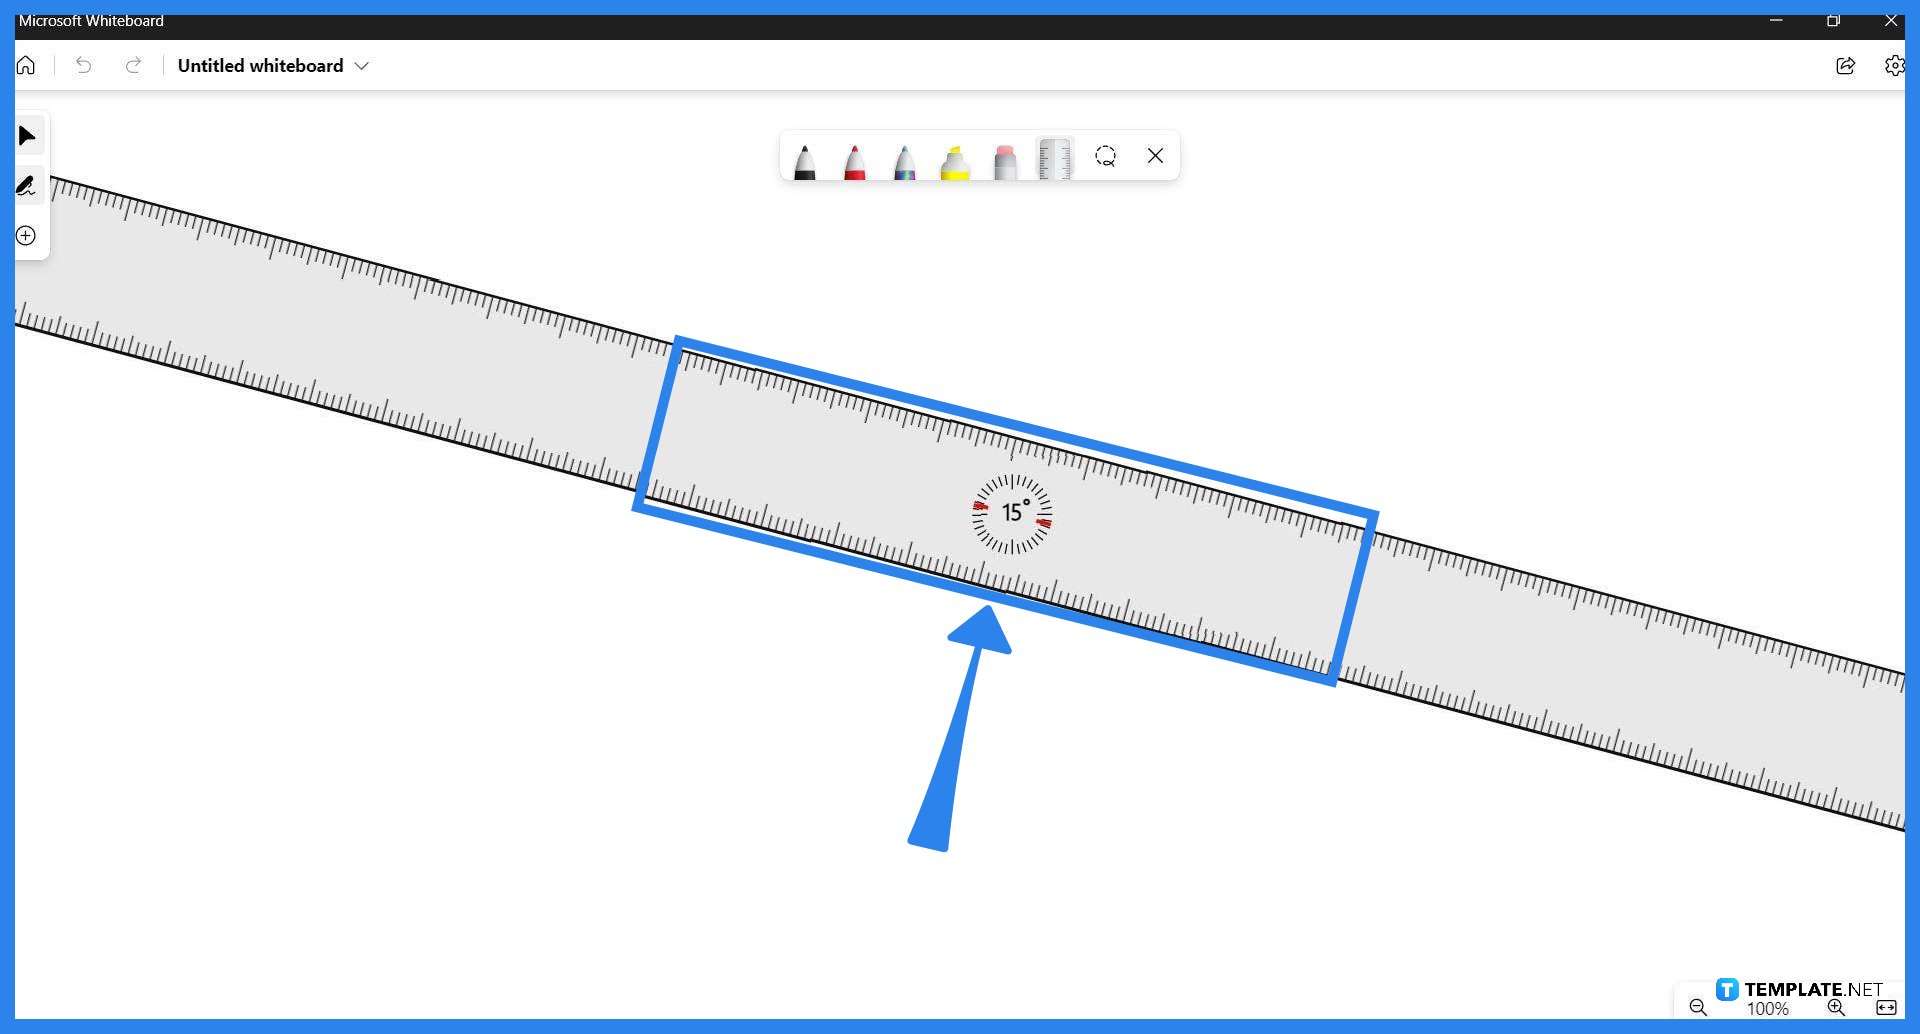
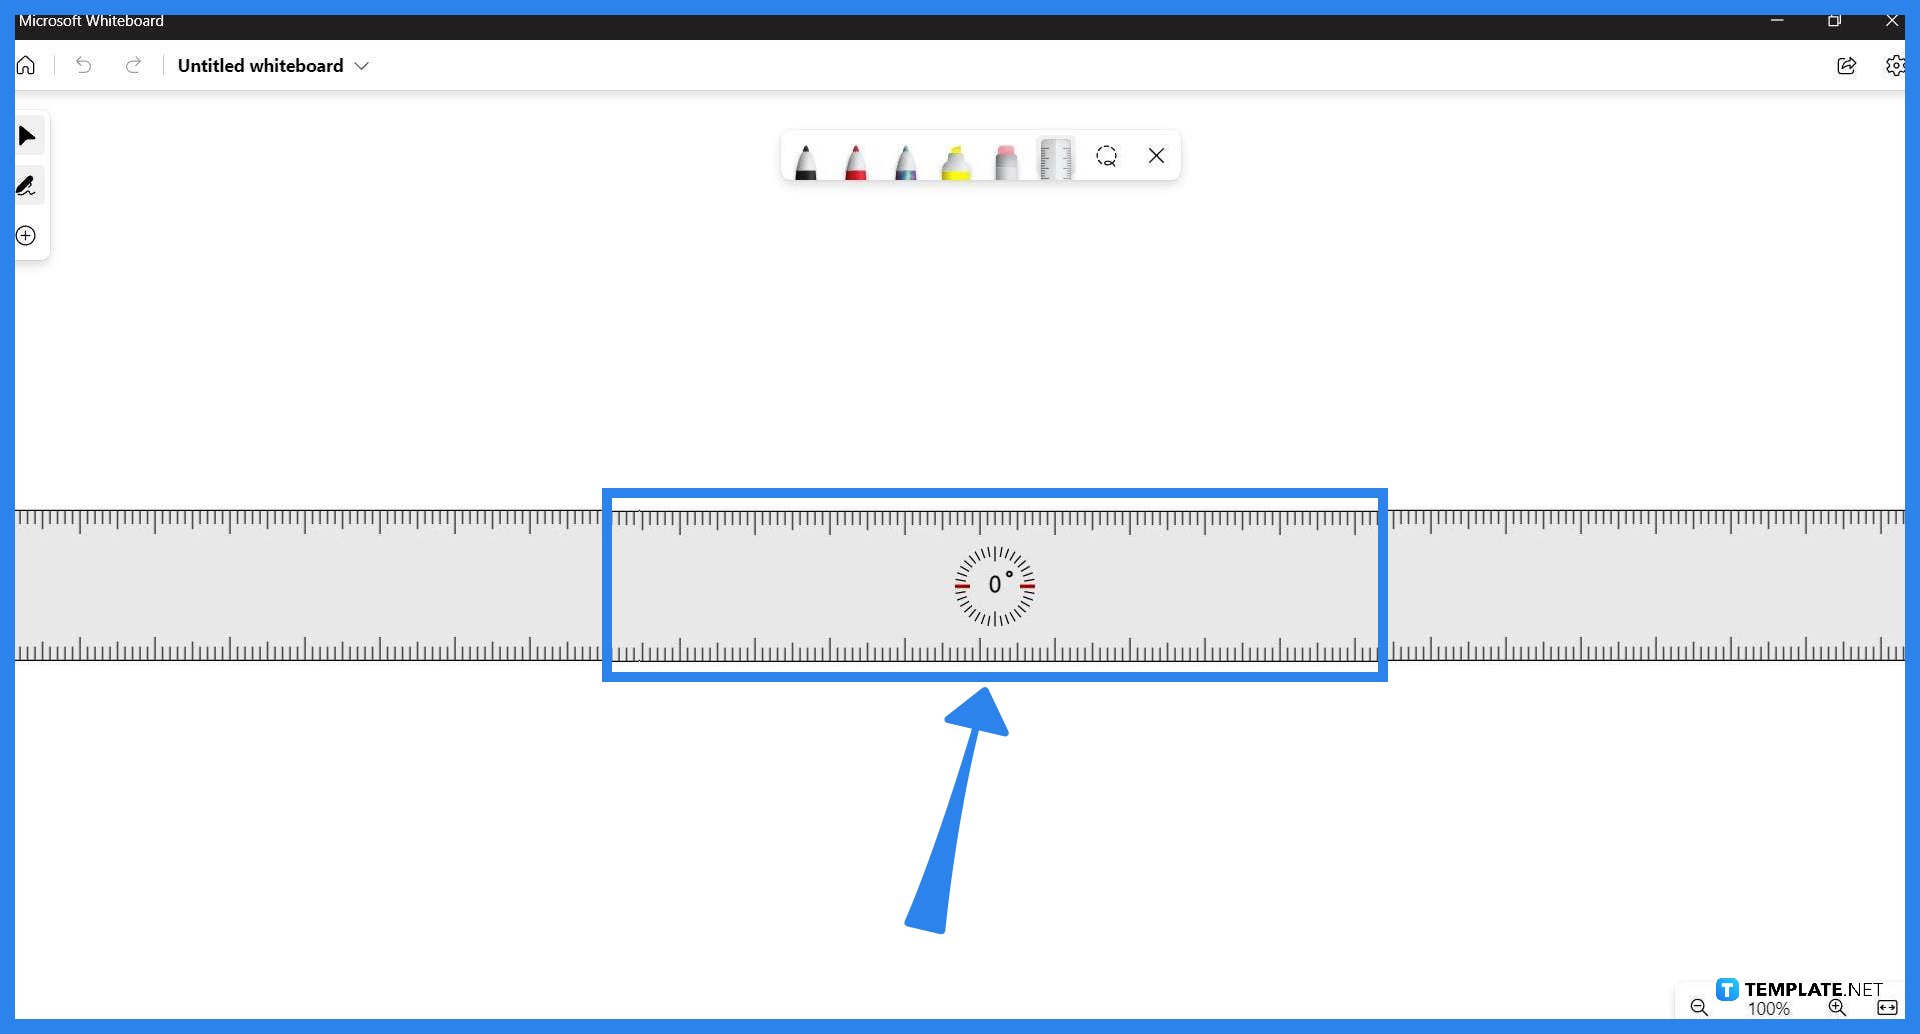
The ruler can then be adjusted and moved to different portions of the whiteboard. To move the ruler, the user must click the ruler to select it and drag it to the place they want to use the ruler. Rotating the ruler can be achieved by pressing the ruler and using the mouse wheel to shift the angle of the ruler.
The ruler tool can be used to measure specific things in Microsoft Whiteboard and allows the user to create or draw precise and accurate lines.
To rotate the ruler the user must first select the ruler by pressing Tab on the keyboard until it highlights the edges of the ruler with dark lines, then the user must hold alt and press the left and right arrow keys to shift the angle by 15 degrees.
You can move the ruler by selecting the ruler via the Tab button on your keyboard; you will know that the ruler is selected as it will be encased with black lines, then you must hold the Alt button on your keyboard, and use the up and down arrow keys to adjust the position of the keyboard by a couple of frames.
The ruler tool will memorize its last position and angle when it is toggled off as one of its quality-of-life features; the position and angle will even persist when the app or program is turned off.

Microsoft SharePoint is one of the products within the Microsoft product suite where you can access more applications integrated into…

Finding a product key for the Microsoft Visio software only takes a few clicks and doesn’t require a diagrammed process.…

With Microsoft Visio, collaborating and editing drawings online is entirely possible. In addition to that, templates and various selections of…

Microsoft Publisher is an easy-to-use publishing software application that users in this DIY age can optimize to produce digital content…

Access Microsoft Visio on your PC or mobile device to graphically arrange complicated concepts. Begin your Visio projects with hundreds…
Flattening an image means reducing the file size of the image, which will make saving and printing much easier. So,…

Microsoft Visio lets you create professional diagrams and flowcharts for various purposes and occasions. It also enables you to collaborate…

Knowing the version of Microsoft Publisher installed on your computer is also helpful when downloading templates and add-ins because some…
Microsoft Visio is an excellent tool and application for creating visual representations of flows and processes using creative and beautiful…