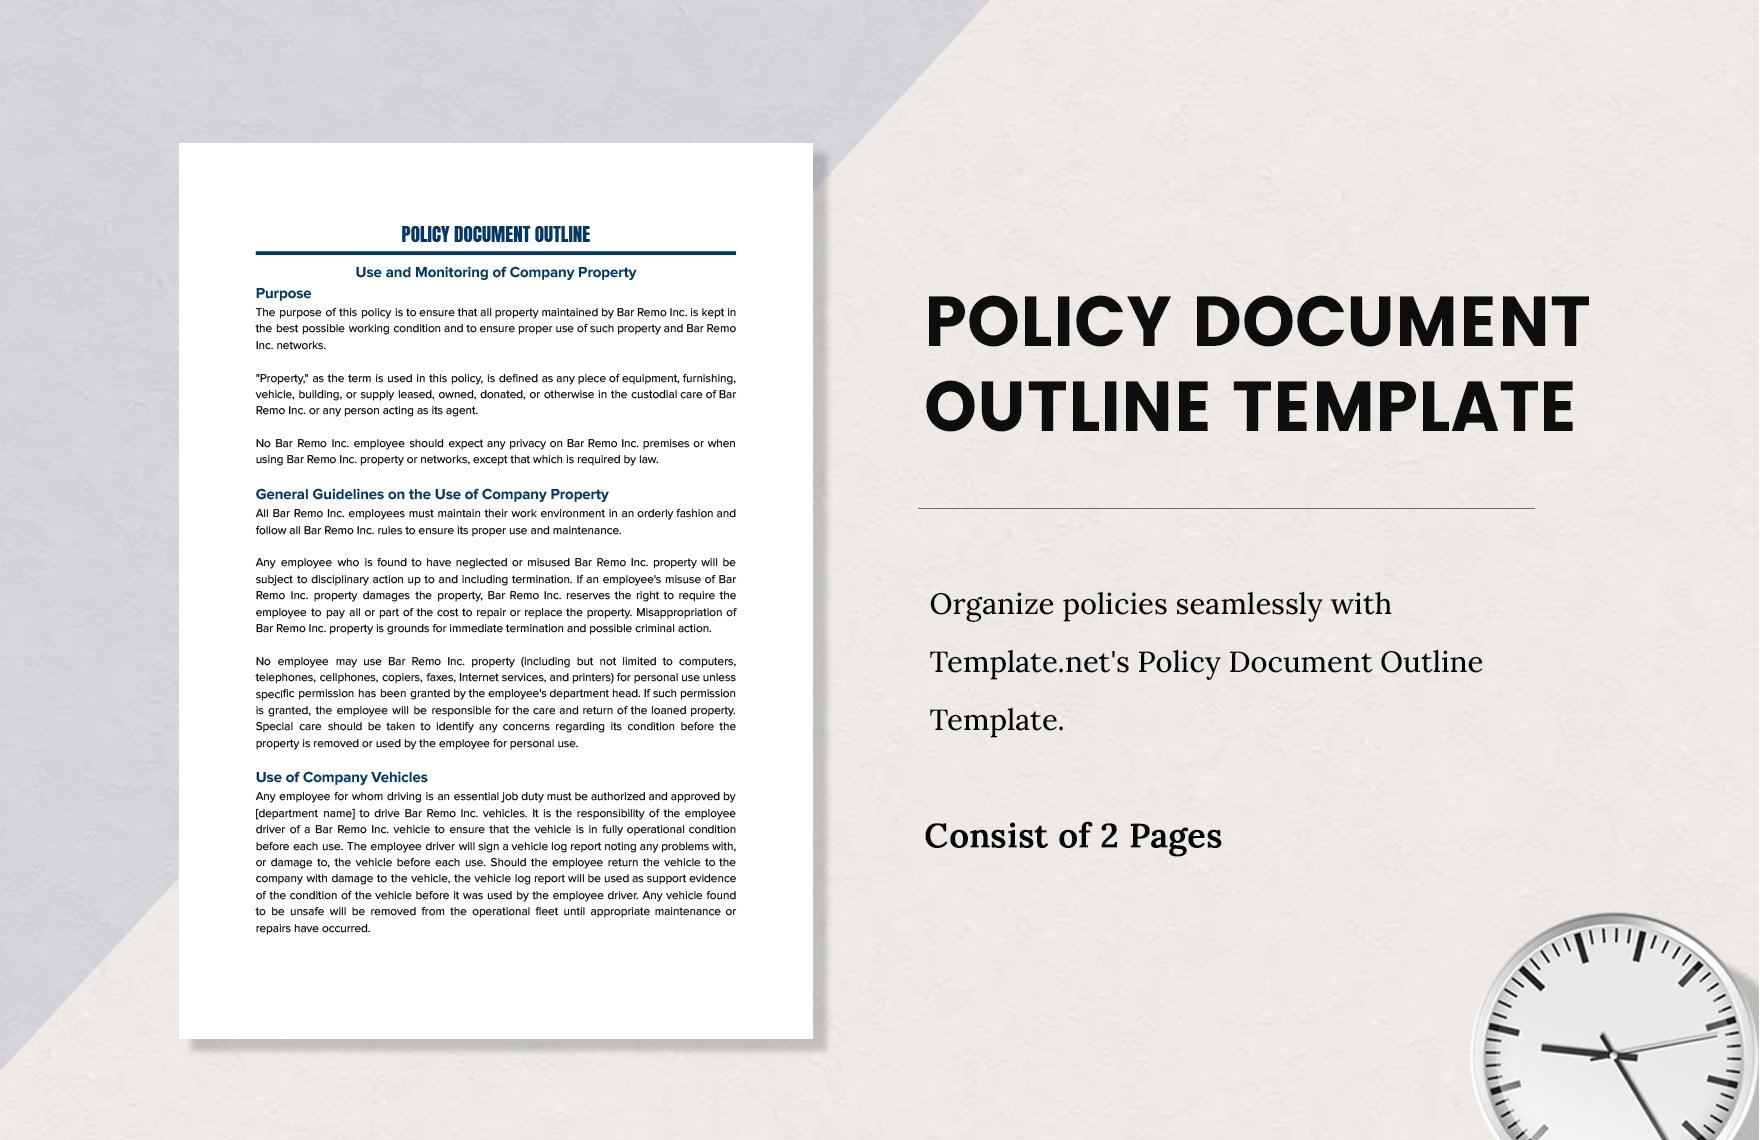
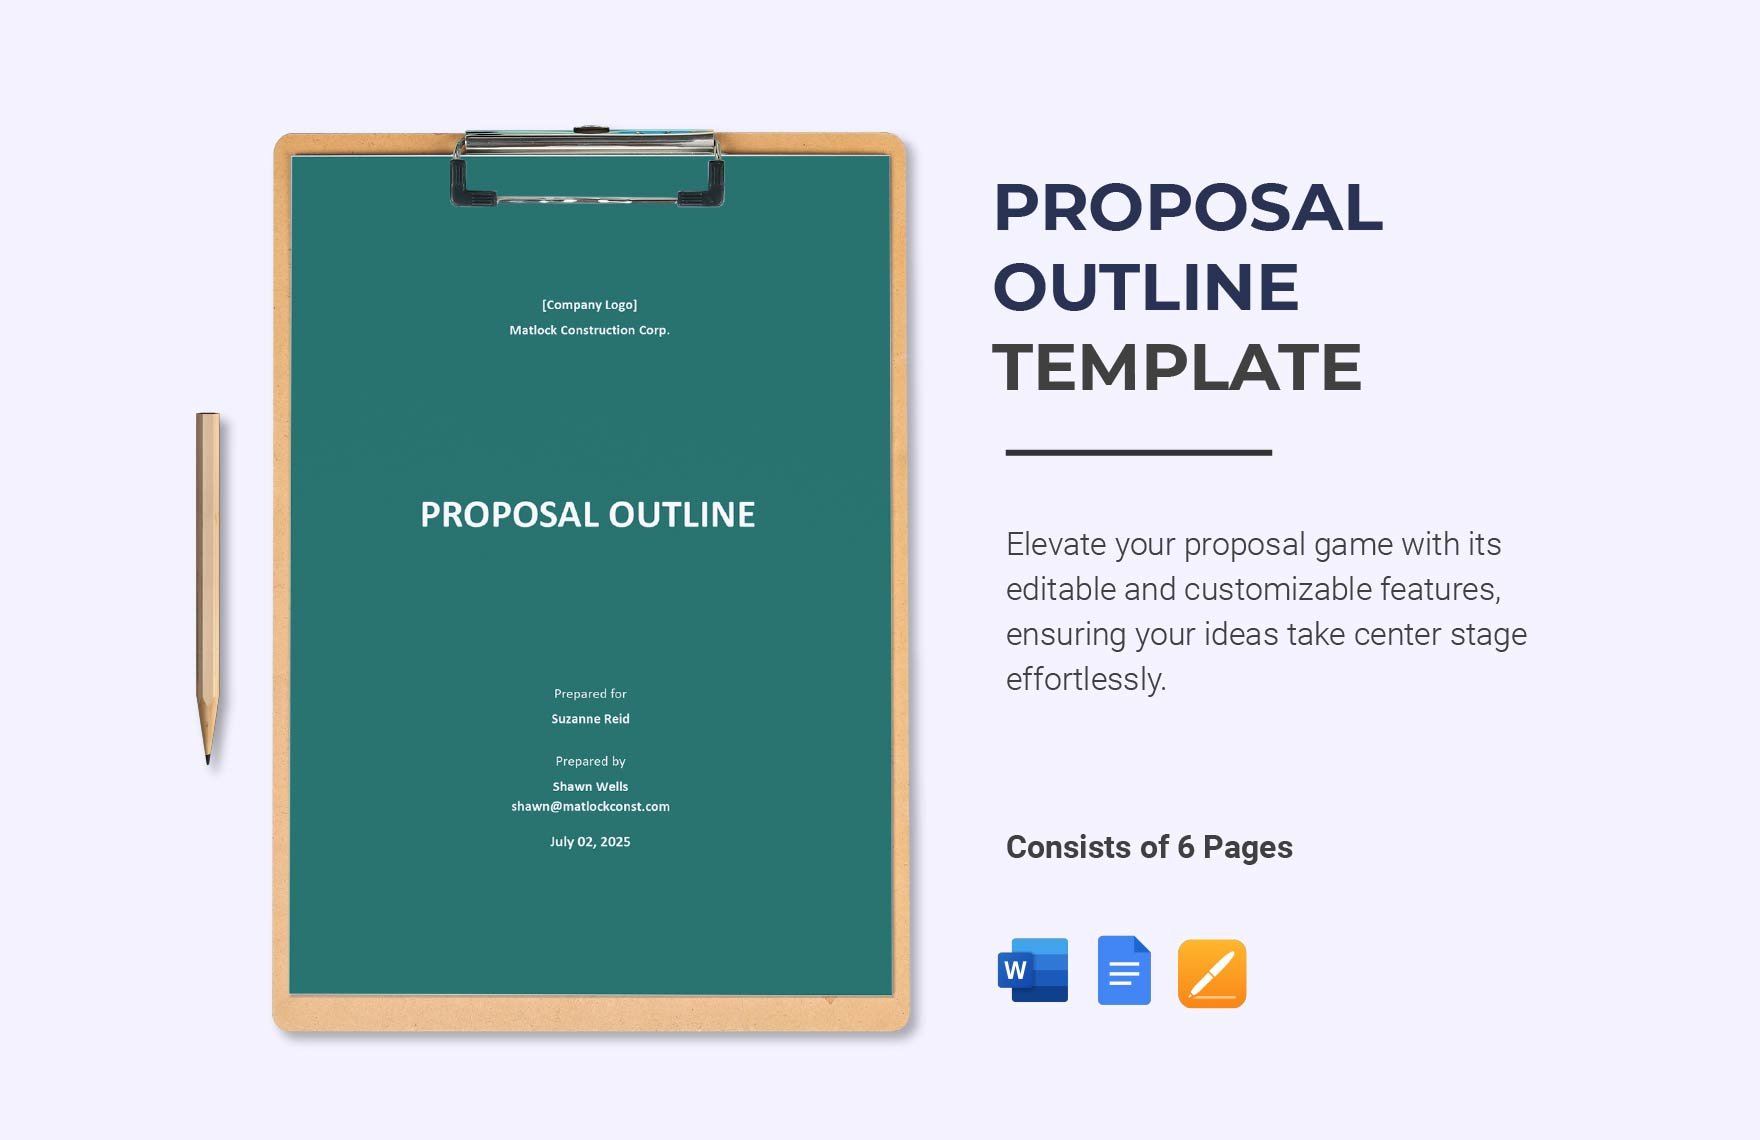
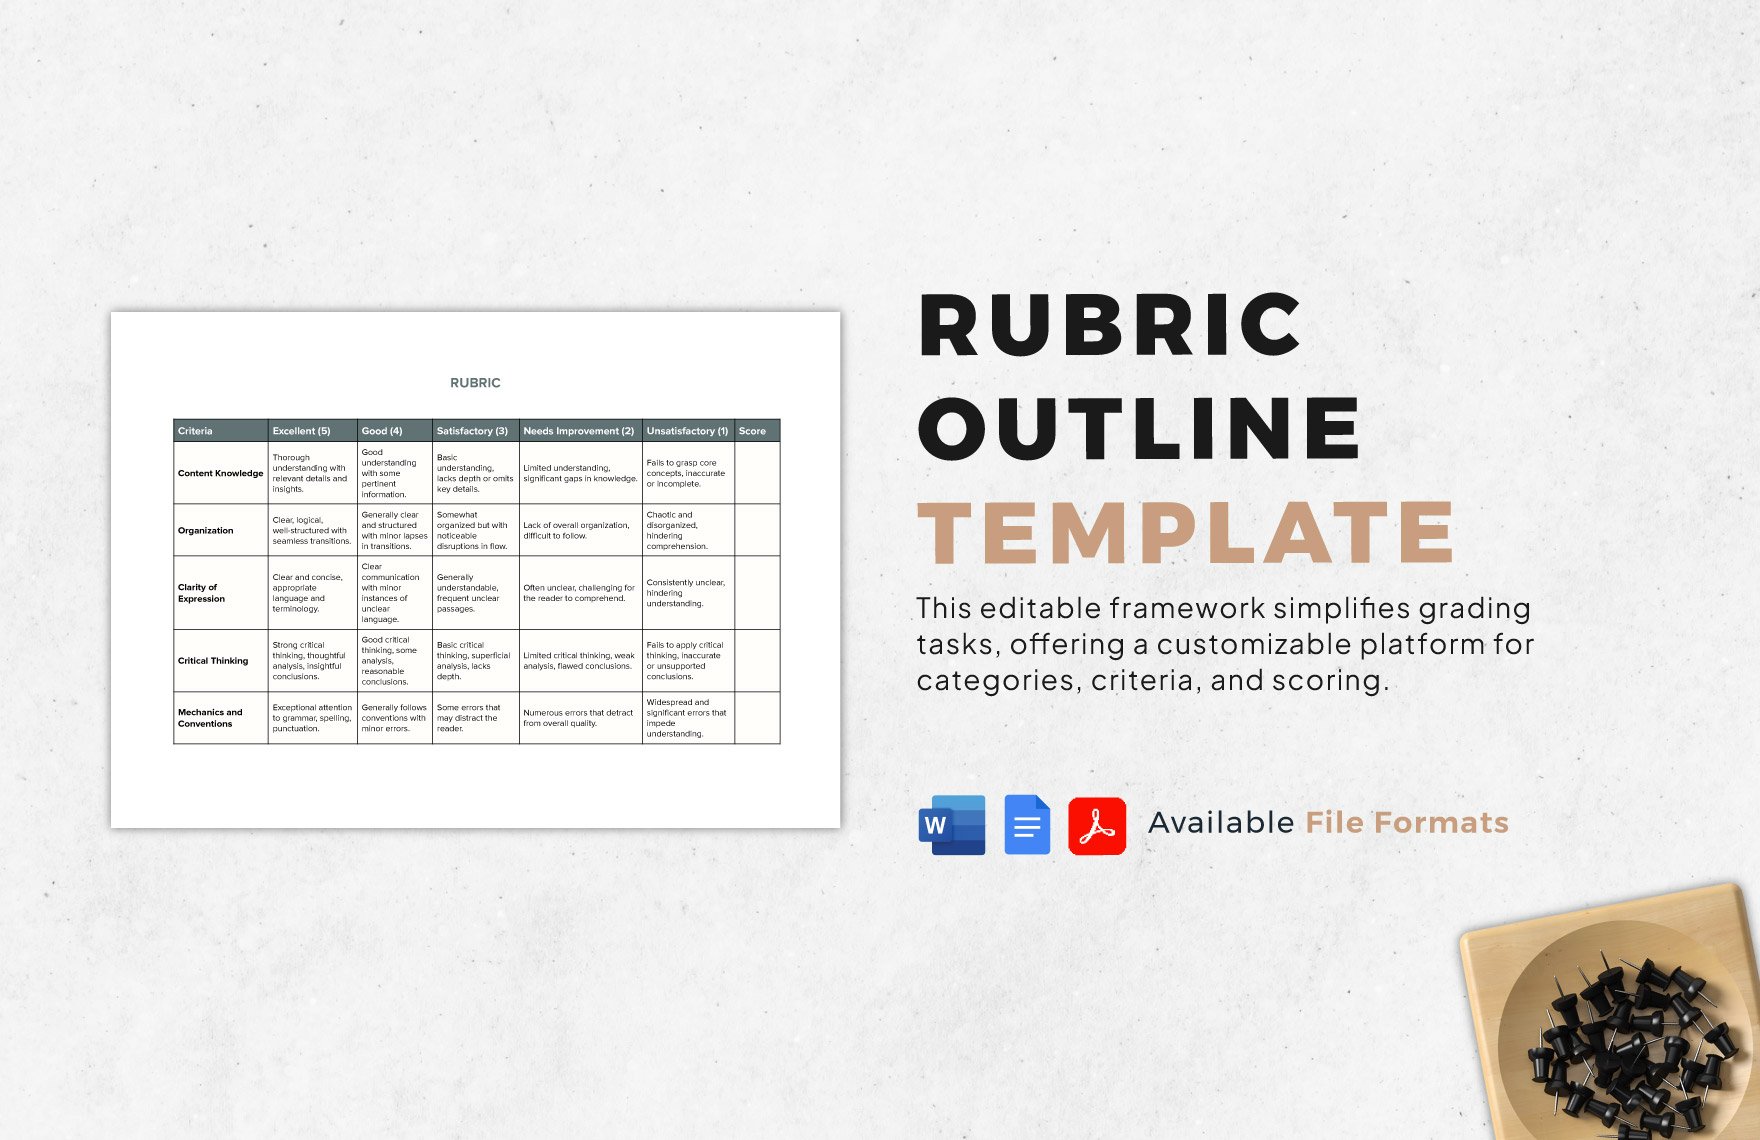
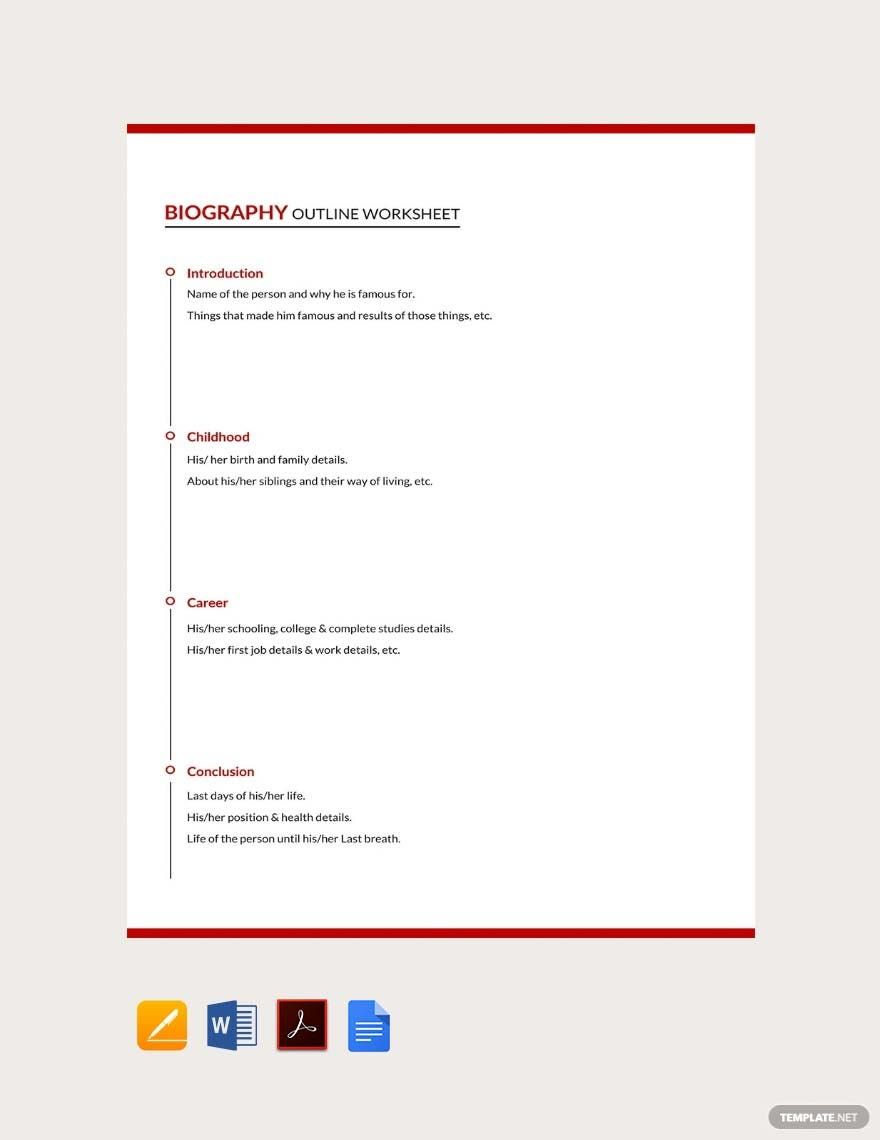
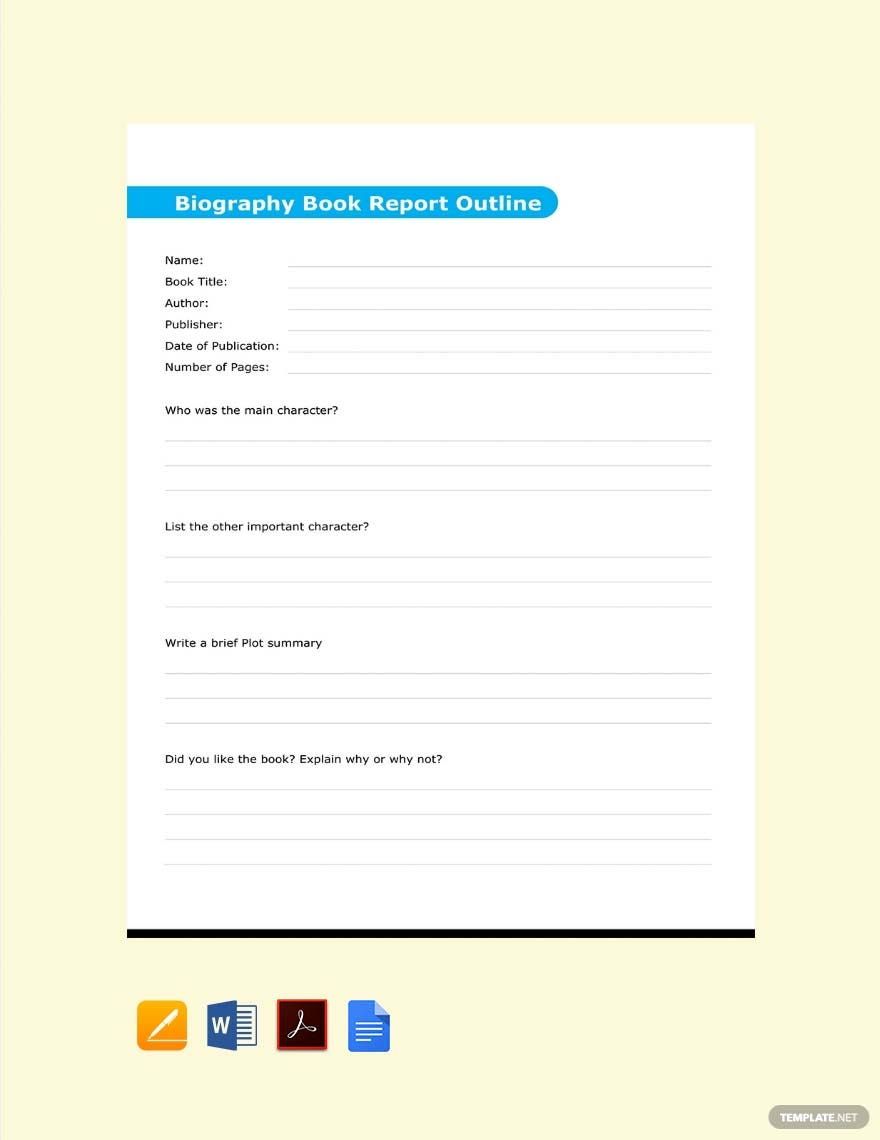
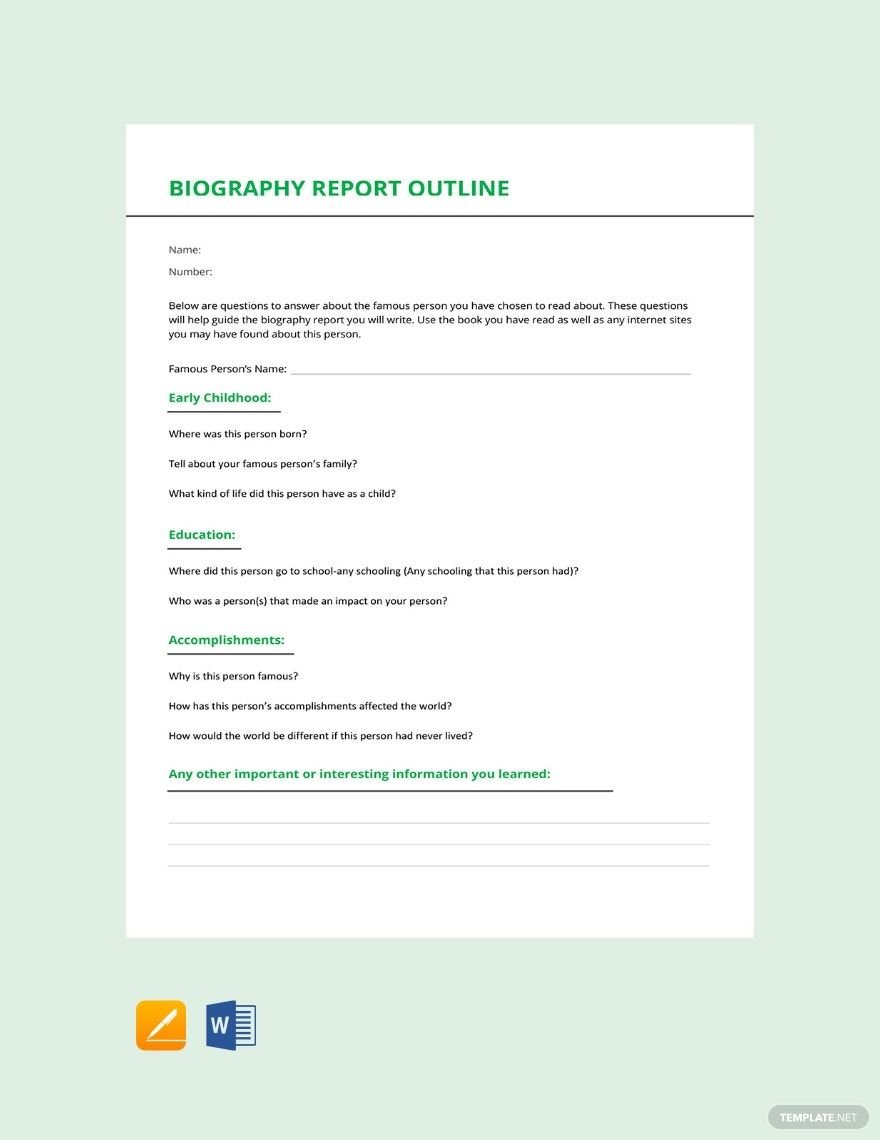
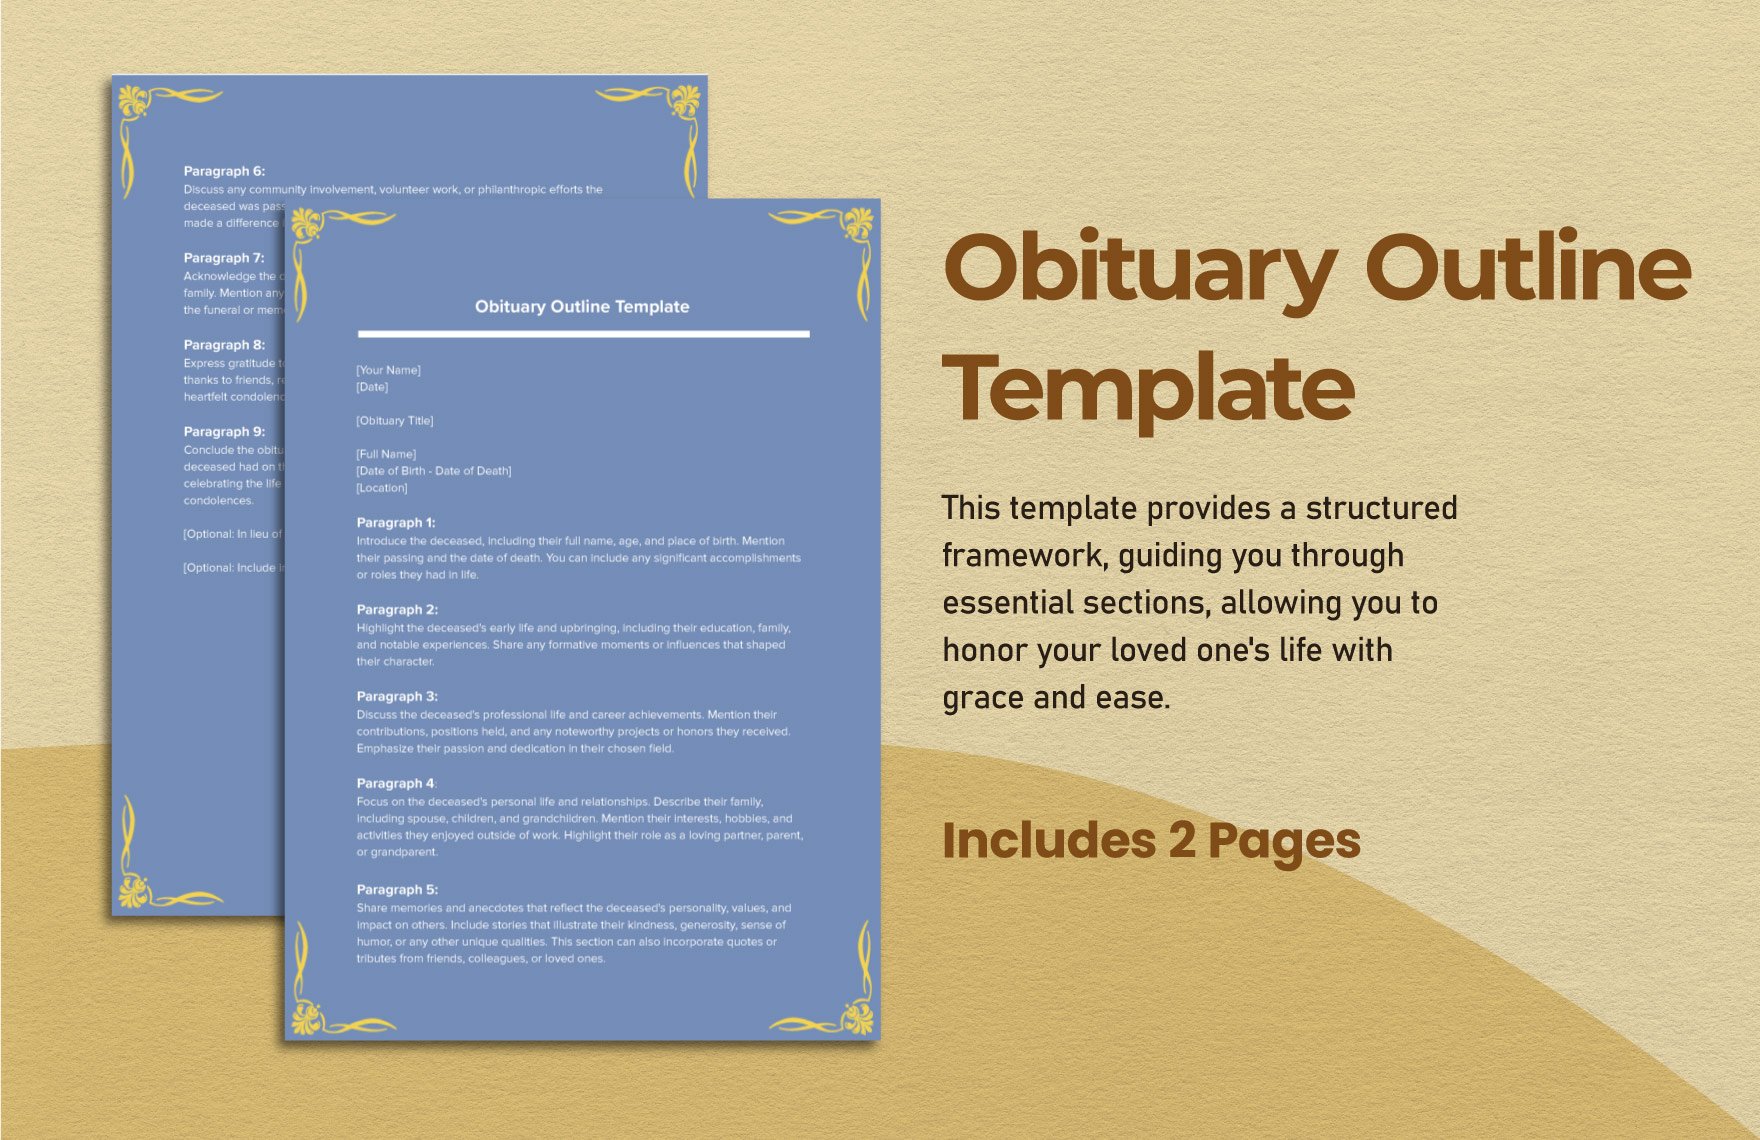
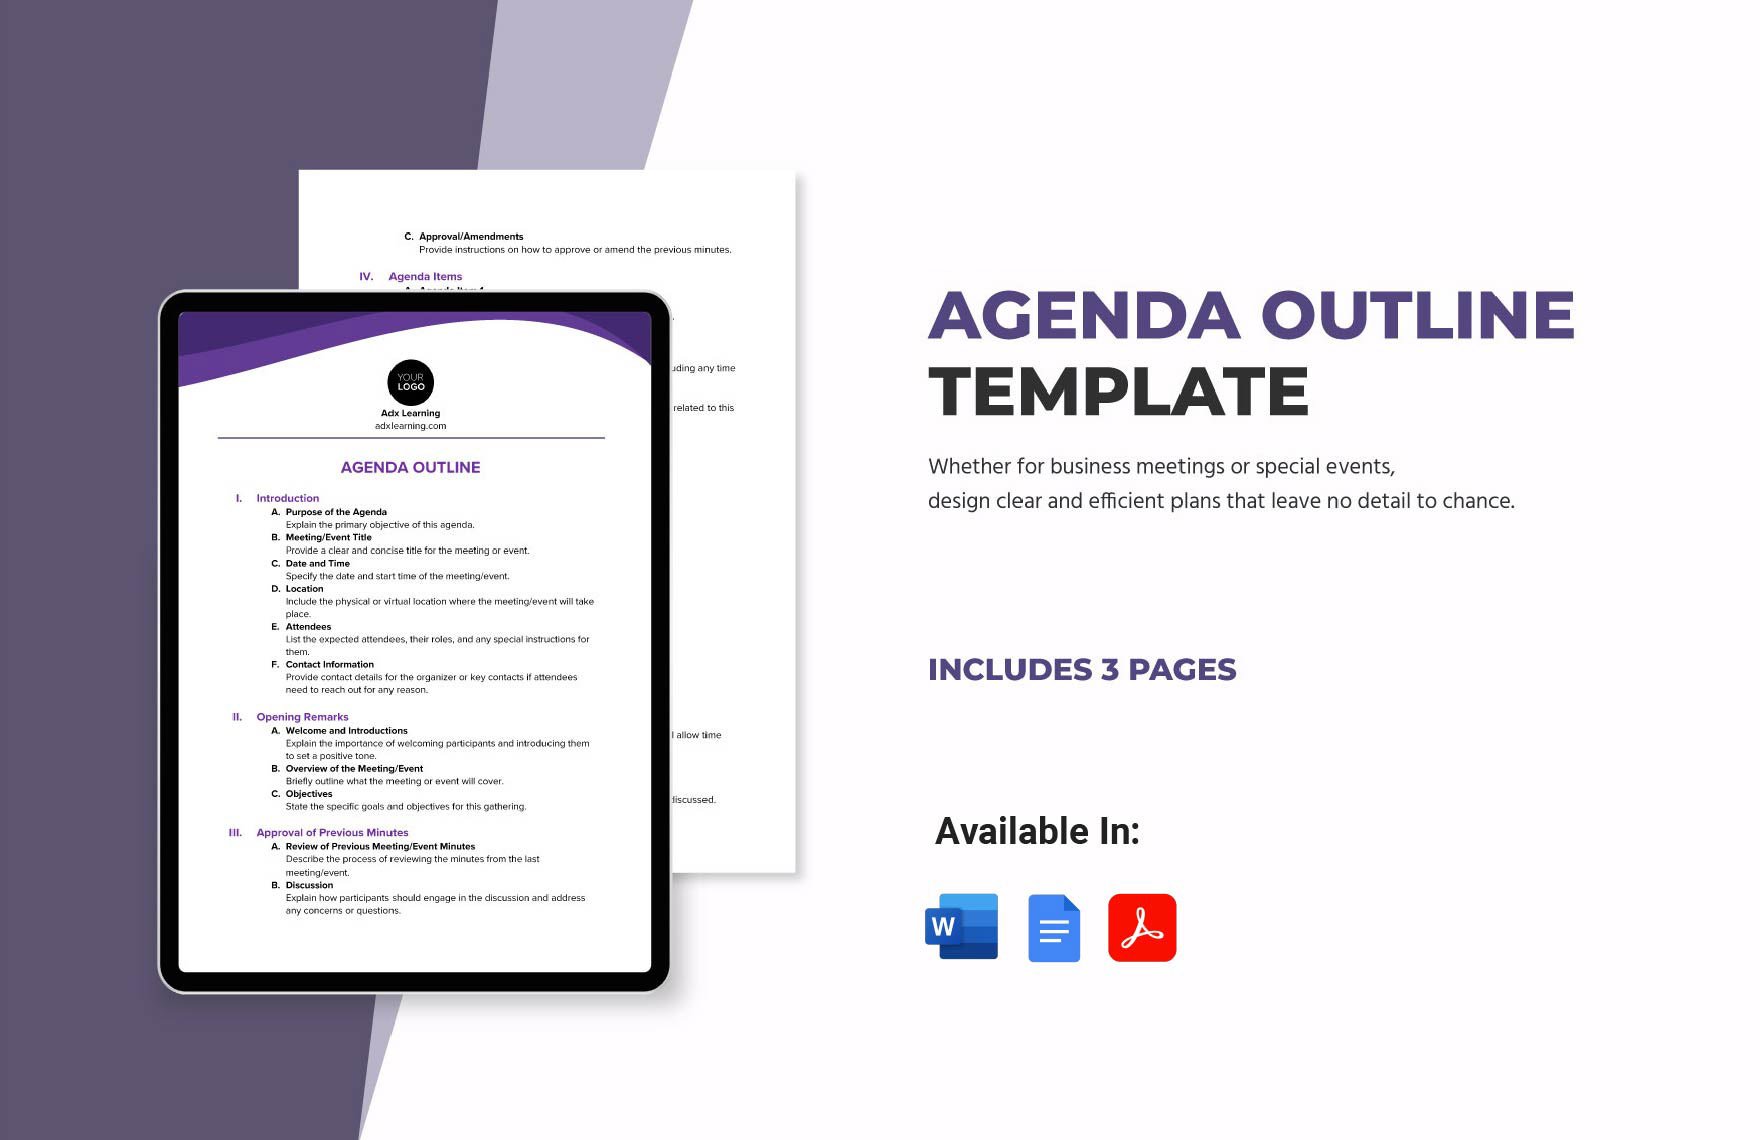
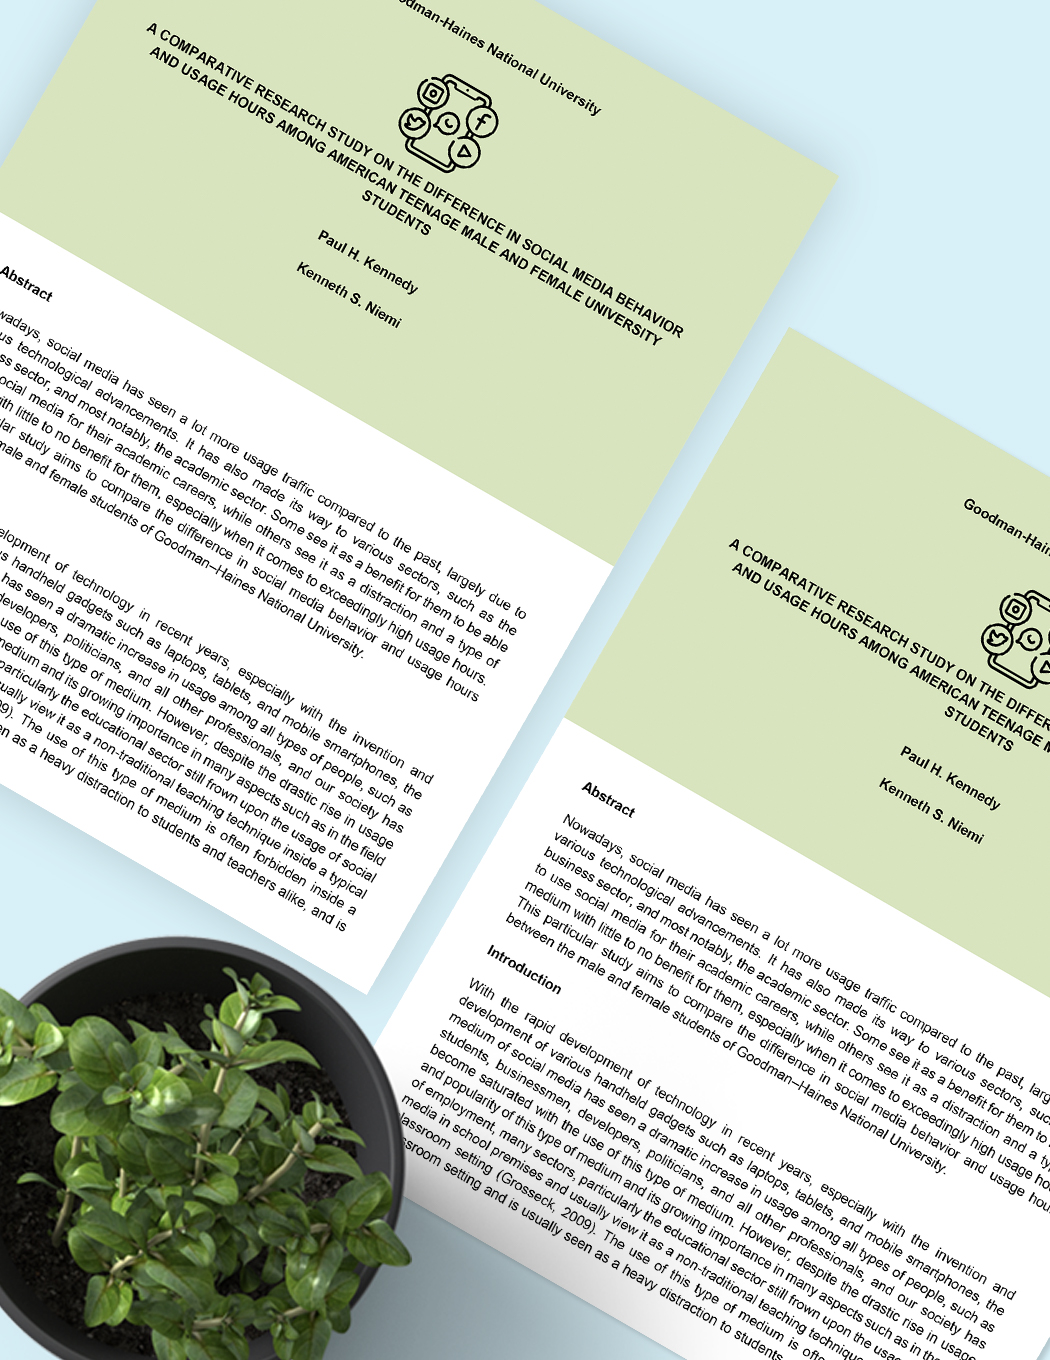
Are you cramming for an overdue research paper? Or perhaps, beating deadlines for a school publication? Writing is exciting and fun until you lose track along the process, and that is troublesome. But worry no more because we can help you get through this problematic situation. Our ready-made and 100% customizable Outline Templates can be edited using Microsoft Word in A4 and US letter sizes. Now, the clock is ticking, so create a substantial research paper guided with our high-quality outline templates. Don’t have enough time? Don’t wait any longer and start increasing your progress report by downloading our templates today!
How to Create an Outline Template in Microsoft Word
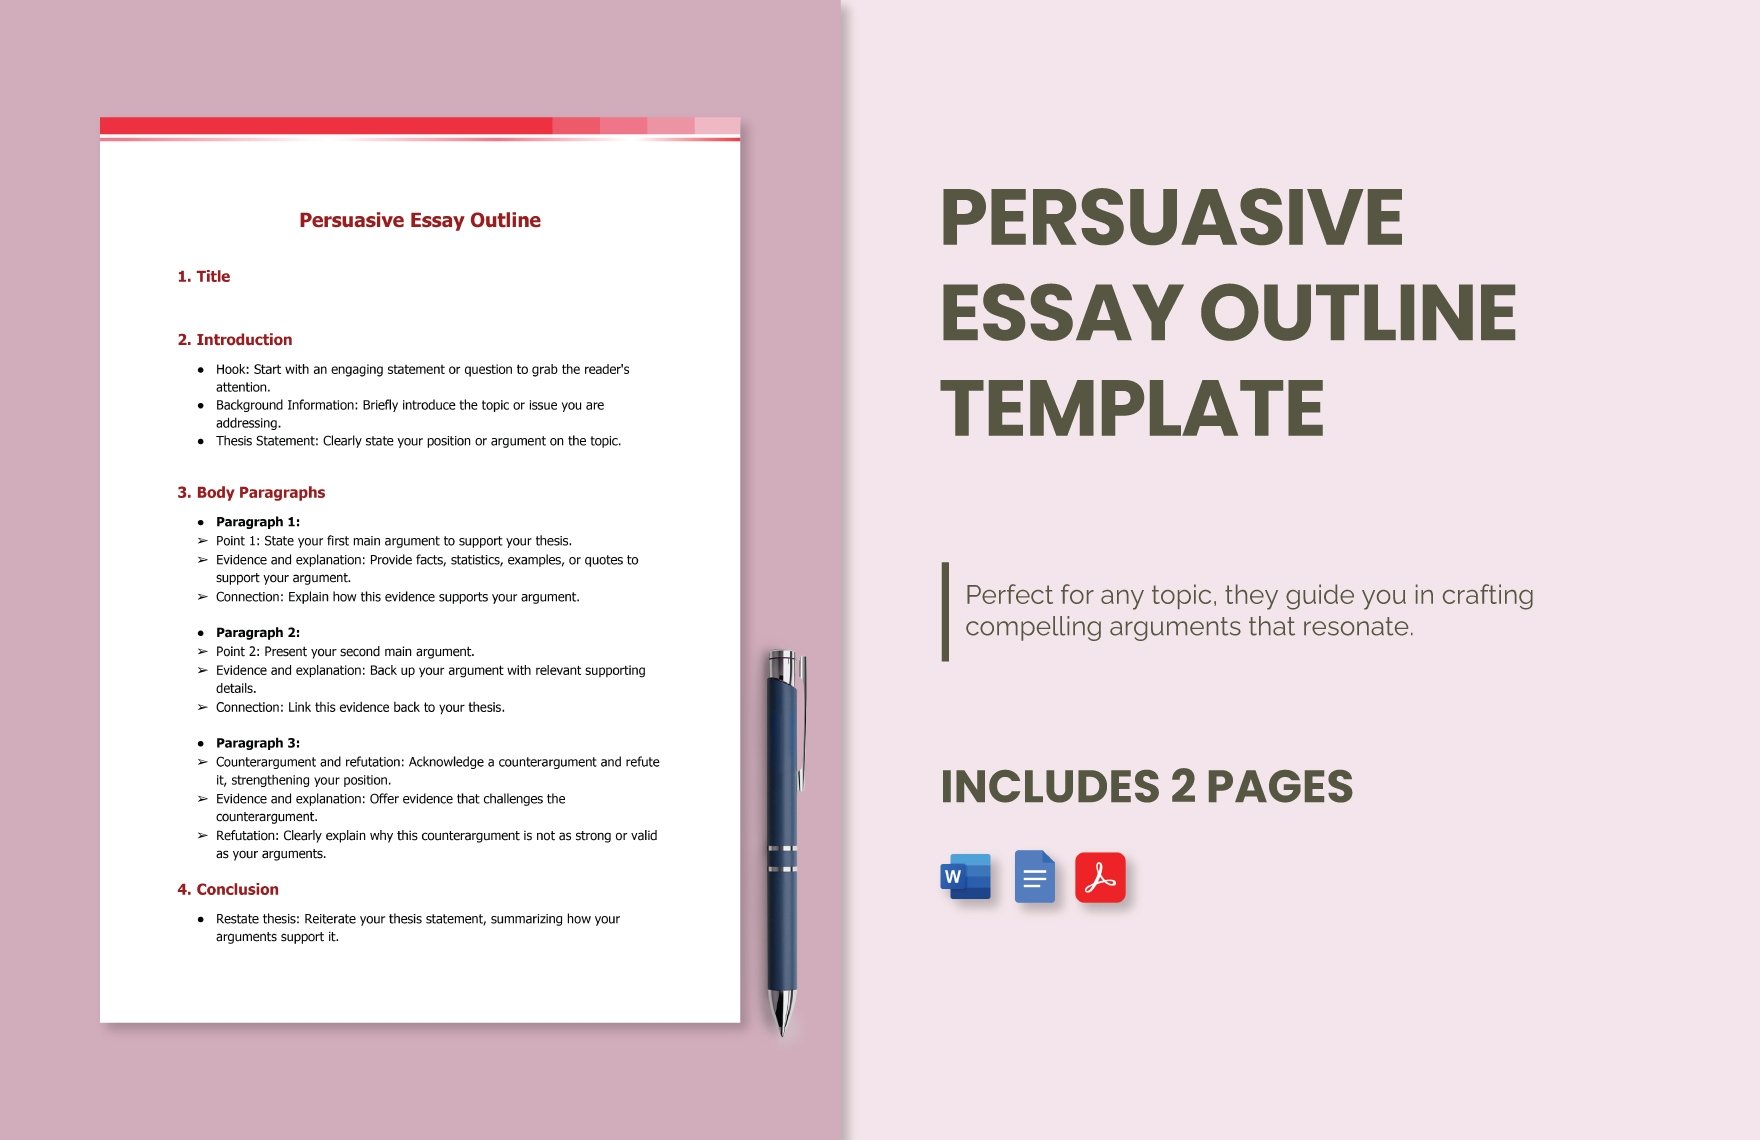
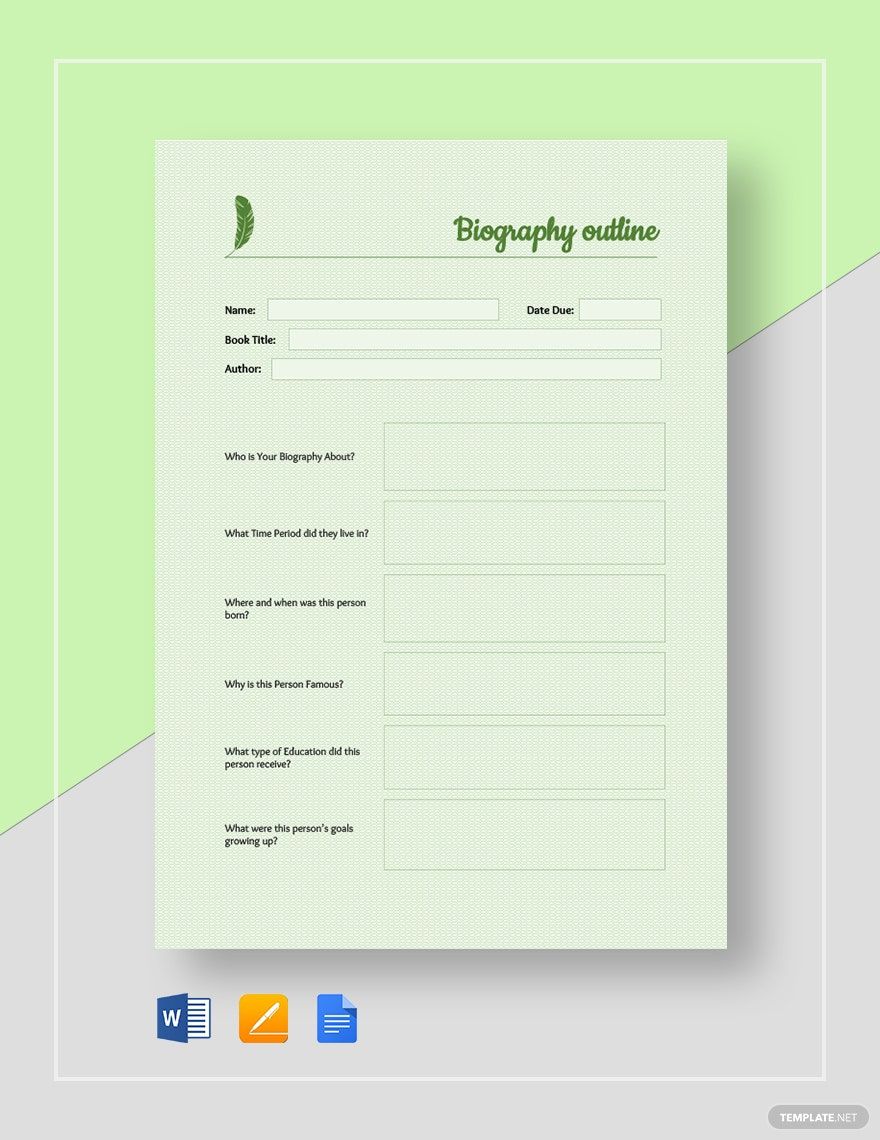
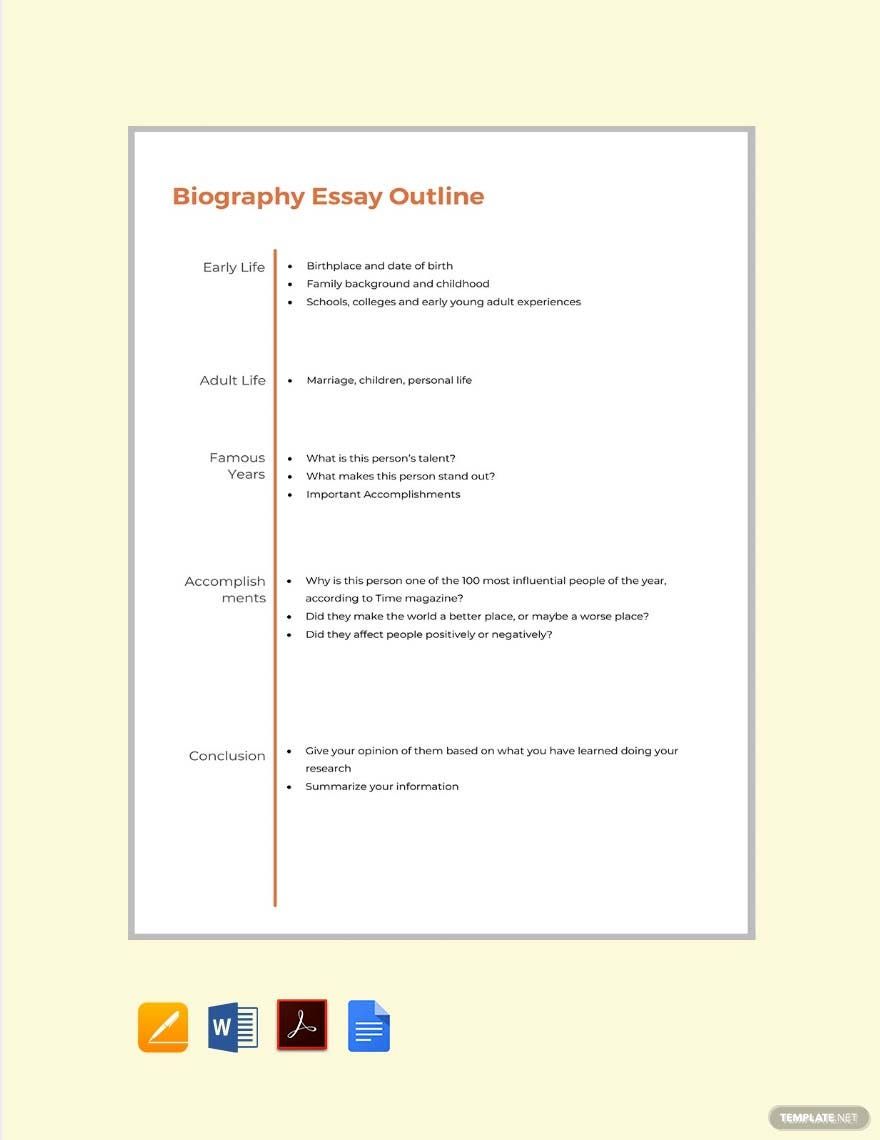
An outline is a suitable material for a research paper, presentation, plans, essay, or a book that you are working. Whether for the academe or workplace, organizing your ideas is essential. This is because a disorganized thought tends to be chaotic. When you have so much in your mind, it could be too overwhelming. But with an outline template, you can create more logical ideas that are useful in further elaborating on your topic or subject.
In the prewriting process, the importance of outlining is sometimes overlooked. But it benefits many individuals in different ways, such as creating reliable research for sample reports. Some people are also prone to failing coherent writing because of the misguided use of outlining in the prewriting process. But do not fret, below are steps that you can follow in creating an outline using Microsoft Word.
1. Identify Your Topic
Start by understanding what you need to write. That would mean knowing what your topic is about. To avoid a messy outline, make sure to read on your topic. Assemble your thoughts and ideas by doing research. Understand and create a note that summarizes it. This will be important in plotting your points for the next step.
2. Structure Your Outline
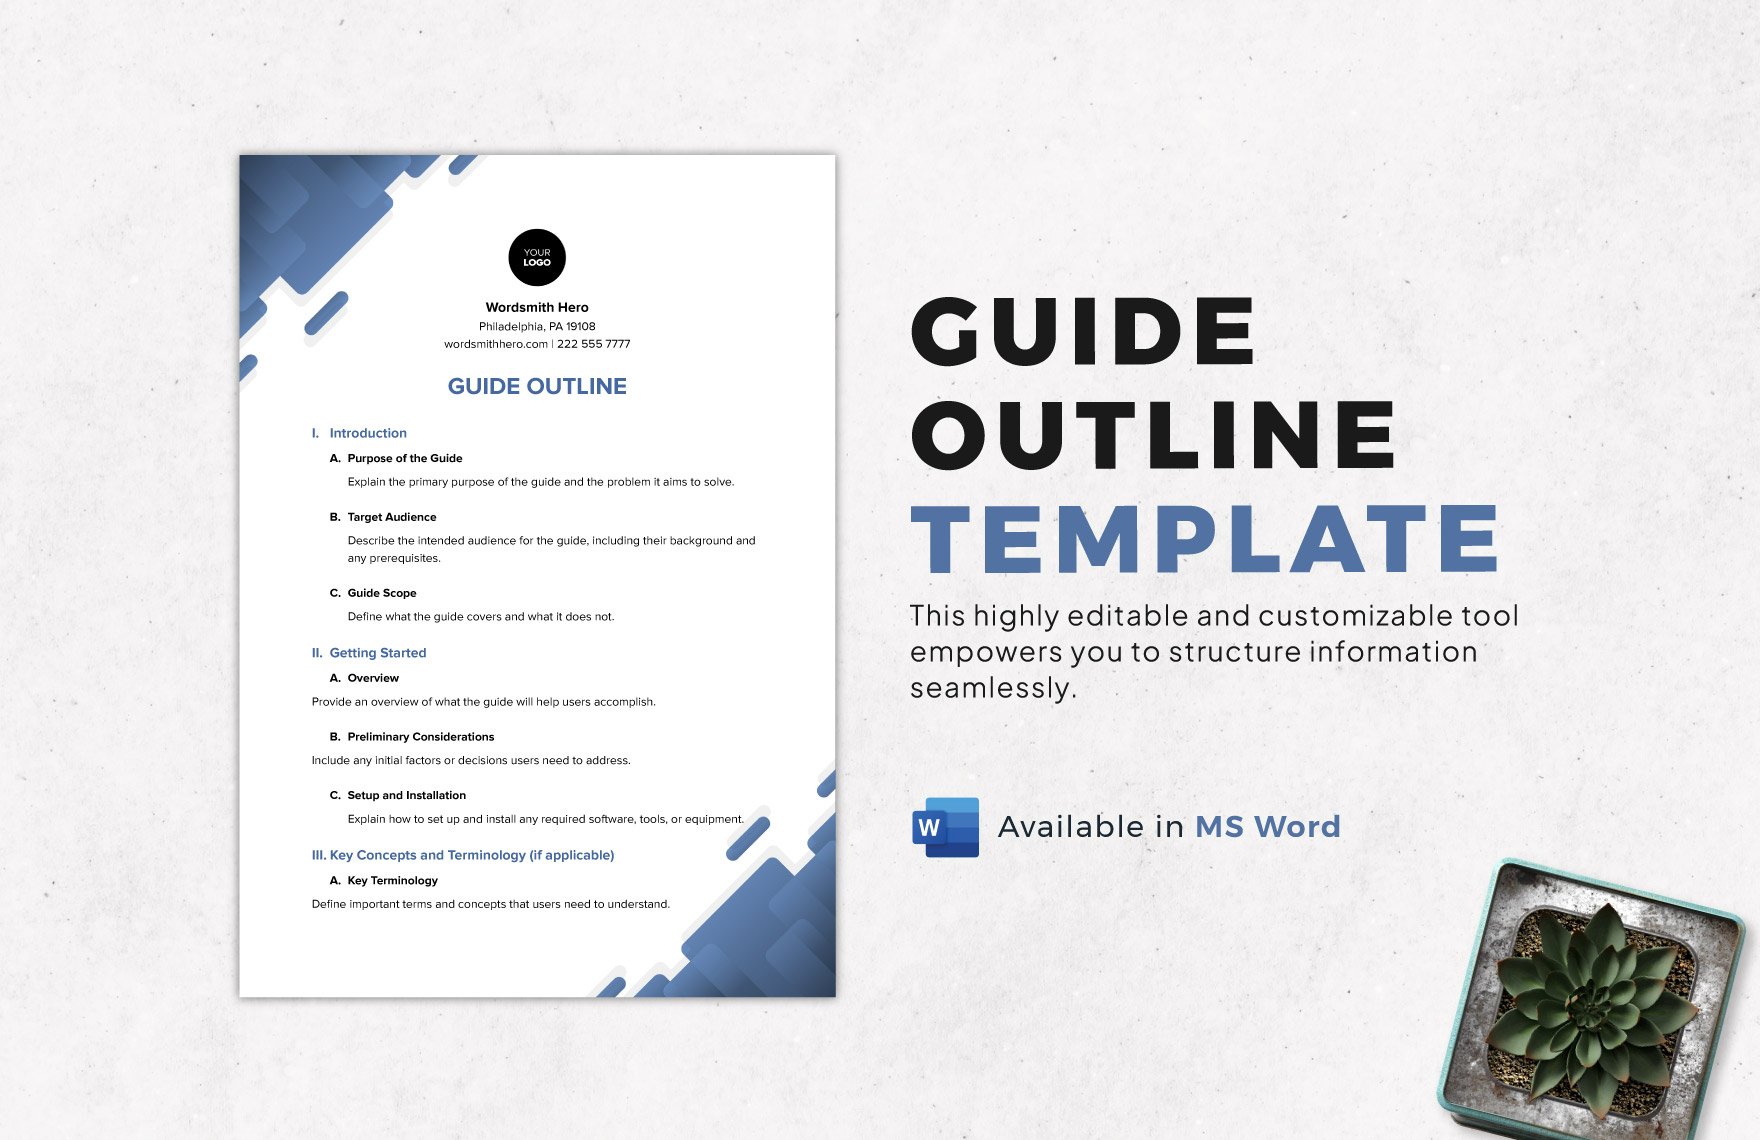
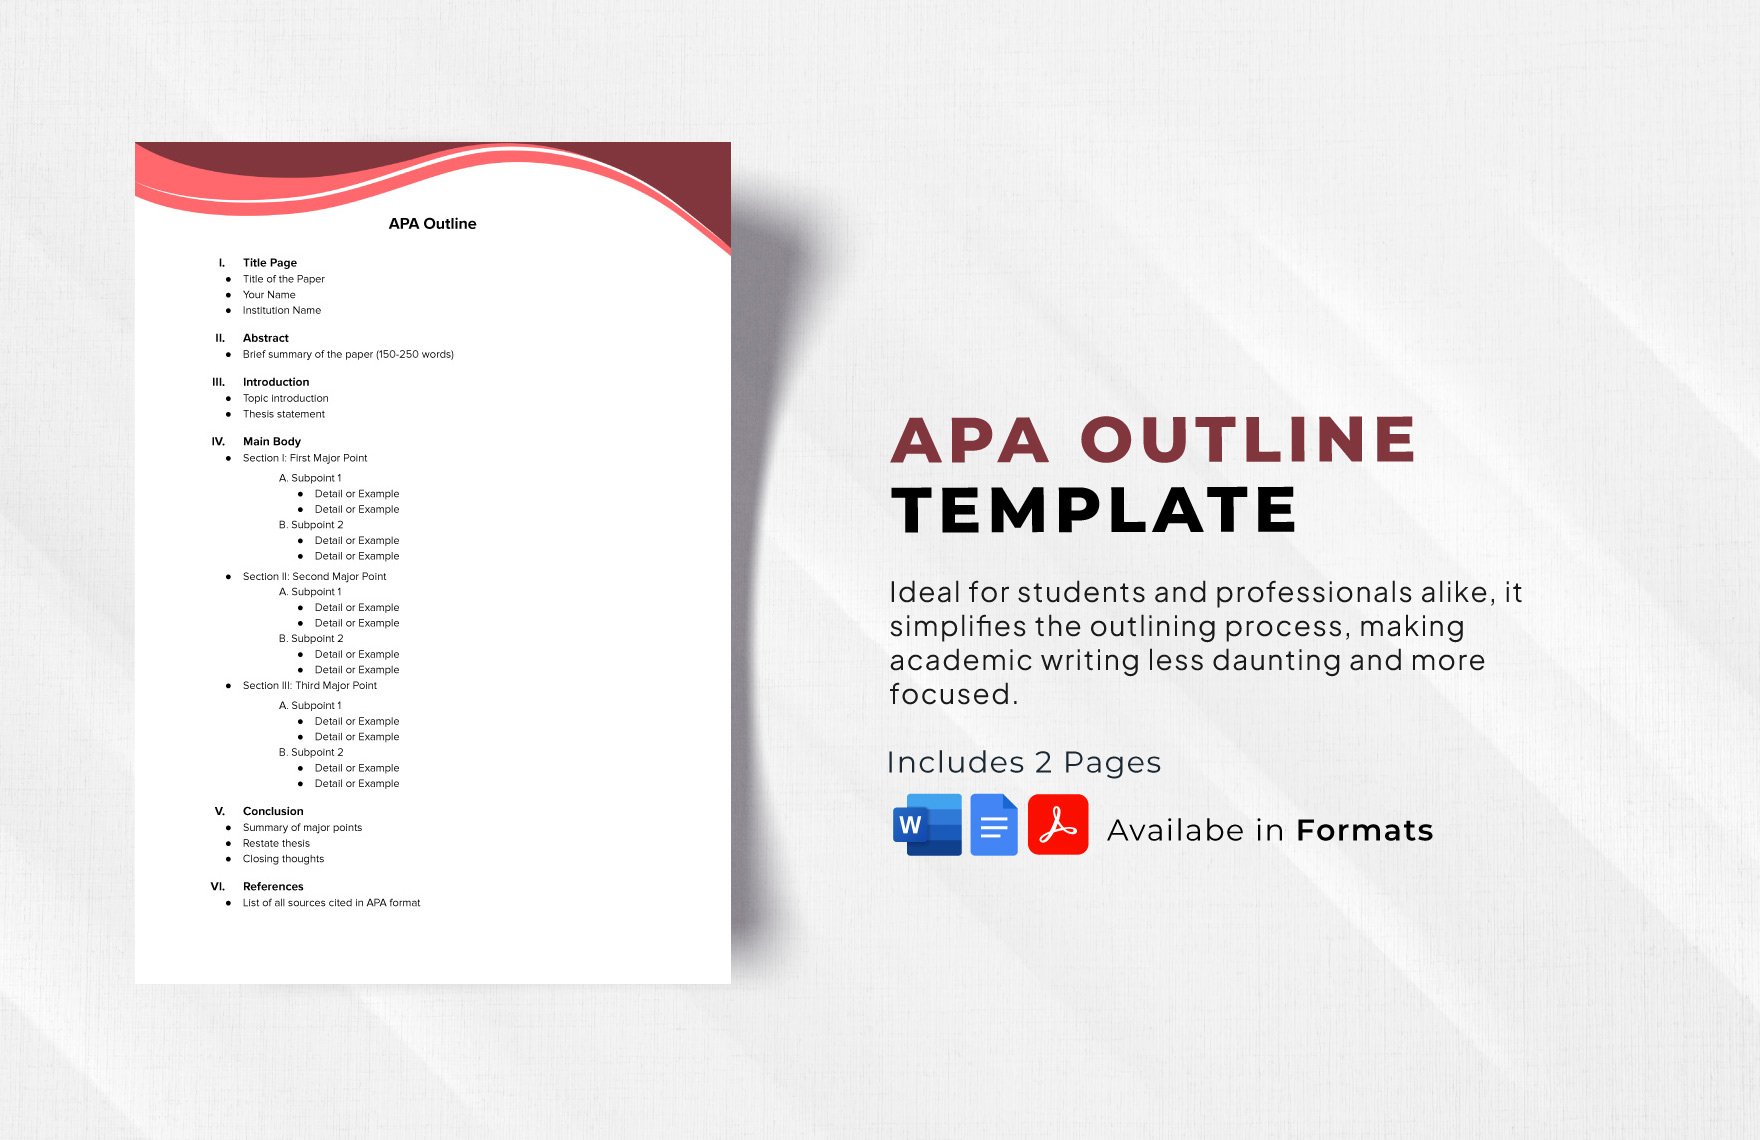
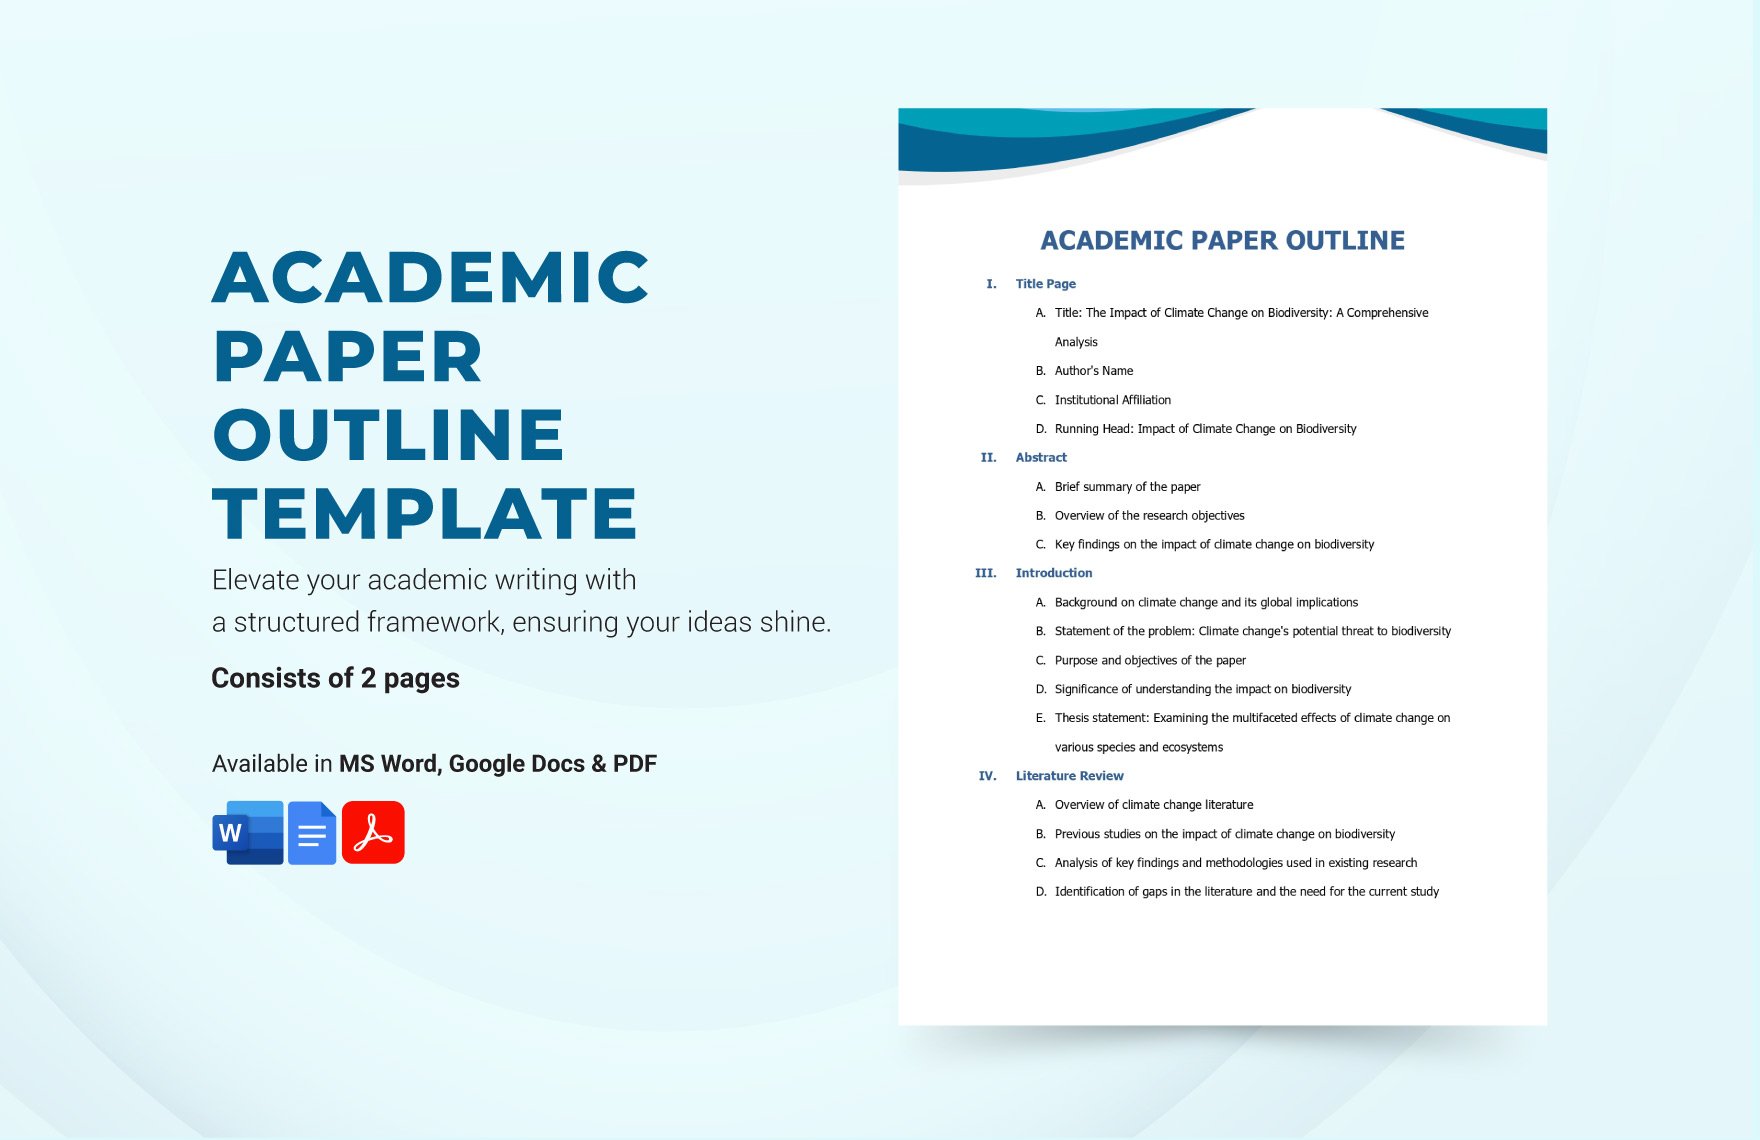
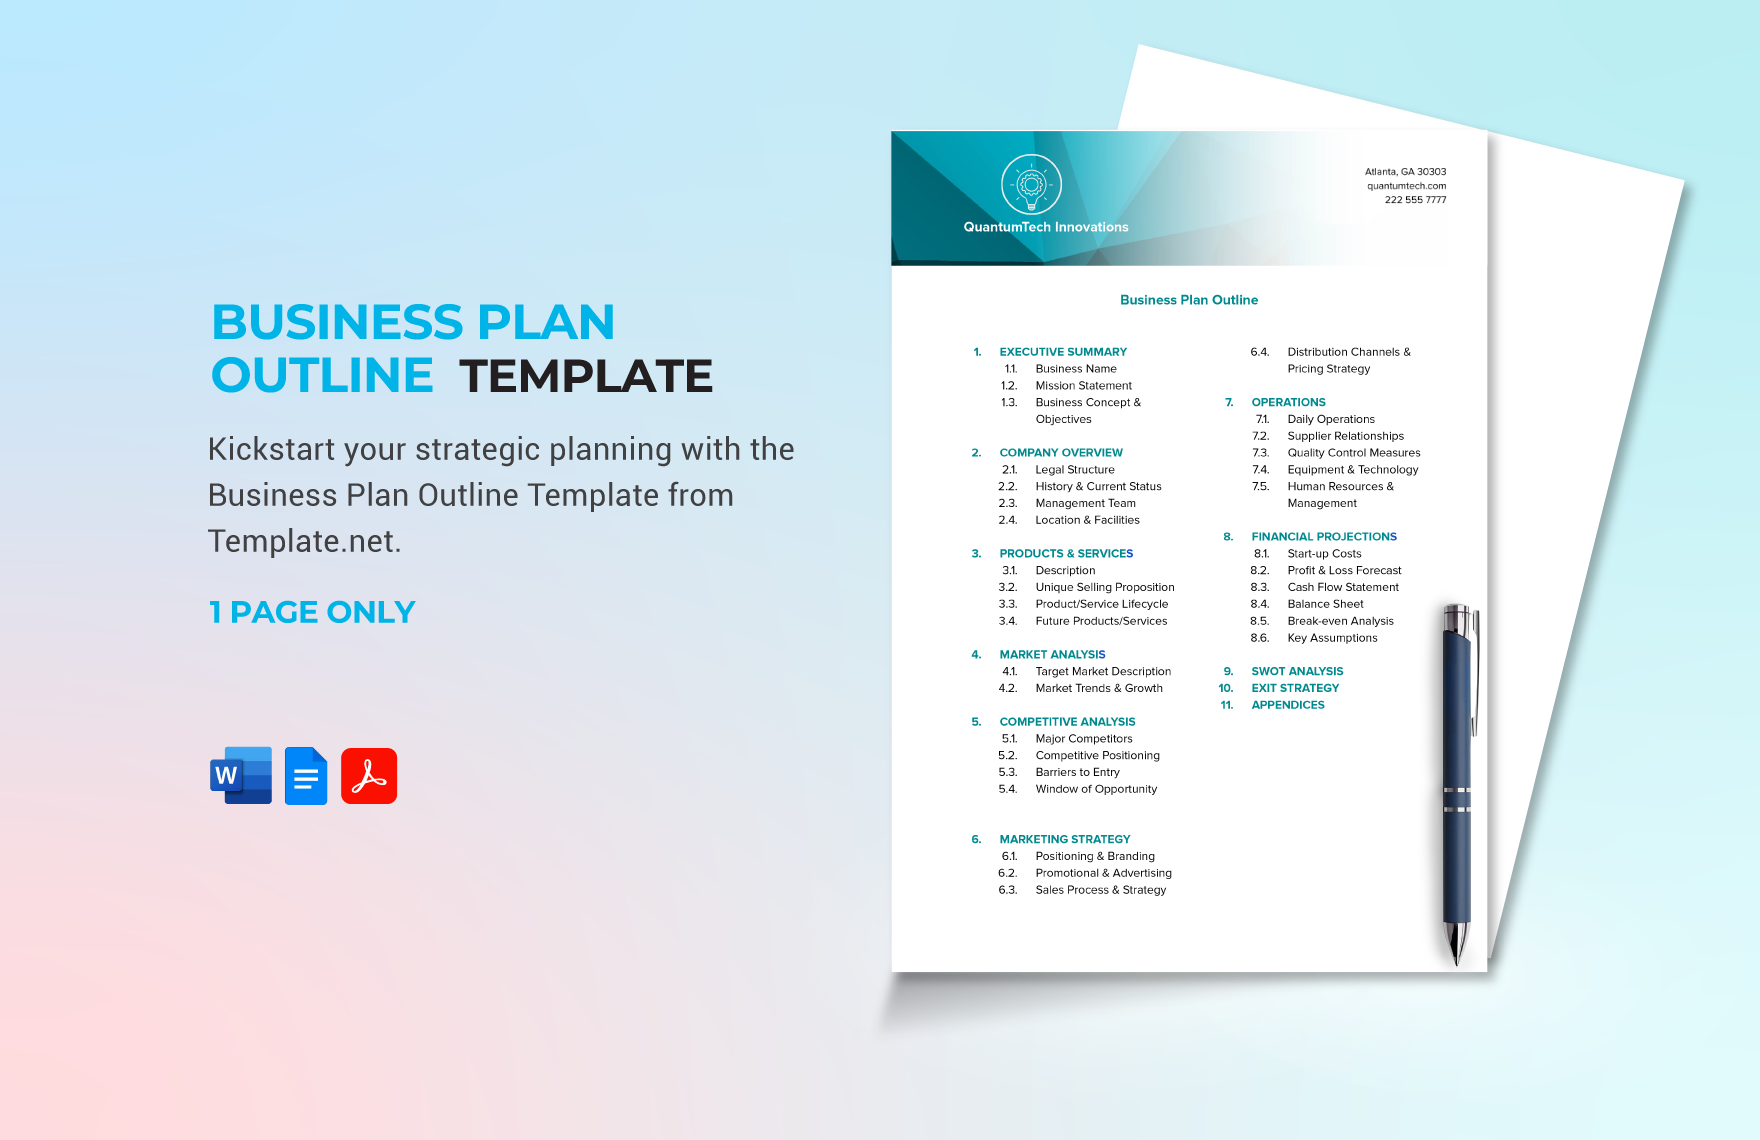
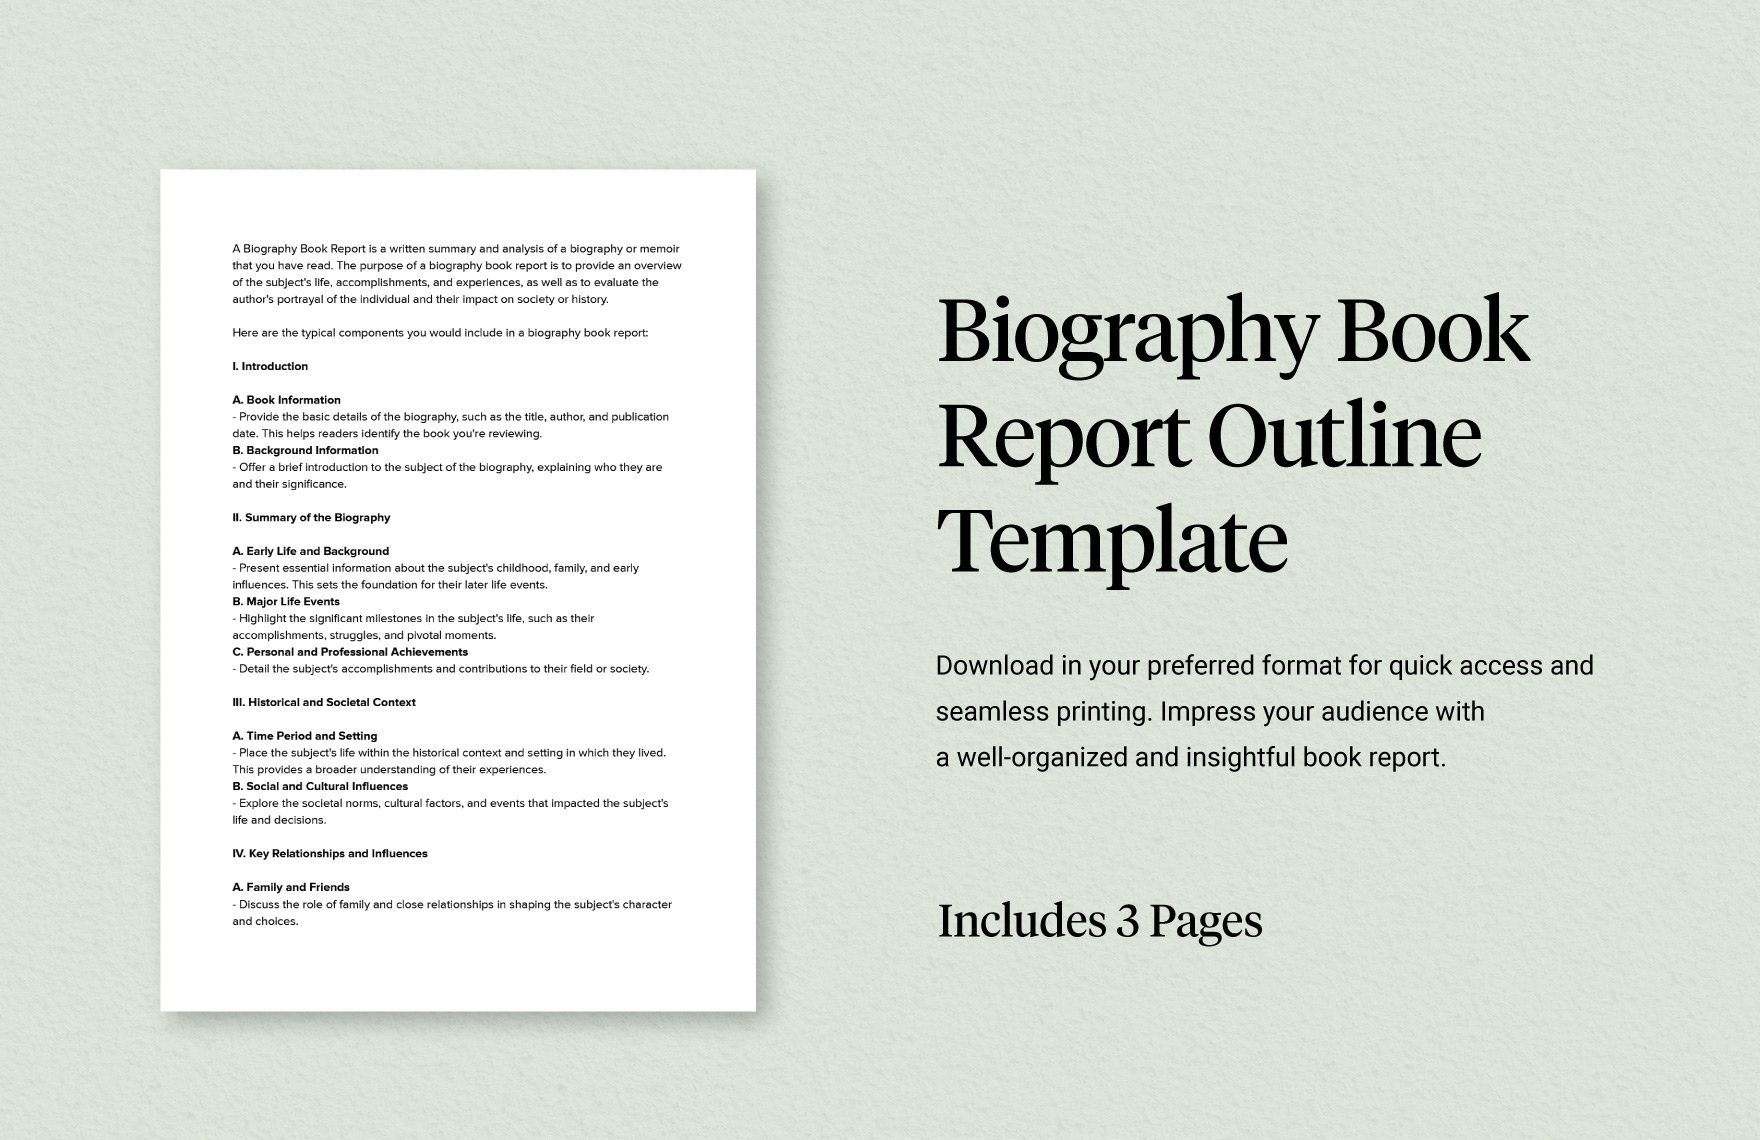
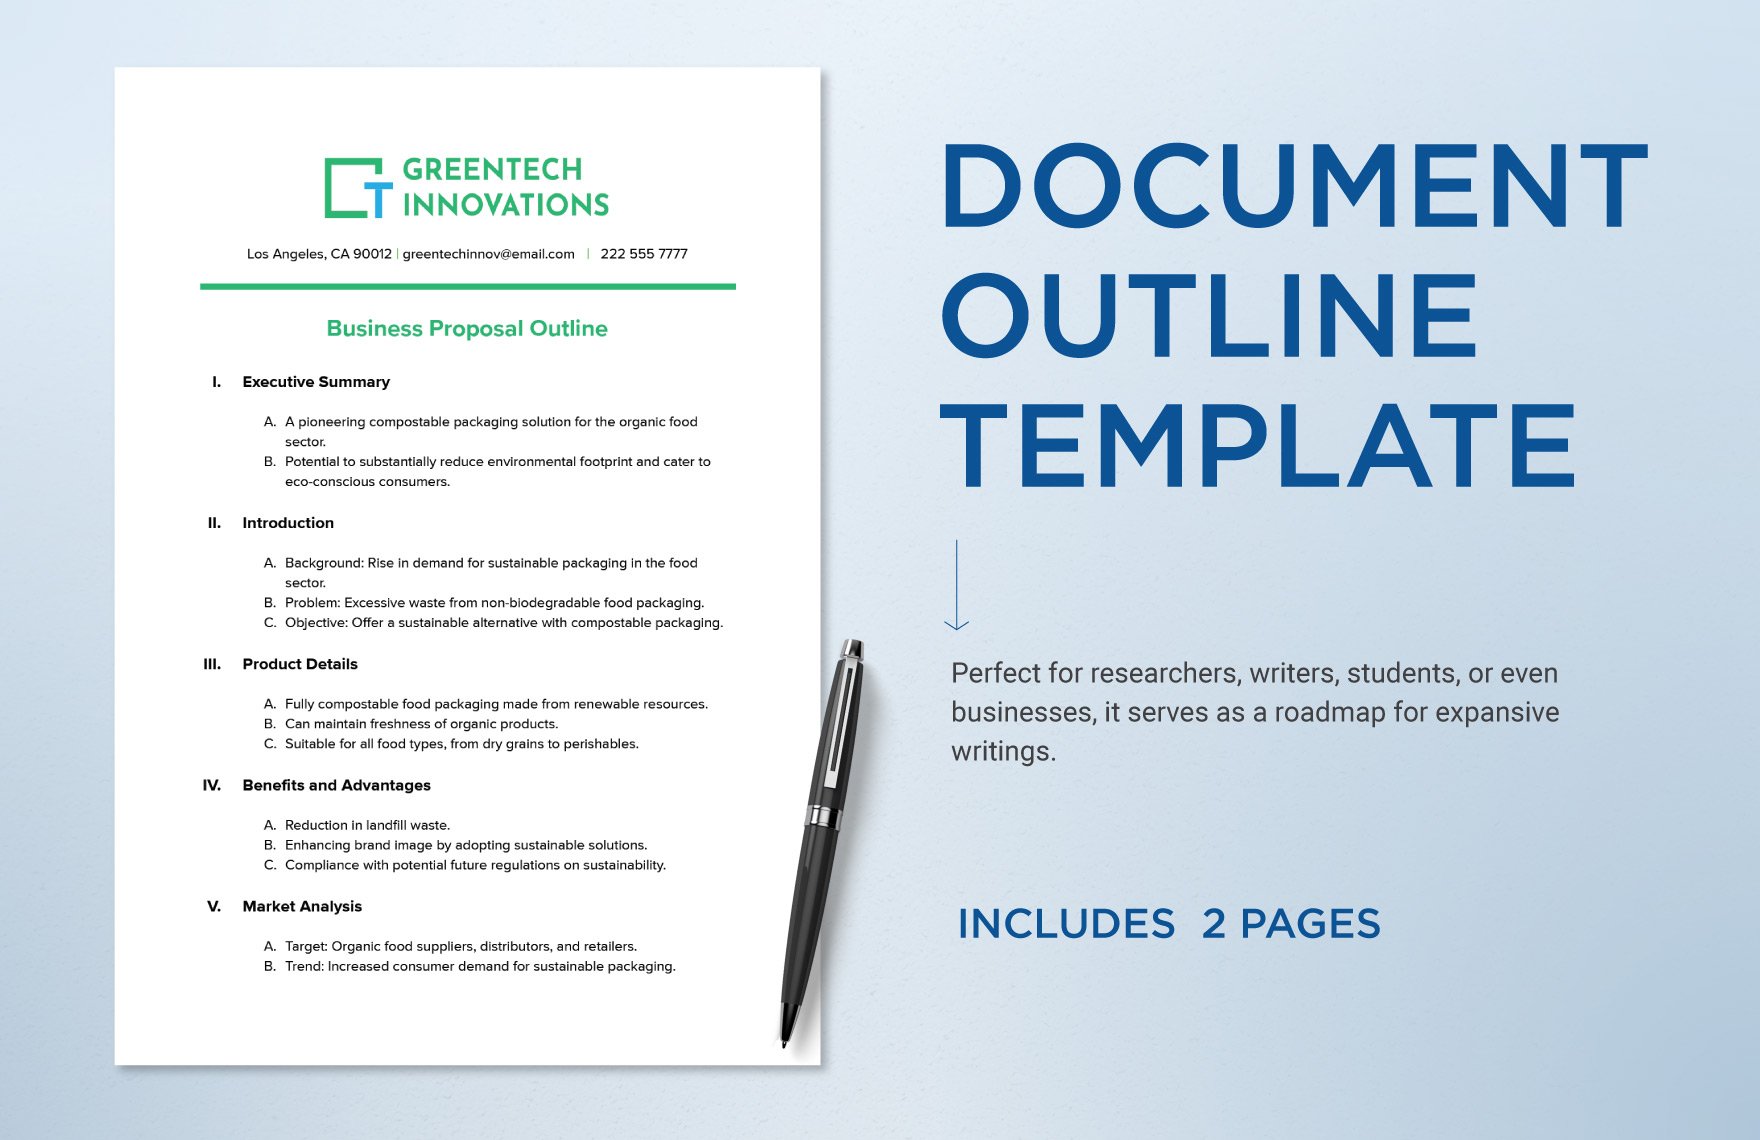
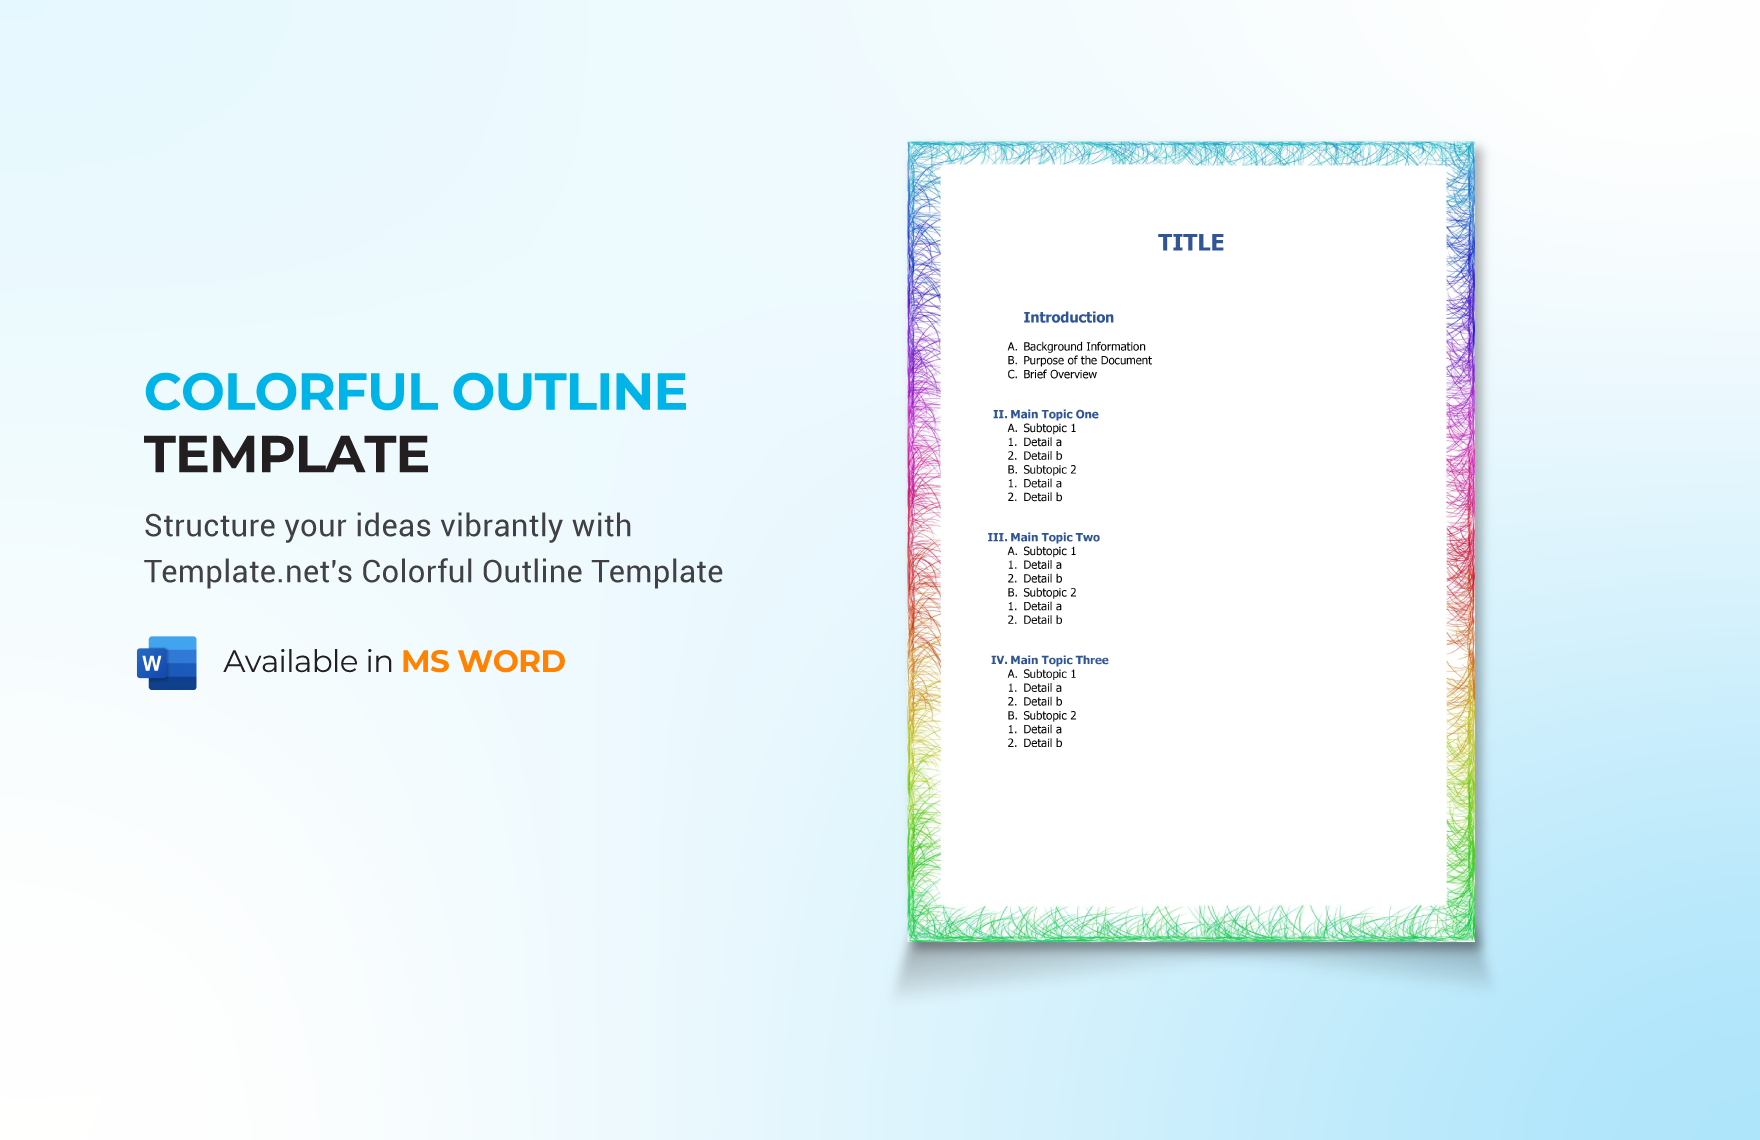
Use an alphanumeric or decimal format when creating an outline. The alphanumeric format follows different styles, such as capitalized letters, roman numerals, and lowercase letters. For decimal format, it uses Arabic numerals. These are essential components in outlining each level of your sample outline from the main to the sub-points. Make sure that you decide if you want longer or shorter sentences. Shorter sentences summarize a list of your ideas, while longer sentences let the readers get full information about the topic.
3. Group Your Ideas
Always review your topic. Remove unnecessary points that are irrelevant to your topic. Make sure that every idea goes on the right group of related points. Put the introduction of your topic as the main idea, following the statements that grab the audience’s attention. Group them properly using alphanumeric or decimal outline format. Often, a speech presentation needs 2 to 3 main points. But if you’re creating a creative project, you’ll have to jot down more than 3 key points. Don’t forget to jot down supporting ideas for every subpoint.
4. Keep It Simple
Always make sure to create a comprehensive and simple outline. Avoid putting fancy designs as this will only confuse the readers. Take note, use a black color for your text. Add hints of red or blue text color for the main points. Outline examples follow the same rule with formal documents in using the right typeface. Use Garamond, Times New Roman, Arial, or Bookman Old Style. These help your readers to understand what they are reading.
5. Finalize and Print
Review your outline from the top. Make sure to check if there are missing points. Don’t forget to check for typographical and grammatical errors. One way in making sure if your outline is informative enough is to see if you’ve reached your objective. If the information is all over the place, revise it. Once done, save your formal document and print it.


