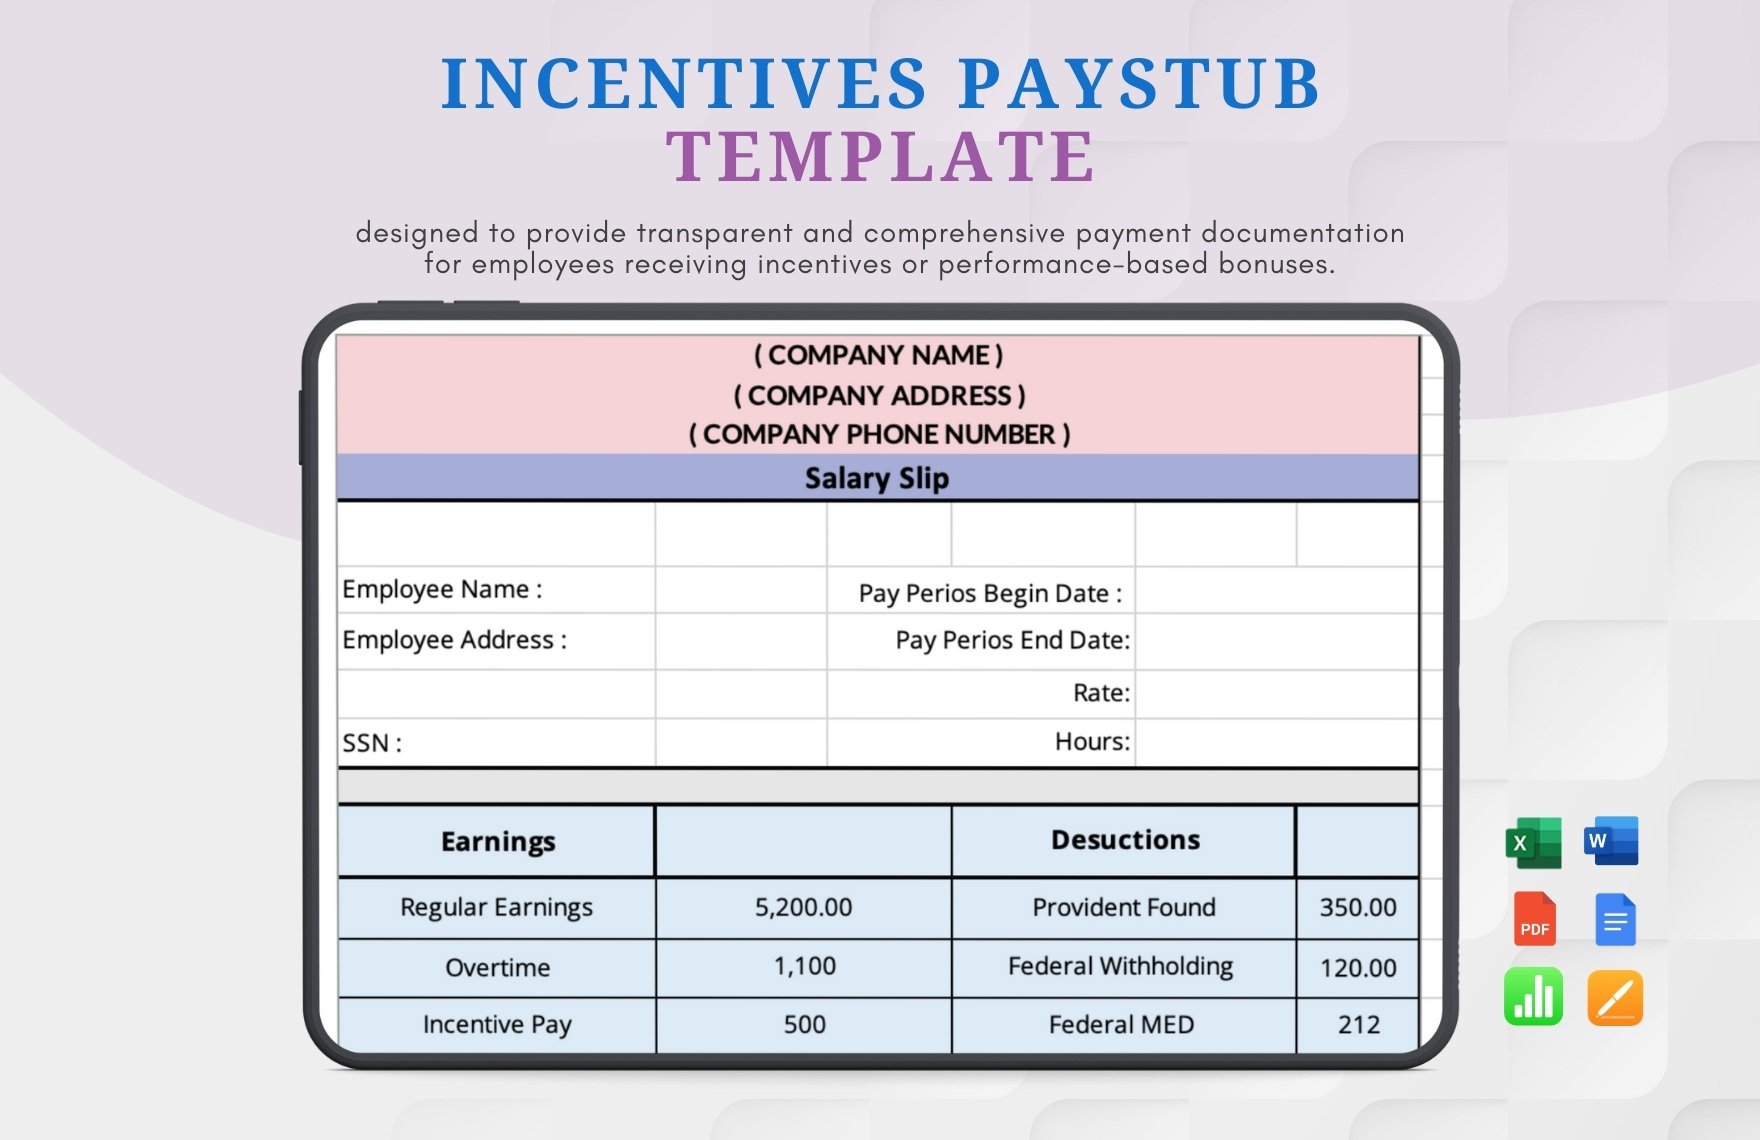
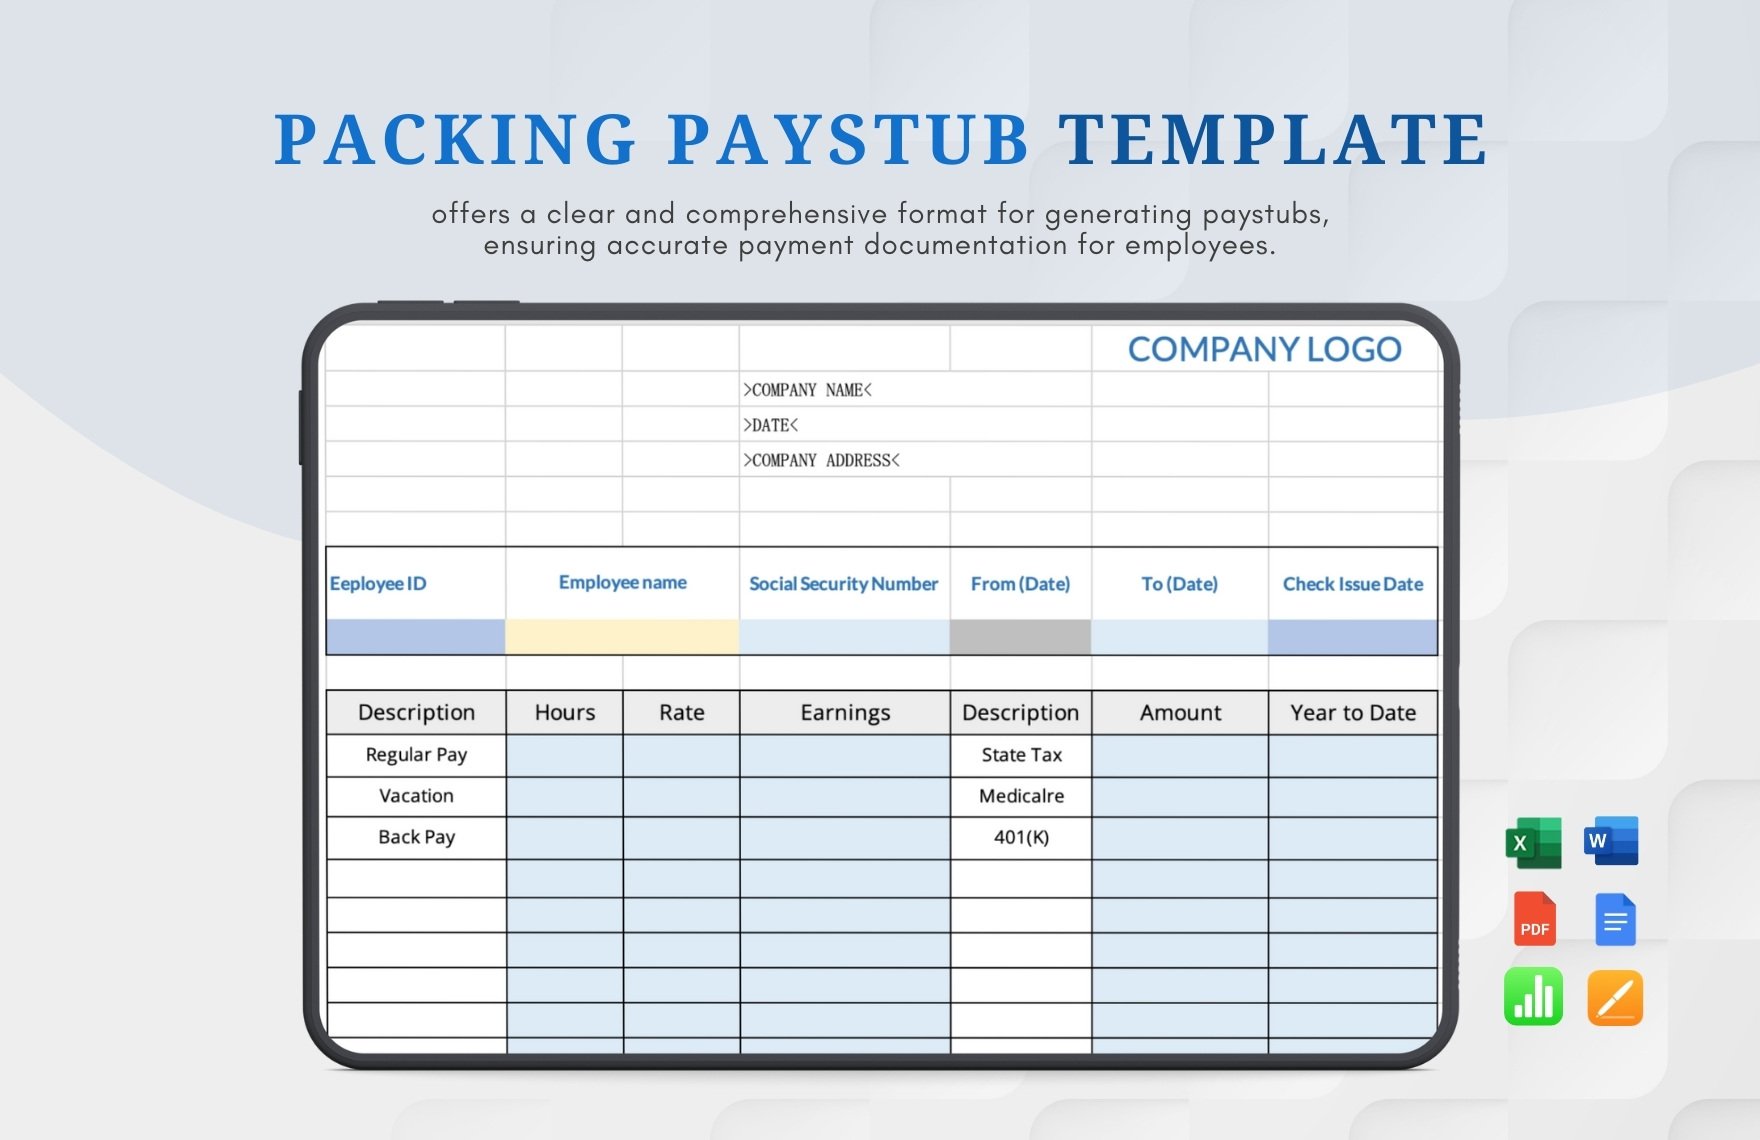
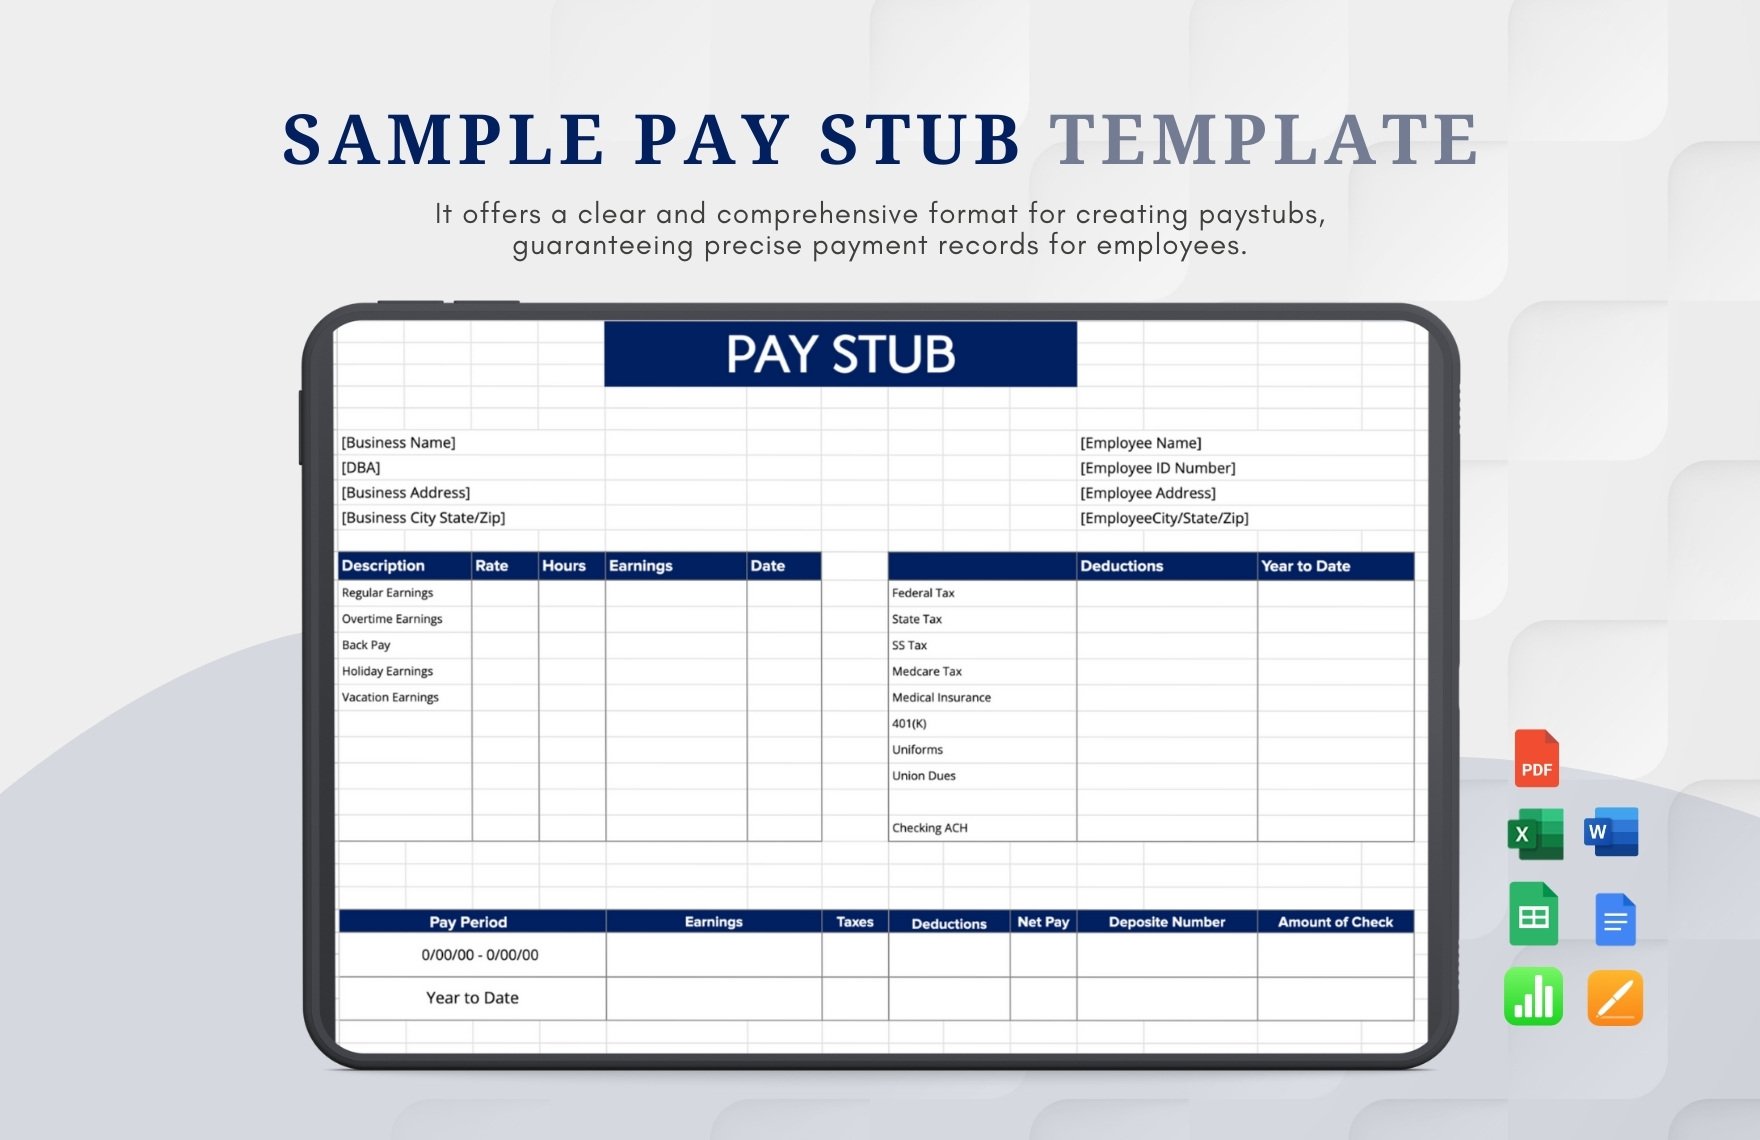
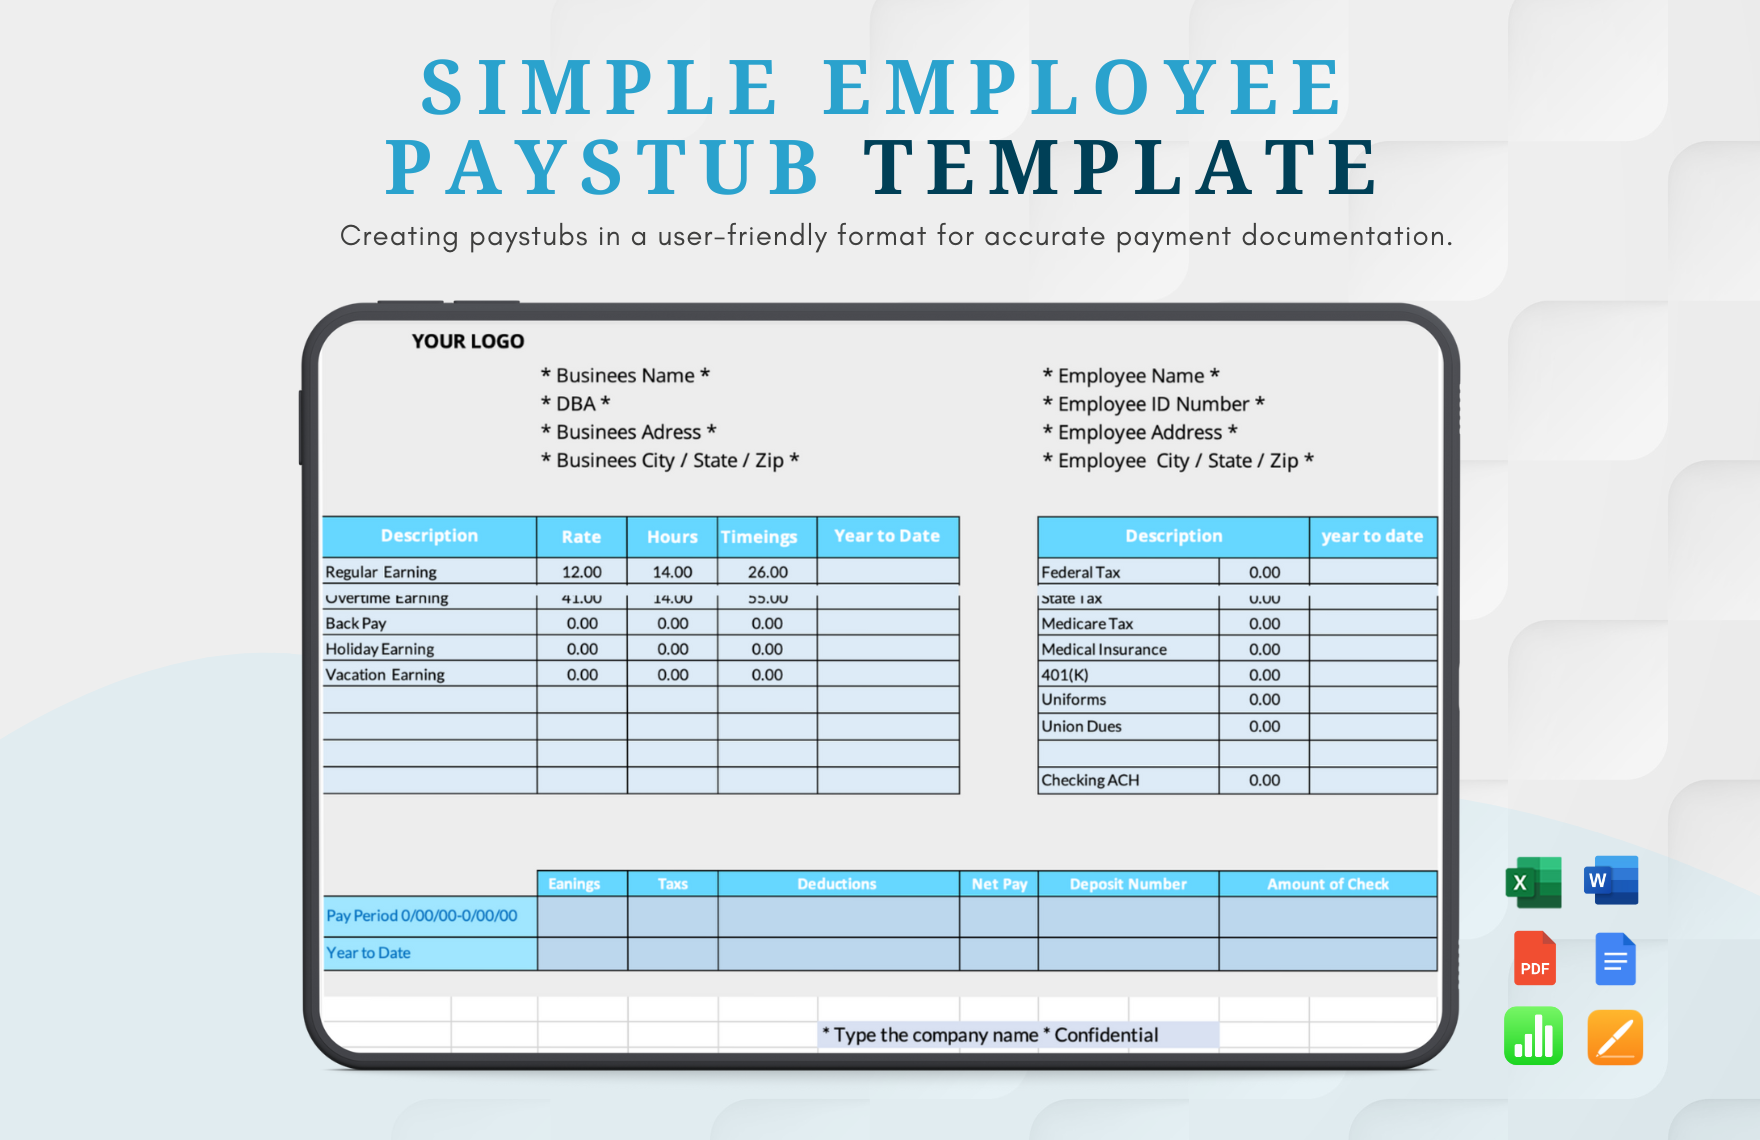
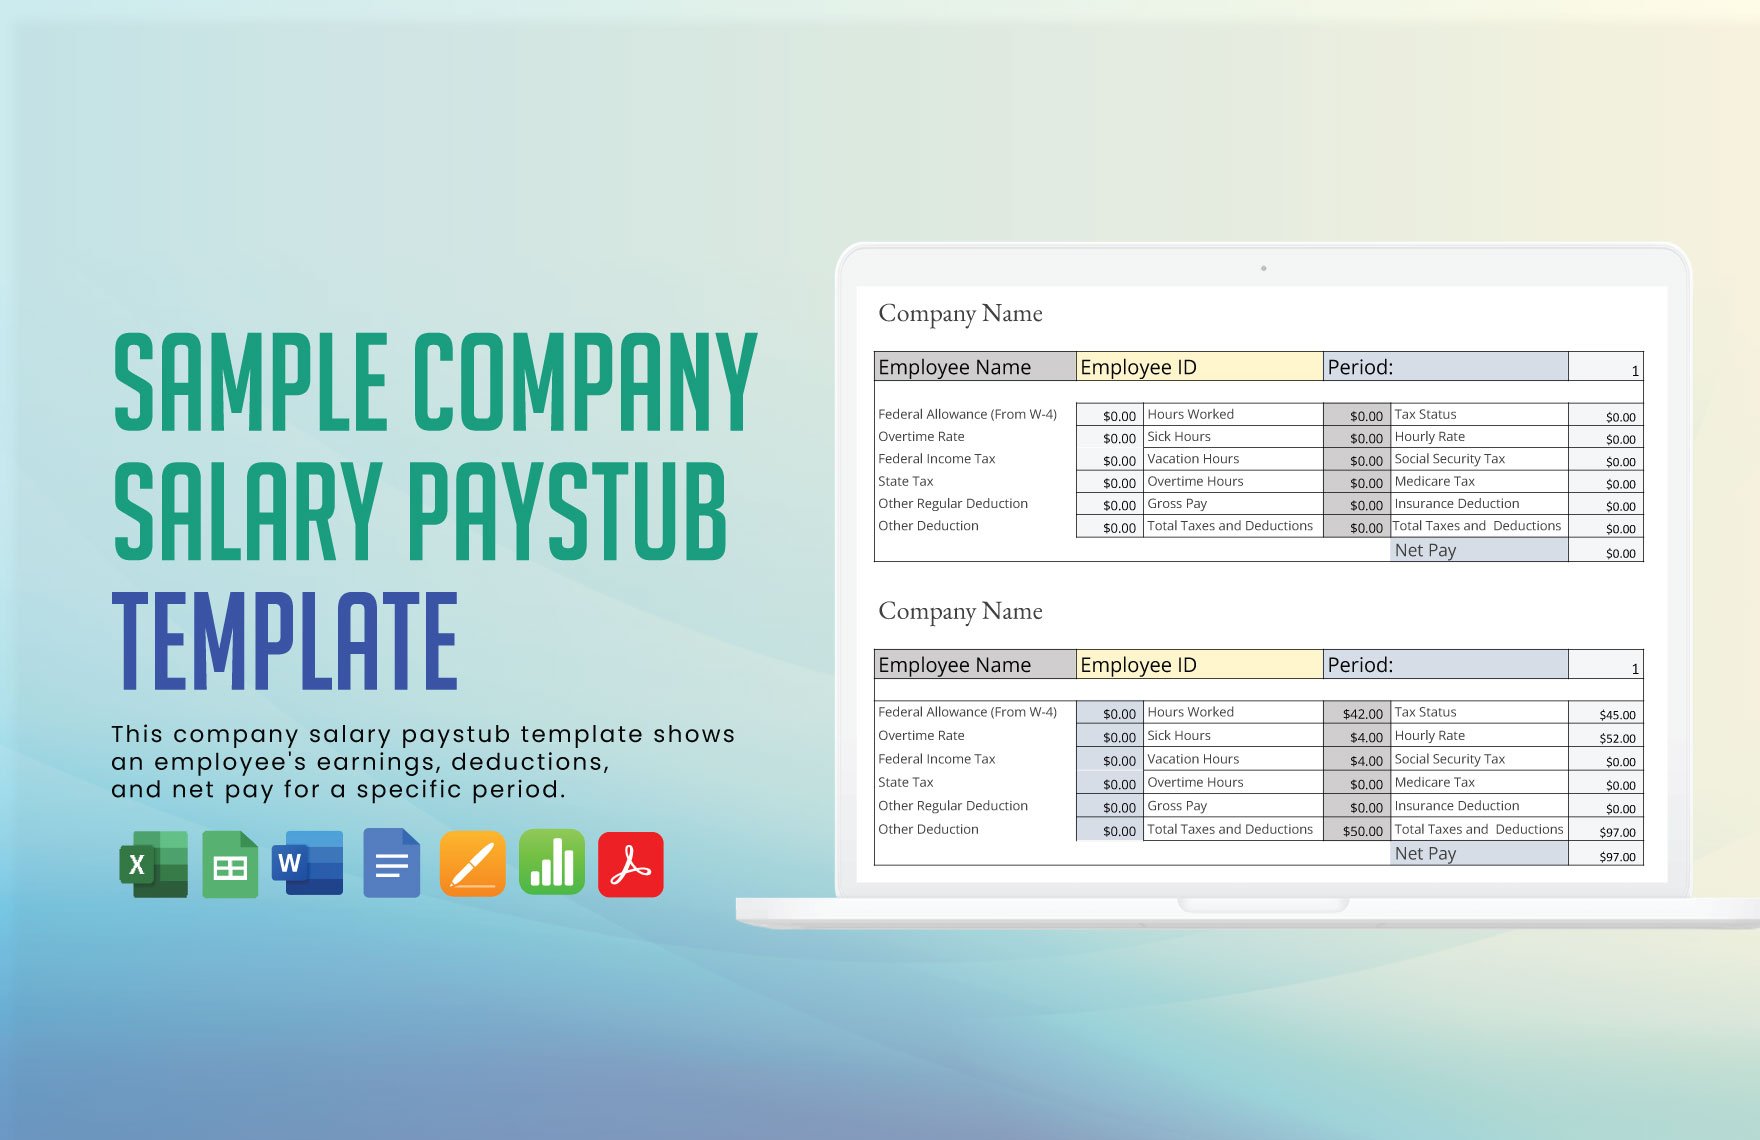
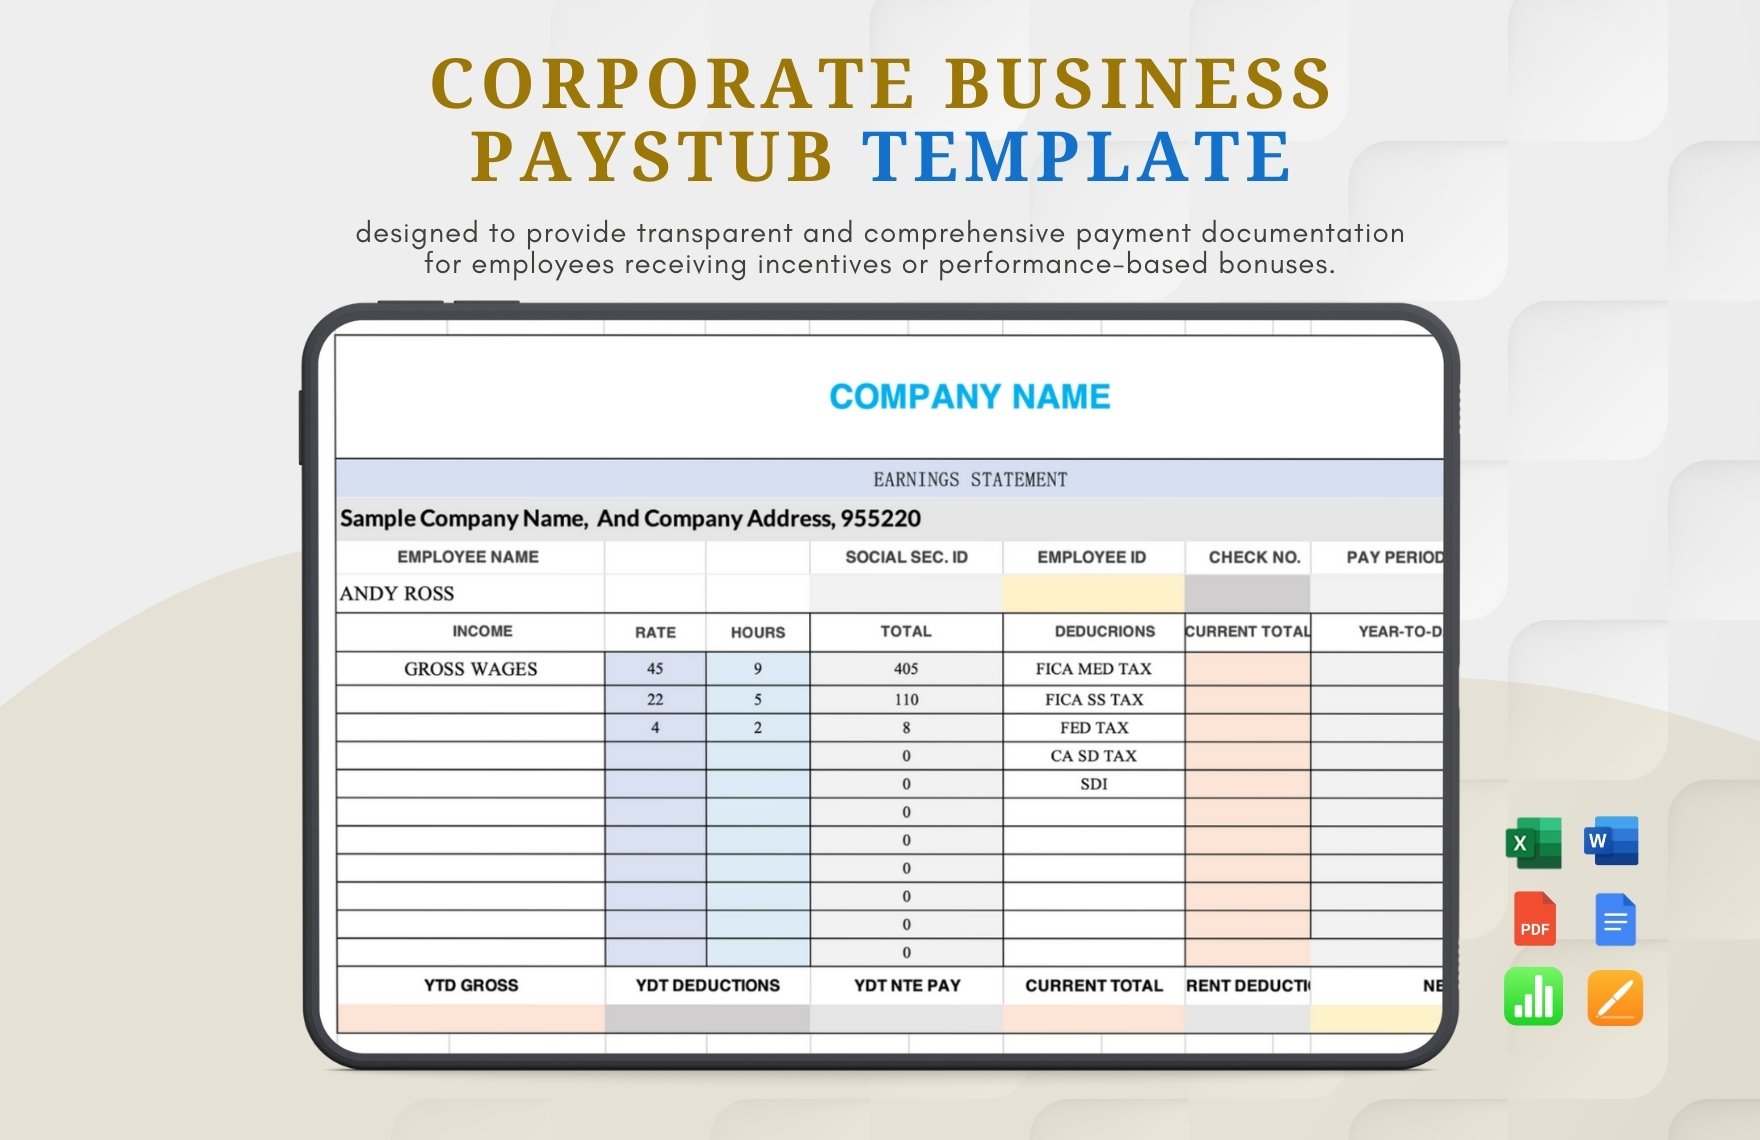
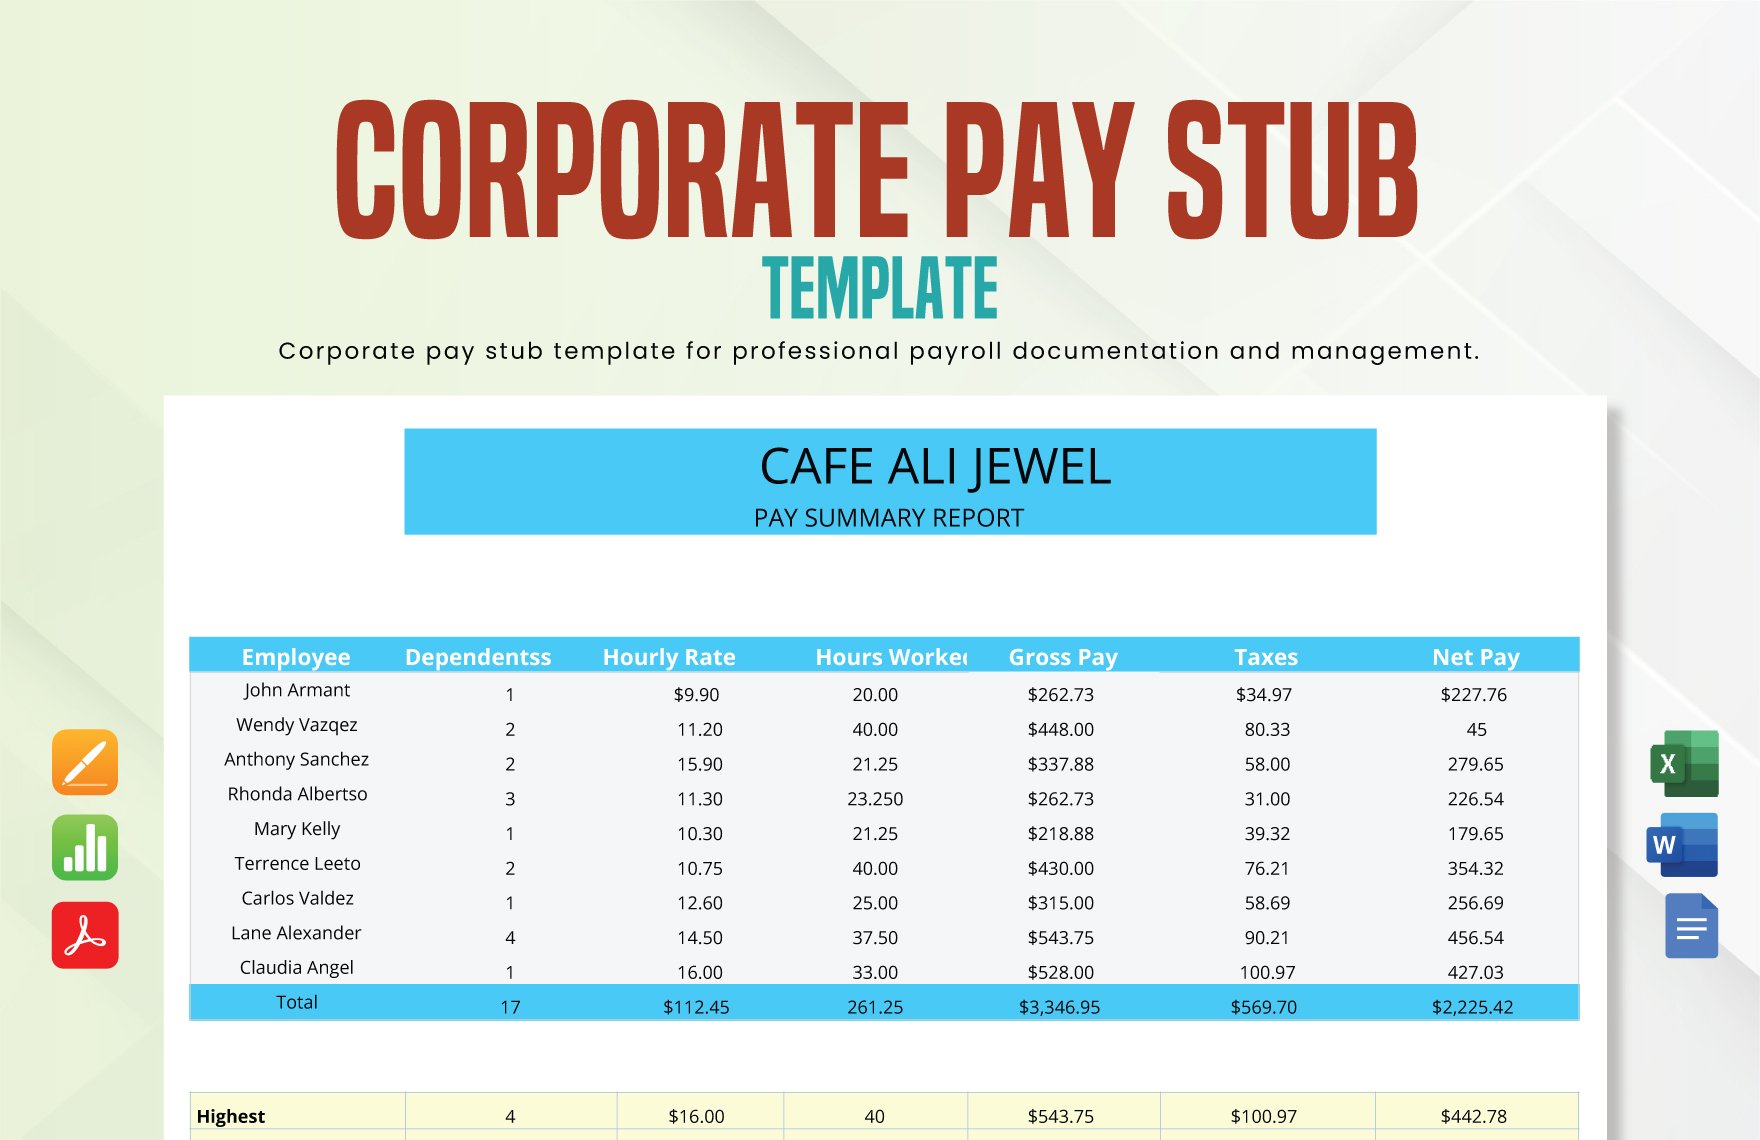
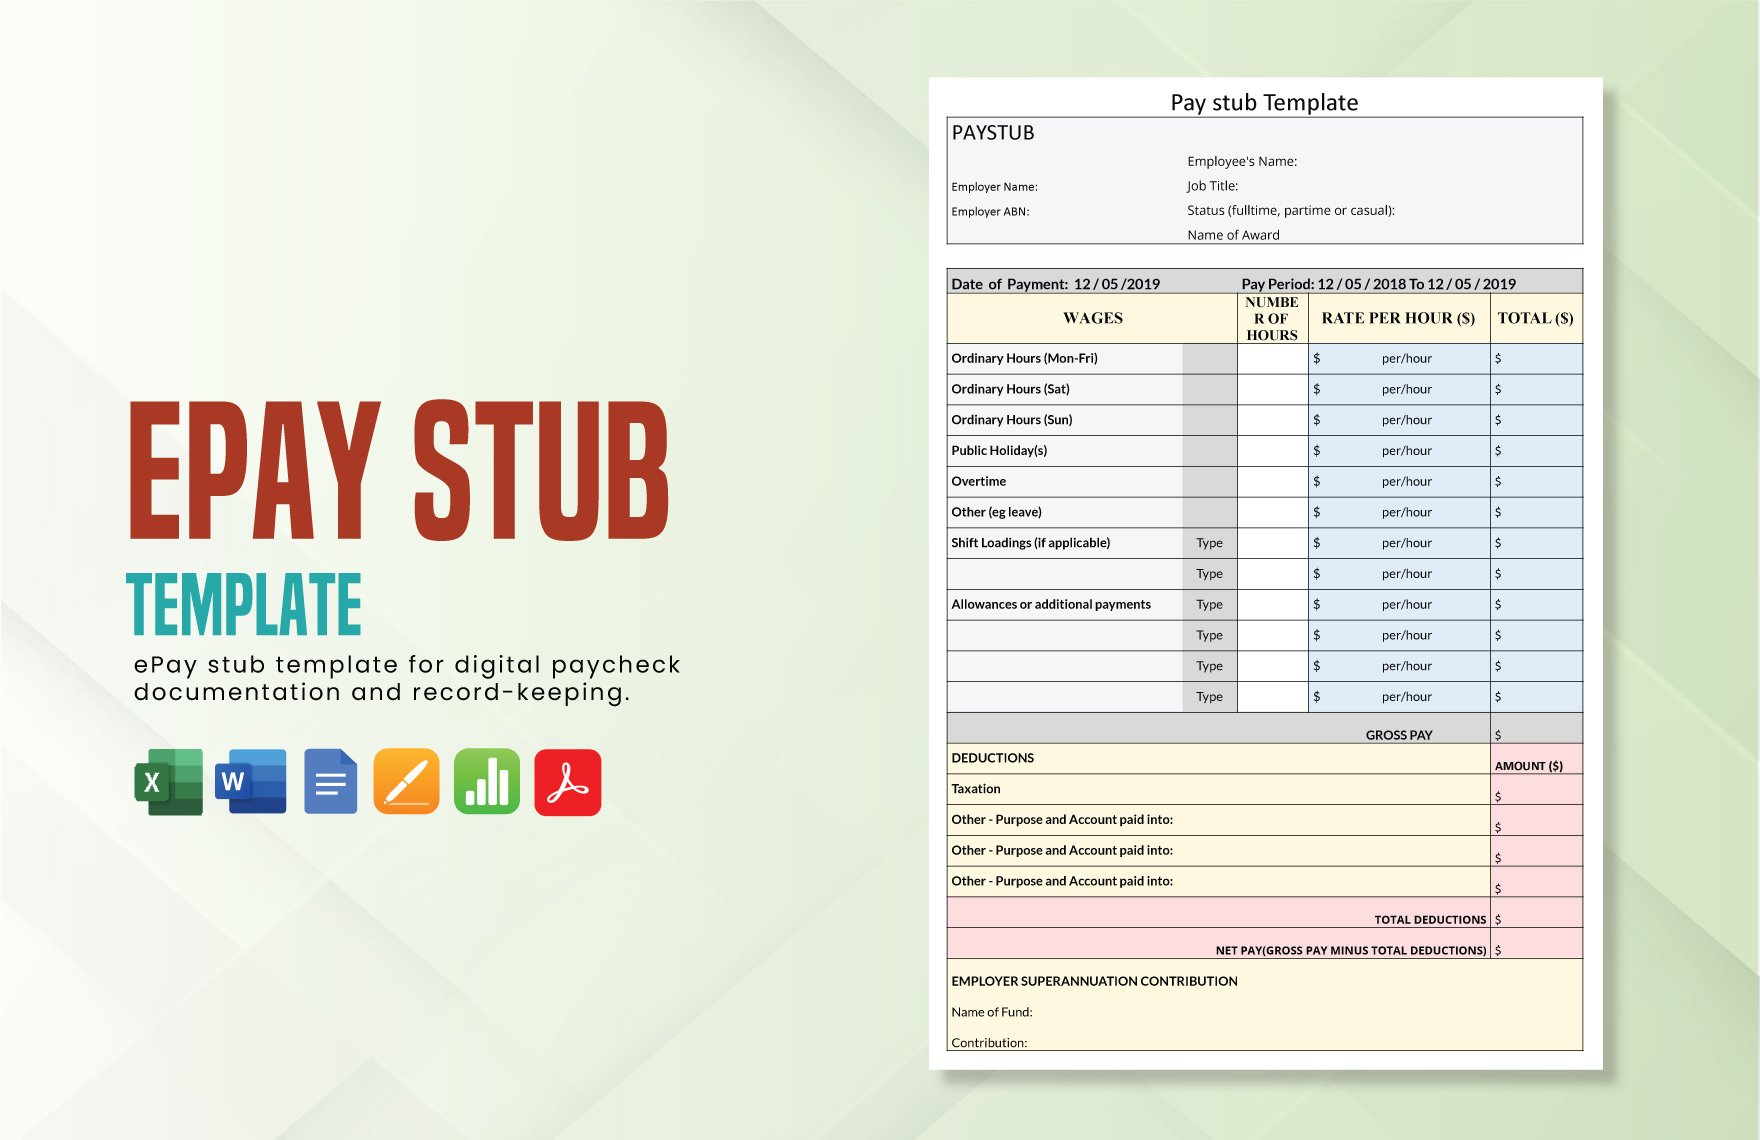
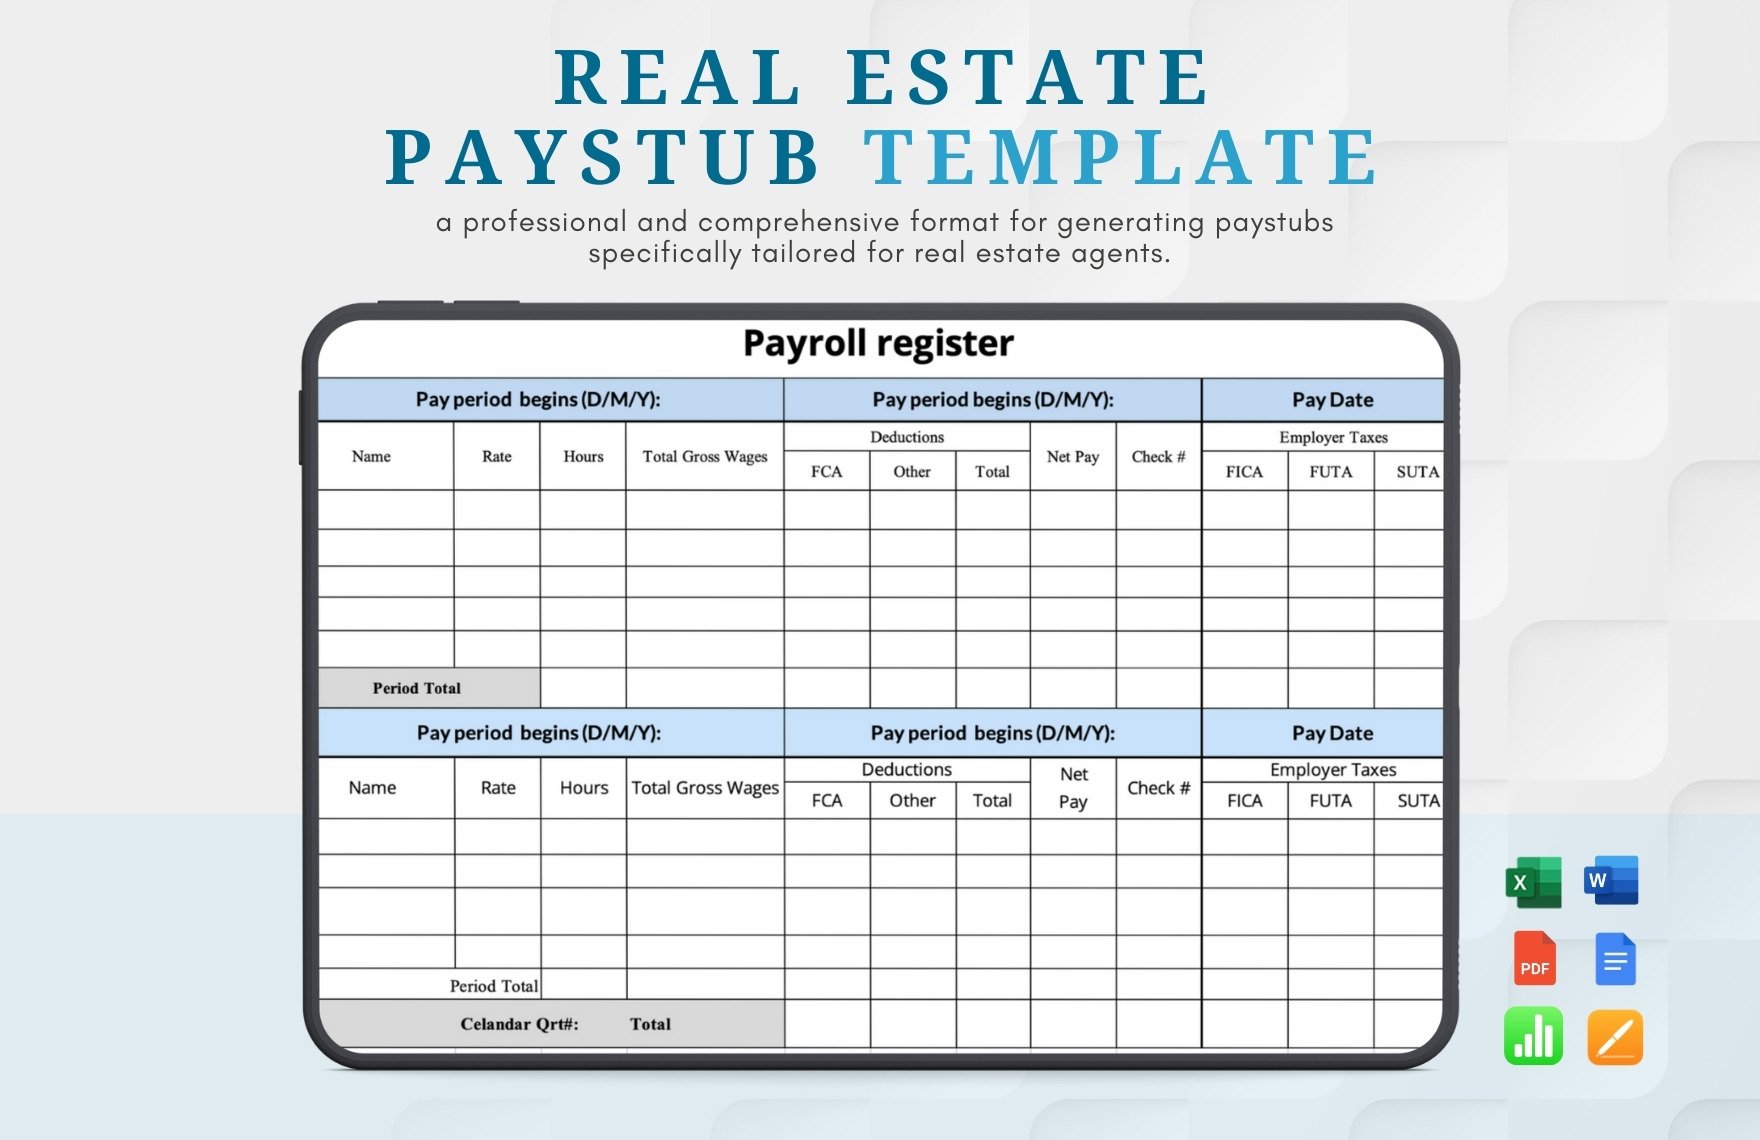
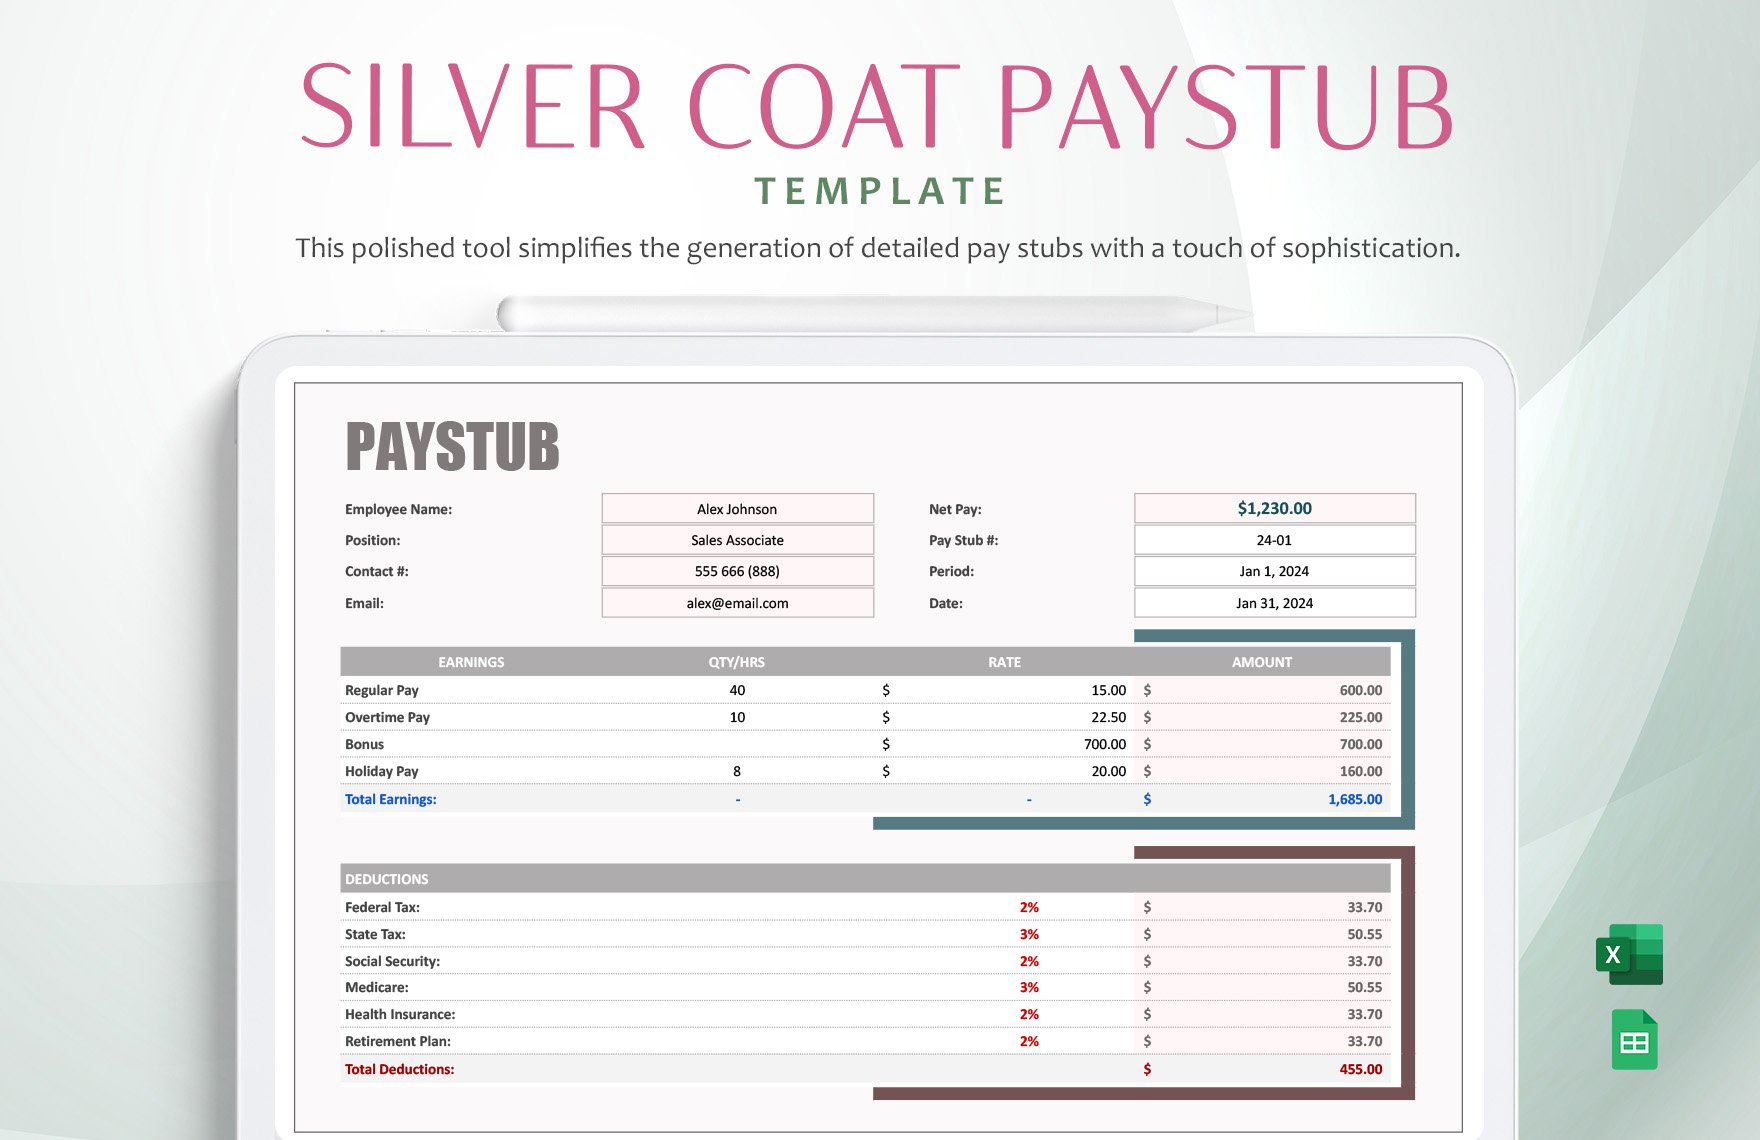
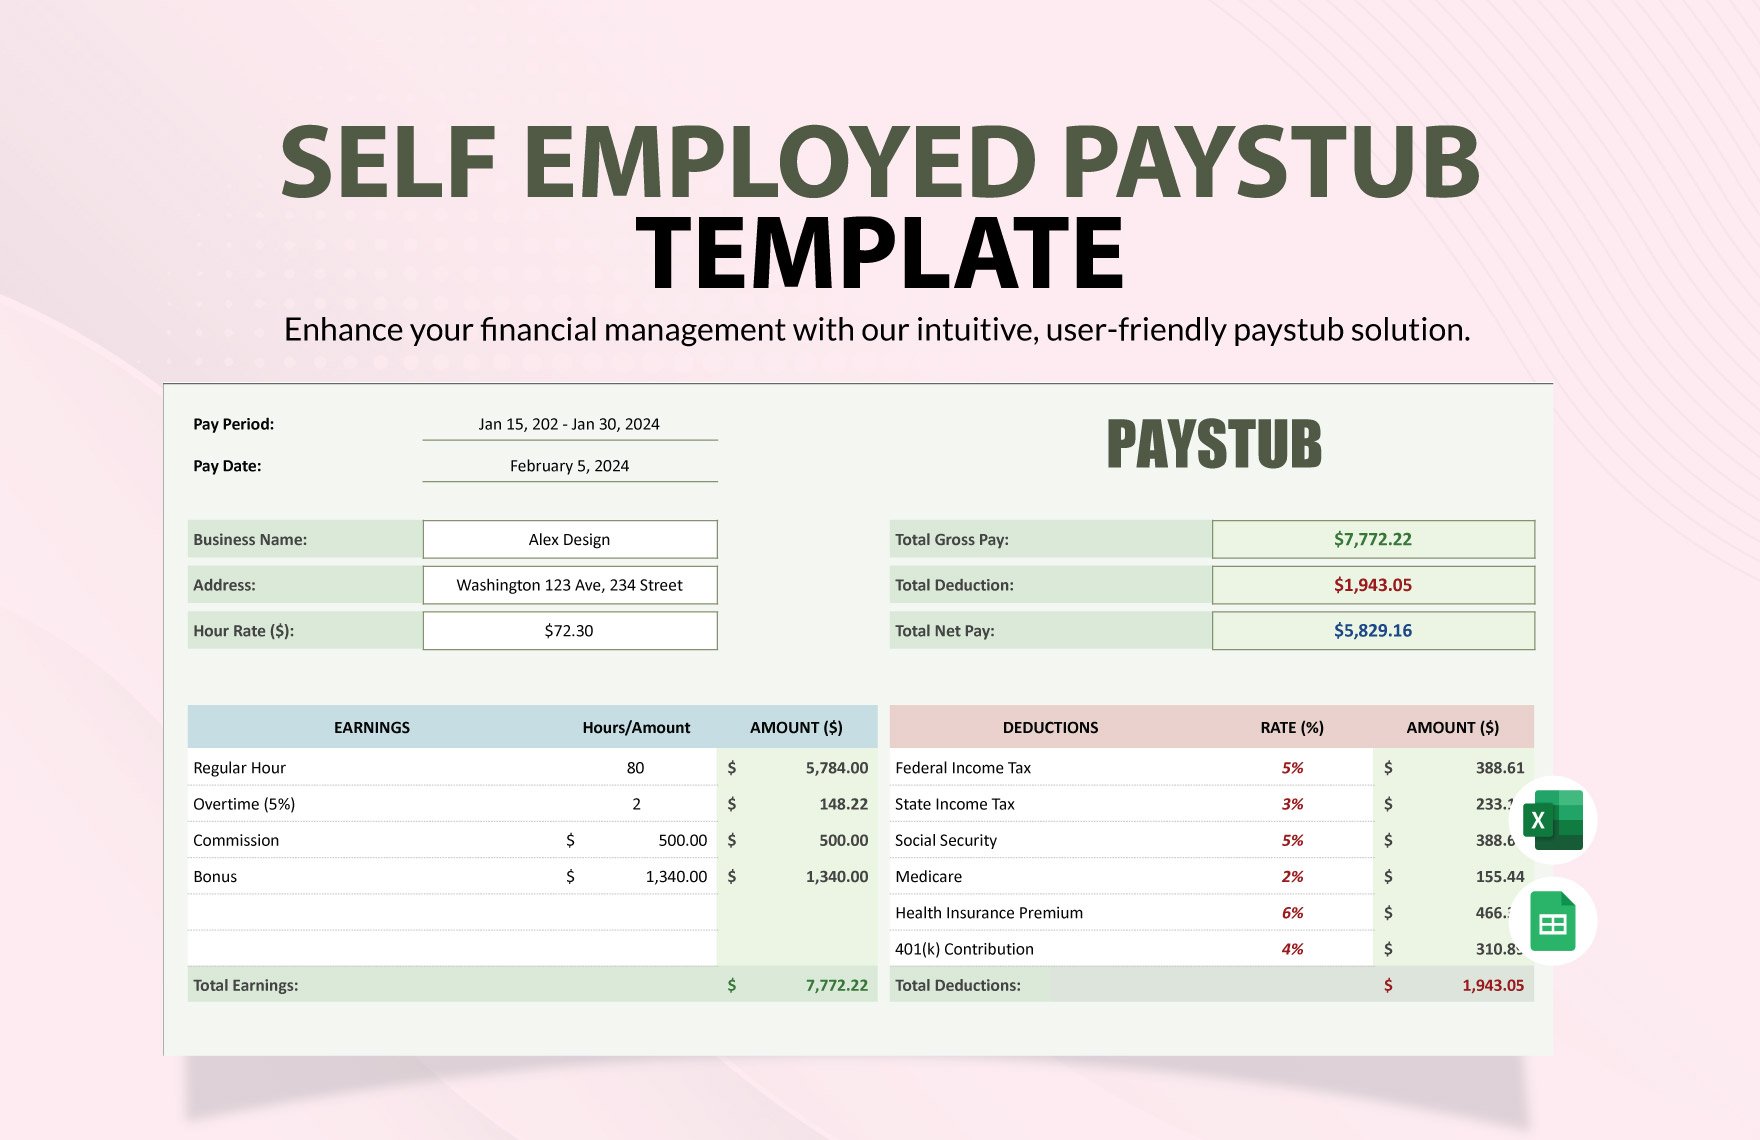
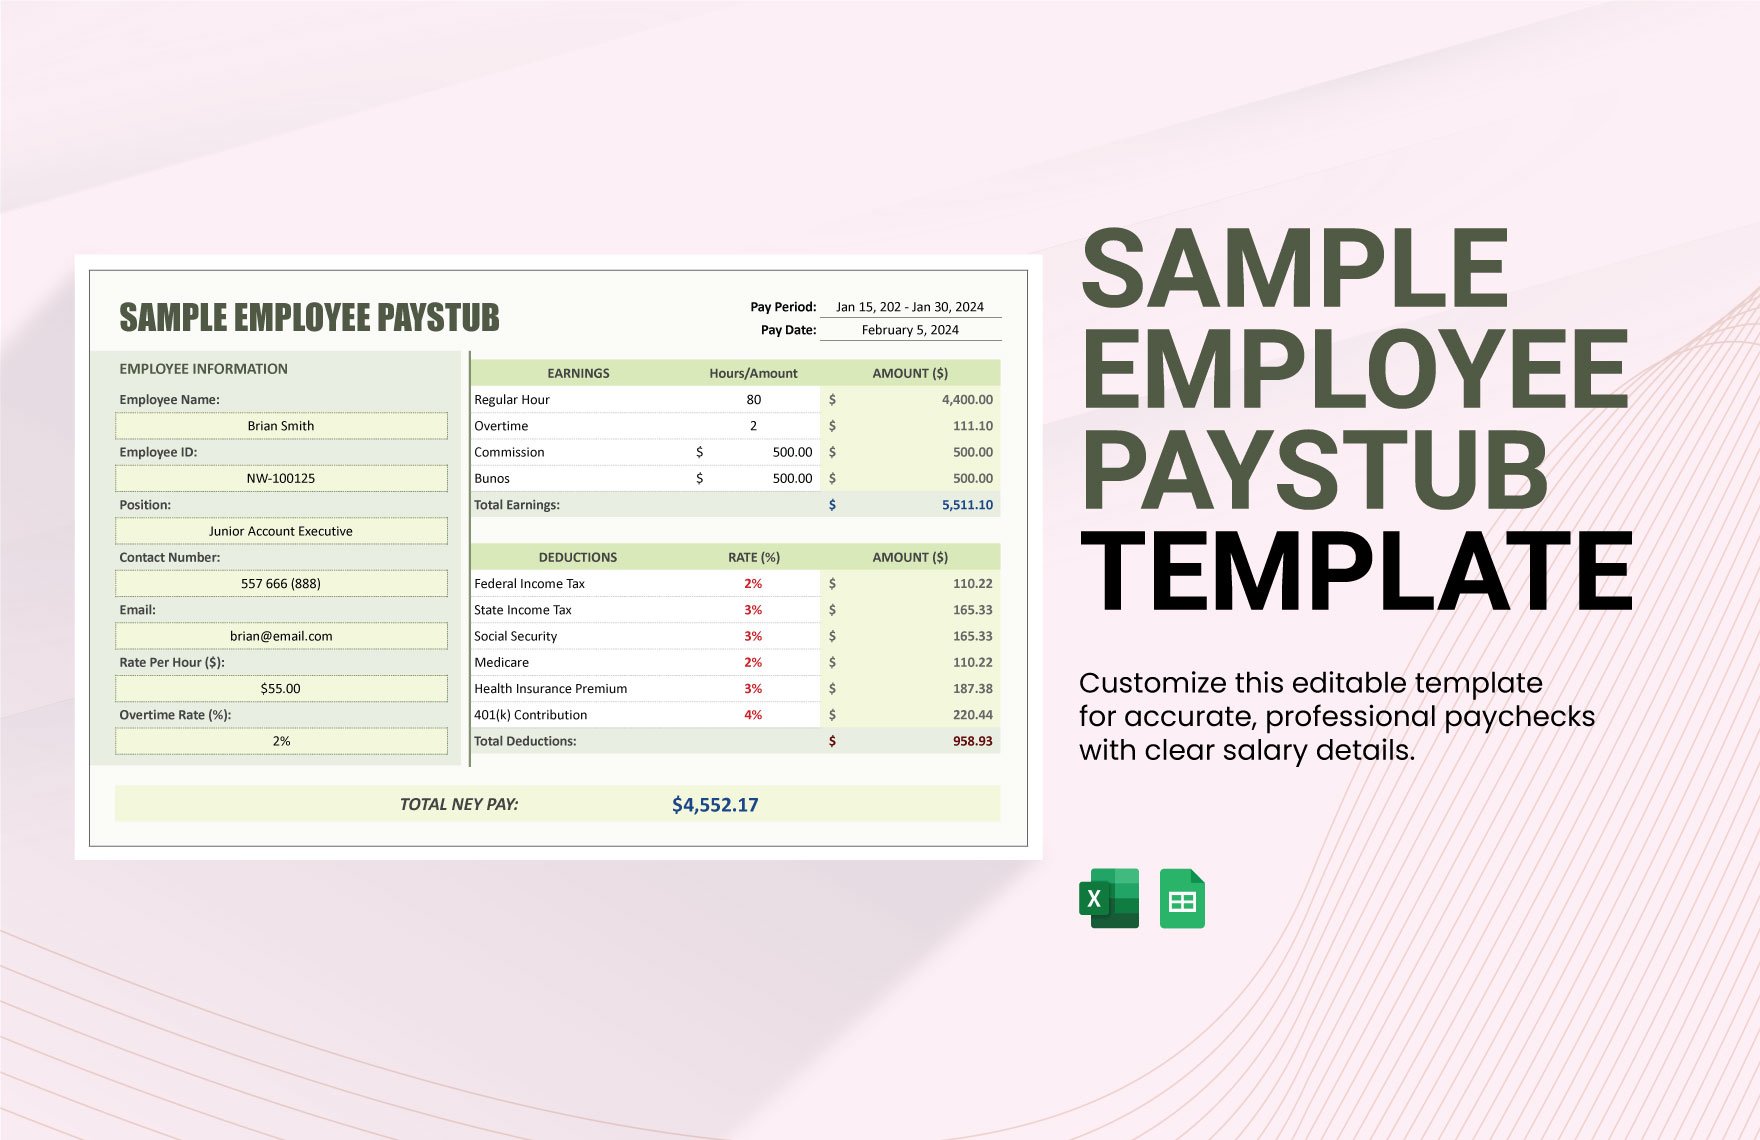
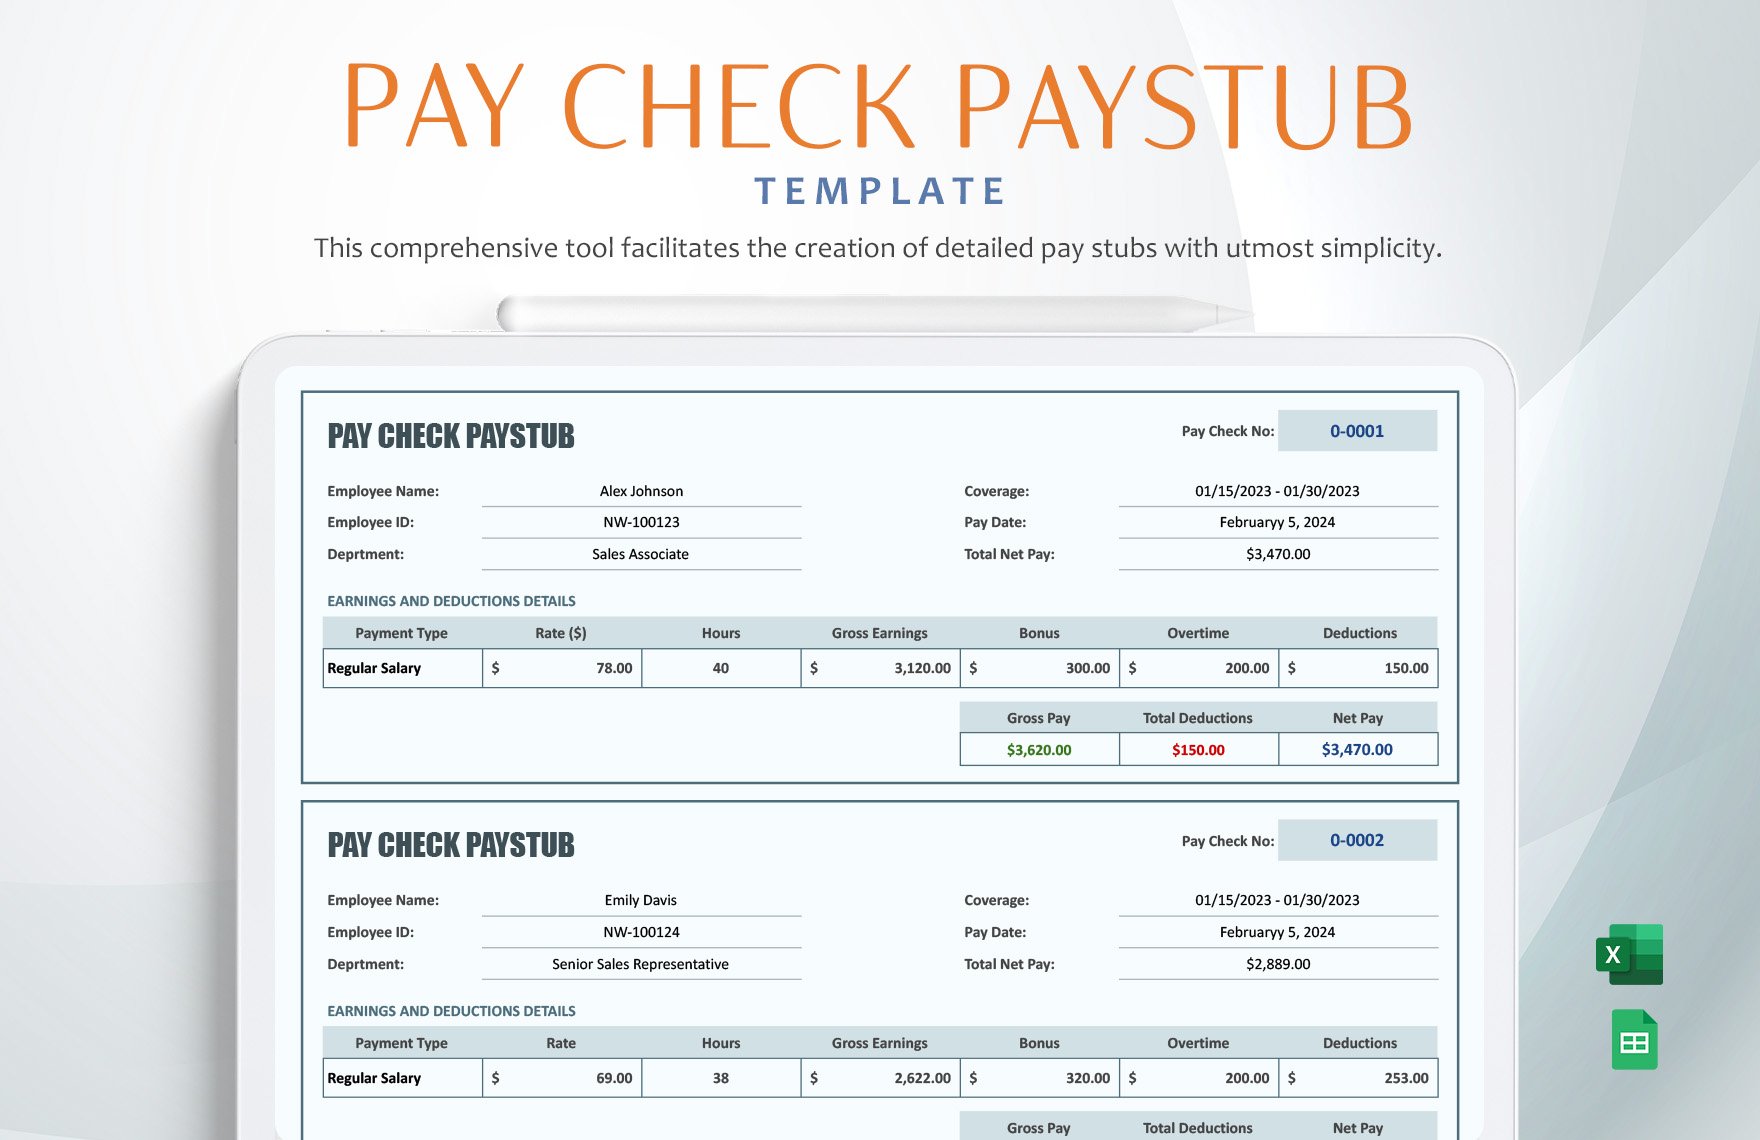
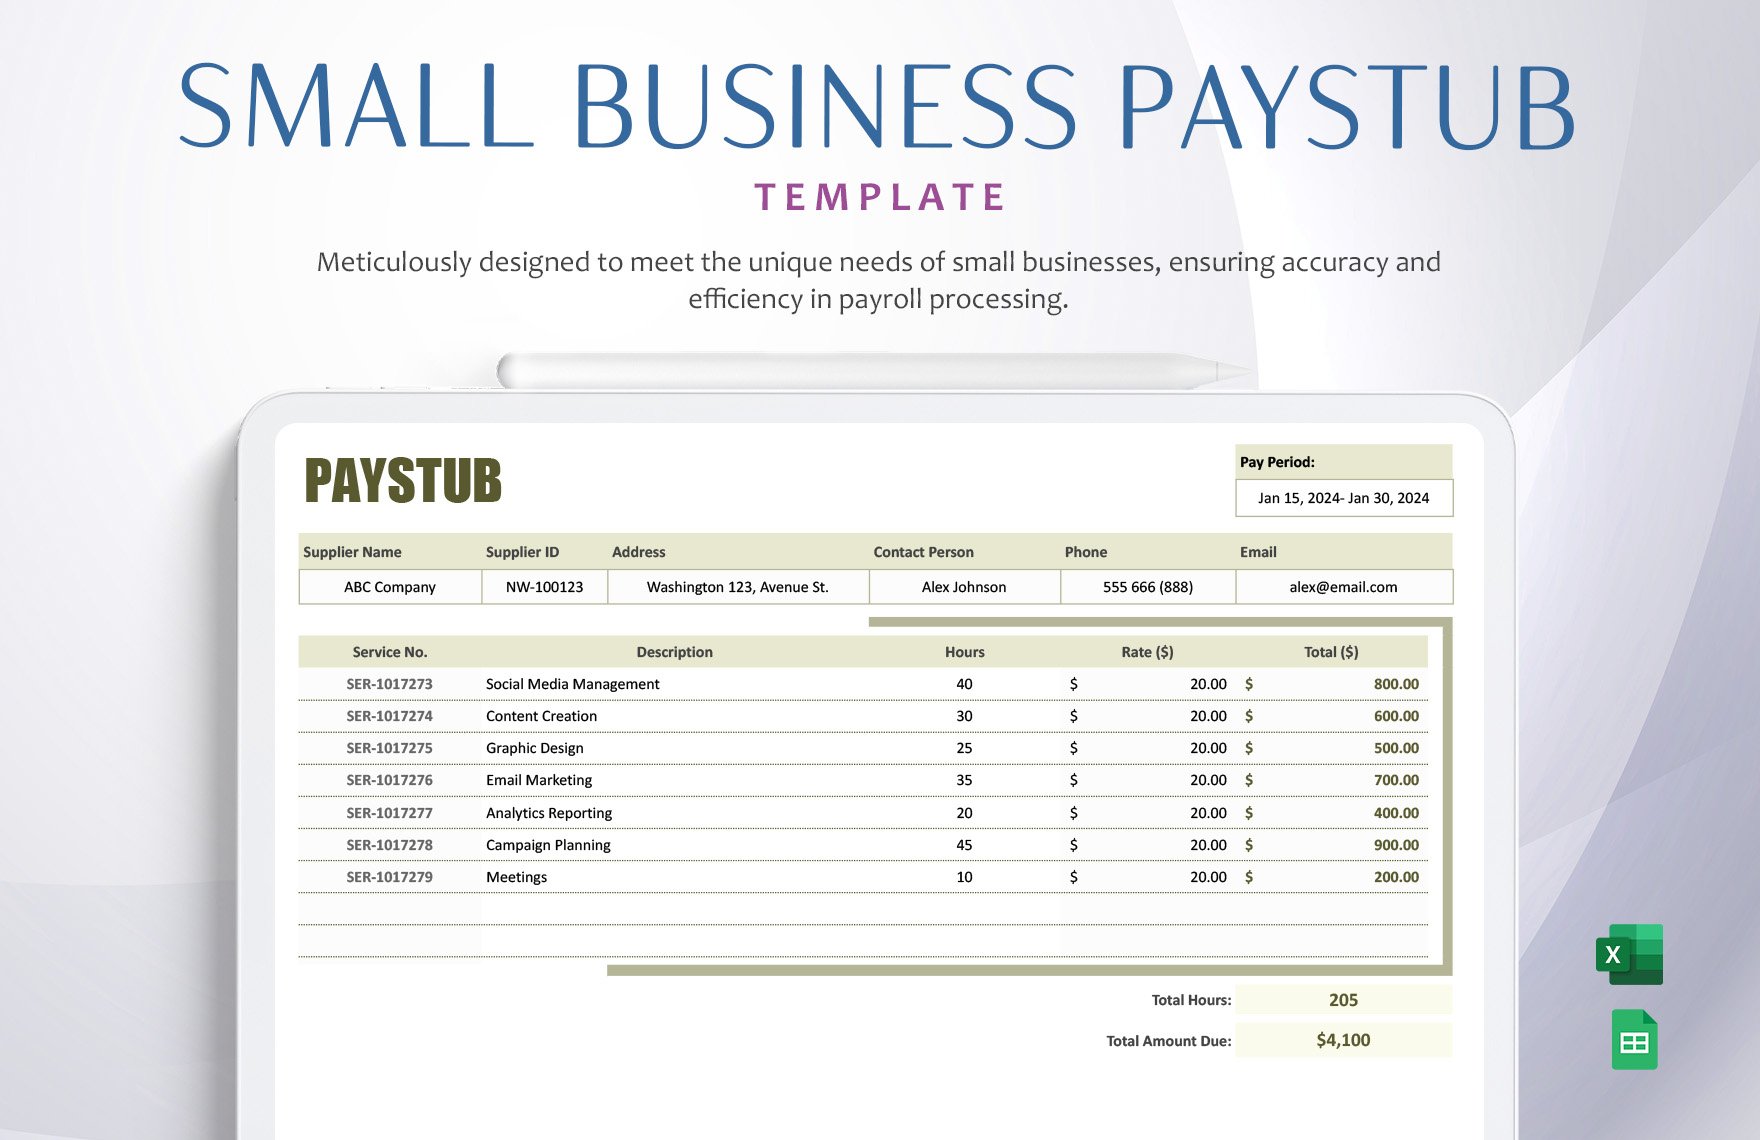
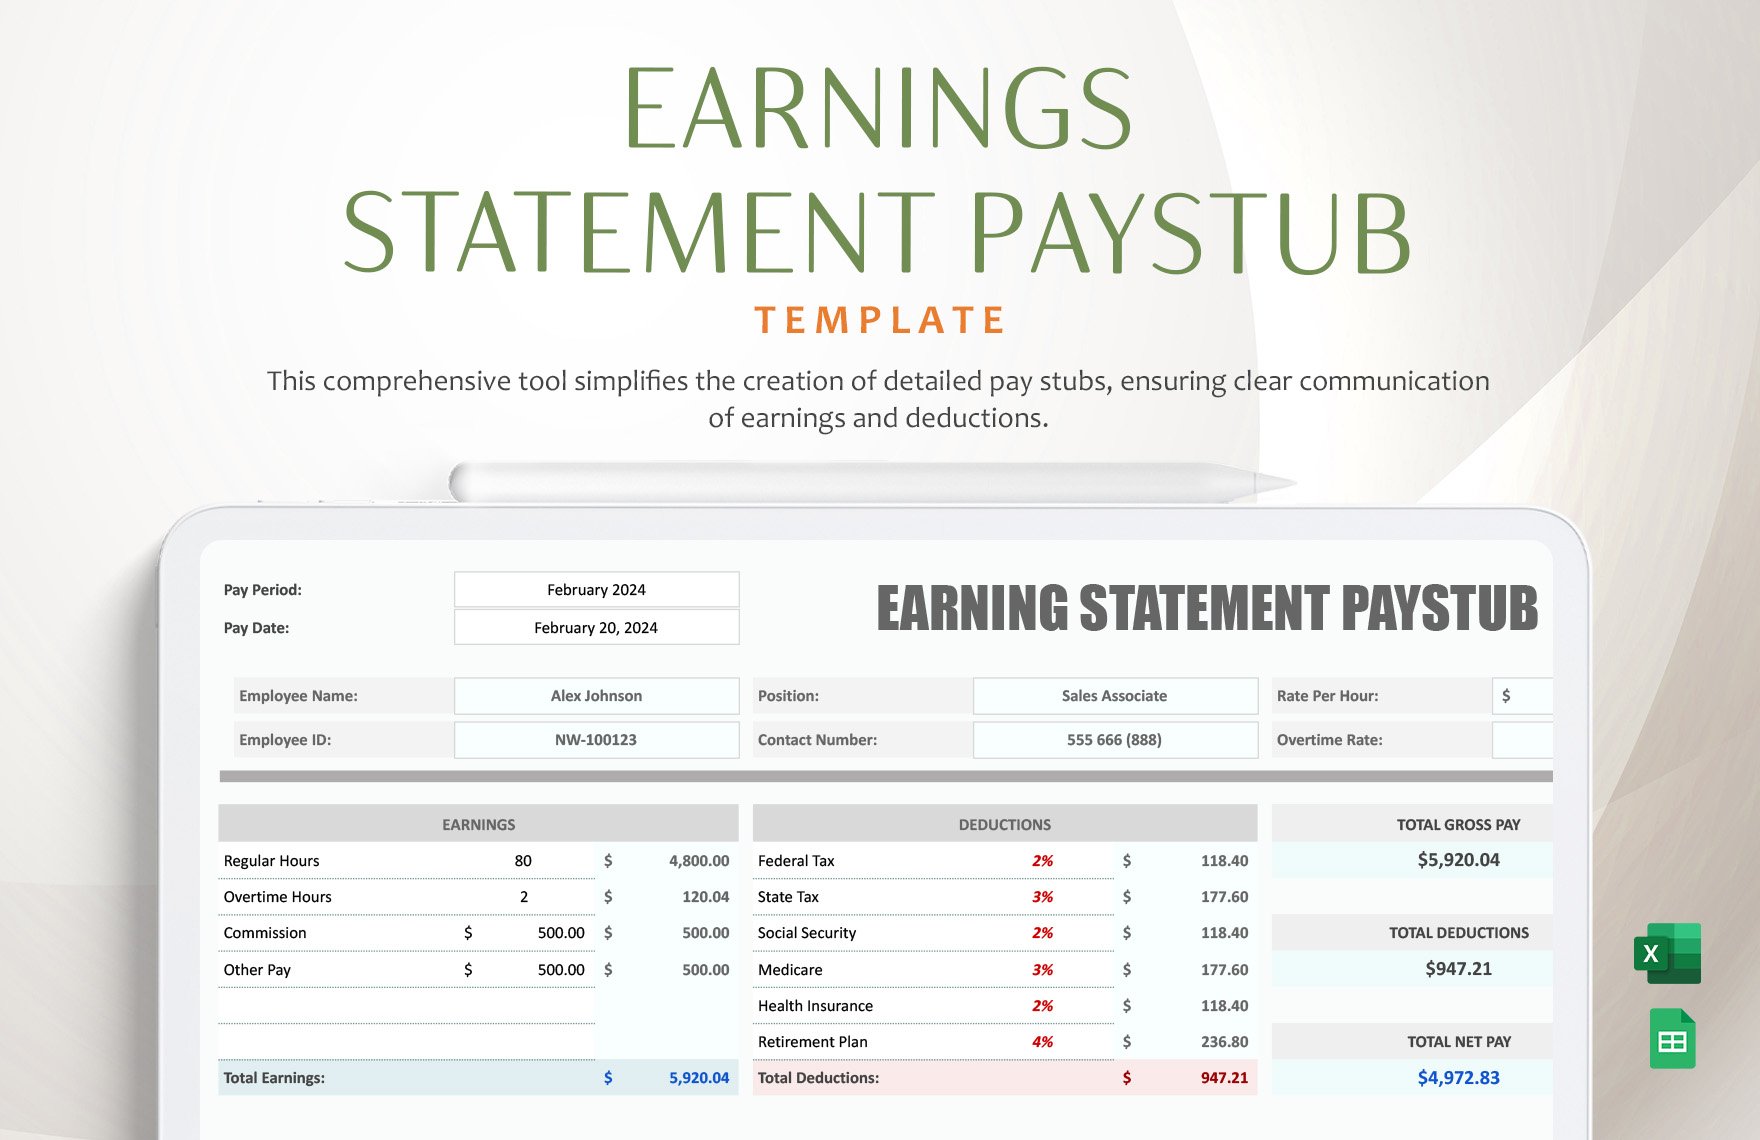
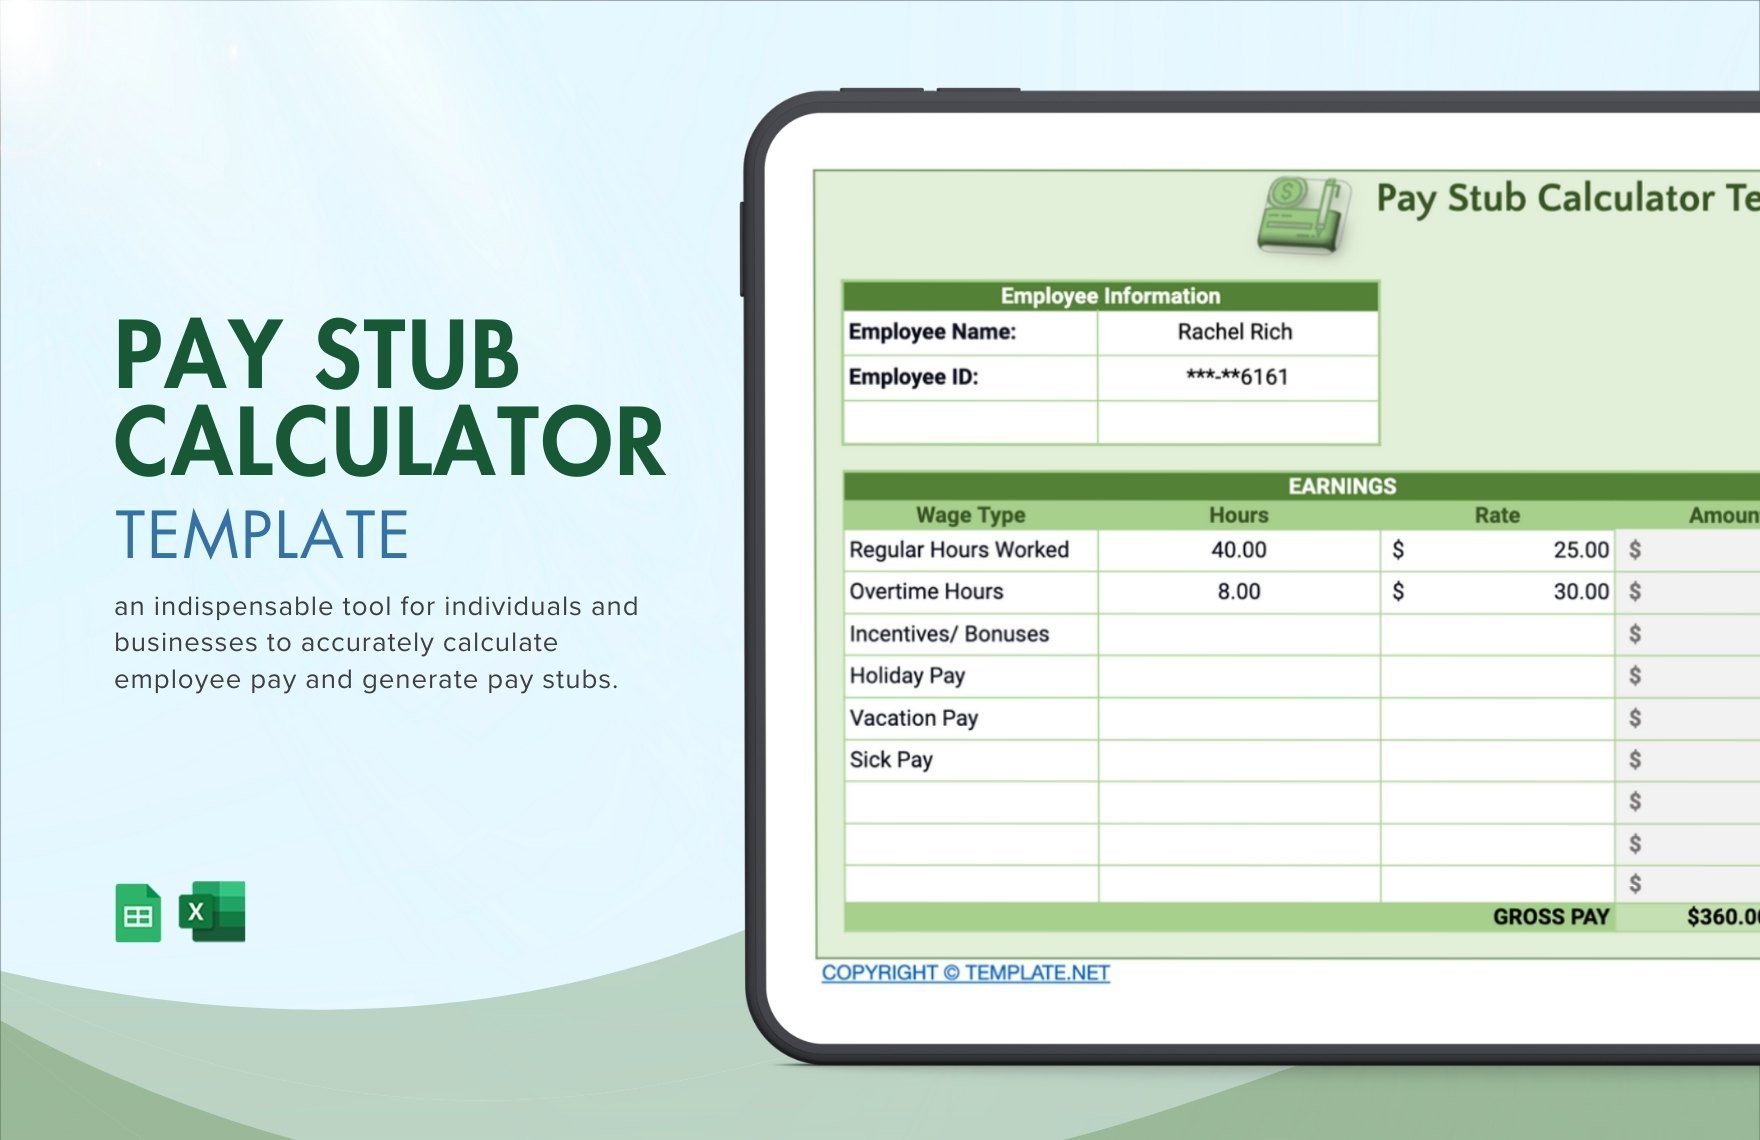
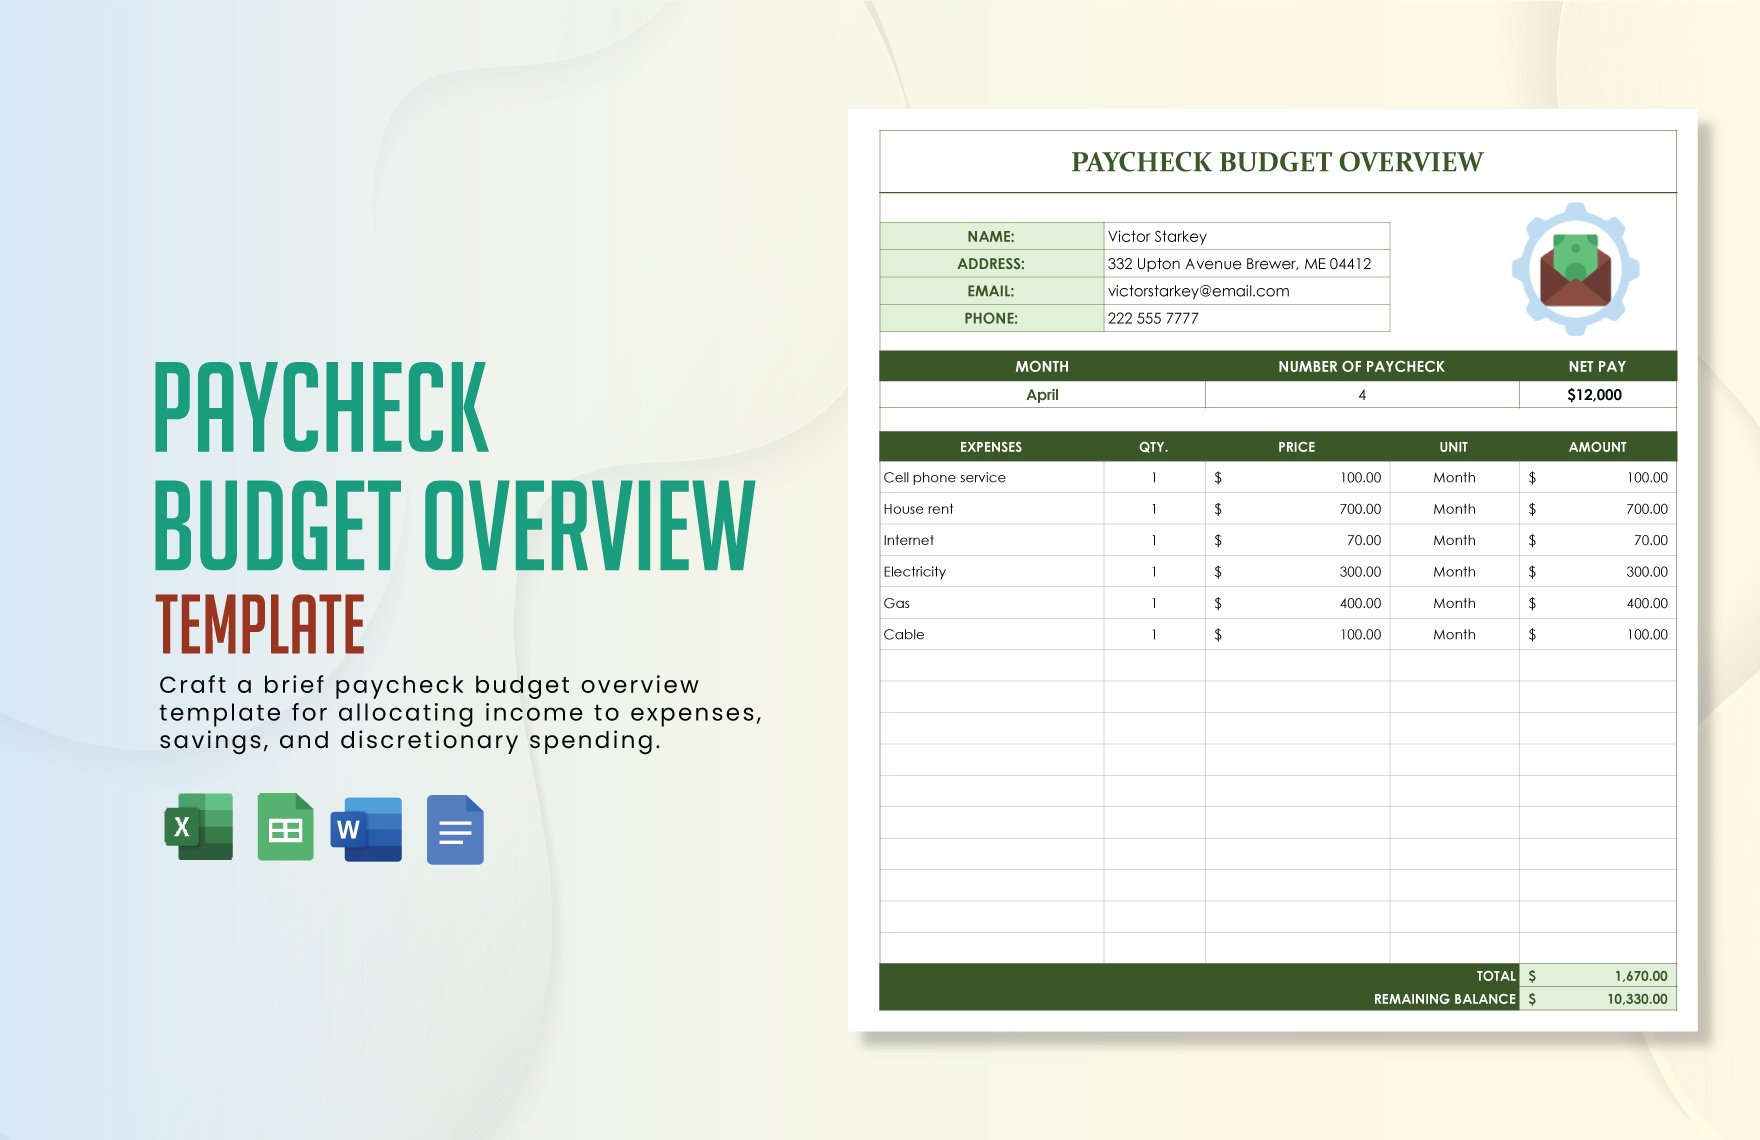
Hooray to payday! It’s that time where employees get to enjoy their harvest. But behind the convenience of getting your salary directly from the bank, there is a company that prepares a pay stub to maintain transparency. If you’re one of the companies that worry about not having a well-made stub to be distributed during payday, you landed on the right track. You can download our High-Quality and Ready-Made Pay Stub Sheet Templates in Microsoft Excel. All files are available in A4 and US Letter sizes. So, what are you waiting for? Maintain a higher ethical standard by releasing a well-made pay stub today!
How to Create a Pay Stub Sheet in Excel
Employees work hard to get a fair amount of salary. The company needs to keep track of their employees’ overall performance when it comes to productivity. Late comings and absences always affect performance. Thus, it also affects the amount of income. But it’s still a joy and excitement whenever pay is out. Somehow, employees rely on the convenience of getting their salary directly from the bank. But if there is any discrepancy between employee to employee, this is where pay stub transparency plays an important role.
A pay stub is an important document that outlines an employee’s salary within a period. But the importance of payroll is commonly overlooked. As a company that aims for transparency, what goes to the bank needs to be stated in a document. Or else, declining to show pay stub could lead to court.
To help you create a Pay Stub Sheet in Microsoft Excel, we provide a list of steps that you can follow.
1. Prepare a Template
First things first, launch your Microsoft Excel. Click the dropdown menu, set to a new document. If you want to start with a blank document, you can make your paycheck stub by manually adding tables. But if this is too time-consuming for you, have a look at this website’s high-quality pay stub sheets. You can download and customize it conveniently.
2. Format the Table
With a template you prepared, you can start customizing it by dividing the tables where you can input proper labels. Change the style by formatting the cells. To do this, highlight the cells that you want to style. On the Home tab, select the table style you want from the dialog box. Don’t forget to leave enough space for the following information: employee details, payment summary, letterheads, and dates.
3. Input Employee and Salary Details
Now that you’re done setting up your table, it’s time to input the important details. On the upper right side, just below the letterhead, write the employee details. Next, use the income, deduction, rate, take-home pay, and date as your main variables to be placed in the header. Input the details accordingly. Use a different header background color to separate them from the rest. In this way, reading and understanding it won’t be confusing. Also, always remember to keep it simple.
4. Make It Official
For paycheck stubs, it’s not about the designs. It’s always about making it valid. To achieve this, place the company name and company logo at the topmost portion of the document. Find the Insert tab on the window. Then, add your logo. It’s essential to have your logo saved in JPEG or PNG file format to insert it as an image easily.
5. Print and Release
Checking the details is vital as this could open to several questions. So, check the employee details down to the payment information. Let someone do it for you to ensure to deliver pay transparency. Once done, save your document and release it to your employees.
