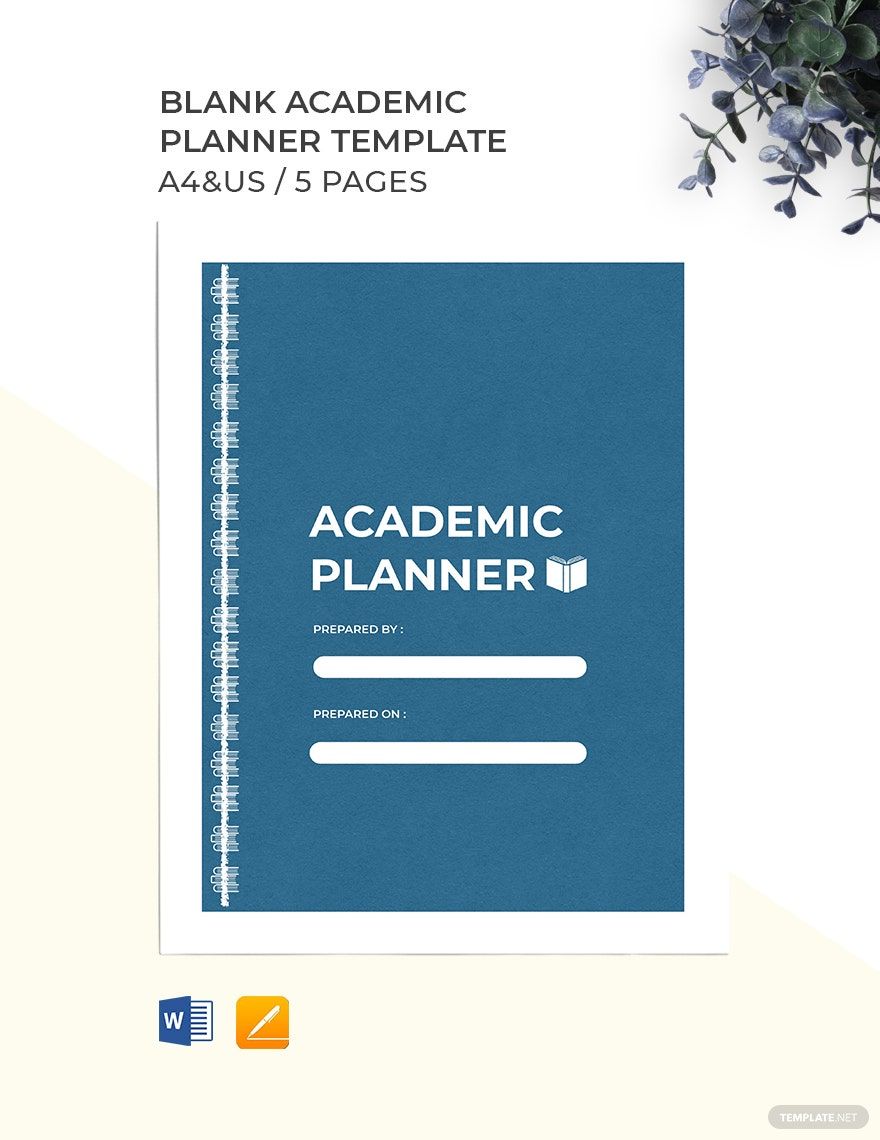
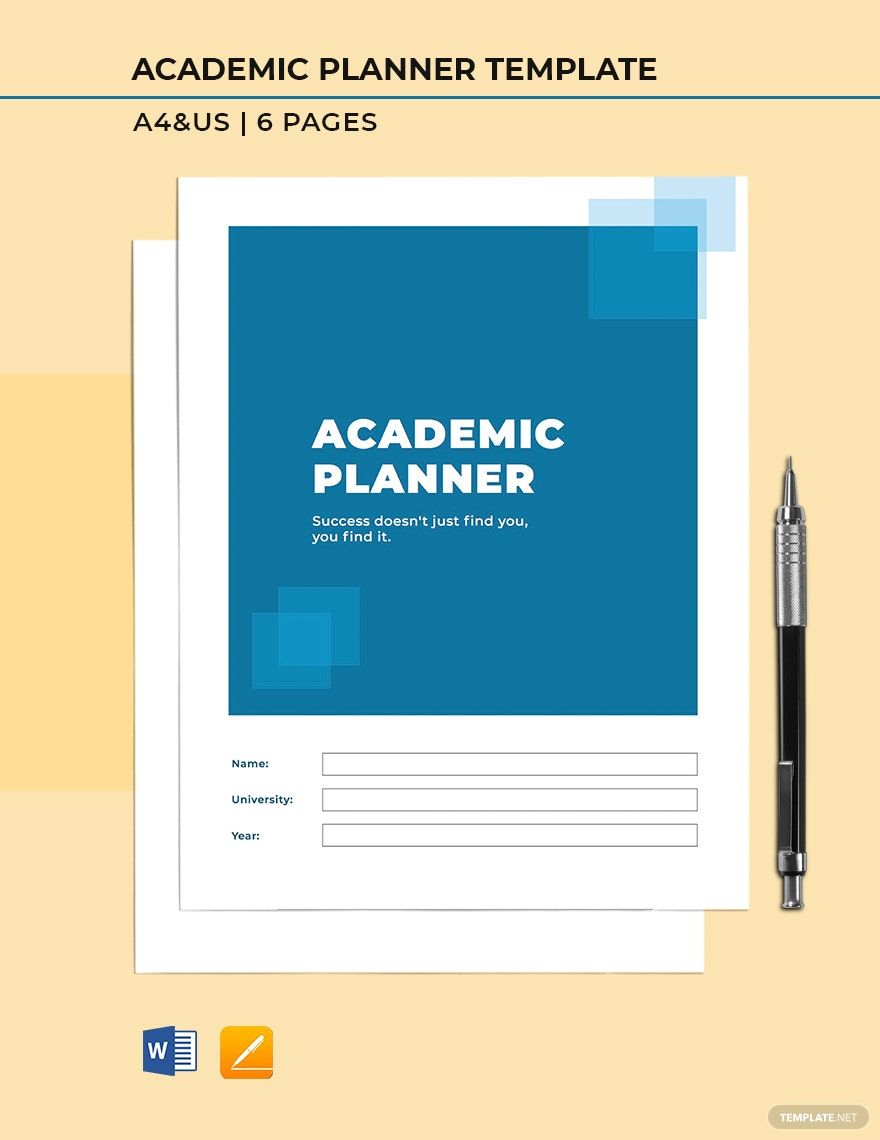
As another school year is approaching, there are greater responsibilities to plan and opportunities to take. It’s also another big leap to take chances. But diving into a whole new school year isn’t that easy as you think. You will need to restore a fresher mind and start with fresher planning. That is why we help you organize your goals for the future with our Beautifully Designed and High-Quality Academic Planner Templates in MS Word. These files are available in A4 and US Letter sizes. Now is the time to get all things interested. Start your college journey with the right planning by downloading our templates today!
How to Create an Academic Planner in Word
Getting into college is a big leap. For most newly graduated high school students, finding the right university is a tough decision. But more than choosing for your future school is maintaining how you can survive in this new endeavor. There are tuition fees, applications, and many important details that you need to think about. Overthinking your academic goals may prompt anxiety and frustration. That is why you should not take college planning lightly. When you plan, you will get an overview of the steps in planning for your academic ambitions. But how is it done correctly? Generally, there are no rules. But improving your progress needs the right planning tool. You can follow the steps below on how you can create an academic planner in MS Word.
1. Choose a Planner Template
Start by choosing the right planner. Always determine what will work best for you. Can you work comfortably with a preformatted template? You can decide to make a layout from a blank sheet by setting it to a new document. Or, you may choose from our website’s selection of academic planner templates. To set up your template using MS Word, click the File button, then select Options. Click the Templates tab from the Manage list. Add-in or load the template you want to use. Aside from it's easy, it saves you time.
2. Write Down Contact Info
Losing your essentials is frustrating. Perhaps, you do not want to create one from the beginning over again. To avoid this instance, don’t forget to write the proper label. Input your name, university, contact number, and address at the cover page of your planner. In this way, returning it would be easy.
3. Create a Checklist
In this step, you will have to separate different pages for different items. Create a checklist about your daily or weekly plans. Using MS Word, edit the labels accordingly. For example, label the page with “Exam Checklist”. Divide the table into four rows. In each row, write the subject, examination, date of exam, and the score. Now, leave a space below for note-taking. This helps you track down your progress within a semester.
4. Set Your Goals
Before you record everything in your planner, start by setting weekly, monthly, or yearly goals. Create a list of bigger dreams and goals. To do this, go back to the goals you missed from a few months back. The process of setting your goals regain your commitment and motivation. Ask yourself about your academic plans this year. Should you excel in Math? Do you want to join Glee Club? Answer these questions and create a note.
5. Record the Details
Now it’s time to incorporate the details to your planner. For some, filling in the information is an exciting process. But it could be frustrating when done incorrectly. So, in doing this right, grab your notes. Add a text box from the Insert tab using MS Word. Drag the text box to where you want to add text. Jot down the details, but make sure it is relevant to achieving your goals.
