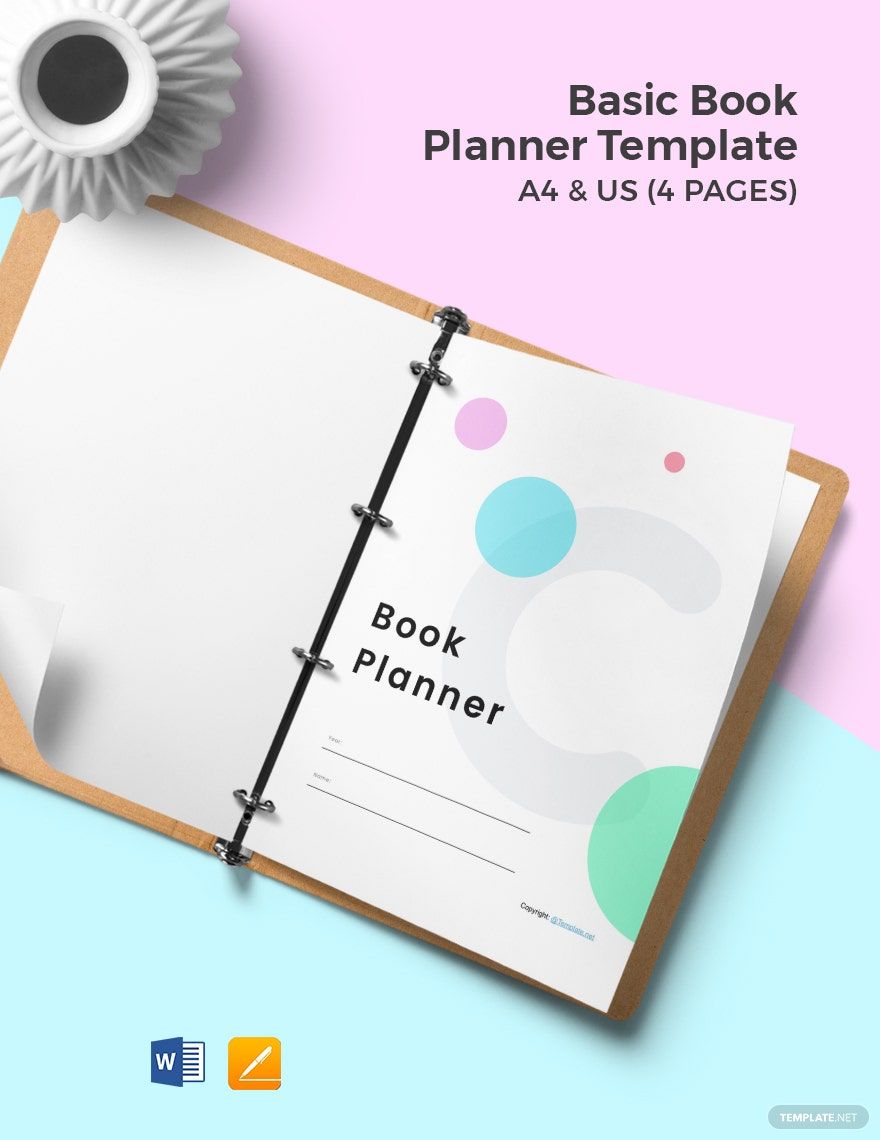
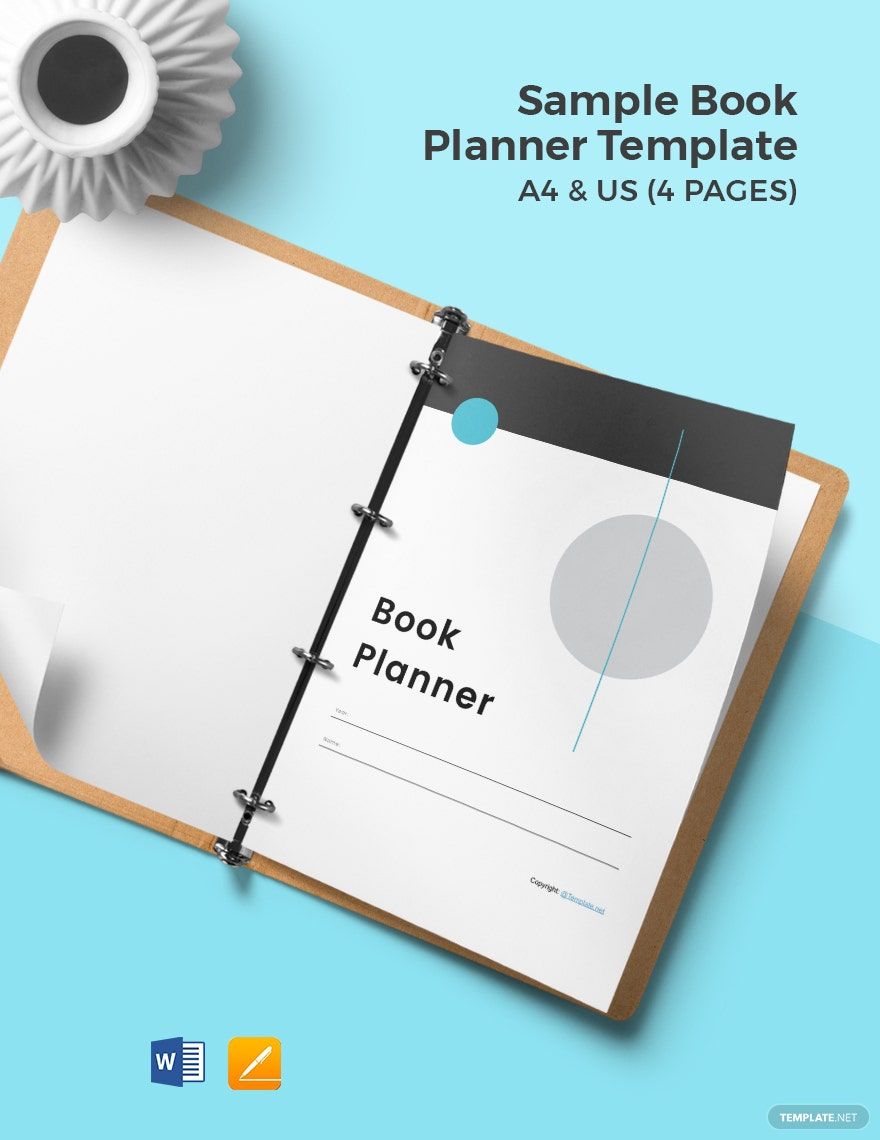
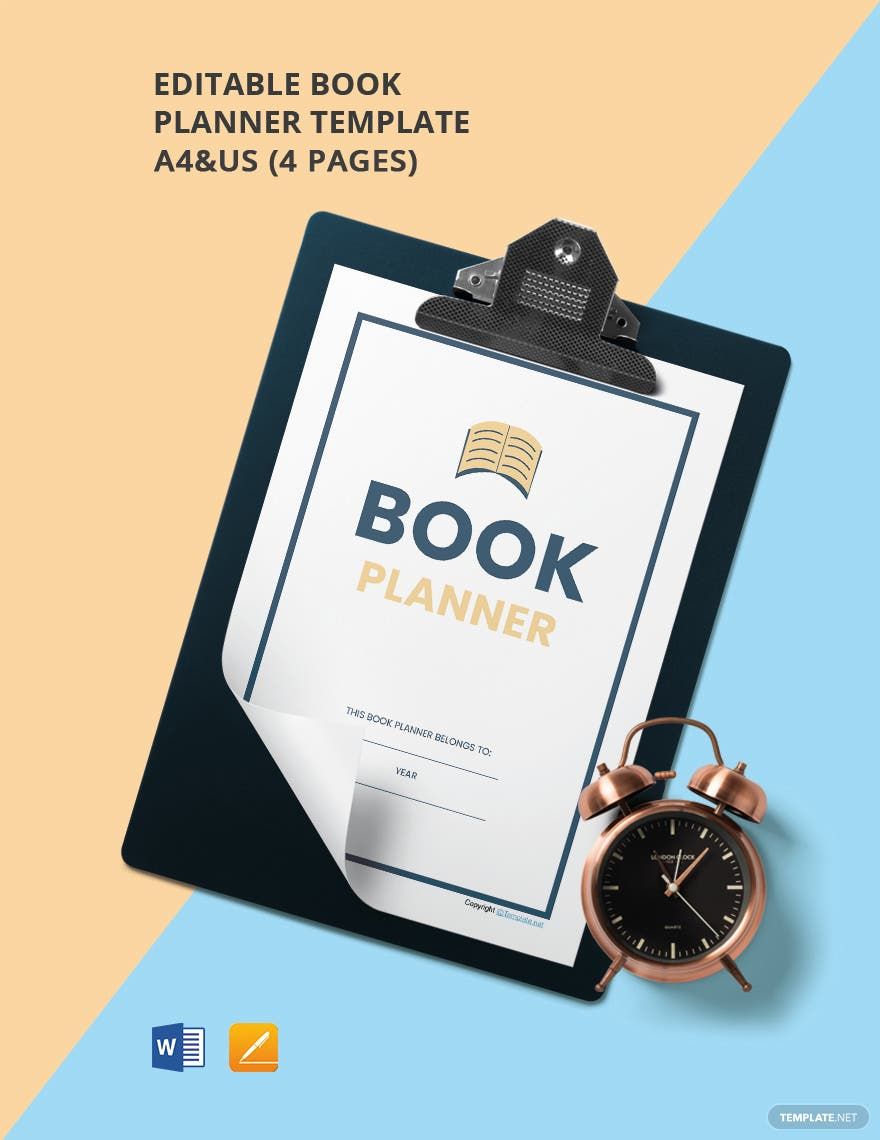
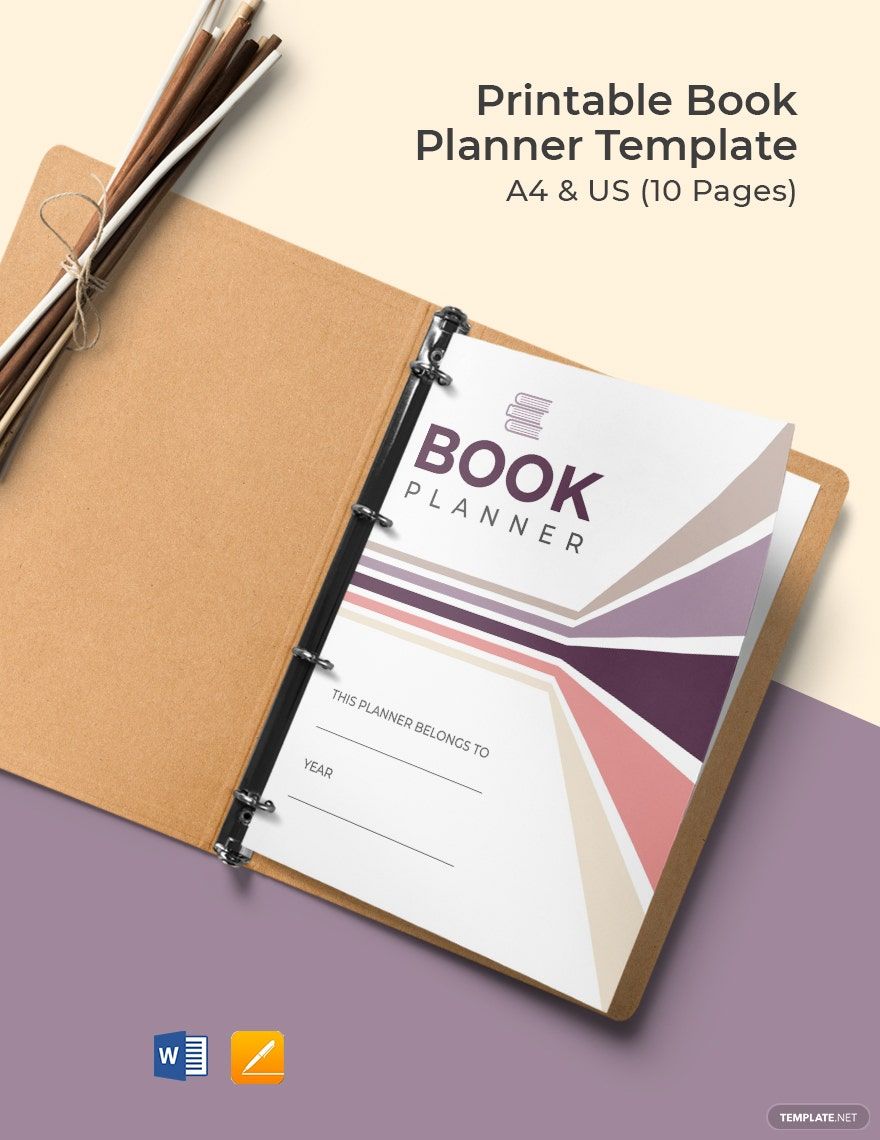
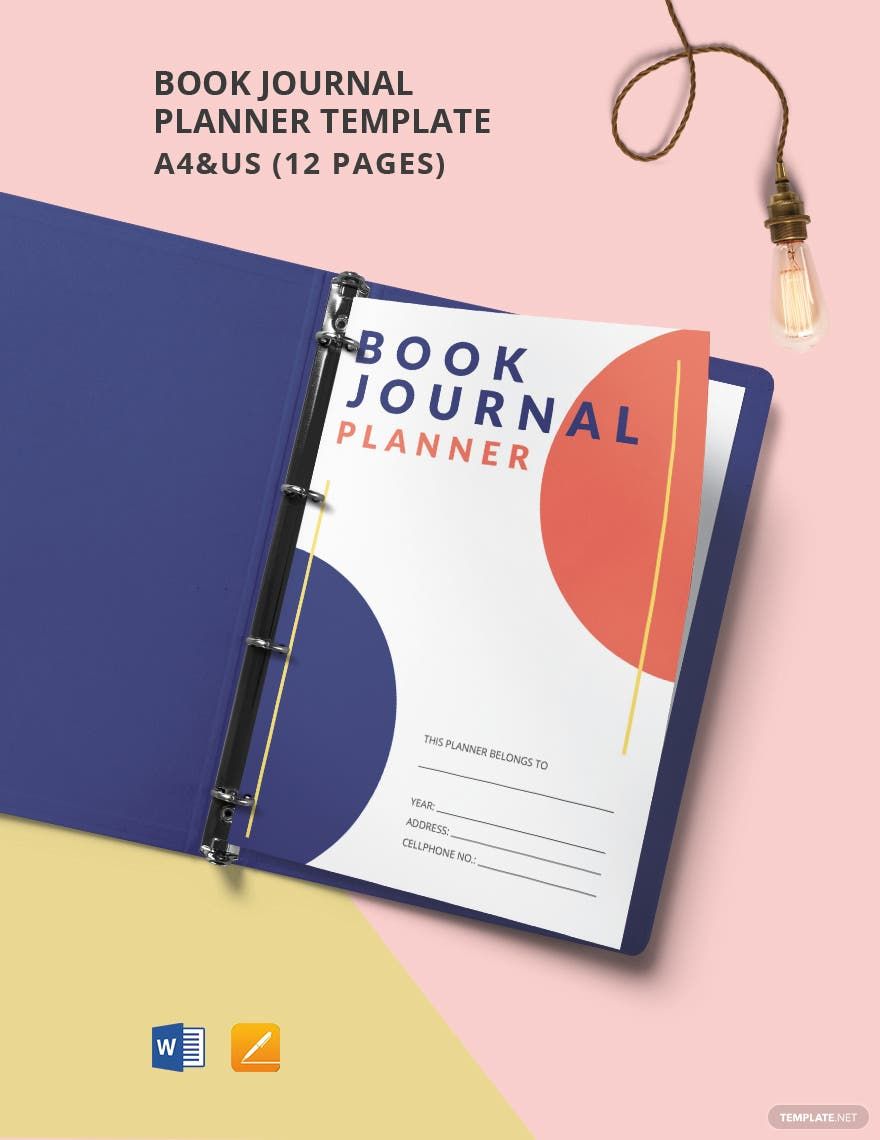
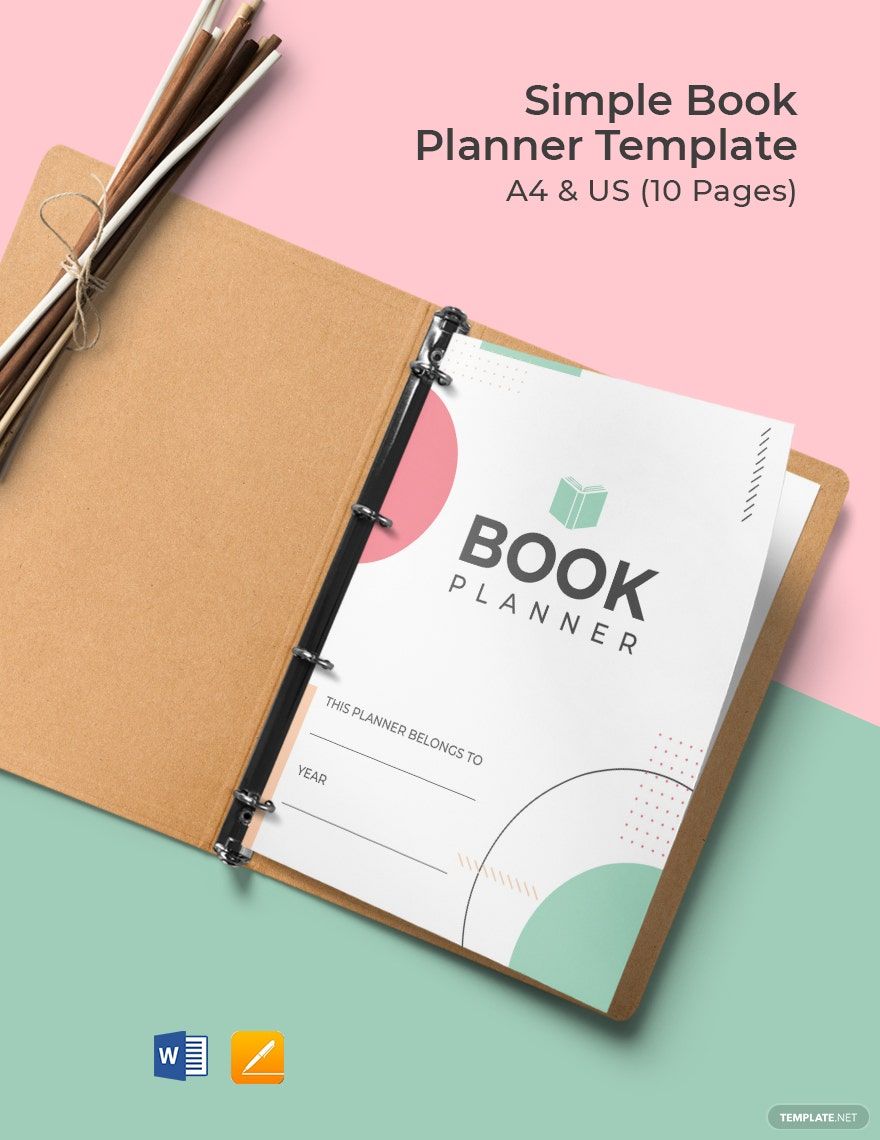
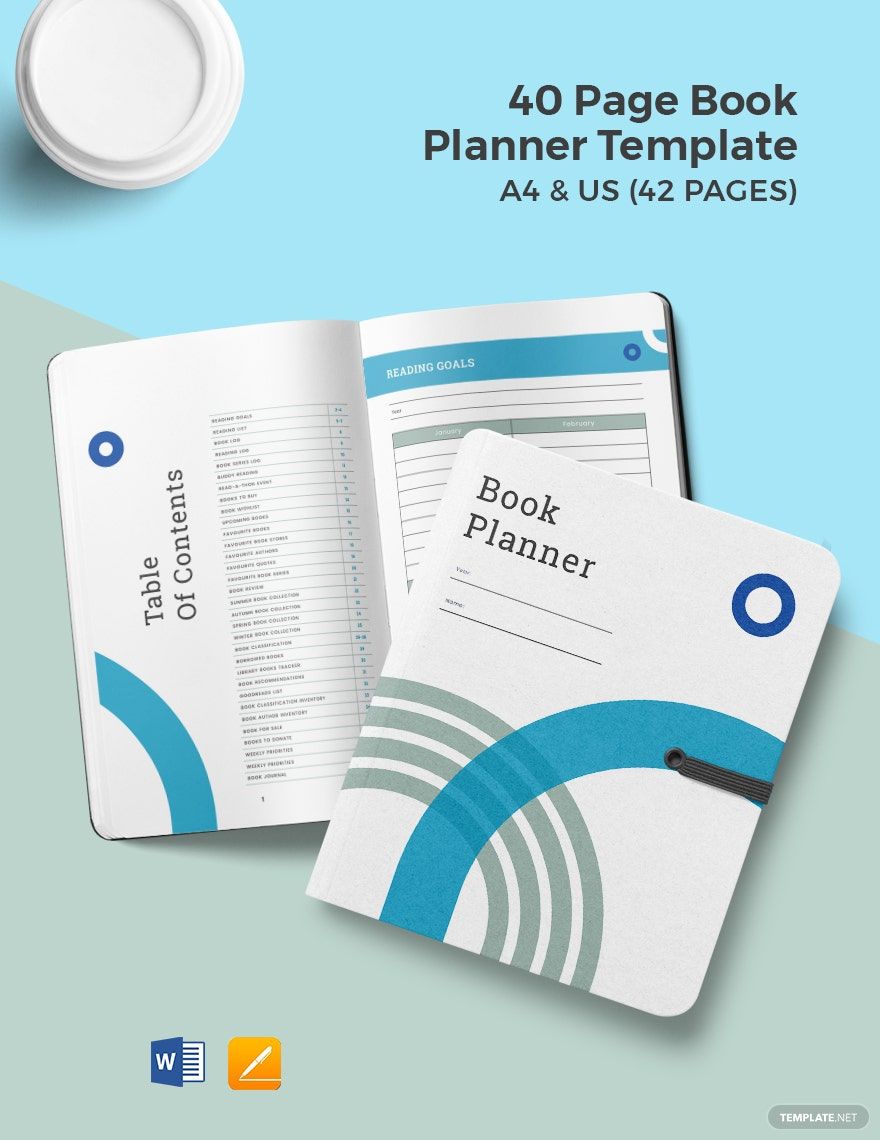
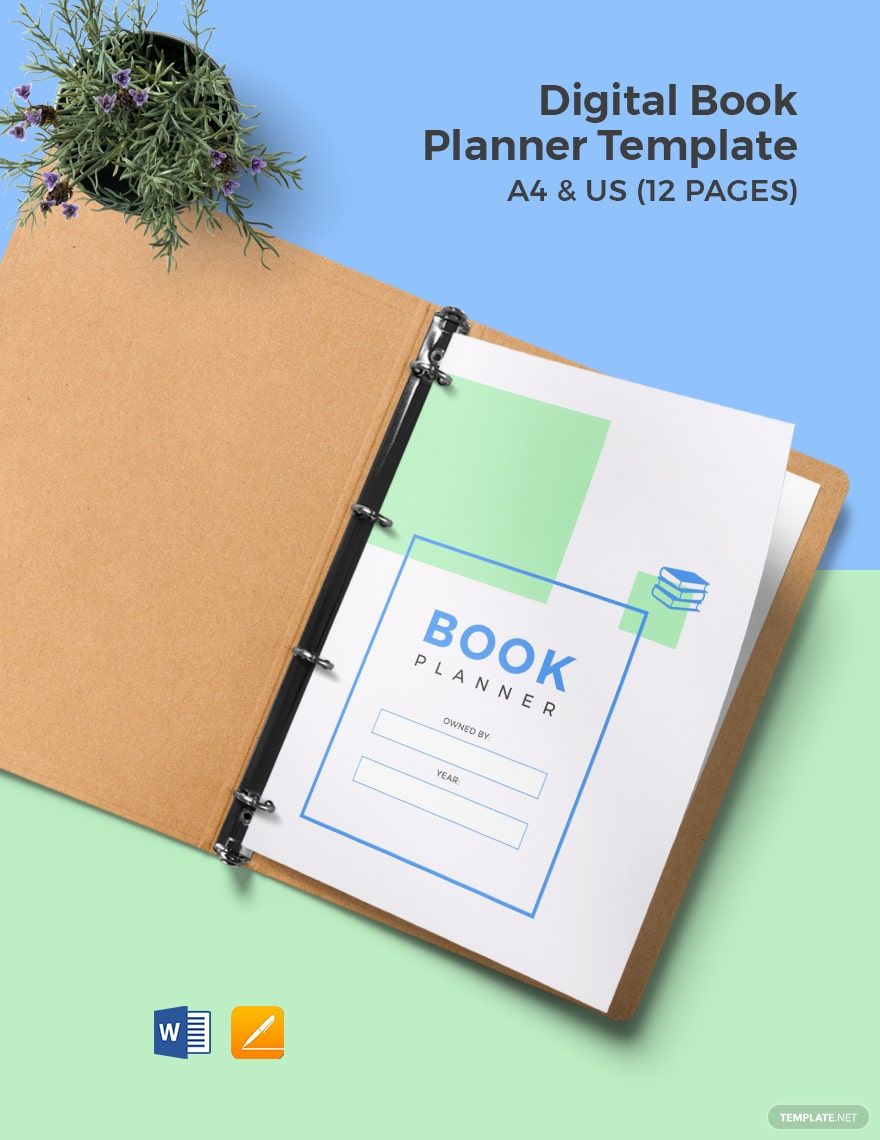
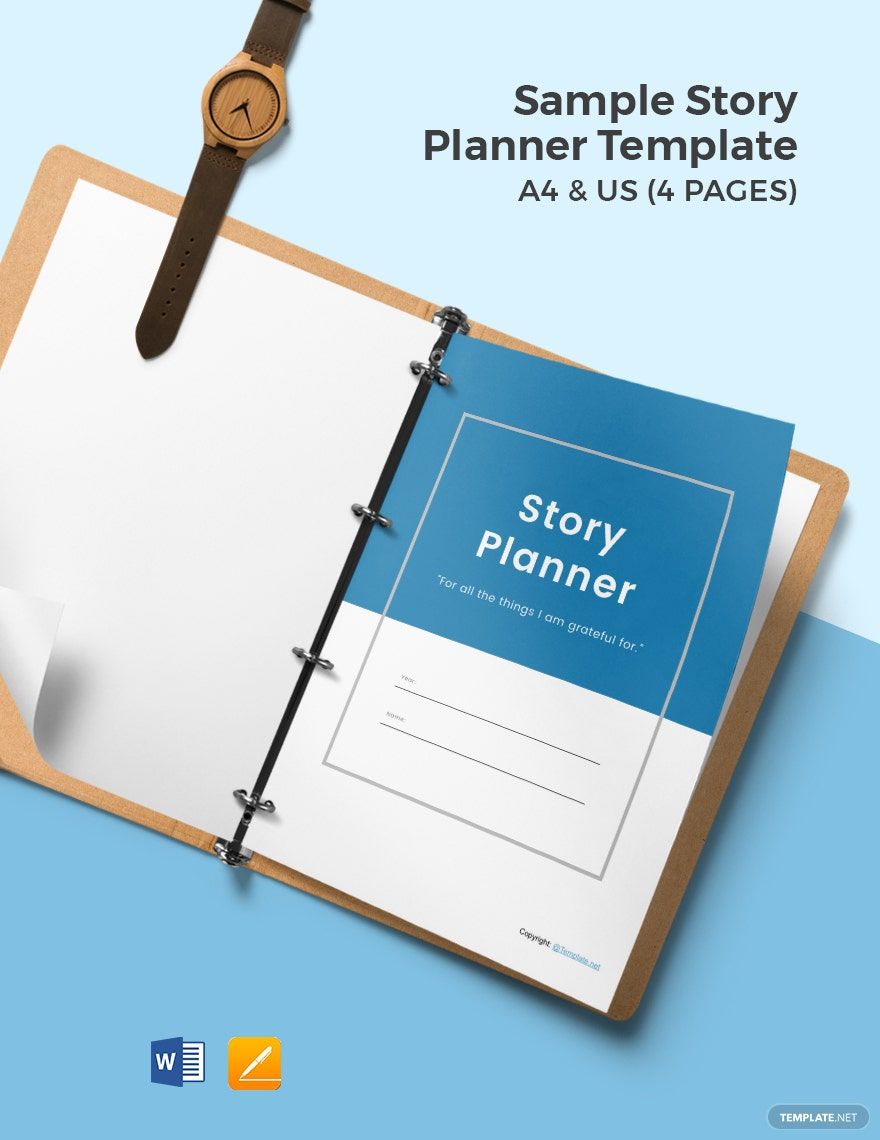
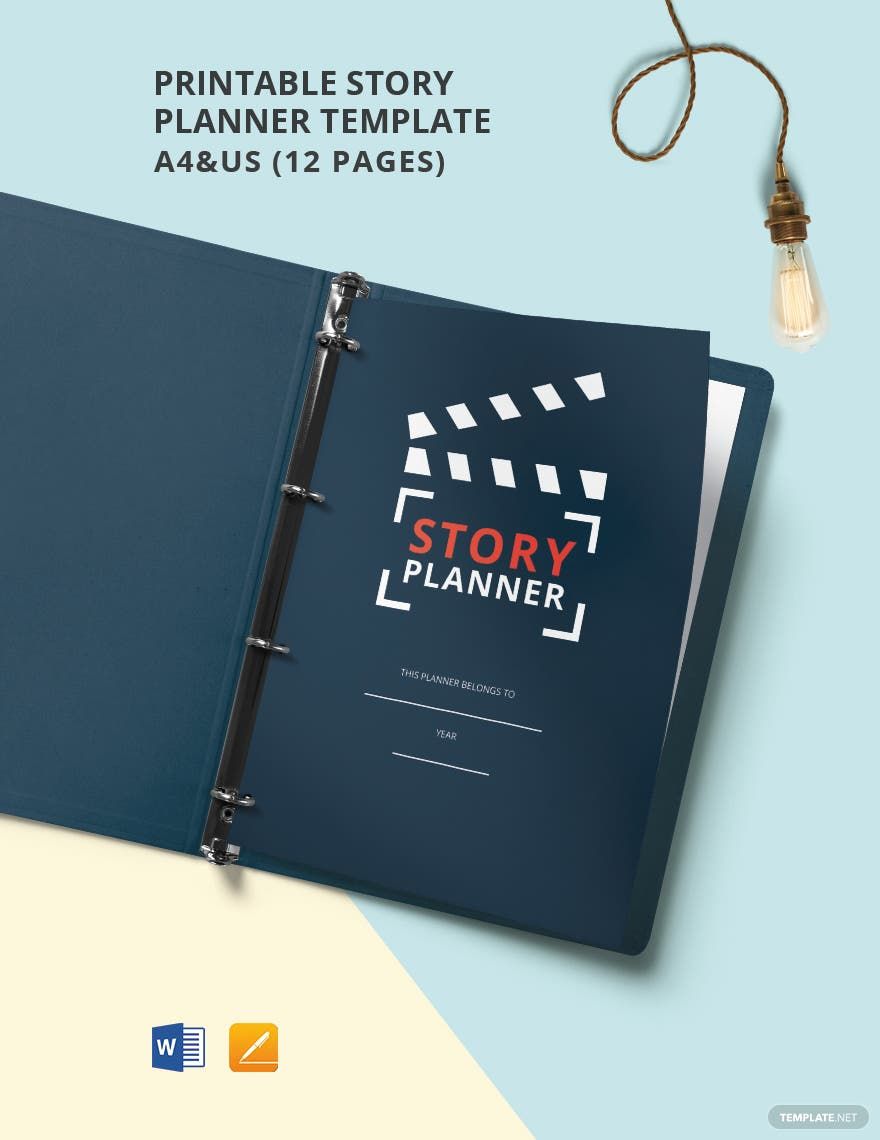
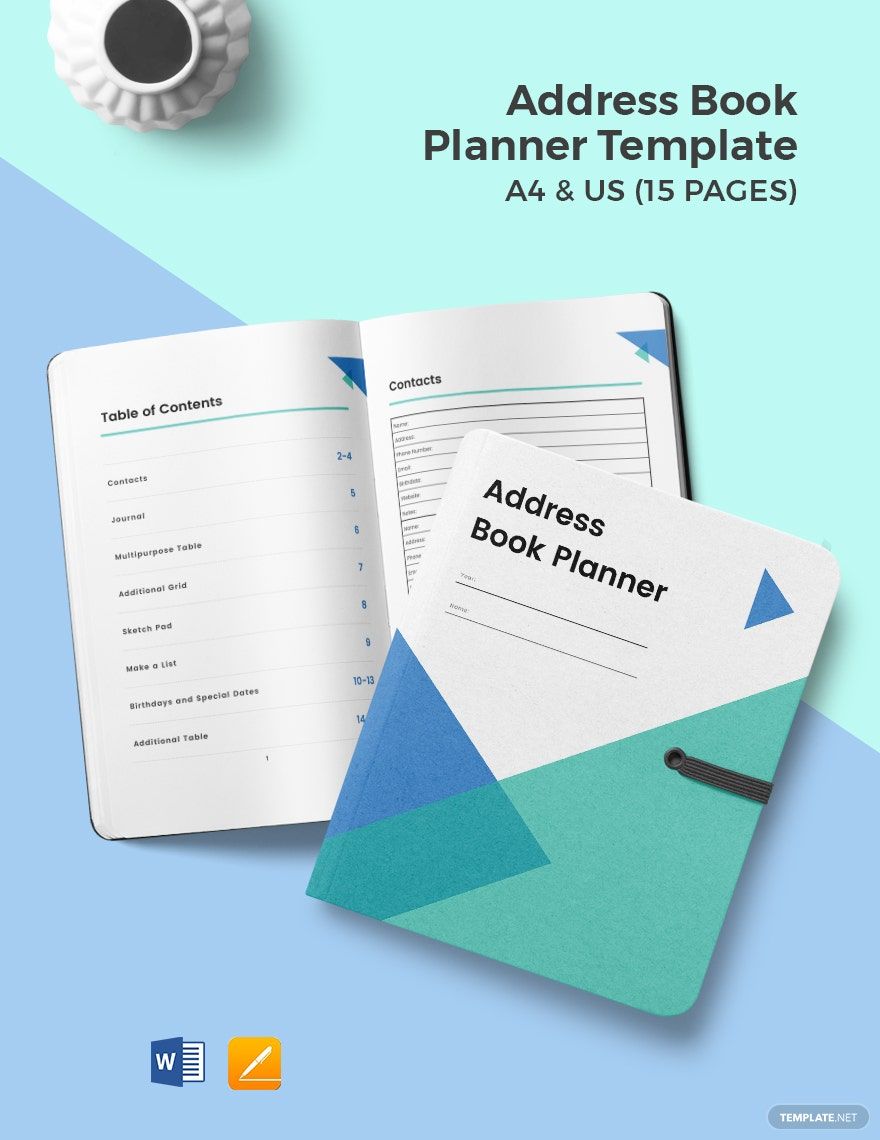
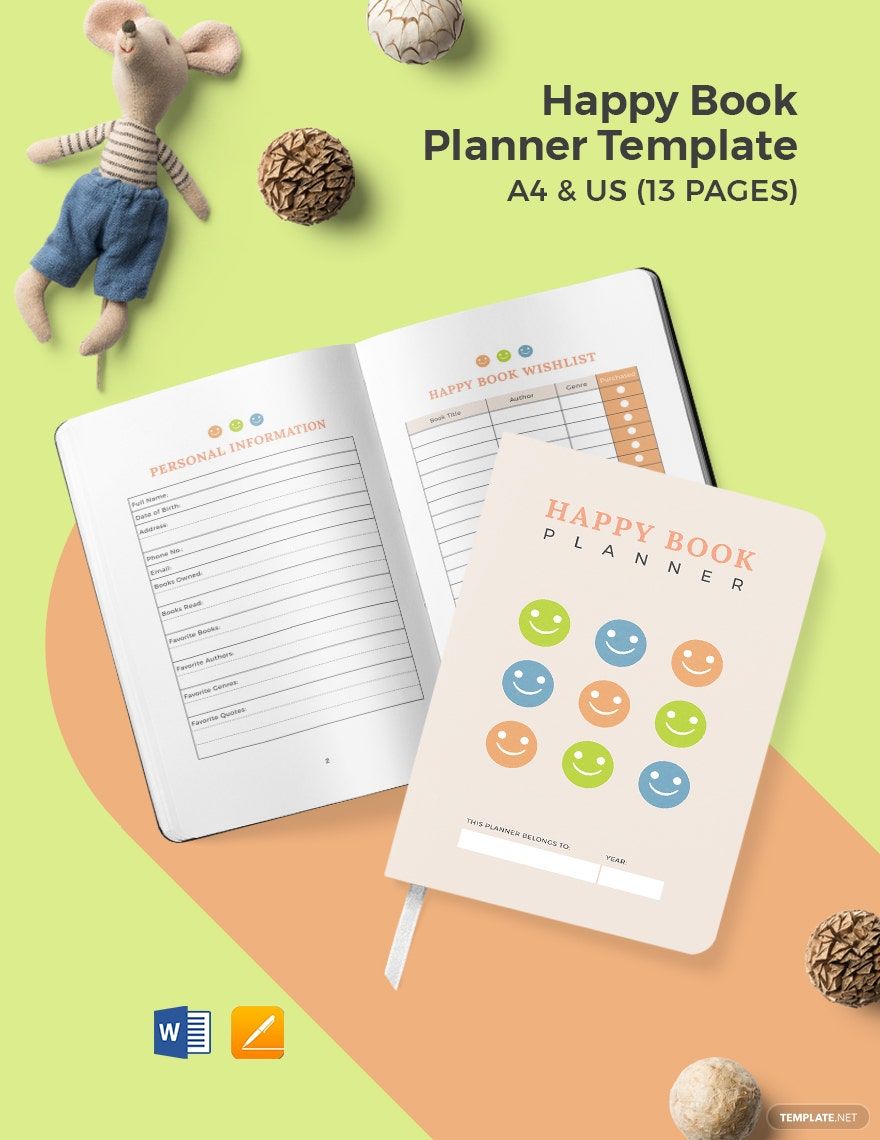
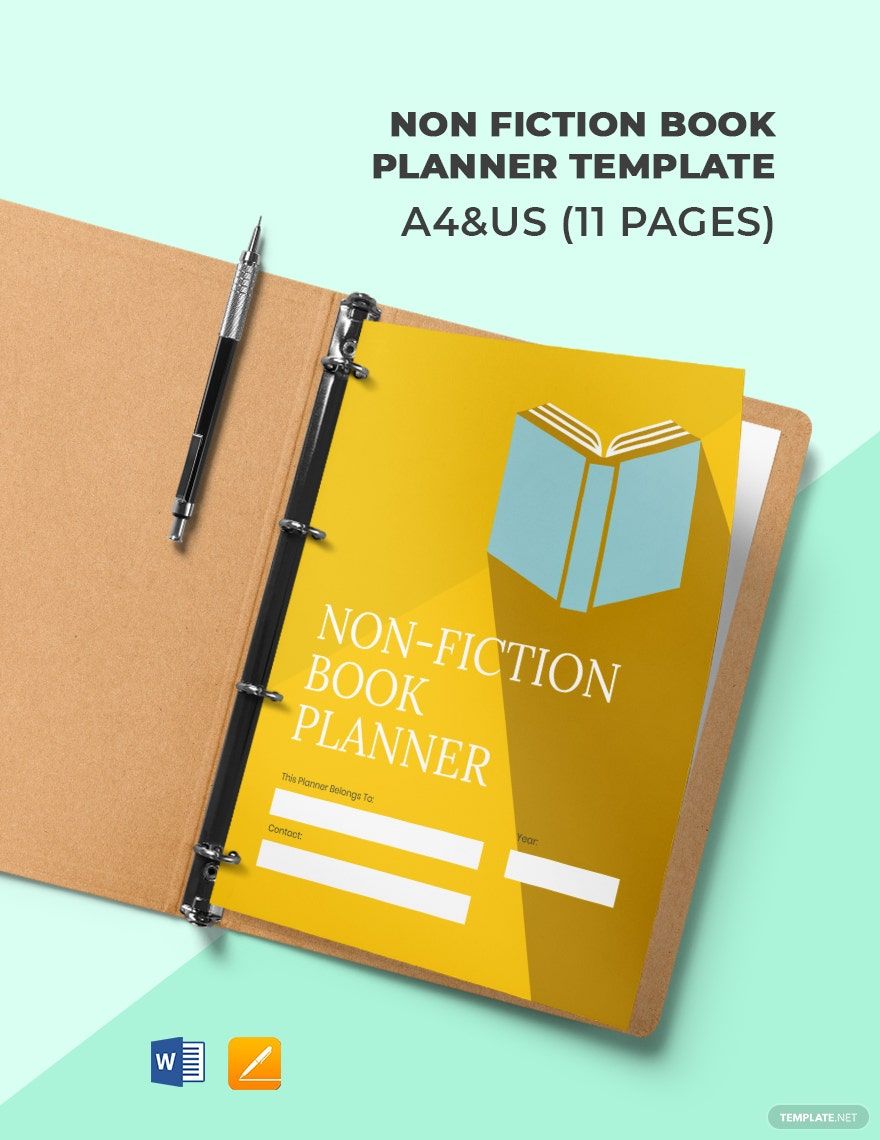
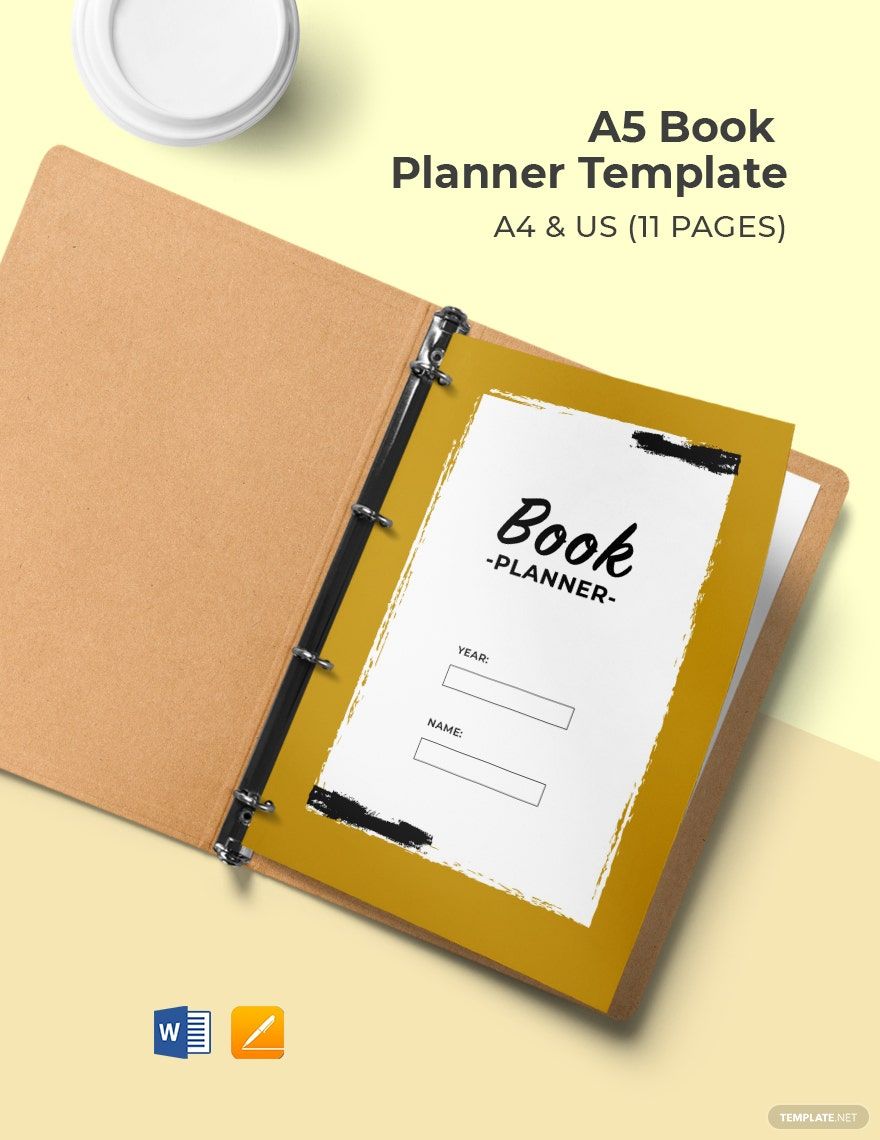
Read a book and be spellbound by each page! A lot of people enjoy reading so much that they want to go to the next level. They want to plan what they'd read, list book quotes, and track their reading sessions. Are you one of them? You've come to the right place! Choose from our collection of frontline Book Planner Templates in Word! These are 100% customizable, printable, and easily editable Apple Pages (.pages)! These are available in A4 & US Letter Sizes. This supports both Mac OS and Windows. Don't miss any of this! Download now!
How to Create a Book Planner in Word
People love to entertain themselves. That's why plenty of forms of entertainment have been invented. One of these is the classic pastime—reading. Statista reports that 80% of Americans read novels regularly. Do you read, too? Do you patronize books and authors? Do you want to track the books you read and will read? Well, you need a tool for that. You need a book planner!
No idea how to start one? Well, indulge yourself with these simple steps to make a book planner:
1. Purchase a Planner
The first step you need to do is to buy a simple planner or notebook. Own a planner for book reading. Do you want to start on hand? Then, grab one of the printable book planners above and download it. Then, you can start using it before, while, or after reading a book.
2. List the Things You Want Regarding Book Reading
A planner is supposed to be your organizer. So, you have to arrange it. Think of the parts about reading that you want to keep track of. Do you want to list your favorite quotes and lines from a book? Do you want to track when you started and finished reading a book? Do you want to make a monthly reading list? Brainstorm about these things and list them on paper.
3. Divide the Planner into Sections
After you create a draft of the things that you want to track about reading, divide your planner into sections. Make sure that you give individual pages for each category. Categories like: Books to Read, Books to Buy, and To Do List Planner in Reading. How you outline the page will depend on the category you have. For example, you have to make a page for your reading log. Then, you can divide the page around five columns. After that, write headers for each column: Book Title, No. of Pages, Word Count, Start Date, and End Date. How you want to organize each category on each page depends on your taste. You can make a column, a box, a circle.
4. Design the Planner
Some people want their planner to be creative; some want theirs to be simple. If you think that designing your planner encourages you to use it often, then go for it. You can add planner stickers, a memo pad, or a photo of a cute cat. Design the book cover and each page inside it. Don't limit your DIY designing, do what you want, it's yours after all.
5. Fill the Planner
Now, for the last part, you have to fill your planner with your book reading journey. You can get ideas from the internet about how you can track and plan for reading books. You can choose to fill your planner daily, weekly, or monthly. Also, list the books and books you want to buy and read. Log a review every time you finished reading a book. Make a list of the books you borrowed and the books borrowed from you. The ideas for your book planner are countless! Have fun planning and reading! Don't forget to bookmark!