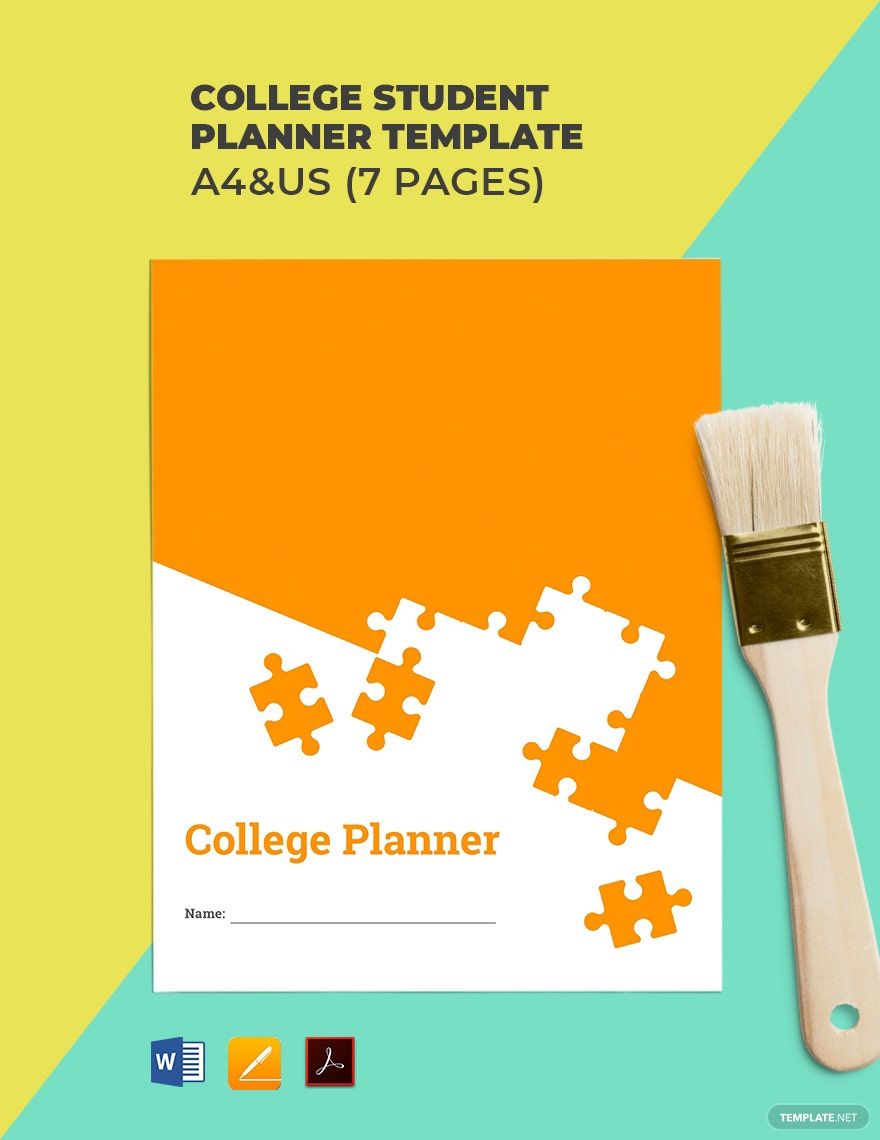
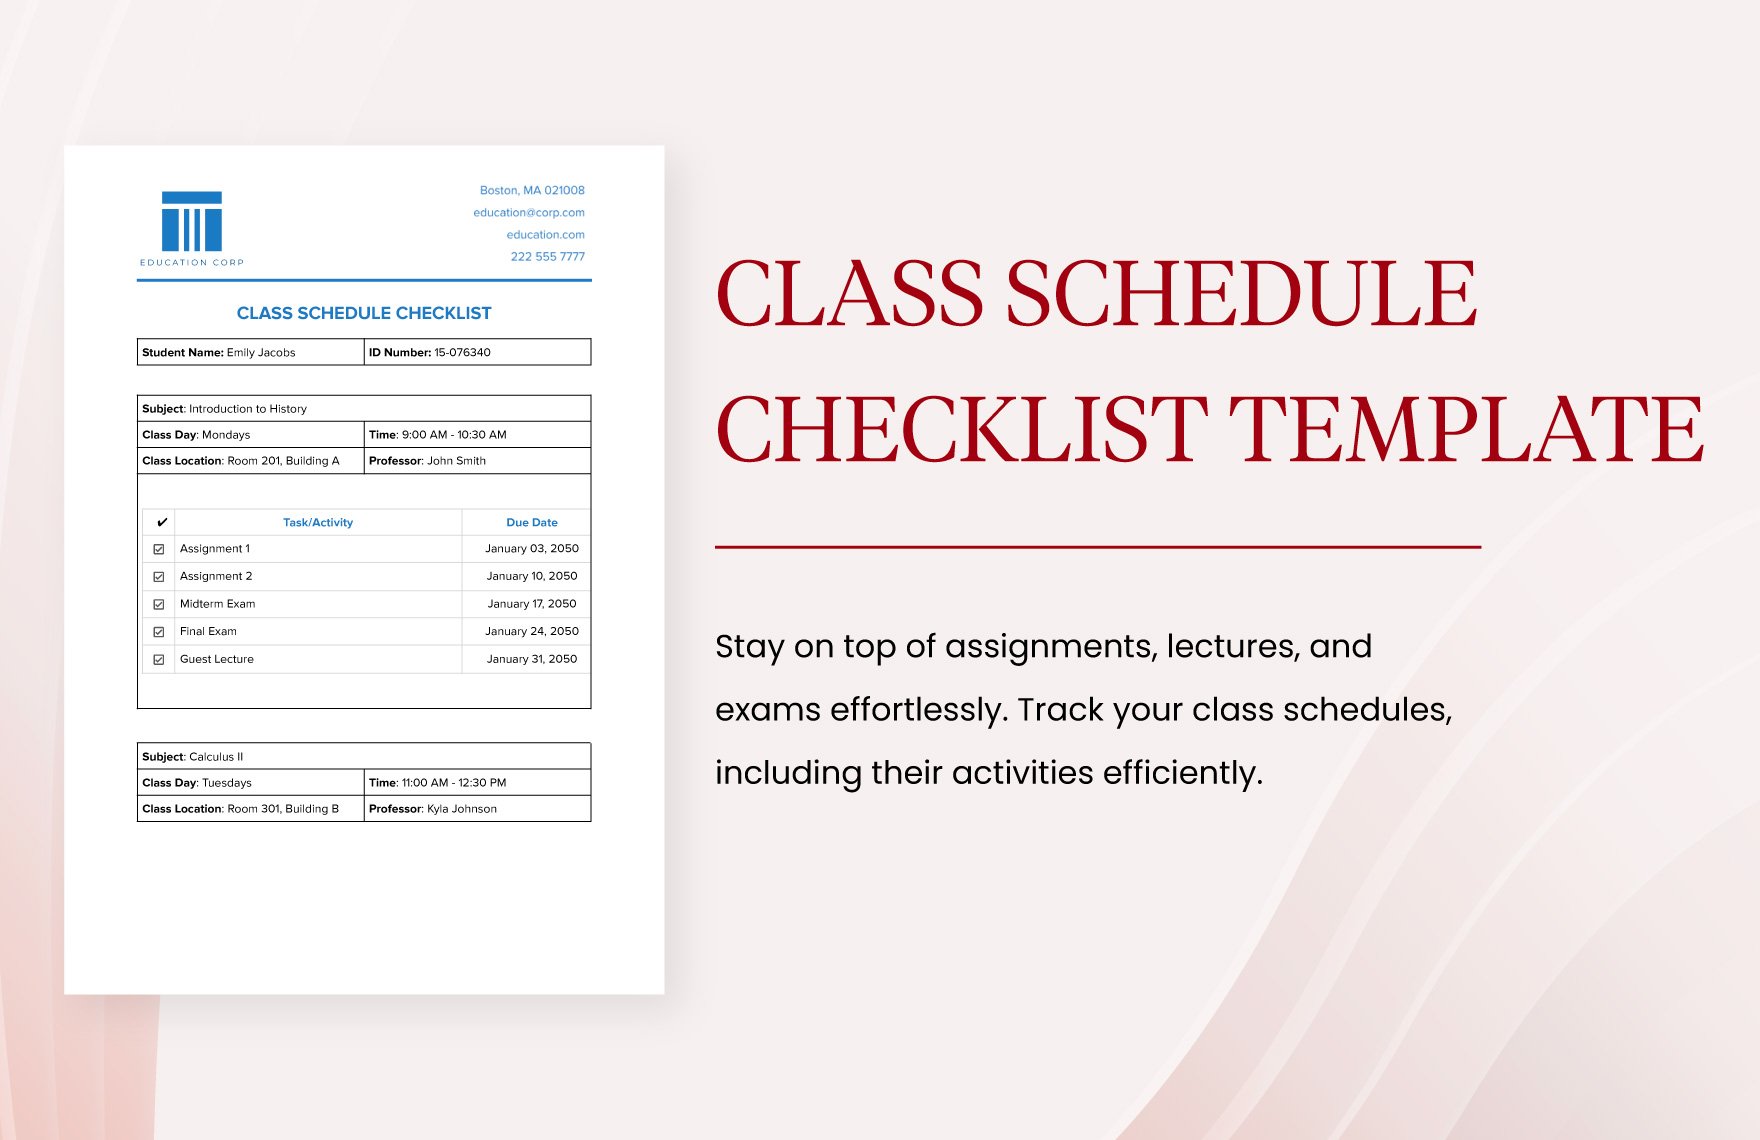
Procrastination is the best friend of every college student. The number of tasks and activities that college students get is at a peak during final terms. Typically, there is always the thought of not doing anything when all assignments are piling. You get distracted, exhausted, and unmotivated. So, if you are one of the college students that gets time wasted too often, we provide a solution to that! We offer Beautifully Designed, and Ready-Made College Planner Templates in MS Word. Aside from that, all of these files are available in A4 and US Letter sizes. So, what are you waiting for? Manage your time today!
How to Create a College Planner in MS Word
When you’re a college student, keeping up with both studies and recreation is not the most exciting part. You’re probably thinking of doing your homework while you’re out partying. It’s tough to keep the balance between social life and school. Most students get the burden of scheduling their activities right. But to keep students motivated is to create a comprehensive plan for daily or weekly schedule references. College planning, from examinations, group projects to co-curricular activities, must be given importance to. Without plotting schedules and to-do lists, it will affect time management. This kind of situation affects the mental and physical stability of students. That is why we help you manage your time wisely by listing down steps in creating a college planner using MS Word.
1. Prepare Your Planner
You will first need to have a planner template. To start with, open your Microsoft Word application, then set the page to a new blank document. In this way, you will have the freedom to create from scratch. But if this process is too time-consuming, our website offers ready-made planner templates you can easily download. Once you download the template, you can customize it according to your preference. Do this by clicking the Template tab from the Manage list button. Now, you have a template you can enjoy.
2. Add Your Contact Info
After preparing your template, the next step is writing your contact information for identification. It may be a simple process, but it will eventually help. On the cover page, write your name, address, school, and contact number. You can also add a note saying, “Please Return If Found”. Make the font size readable and in bold. Choose any typeface you want. Don’t forget to check if the information are updated.
3. Record Your Plans
Next, you need to map out your schedule, write down what’s brewing ahead, and create a list of goals. Take note that you are not limited. You can write down an hourly or weekly schedule organizer. It depends on how you value your time. Don’t forget to put the proper label at the header of every tracker. This serves as your guide that you are on the right page. Most professionals will suggest you use Helvetica. But there is an exemption when you are doing it for personal use. So, use any easy to read typeface of your preference.
4. Unleash Your Creativity
Be creative when doing your planner. In this way, you will enjoy opening it from time to time. For your monthly schedules, make sure to prepare a calendar in one of the first few pages. You can color-code each date that you are free or busy. Use shapes, emoticons, colors, and other craft ideas. With this, you can easily track down your progress and priorities. But to avoid confusion, you can set a page for your legend.
5. Save and Use It
When you finish applying all the essential elements, start saving your file. Save it before rechecking it. So, if there are changes, you have a back-up to go back to. You can update your schedule as you want. Once done, you can start using it. There are two ways you can follow: print your file or use it digitally.

