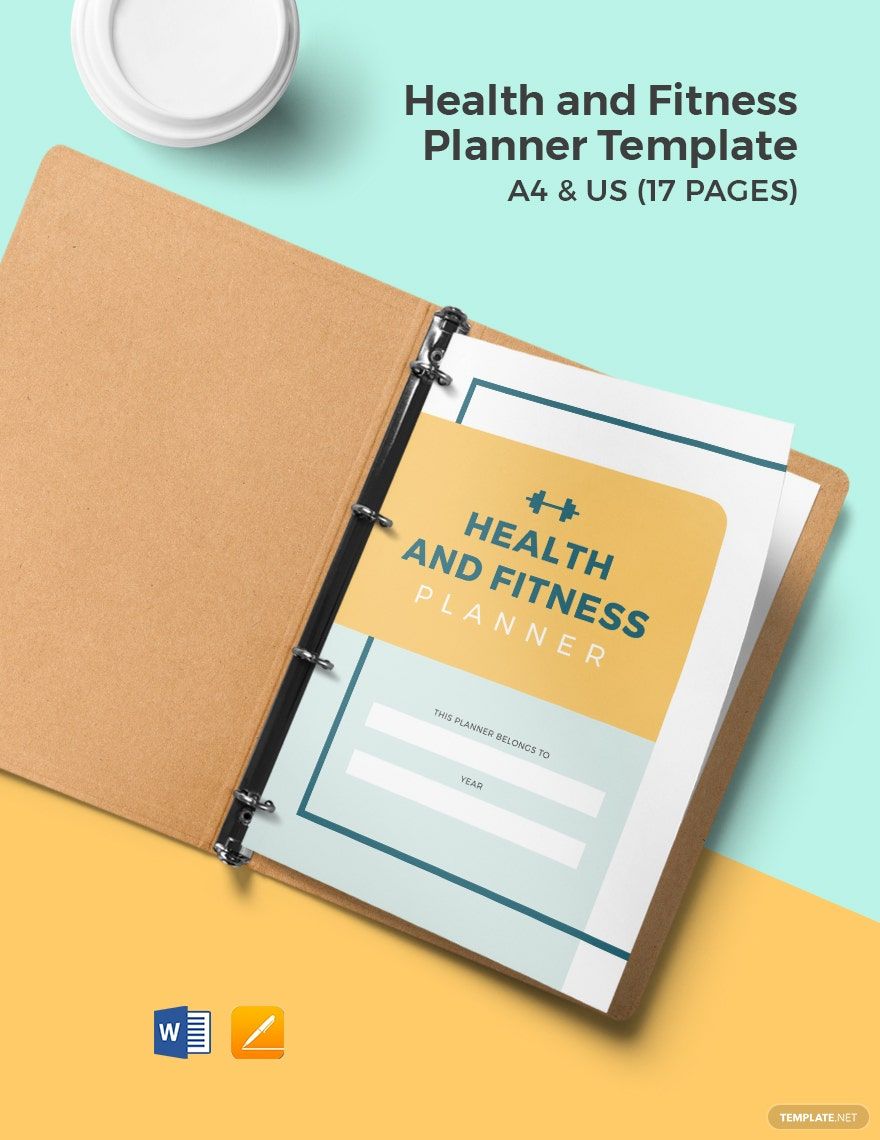
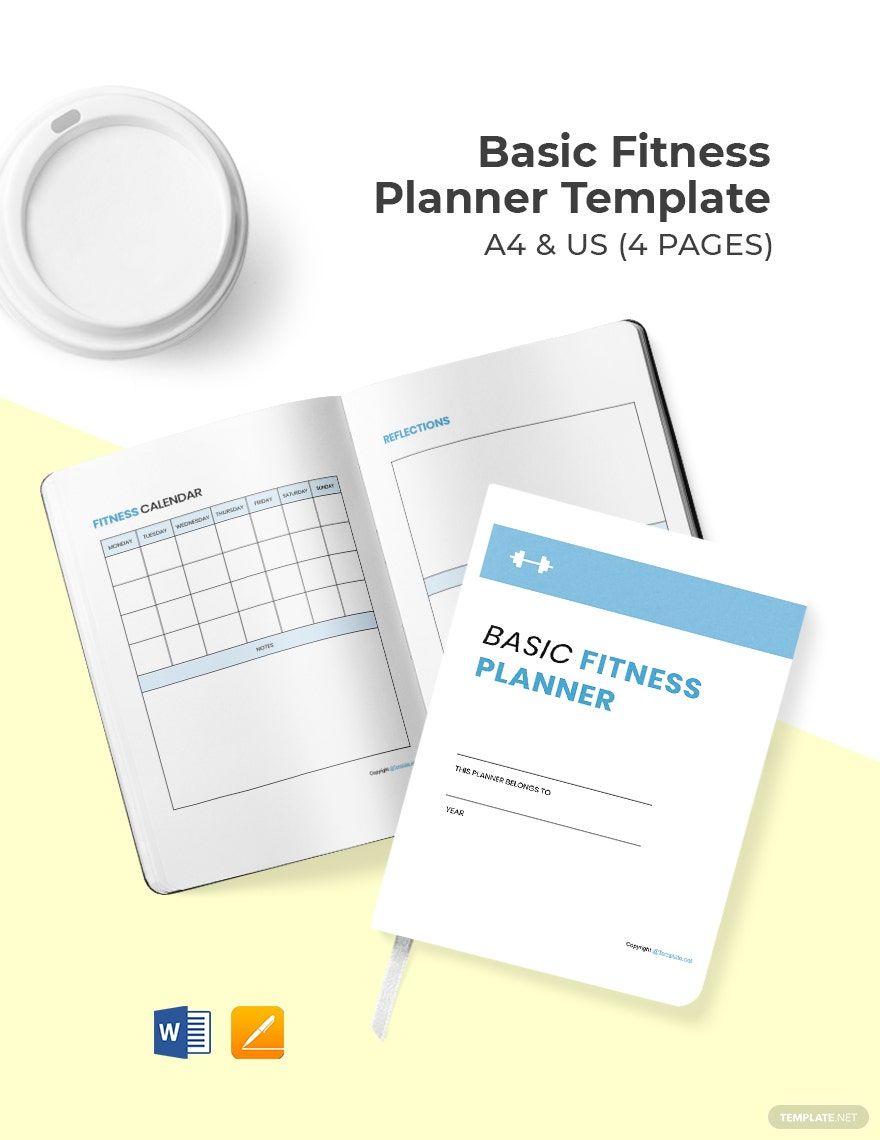
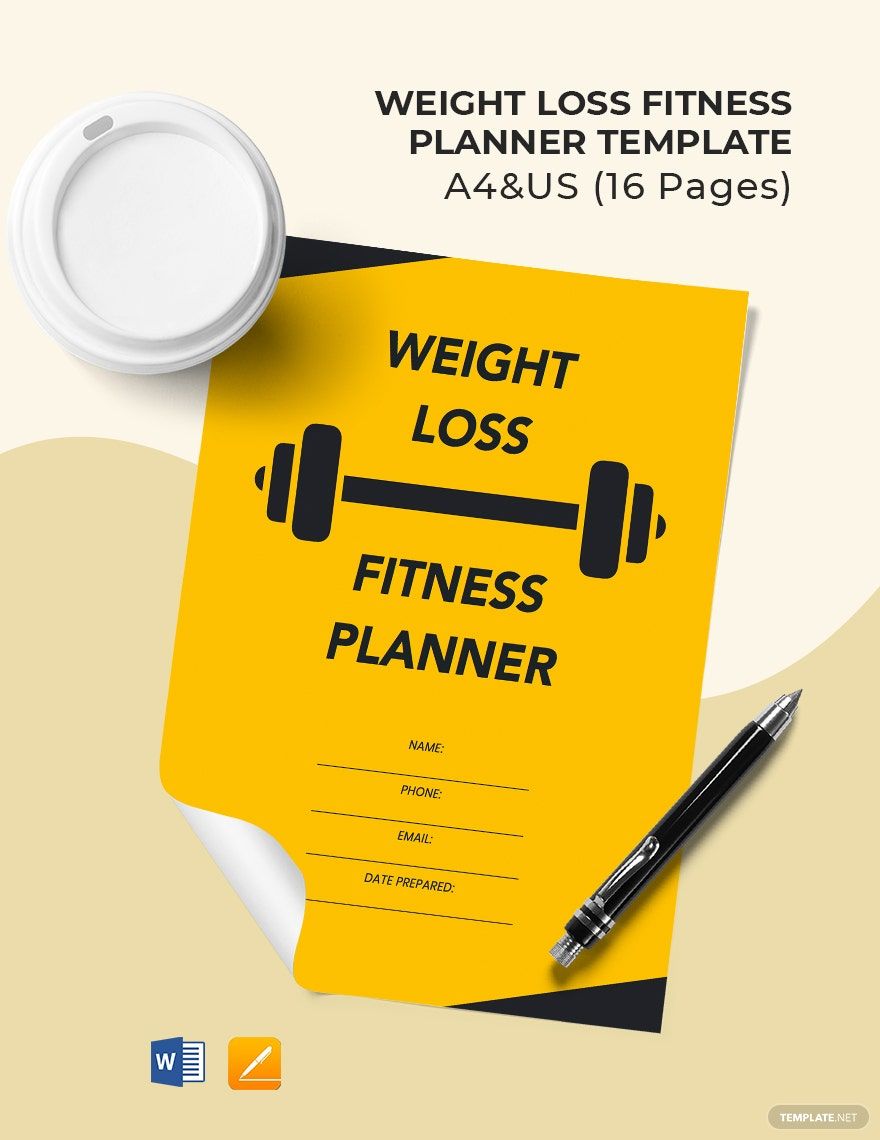
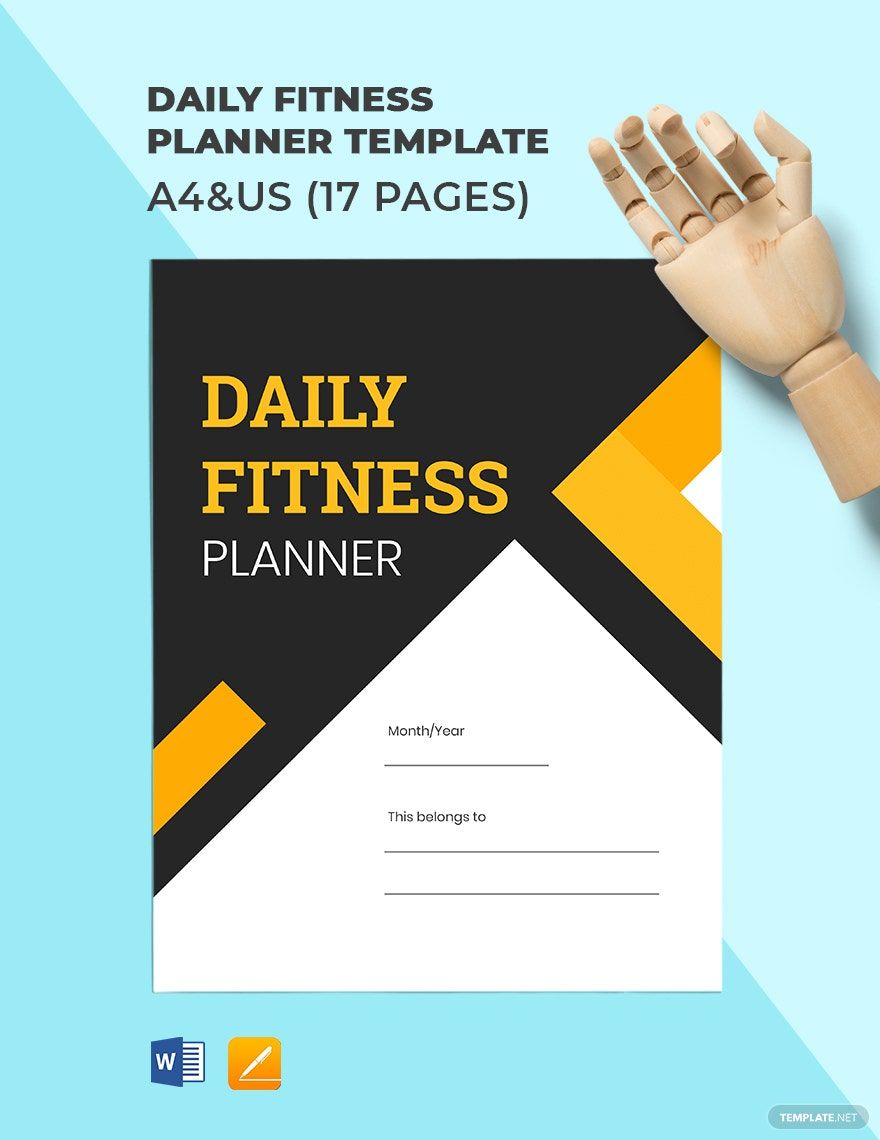
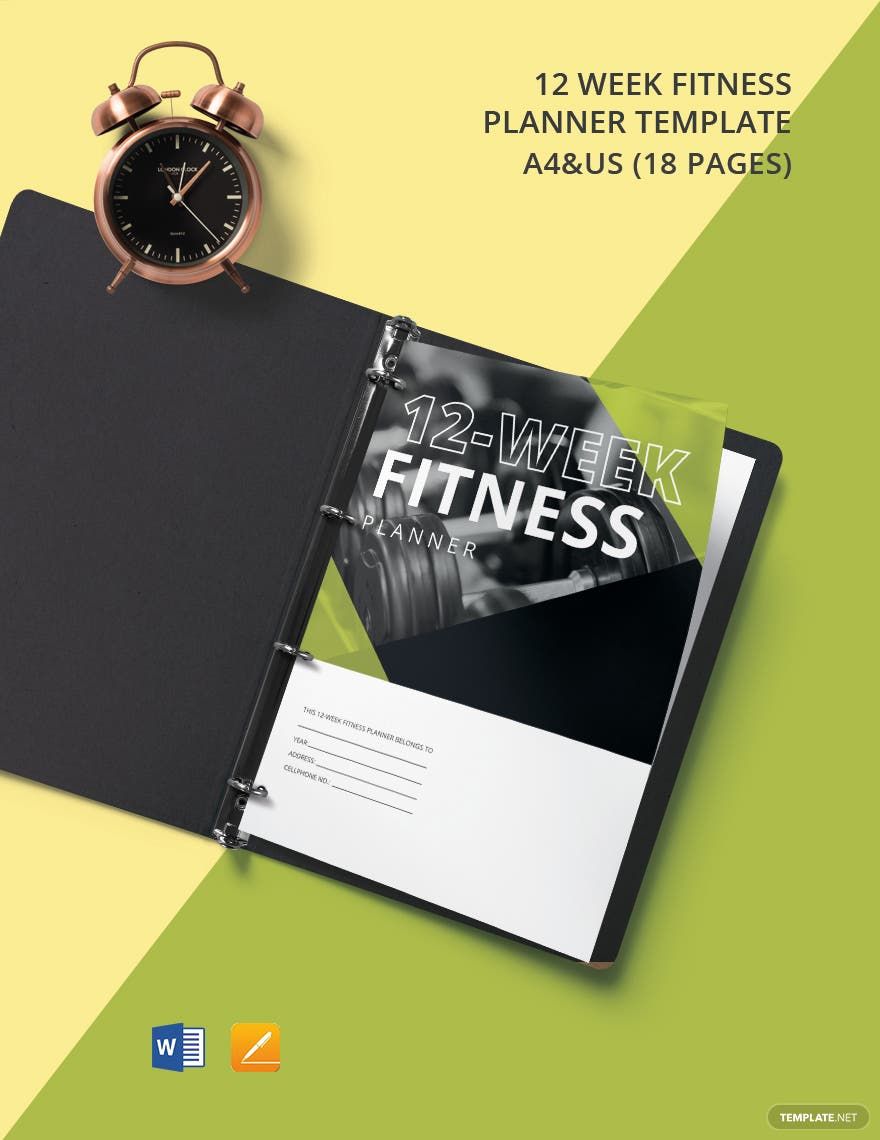
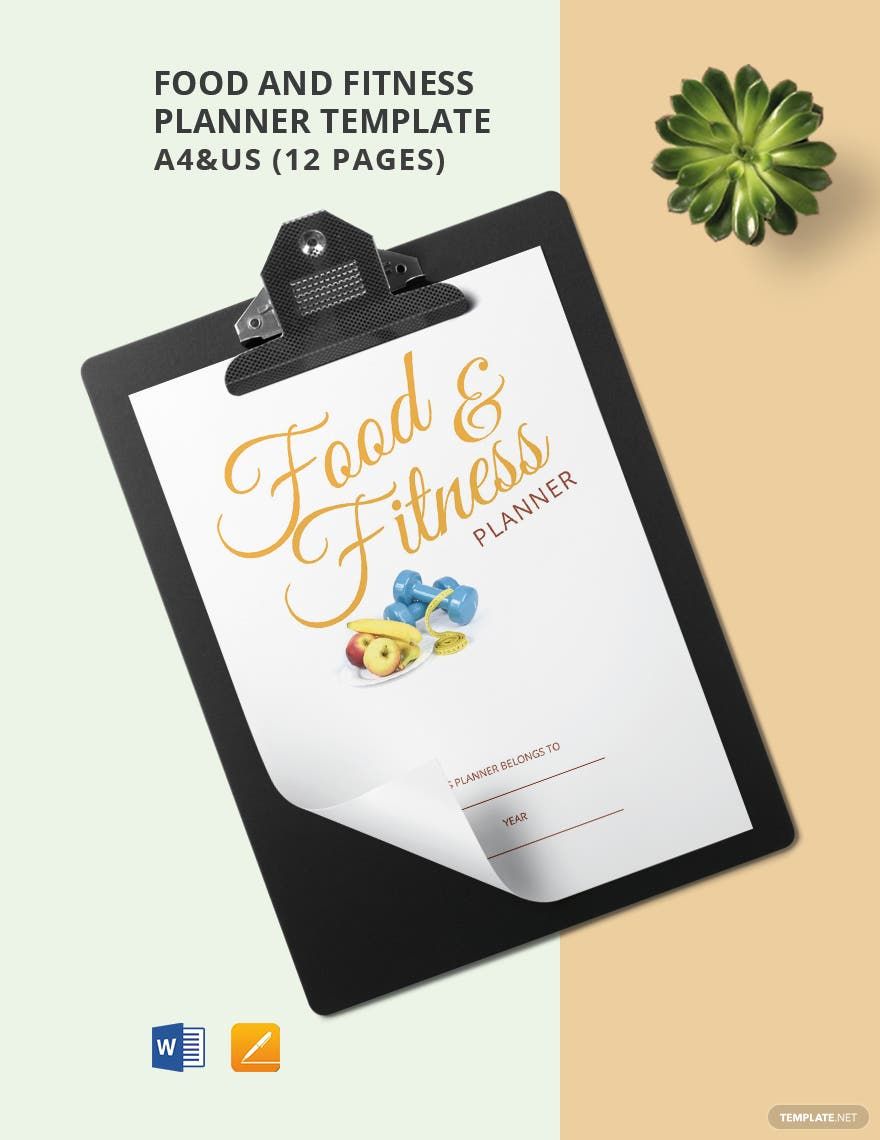
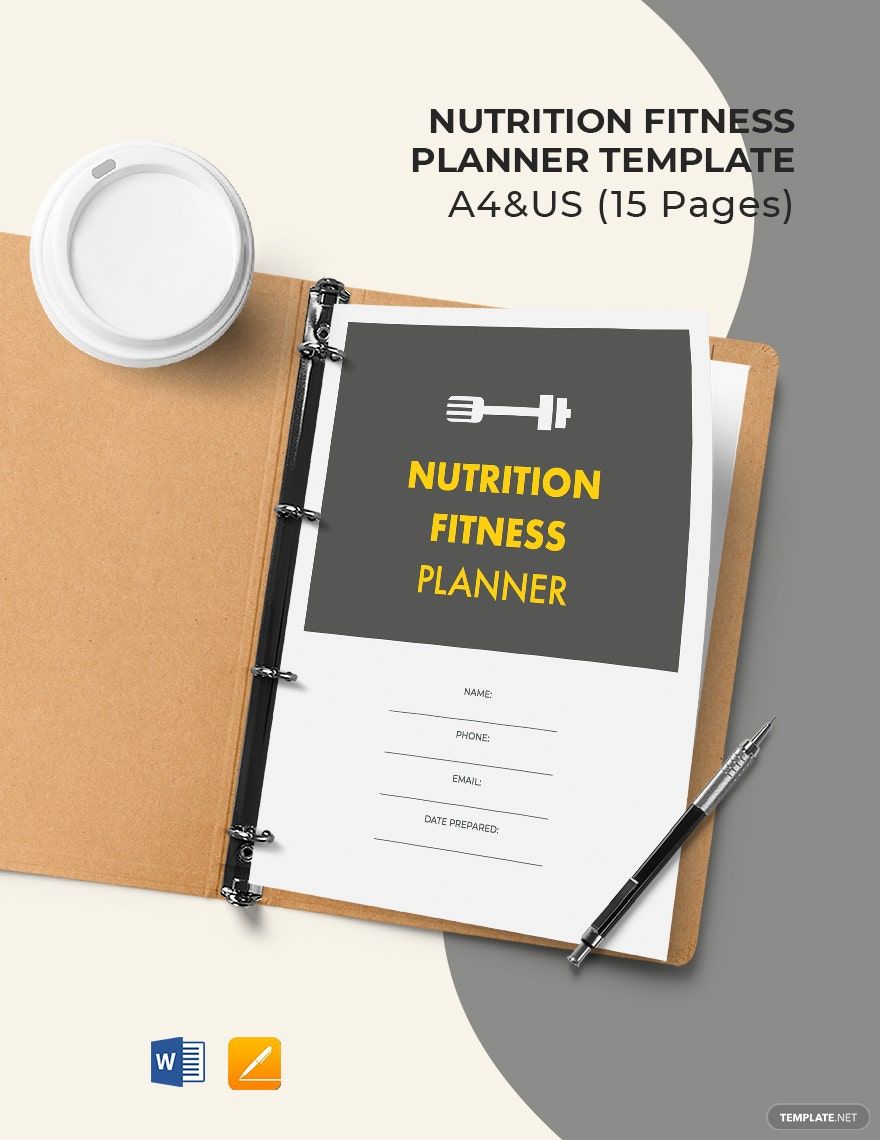
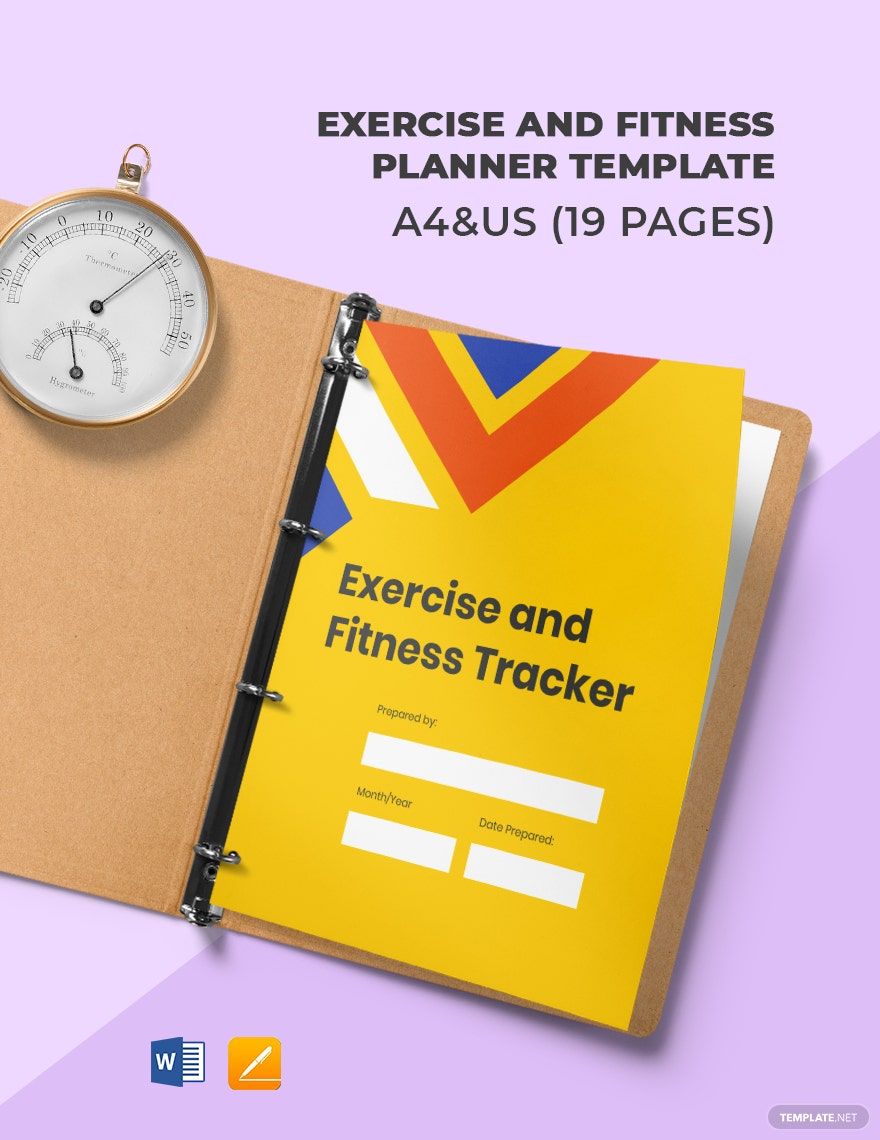
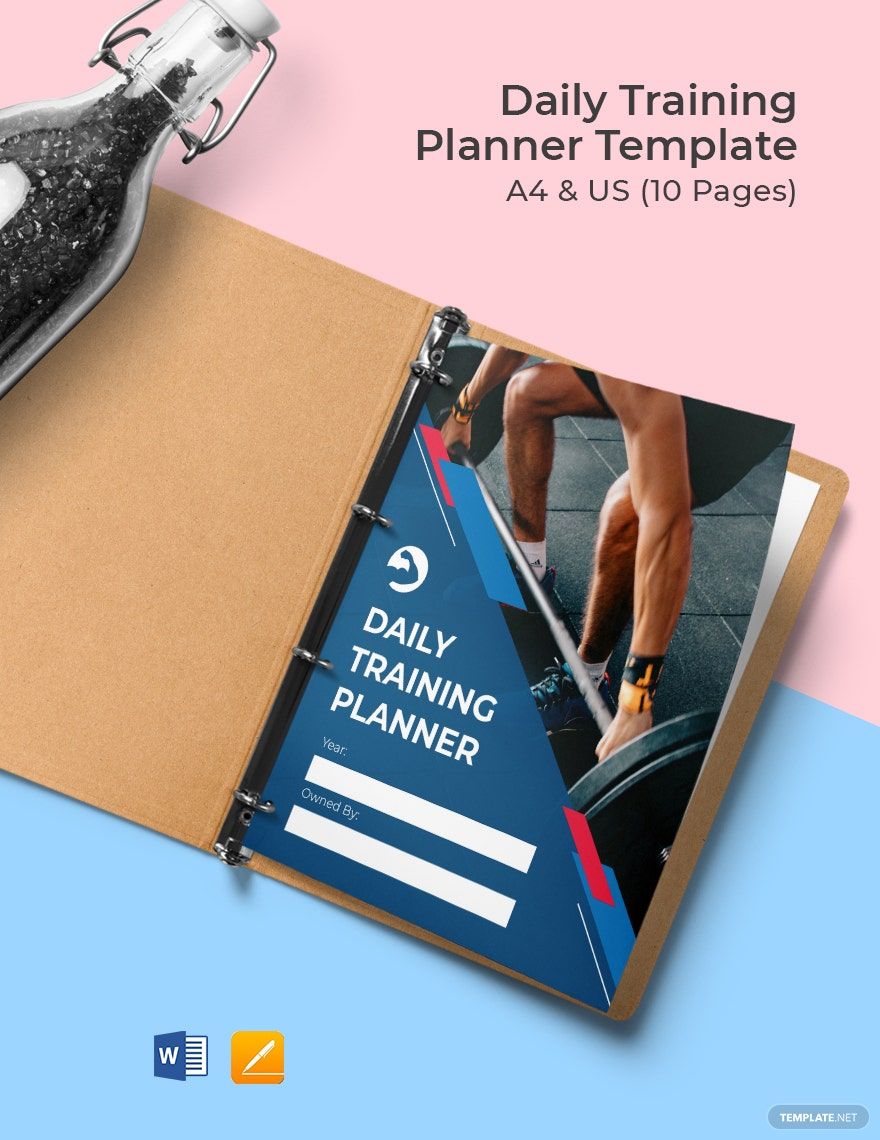
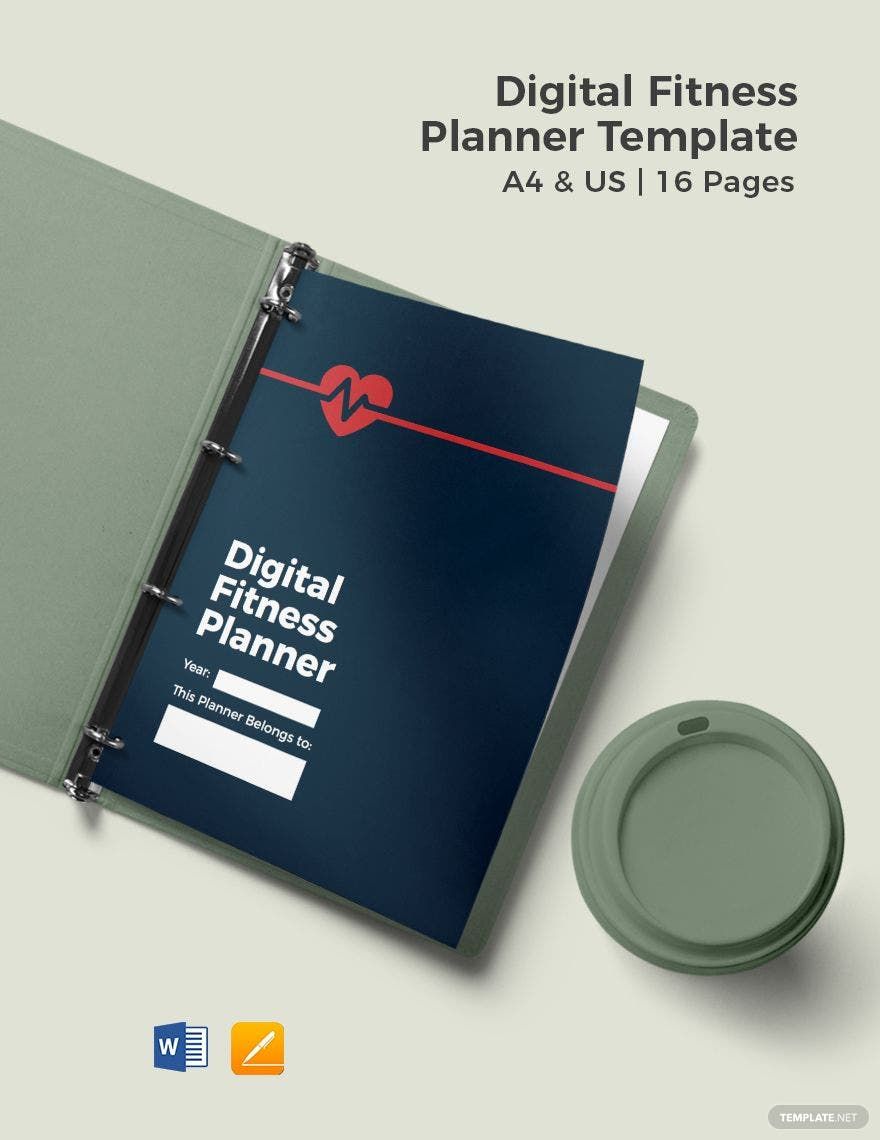
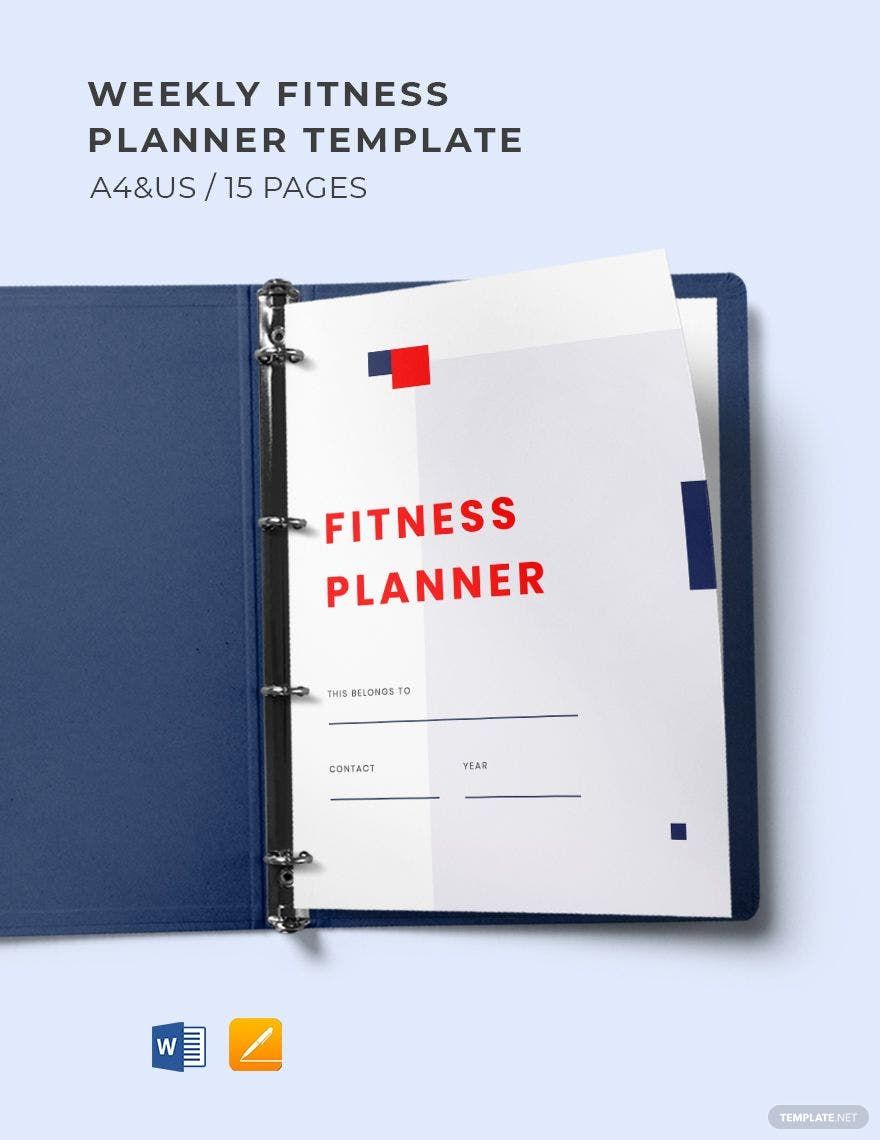
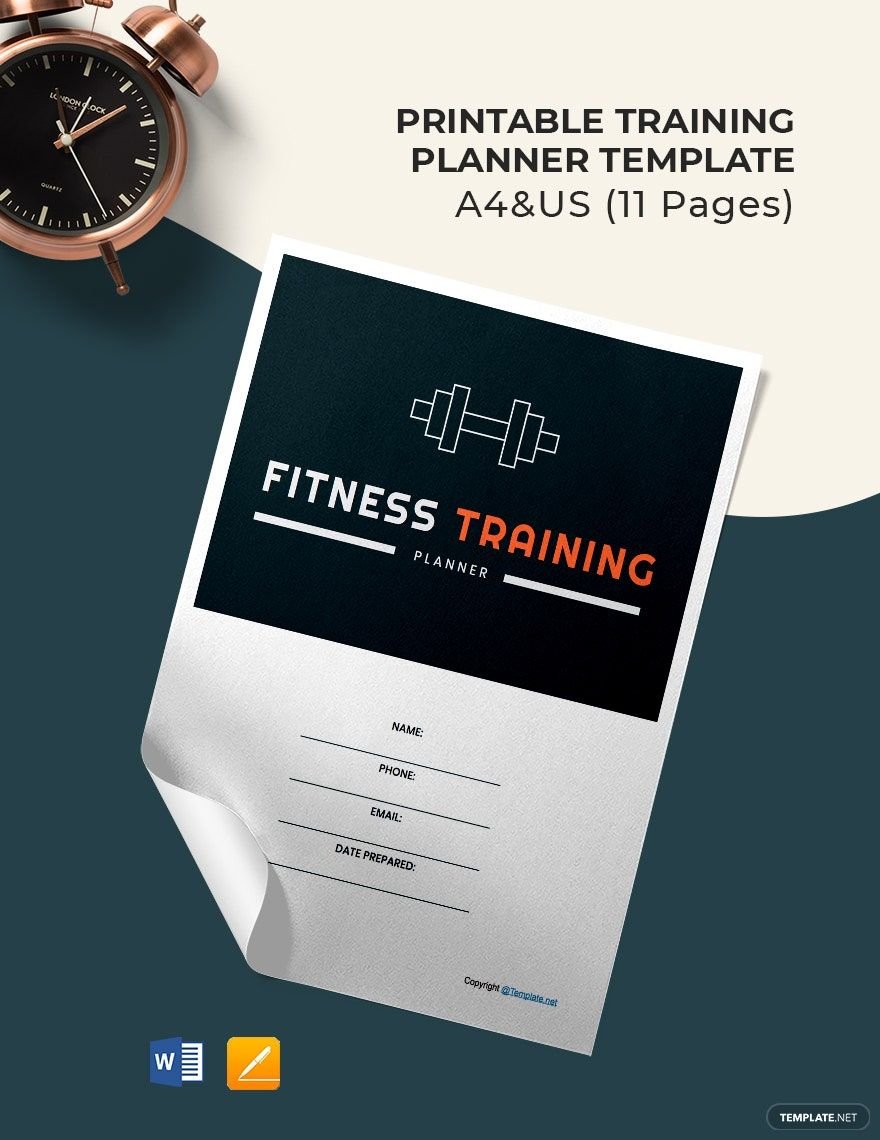
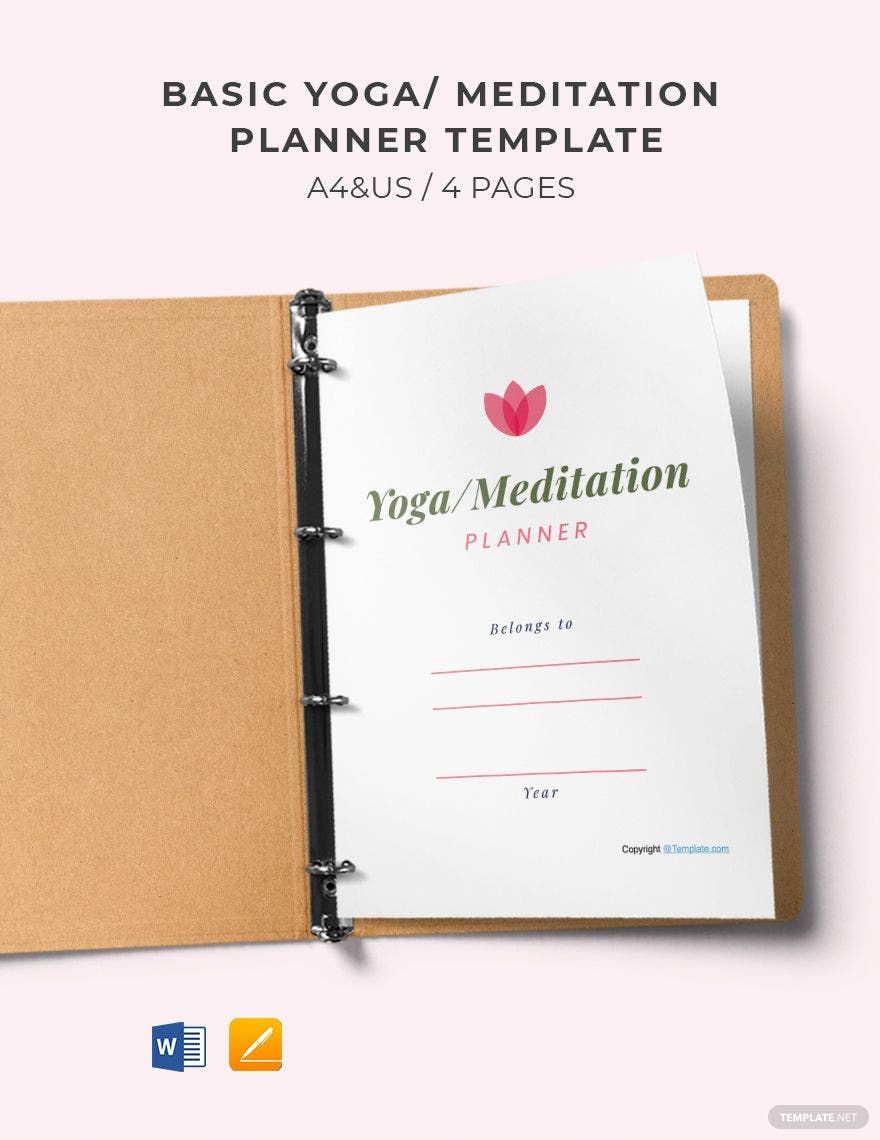
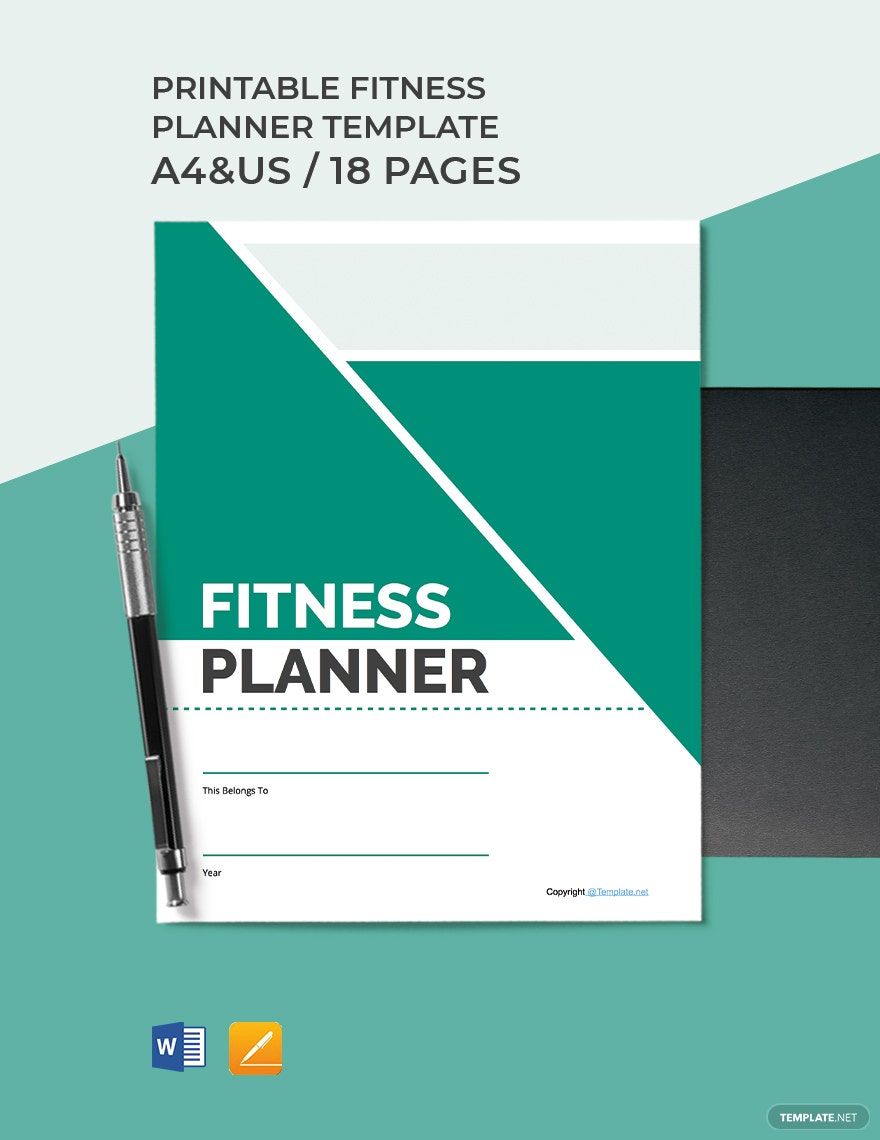
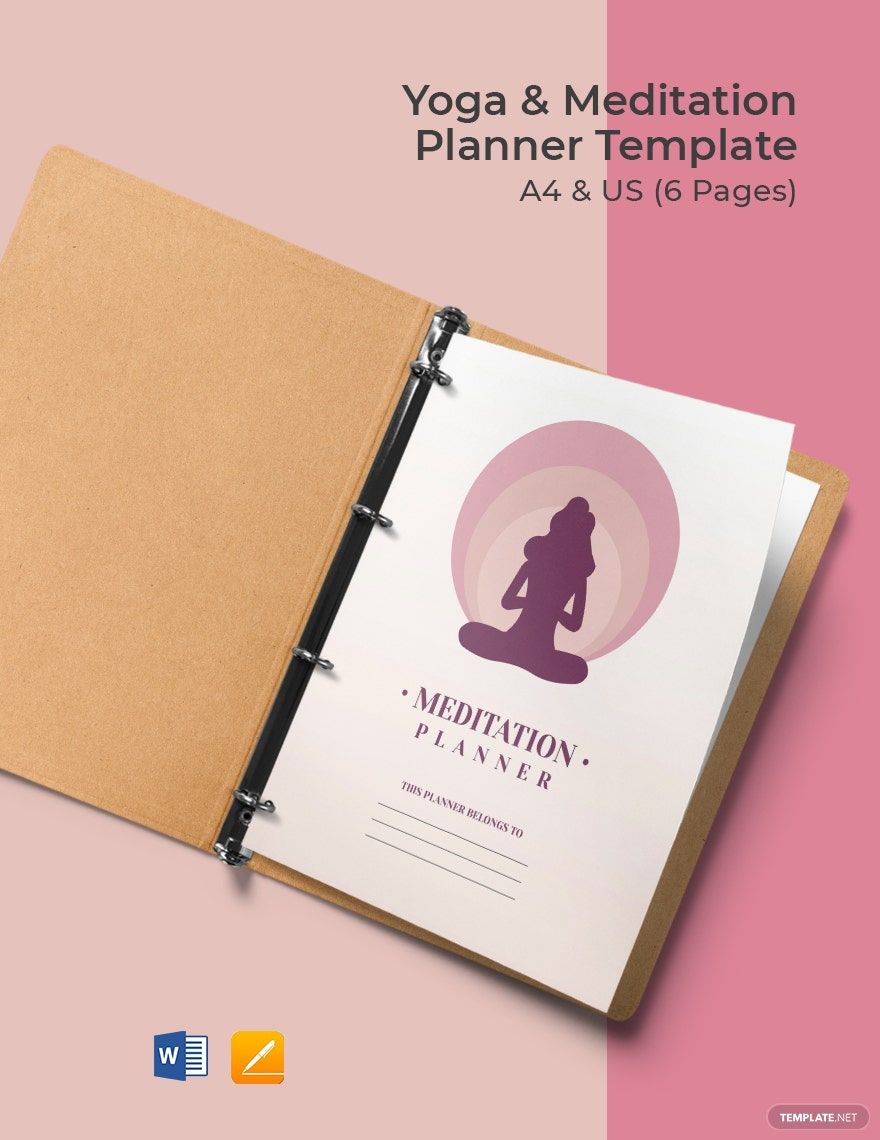
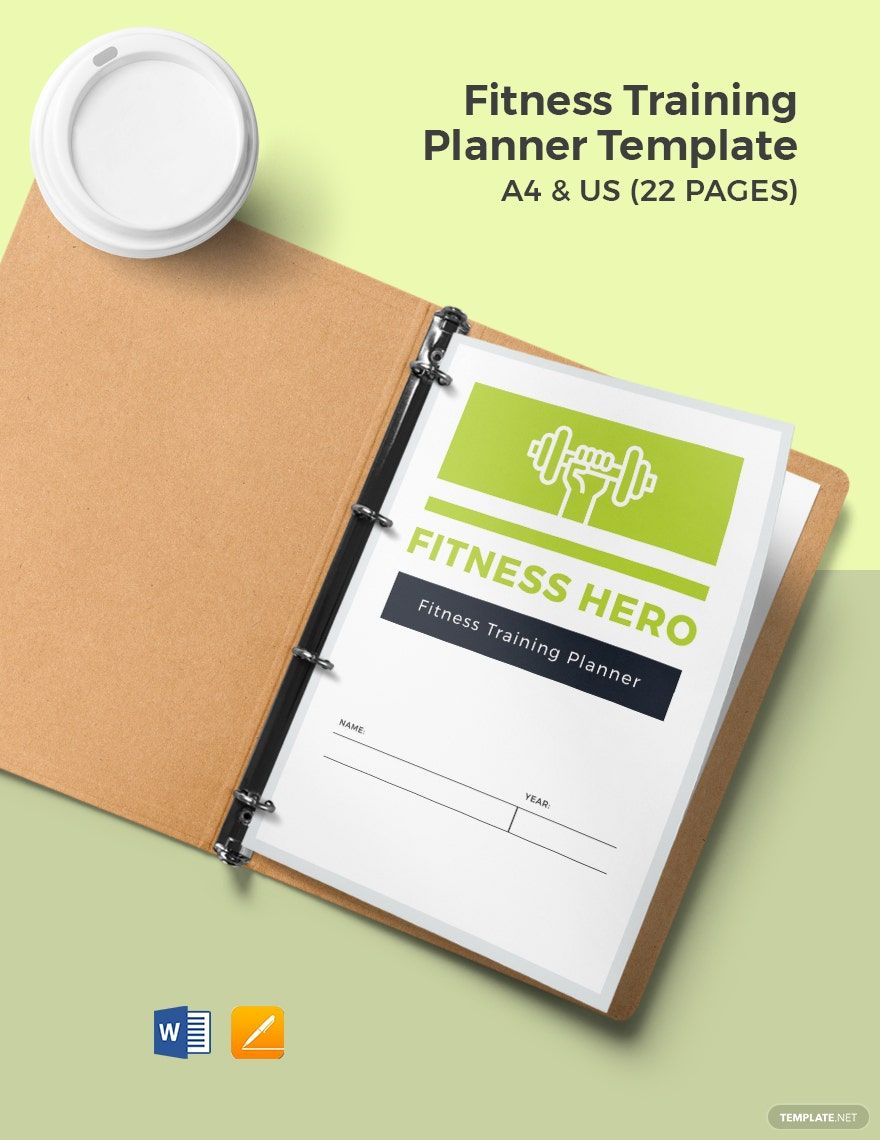
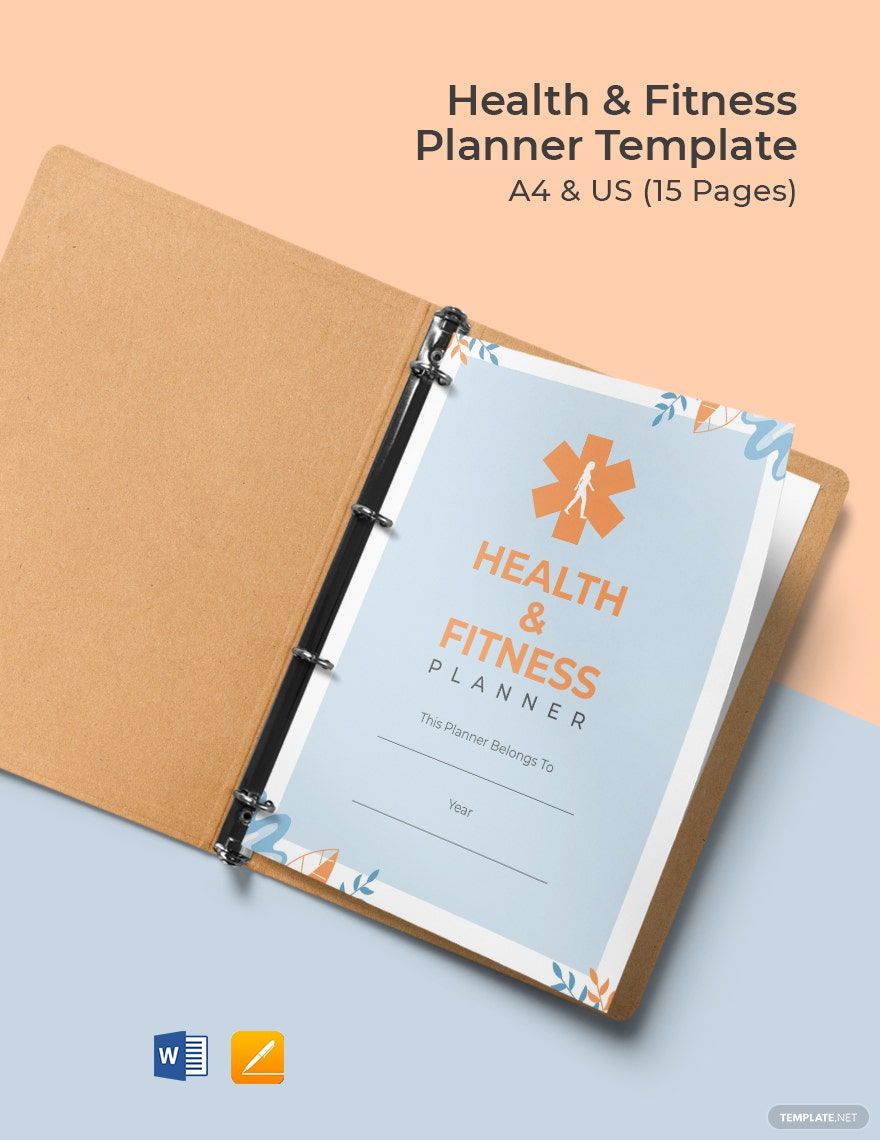
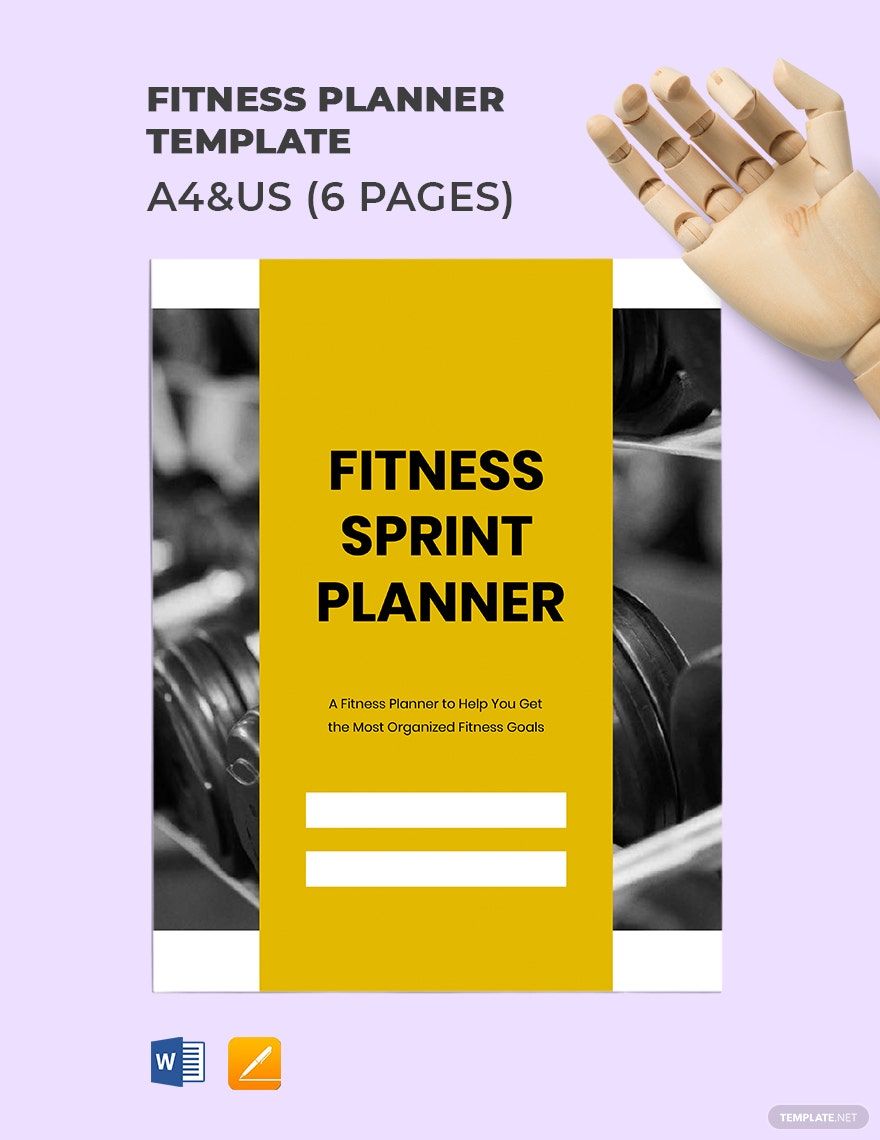
Exercising regularly and engaging in physical activities is essential for your bones and muscles to become strong. It improves your overall health and reduces the risk of heart disease, diabetes, and cancer. It keeps your body in shape too. Are you following an exercise program to achieve a healthier lifestyle? Keep track and monitor your developments with our Ready-Made Fitness Planner Templates in Apple Pages and Microsoft Word. These templates are instantly downloadable and printable for your convenience. They're professionally-made and contains original content, artwork, and fonts that are editable and 100% customizable. Available in A4 and US Letter sizes. So, hurry and download our Fitness Planner Templates now!
How To Make A Fitness Planner In Apple Pages
According to a study, 11 million people die due to a poor diet every year. To achieve a healthier lifestyle, you need to start eating healthy and doing regular exercise. And once you start your fitness journey, you must keep track and monitor your daily food intake and exercises. By doing so, it's easier for you to see whether the food you eat and your training exercises have made improvements for your body. This is where a fitness planner comes in.
A fitness planner is a small book or binder where you input your fitness plans. You use it to log your daily activities and whatsoever. It serves as a guide and a reminder at the same time. If you're using a Macbook, iPad, or any other Apple devices, continue reading to find out how you can make a fitness planner using Apple Pages.
1. Decide between a Daily, Weekly, or Monthly Planner
First things first, you need to choose between a daily, weekly, or monthly planner because the layout of your planner would depend on this. Understand why you need to use a planner and when will you usually use this to find out what sort of planner do you need.
2. Categorize the Pages
Divide your pages into different categorize; calendar, workout tracker, meal plan, progress, and notes. The number of pages that you need for each category depends on the type of planner that you choose and the category itself. For example, if you choose to make a monthly planner, then your calendar category would need 12 pages of your planner since there are 12 months in a year, and you need one page for each month.
3. Add a Table of Contents
Putting a table of contents on your planner would help you locate different categories easily. Since you've already sorted out the different categories and pages you need earlier, creating your Table of Contents becomes easy. To insert a Table of Contents in Apple pages, click Insert/Table of Contents from the Menu bar, then choose what type of Table of Contents do you want to insert. Choose the Document type to apply the table to your whole document. After you've inserted and formatted your Table of contents, Pages will create and update the table automatically for you after applying styles to your text.
4. Create Tables
Use tables to create different sections for every page. For instance, your meal plan category. For every page of your meal plan, create a table that is categorized by date and time, name, and description. This way, it's easy for you to identify what you need to eat for a certain date and time. Do the same thing for your workout tracker, but provide an extra row to make it as your checklist.
5. Be creative
Lastly, design your planner. You want to be inspired every time you use your planner, so make it look aesthetically pleasing. Use calligraphy for your labels. Be sure to include inspirational and motivational quotes to make yourself more inspired and motivated.