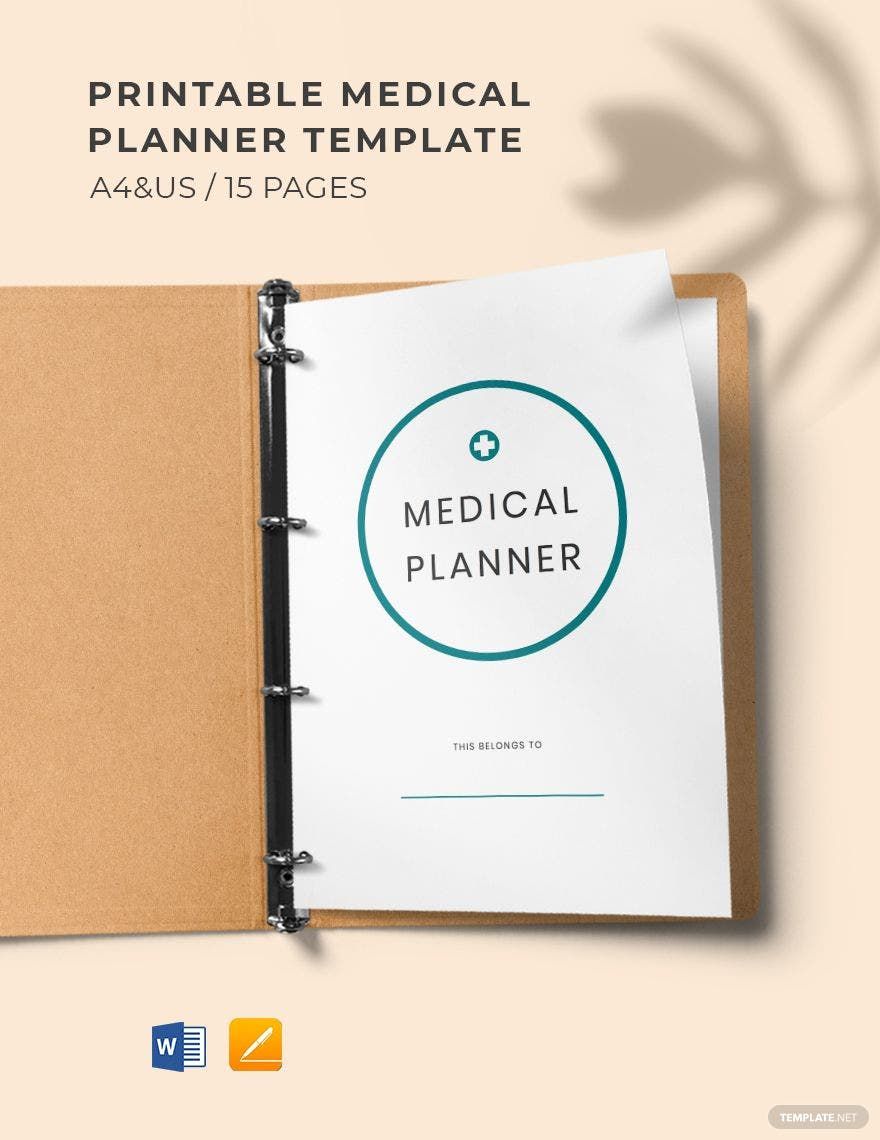
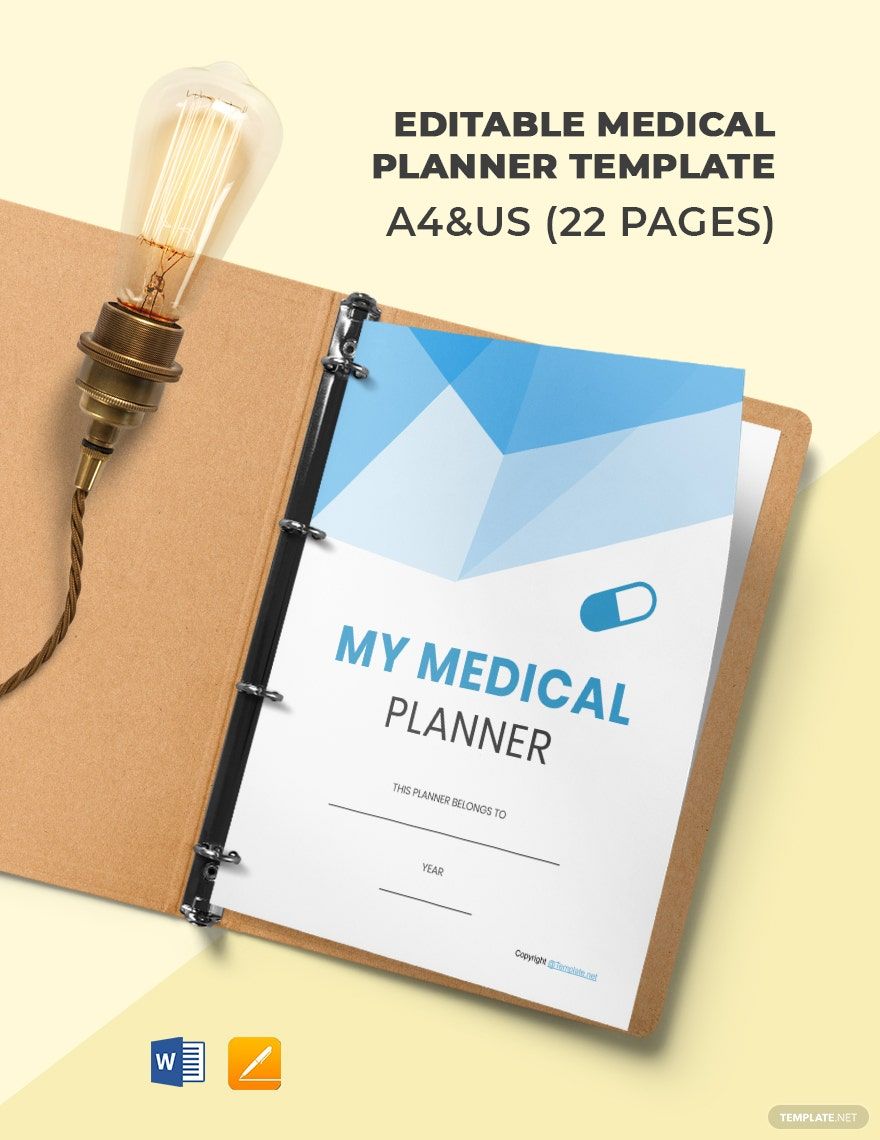
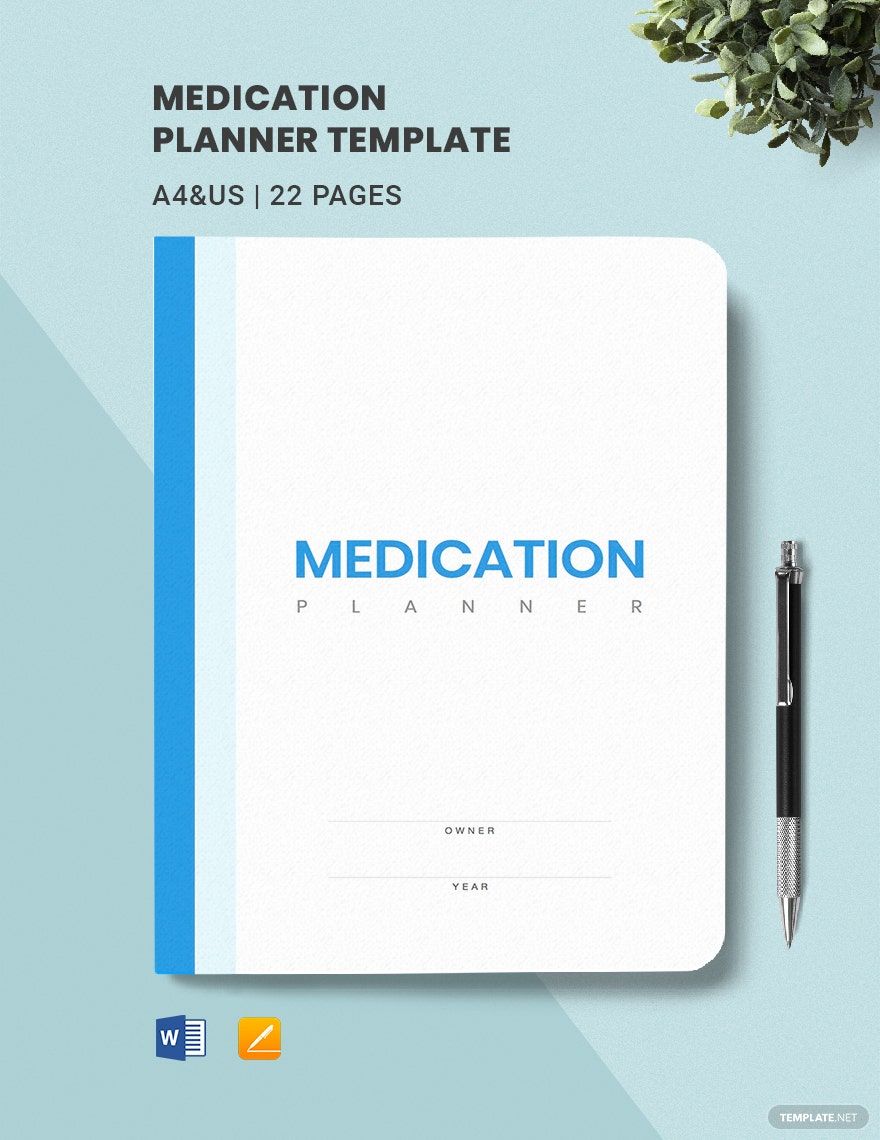
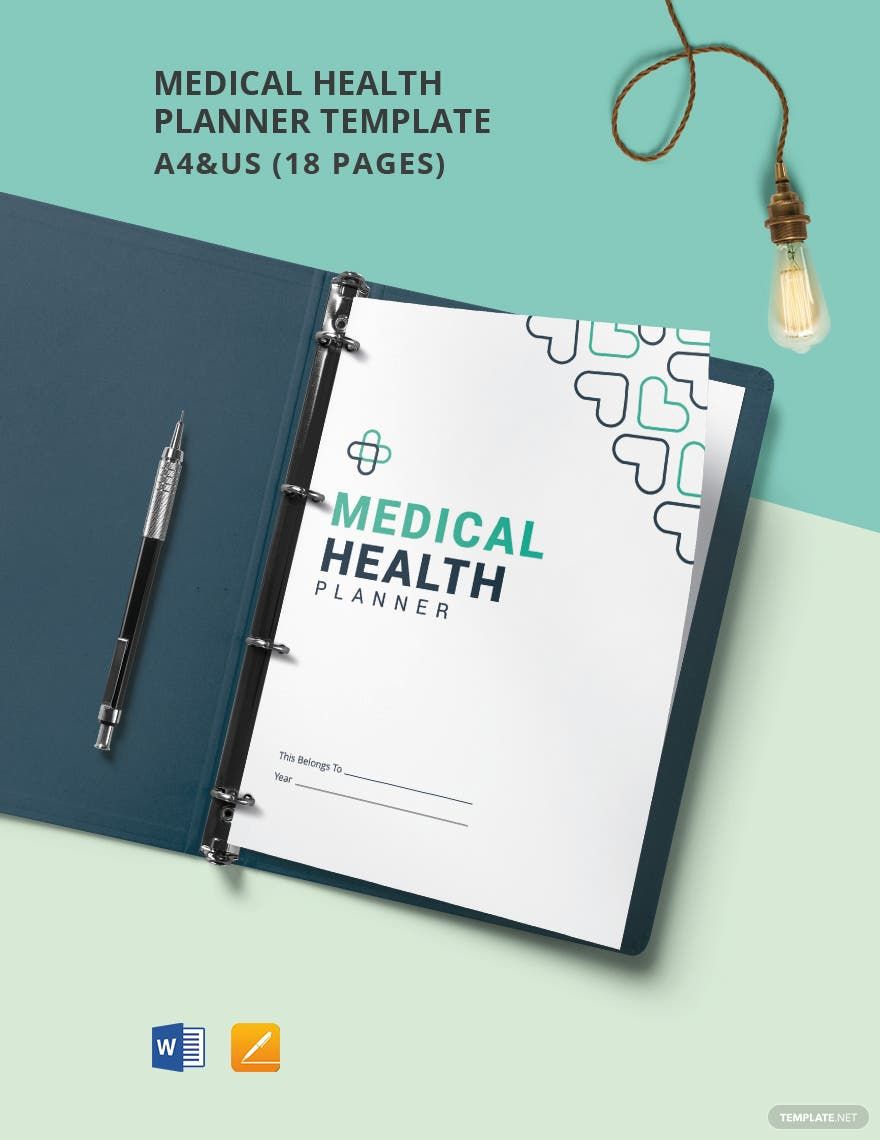
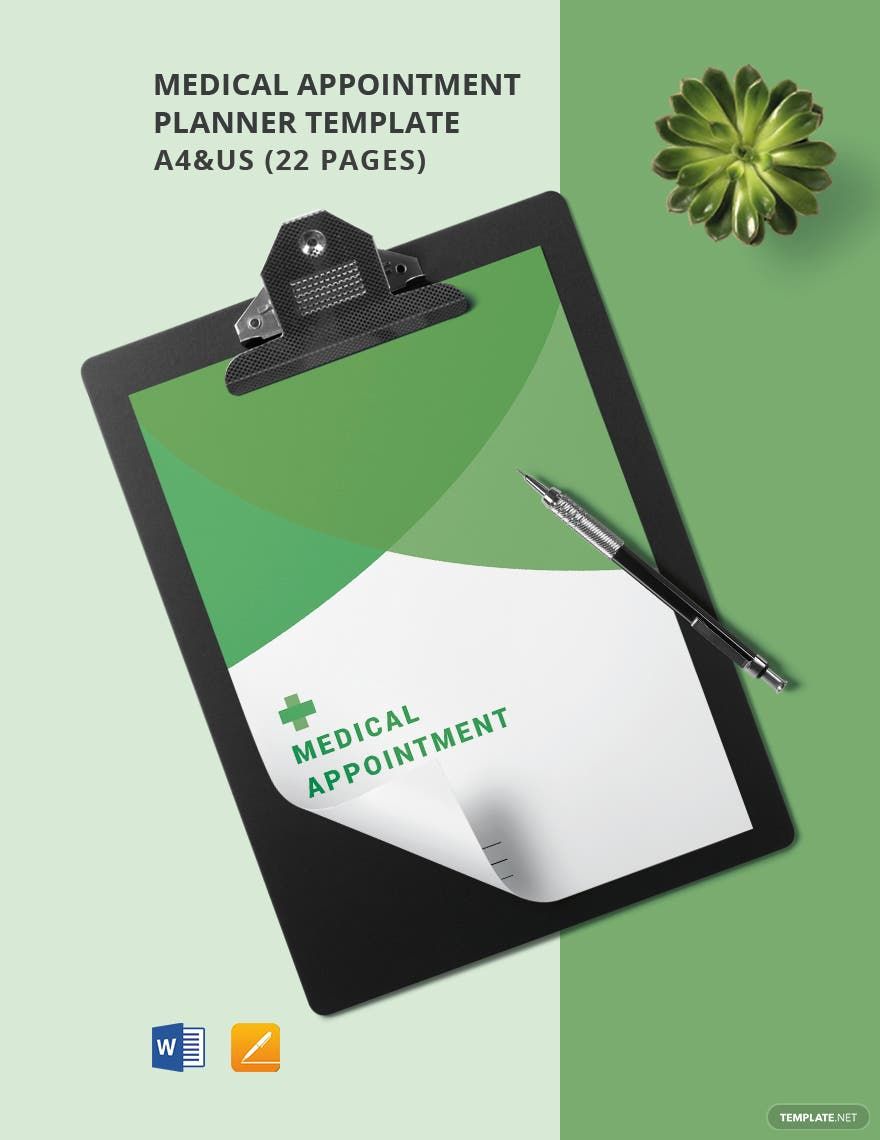
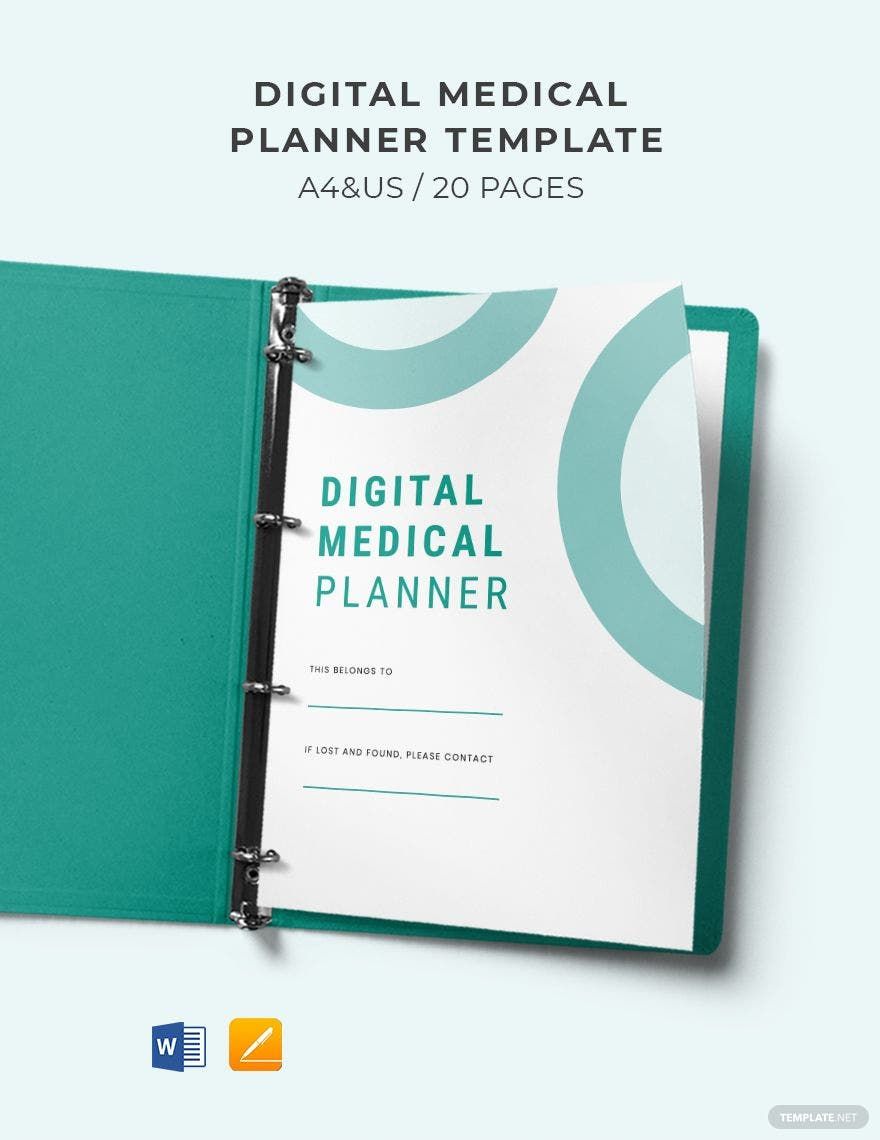
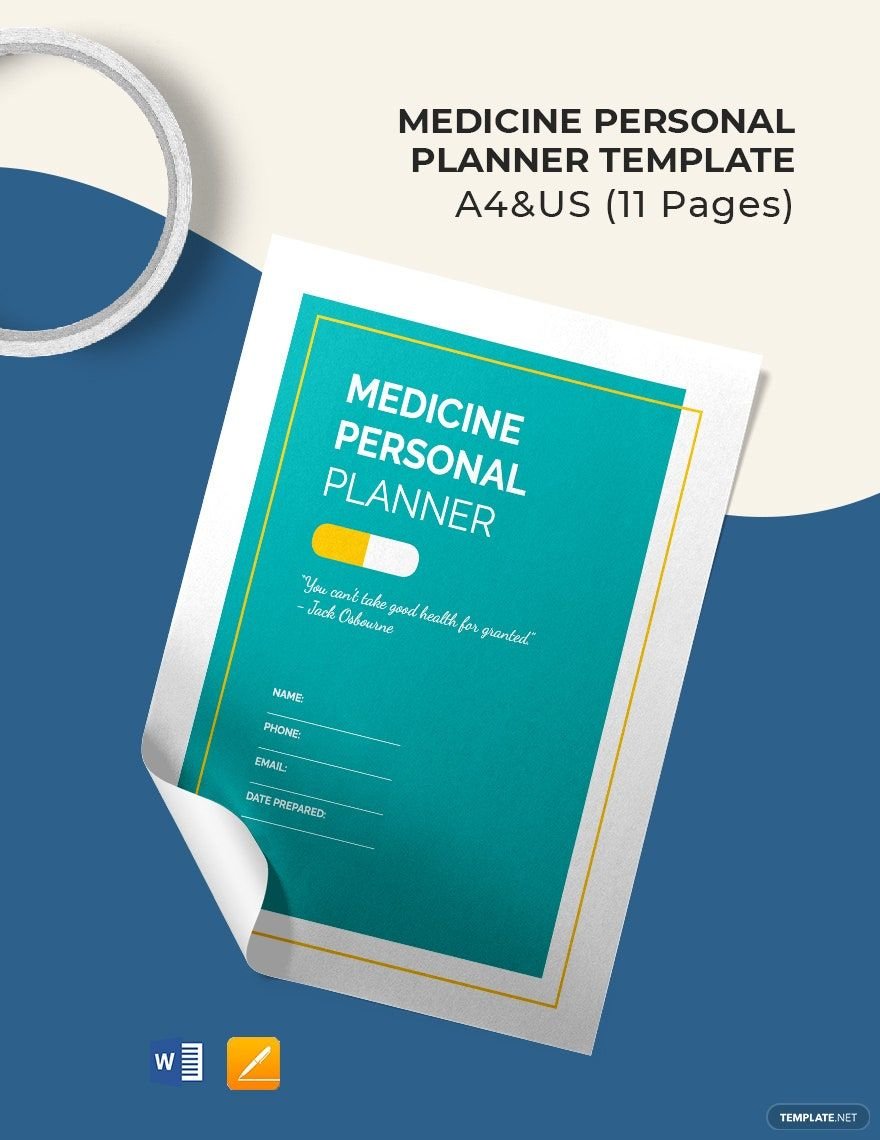
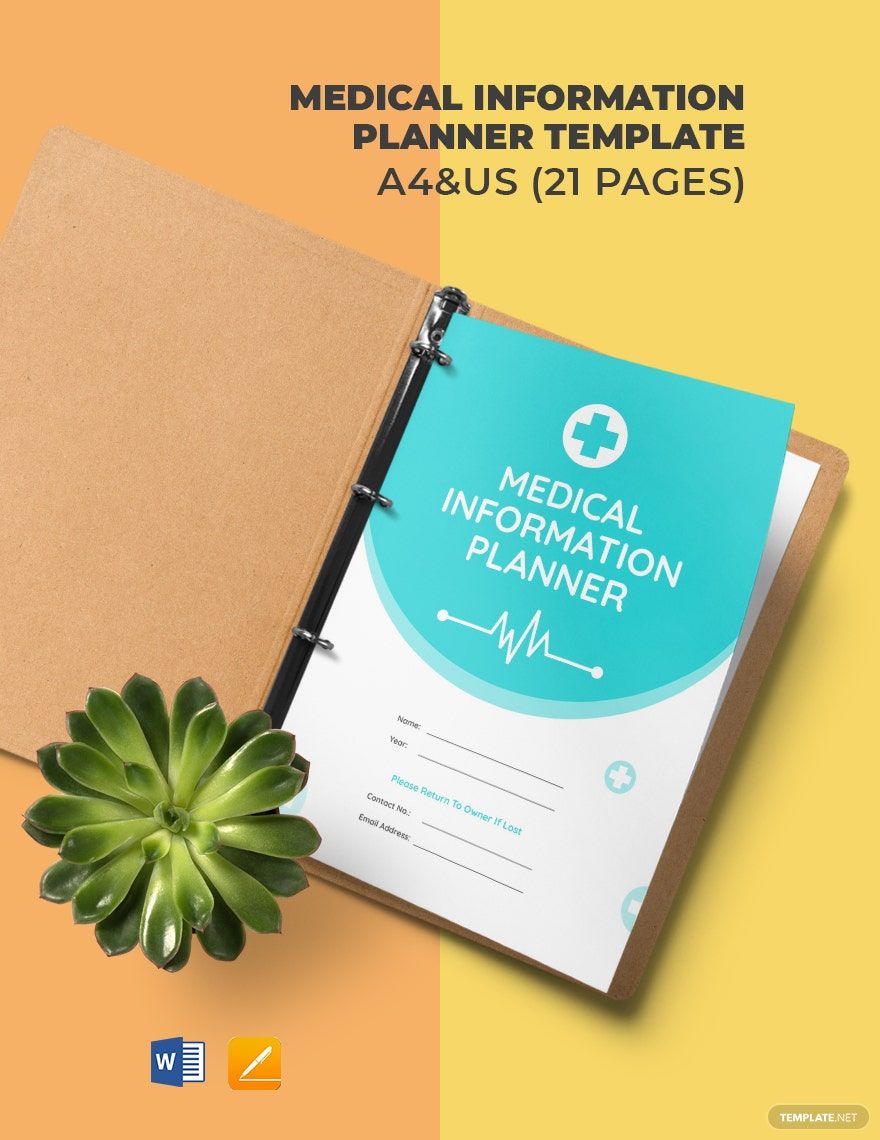
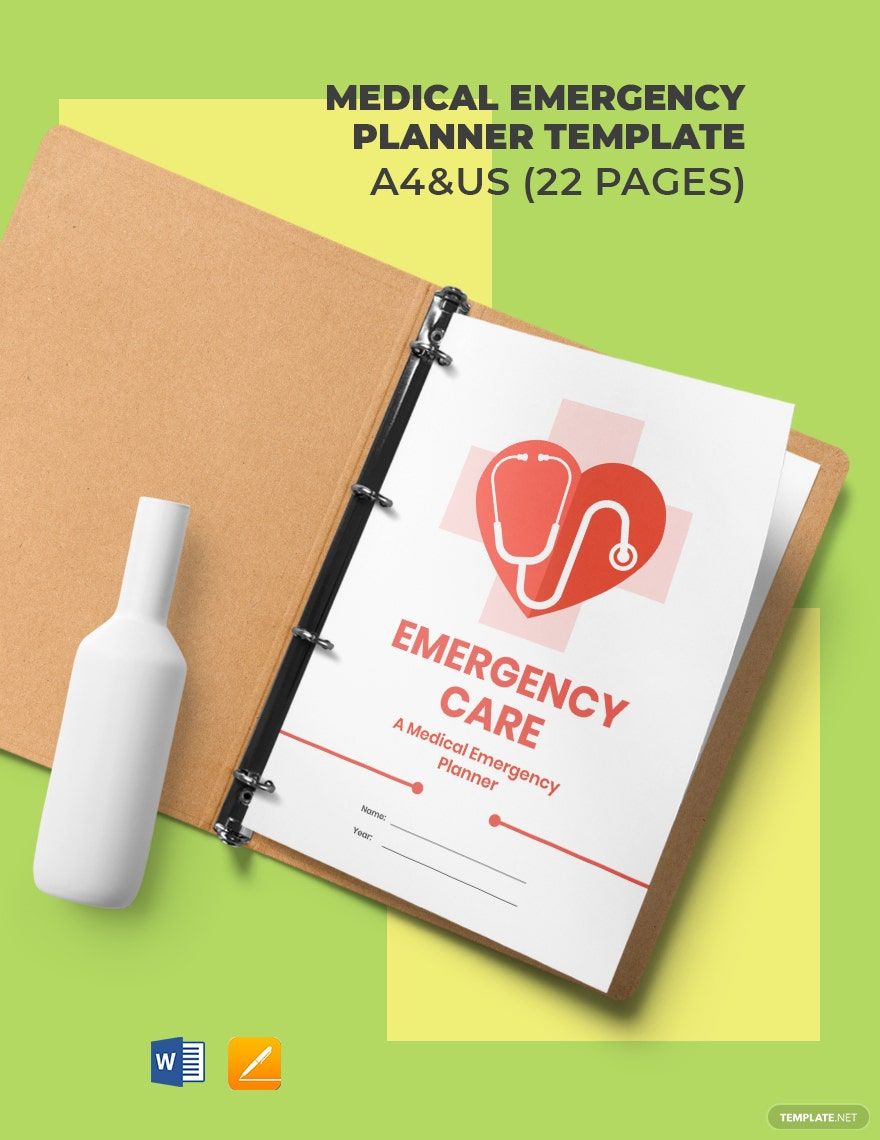
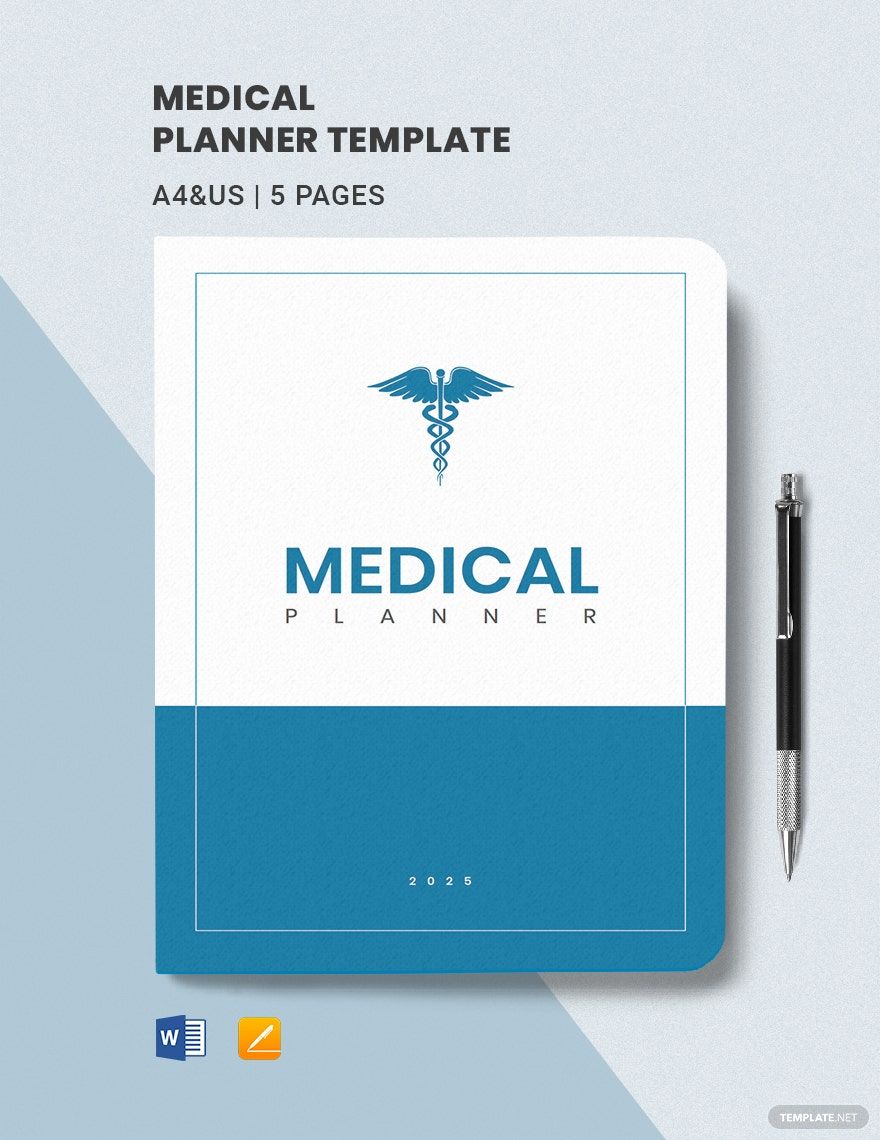
"The human body is the best picture of the human soul," Tony Robbins said. He's not wrong. Our bodies are the best reflection of ourselves, so we have to keep them fit and healthy. You can keep your health on track with these stack of first-rate Ready-Made Medical Planner Templates in Microsoft Word. These are 100% customizable, easily editable, and printable! Our professional designers made this beautifully only for you. You can print these in A4 & US. Keep your health at your reach! Don't miss any of this. Grab one now!
How to Make a Medical Planner in Microsoft Word
No one is exempted from any disease. Everyone is at risk to suffer from illnesses. In the USA, 6 in 10 American adults have chronic diseases. However, whether you're diagnosed with a chronic illness or not, it's essential to care for your health. Don't wait to be diagnosed with something before you start paying attention to your body. But, taking care of ourselves is easier said than done. So to decrease that burden, you have to start owning a medical planner to guide you with your health.
Owning a medical planner will be a big help for you. But, making one is the ultimate question. How do you start making a medical planner? Well, that's so easy, just refer to the steps below:
1. Purchase a Planner
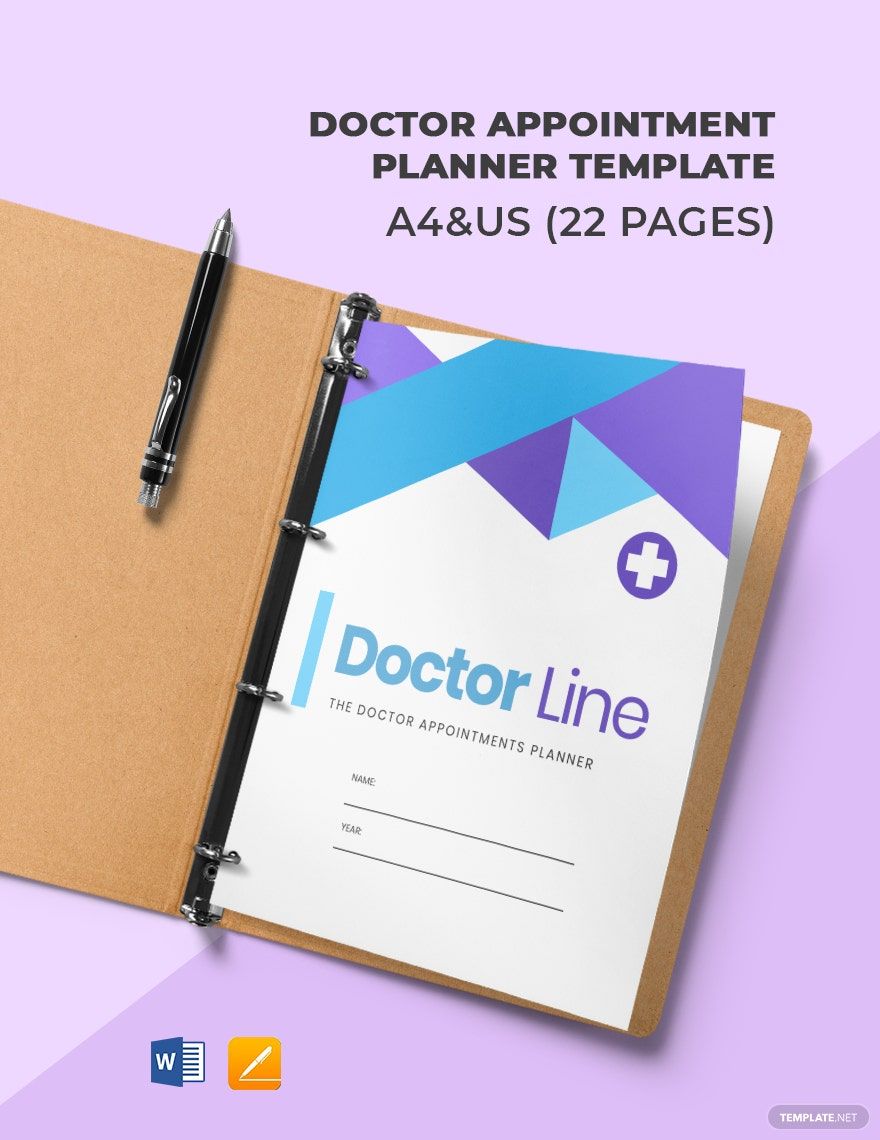
The very first thing your checklist should be purchasing a planner. But, if you don't want to start from scratch, you can download a medical planner template and use it. Check the contents and the design. Choose a planner that best fits your taste. You can customize the planner in Microsoft Word. You can personalize things like typography or the contents. It's up to you.
2. List the Sections
A planner has to be well-organized. But before you get there, you have to list the sections and categories you want the planner to have. You can research the things you want to put in the planner. Get a draft paper and a pen, and then start listing things like medication list, daily medication schedule, health record, weekly mental health tracker, doctor appointment tracker, healthy meal planner, and the like. You have to list these things first so that you'll have a guide on the pages that you're going to make.
3. Personalize each Page
Now, it's time to make layouts for each of the things you've listed. Before you make the layout, try to assess how you want each page to look. Check how many columns and rows a specific category should have. For instance, you have to make a monthly doctor appointment. Then, you can try to make a calendar for the whole year and write the dates when you should visit the doctor. The layouts you're making should be understandable for you. Don't try to copy other layouts (no matter how cool they are) if you think it doesn't apply to you.
4. Design the Planner
Your personal planner can be plain or artistic. It's your property, so you can do what you want with it. Some people prefer to make their planners beautiful because these encourage them to use them every day. If you think this applies to you, then beautify your medical planner. You can start with a theme for each page or have an overall theme for all the pages. Choose the colors you like, paste stickers, and put the images if you want. Make sure that the designs will inspire you to use the planner, and not bother or exhaust your eyes. Have fun!