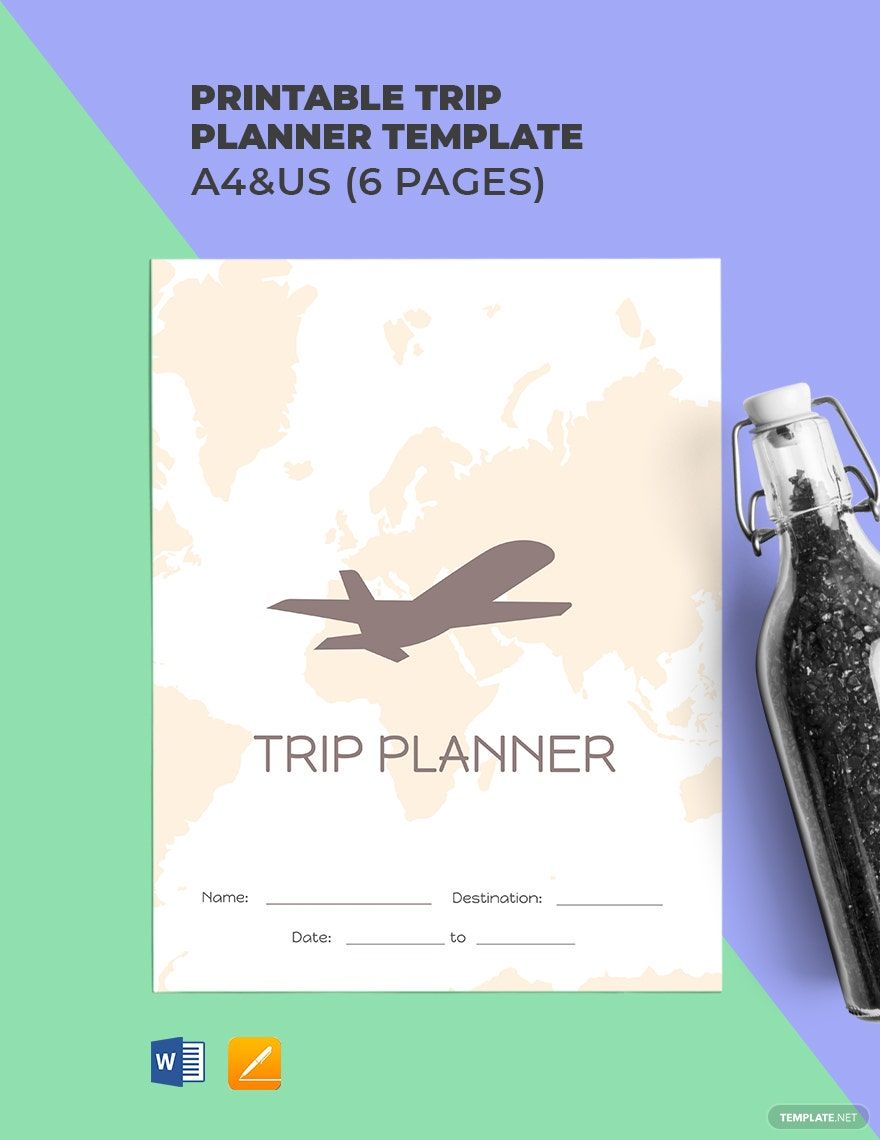
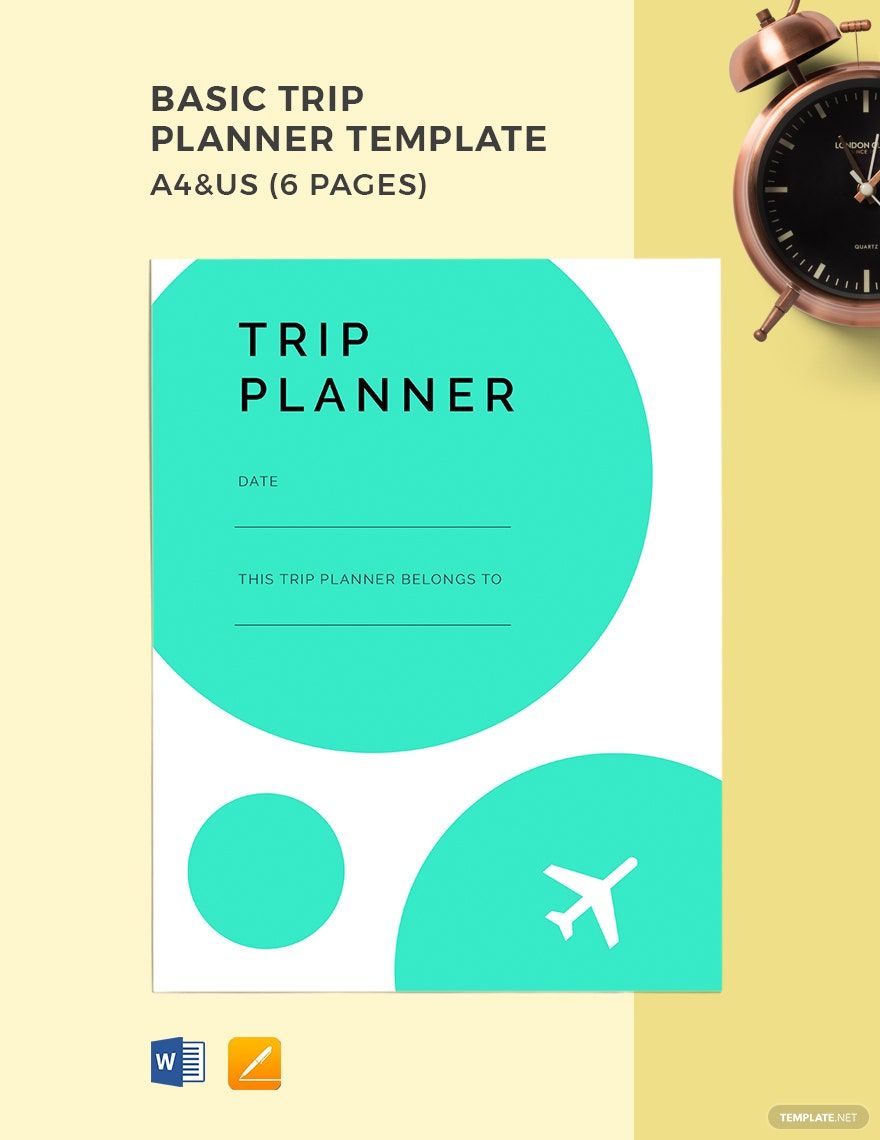
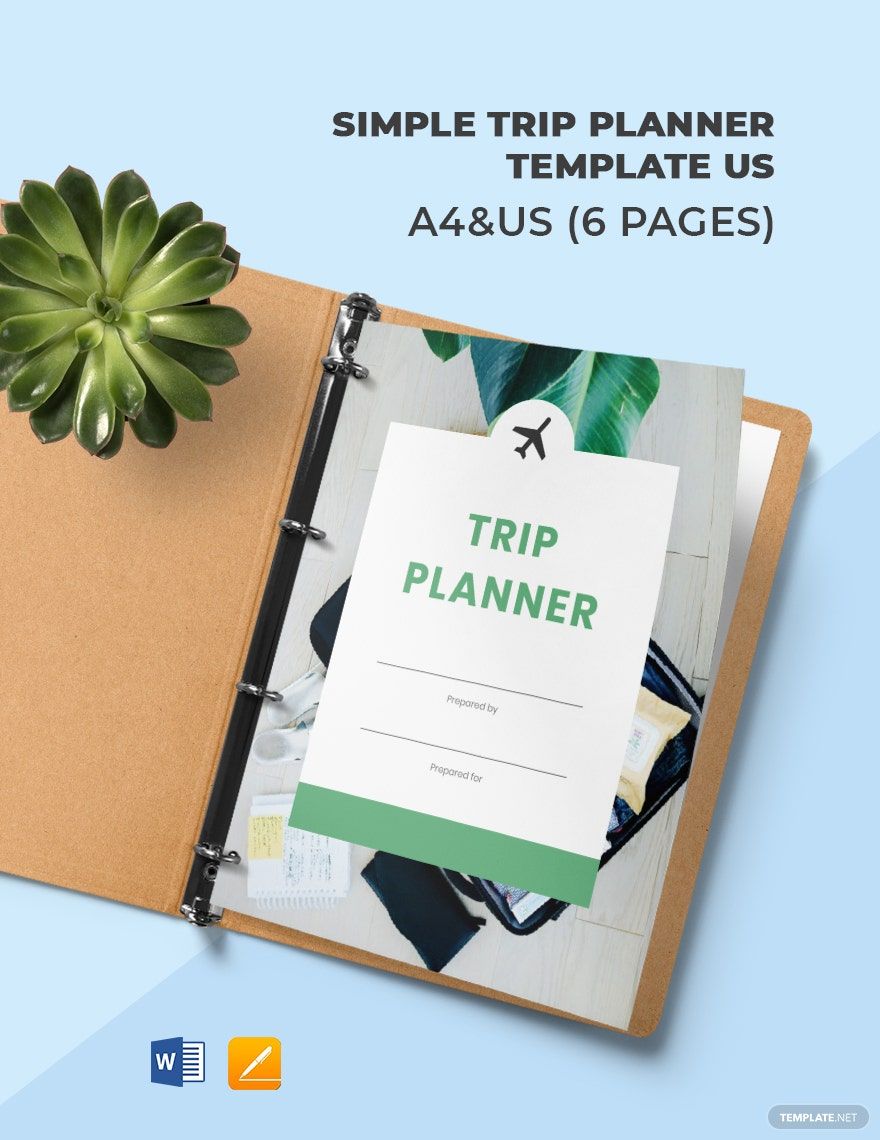
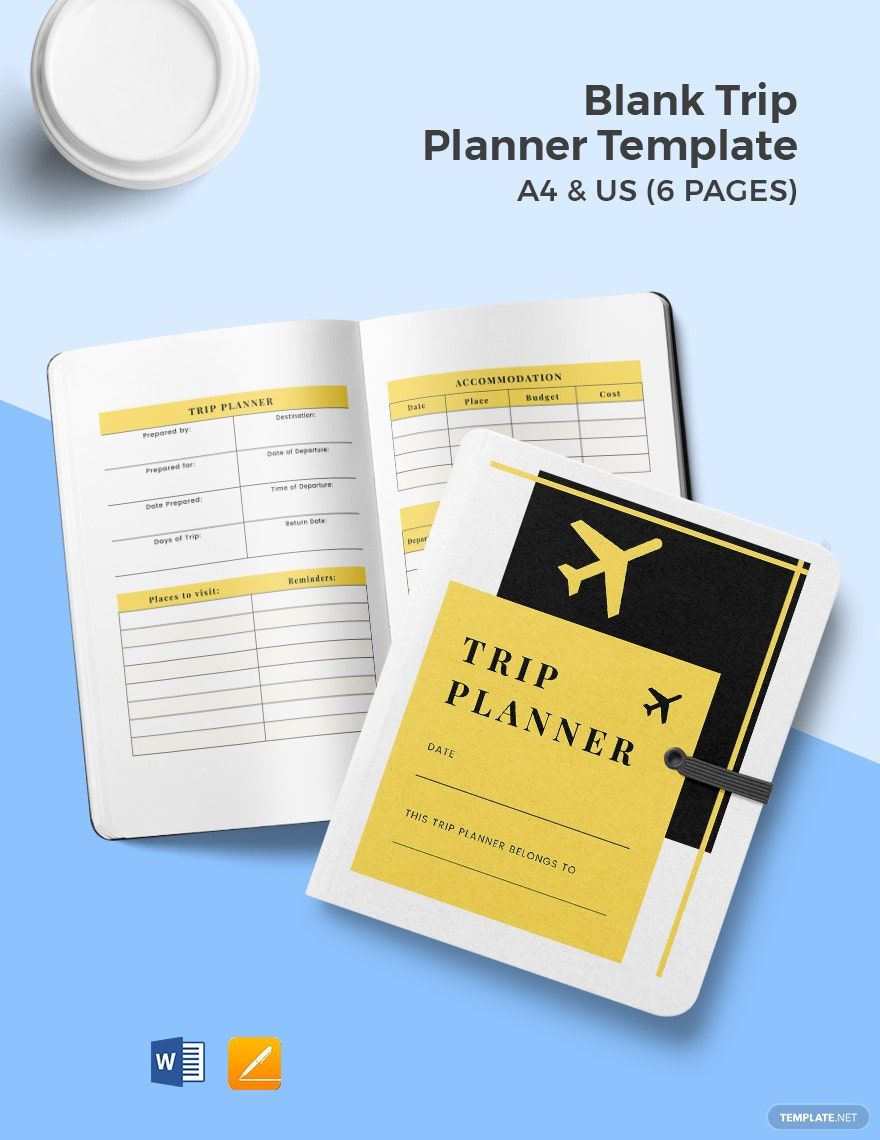
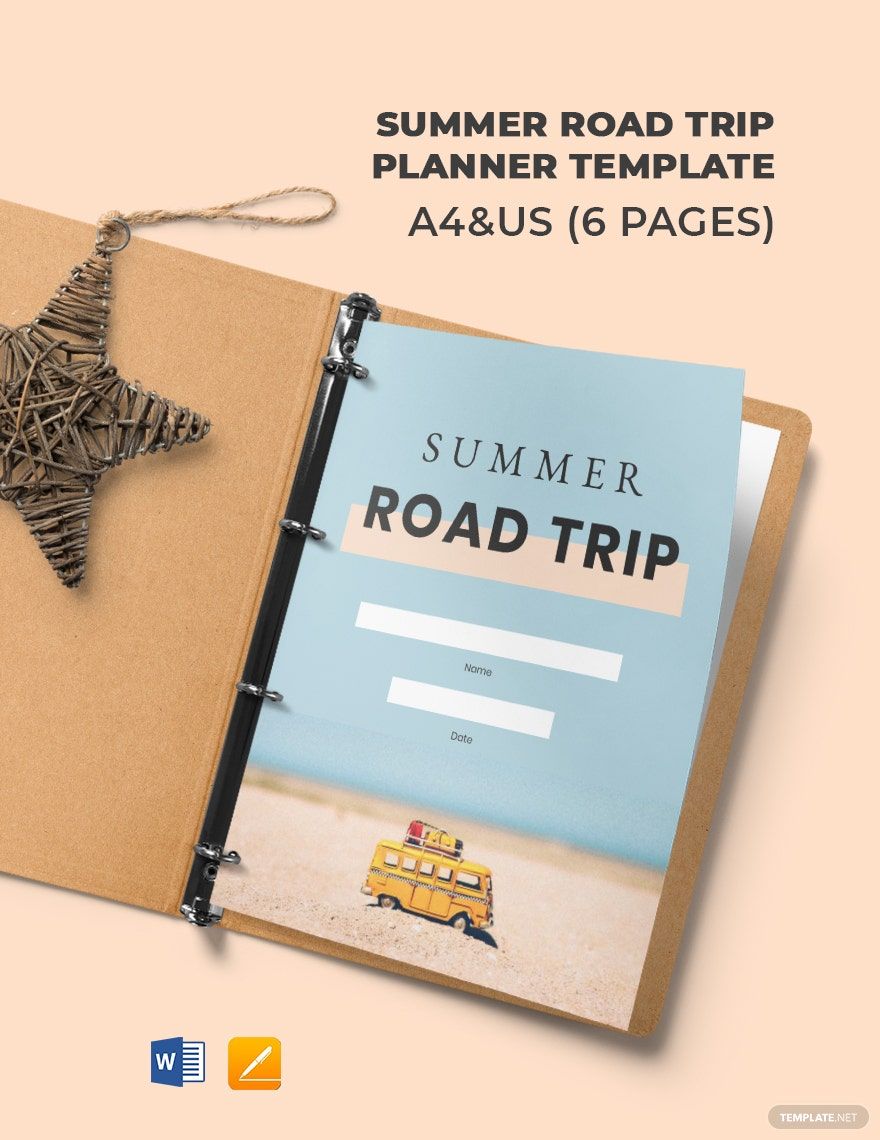
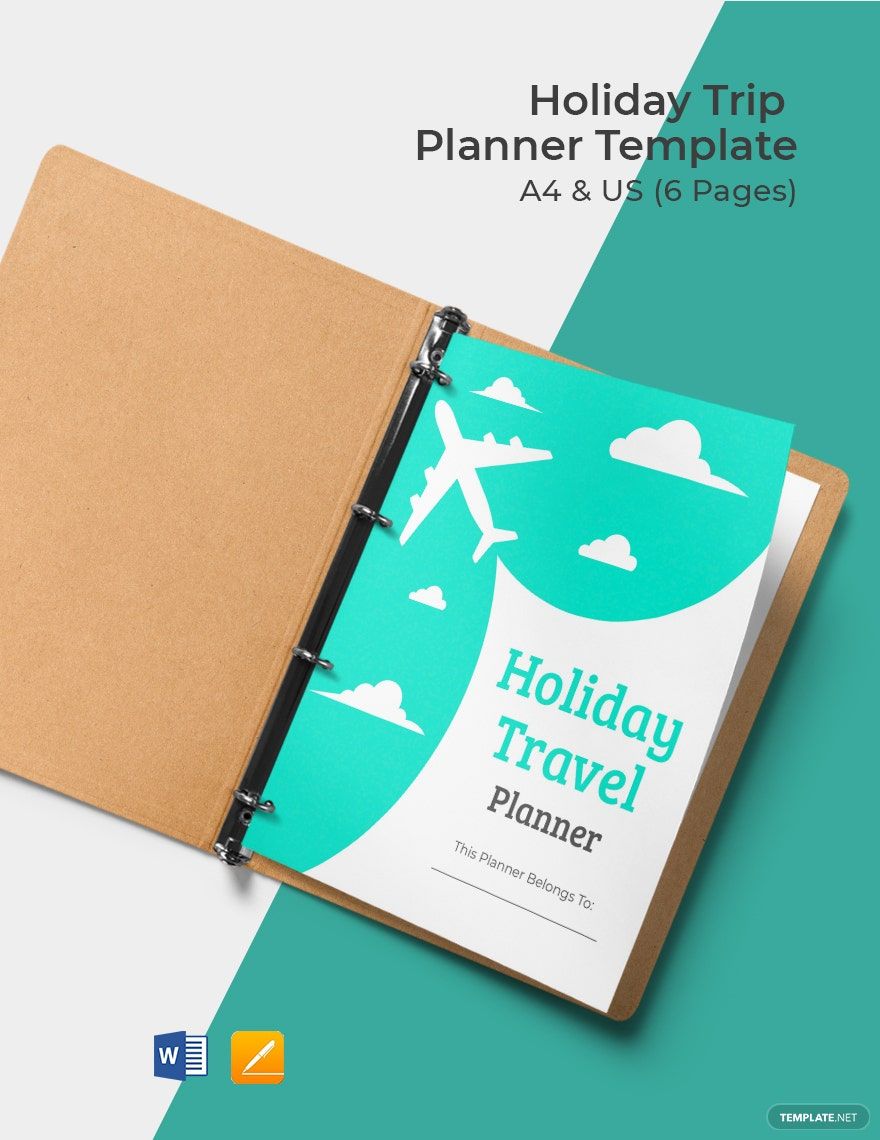
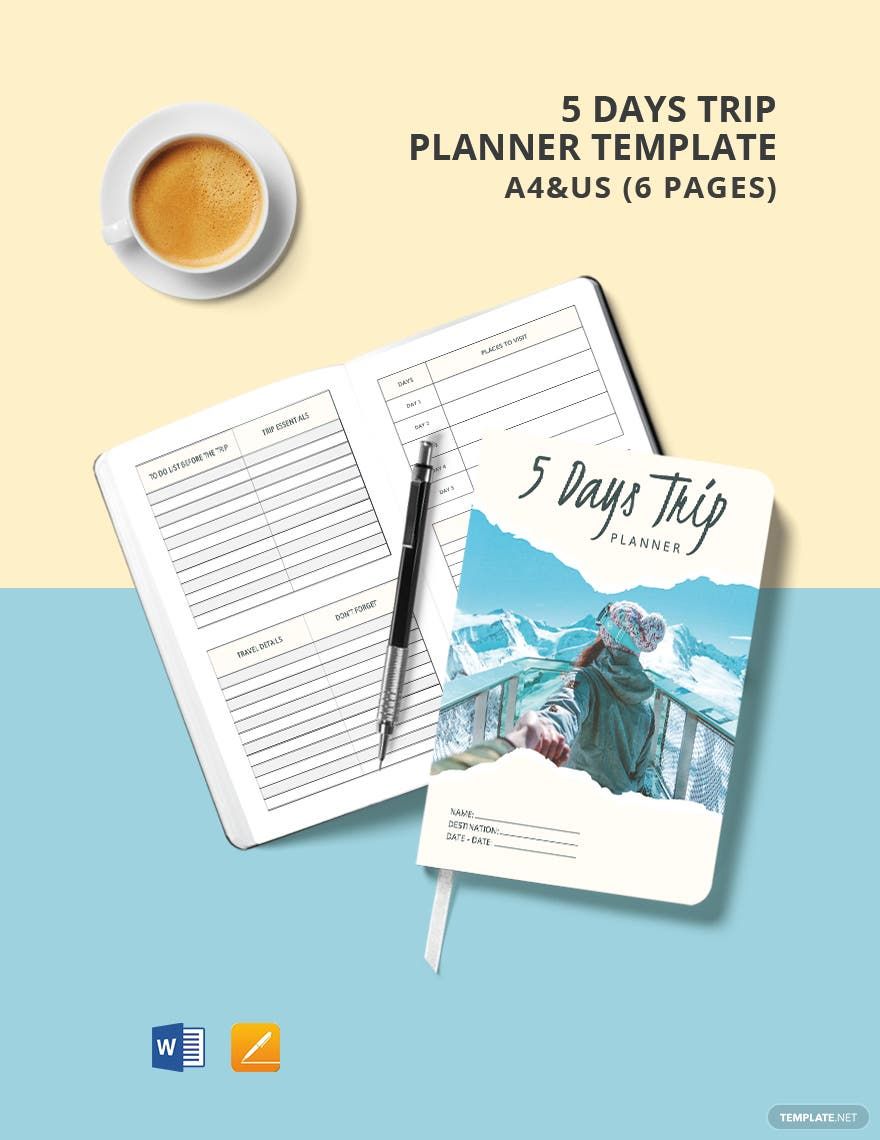
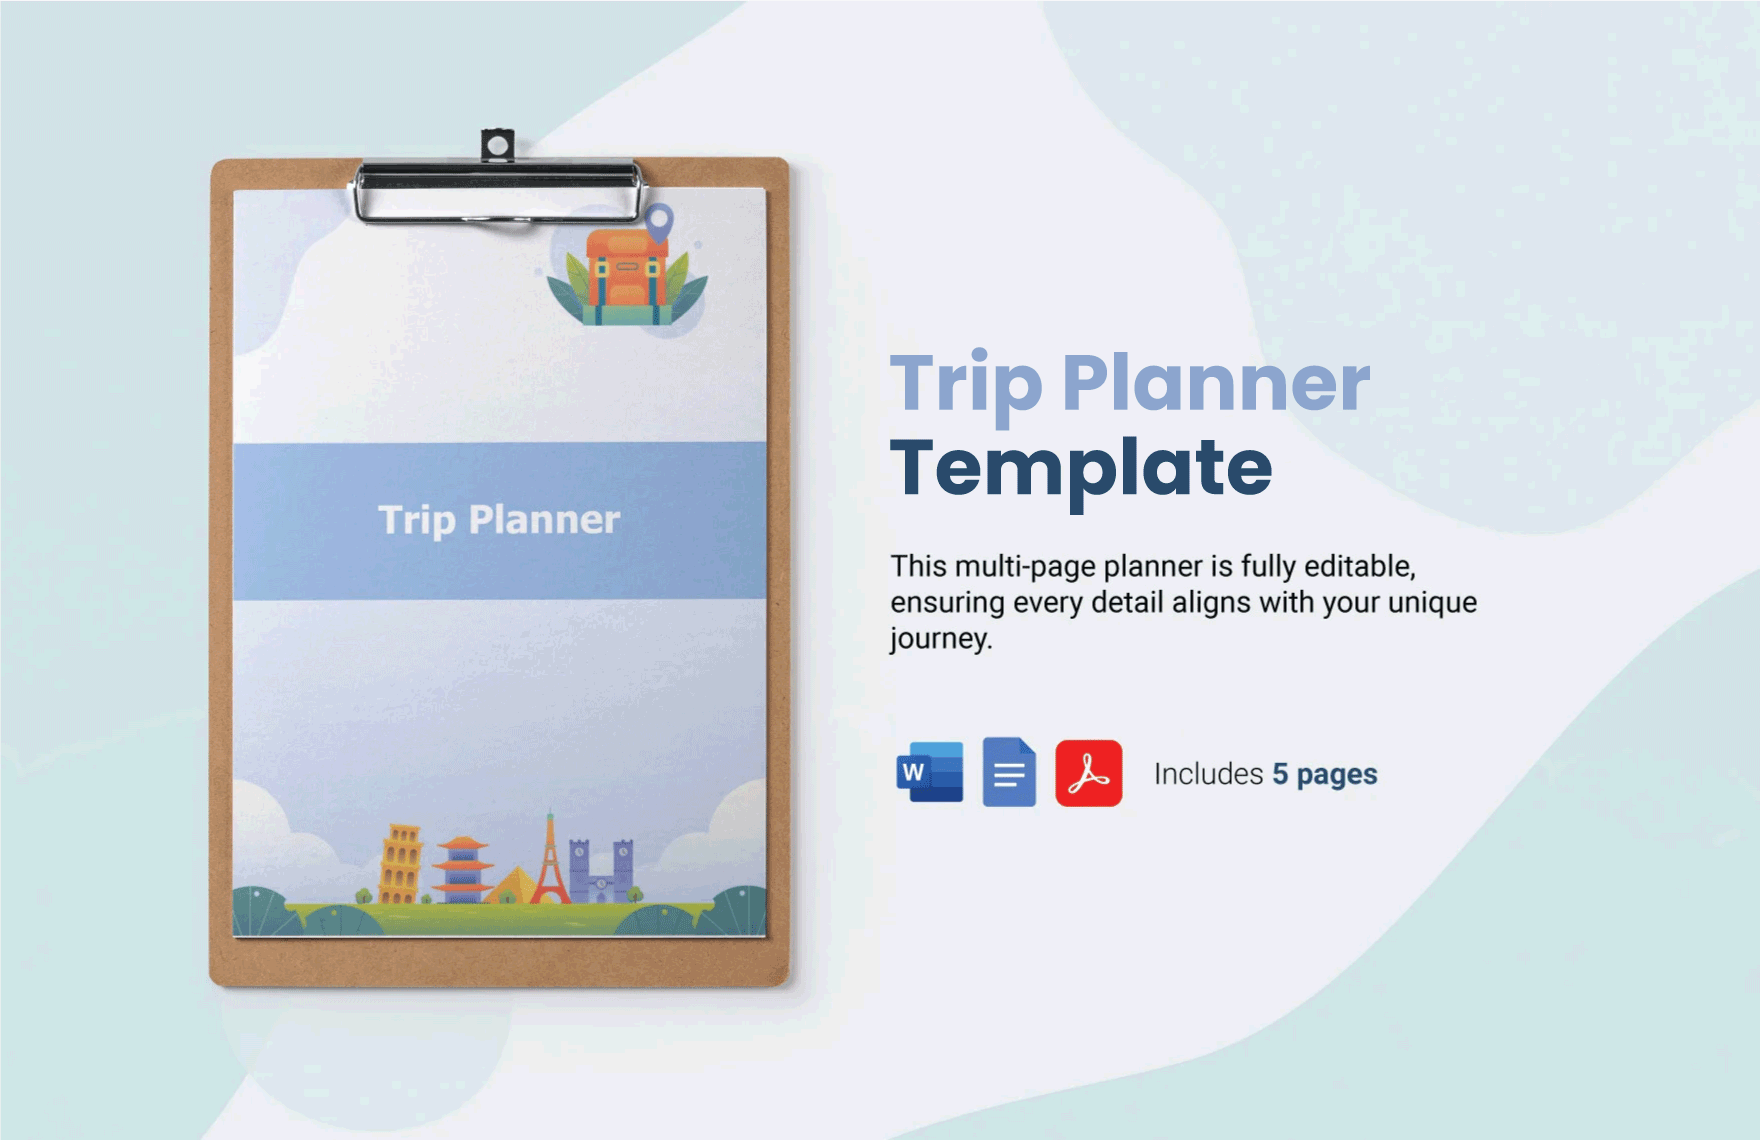
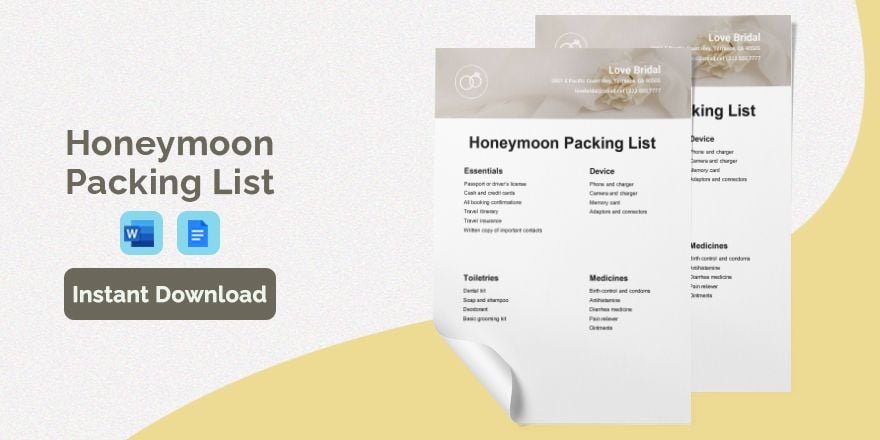
Whether you’re preparing for a long-awaited holiday vacation or going on an international business trip, it’s important to ensure that your journey goes smoothly by making the appropriate plans ahead of time. To achieve this, you’ll need to make use of an efficient planner, which is why we have a varied set of Ready-Made Trip Planner Templates that are easily editable in Apple Pages! Utilize these professional templates; however, you need to, as they are all 100% customizable and are printable for your convenience. Download your trip planner template of choice and quickly get ready for any upcoming trip!
How to Create a Trip Planner in Apple Pages
Going on a trip can be an exciting time, but you need to make sure that it goes well and without a hitch by putting together a proper plan. By using any of our Ready-Made Trip Planner Templates, you can put together a comprehensive checklist and schedule for your road trip or overseas tour!
Are you looking for the right tool to digitally edit your travel planner? Look no further; Apple Pages is just what you need with its simple yet useful tools that can be taken advantage of by any editing proficiency! And, if you need some guidance on how to do so, then just check out the simple steps that we have for you down below.
1. Download Apple Pages
First things first, download and install Apple Pages. If you already have it, then skip to the next step. Otherwise, just head over to Apple’s online App Store and download the software from there. The app is free and provides a user-friendly method to customize your trip planner template—however you wish it to be. And, If you need to edit while you’re out and about, then Apple has you covered with Pages’ availability on your iOS device of choice! You can even take advantage of Pages’ built-in compatibility with Apple Pencil.
2. Pick Your Desired Template
We have a wide plethora of our Ready-Made Trip Planner Templates that you can choose from. To download one of the templates, click its respective thumbnail on this page, which will open up another tab on your web browser. Click on the new tab and use the provided download button to save the template file to your computer or device. You might also find a travel itinerary useful for sorting out your trip’s schedule.
If you’d like to know more about a template before (or after) downloading it, then you can have a look through the “Template Details” section. You can click on “More Details” to expand the list and read more information about the given template file (size, format, etc.) You can even find a set of preview images to your left; click on any one of them to zoom in.
3. Open up Apple Pages and Start Planning Out Your Trip
With how versatile our Ready-Made Trip Planner Templates are, you can choose to print out your template as is and input the initial details through handwriting. But, if you’d like to make use of Pages, then continue on with this step.
Run Pages (on your Mac computer or iOS device) and use it to open up your downloaded template file. Since our templates already come with skillfully-crafted layout designs, all you need to do is fill in the provided spaces. Several sections come with your template’s layout, such as a budget plan that you can use to sort out how much you can afford to spend on your trip. Take your time and be mindful of how you organize your trip, adding in information to the appropriate blanks of your planner template. Even as a digital copy, Pages lets you easily update your planner later if need be.
4. Remember to Update
If any changes come up with how you’re planning your trip, then don’t forget to alter the information in your planner accordingly. Remember that Pages is usable on iOS devices, so you can keep track of your plans even while on the go. Get your trip organized quickly with Apple Pages and our helpful sample planner templates!
