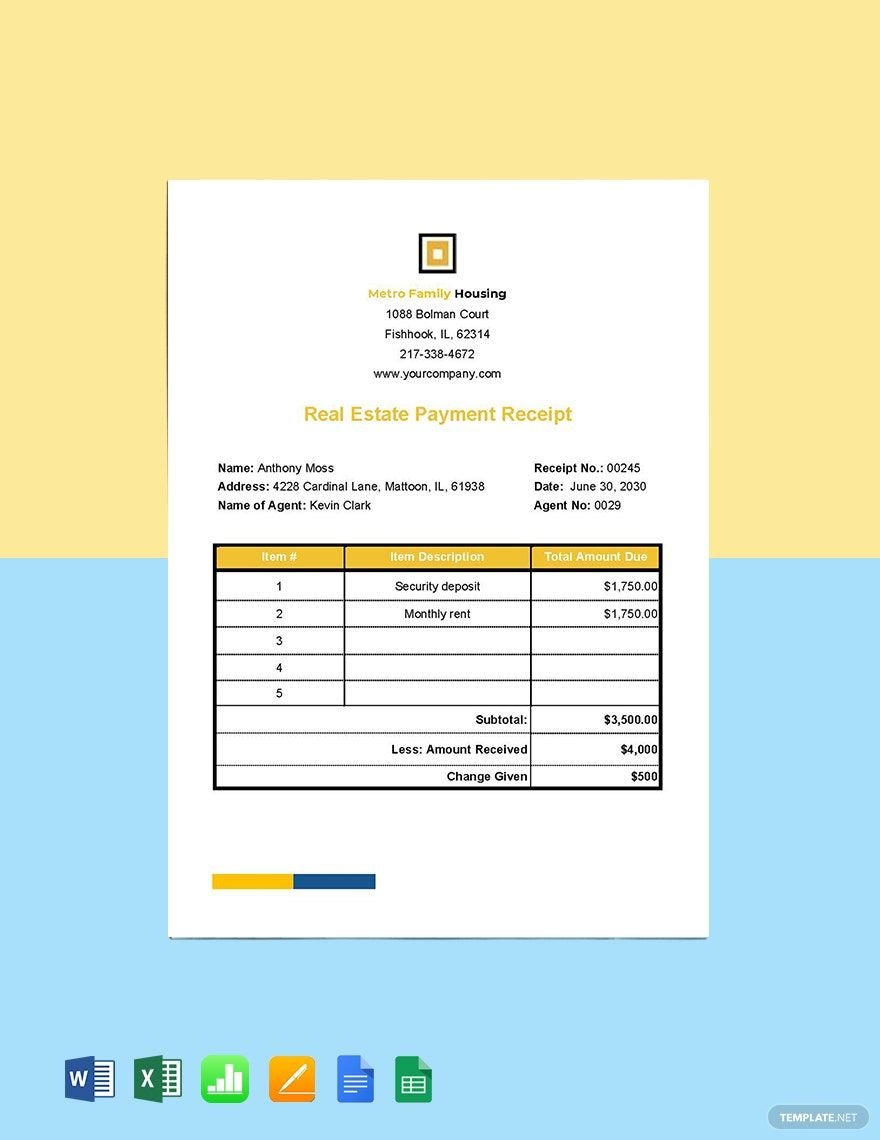
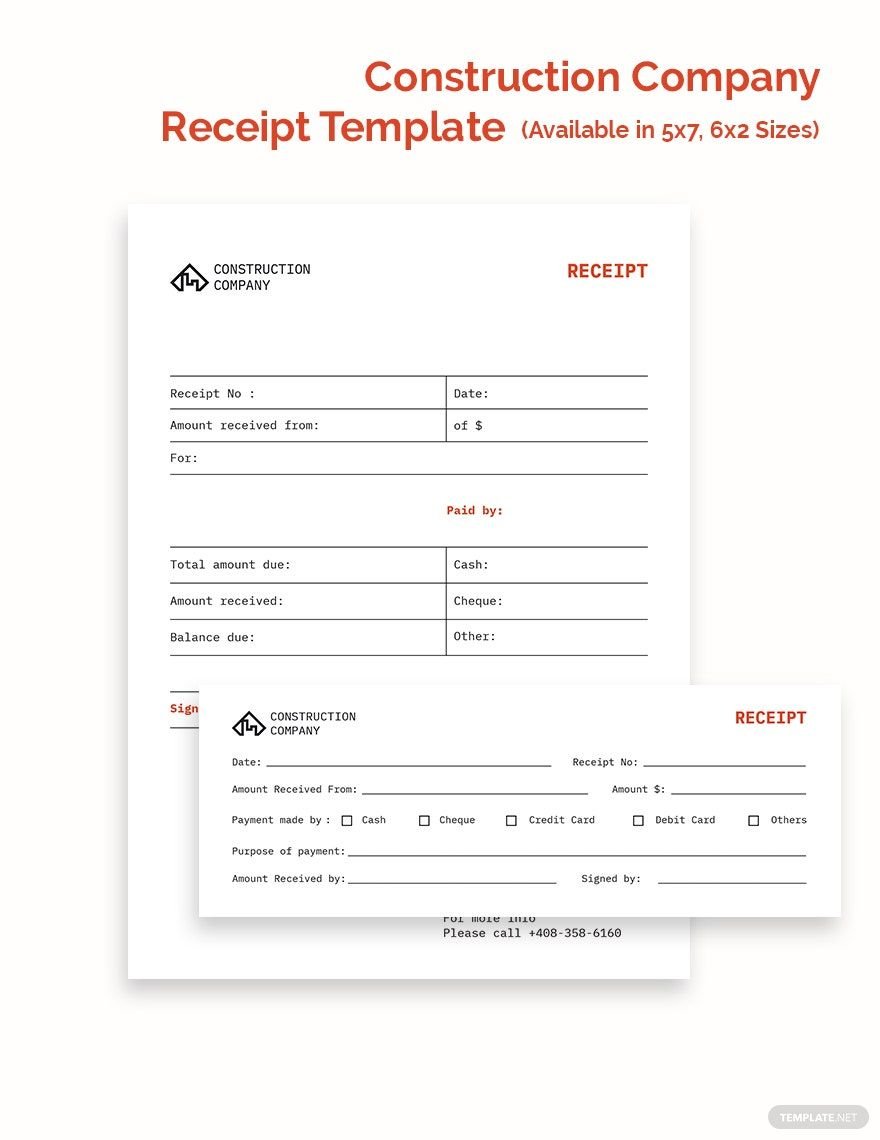
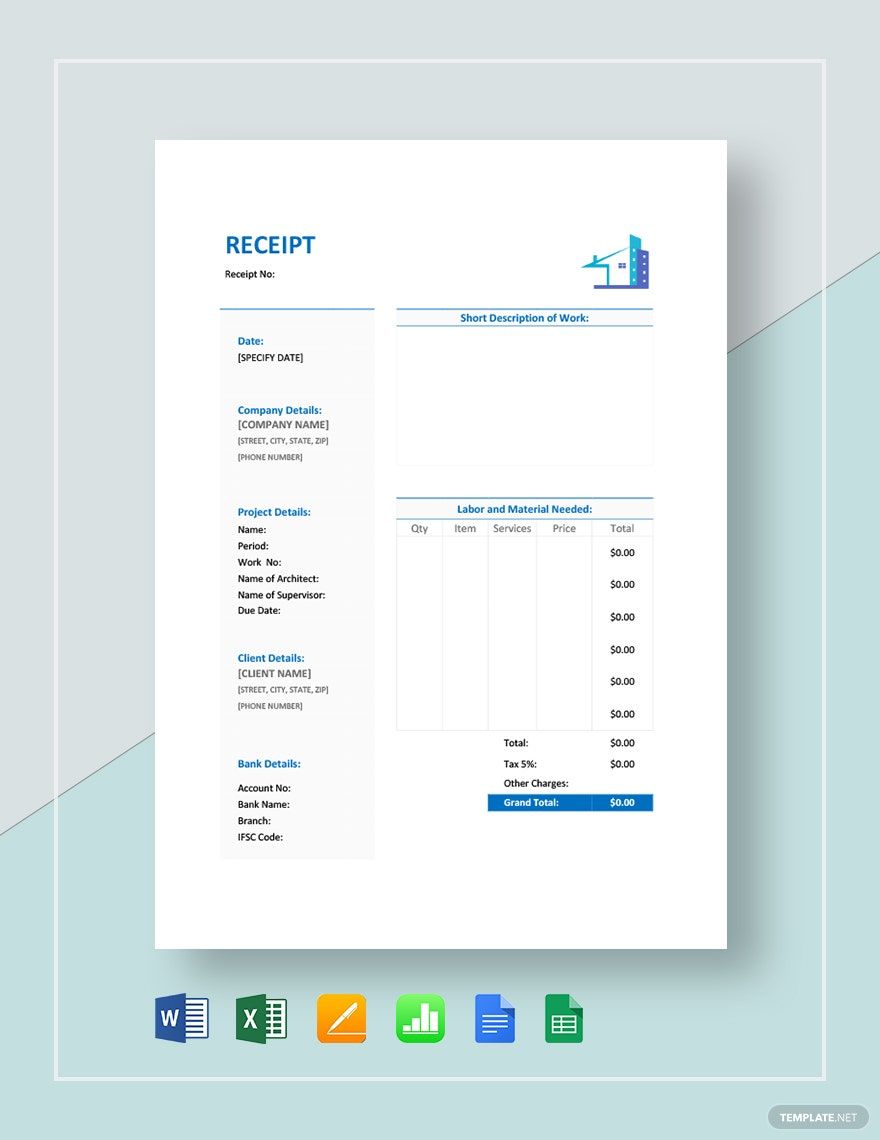
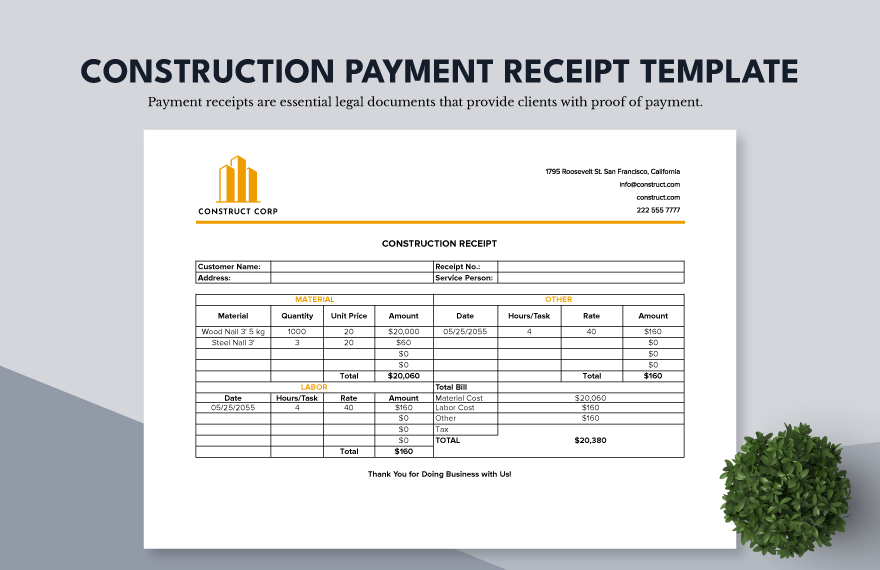
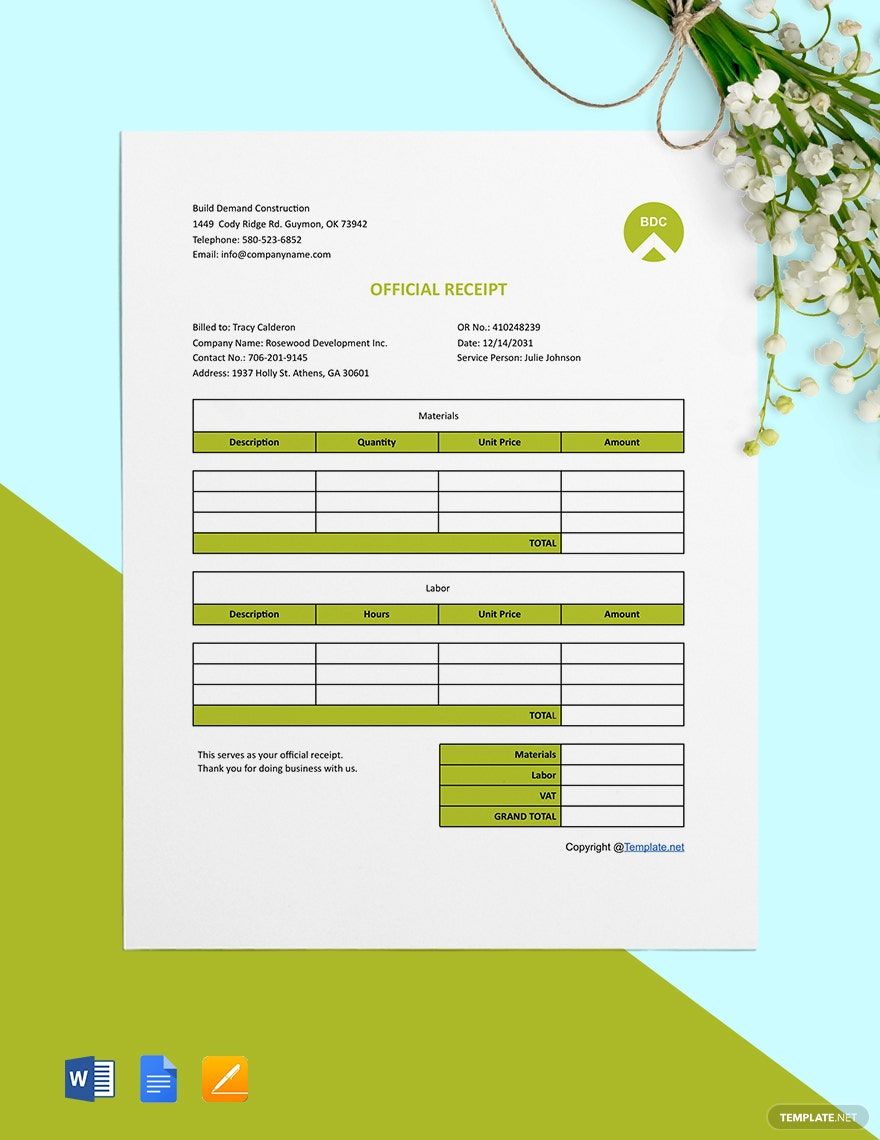
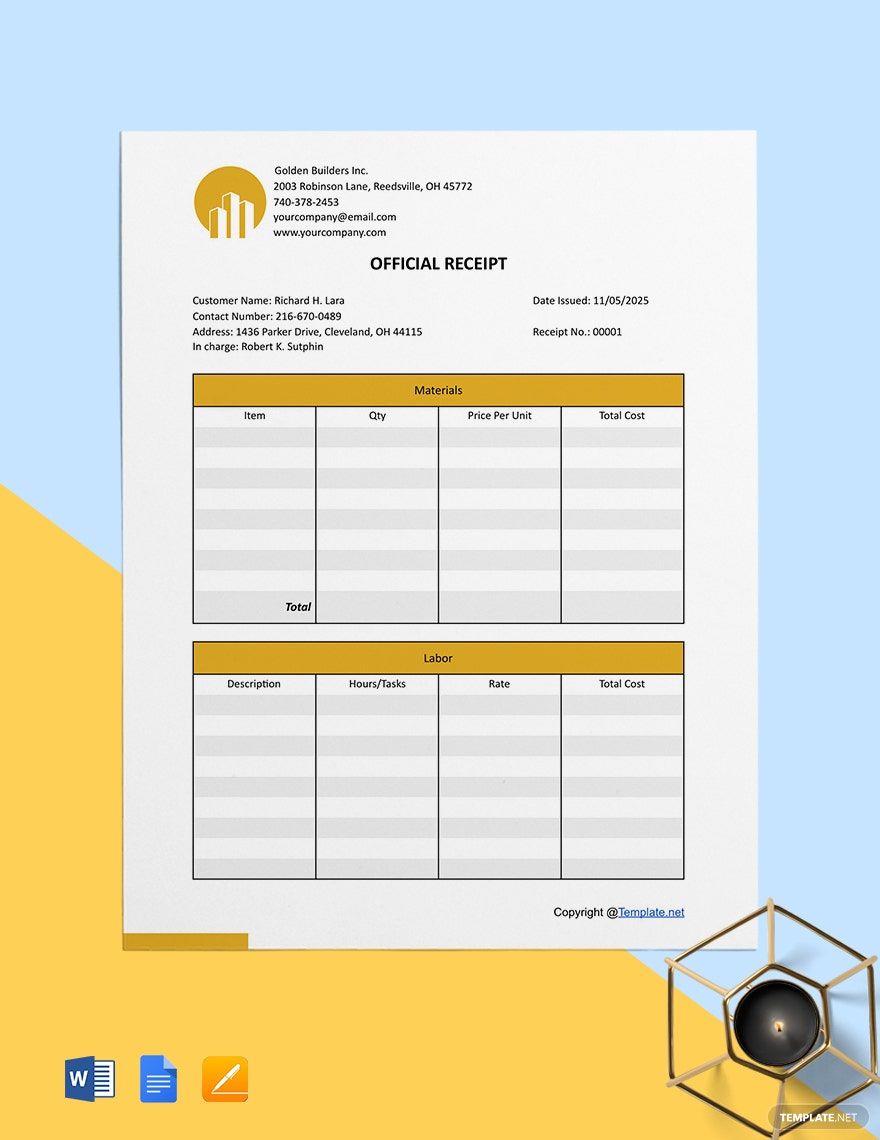
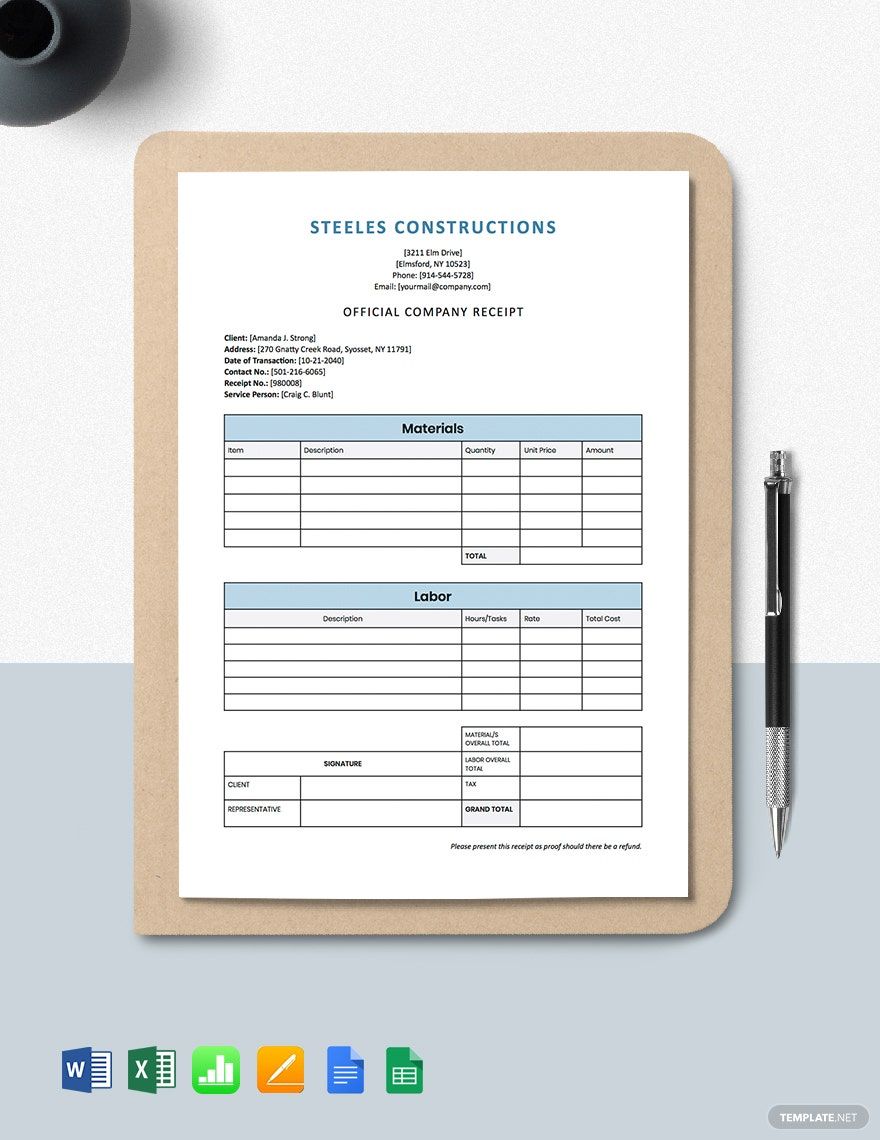
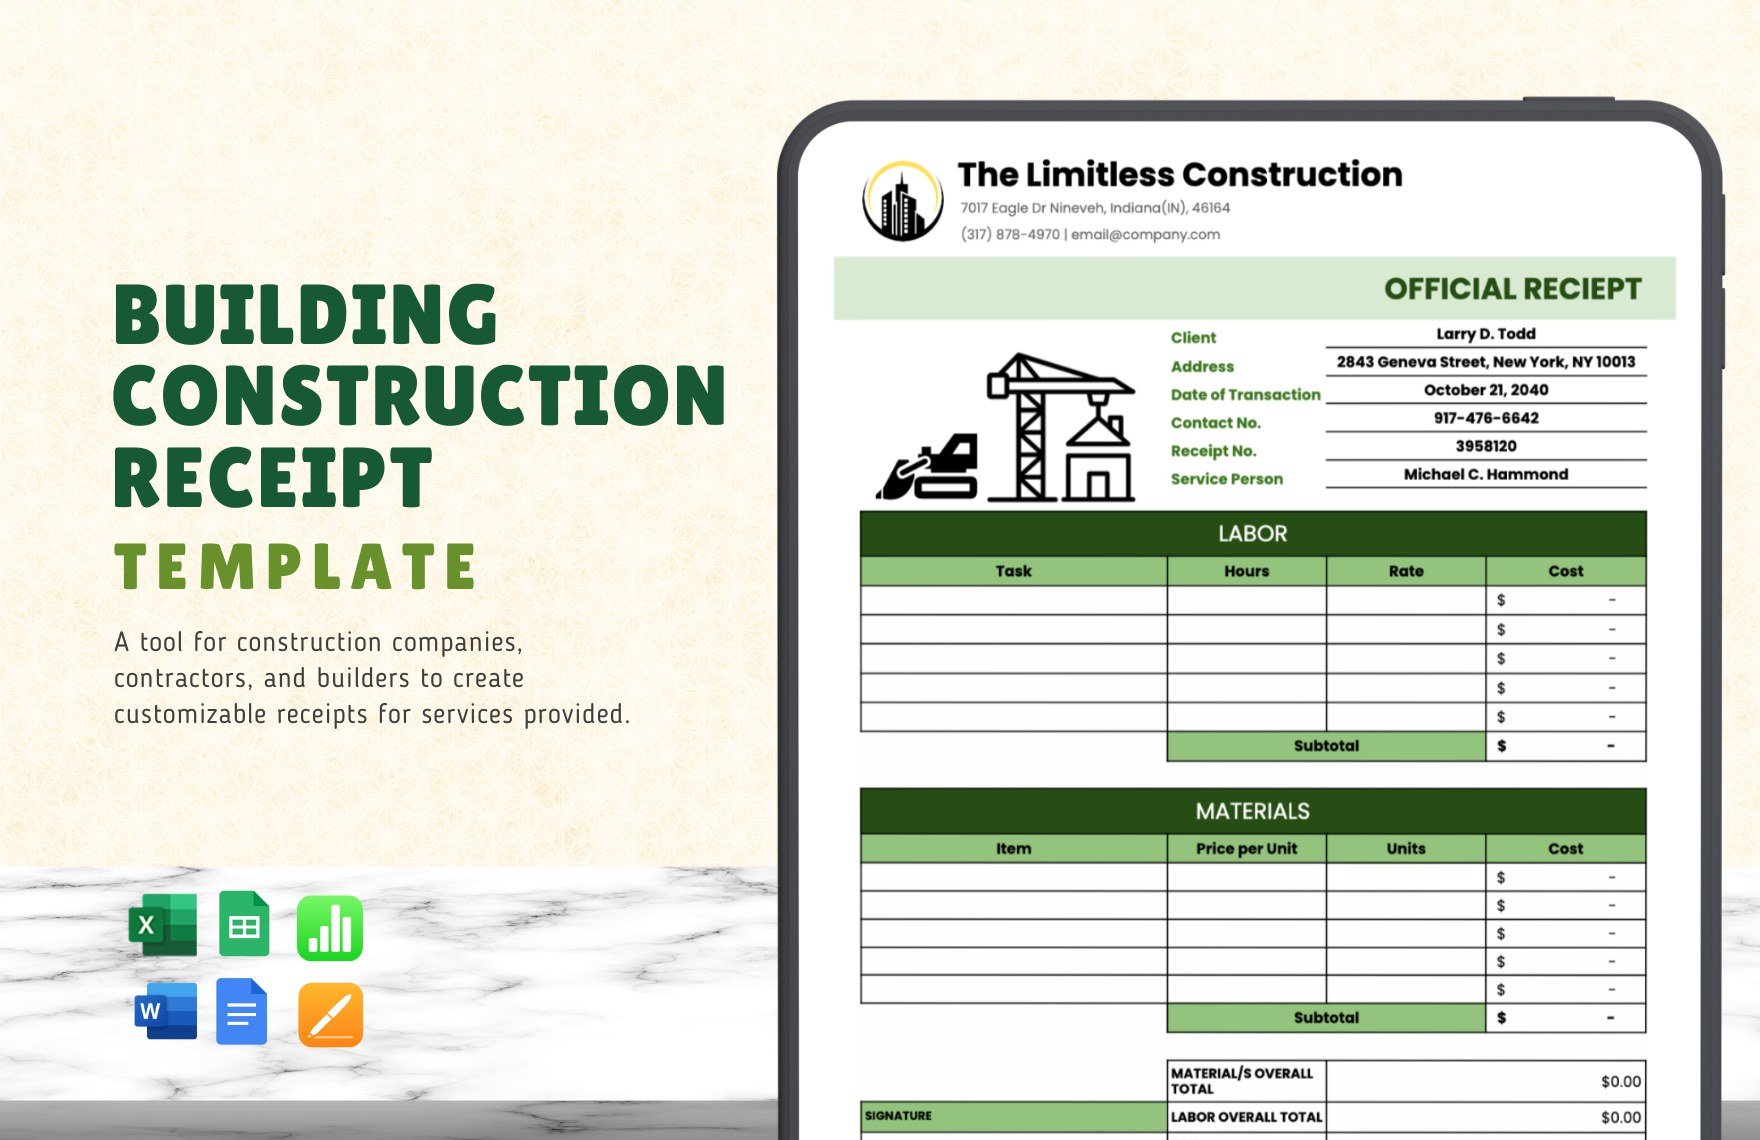
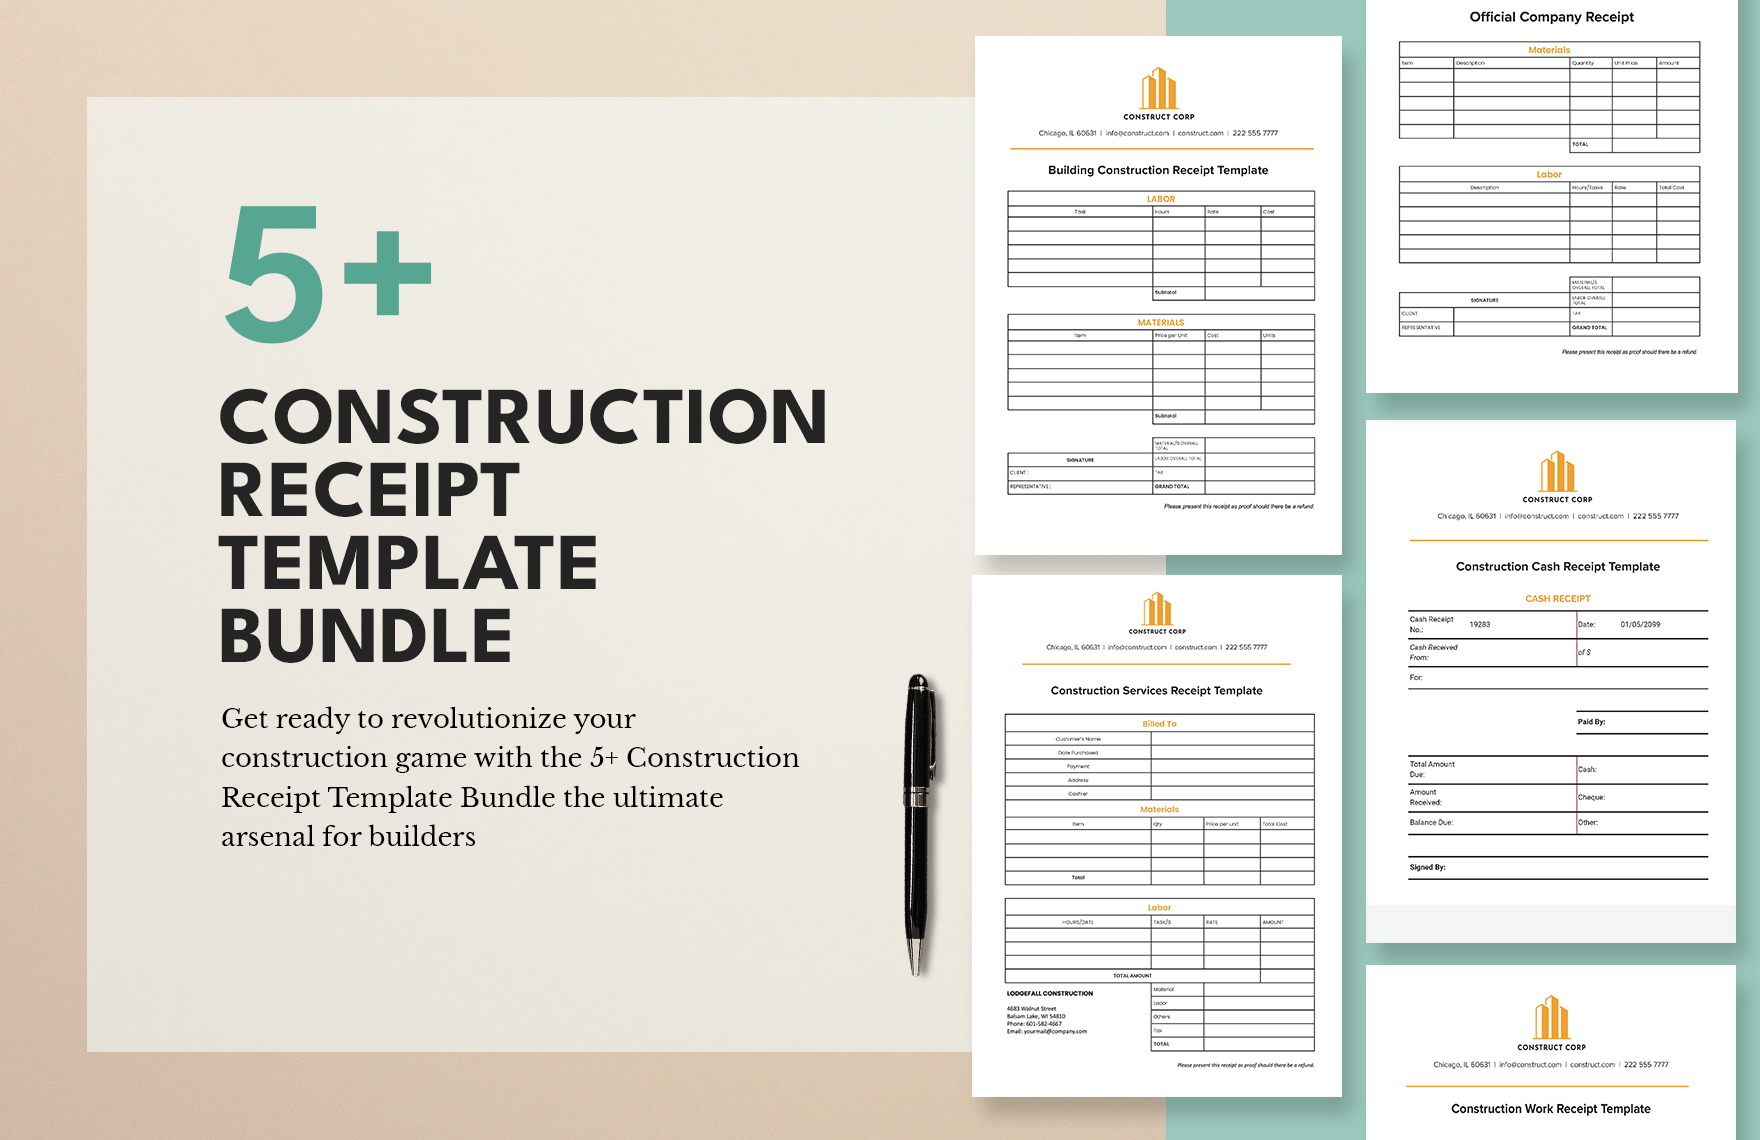
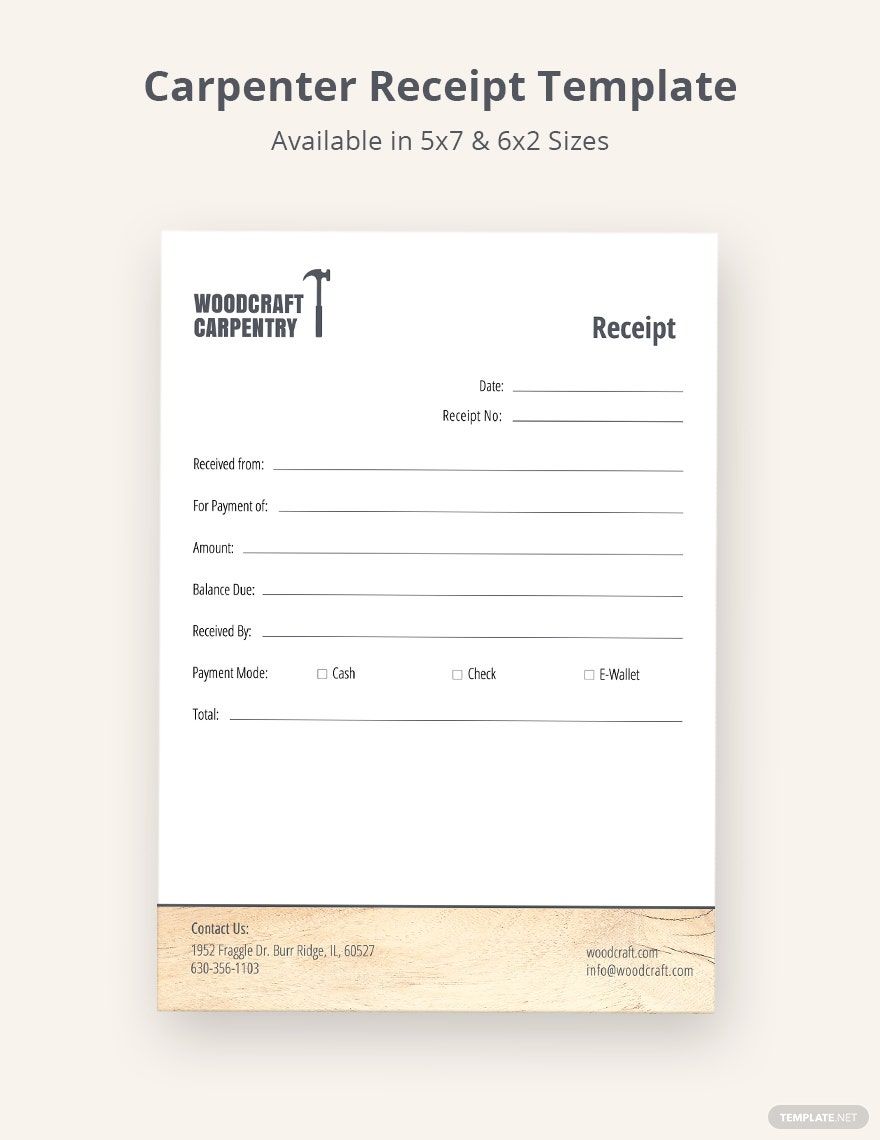
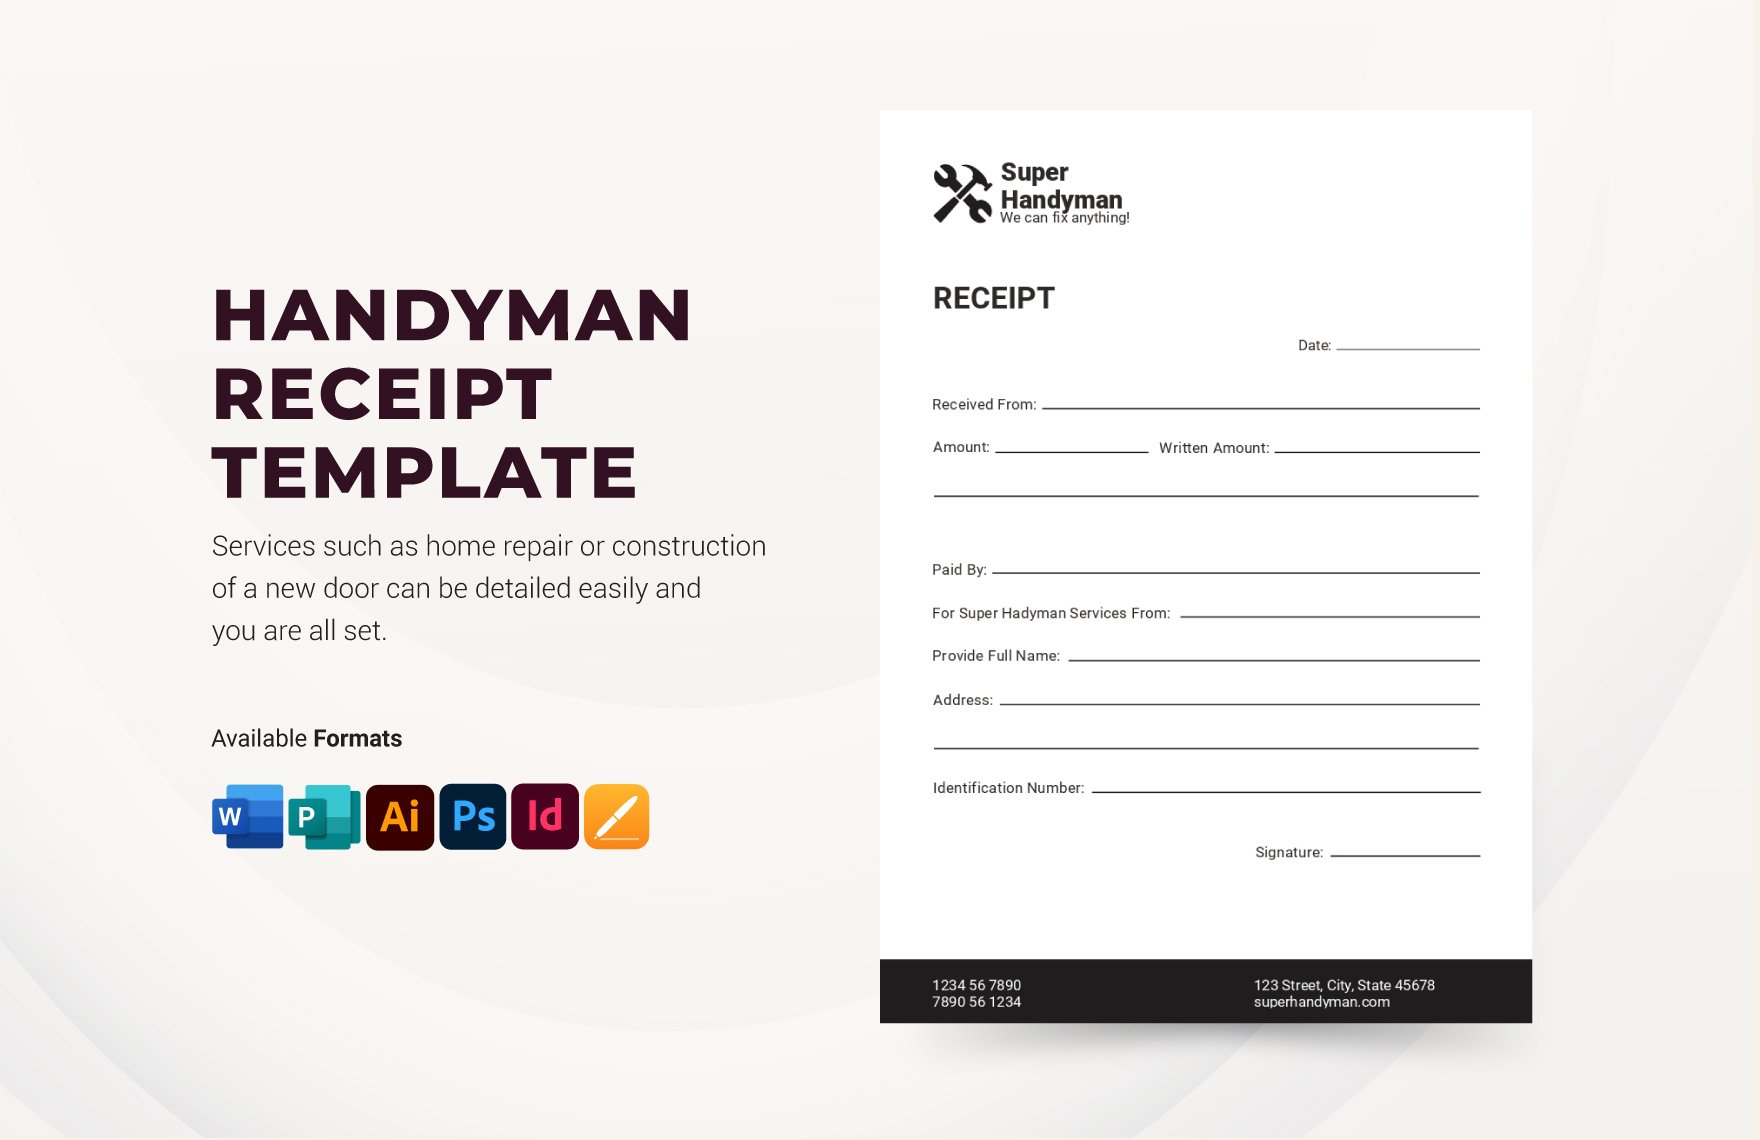
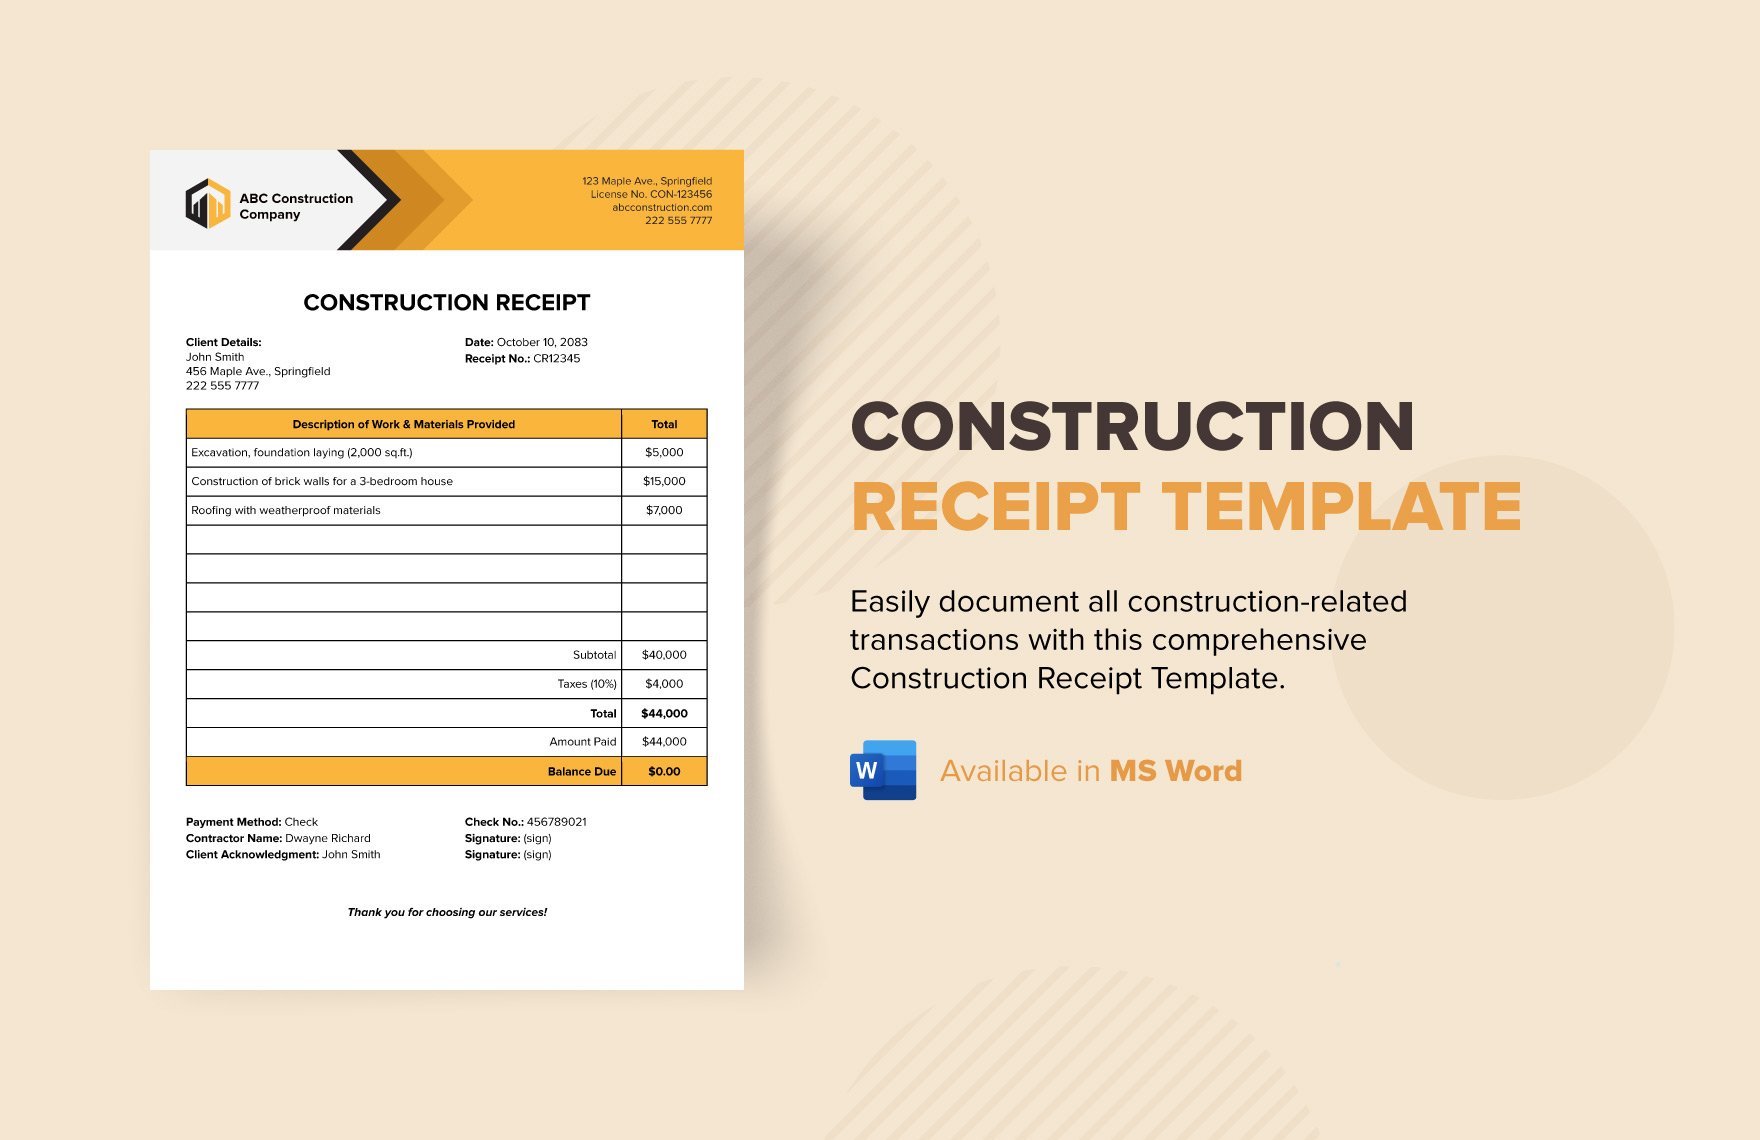
In the construction of a new building, you would face many transactions for various purchasing of materials to the labor payment process, and others. It is more useful in keeping track of the purchases done, for inventory, and bookkeeping purposes. If you also own a construction business, download our ready-made Construction Receipt Templates through all versions of MS Word. Each product in this collection is 100% customizable and editable, and printable. It is usable for both commercial and personal purposes. Wait no more and subscribe now to start downloading!
How to Make a Construction Receipt in Microsoft Word (DOC)?
When making transactions, it is good to document it using invoices and receipts. But sometimes, using the terms of the former and latter are being interchangeable to the extent that it appears no differences at all. But the two are different when it comes to its purpose. Although the two comes from the seller, an invoice is a document for a request for payment and a receipt is proof or acknowledgment that payment has done.
If you want to make a receipt for your construction business, you may follow the simple tips listed below.
1. Make Use of Software
For a smooth process of making the sheet, we suggest, using Microsoft Word as it enables you to make necessary changes and adjustments with ease. It also helps you customize your work by using design elements that are usable in this software. Launch it and select a 'Blank' document to proceed.
2. Create a Layout
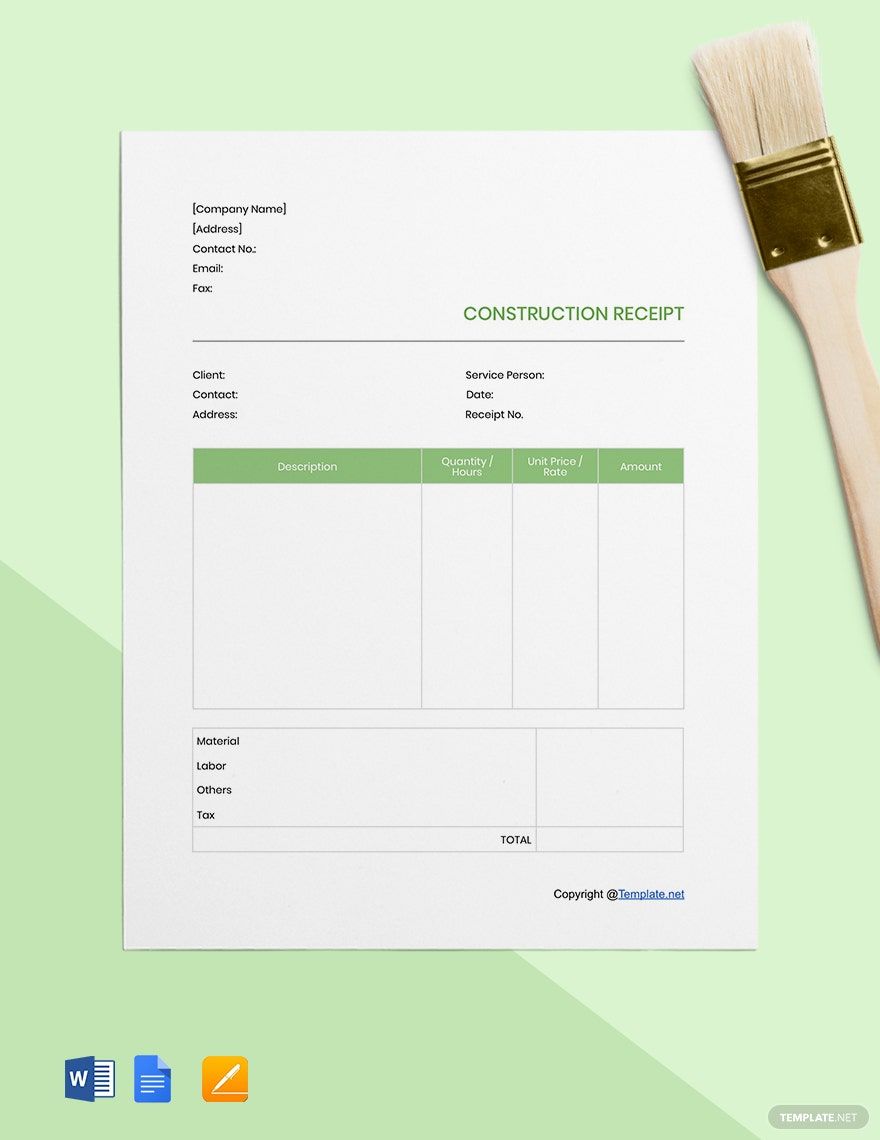
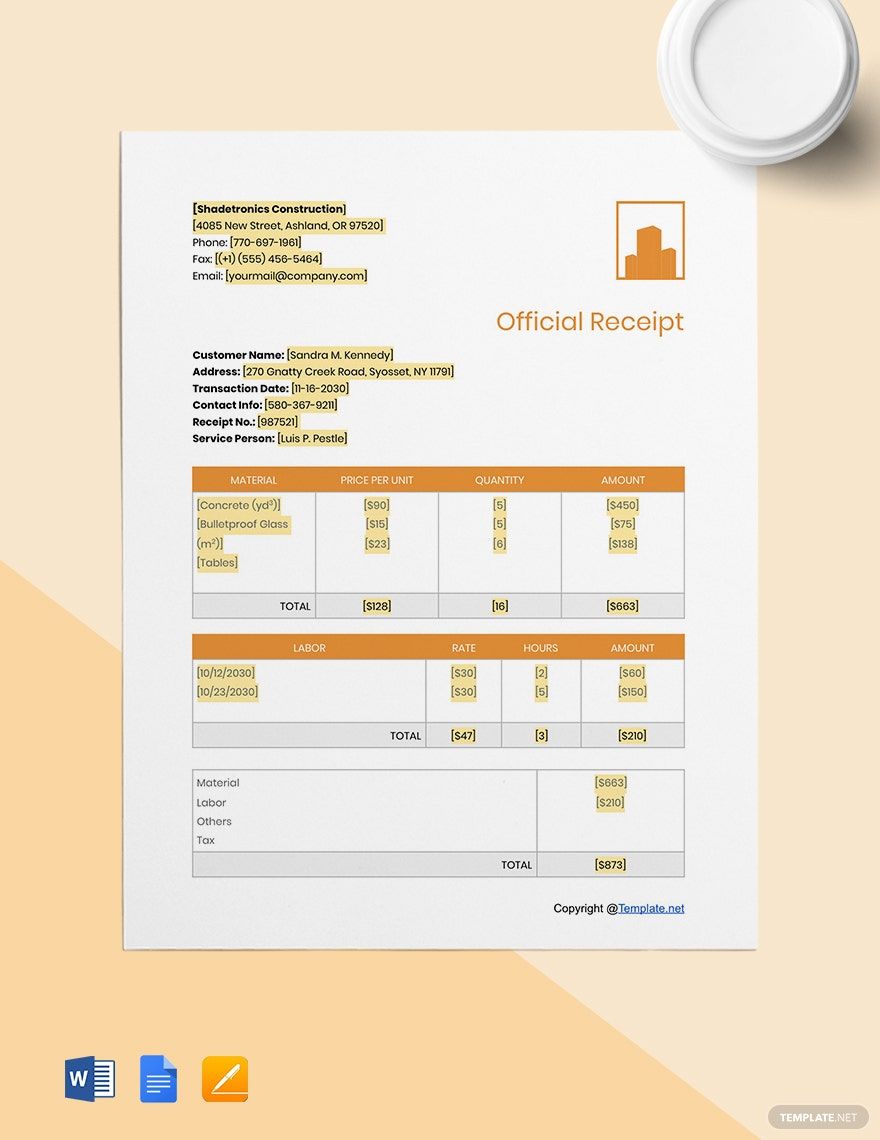
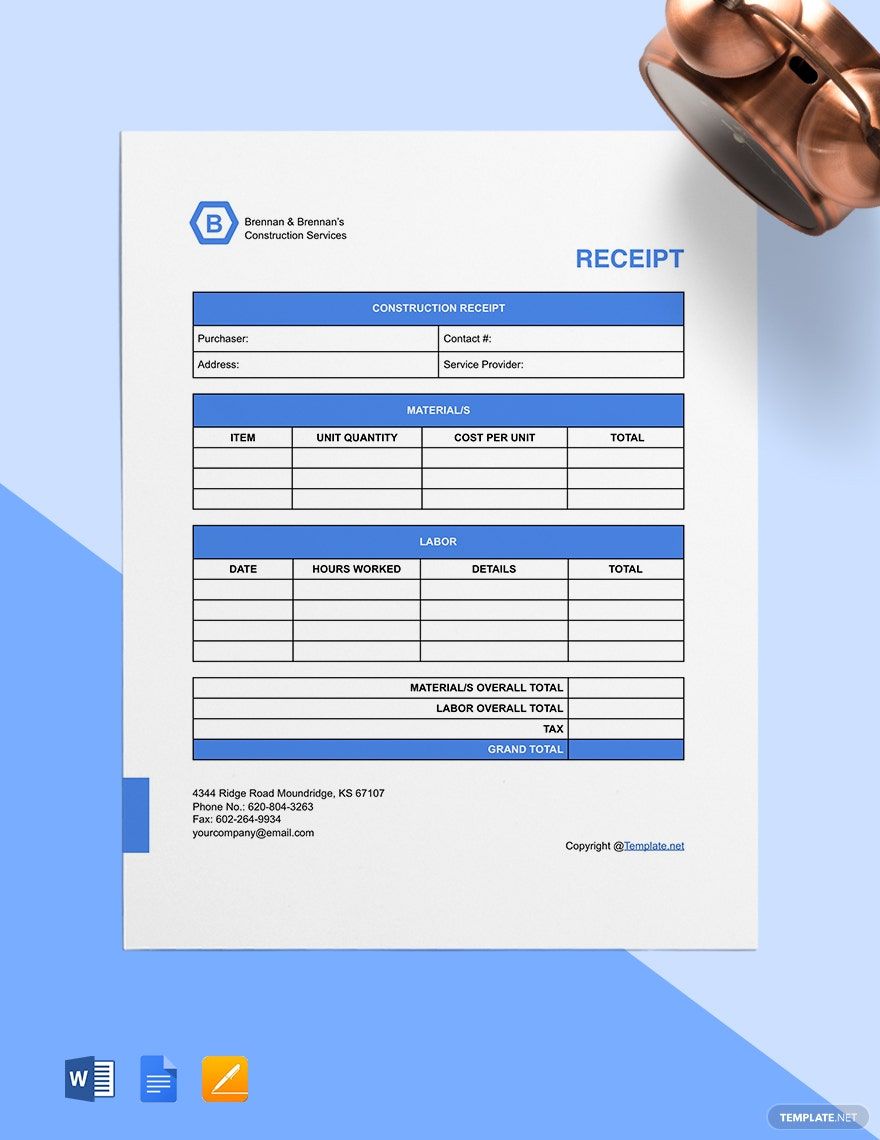
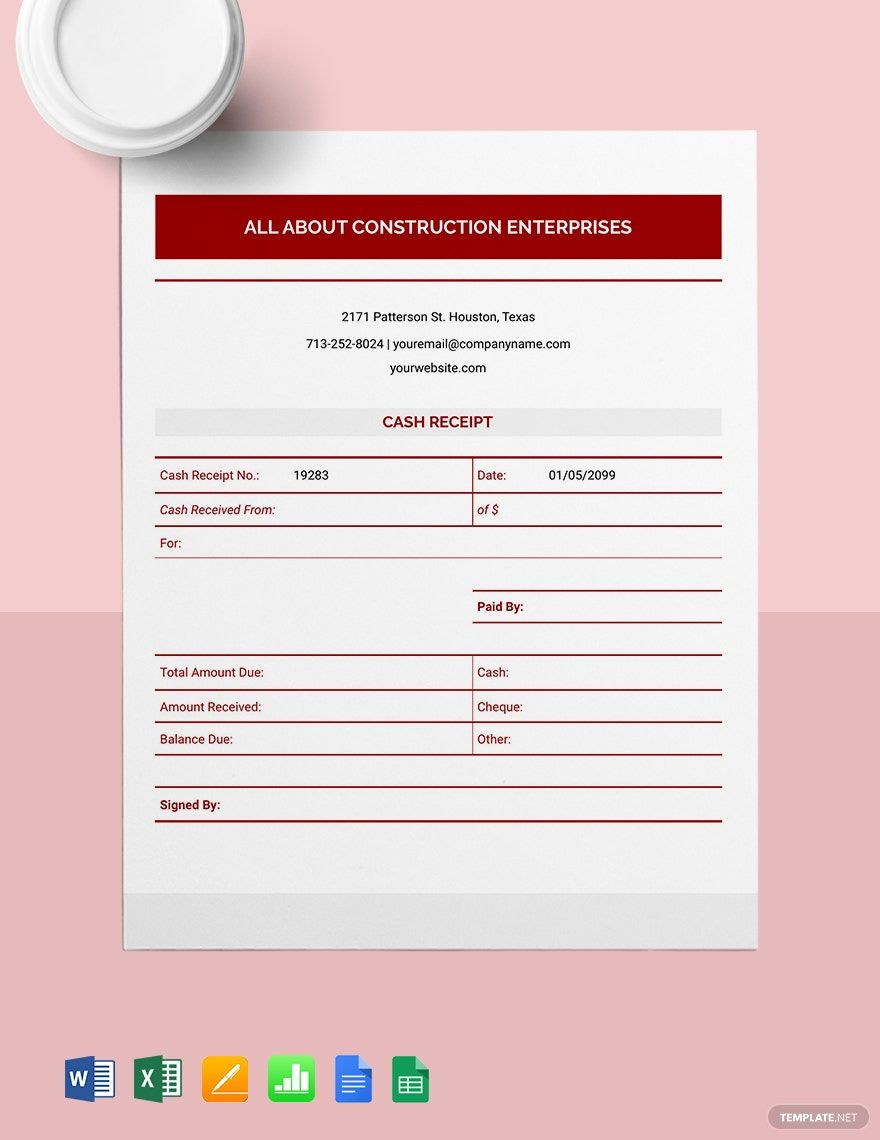
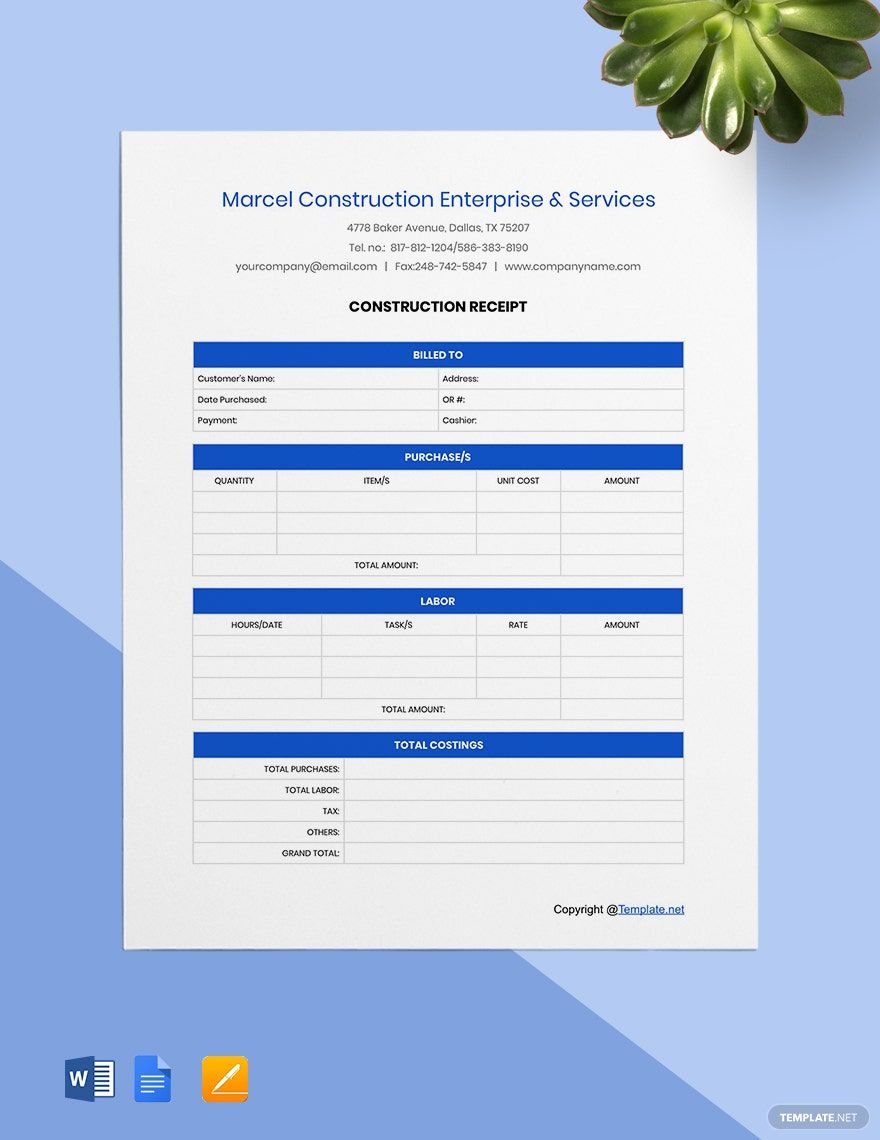
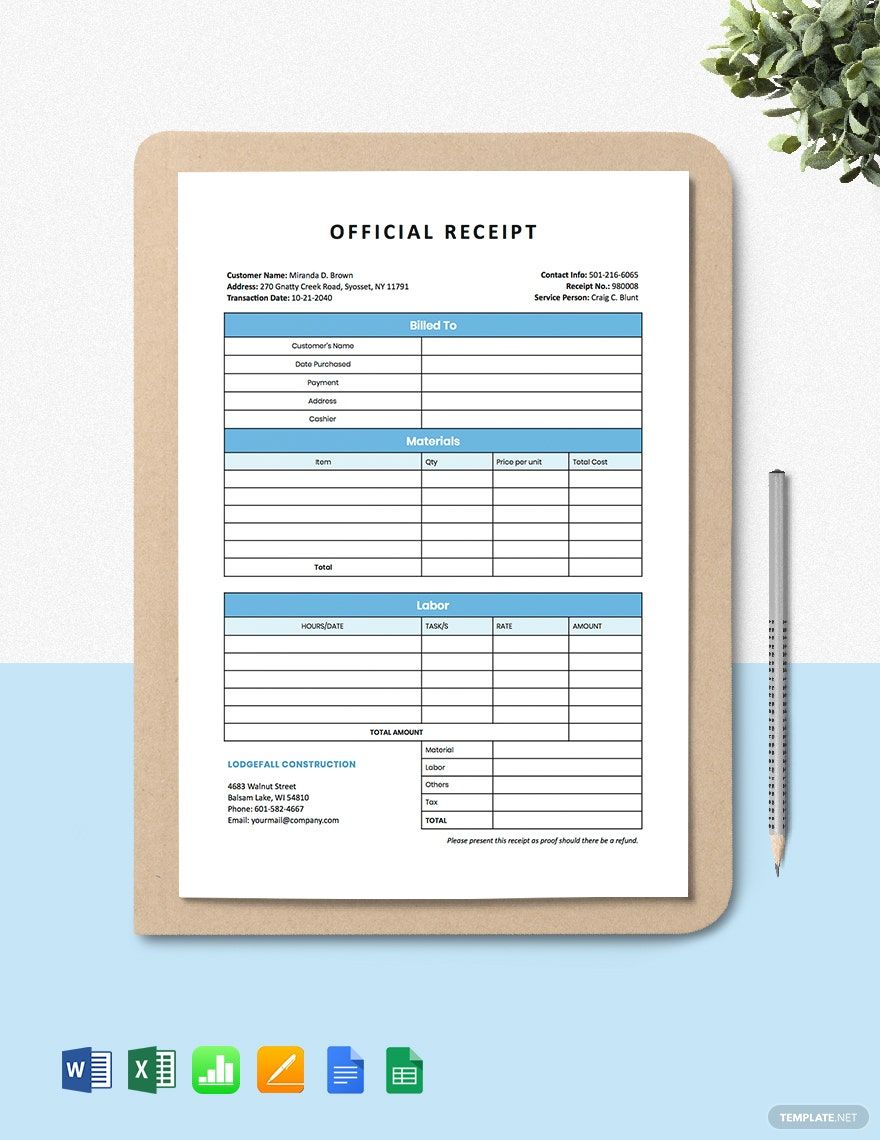
Using your software, create your desired layout. Use tables to make it look organized and in order. Make sure to provide sufficient spaces for the transaction details. Usually, It has a separate table for the product details and the labor details. A typical receipt has four columns that have labels: item, quantity, cost, and total amount. But you can make it on your own depending on the transaction. Use the 'Insert' many tools to set the data on the page appropriately.
3. Supply With Details
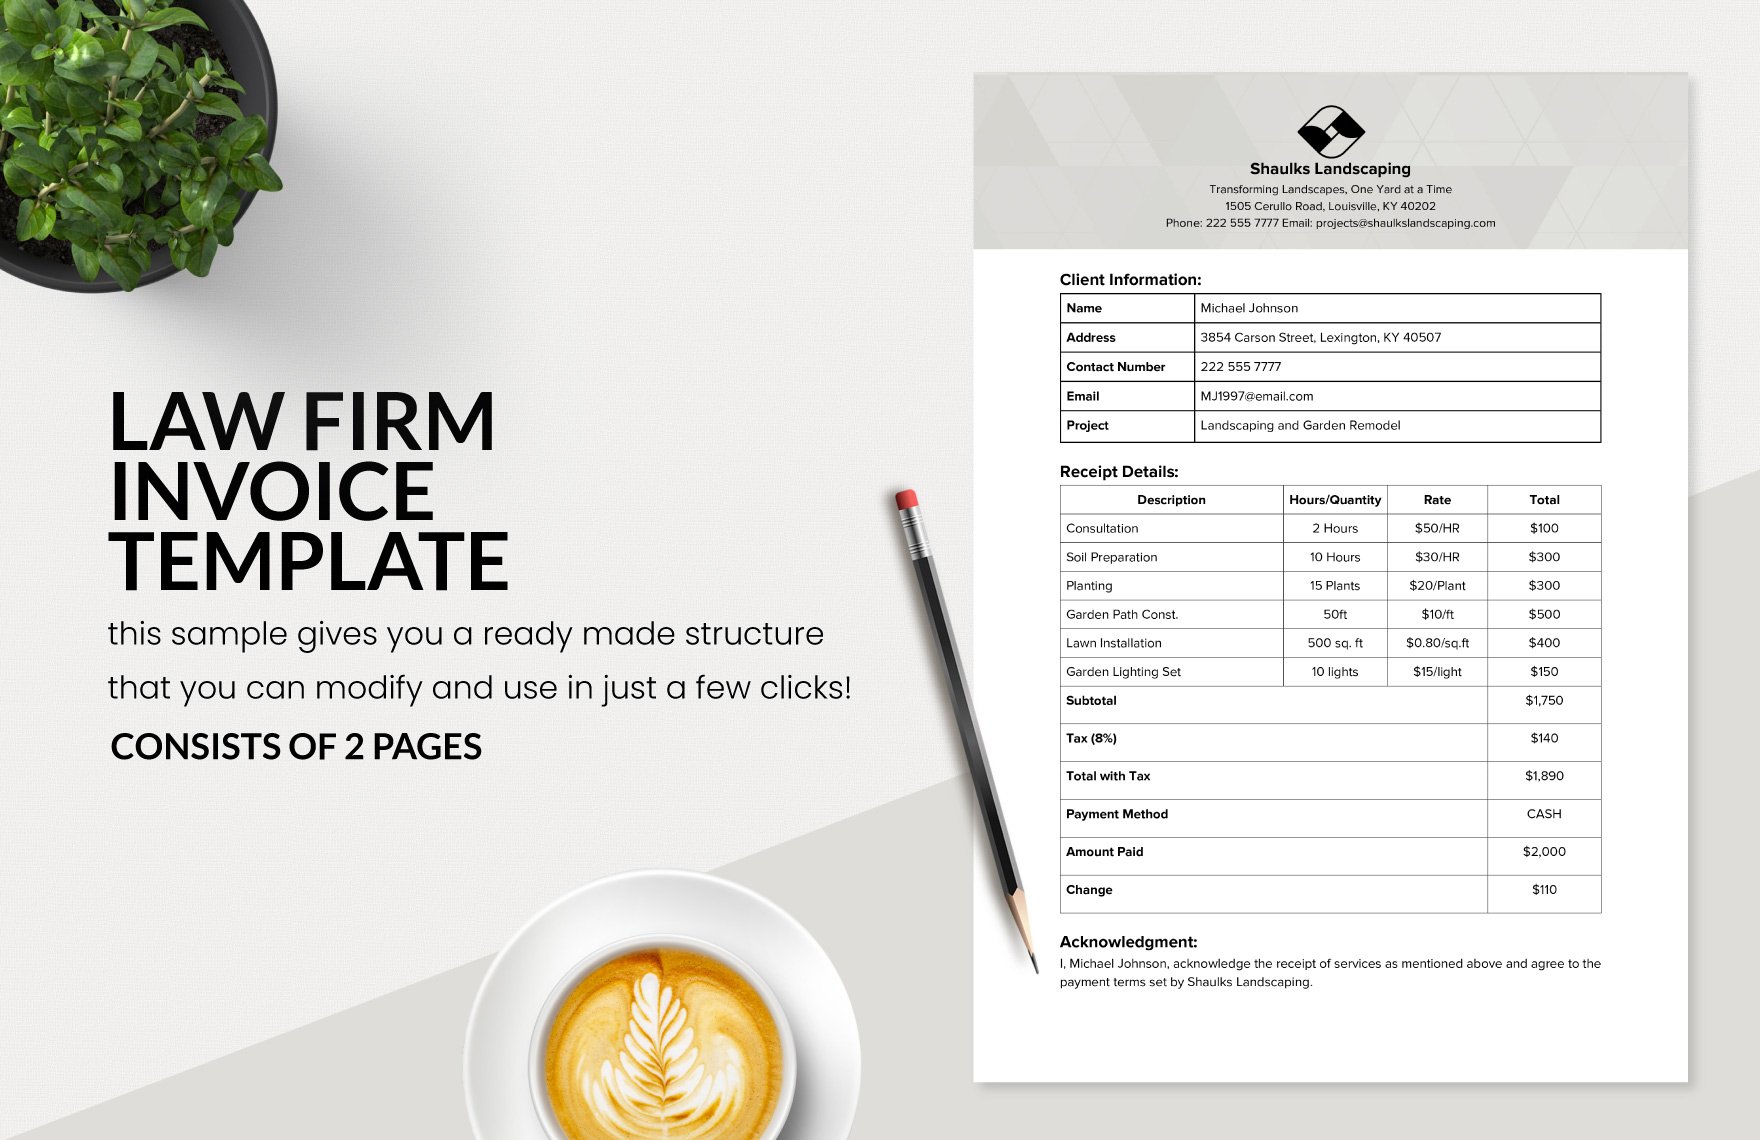
Receipts have no standard format. There are essential elements that must be visible in a simple receipt; this includes the information of the customer (name, contact number, and such), the details of the purchase, and the date and time of the transaction. It is important to specify these details so that whenever there are conflicts and clarifications by the clients, the company can quickly review it. The details must also be accurate and precise for the convenience of the accounting person.
4. Include Branding Details
You can get receipts in all business transactions including your competitors. Make your receipt different from others by using your unique patterns, color placement, and other elements. At the top of your sample receipt, attach your sample logo, state the company's name, address, and contact details, for your customers to contact you for any questions. It will also serve as a marketing tool since it bears the company's information.
5. Incorporate a Point of Sales System
Keeping a stockpile of papers can be very inconvenient for the accounting officer in their bookkeeping tasks. It is where the Point of Sales (POS) comes to help. It is useful in tracking transactions since the data will automatically be stored on the computer. You can do this by attaching barcodes, QR codes, or serial number on your receipt.
6. Save a Copy
Now that you have done crafting your receipt click the save button. Press 'F12' or go to the 'File' menu and select 'save as' to save a copy of the file. You may print several copies of it for future transactions. When you are issuing a receipt, remember to print two copies, one for the customer and one for your company. It helps in bookkeeping and accounting purposes.