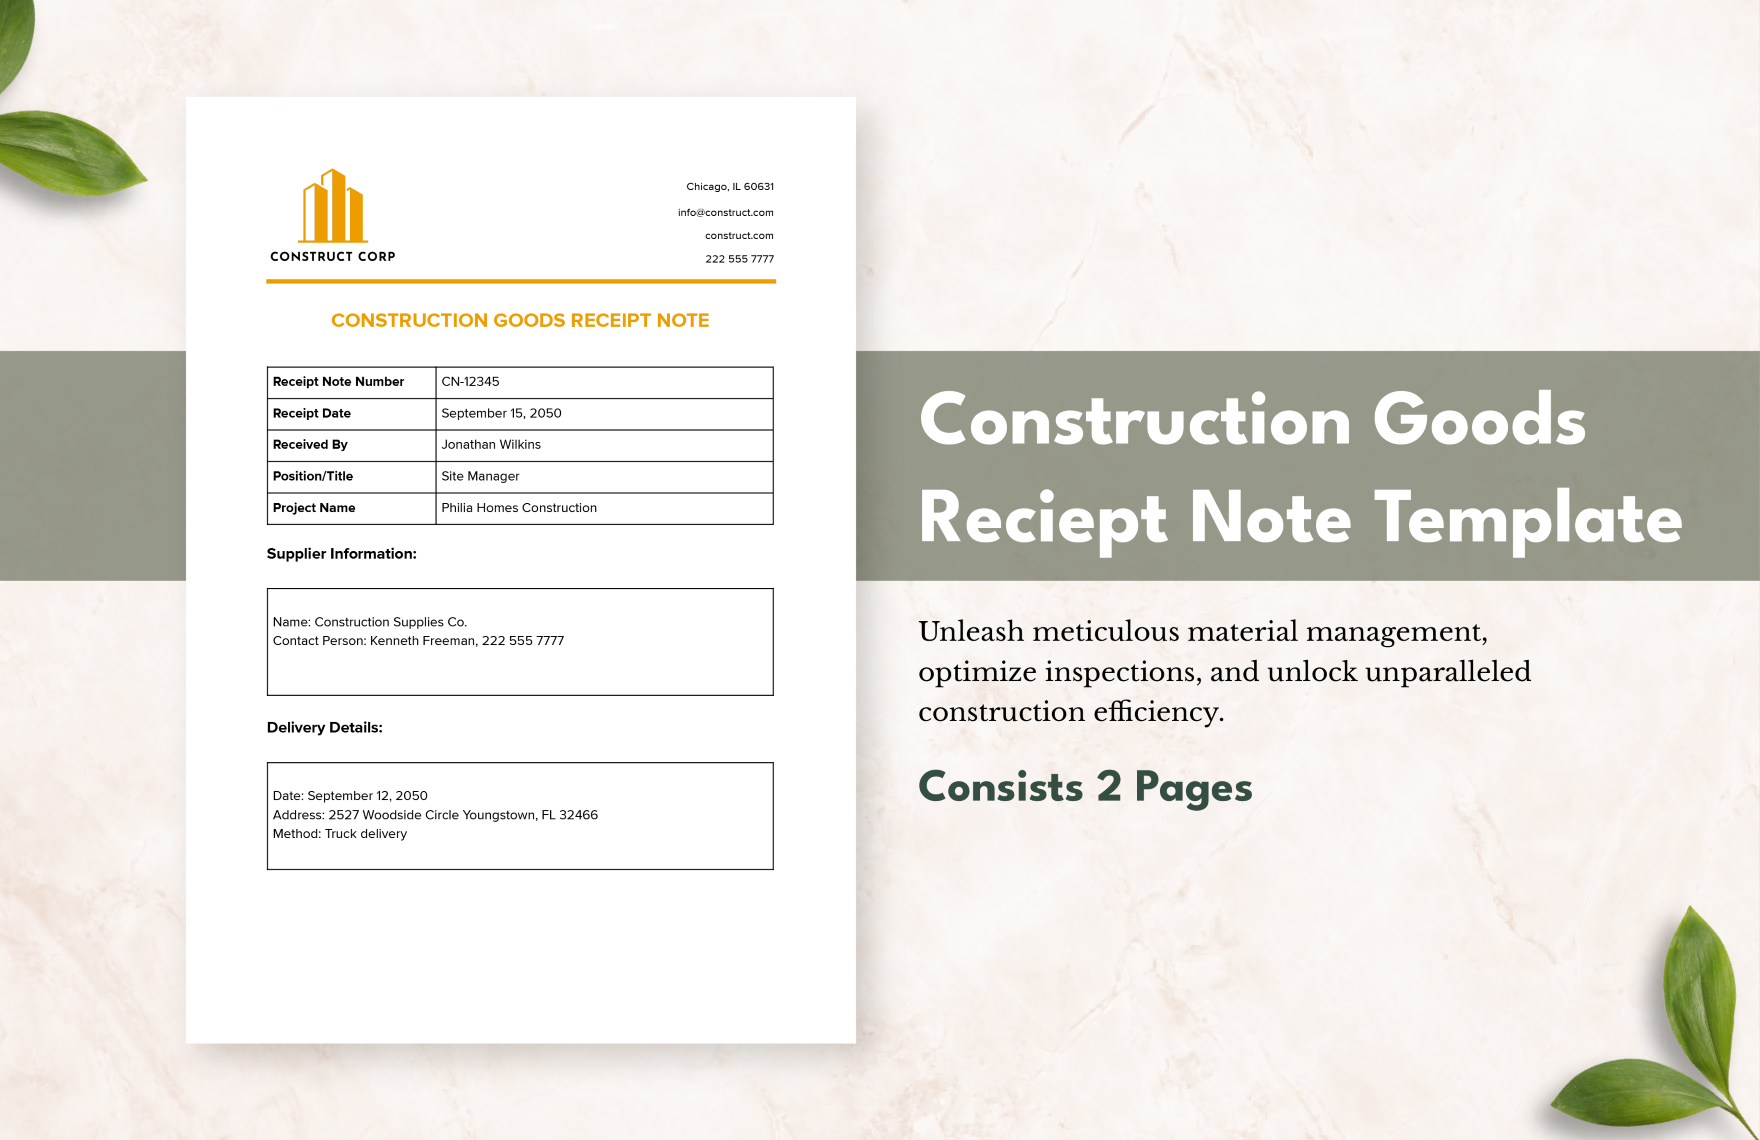
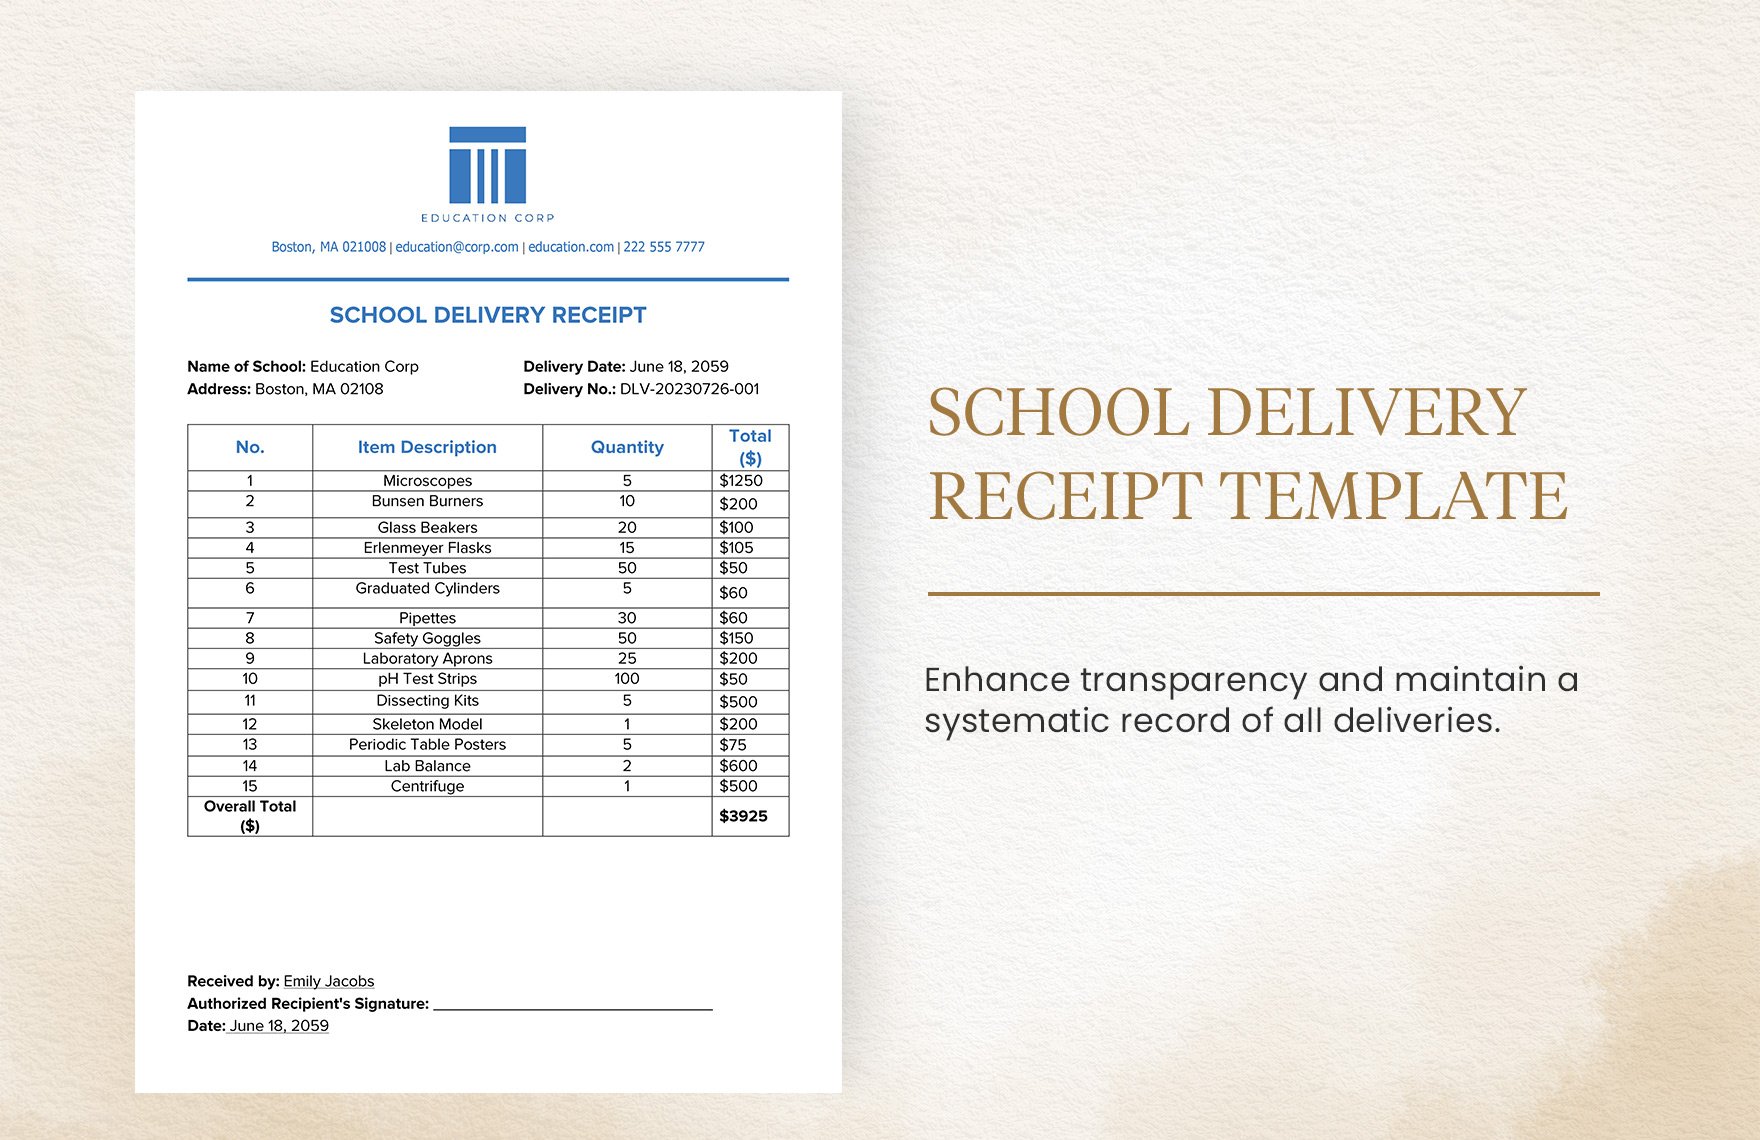
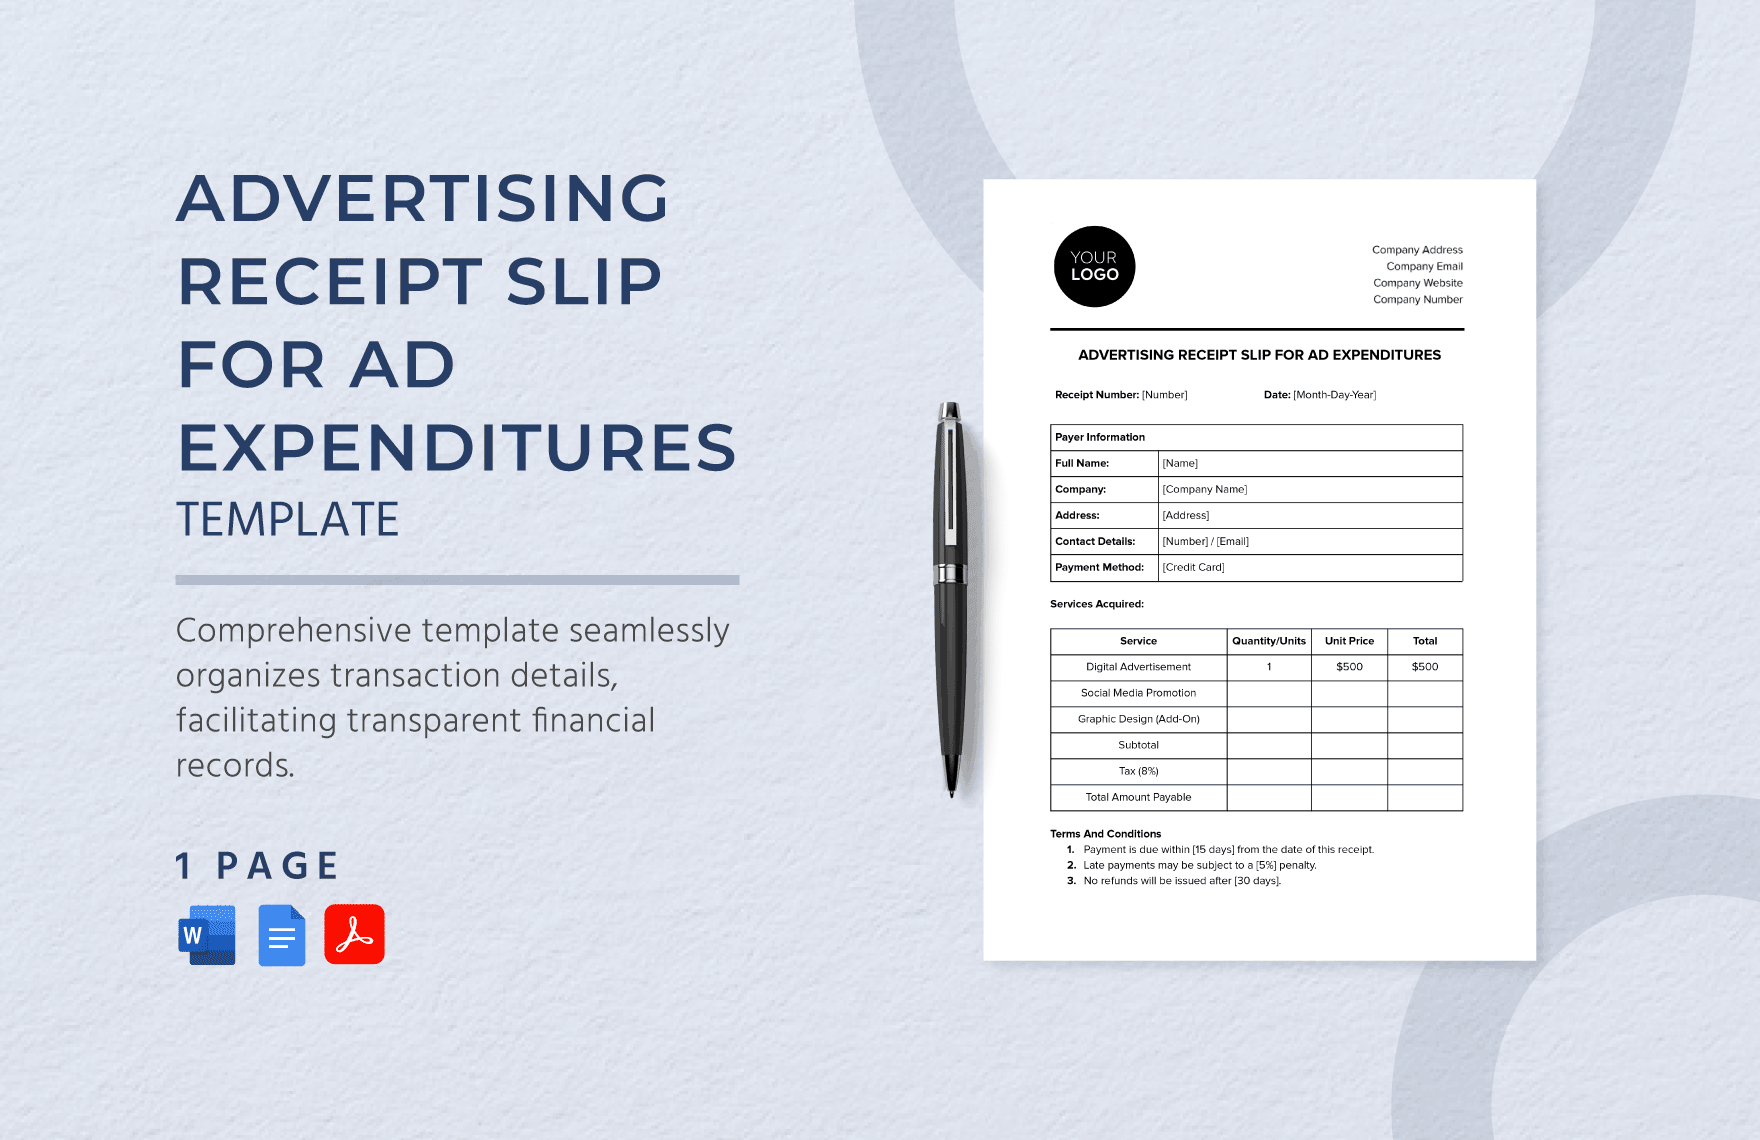
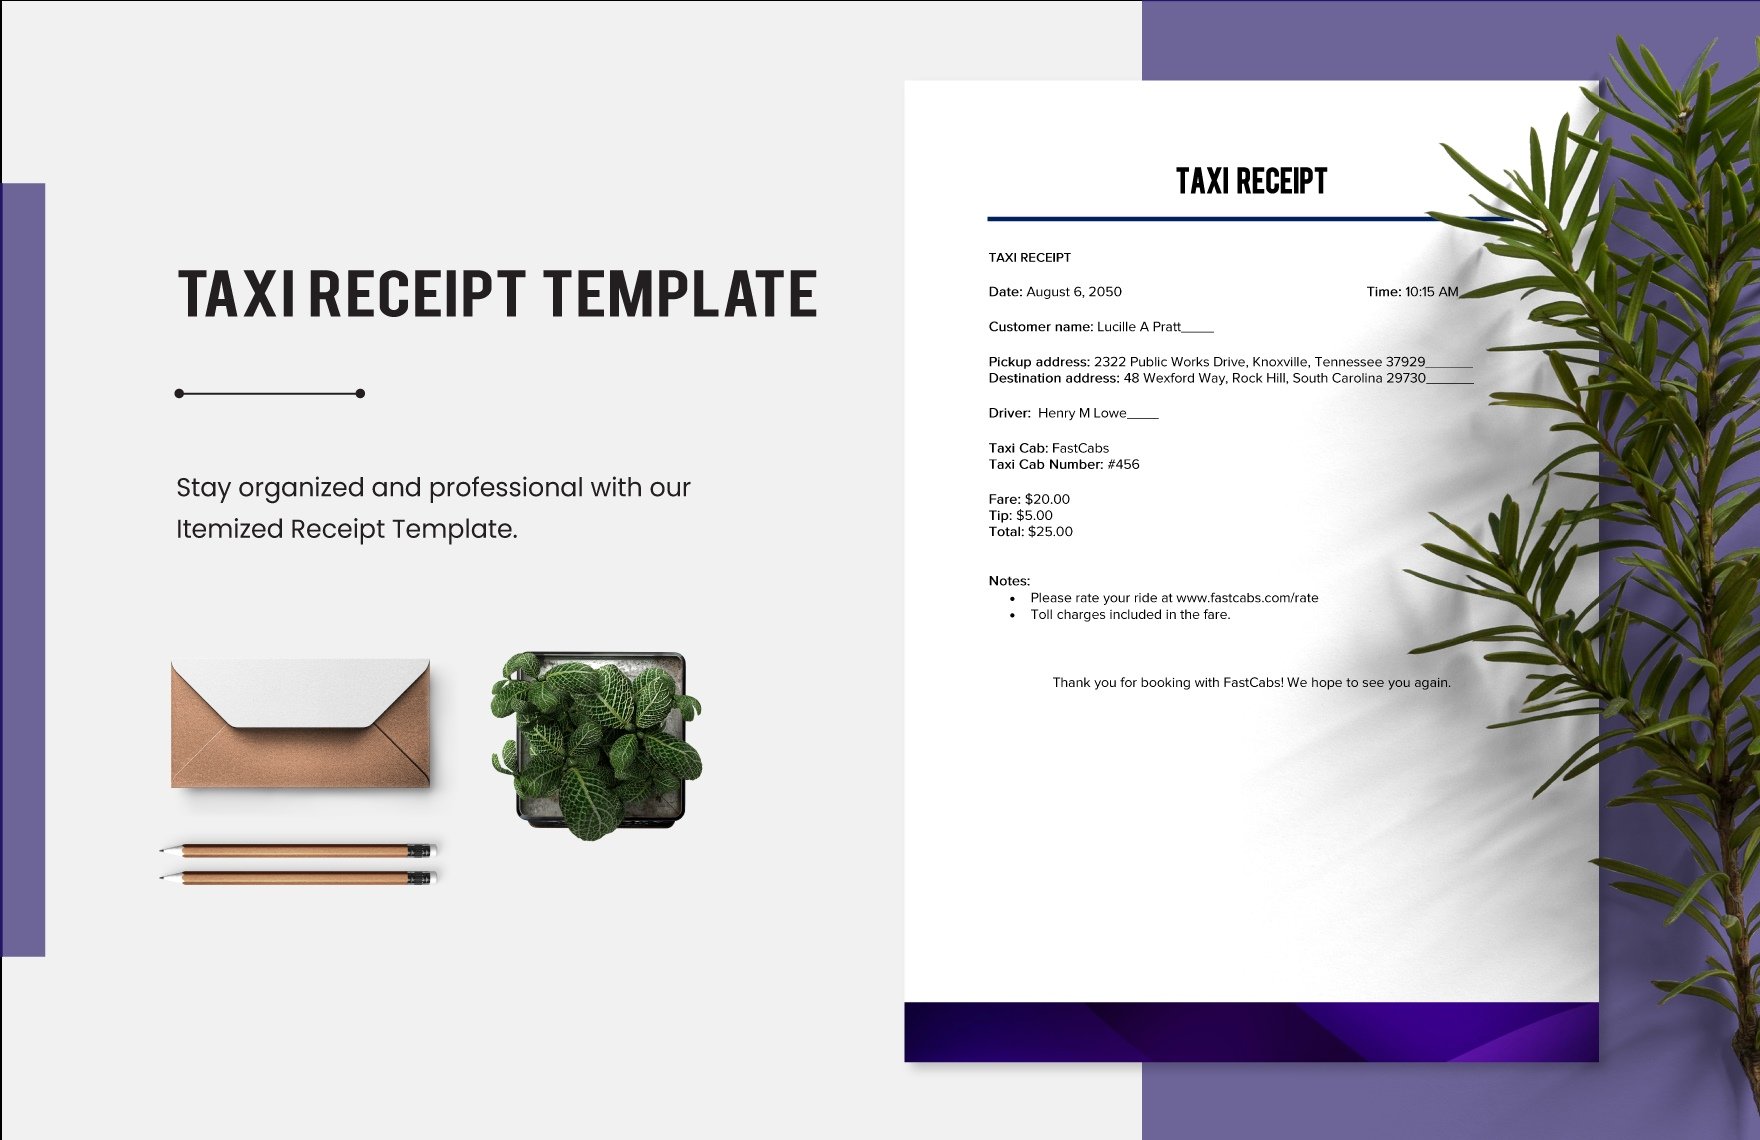
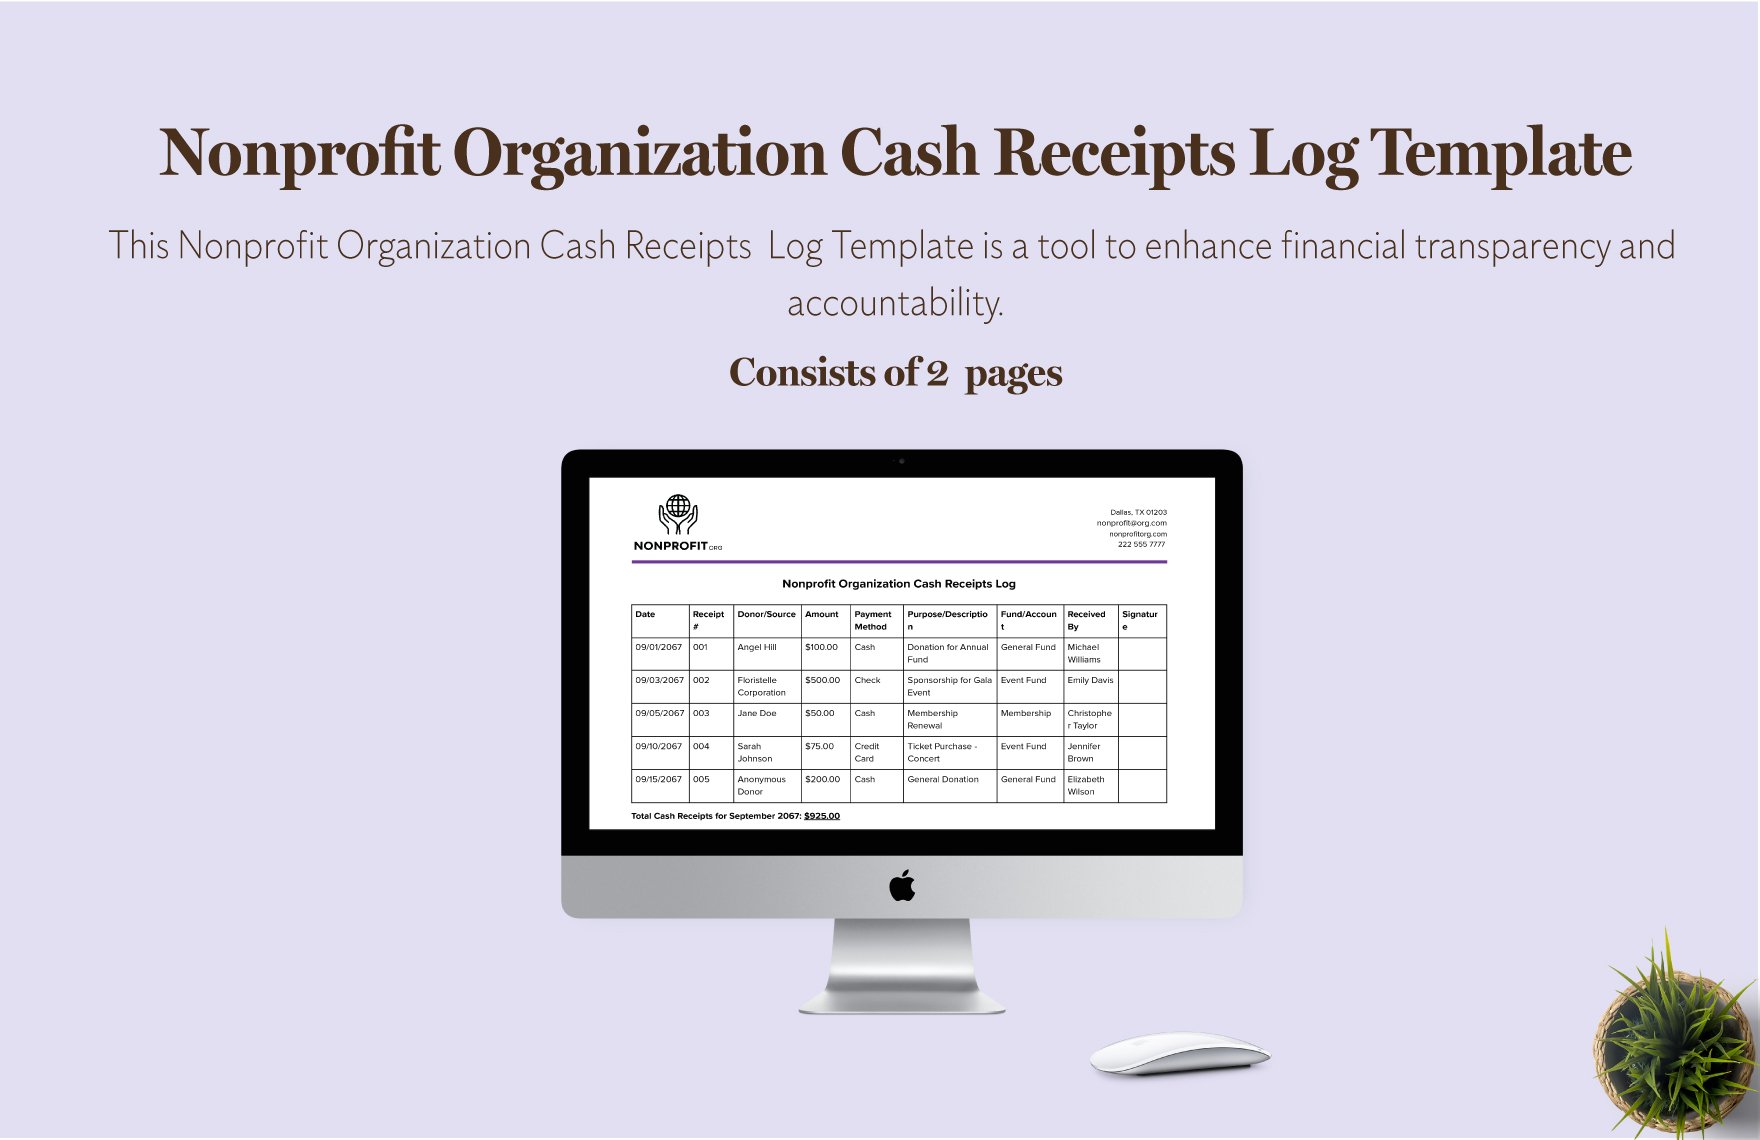
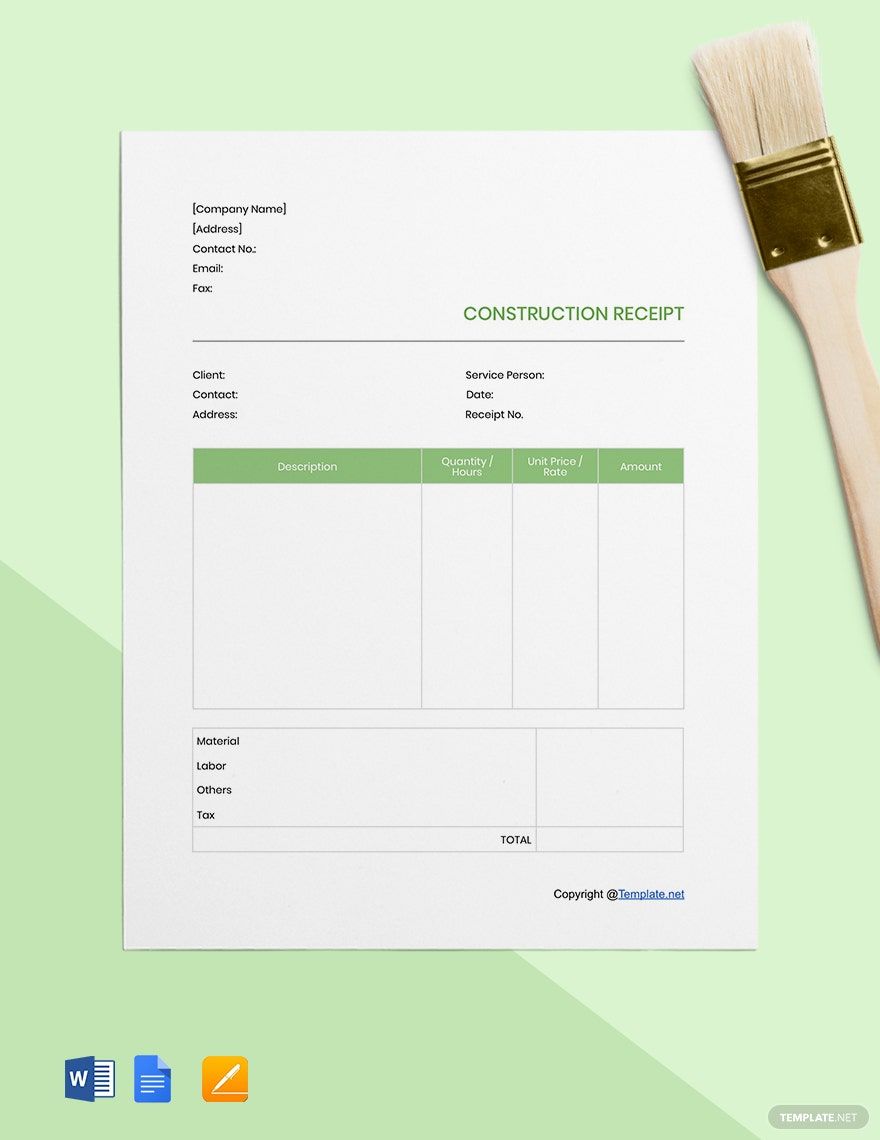
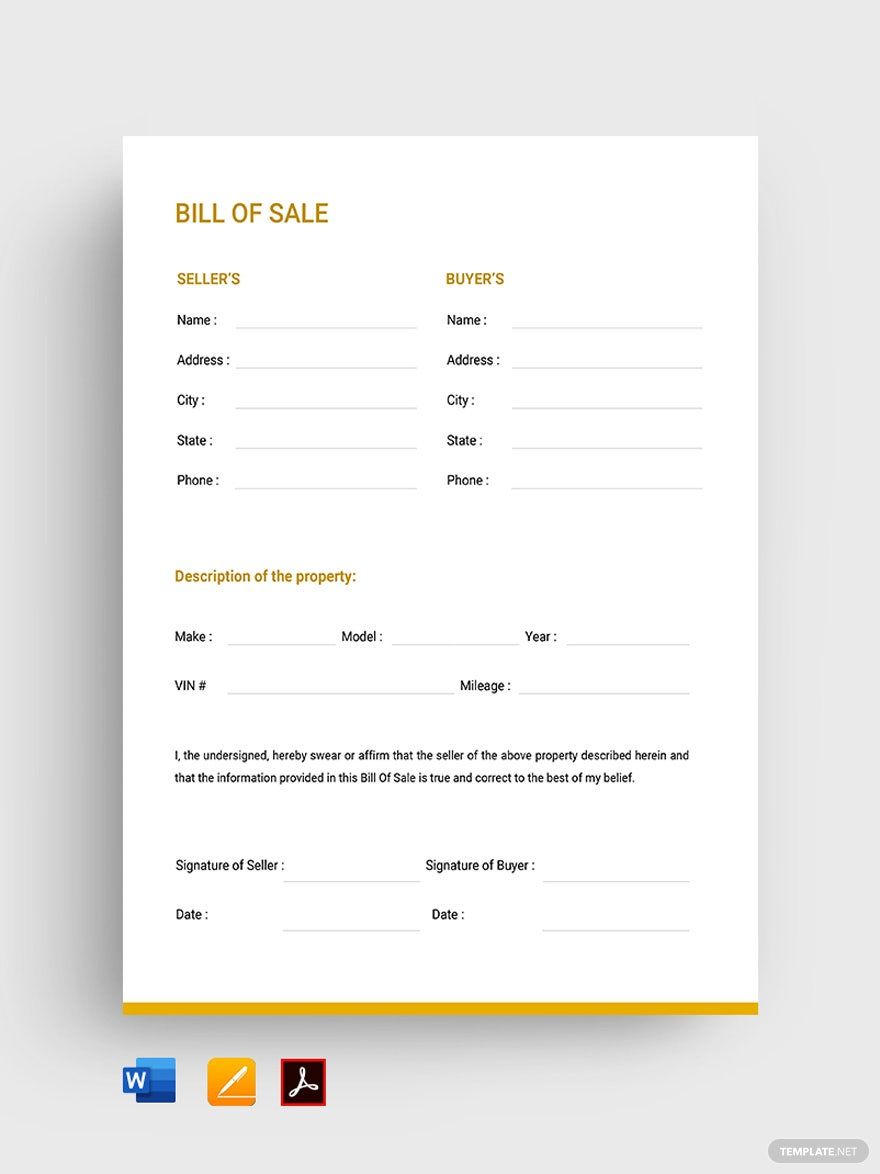
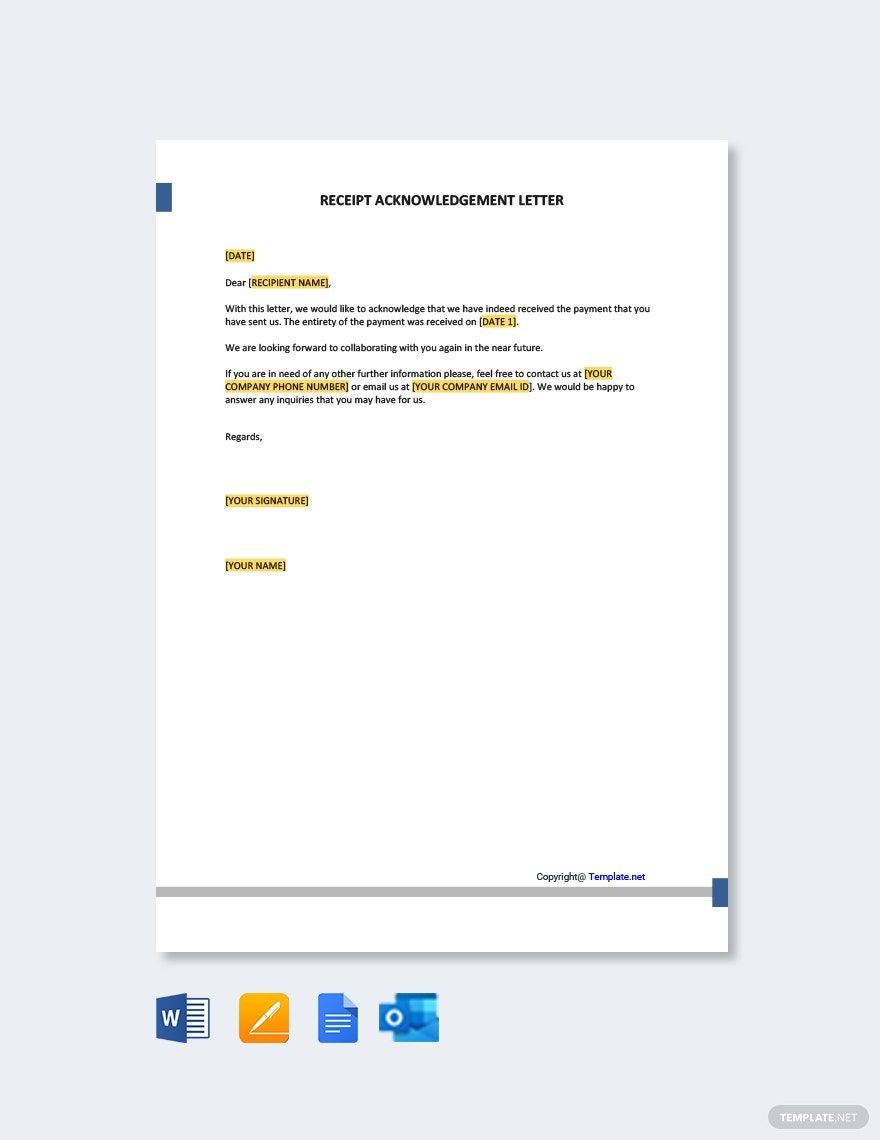
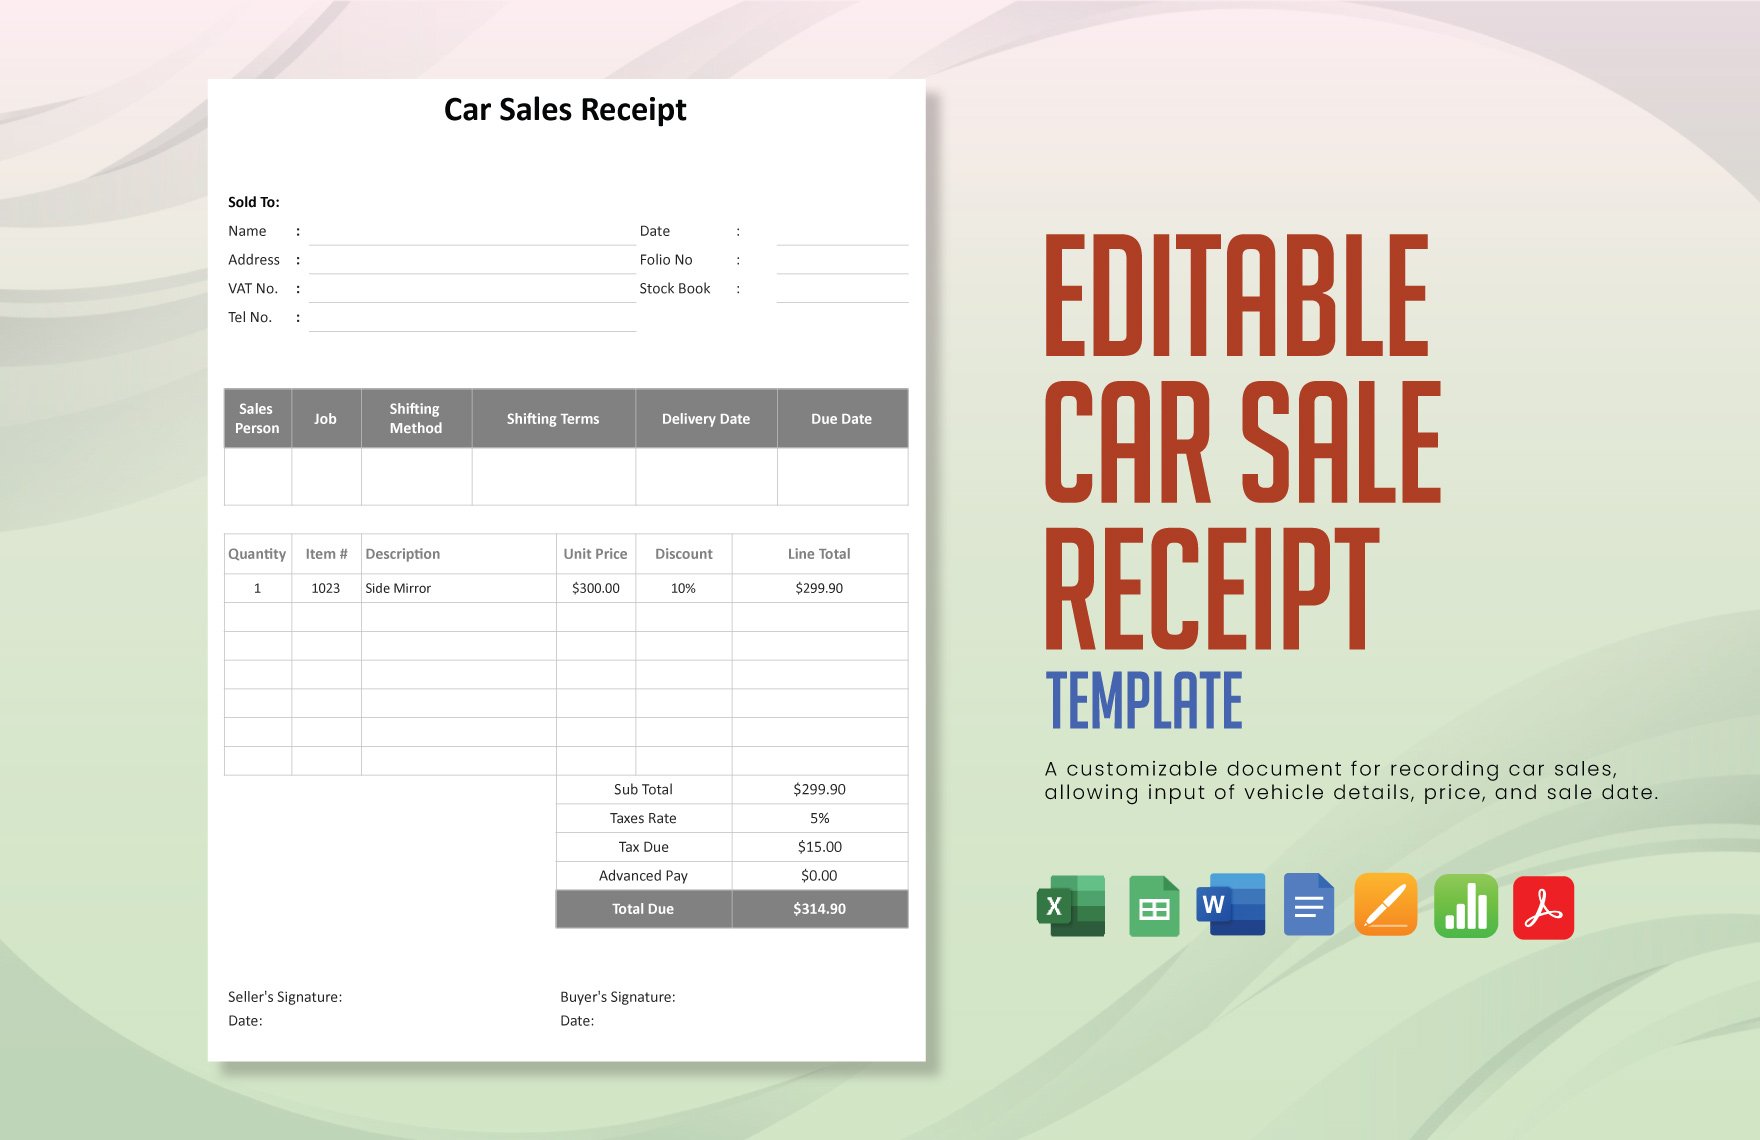
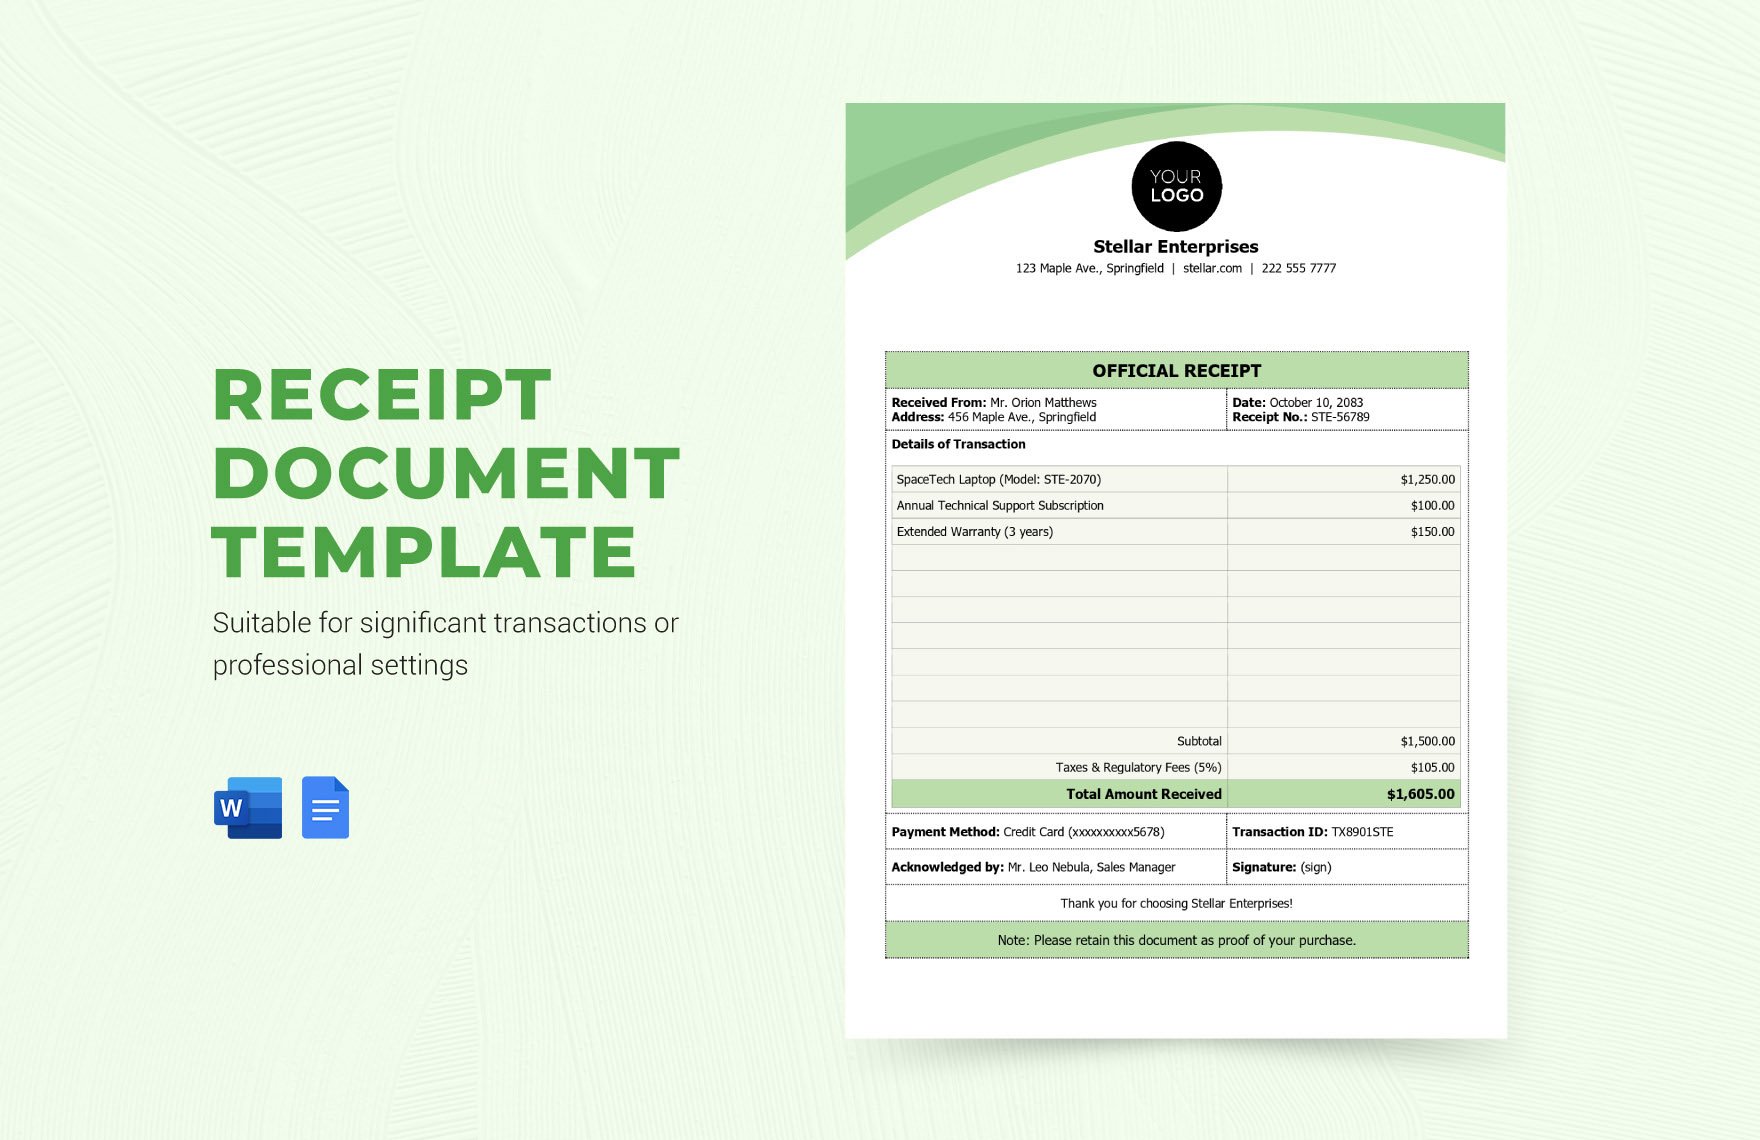
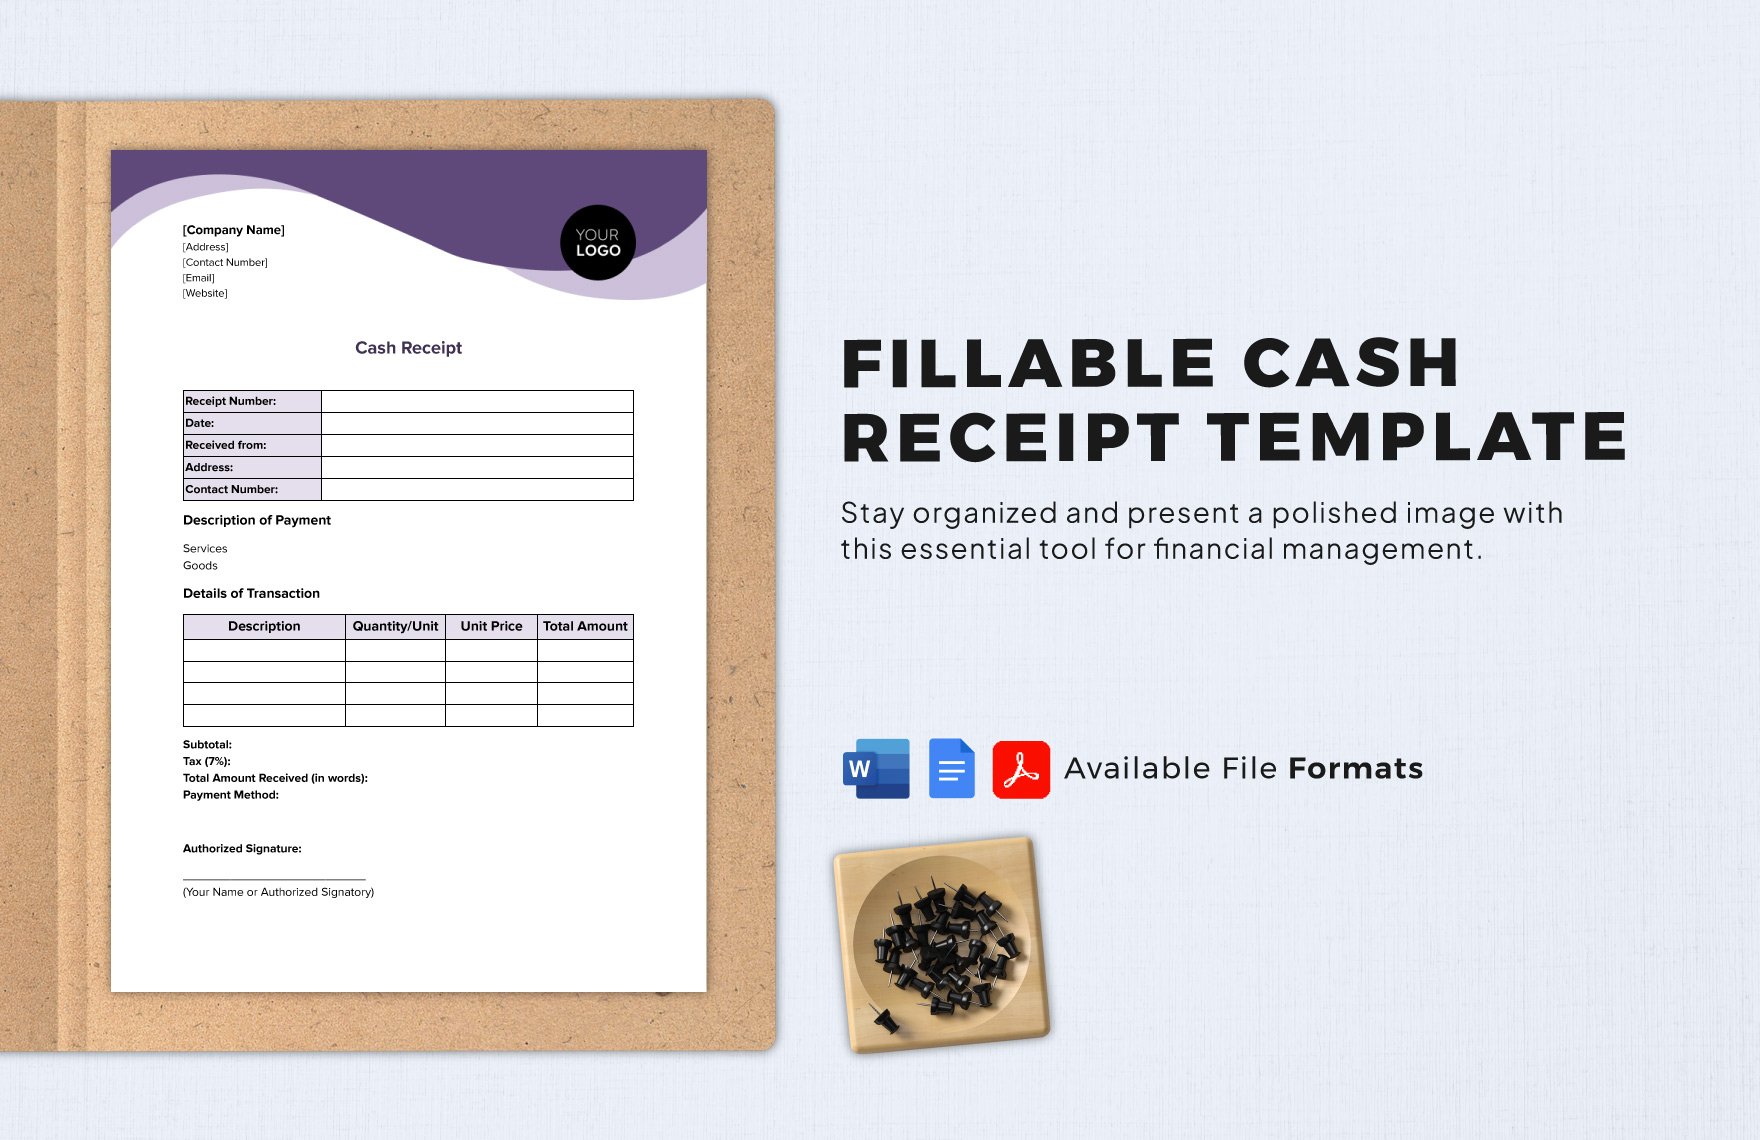
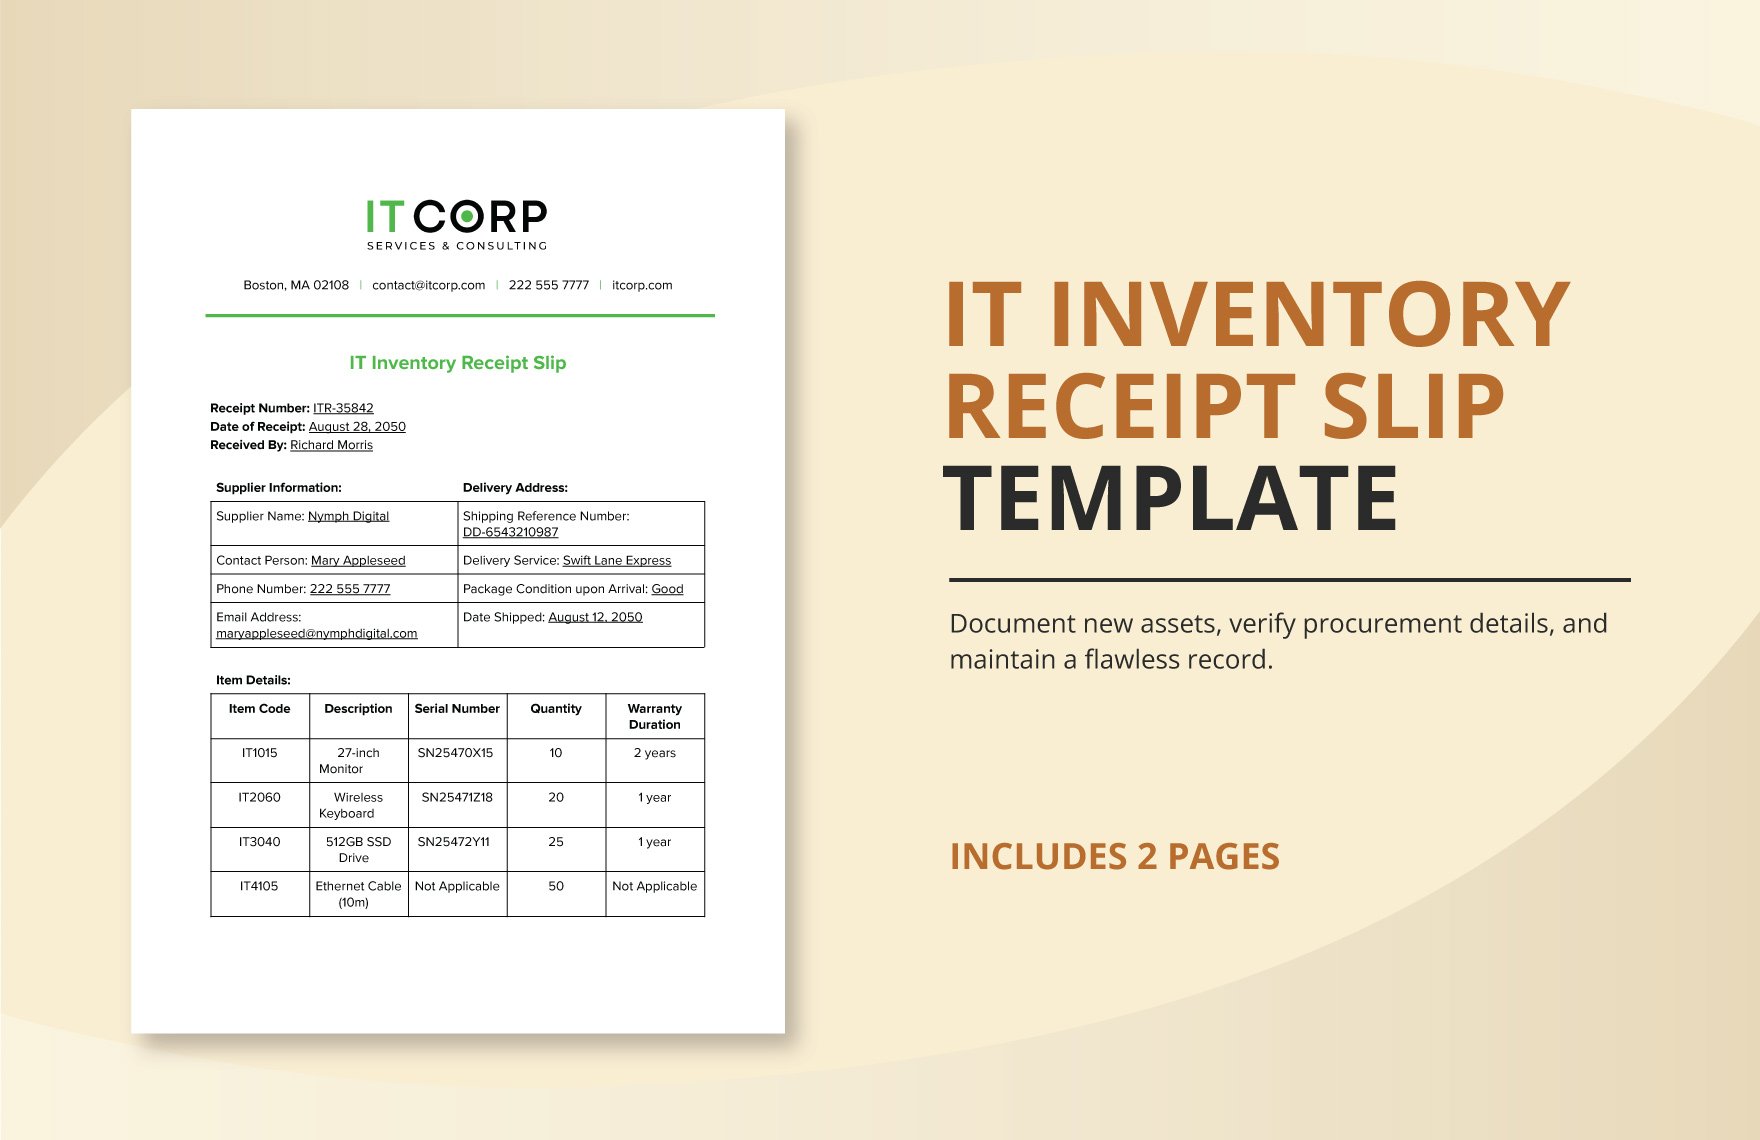
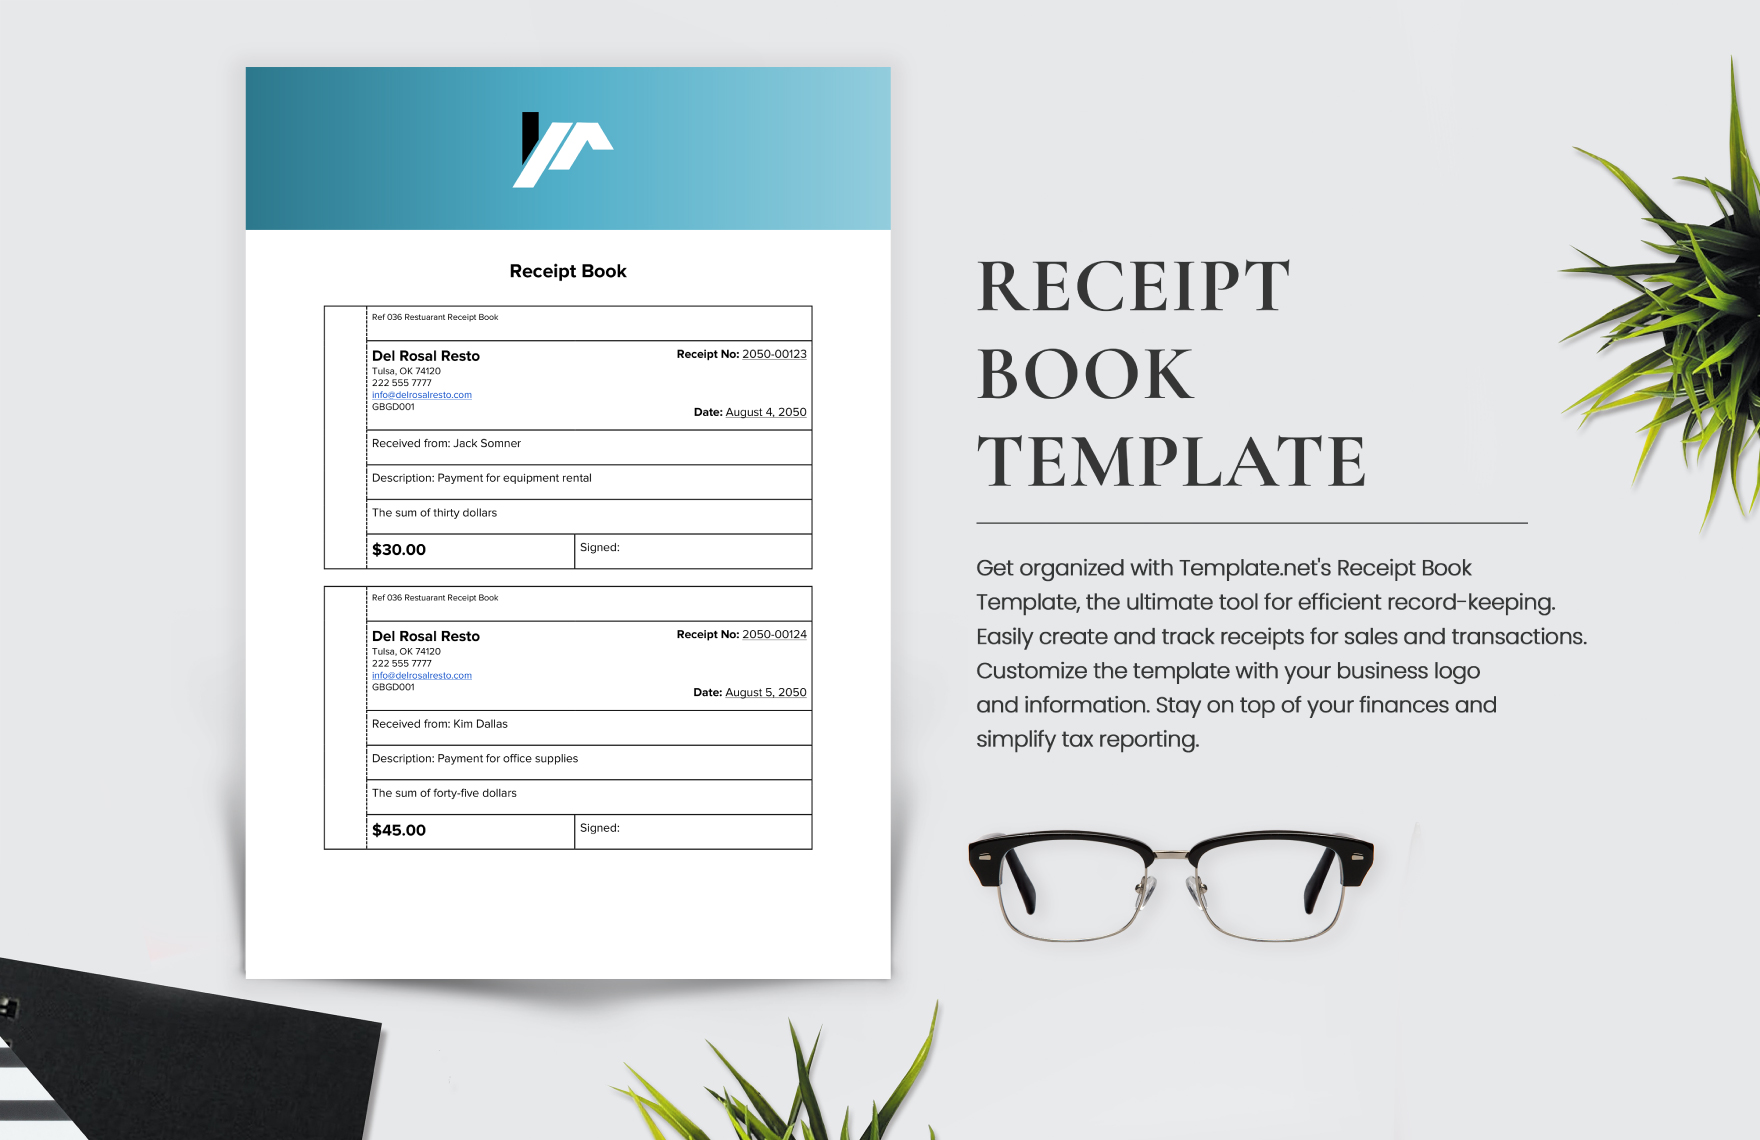
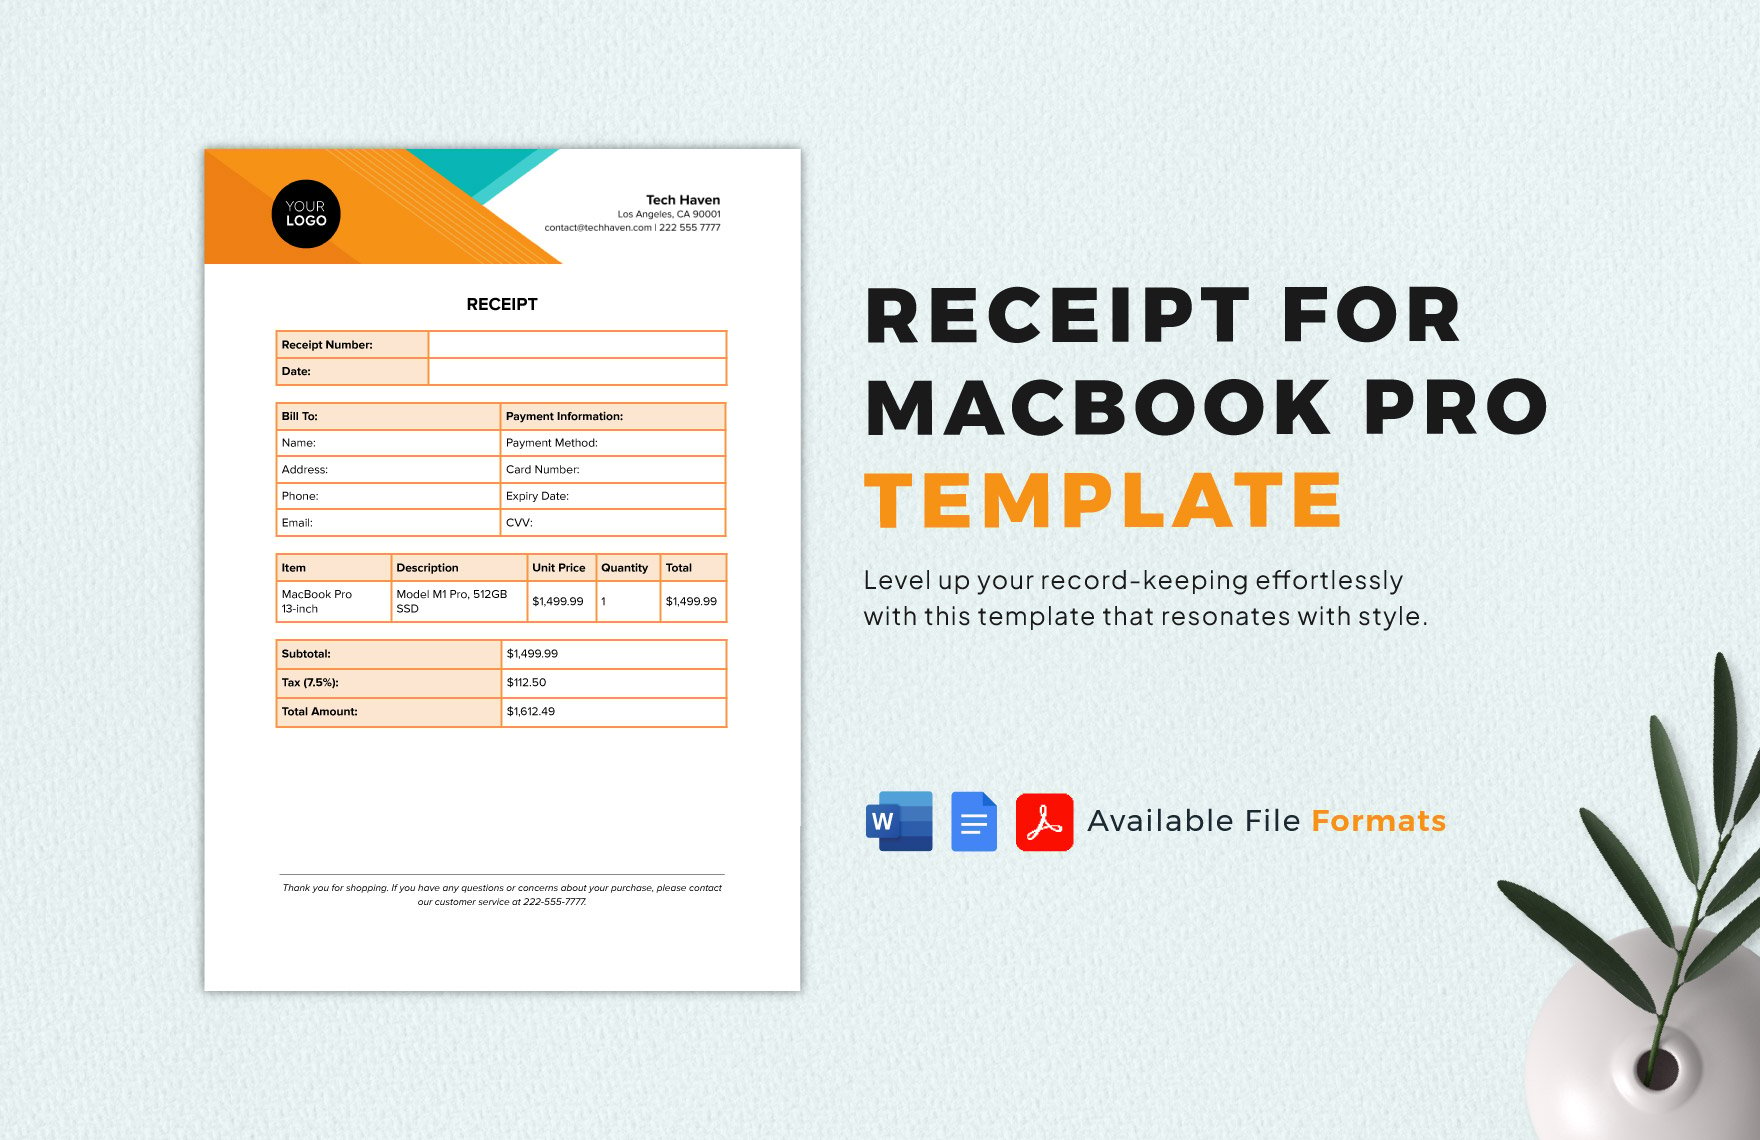
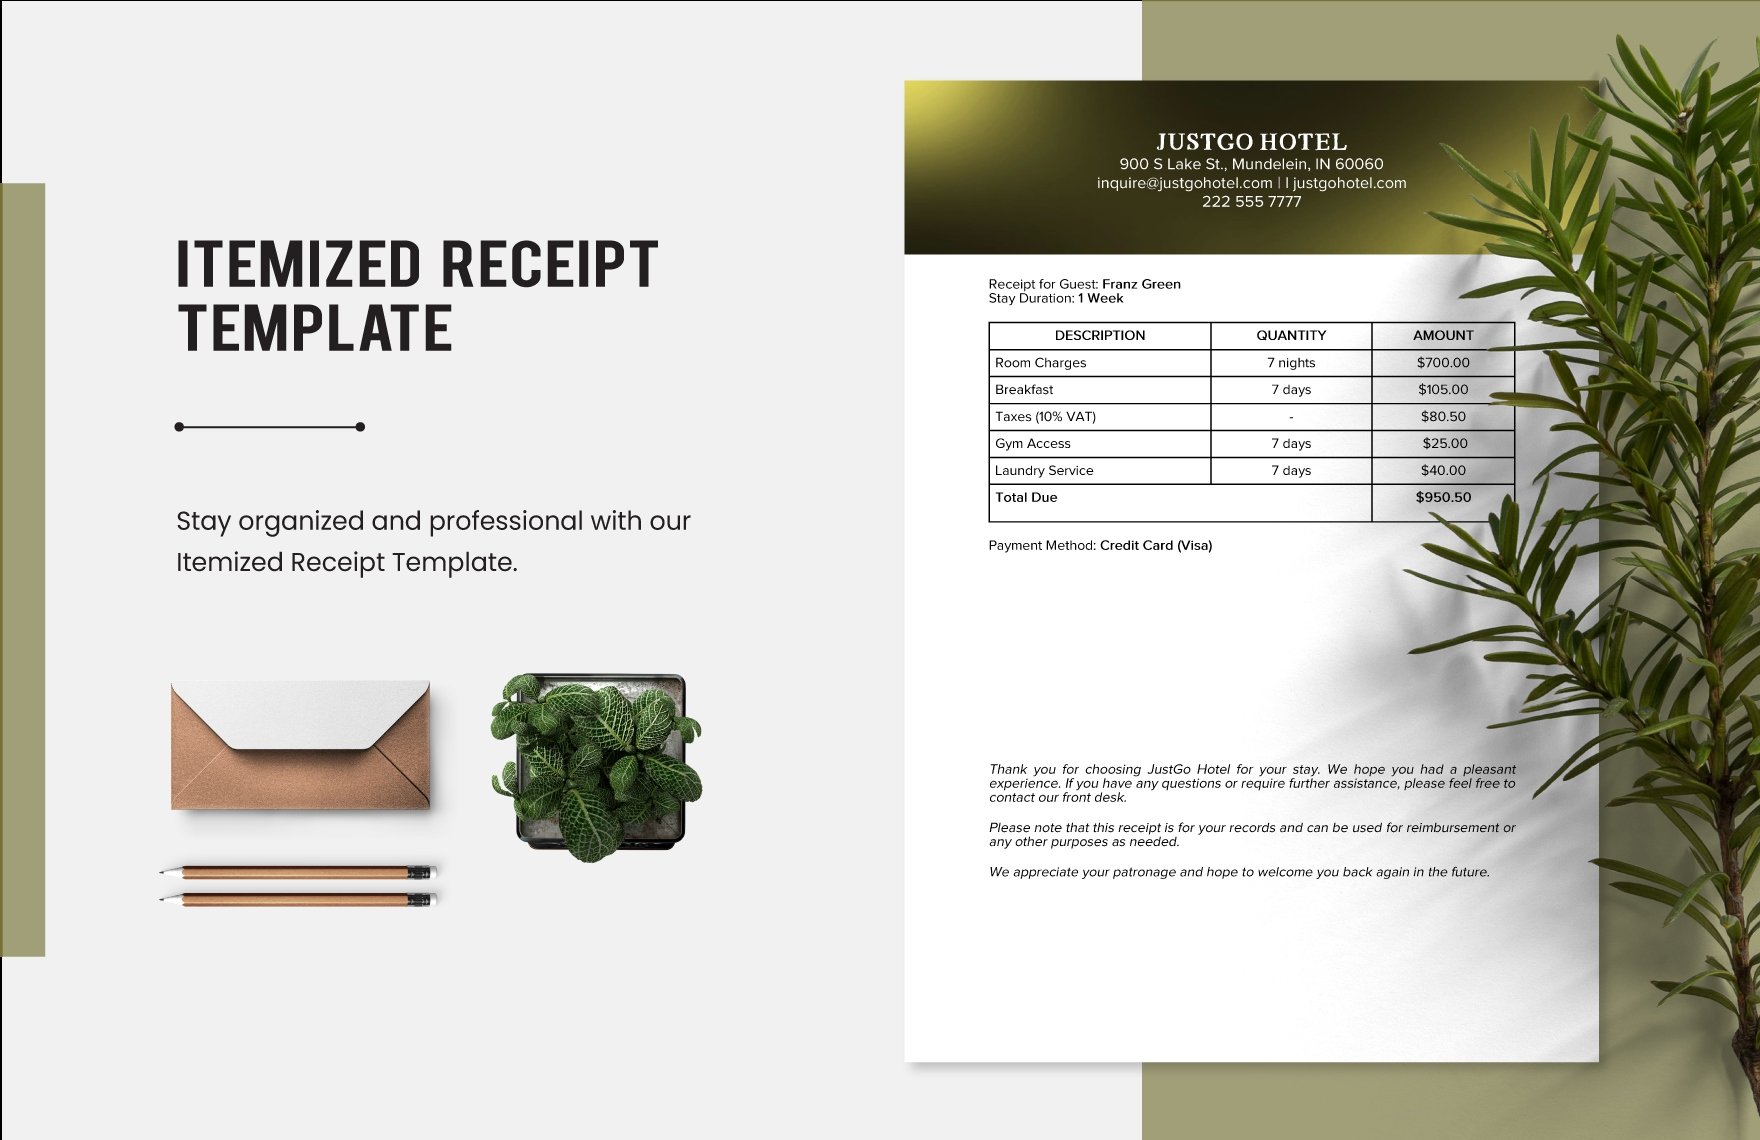
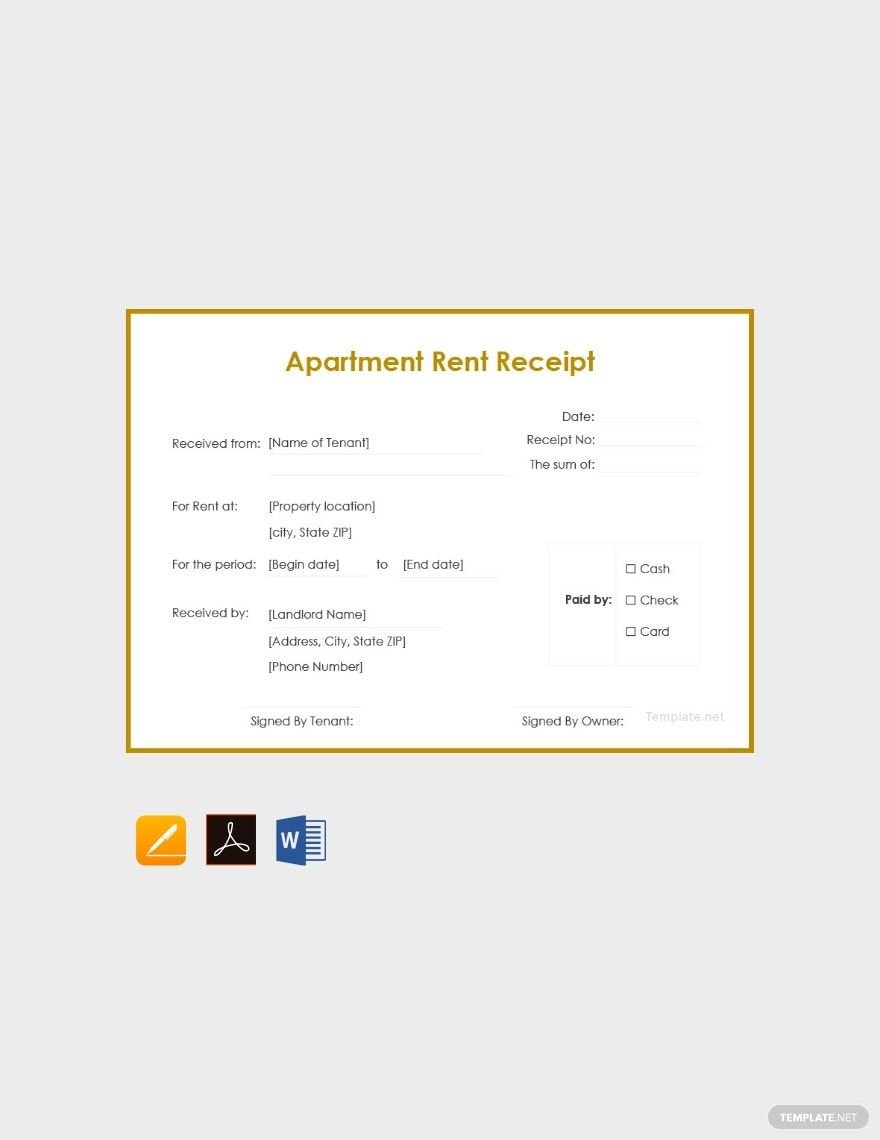
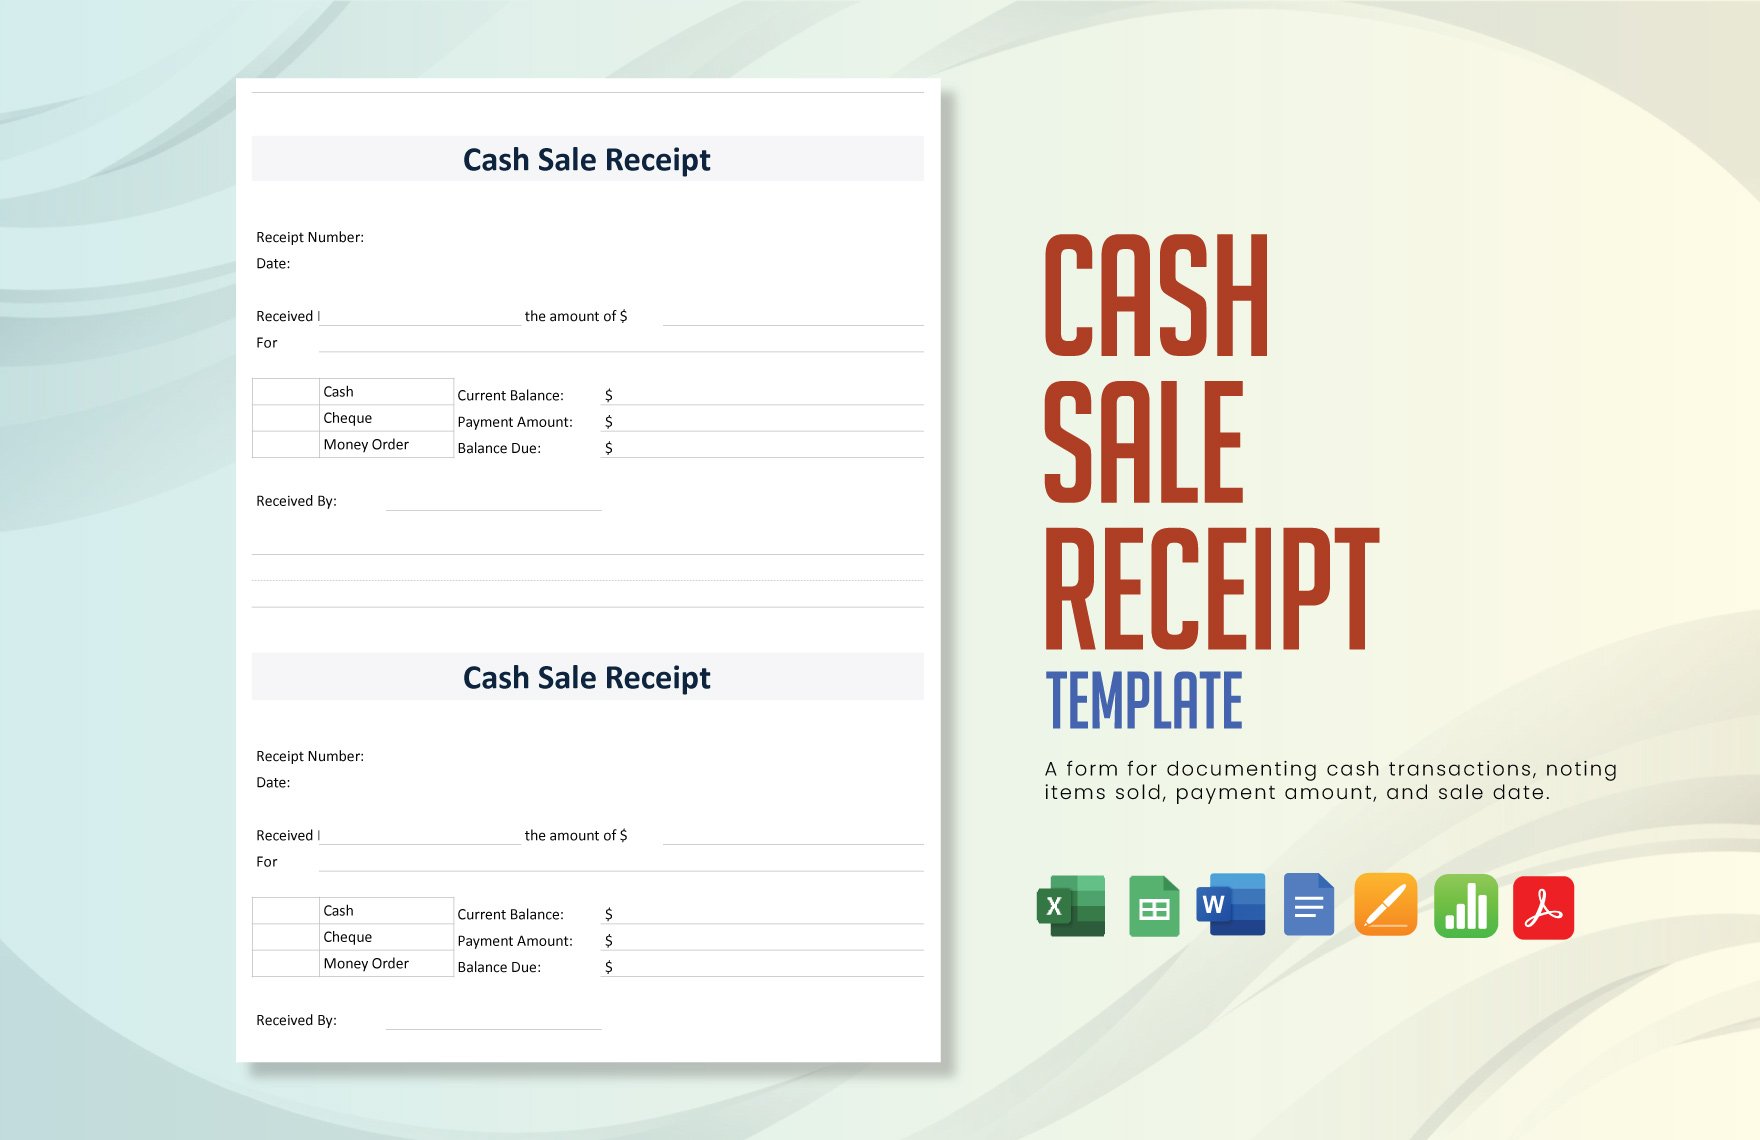
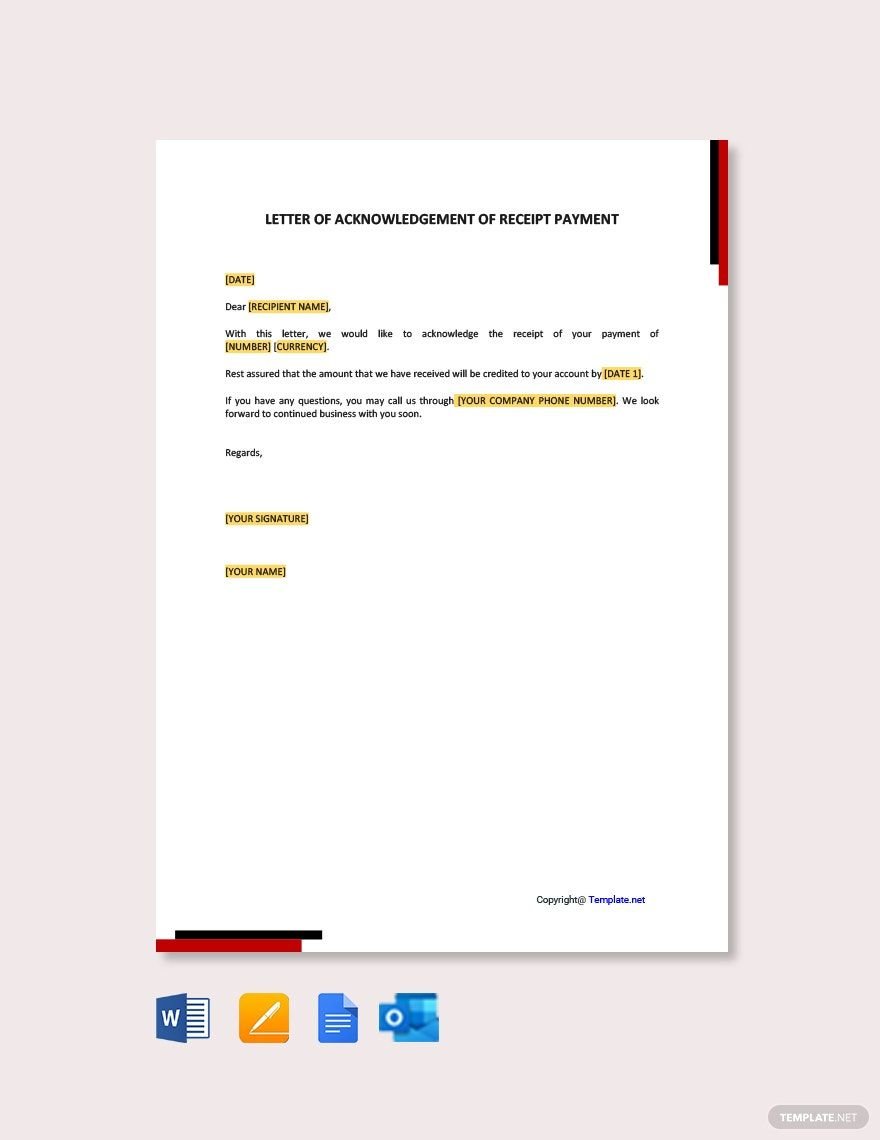
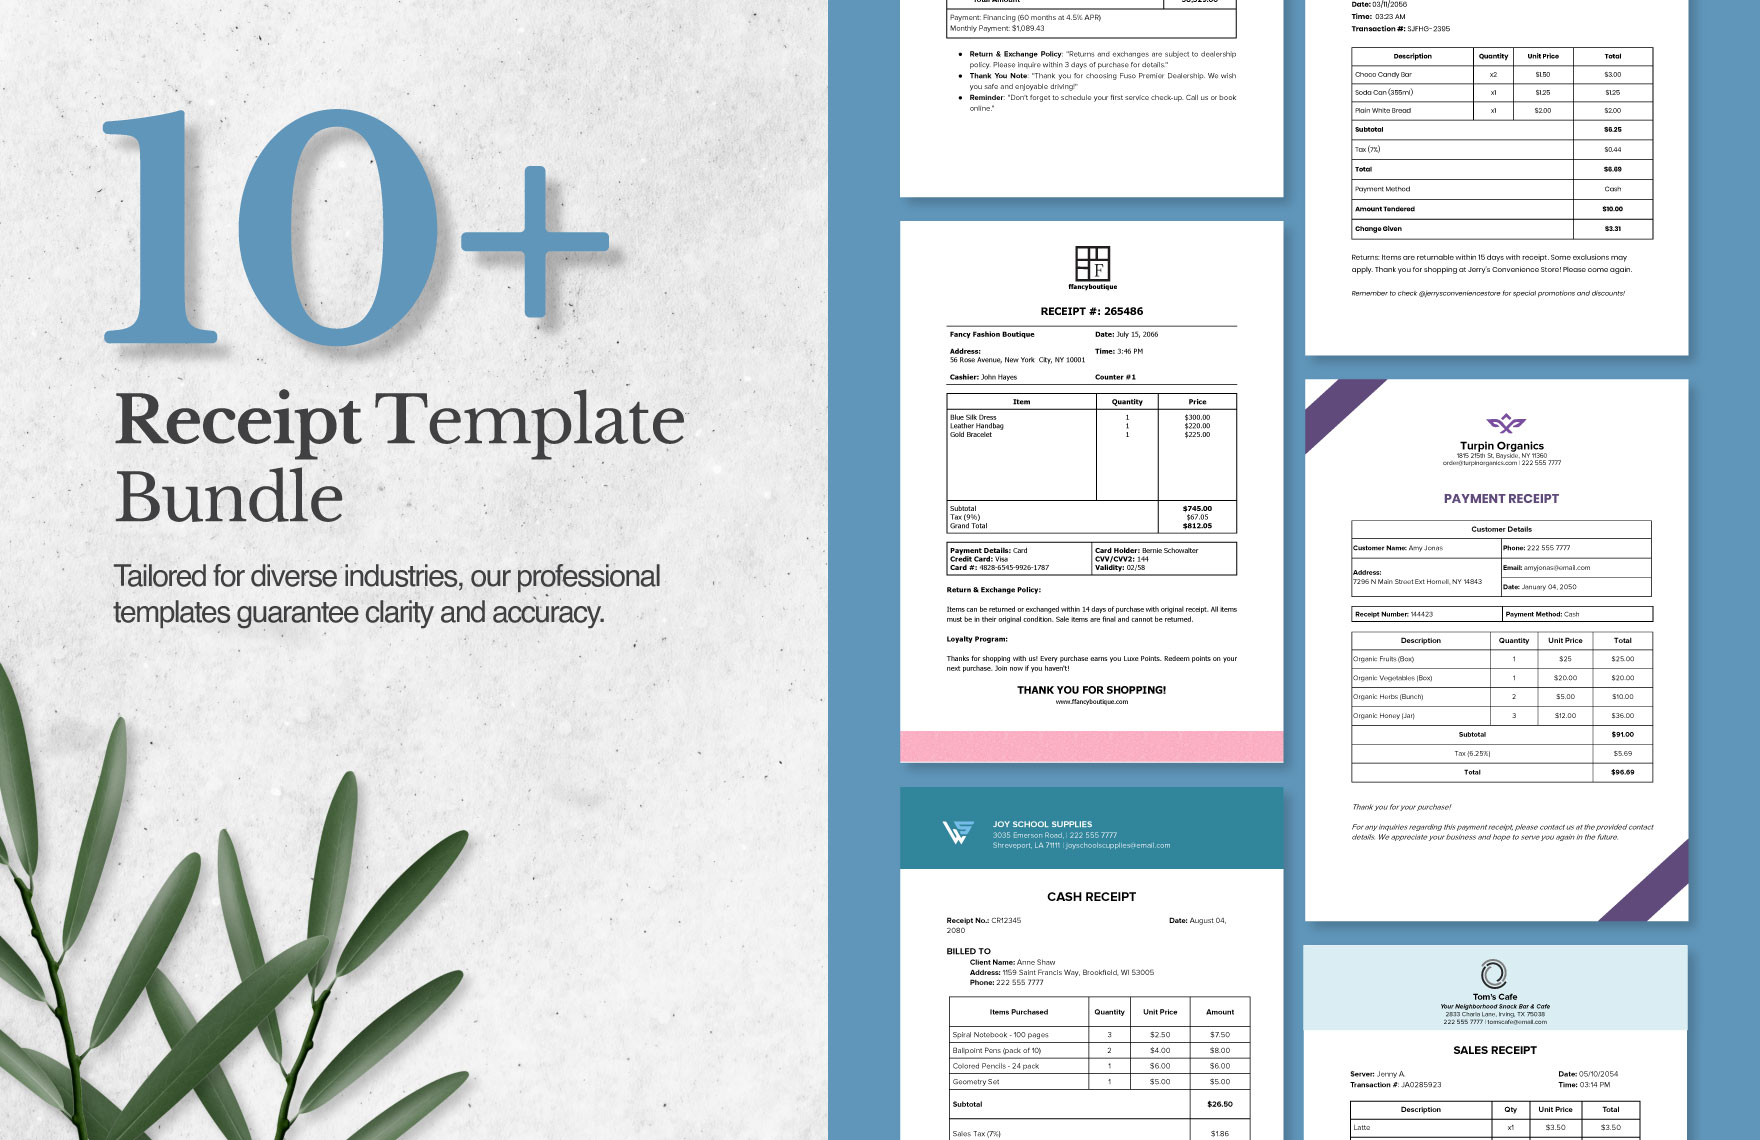
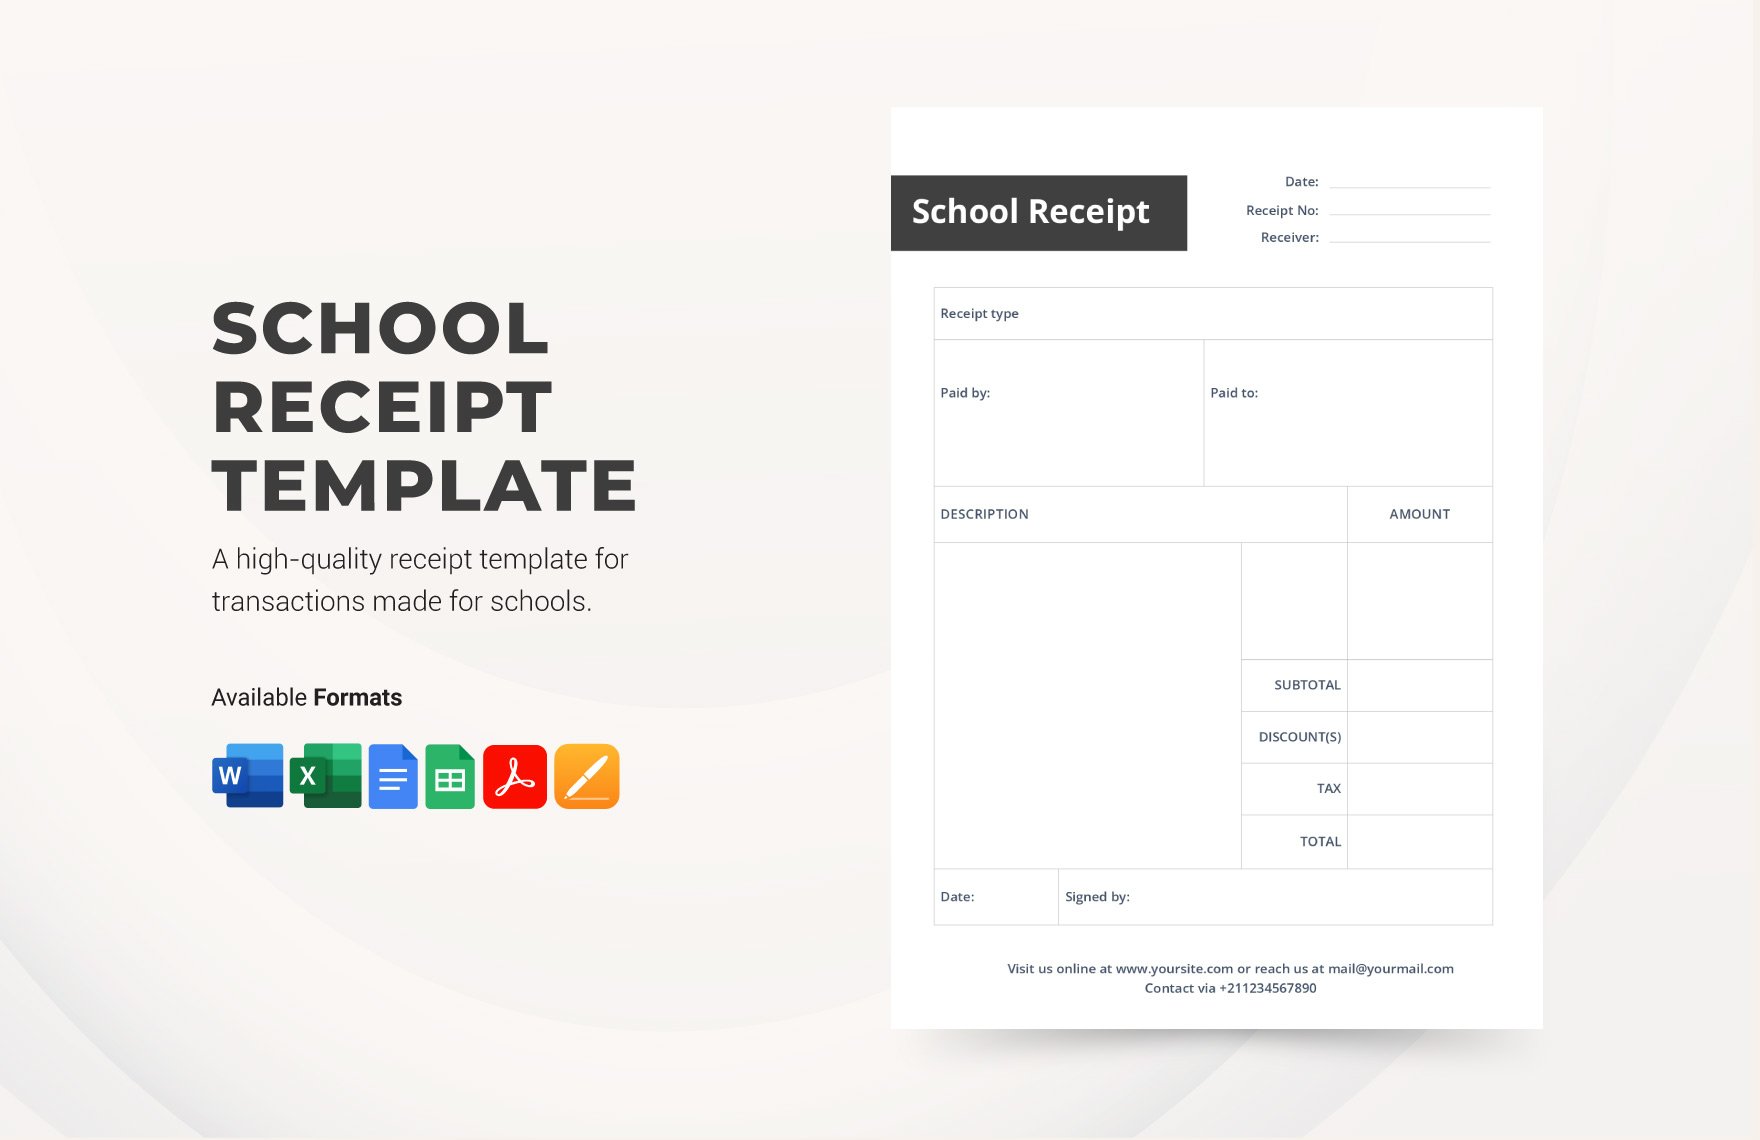
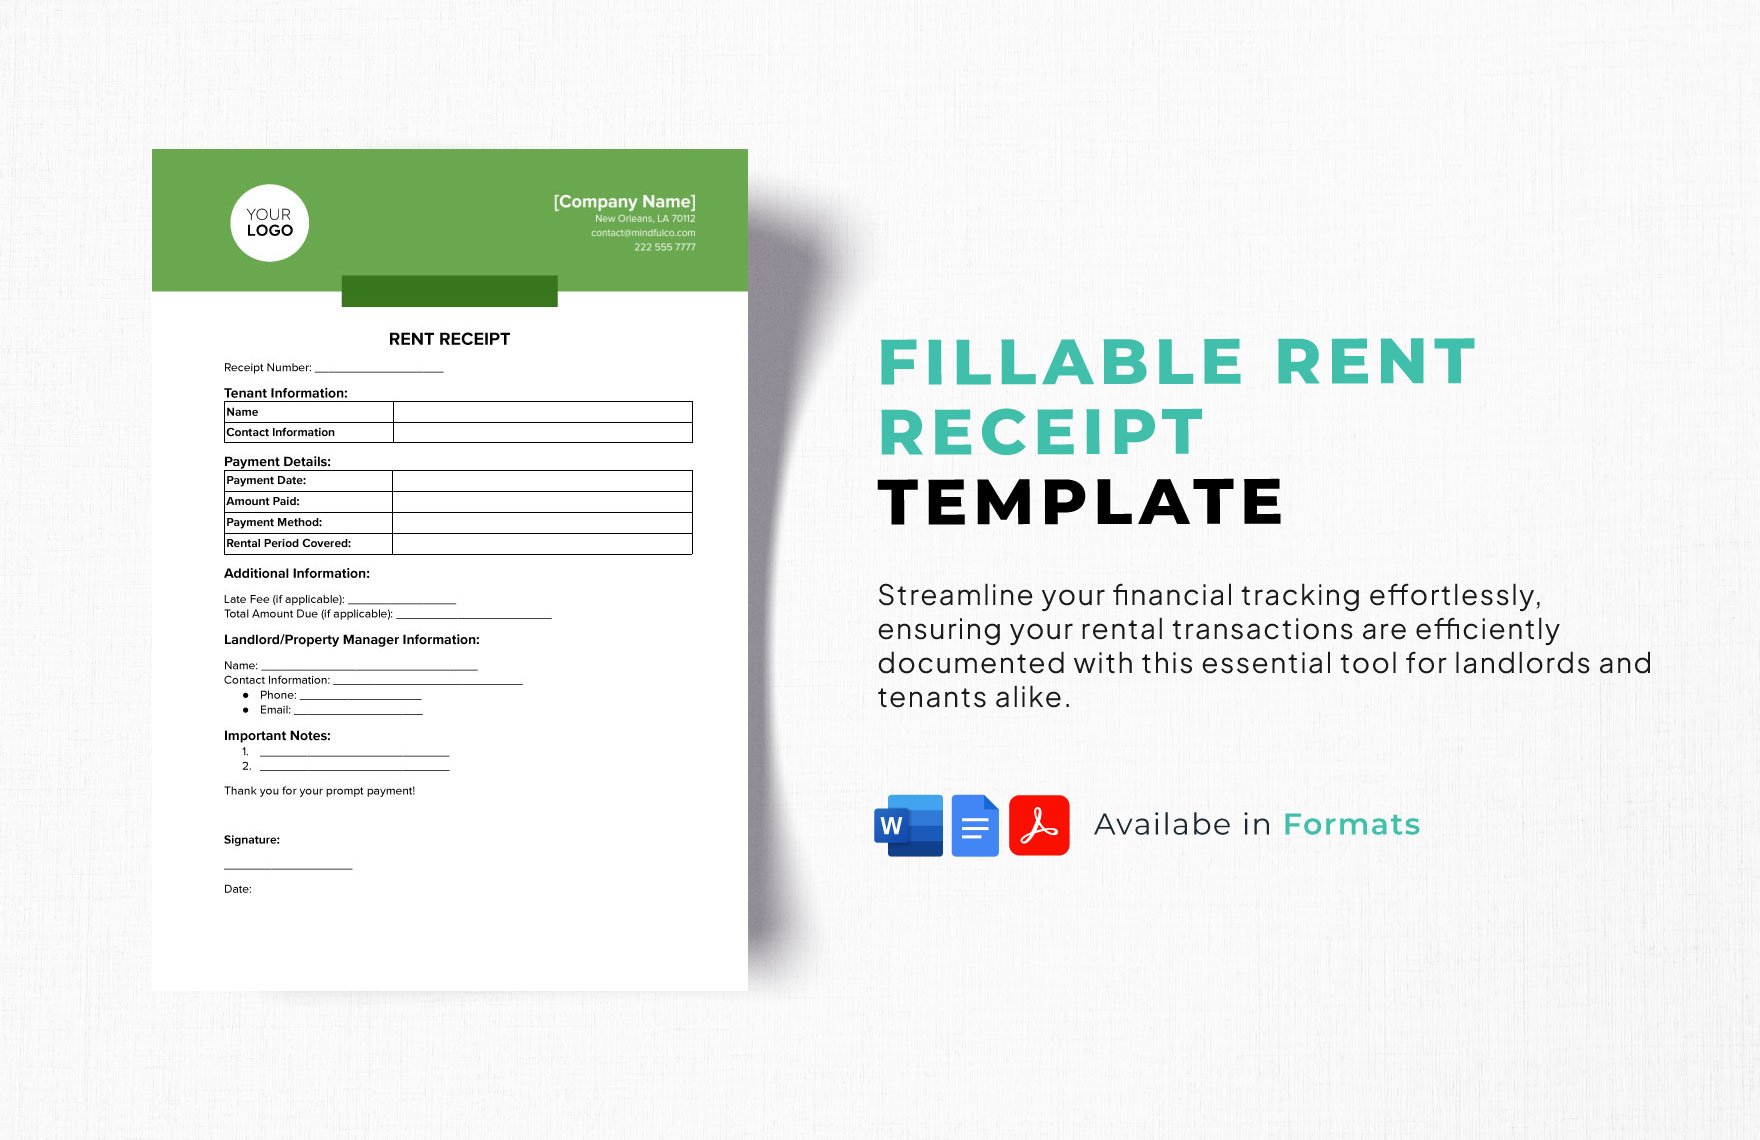
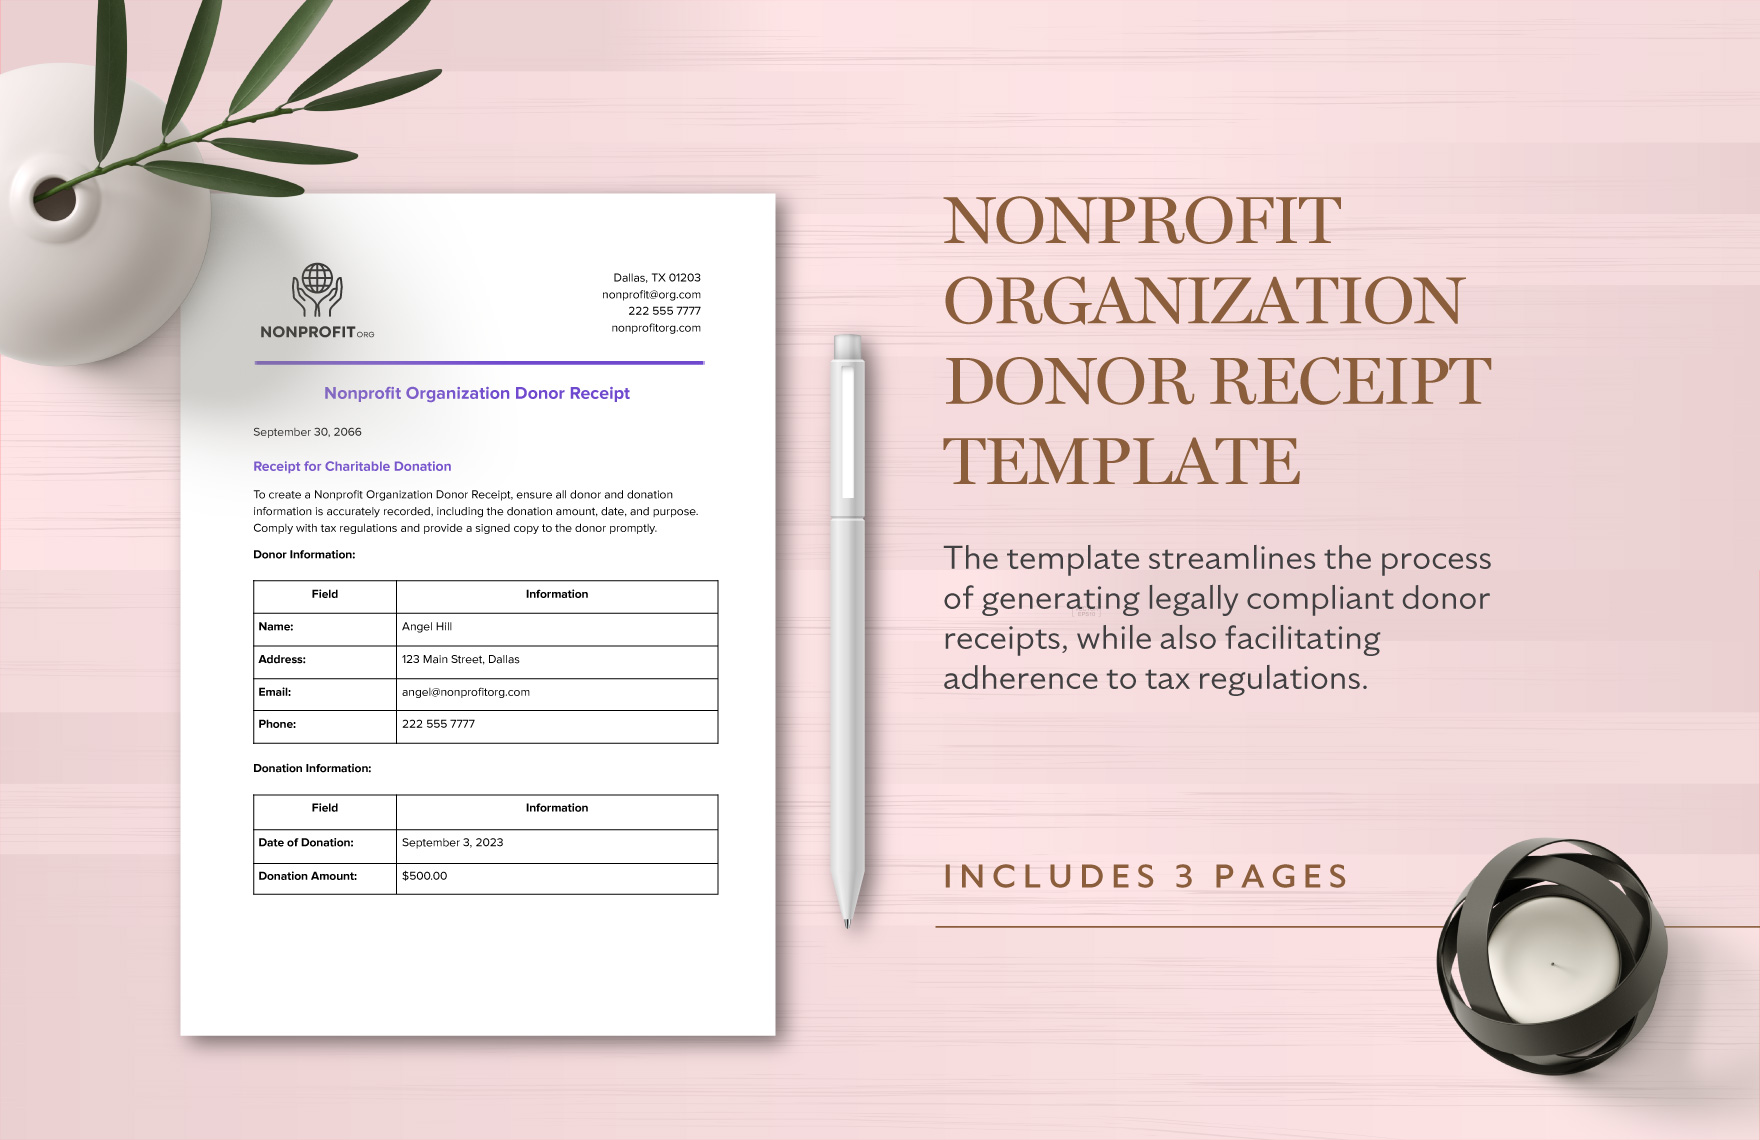
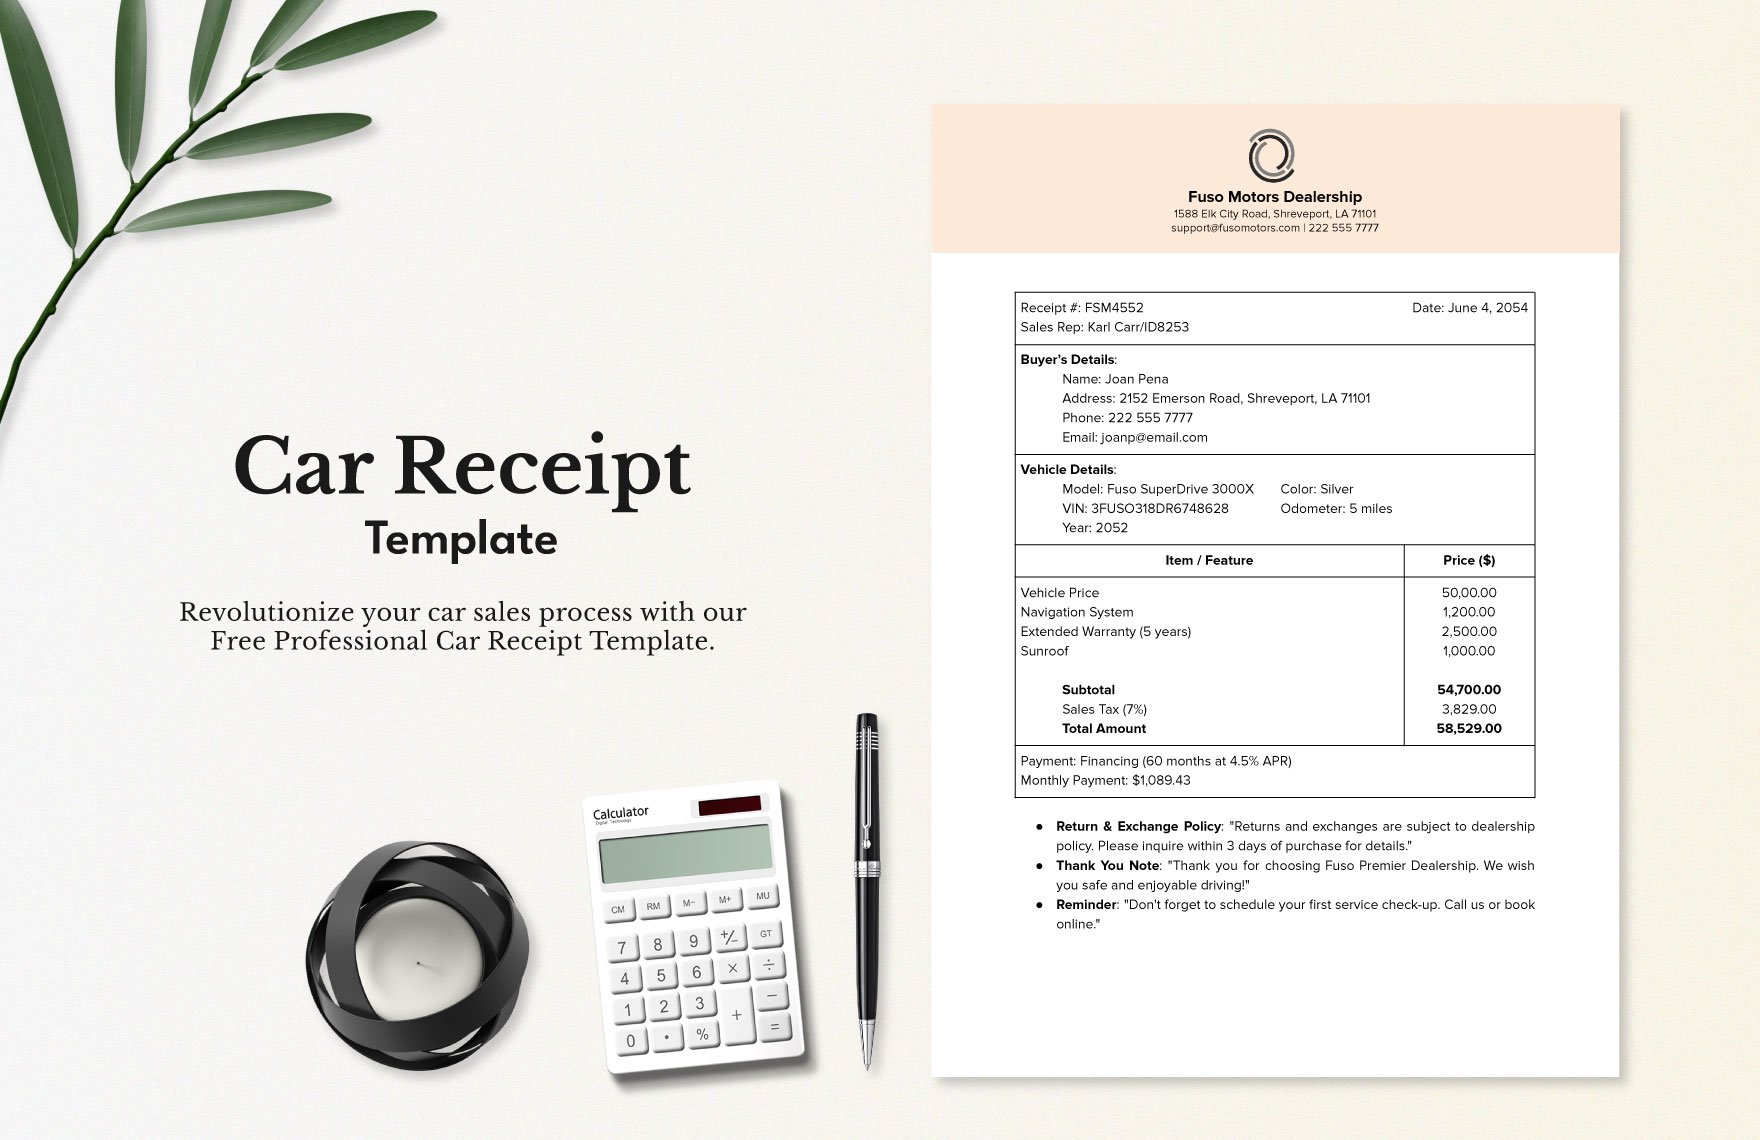
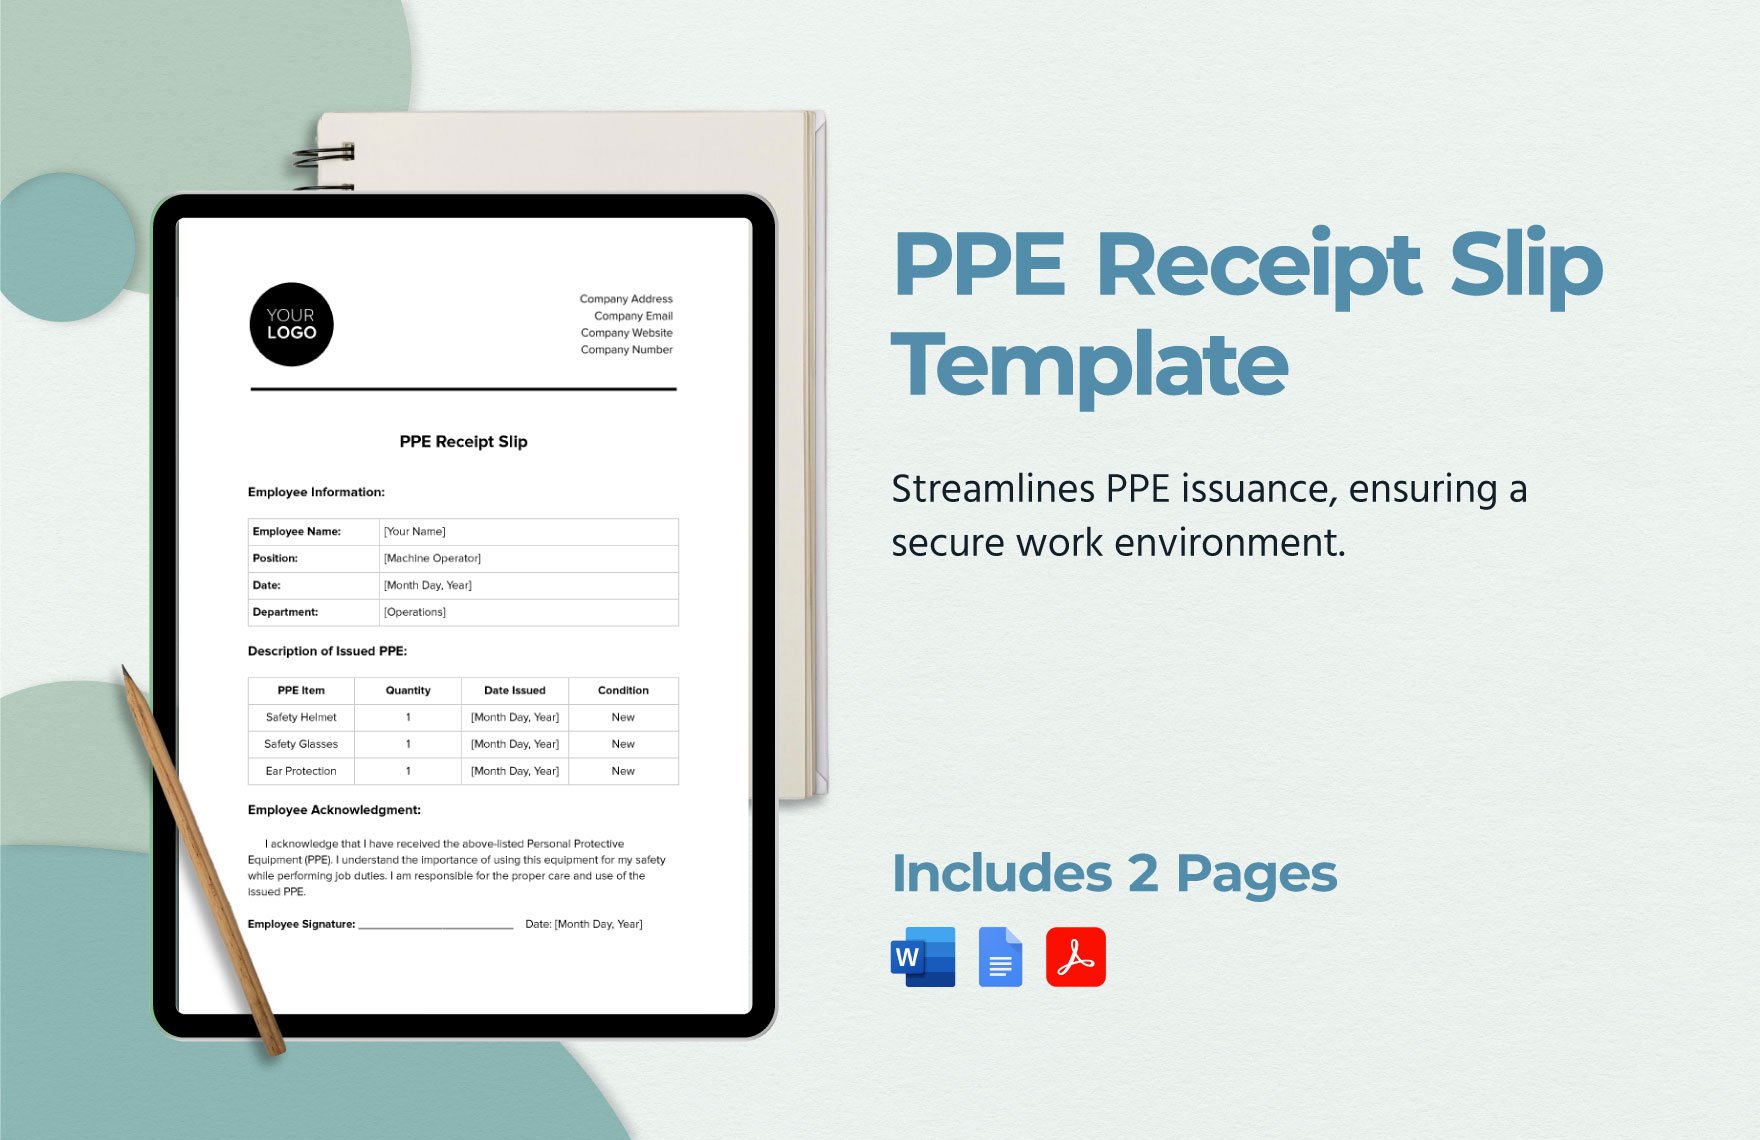
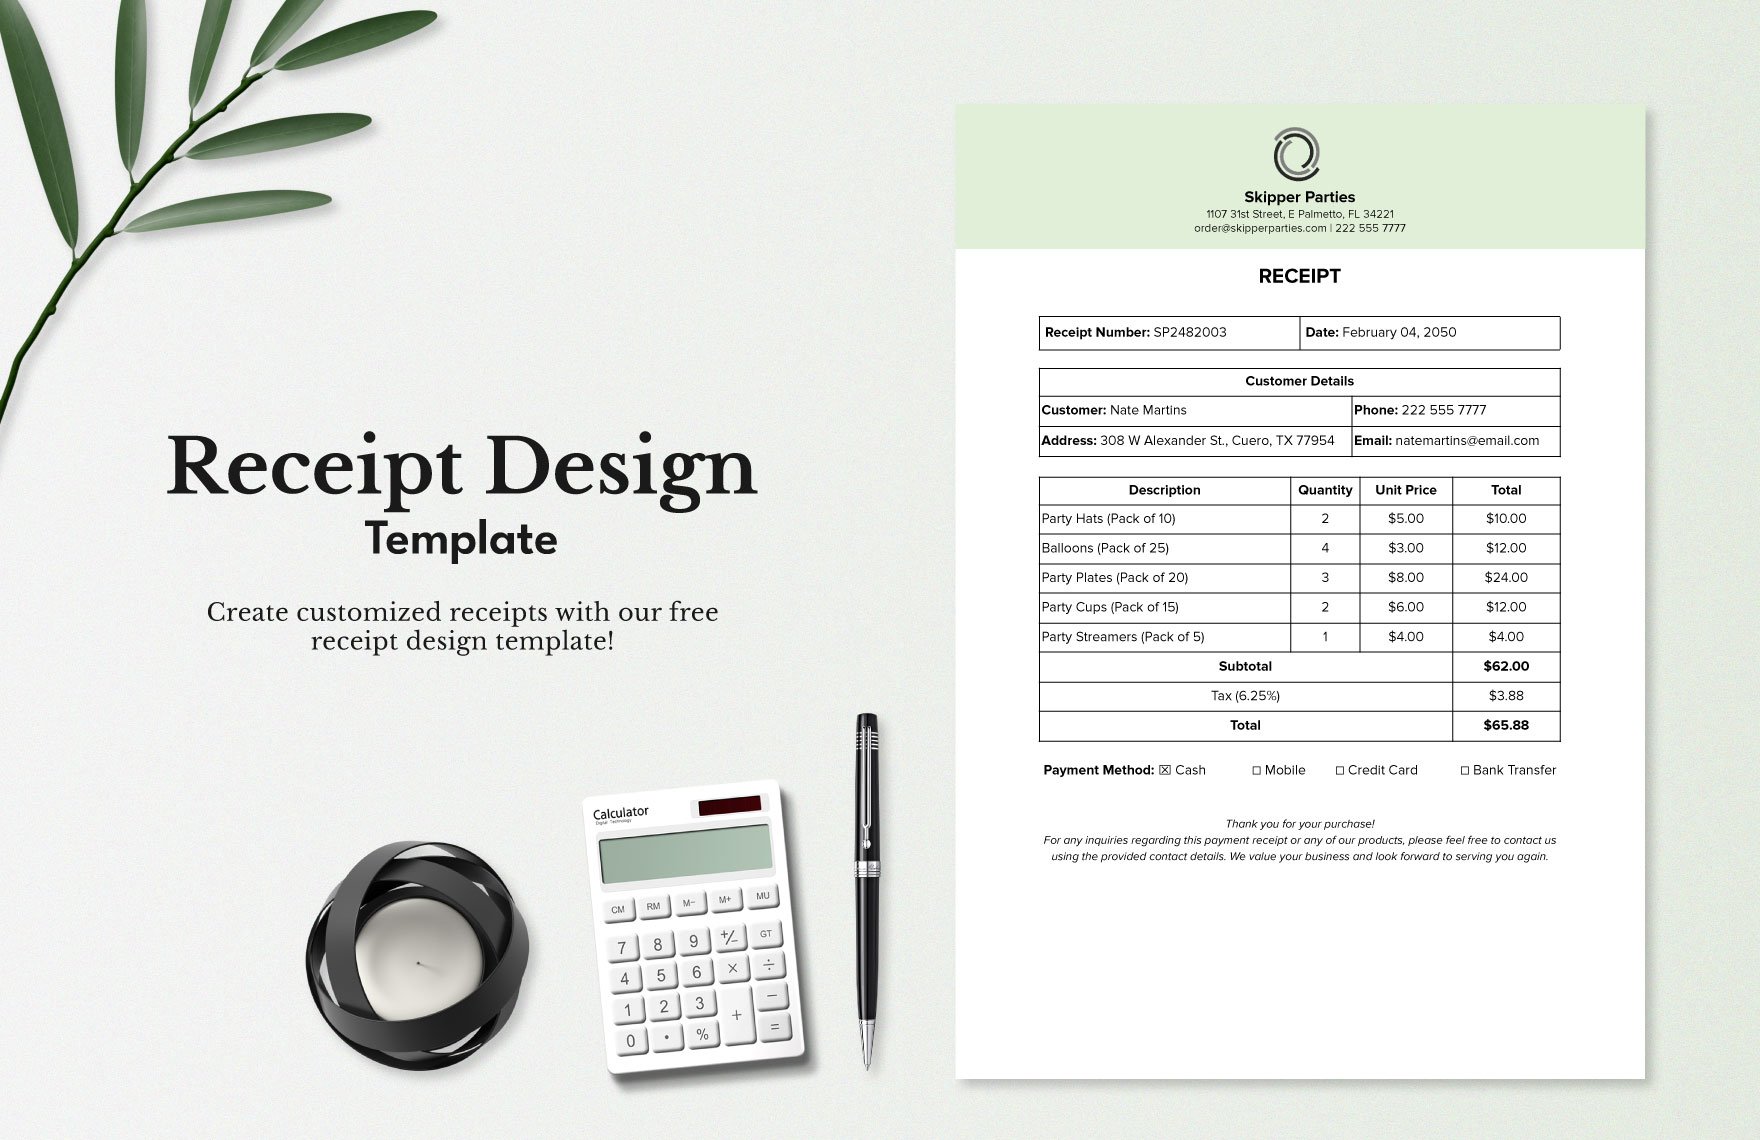
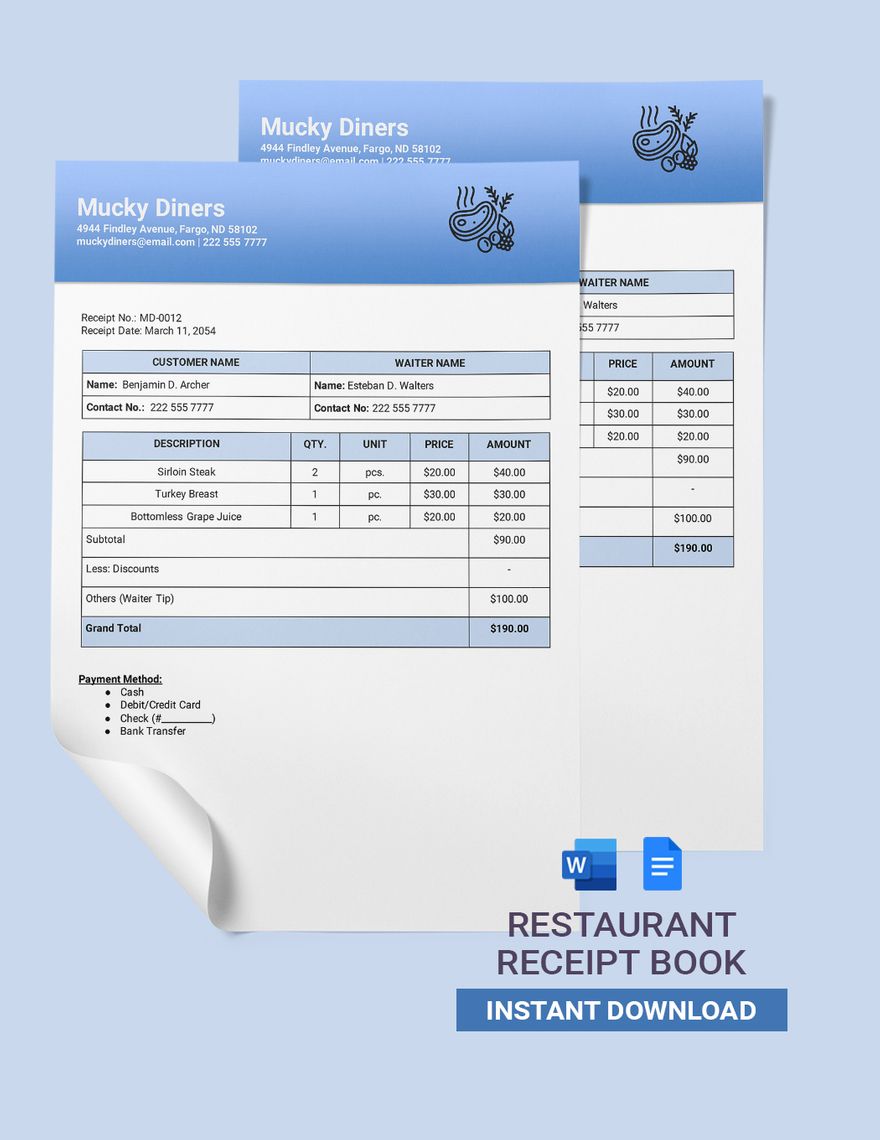
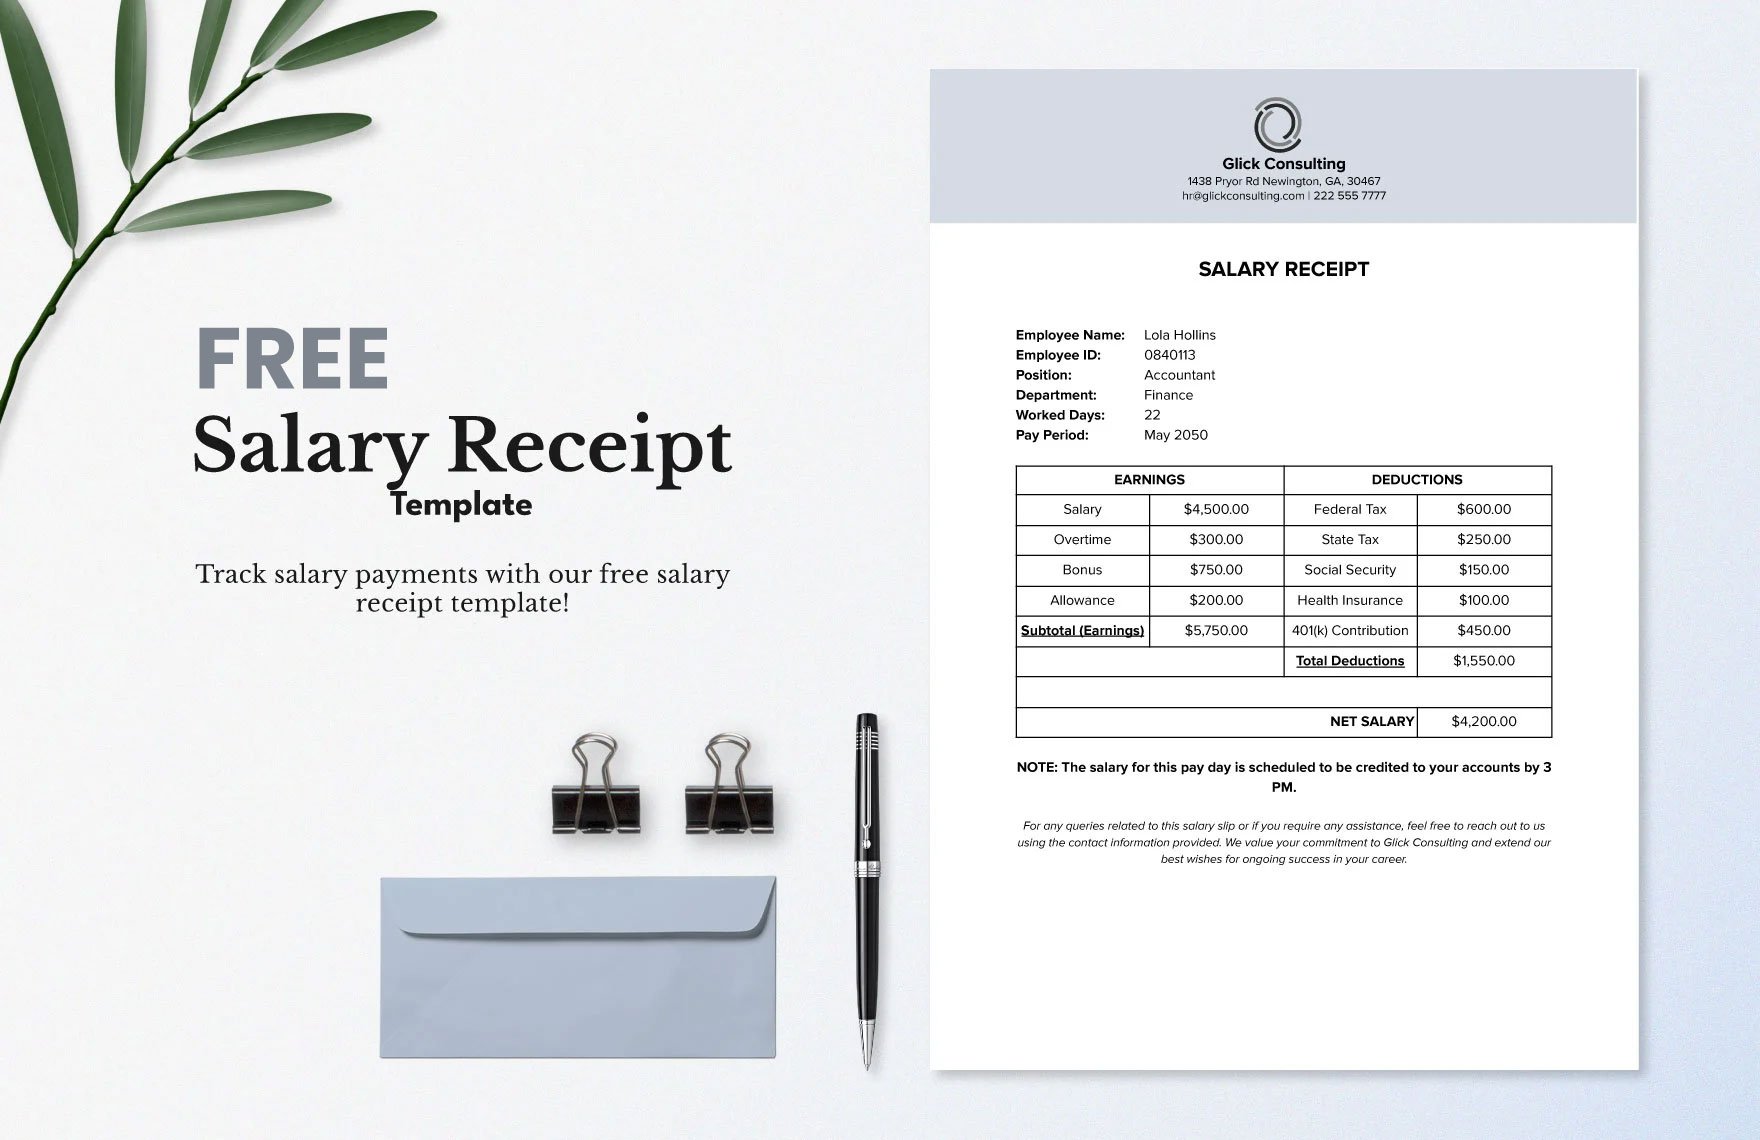
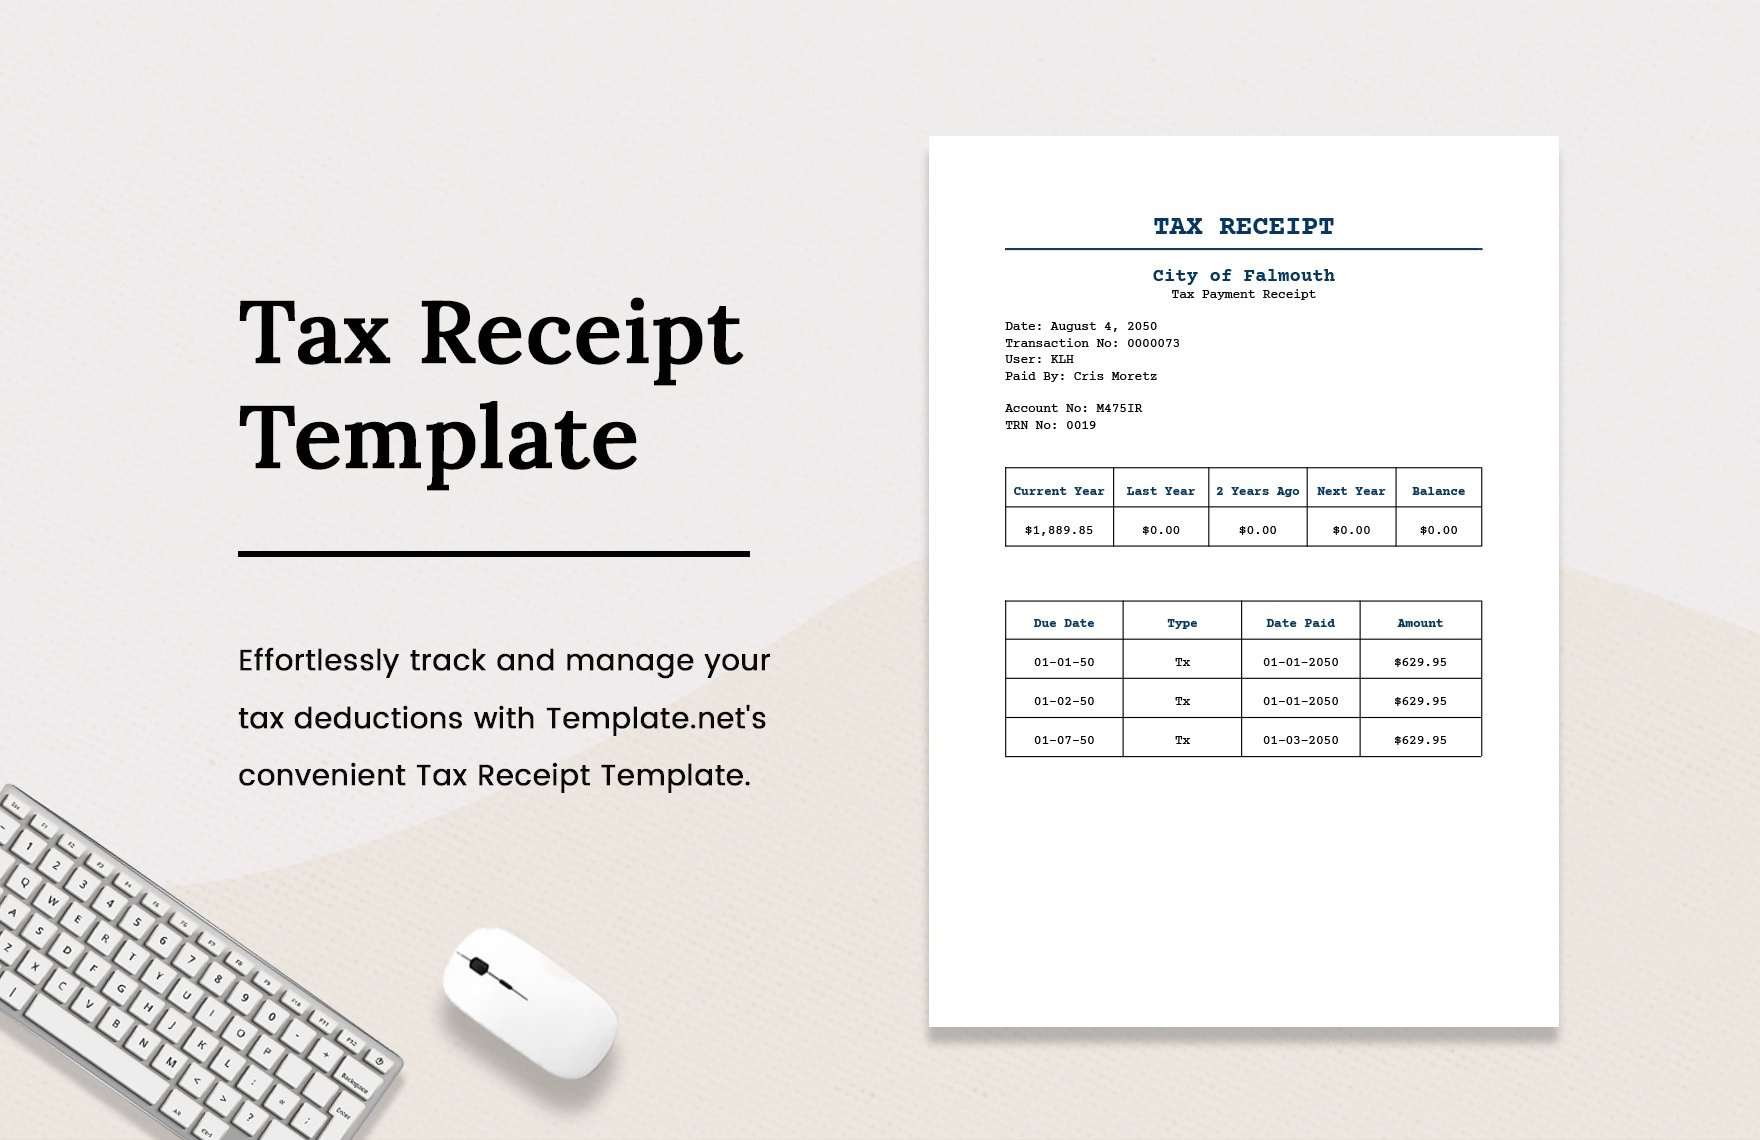
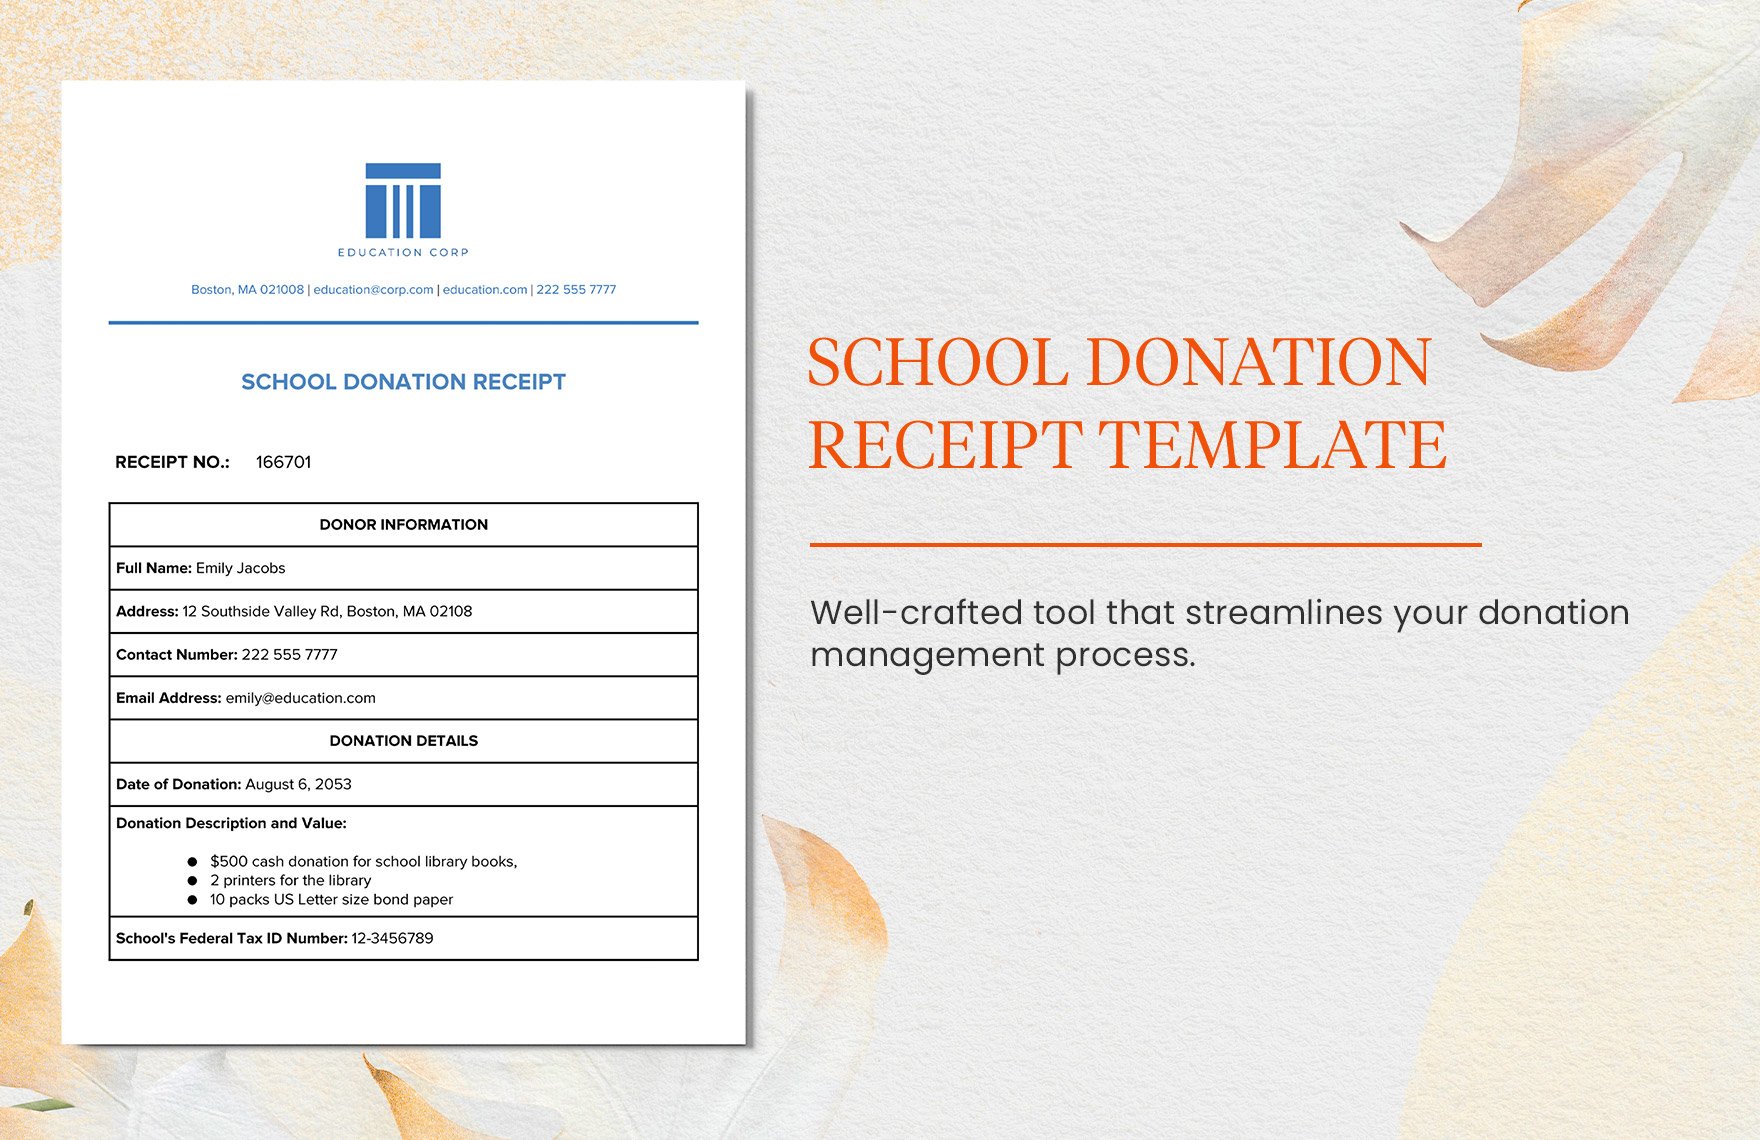
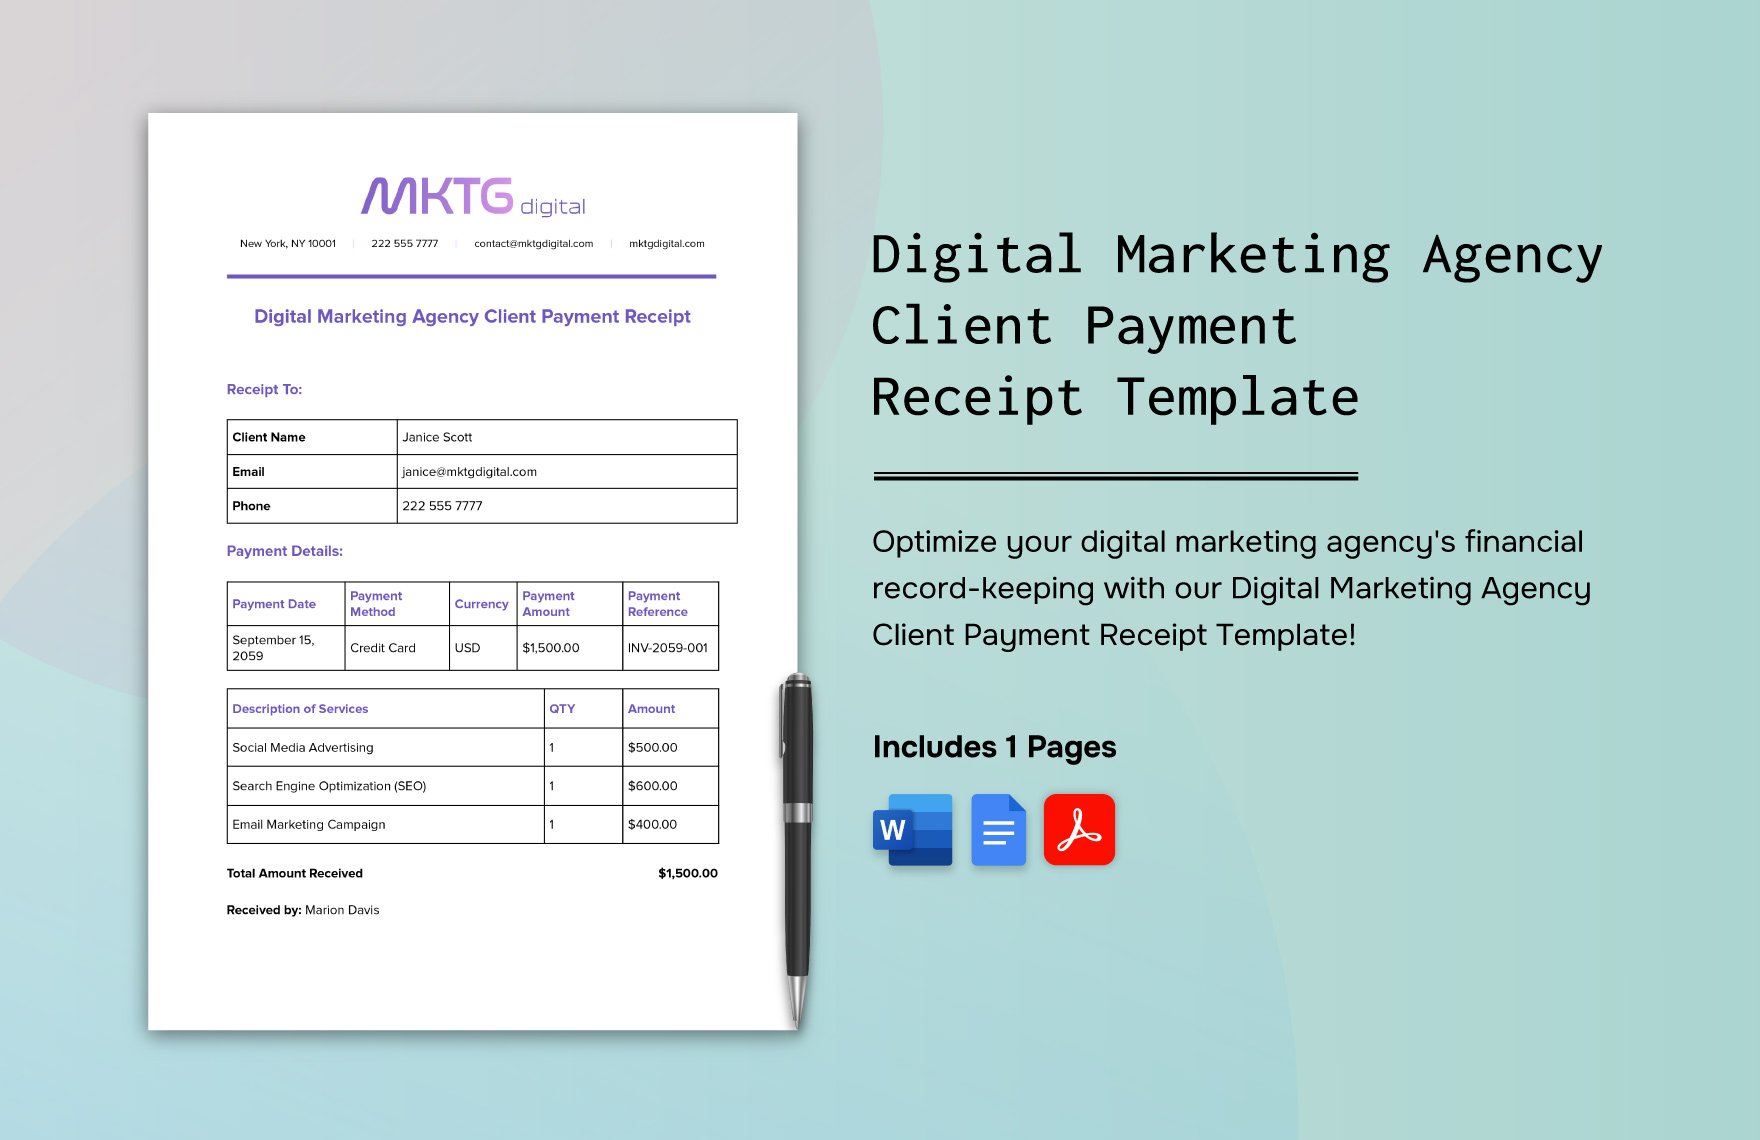
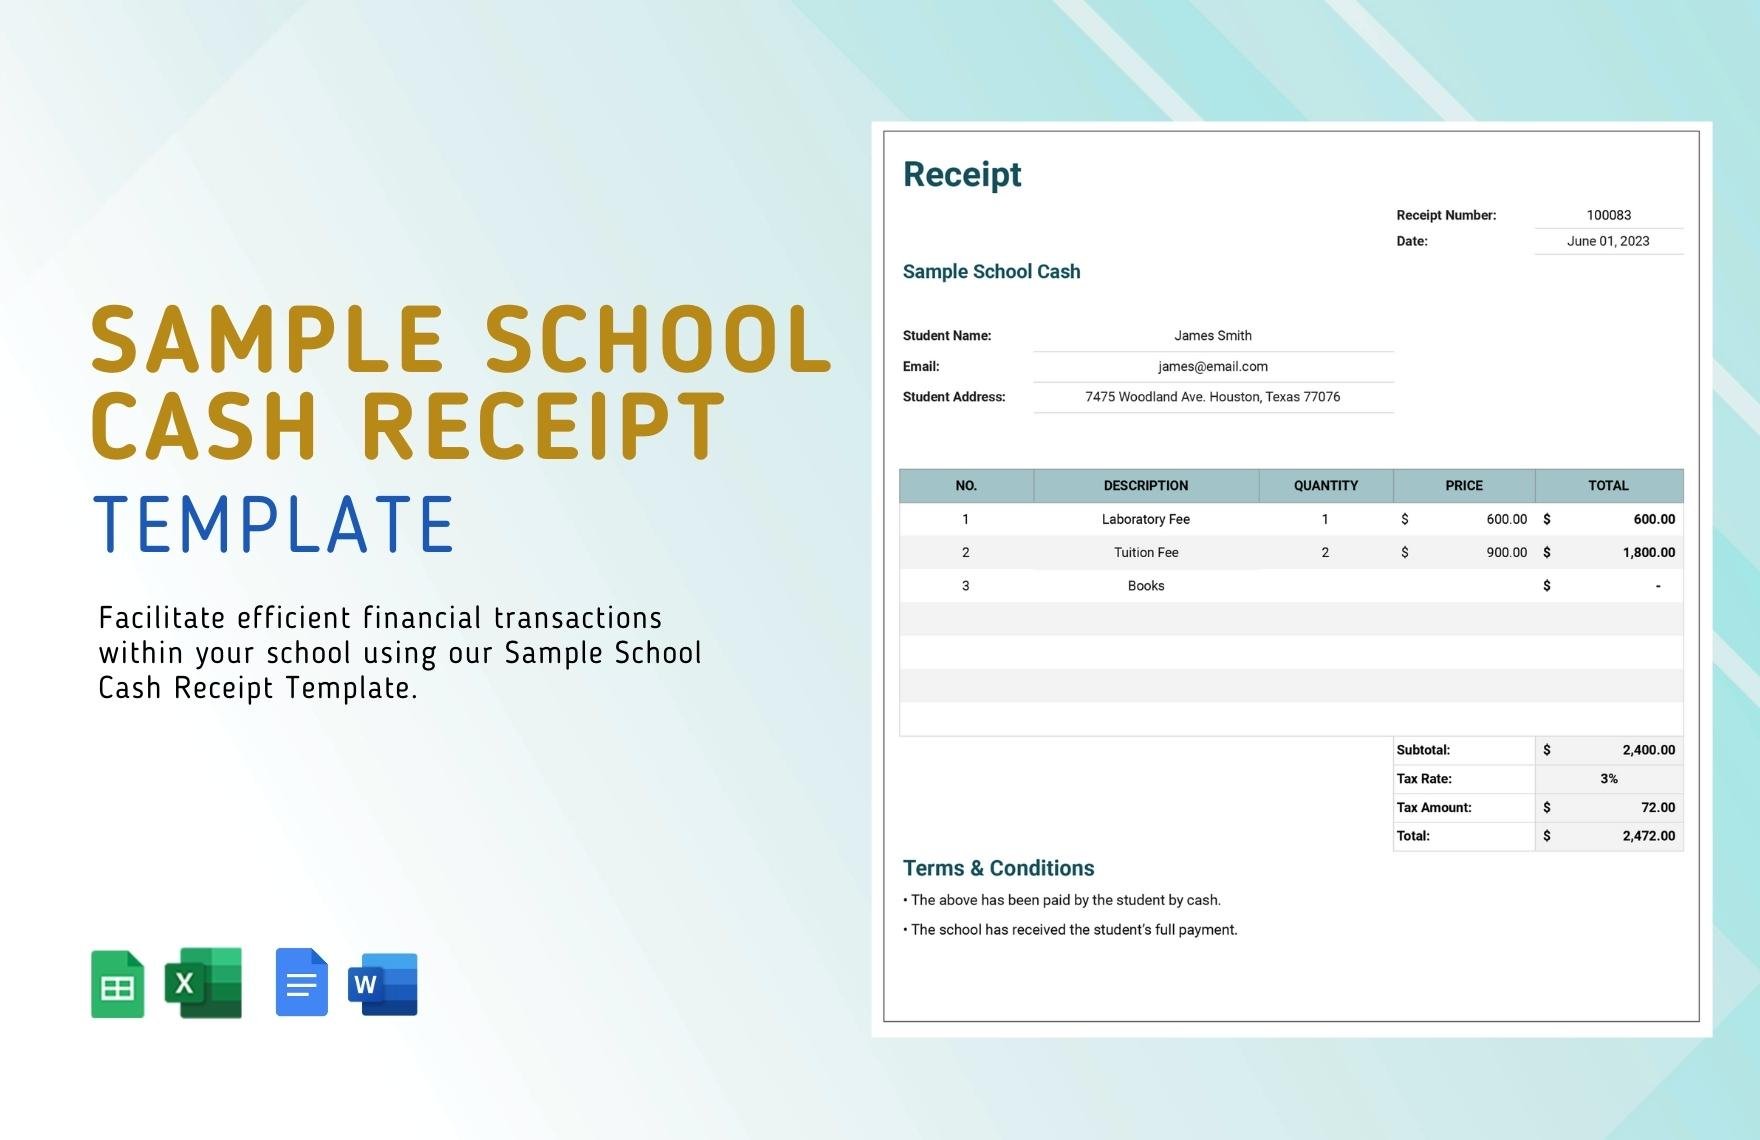
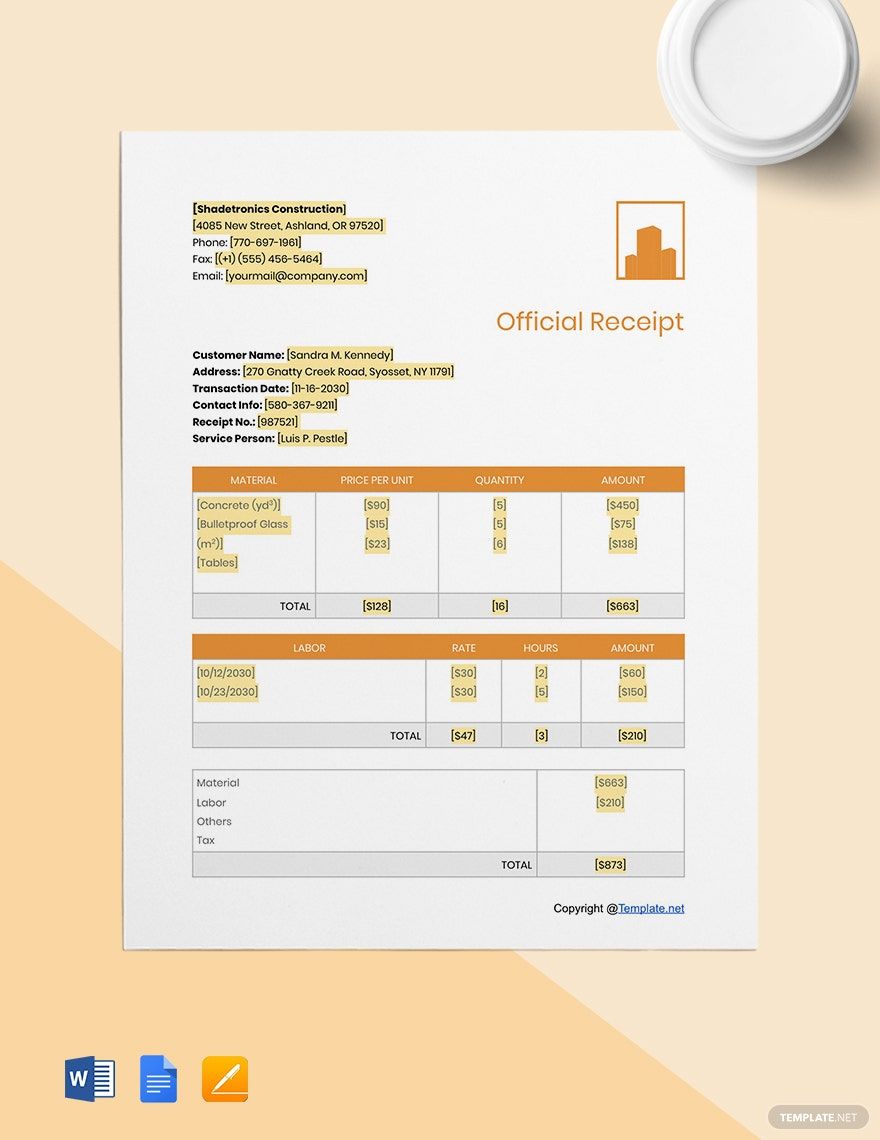
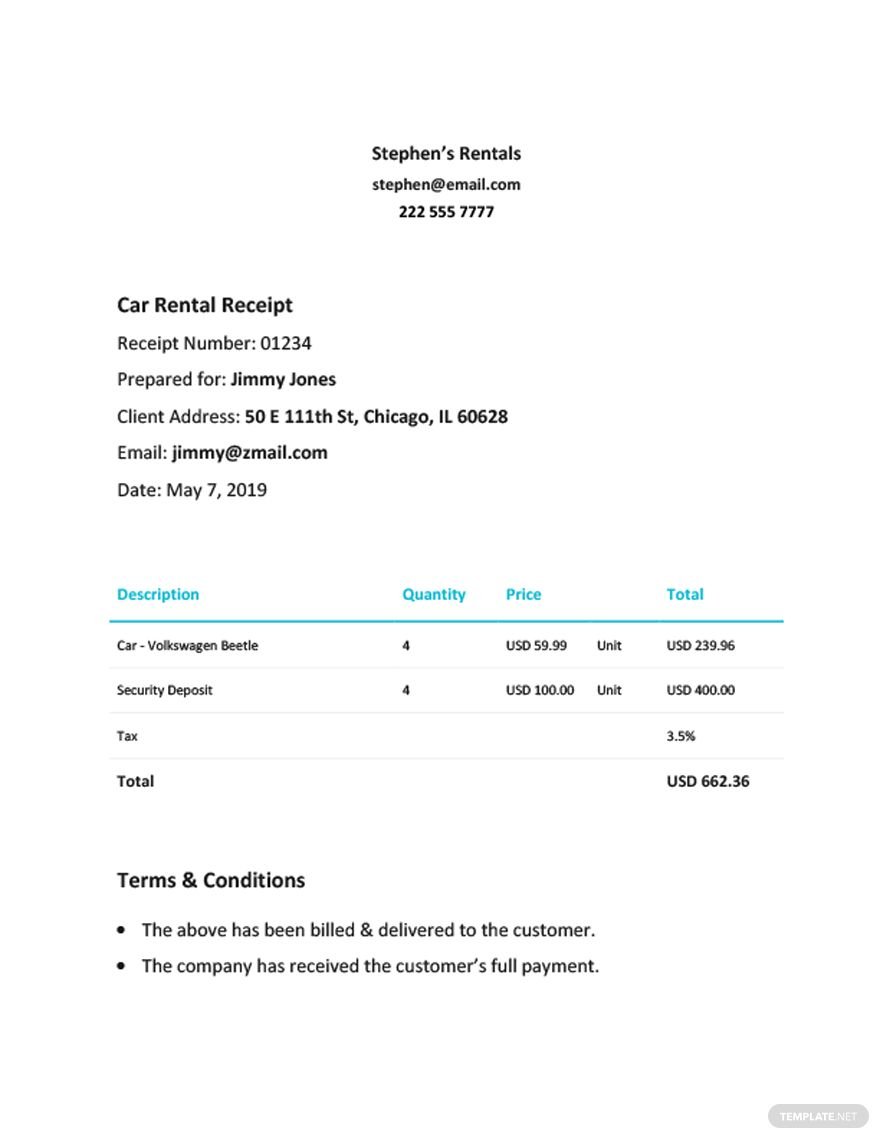
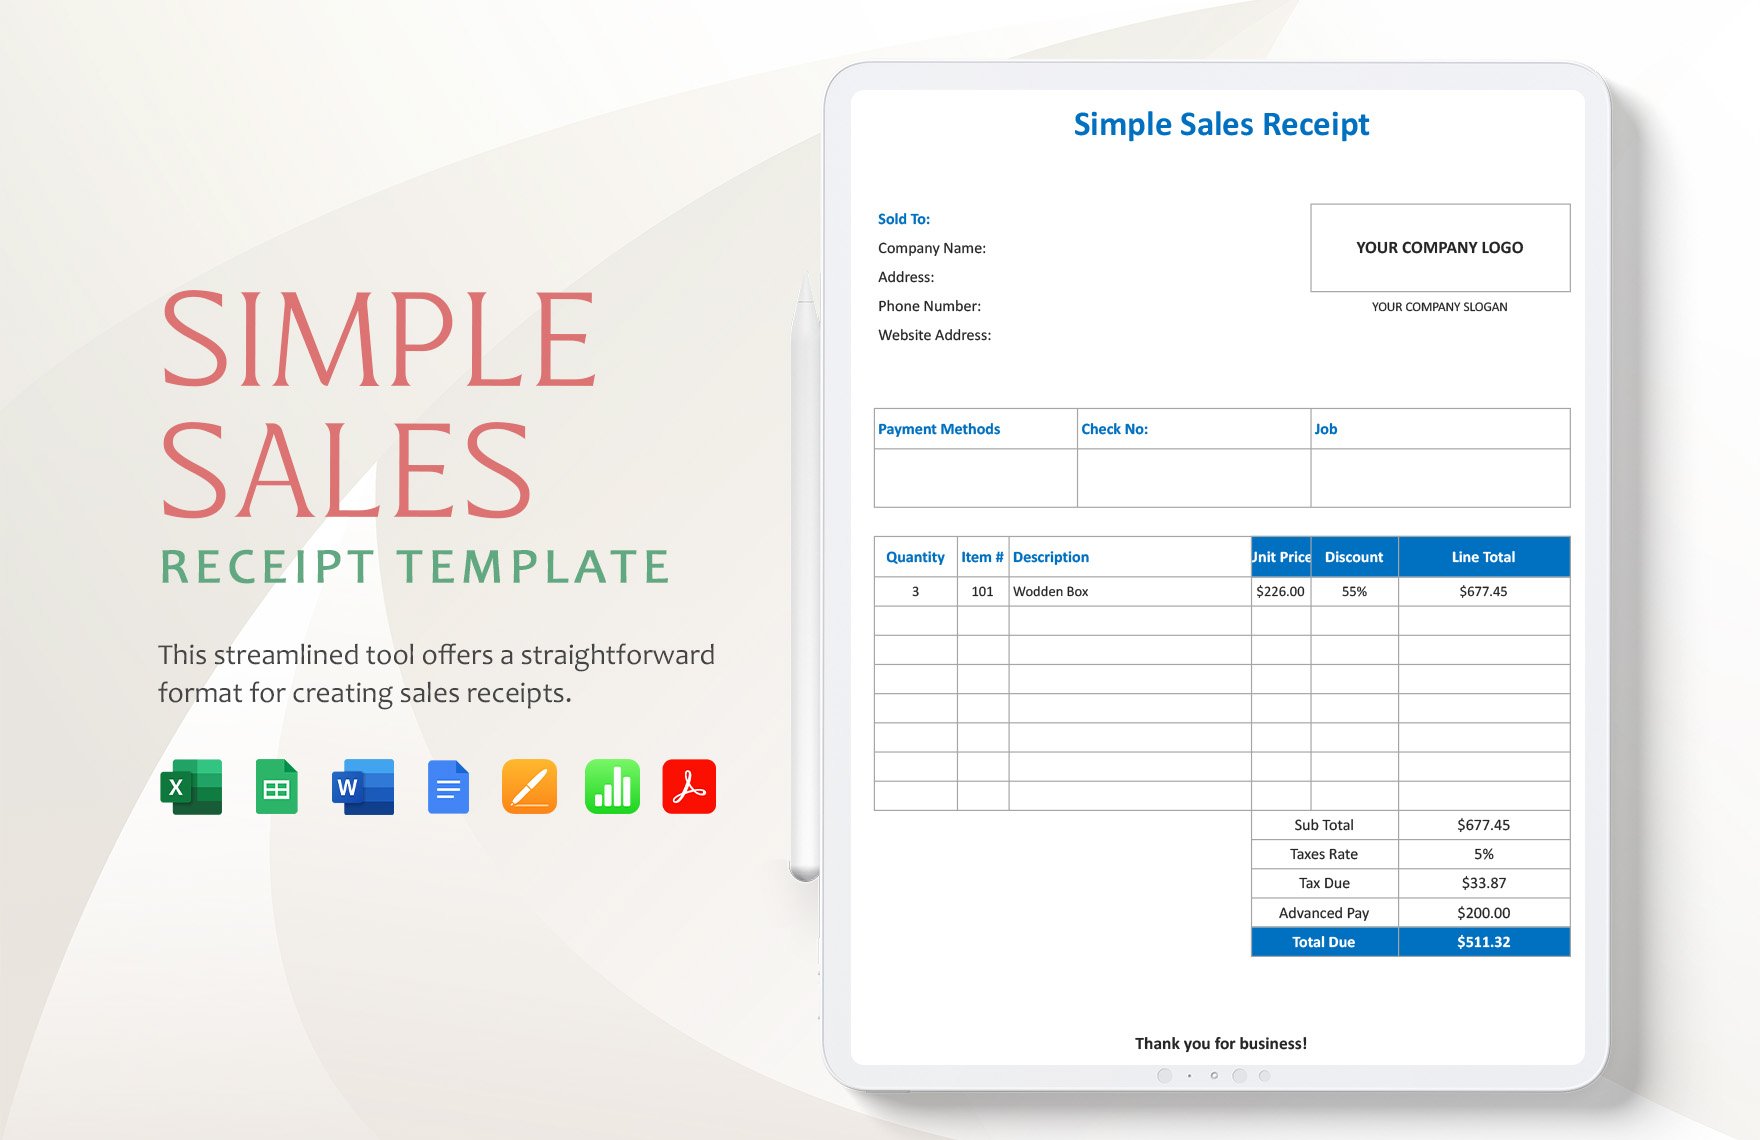
Receipts are essential documents in every business that are part of a transaction when selling a product or offering a service to a client. With that in mind, we offer you our ready-made Receipt Templates to help you make receipts for your business's everyday transactions. Whether it’s a cash receipt, rent receipt, or a sales receipt, we have it here. All of them are easily-editable and 100% customizable in the online word processor named Google Docs. The templates are also available in A4 and US letter sizes. Moreover, they're print-ready both for personal printing and commercial printing. Download any of our high-quality Receipt Templates in Google Docs now!
How To Make Receipts In Google Docs?
Research shows that knowing the importance of tracking your expenses will undoubtedly help you to manage your personal finances and observe practical spending habits. One of the best materials to achieve such feat is with receipts. That's one of the essential reasons why businesses hand out receipts to their customers every time they purchase a product or service from them. Not only that, but receipts can also be integral documents for a business to track their financial status through their financial reports, be it daily, weekly, monthly, and annually. However, the most important function of receipts is to certify the credibility between a buyer and a seller's transaction. Thus, making it official.
So if you're an owner or manager of a business, regardless of how big or small it is, you should know that blank receipts are a must-have in your store or office. We will help you to create them by sharing with you a few basic steps.
1. Access To Google Docs
We encourage you to use Google Docs in creating your receipts since it's accessible for free. All you have to do is set-up a Gmail account if you don't have one. Plus, whatever technical or project presentation you'll be making with Google Docs, it's always secure since it'll automatically be secured online. Google Docs also has everything that you need to modify every aspect of your receipt to make it effective and more suitable for your everyday transaction.
2. Place Your Business Logo
Whatever document your business possesses or will send out, it must always have its official logo. That, of course, includes all of your blank receipts. The purpose of placing it on your receipts is to certify each as an official and credible document. You must place your business logo in the upper-most part of your receipts, either at the center or left-most side.
3. Provide Sufficient Spaces For Client Information
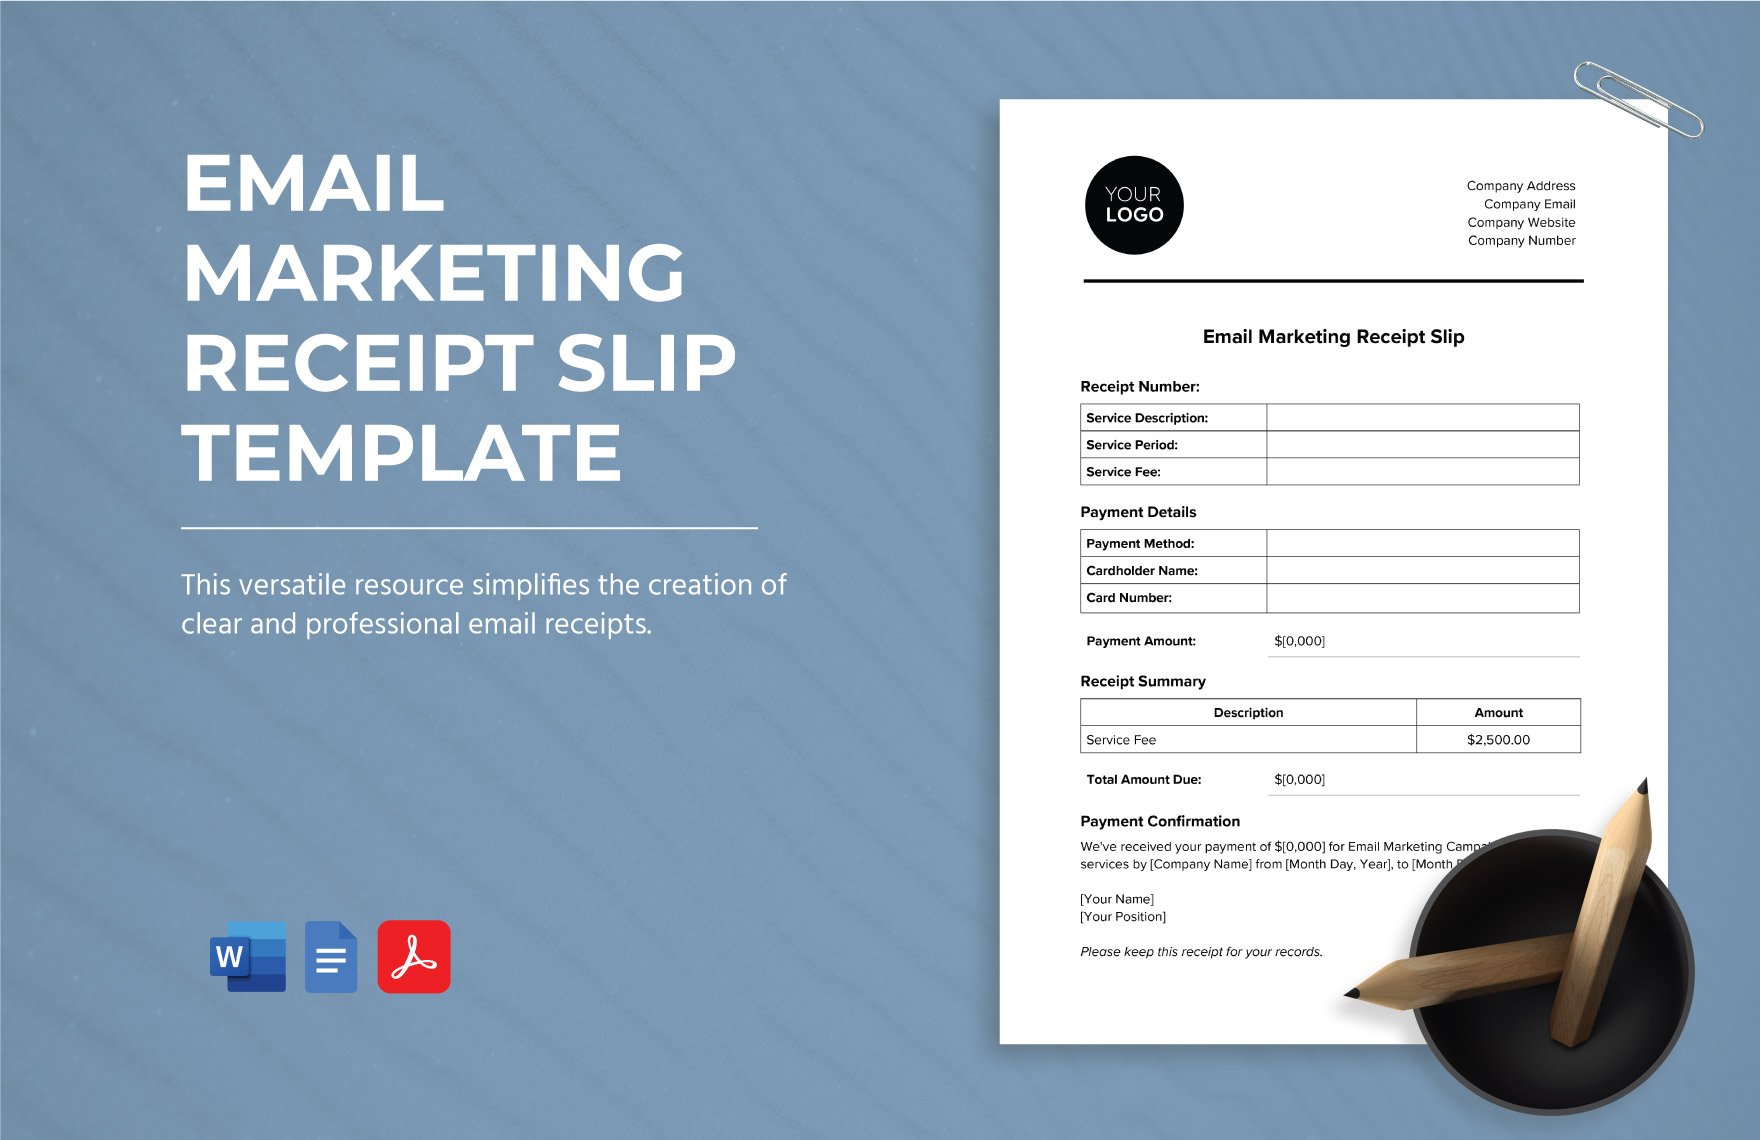
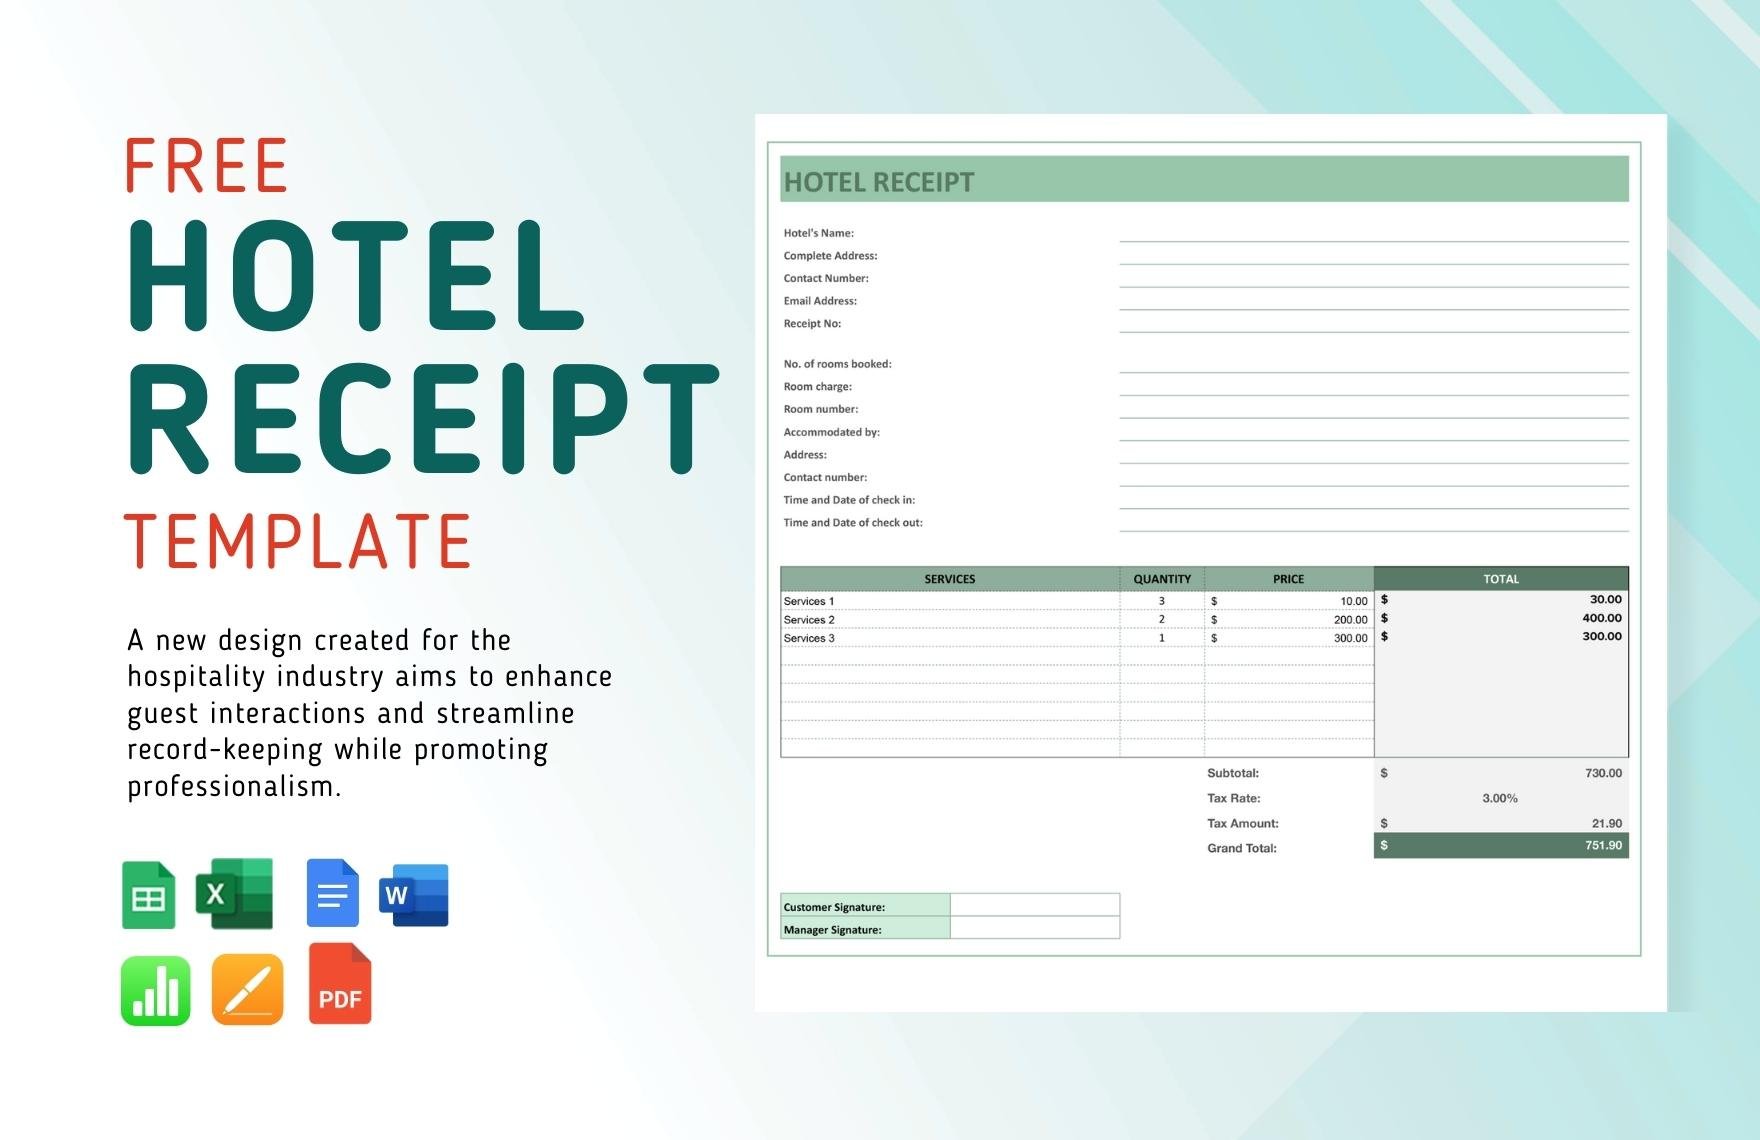
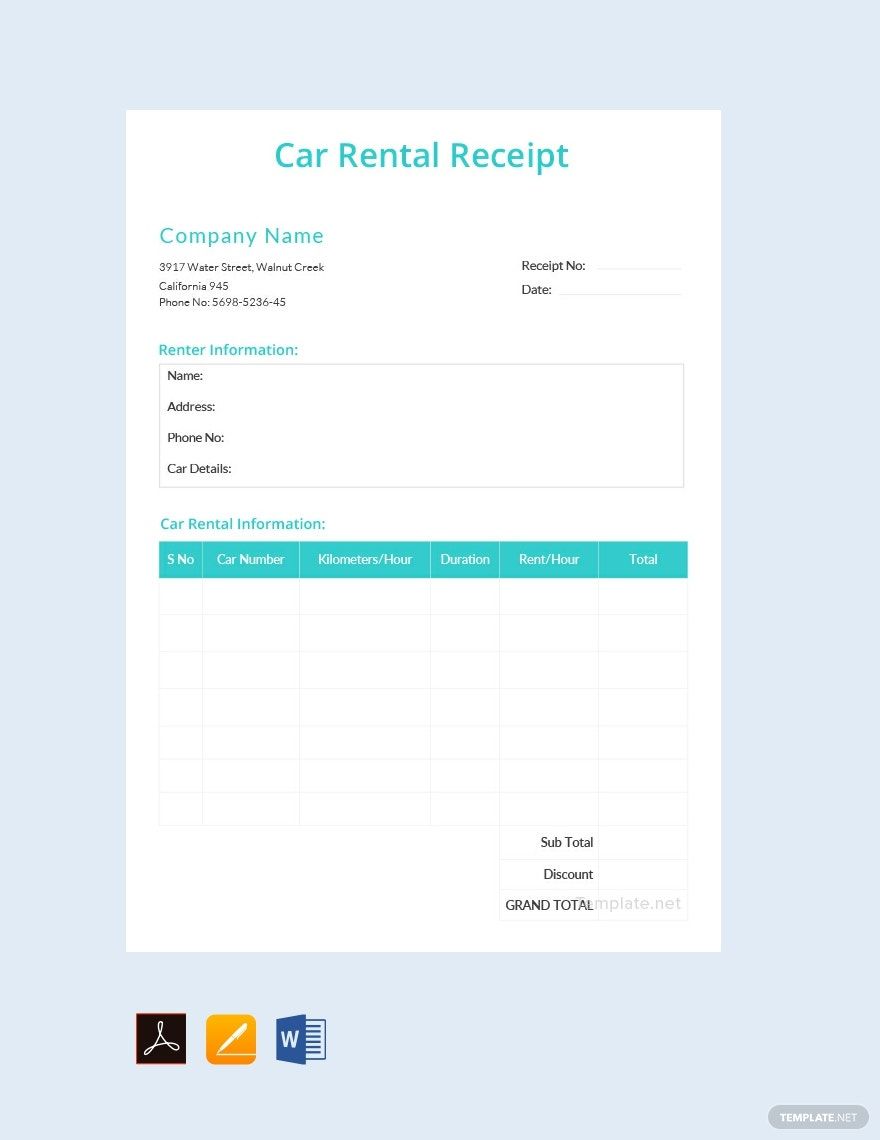
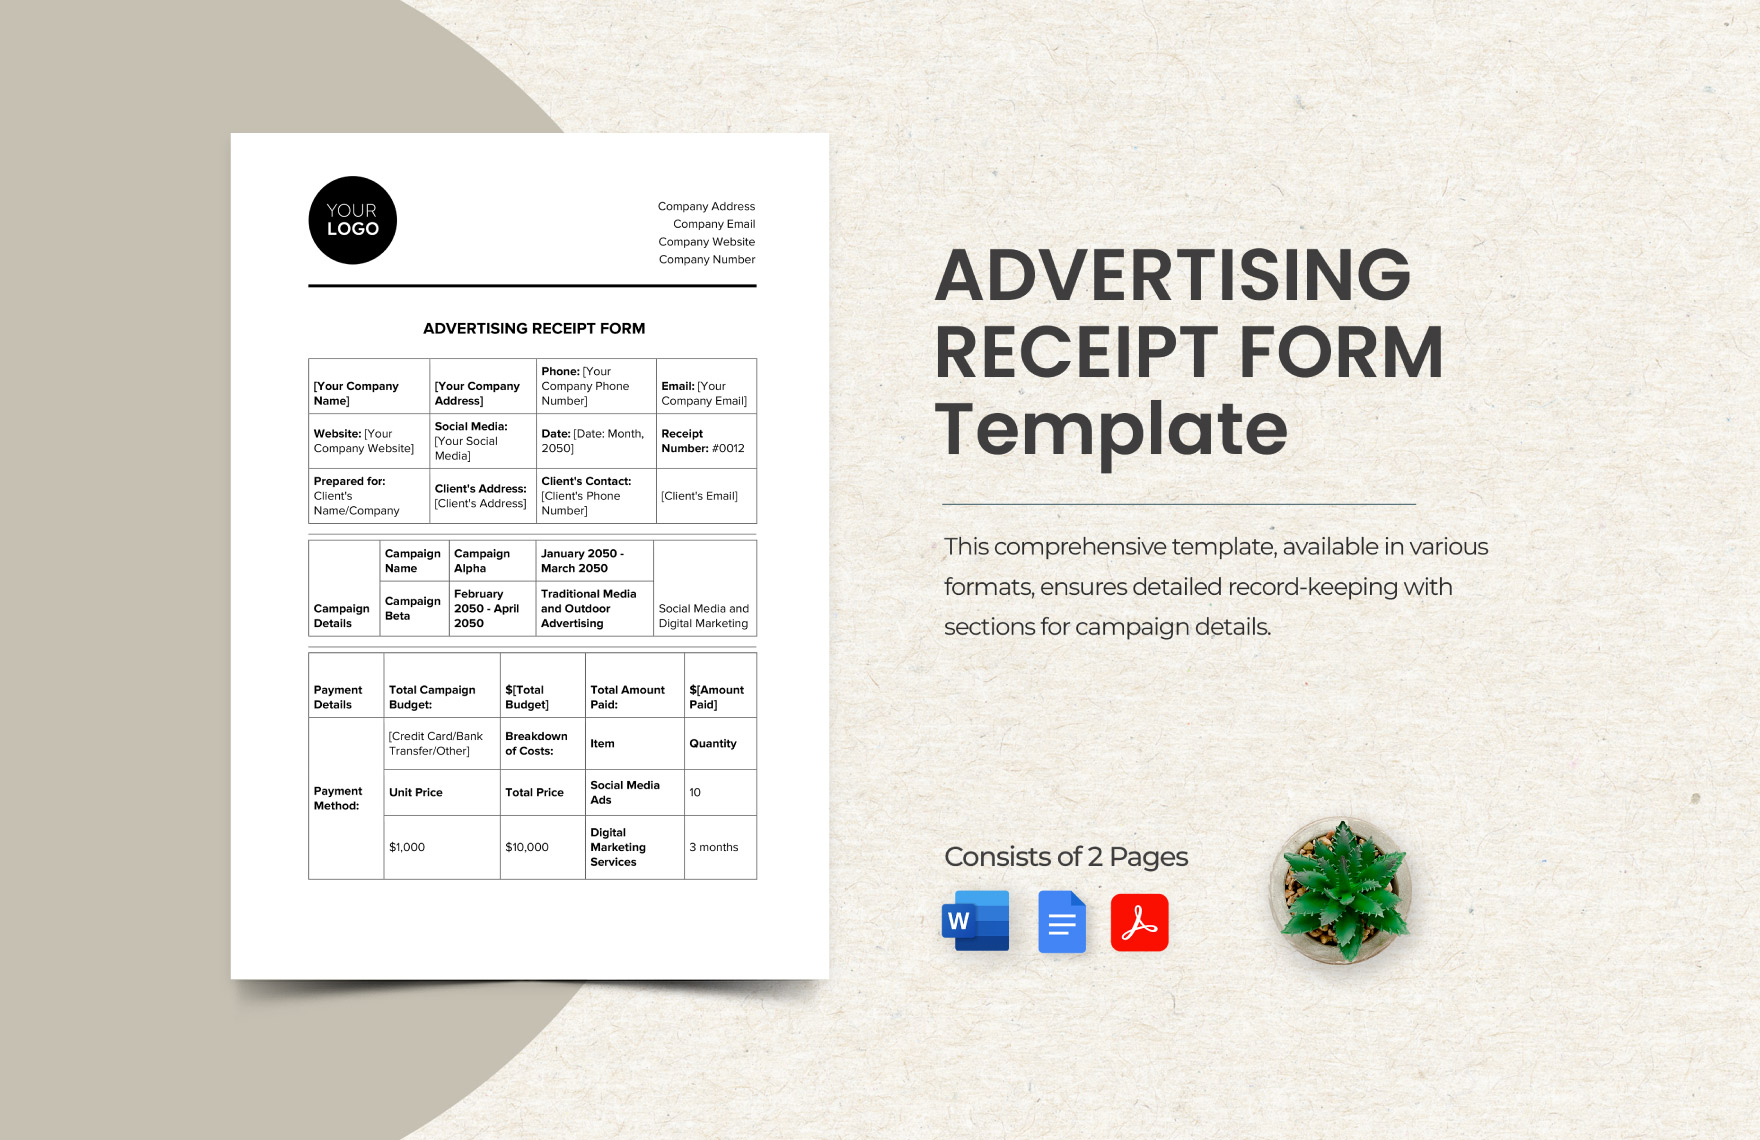
There are some buyer and seller transactions when a product or service will be delivered in a future time, such as products bought online, and services like construction services and catering services. It's quite hard to keep track of which client booked or purchased a particular product or service. That's why you must provide space for client information on your receipts. That includes their complete name, email address, mailing address, and contact number. When a client is filling up any of your receipts prior to purchasing, you must make sure that the information he/she fills in are corresponding with any of his/her valid ID.
4. Formulate A Table For Product And Service Details
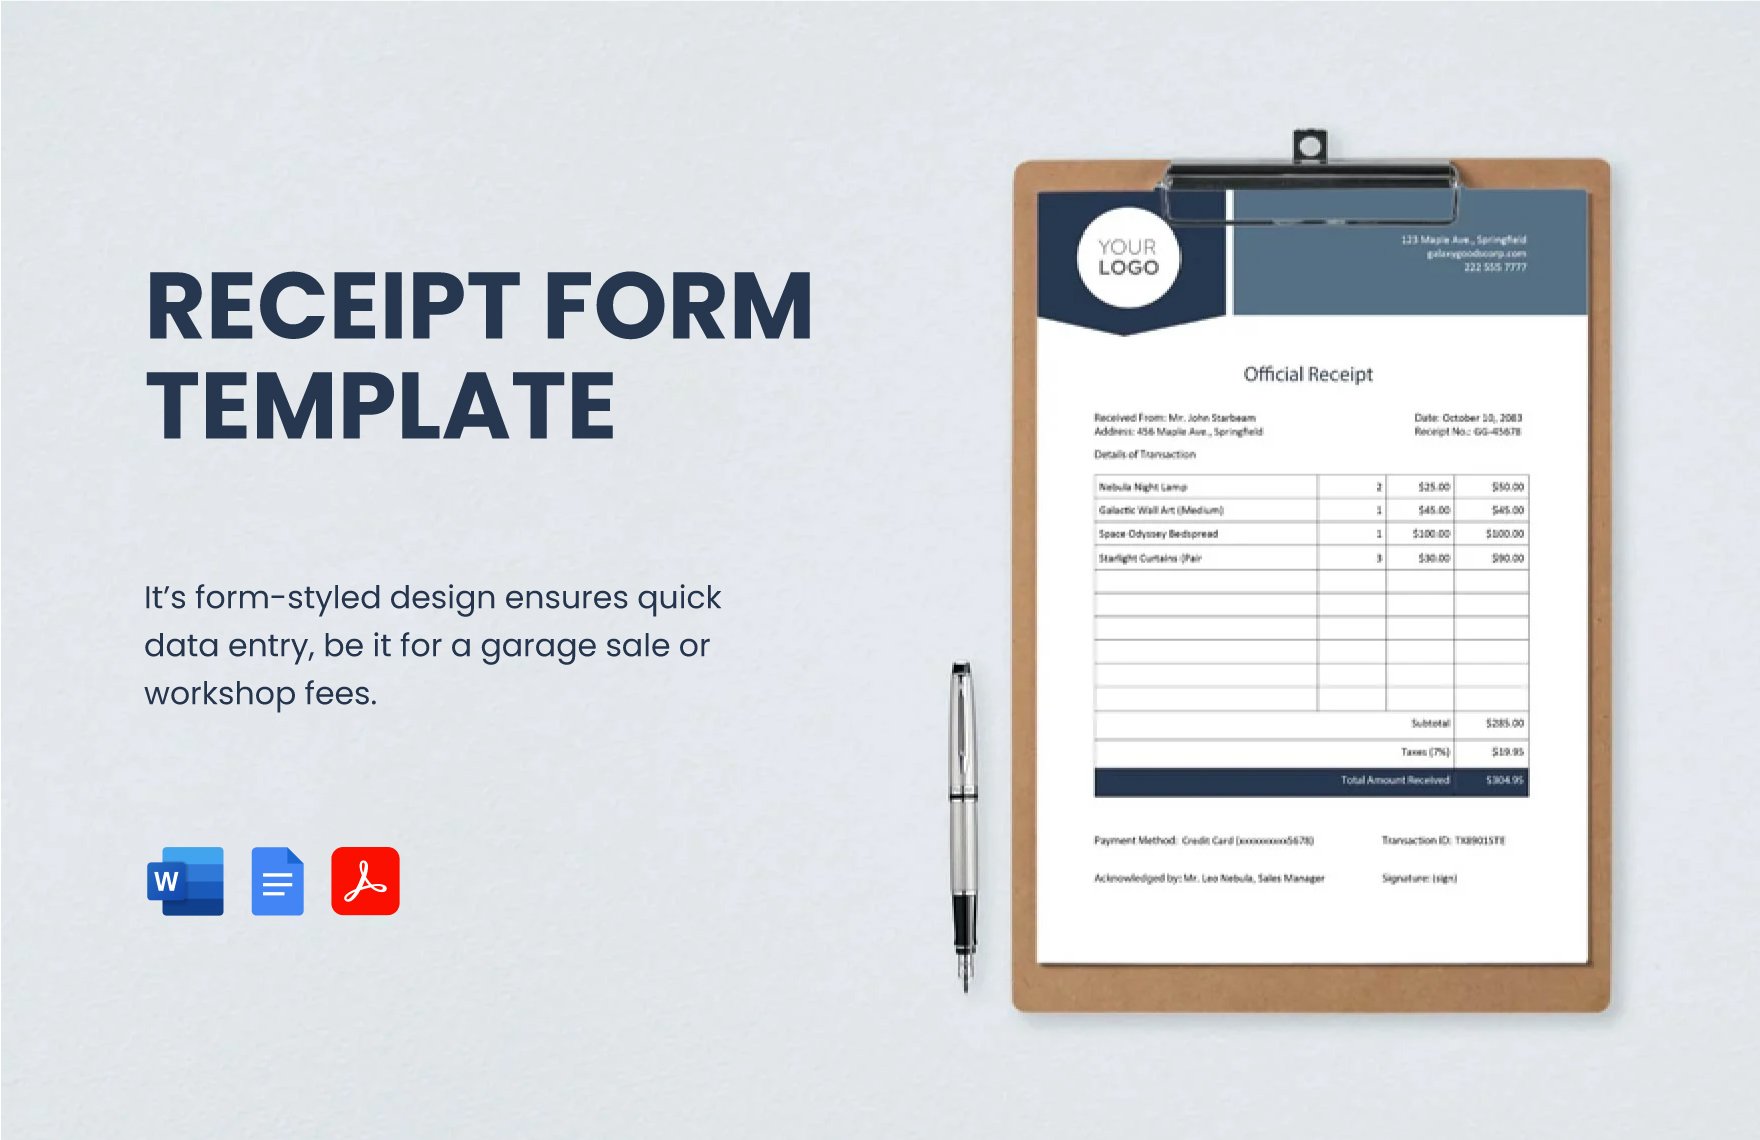
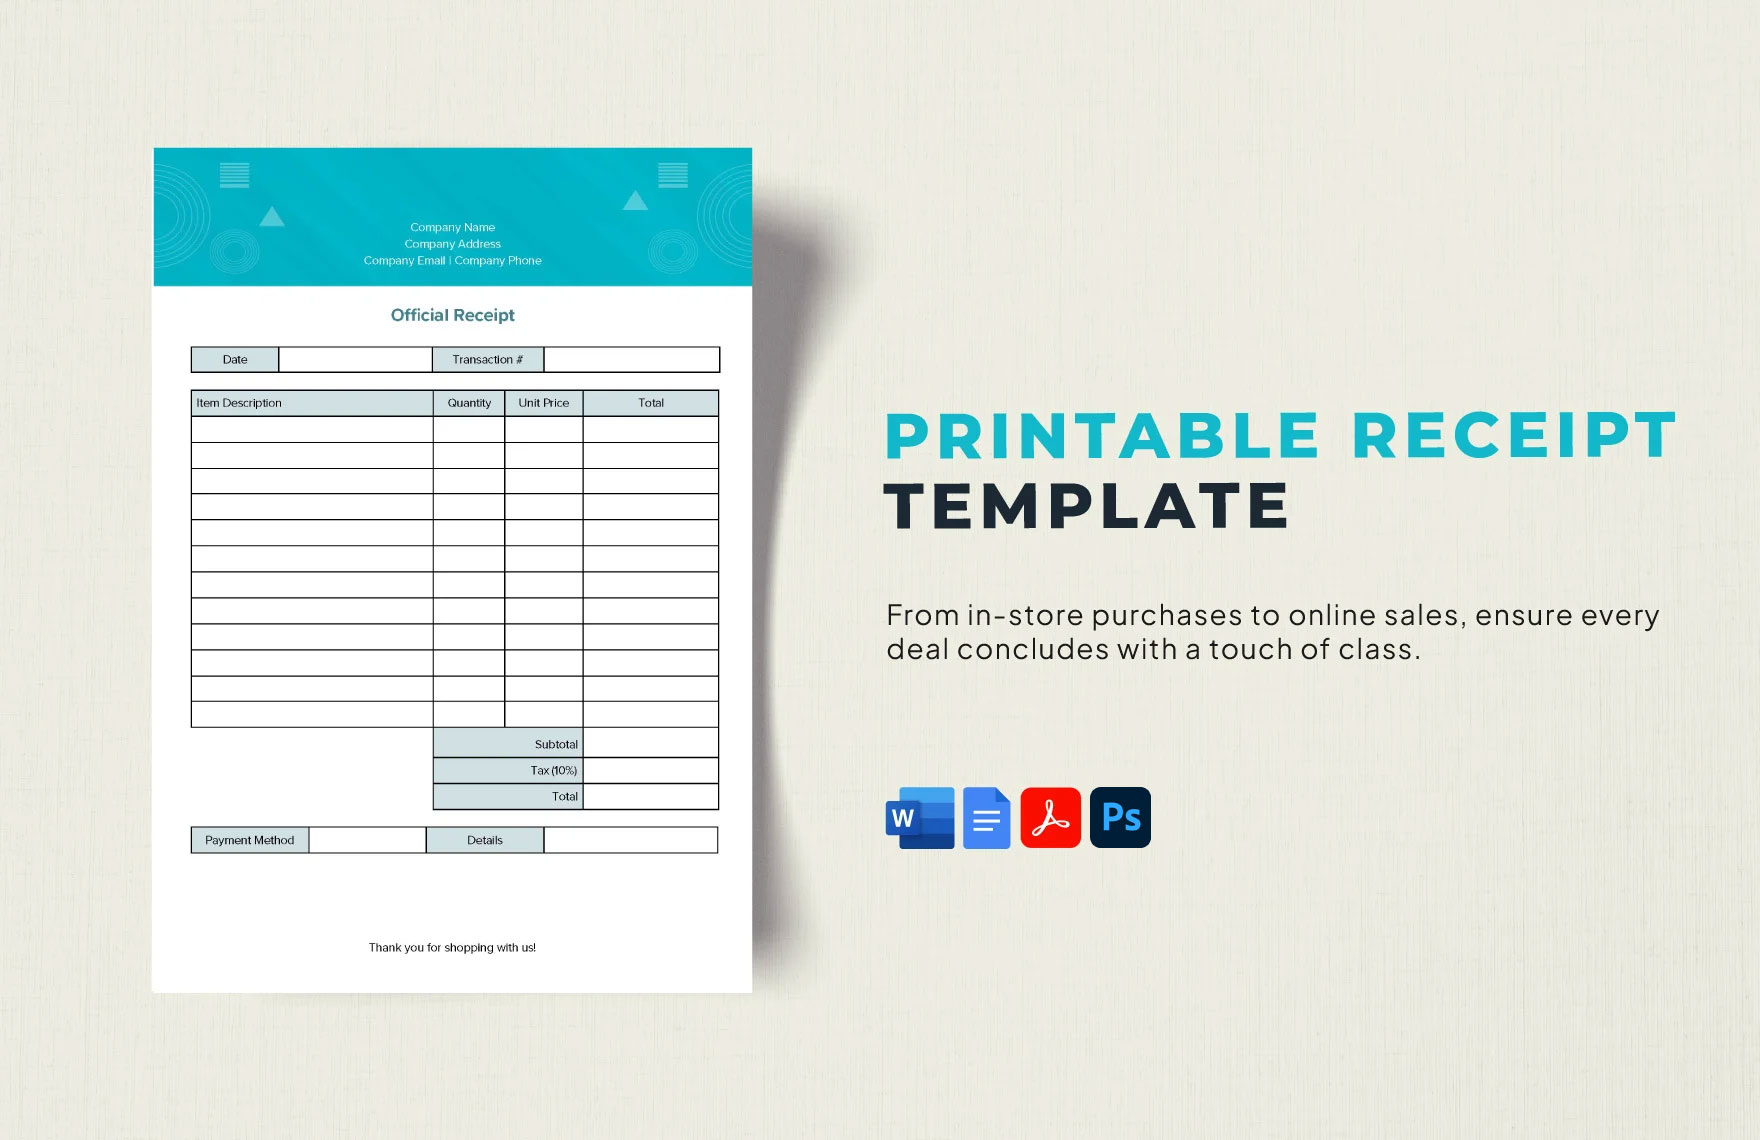
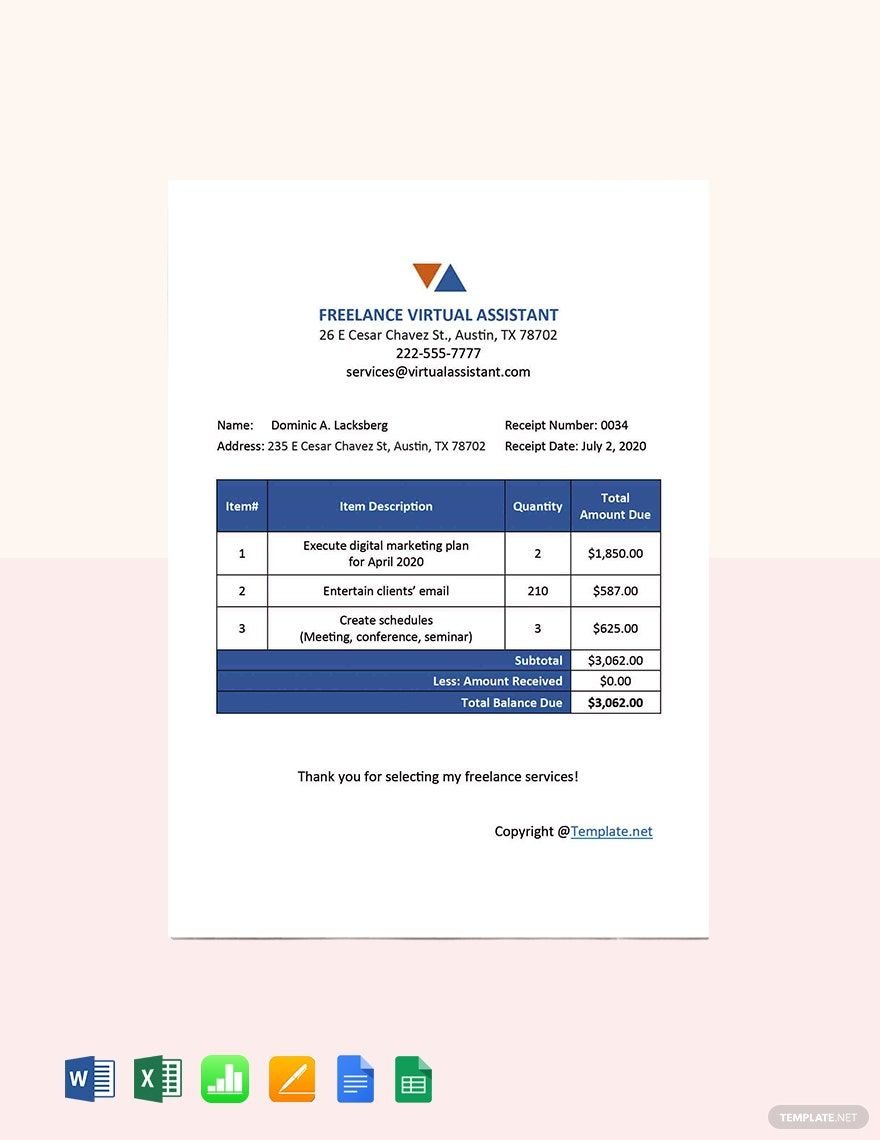
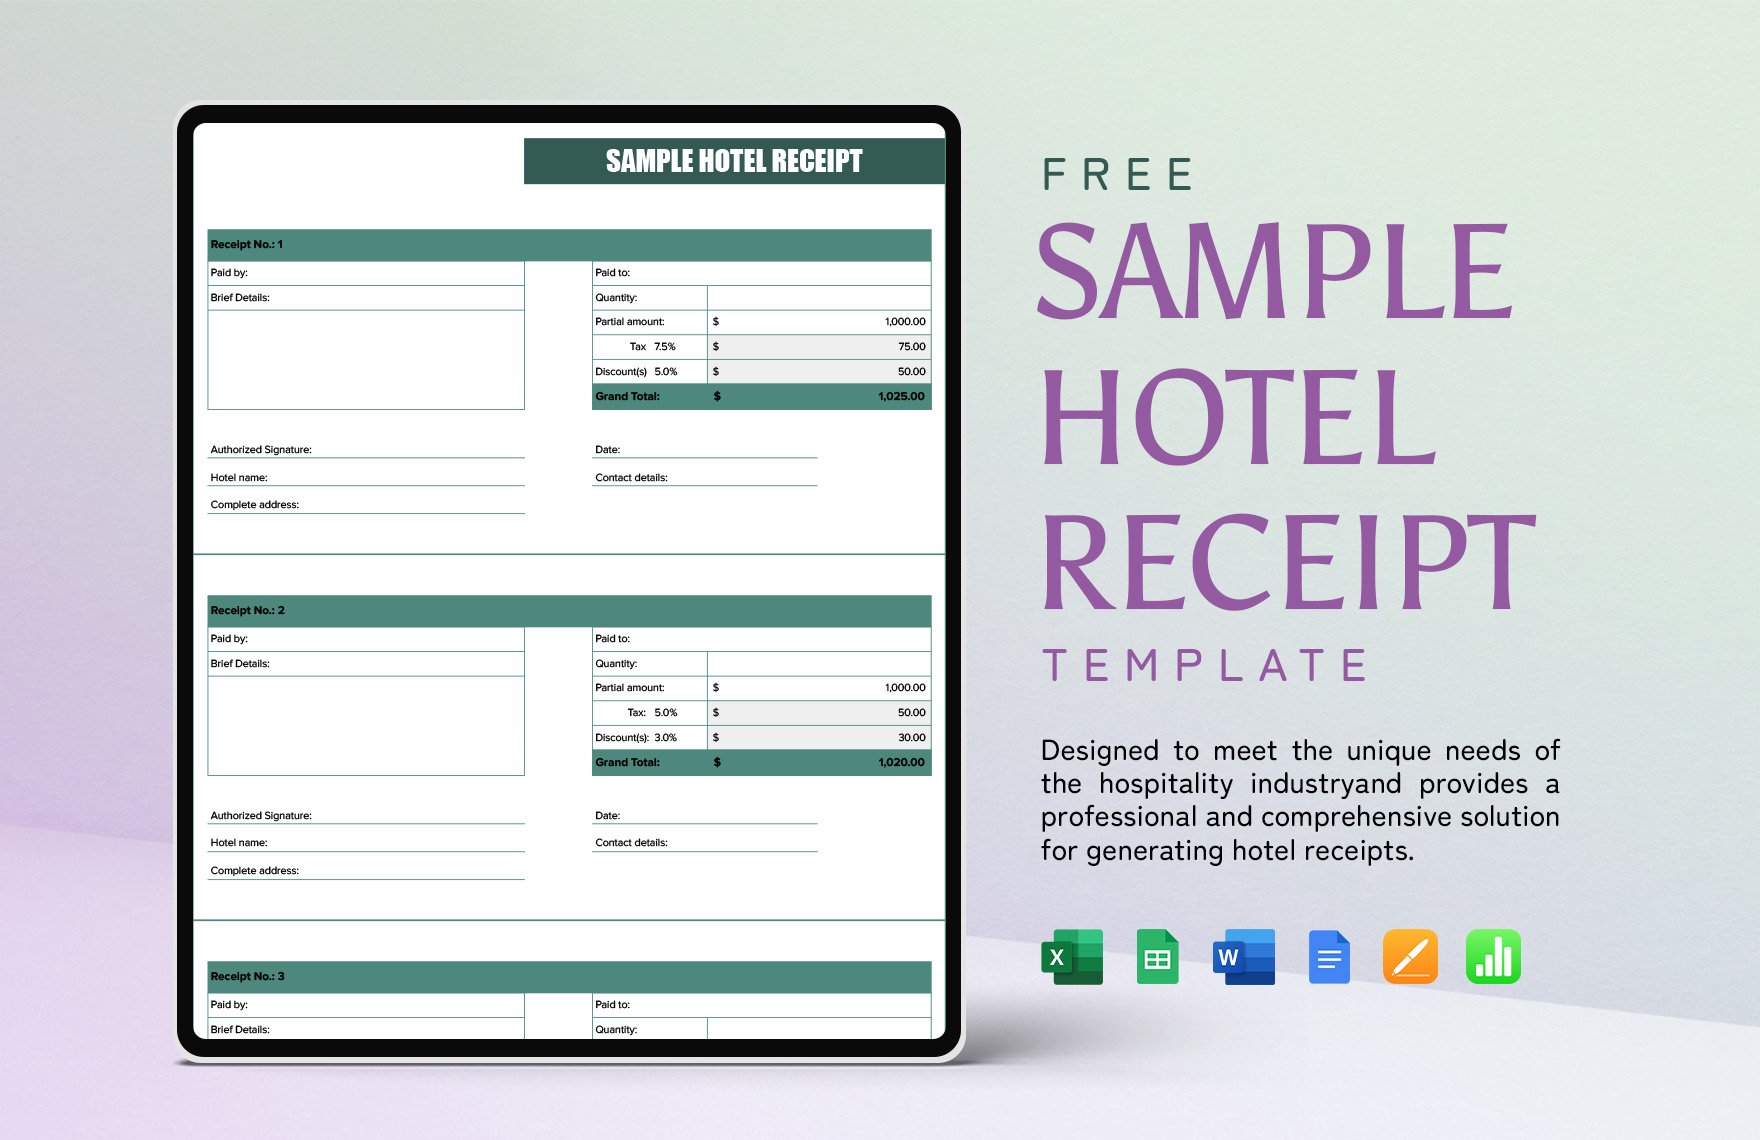
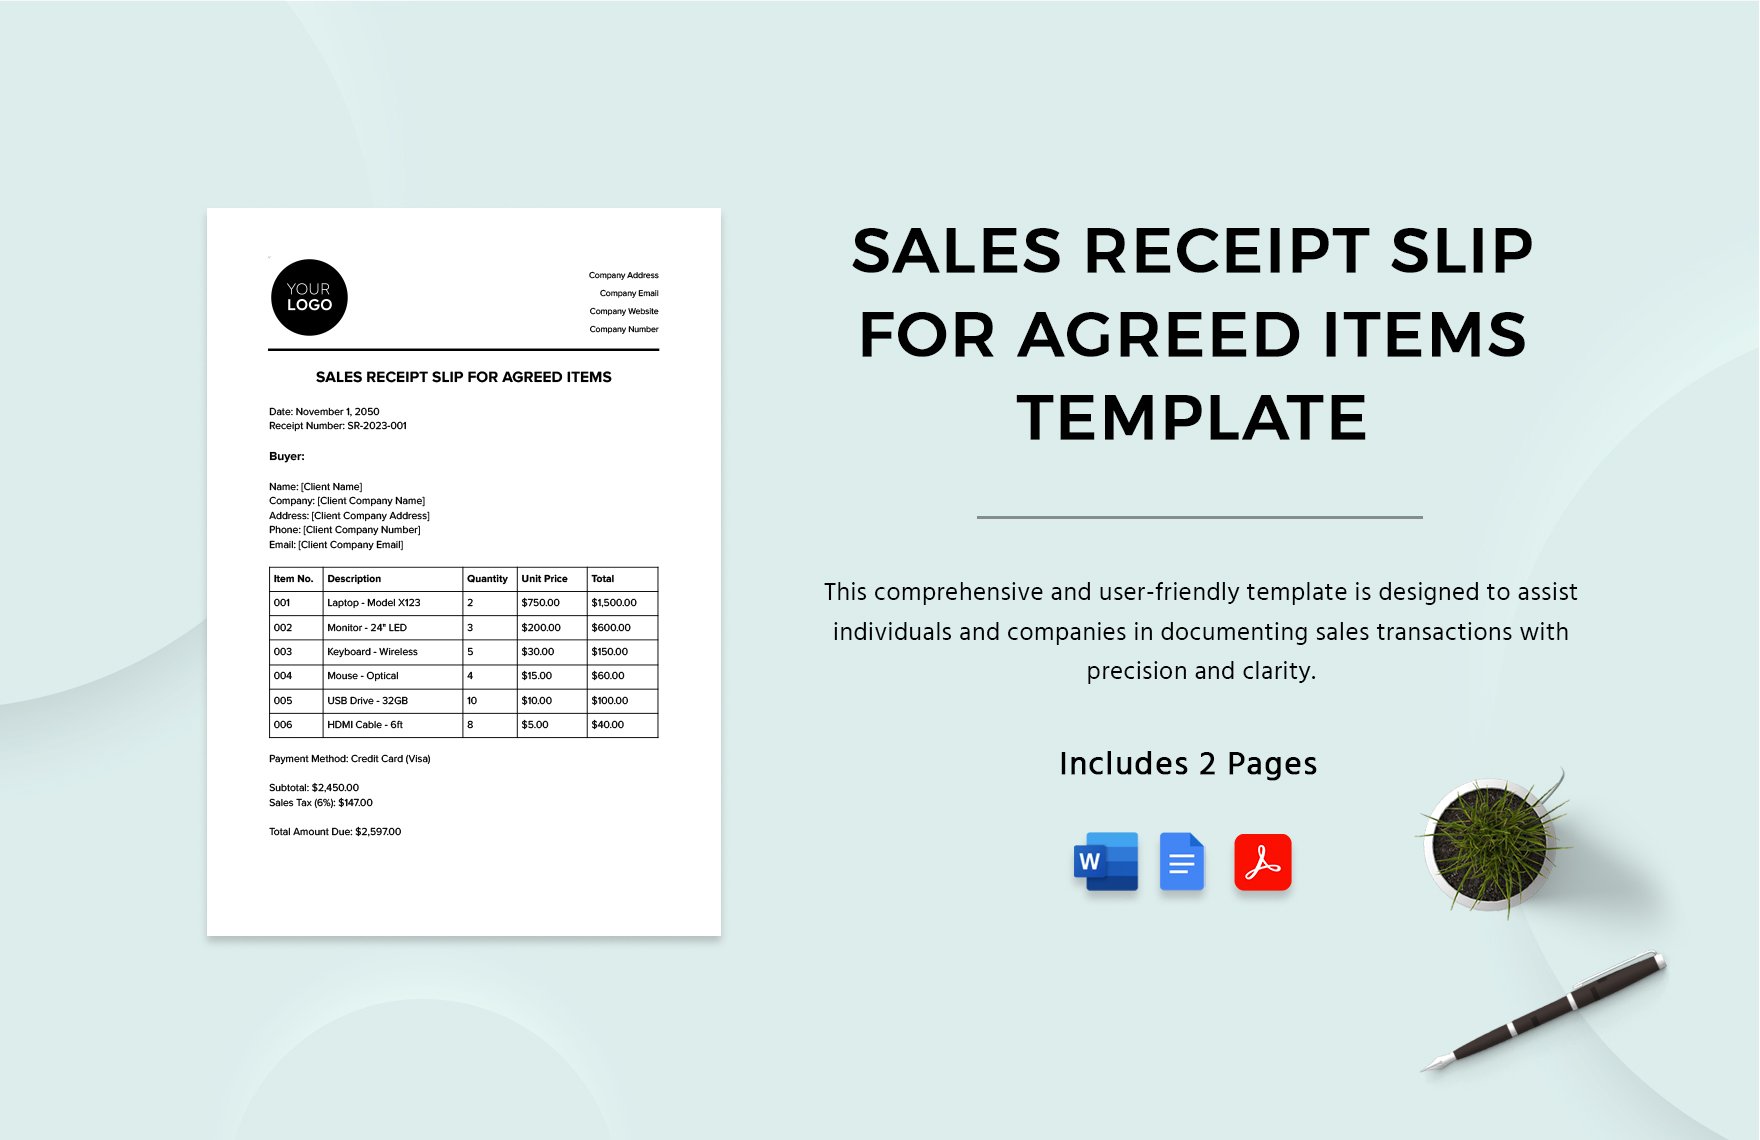
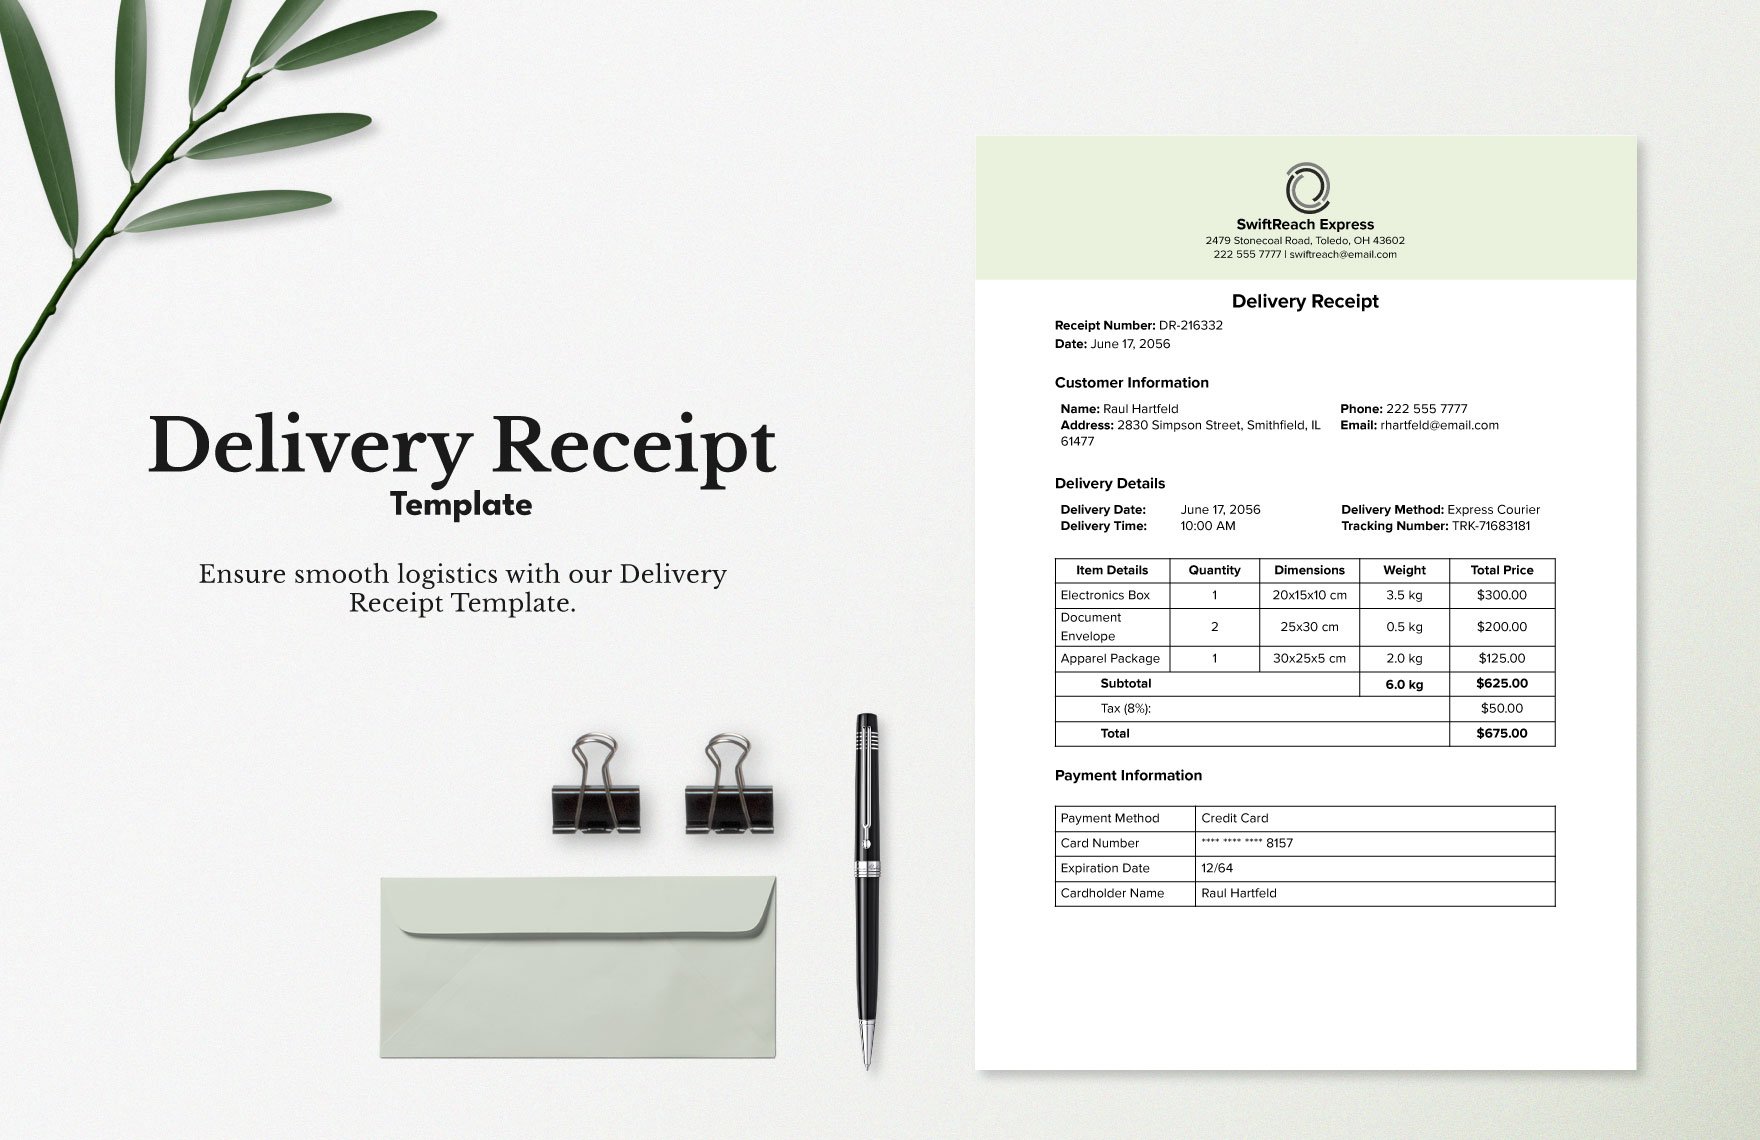
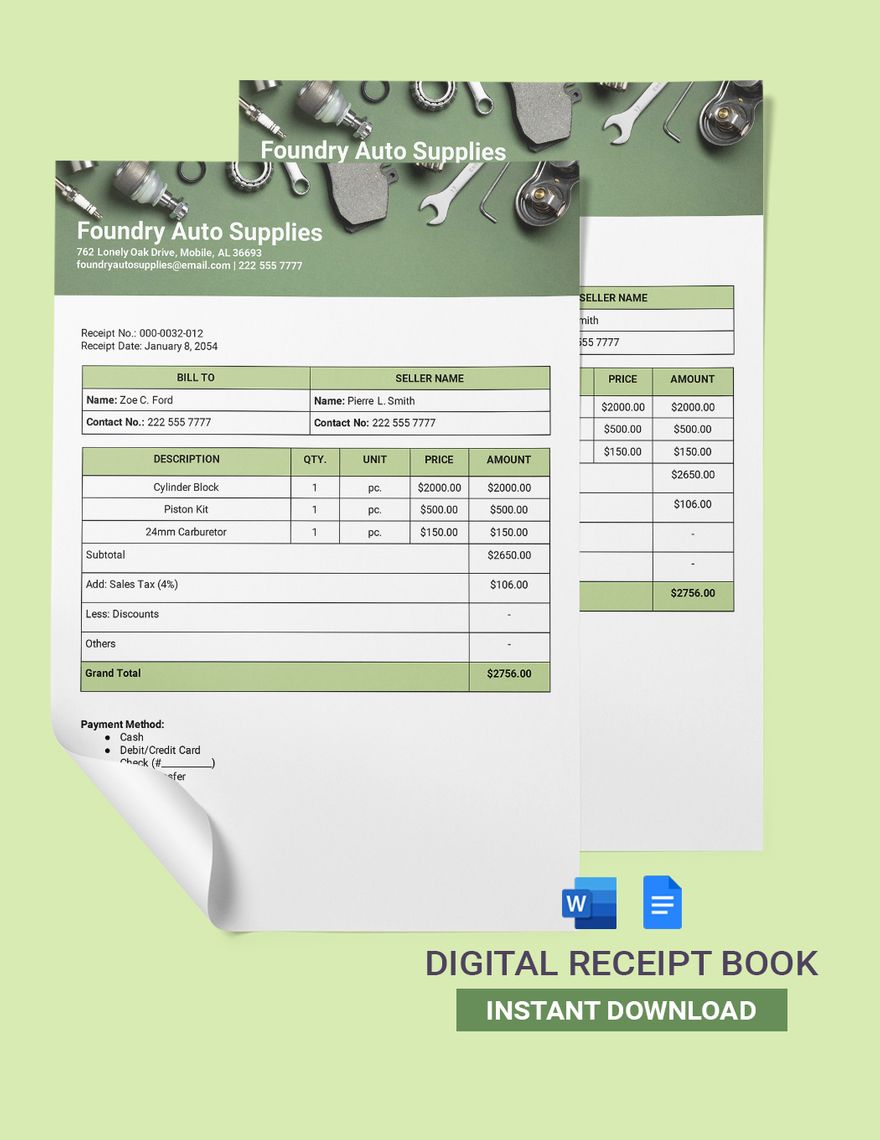
There will be countless instances when a client orders or books multiple goods at once. With that fact, you must formulate a table for your receipts to organize the list of goods that'll be purchased by a future client. The table must include columns for each of the following: item name, item description, quantity, and price. If the client does not receive the items prior to purchasing, you must include a portion on the table that shows the schedule of when they will be delivered. Additional portions that your table must have below are for the total payment amount and payment method. Once you complete the table, you'll notice that your receipt looks similar to a business invoice.
5. Provide Space Below For Employee And Client Signature
Just like legal documents, receipts must have signatures of both the buyer and the seller. Their signatures certify that both of them are officially the two parties involved in the transaction; thus, further solidifying the credibility of each receipt. In this case, the seller is your employee. Therefore, the final step in the creation of your receipts is providing blank space for employee and client signature. You should place them at the end of the receipts.


