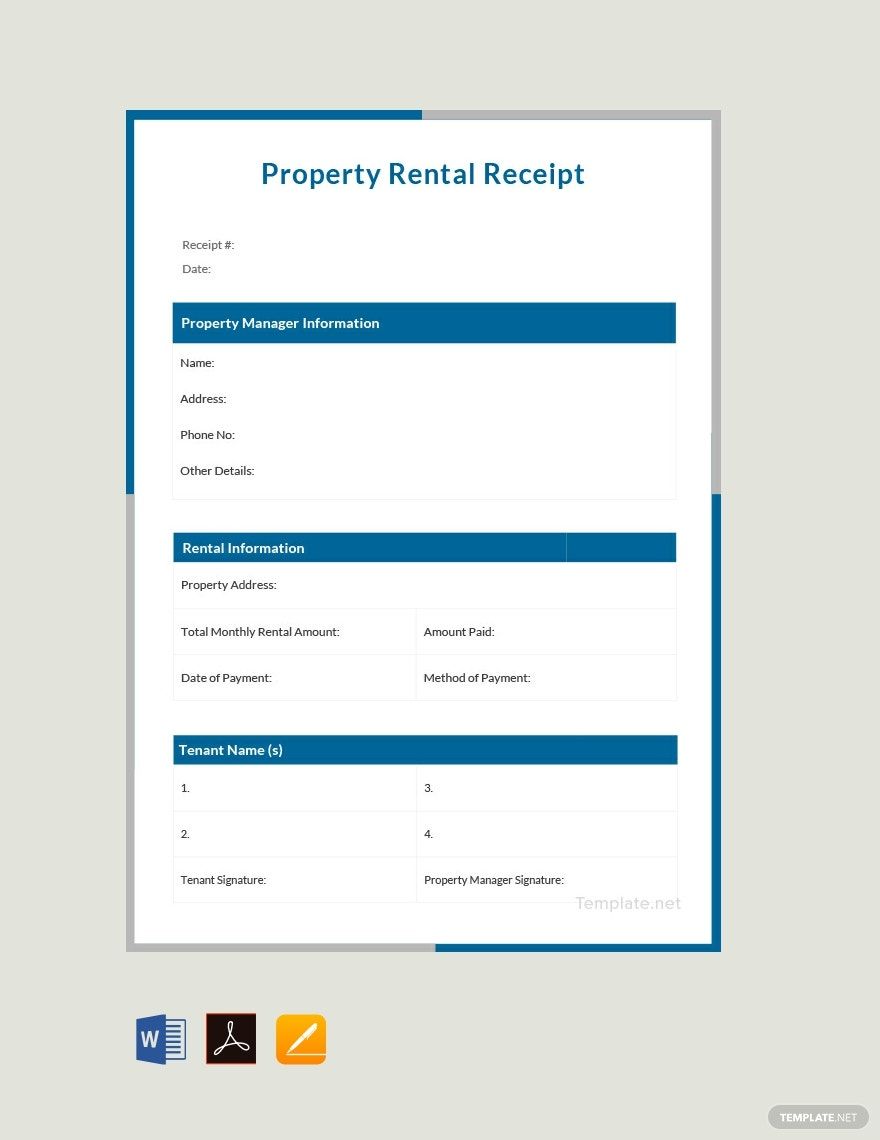
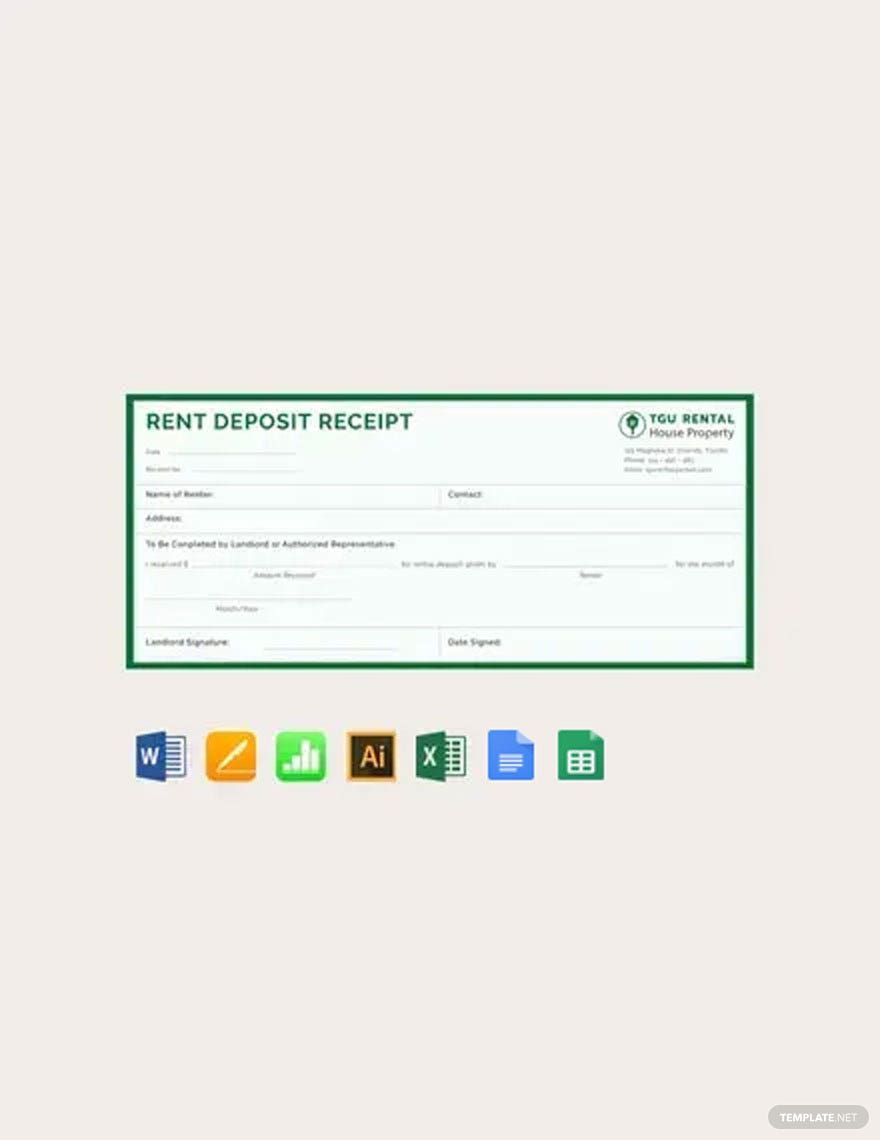
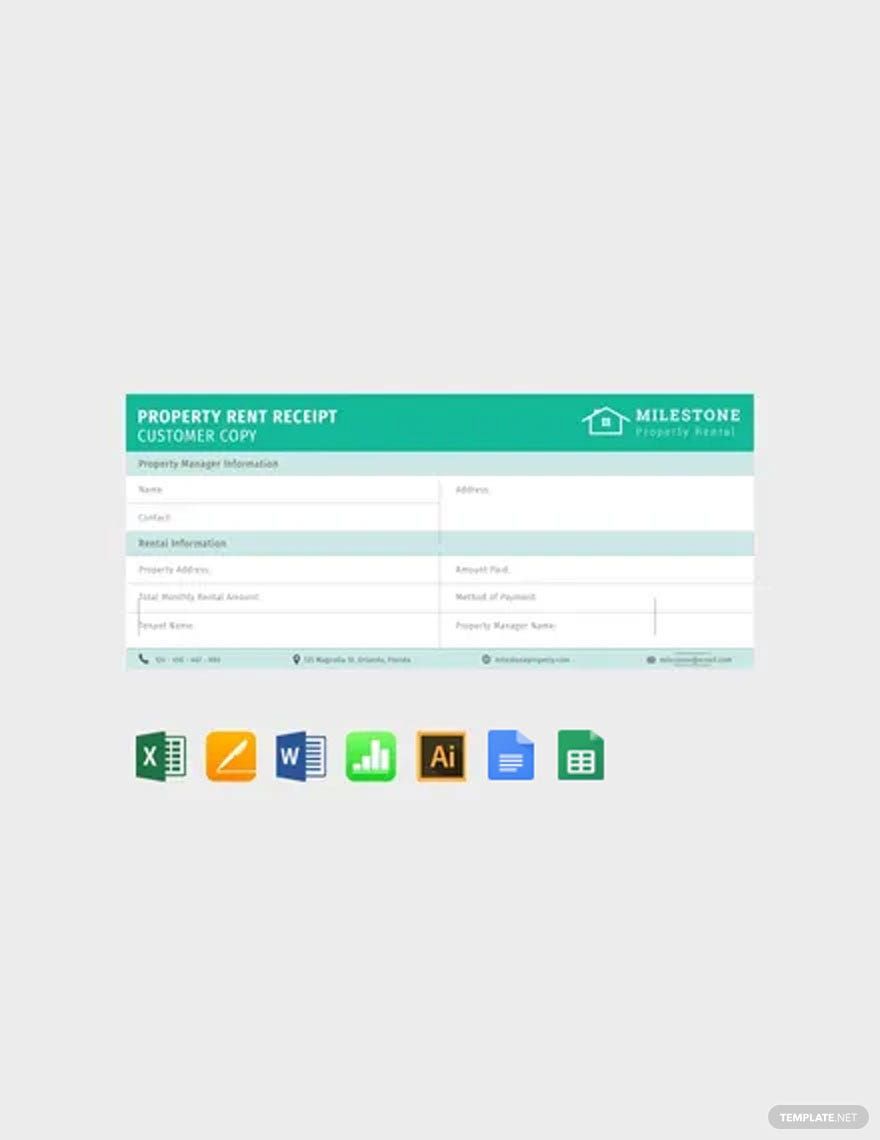
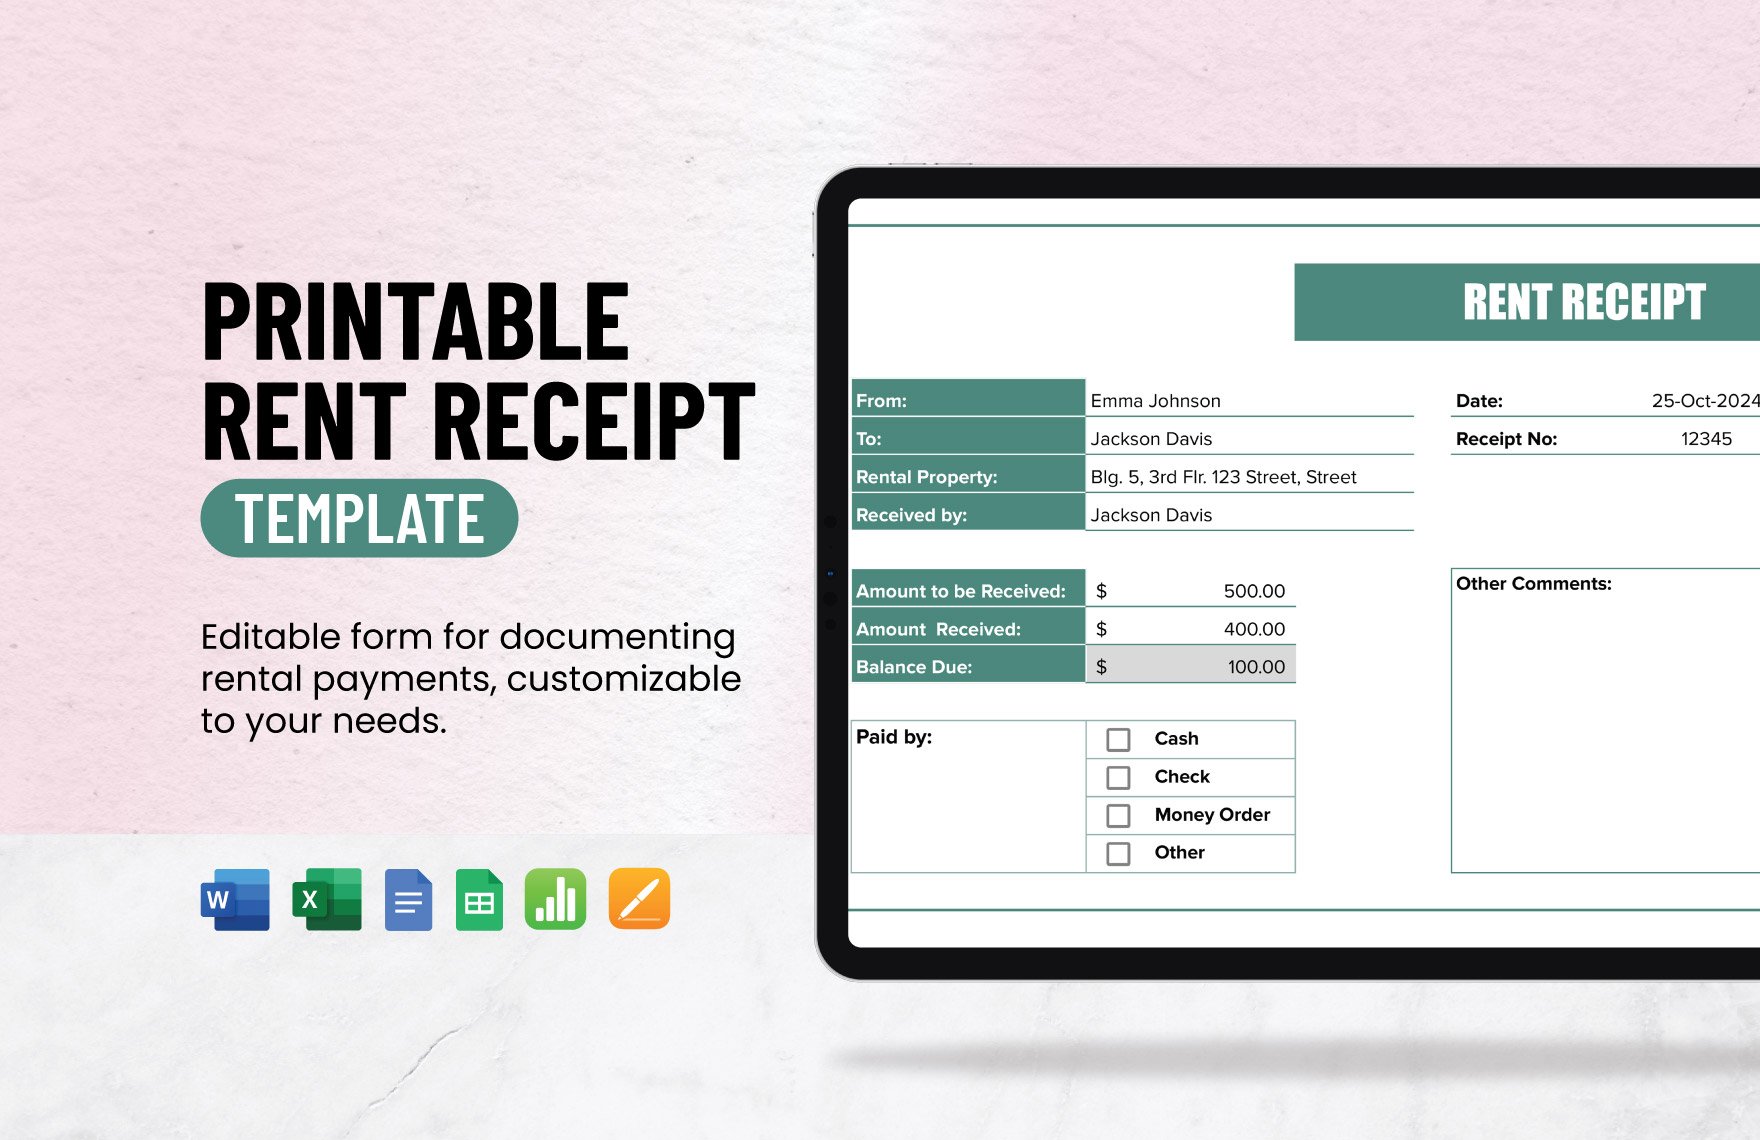
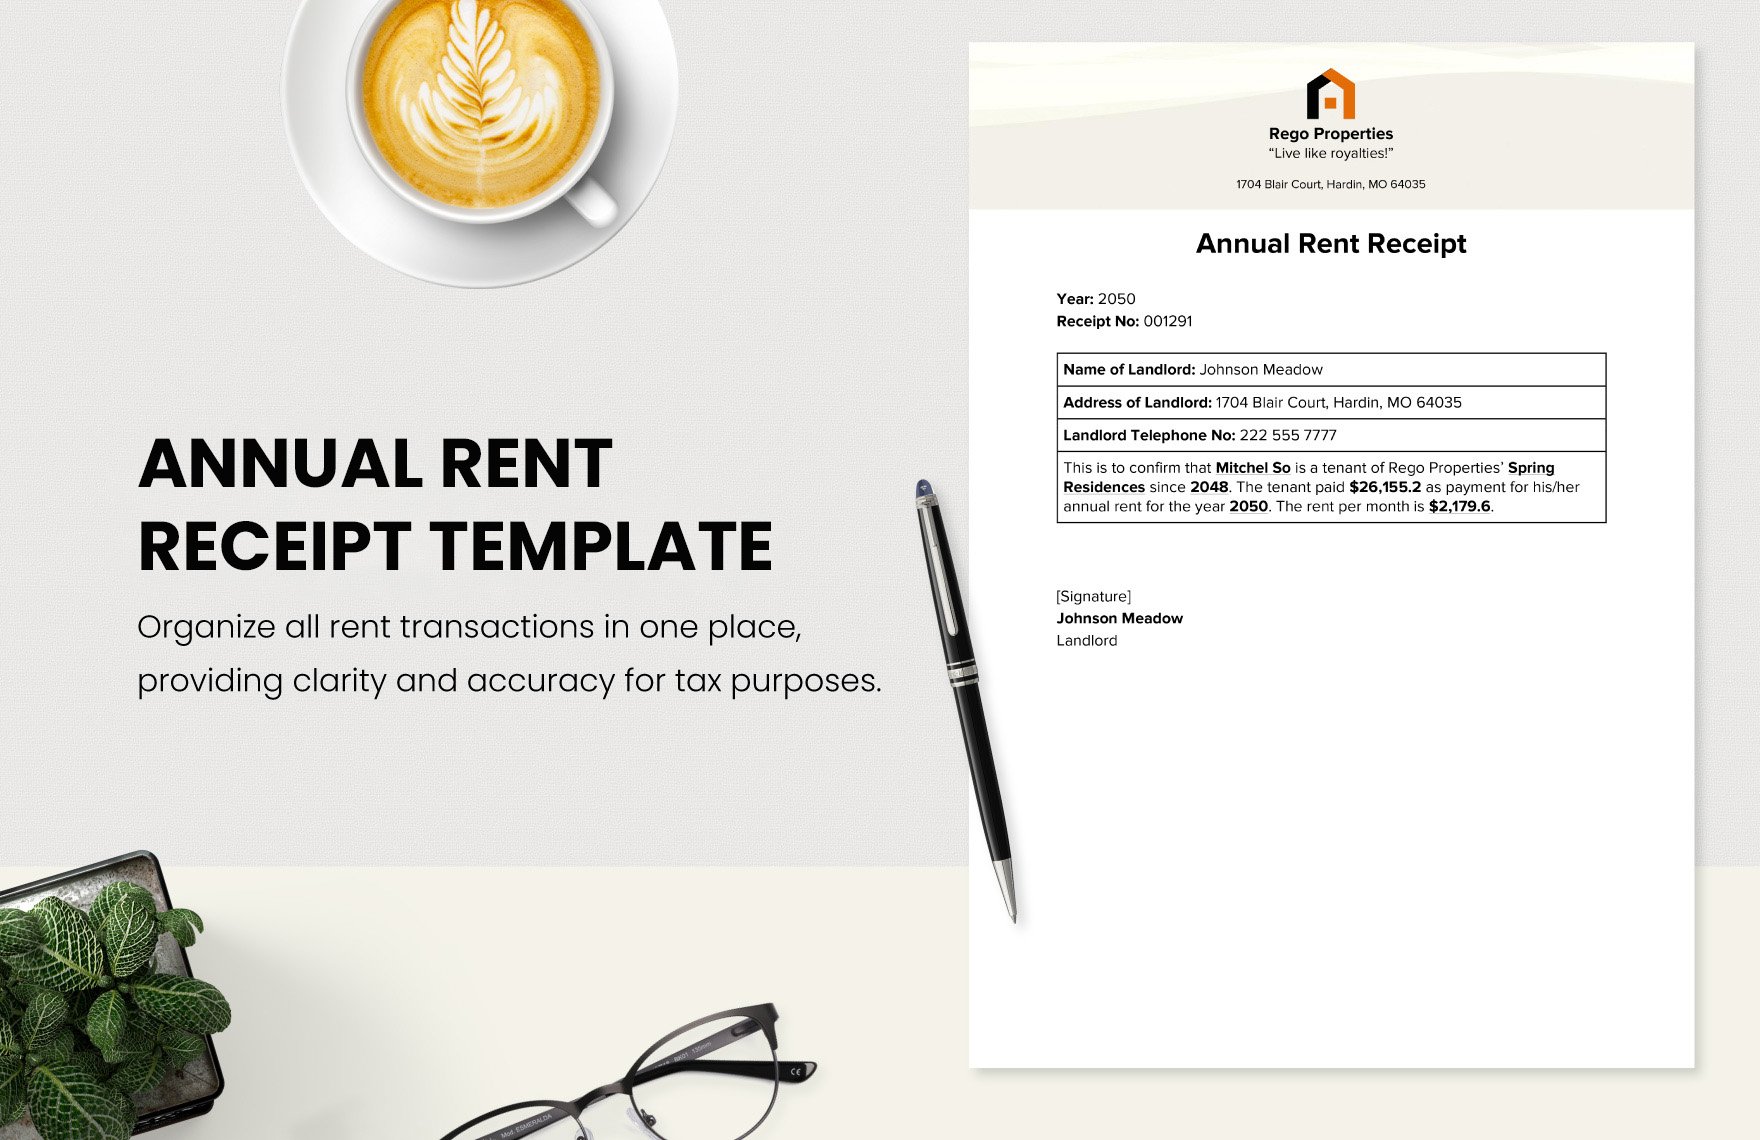
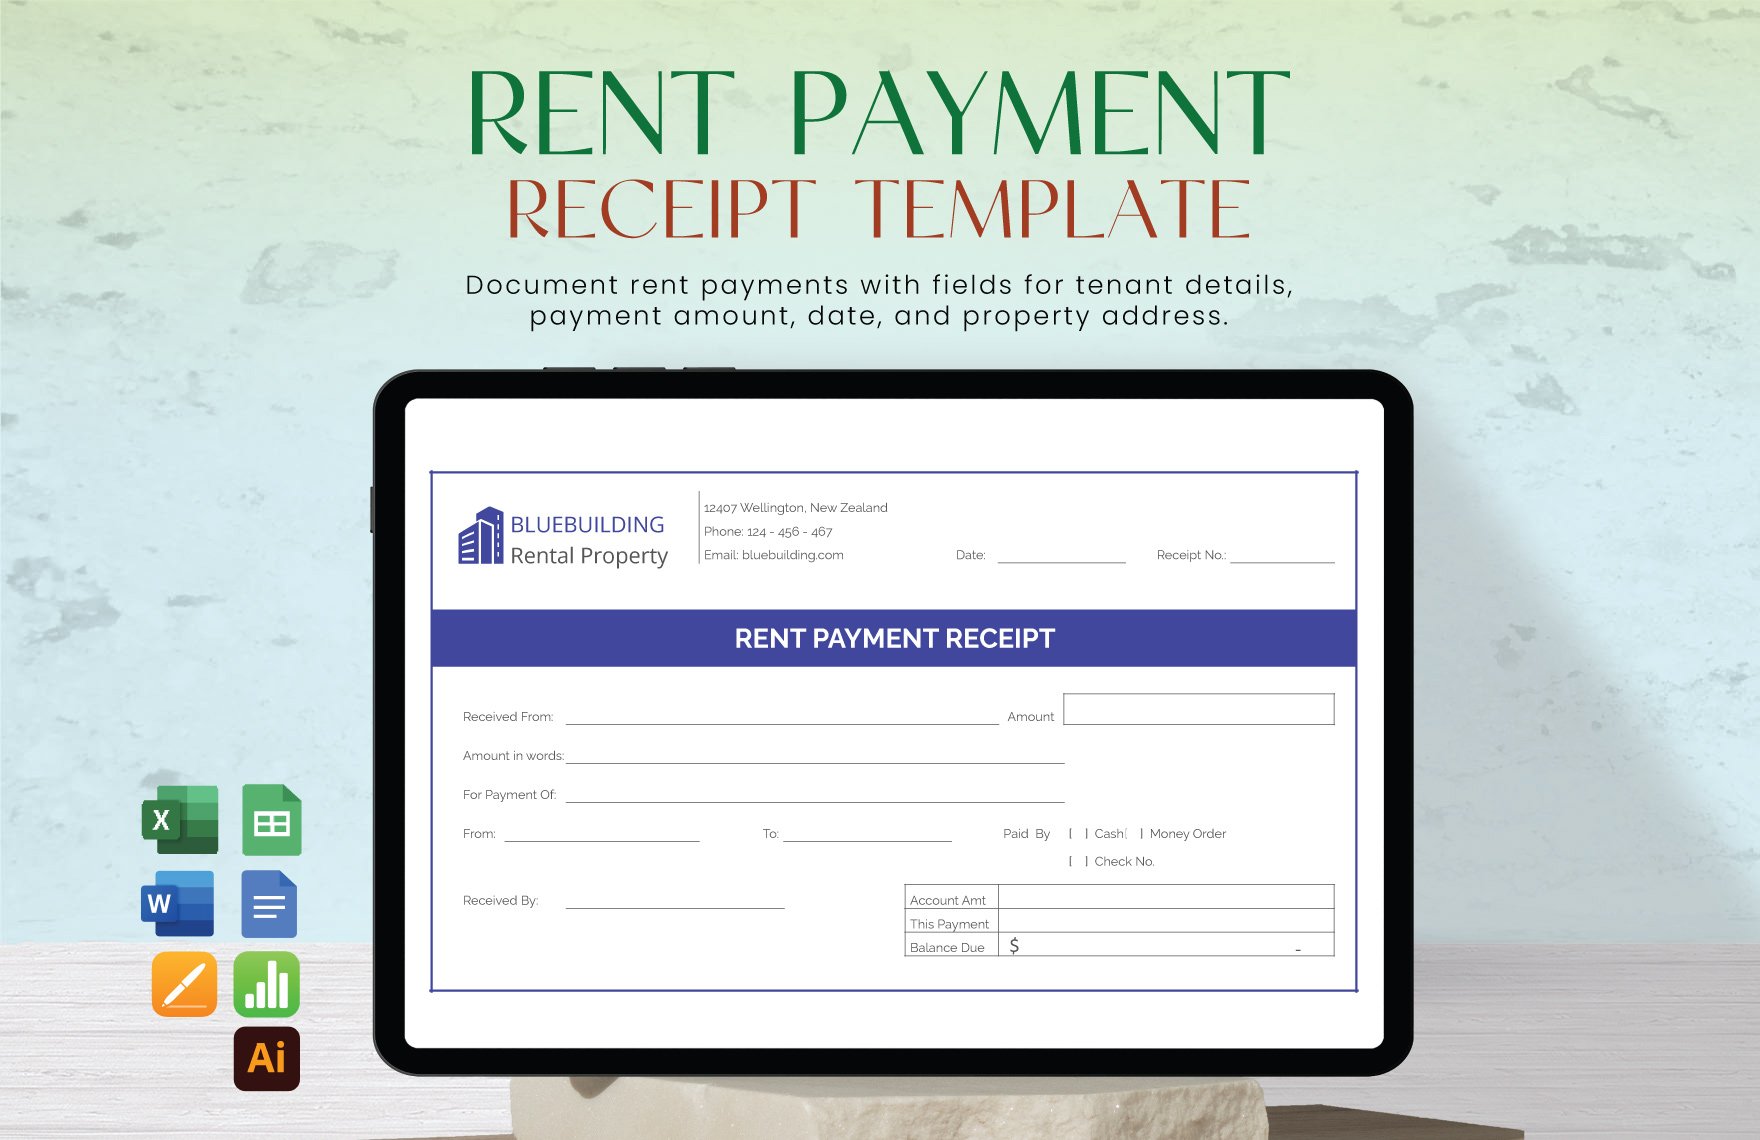
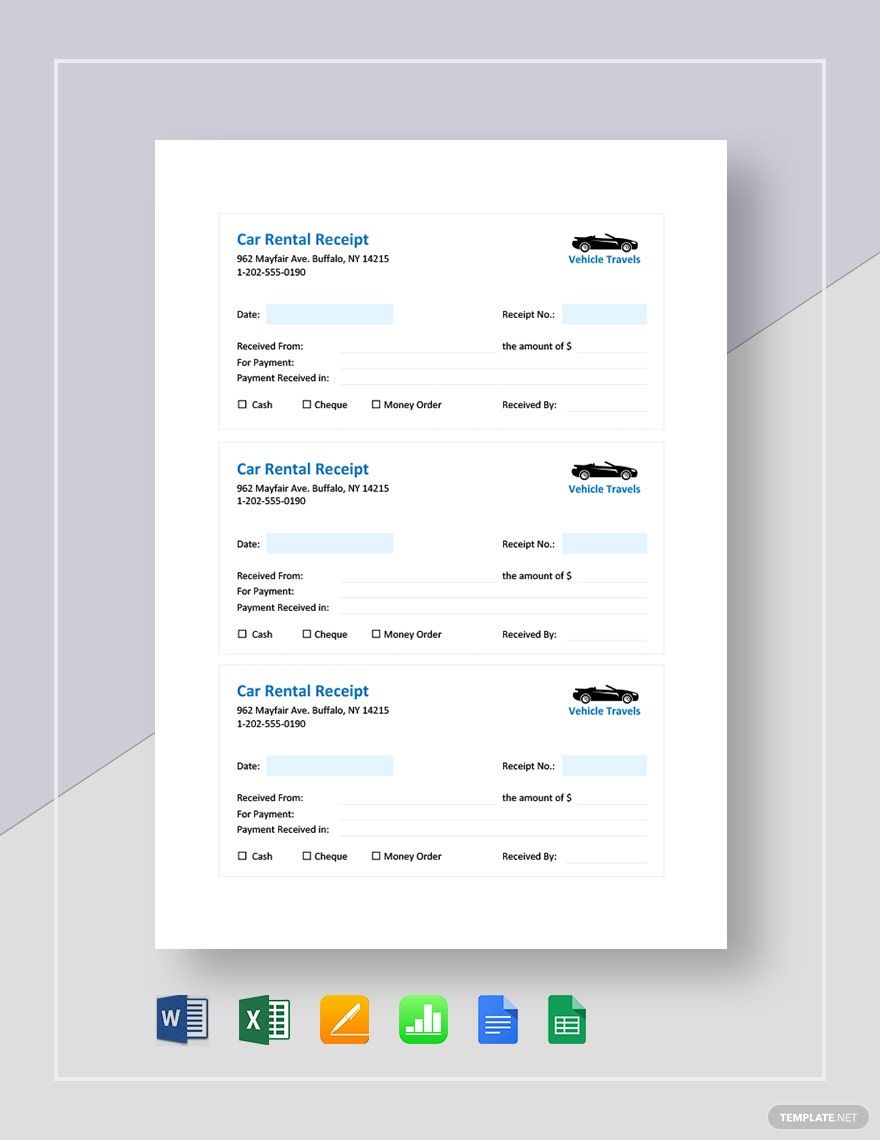
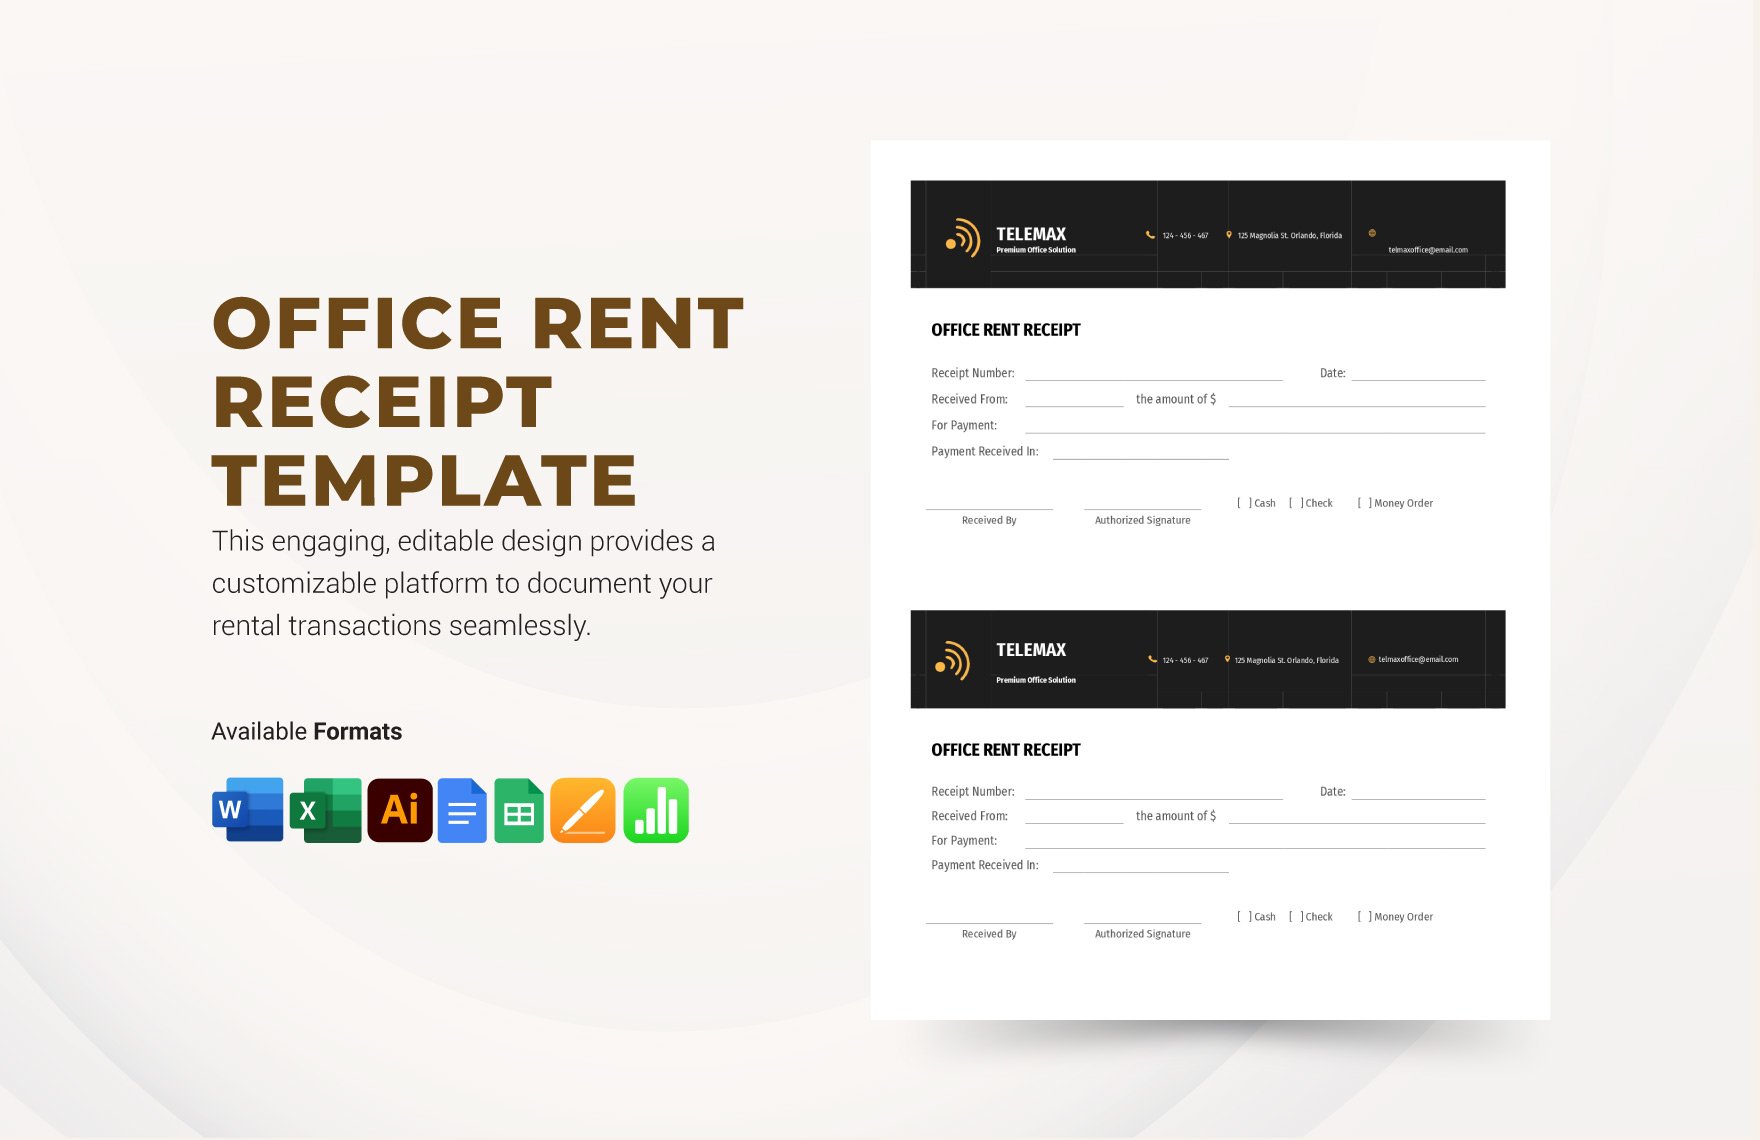
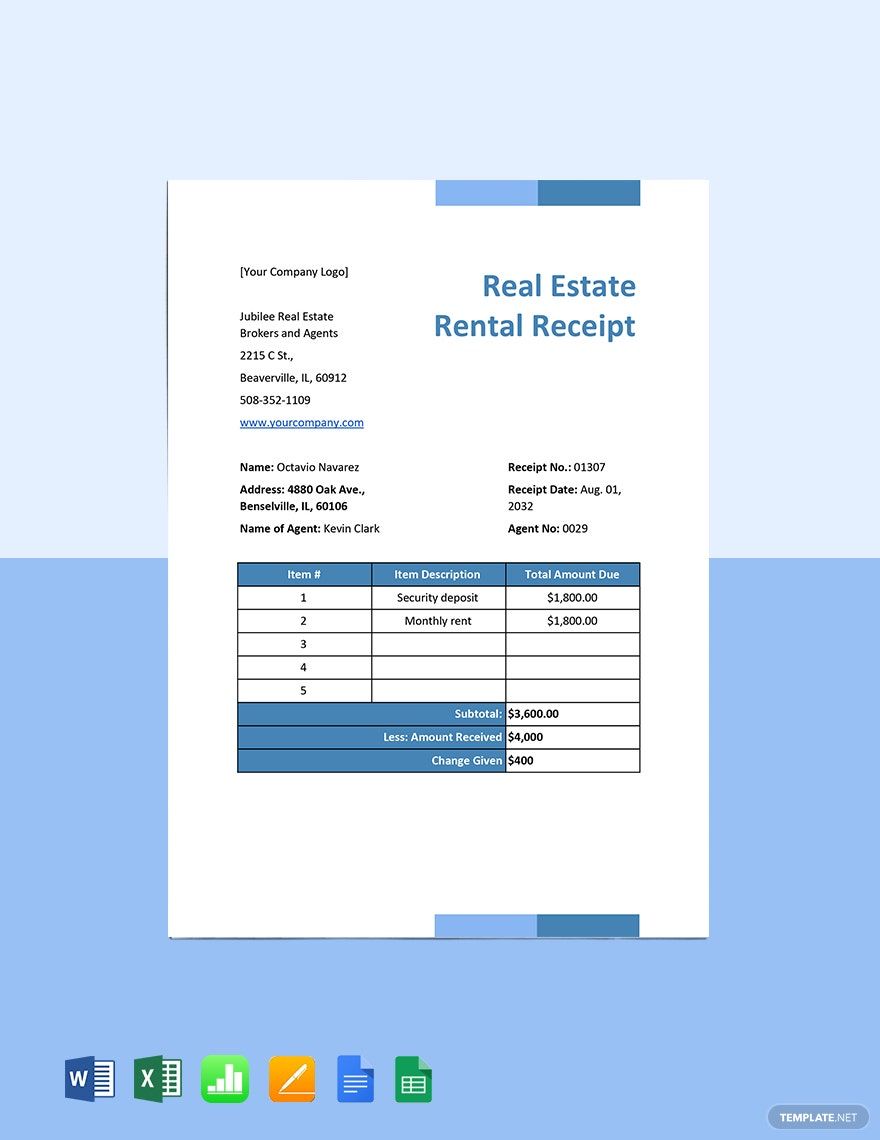
Issue a formal document or form regarding the rent payments by making use of our Rent Receipt Templates made available in Excel file format. Quickly download a receipt template at any given time, place, and on any device. Immediately gain access to the printable file after download. Edit our 100% customizable rent receipts available in US or A4 paper sizes with ease and comfort using any version of Excel. Enjoy using standard Google fonts along with suggestive headings. Save on any device and print commercially or at the comfort of your home or office. Hurry and download now to start using your Rent Receipt Template of choice.
How To Make A Rent Receipt in Excel
Let's say you're running a rental business—an office rental, car rental, or house rental— you'll surely need a receipt for those rentals. It is smarter to have one in possession when you're running a rental business. With rent receipts, you'll be able to track the transaction with the other party, therefore, avoiding problems regarding the property that is rented. Produce the ideal rent receipt by following the tips listed below.
1. Microsoft Excel
Microsoft Excel is the perfect program to create your rent receipt. It is the most common program used in producing business-related documents, such as budget templates. It has easy-to-use tools to give you no problem in making one. You'll be able to minimize your efforts in making a rent receipt from scratch by using the templates available above. Those ready-made templates are fully compatible with Microsoft Excel. With Excel, anything is possible.
2. Names
The first element you'll find in every receipt, like sales receipt, are the names of the person who rented the property and the person who leased the property. Be sure to indicate both parties' complete names that are correctly spelled to prevent your rent receipt from becoming invalid. Let the other party spell their names so that you won't mess up their names.
3. Payment
The mode of payment, date of payment, and the amount come next in making a receipt. Coordinate with the other party on their mode of payment. Be sure to write down whether they paid via credit card or cash. Also, don't forget to write the date of the day they paid the rent. Try to be specific with the exact figures; spell the amount rather than writing it in numbers. Spelling out the amount can prevent confusion on the amount they need to pay.
4. Property
Specify the property the other party wants to rent. Is it a car? Office rent? House rent? Or Apartment rent? Also, don't forget to include the rental period. The different types of property you want to rent out vary in rental periods. For example, office space and house space have more extended rental periods. Meanwhile, car rentals have shorter rental periods like a day or three days. Lastly, come up with rental terms and conditions for your rent receipt. You can talk to the other party about the terms and conditions to achieve a rental agreement.
5. Signatures
Never forget to leave a signature block for both parties. Placing a signature on the blank receipt template will validate the rental receipt. The signatures on the transaction or agreement is a validation that the other party has already paid the due amount on a particular day.
6. Print Two Copies
Proofread the document once again and check for errors. If you think there are no errors, print two copies of the rental receipt, one for you and one for the other party. Printing two copies allow you to have a copy of your own so that you can easily track down the payment transactions.
If you think that creating a rent receipt takes up too much time, you can download one from the available sample receipt templates above which will suit your business.


