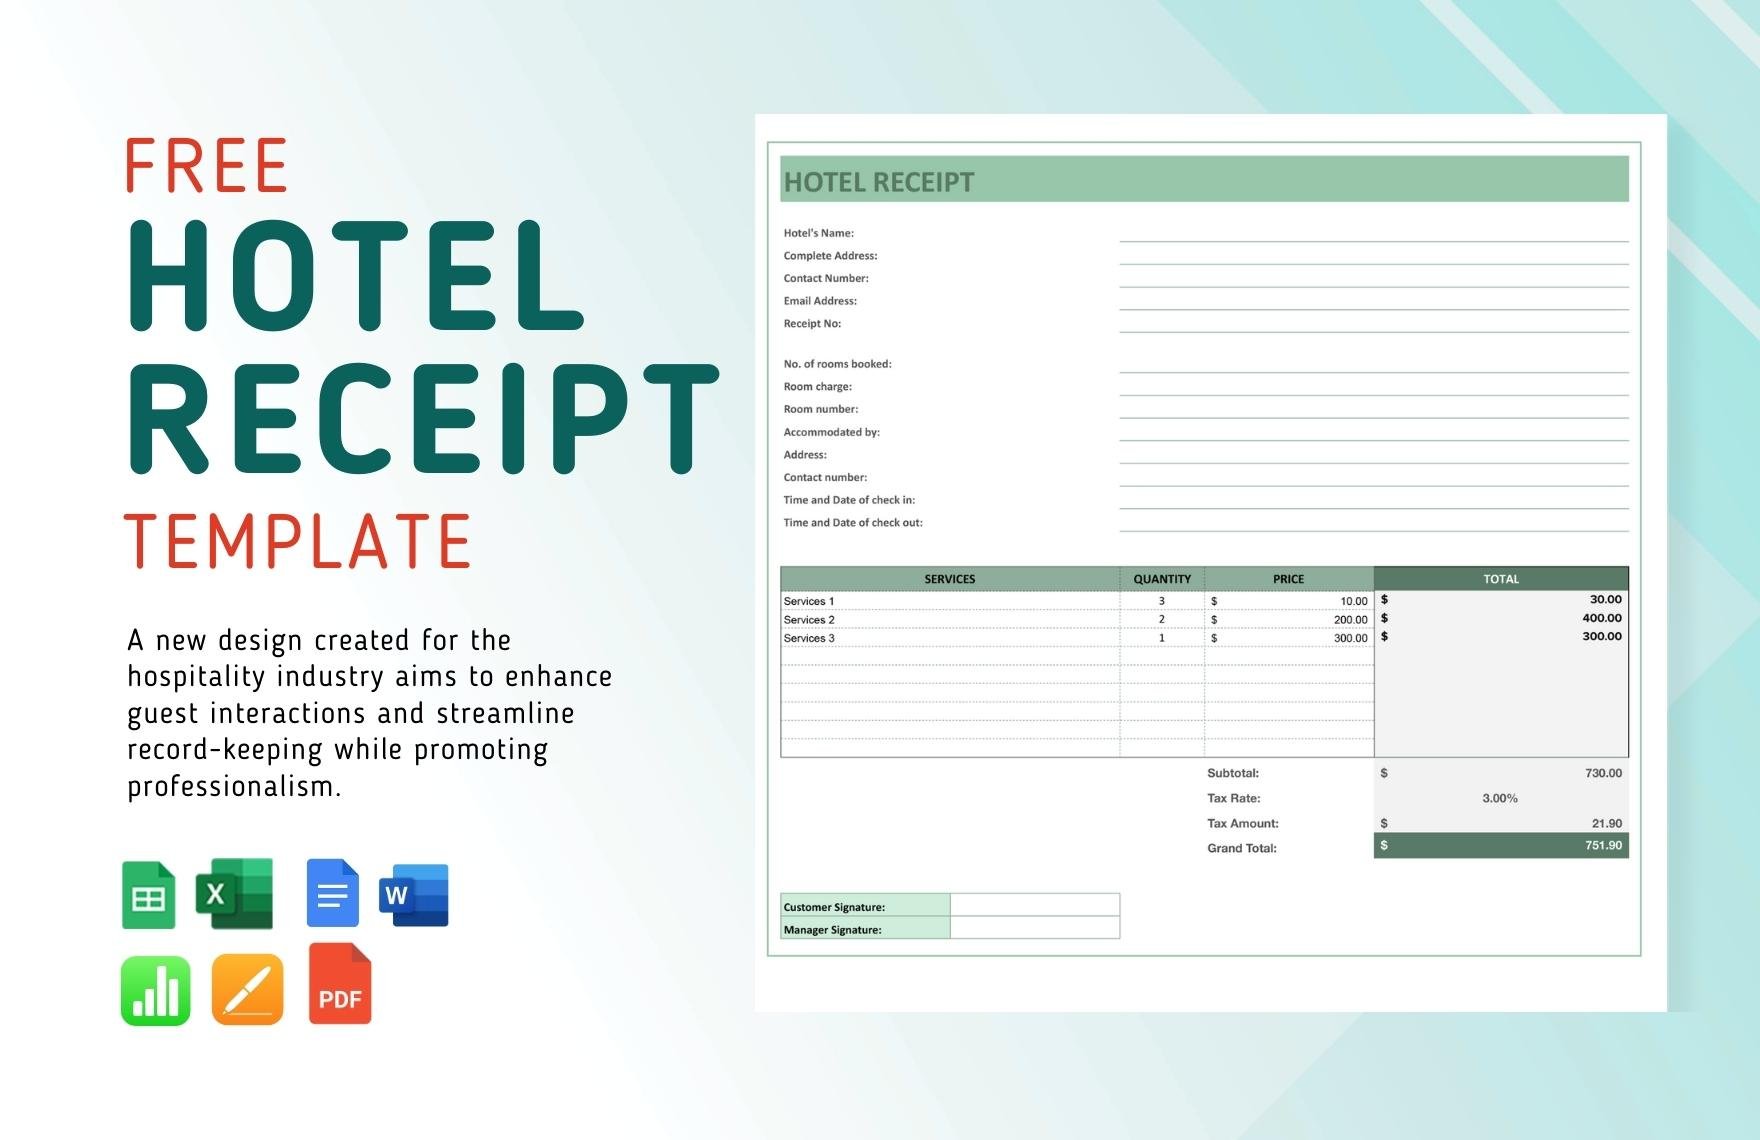
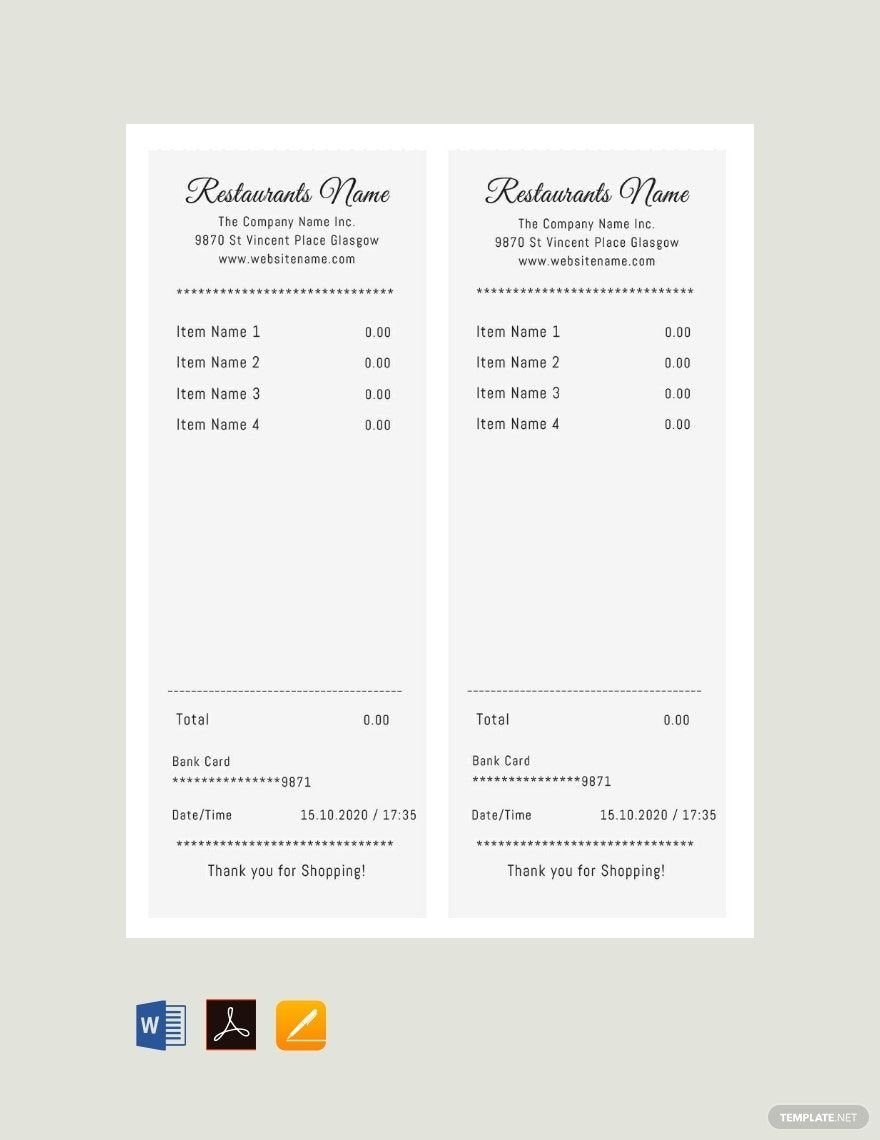
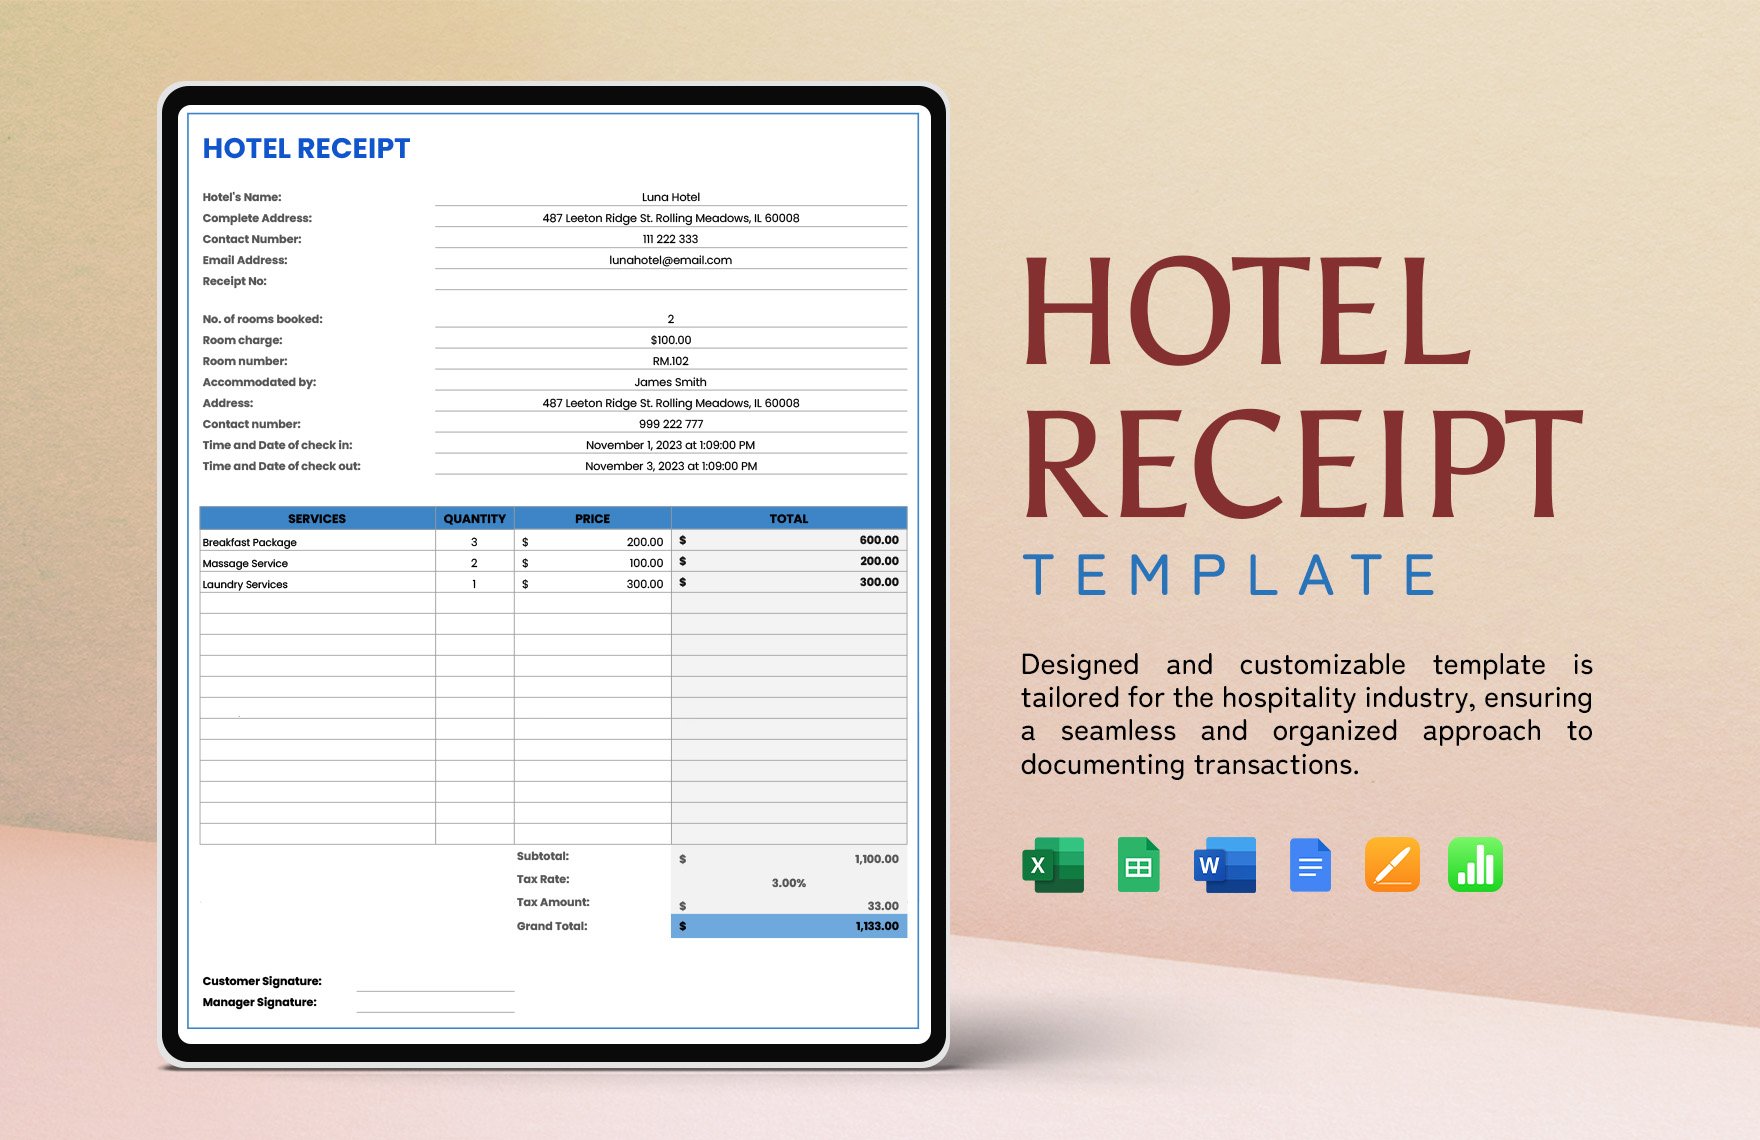
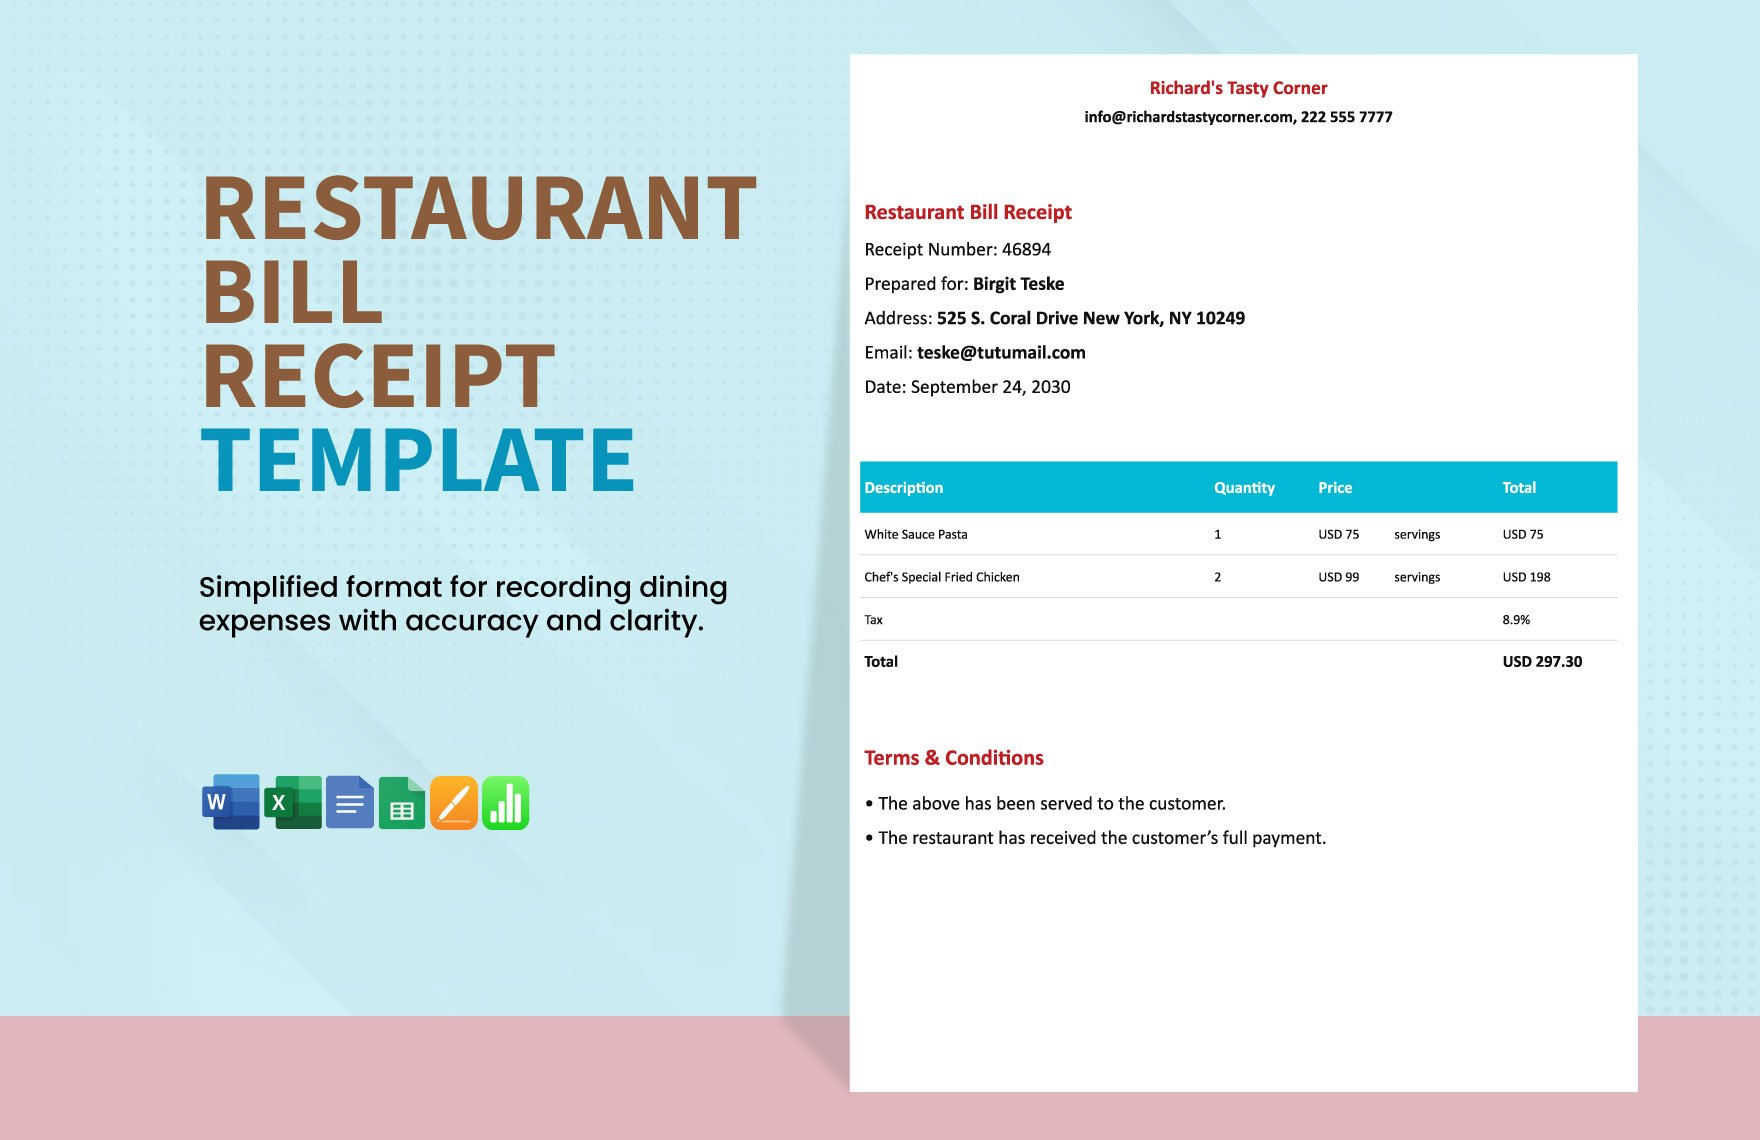
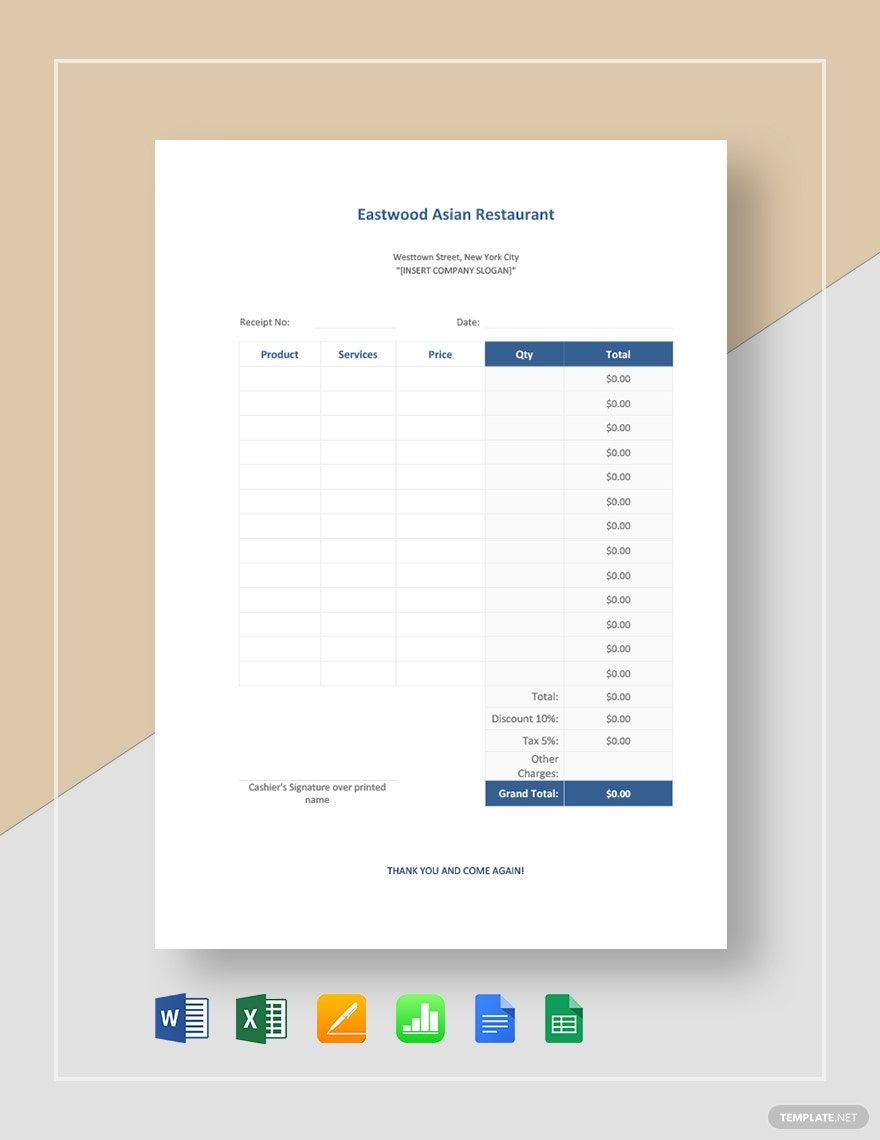
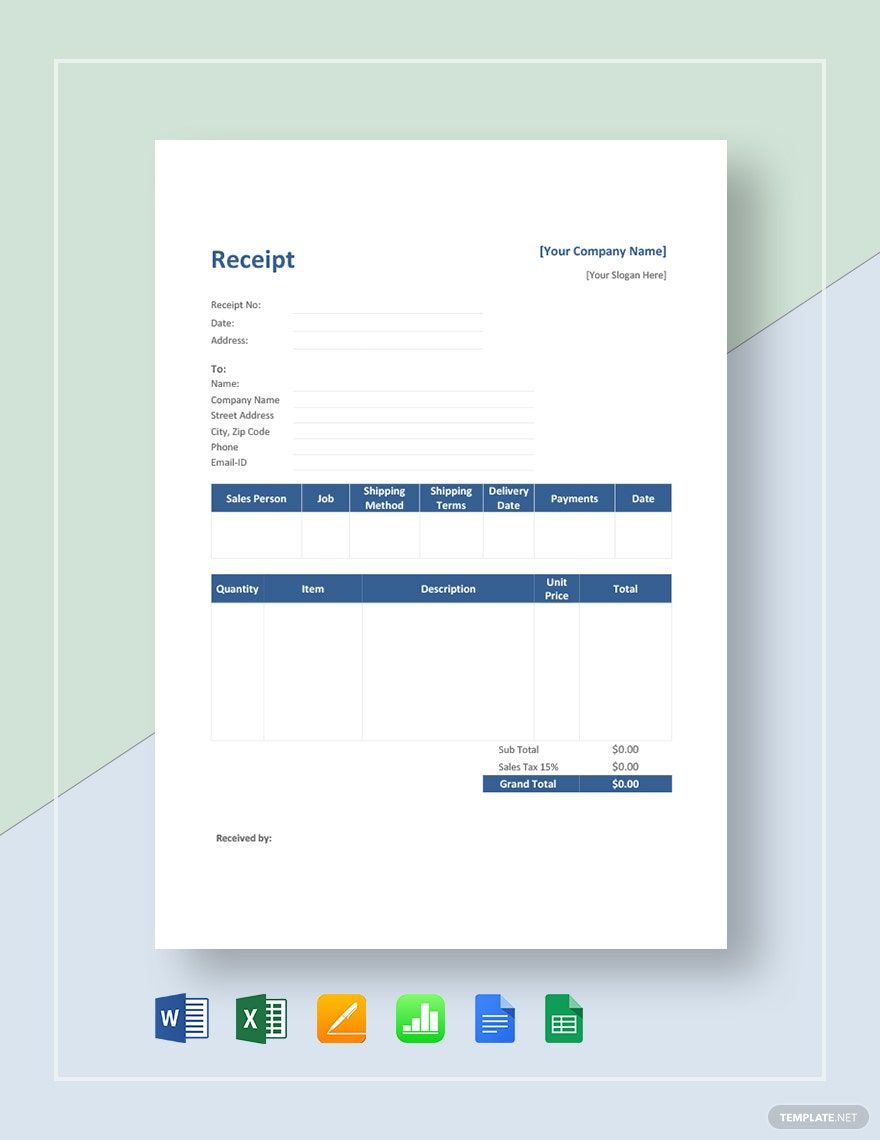
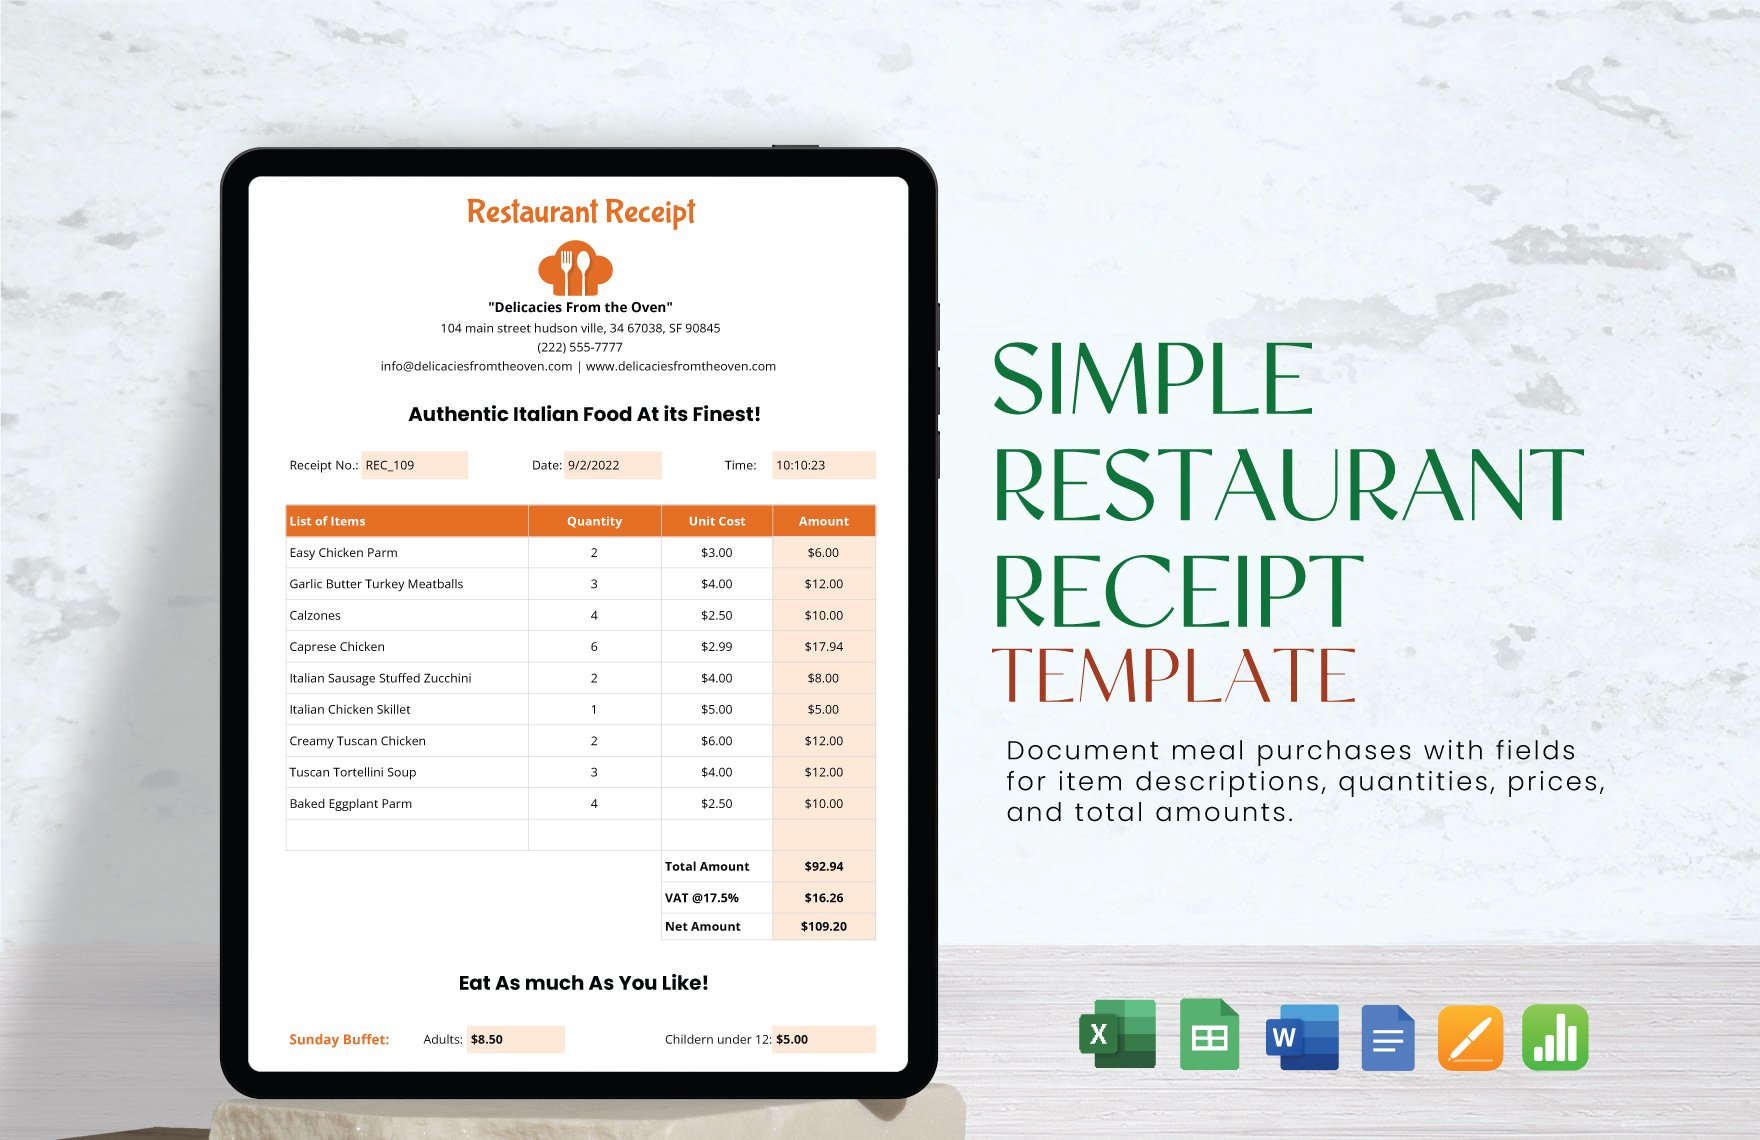
In order to note the sales information of the client, including the goods and services, unit costs, subtotals, tax payments, and averages, a receipt is needed. The receipt shows the sale date, which is particularly important for buyers who use receipts to document transactions. Planning to generate one without experiencing any hassle? Then, please take advantage of our professional Restaurant Receipt Template In Pages that is packed with a well-written suggestive heading and content to add to your convenience. This template also has an editable and customizable feature, so you have all the freedom to personalize it using any of your devices. What are you waiting for? Download our printable template now to get its benefits and inclusions!
How to Create a Restaurant Receipt in Pages
According to smallbusiness.chron.com, the main function of a receipt is to provide the client or recipient information, to record transactions, and to support with organizational accounting. Either of the profit or non-profit organizations have justification for granting workers receipts.
If you wish to give your customer a receipt, use a template or application system to compose one on a sheet of paper or develop one electronically. Thus, if you're going to run a restaurant business, it's crucial to write a receipt appropriately for legal documentation, reporting purposes, and to defend yourself and your clients. Don't have the skills to create one? Then, use the easy-to-follow steps that we've provided below for your convenience.
1. Use a Customizable Template
Creating a food payment receipt is easier when made online. To be done quickly, look online for blank receipt templates and get one that catches your eye. Then, fill in all relevant areas using a web browser and submit a copy to the customer. Please remember to provide the date of purchase for any receipt you create. Just a tip: Ensure to download a template from reliable and credible sites.
2. Use a Software
Try comparing paid and free software-generating receipt, and get the one that best fits your needs. Fix the program and fill in the dropdown box with the name of your company and other pertinent details. Then, it's just a matter of filling out the appropriate fields correctly. Once you have completed so, the system will produce a high-quality receipt for you to offer to the client. Common receipt applications include Certify and Shoeboxed. You may also incorporate the logo of your company to appear on the receipt's user copy.
3. Include Names of Items and Their Costs
Include the item name on the left side and write down on the other side of the receipt the price of each product. When more than one item has been purchased, list the things and their value in a row.
4. Write Down the Subtotal
The subtotal is the sum of all pre-tax items and extra charges. Add the cost for each item you've purchased and write the total amount below the item values column. To be precise, you can get a calculator to compute the costs of the items.
5. Include Taxes and Other Charges
Include on the left side the title of the tax or extra fees and write their costs to the right side of the sample receipt. Attach all necessary fees and charges to the total price to get the combined total or the sum payable by the client.
6. Determine Payment Method
The form of payment may be cash or debit card. List the customer's full name on the final line of the invoice. Let them sign the lower part of the receipt when they've paid through the use of a credit card.
